This post may contain affiliate links. Read our disclosure policy.

Want to Save This Recipe, Boo?
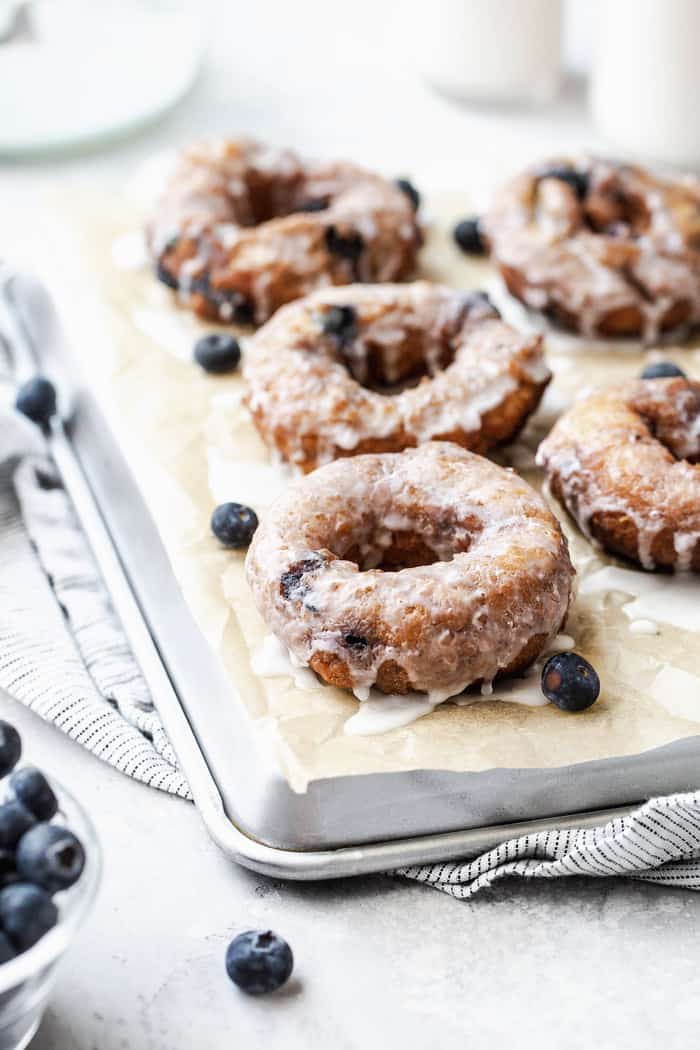
The Heart and Soul of these Blueberry Glazed Donuts
Cuisine Inspiration: A nod to American bakeries with a fruity twist.
Primary Cooking Method: Frying for a golden crust and soft interior.
Dietary Info: Indulgent and perfect for a sweet treat moment.
Key Flavor: The sweet-tart brilliance of blueberries, enhanced by a sugary glaze.
Skill Level: Intermediate
Sweet Highlights:
- Berry Burst: Fresh blueberries add natural sweetness and a tart edge.
- Crunchy Crust: Frying achieves a delightful golden-brown finish.
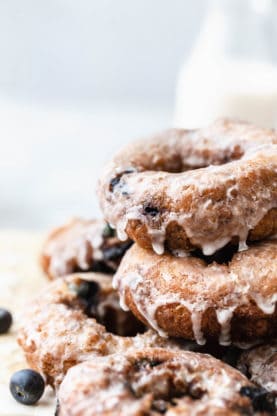
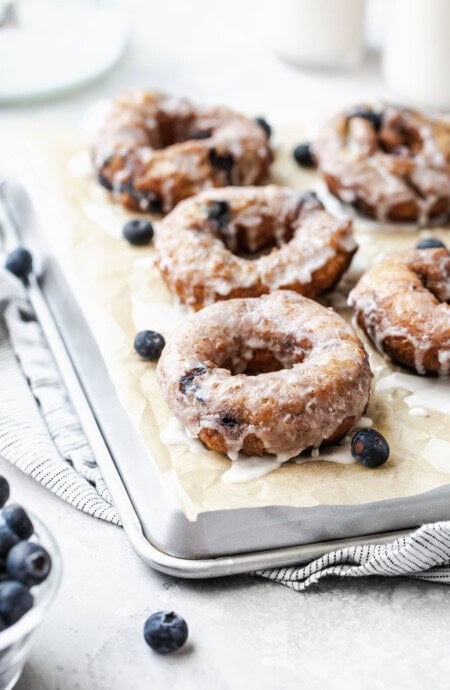
- Glossy Glaze: The blueberry glaze adds a sweet, eye-catching sheen.
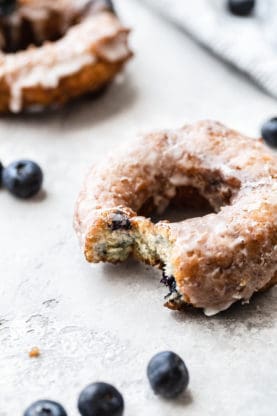
- Perfect Texture: A balanced contrast between airy and sticky textures.
- Homemade Magic: Capture bakery-quality treats in your own kitchen.

Ingredients
I bet by this point you’re saying “what makes these donuts so special?”. Well, let me break it down for you.
Here’s what you’ll need and why:
Coconut Milk
This recipe uses coconut milk in both the dough and the glaze. Coconuts offer a sweet, floral and nutty flavor addition while also being creamy and light.
Greek Yogurt
Using a small amount of Greek yogurt layers in moisture that keeps the doughnuts soft and slightly chewy. There is also an added tang that compliments the acidity from the blueberries.
Blueberries
One of the best parts of these glazed doughnuts is that each bite is bursting with juicy pops of blueberry juice. Tangy, acidic and sweet, blueberries are the perfect fruity addition to the perfect breakfast treat.
With just a few simple, delicious ingredients, I have once and for all kicked my doughnut issues.

How to Make Blueberry Glazed Doughnuts
- Preparation: Set up two baking sheets, one with parchment for the doughnuts, another with paper towels for draining after frying.
- Dry Ingredients: In a large bowl, mix flour, sugar, baking agents, and cinnamon. Toss in blueberries.
- Wet Ingredients: In another bowl, whisk eggs, vanilla, coconut milk, and Greek yogurt. Add melted butter.
- Combine and Shape: Merge wet and dry ingredients, knead gently to form a sticky dough. Roll out, cut doughnut shapes, and chill.
- Frying: Heat oil to 365-370°F. Fry doughnuts until golden brown, drain on paper towels.
- Glaze: Mix confectioners’ sugar and buttermilk to create a thick yet pourable glaze.
- Coat and Serve: Dunk warm doughnuts in glaze, let set, and serve. Enjoy your homemade treat!
Tips
As I mentioned before, doughnuts have not always been my strong suit. But, from all the trial and error has come many important lessons. I’ve learned all the ways that things can go terribly wrong. And let me tell you, most of them actually happen during the cooking process.
Use a Thermometer
Using a thermometer is the easiest way to maintain the correct frying temperature. If your oil is too hot the outside of the doughnut will burn before inside cooks. If the oil is too cold the doughnut will soak up too much oil and be a doughy mess.
It’s easier to keep track of the oil temperature if you utilize a candy/deep fry thermometer. You can find a cheap, reliable option at almost every local grocery store. Buy one that has easy-to-read markings and a clip for sticking to the pot.
Adjust Oil Temperature
The temperature of fry oil changes as you work in batches. It’s important to adjust the temperature of oil as needed. After adding a new batch of doughnuts you will need to increase the heat a bit. Work quickly to avoid an empty pot which will overheat. (This is where the thermometer is a huge help).
Double Drain
Use a spider skimmer to remove the doughnuts from the pot; hold the doughnut in the skimmer for a few seconds and shake off the excess oil. Move the doughnuts to the paper towel-lined baking sheet or plate.
But wait! Don’t leave them there! Move the doughnuts to a cooling rack so they don’t sit in a pool of their own oil. Each of these steps guarantees a crisp, perfect doughnut.
Favorite Donut Recipes
If you like this blueberry glazed doughnut recipe, I’m sure you’ll love some of my other donut recipes.

Blueberry Glazed Doughnuts
Want to Save This Recipe, Boo?
Ingredients
- 3 1/2 cups all-purpose flour 438 grams
- 3/4 cup granulated sugar 150 grams
- 1/2 teaspoon baking soda
- 2 teaspoons baking powder
- 1 teaspoon salt
- 1 teaspoon ground cinnamon
- 2 large eggs
- 2 teaspoons vanilla extract
- 3/4 cup coconut milk 177 ml – can also use regular milk
- 1/4 cup greek yogurt 50 grams
- 4 tablespoons unsalted butter melted and cooled
- 1 cup blueberries 148 grams
- Vegetable oil for frying
- 2 cups confectioners’ sugar 480 grams
- 1/2 cup coconut milk 118 ml- 156 ml up o 2/3 cup- mostly the clear liquid on the bottom of the can
Instructions
- Line a large baking sheet with parchment paper, and another large baking sheet with two layers of paper towels or a wire rack.
- In a very large bowl, whisk together the flour, sugar, baking soda, baking powder, salt, and cinnamon. Add in blueberries to flour mixture; Set aside.
- In a separate medium bowl, whisk together the eggs, vanilla extract, coconut milk, and greek yogurt until combined. Add the melted, cool, butter and whisk to combine.
- Make a well in the center of the dry ingredients and pour the wet mixture into the center. Using a large rubber spatula, slowly fold the flour into the liquid center until the mixture forms a sticky, cohesive dough. {Note: It may seem like the dough will never come together, but just keep mixing, gently, until most of the dry patches are gone. It’s okay to use your hands and knead it a few times- just don’t over-work the dough.}
- Turn the dough out onto a floured sheet of parchment paper. Sprinkle the top of the dough with flour, place another sheet of parchment and pat it out until it's about 1/2-inch thick.
- Use two round cookie, or biscuit cutters (about 3 1/4-inch and 1 1/2-inch for large doughnuts; or 2 1/2-inch and 1-inch for smaller doughnuts). I used the small end of a wide piping tip to make the doughnut holes.
- Dip larger of the cutters in flour and press out as many rounds as possible. Dip the smaller cutters (or pastry tips, if using) in flour and cut out the center of each round- saving the centers for doughnut holes. Arrange the doughnuts and doughnut holes on the parchment-lined baking sheet.
- Pat the scraps back together and repeat until all the dough has been used up. {Note: If you run out of dough toward the end, just make doughnut holes.} Chill the dough for at least 30 minutes, or while the oil heats up.
- Pour enough oil into a large, deep skillet to make a layer that’s approximately 1- 1 1/2 inches deep. Slowly heat the oil over med-high heat until it reaches 365- 370 F.
- As the oil is heating, prepare the glaze.
- To make the glaze, place the confectioners' sugar into a large, heat-proof mixing bowl. Slowly begin whisking in the coconut milk.- about 1 Tablespoon at a time- until you're left with a slightly thick, yet drizzley glaze. (It should move around the bowl freely when tilted and have a loose paste consistency.) Set aside.
- Grab the paper towel-lined baking sheet and place it next to the skillet. Once the oil reaches the proper temperature, gently place the chilled doughnuts into the hot oil. Don’t fry too many all at once- three or two at a time is easy to handle.
- Once the doughnuts have browned on one side (about 2-3 minutes), carefully turn them over with tongs or a slotted spoon and continue to cook for another minuter or two- until golden brown. {Note: Don’t walk away from the skillet as the doughnuts are frying, they can burn quite fast once they turn brown.} Using a slotted spoon (or the tongs), transfer the doughnuts to the paper towel-lined baking sheet.
- Repeat the process with the remaining doughnuts and doughnut holes. {Note: The doughnut holes will fry much faster, so keep a close watch.}
- When all the doughnuts and holes have been fried, work quickly and dip each one into the buttermilk glaze. I just placed each doughnut into the glaze until they were completely coated. Set the glazed doughnuts onto a plate or serving platter until set. Once the doughnuts have cooled off, the glaze will harden.
- Unlike most doughnuts, these were even better once they had cooled off completely!
Do you think I can sub buttermilk for the coconut milk? I just realized I’m out of coconut milk. Thank you for sharing your delicious food with all of us.
Buttermilk sounds like a great option to use in place of coconut milk. I have not tried it myself, but don’t see why it wouldn’t work.
Can these be baked rather than fried?
I have not made this recipe in the oven, so I am not sure how it would turn out. But, I don’t see why it wouldn’t work.
What kind of coconut milk do you use? Sweetened, unsweetened, canned?
I appreciate your help
You can use any kind you prefer, if you go with sweetened the doughnuts will be sweeter.
Must doughnut recipes I’ve seen call for cake flour, week that work in your recipe?
I have not tried this recipe with cake flour so I am not sure how it would turn out. That being said you can try it! Let me know if you do how it turned out!
Canned or carton coconut milk?
This recipe is a gem. The detailed notes about what to expect of the dough the encouraging words for how to manage the oil temp are helpful even for accomplished cooks. Indeed, the doughnut was my nemesis – – until today. Today I (rather, we) vanquished the doughnut! Crispy outside. Heavenly light and flavorful throughout inside. Just awesome.
Our juice glasses are 3. 5″ and I had a litte jar that capers came in that was 1.25″. I got a baker’s dozen plus about 16 holes. I may have patted too aggressively, but the doughnuts look beautiful. The dough, since it is very elastic, is very forgiving. Don’t worry about misshapen doughnuts. They are almost self-healing once in the oil. Even broken circles can be pinched back together before going into the oil and come out looking like a doughnut. Once dunked in icing, hey now. They are iced doughnuts. Imperfections are part of the package.
Make this recipe part of your collection!
I agree!! This is the perfect breakfast. I loved it, and everything!
Looks so tasty Sarah! Can’t wait to try blueberry glazed doughnuts! Thanks a lot for sharing!