

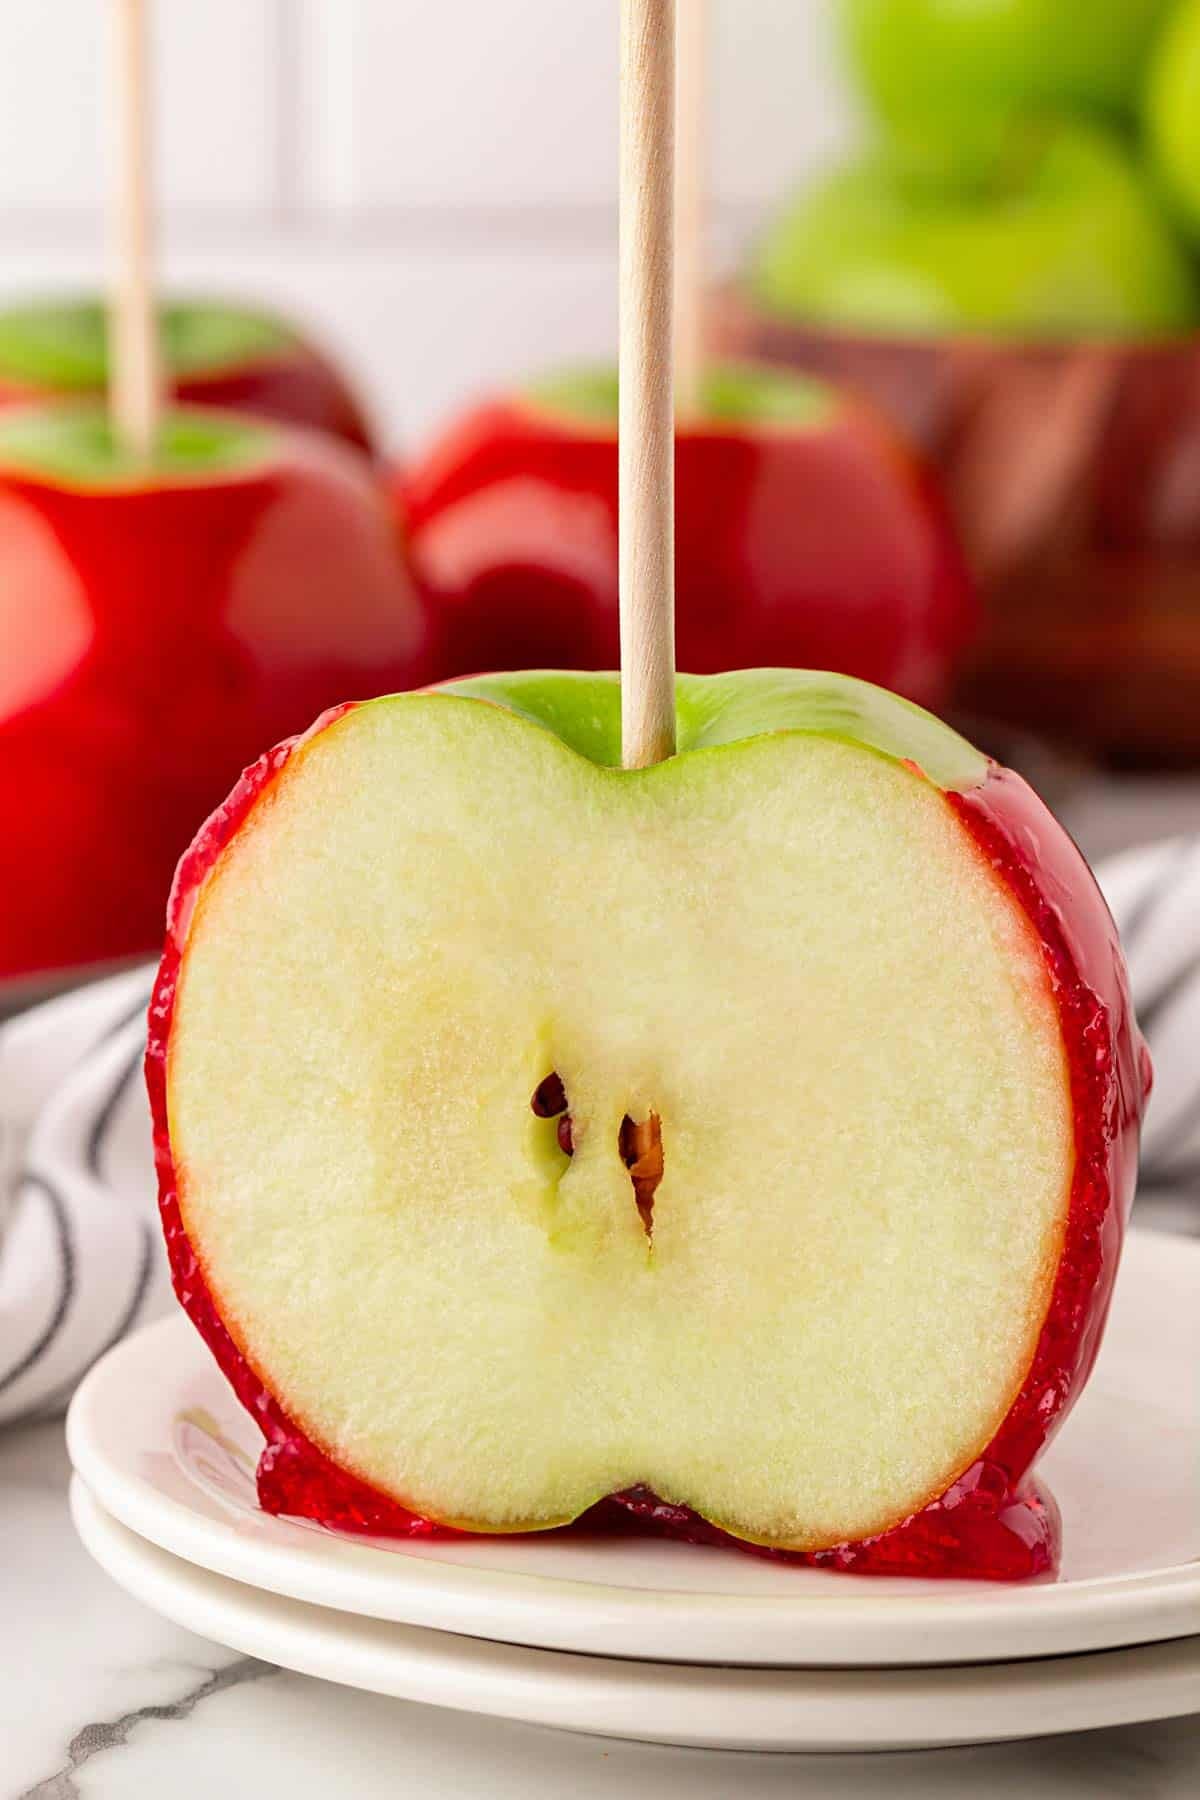
These are the red candied apples you remember getting at the local fair, boos! Shiny on the outside, crisp and tart in the middle, and xtra crunchy when you bite in. I ain’t gonna lie, working with hot sugar can be a lil intimidating the first time, but it’s also so much fun. I covered everything you need to know for making candy apples at home, plus what can go wrong, so y’all can dip those apples with confidence. Get into it!
This post may contain affiliate links. Read our disclosure policy.
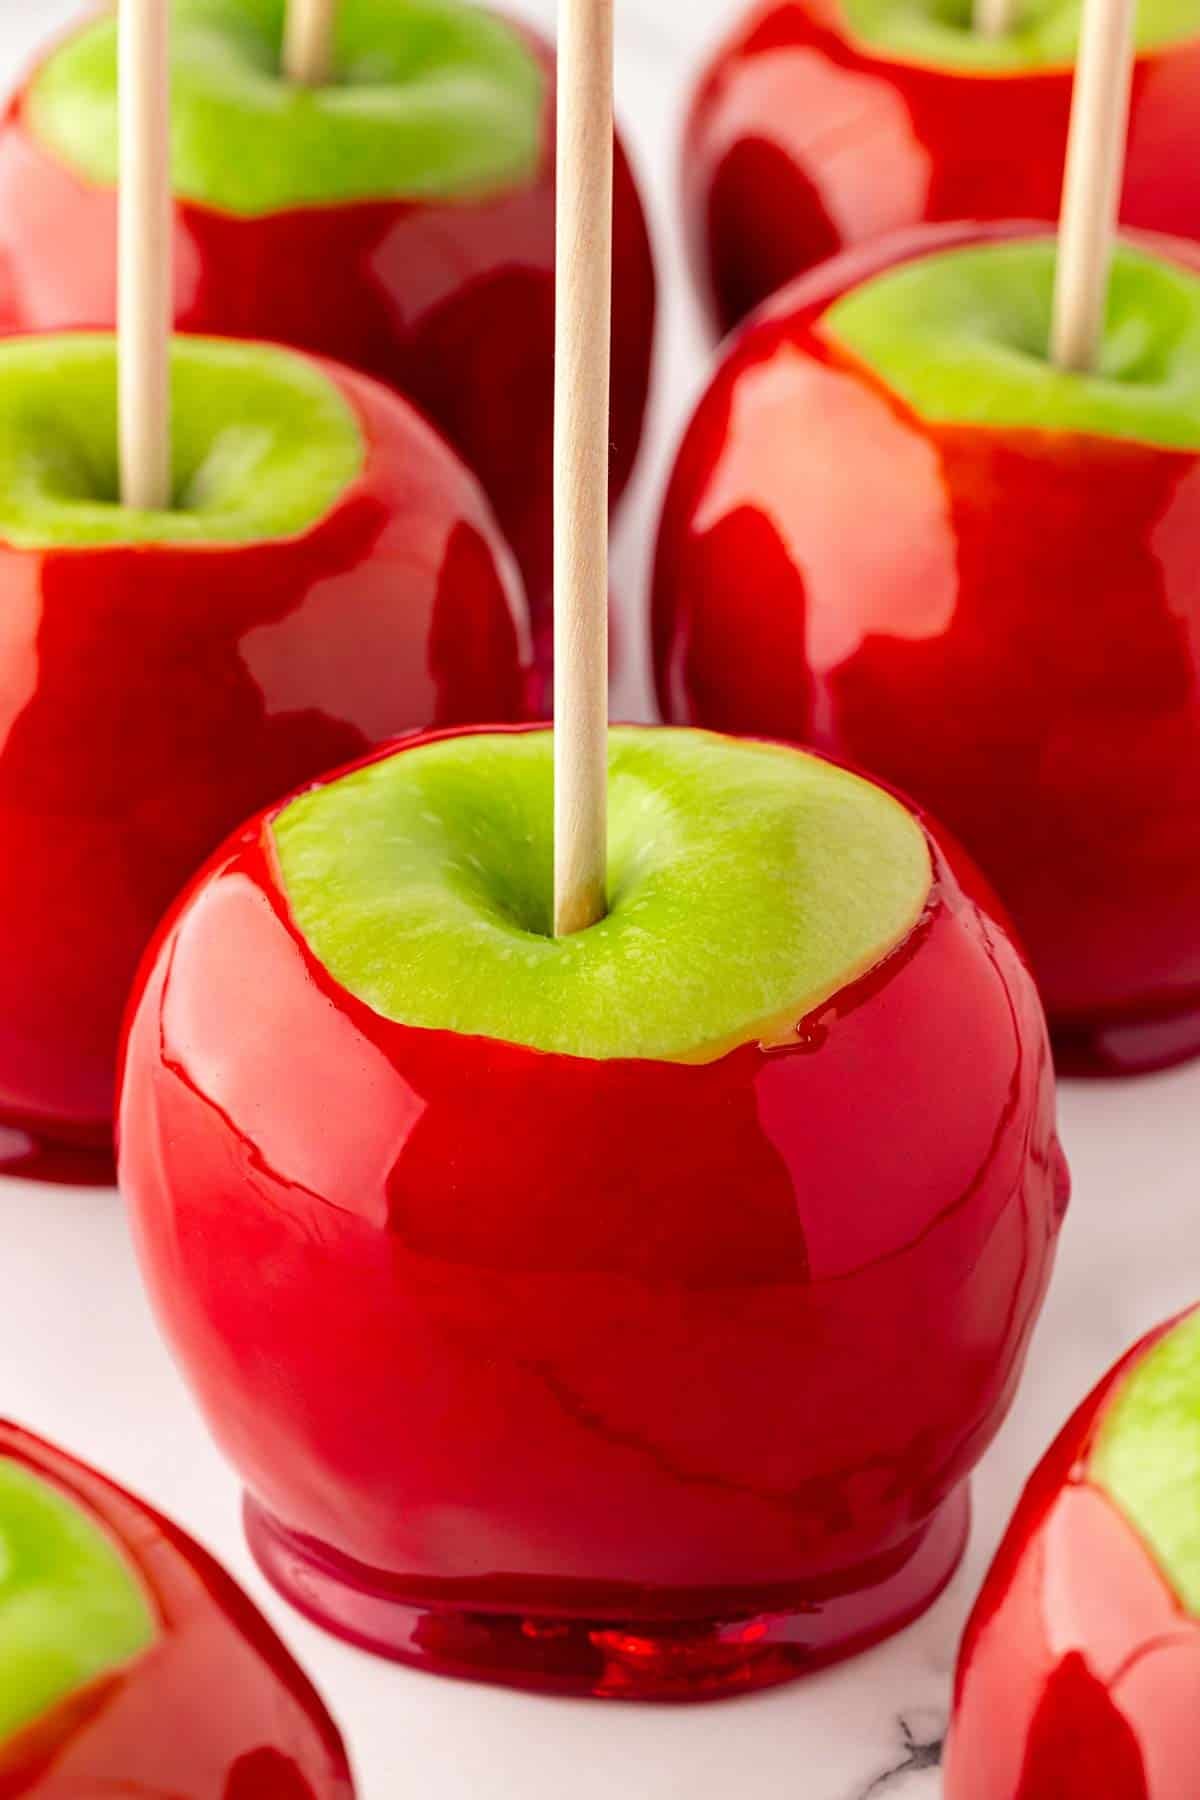
How to Make Easy Candy Apples
These step-by-step photos show how to make candy apples, but be sure to check the recipe card below for the full ingredient list and detailed instructions. Skip to the → Candied Apples Recipe
1. Prep the apples and insert the sticks
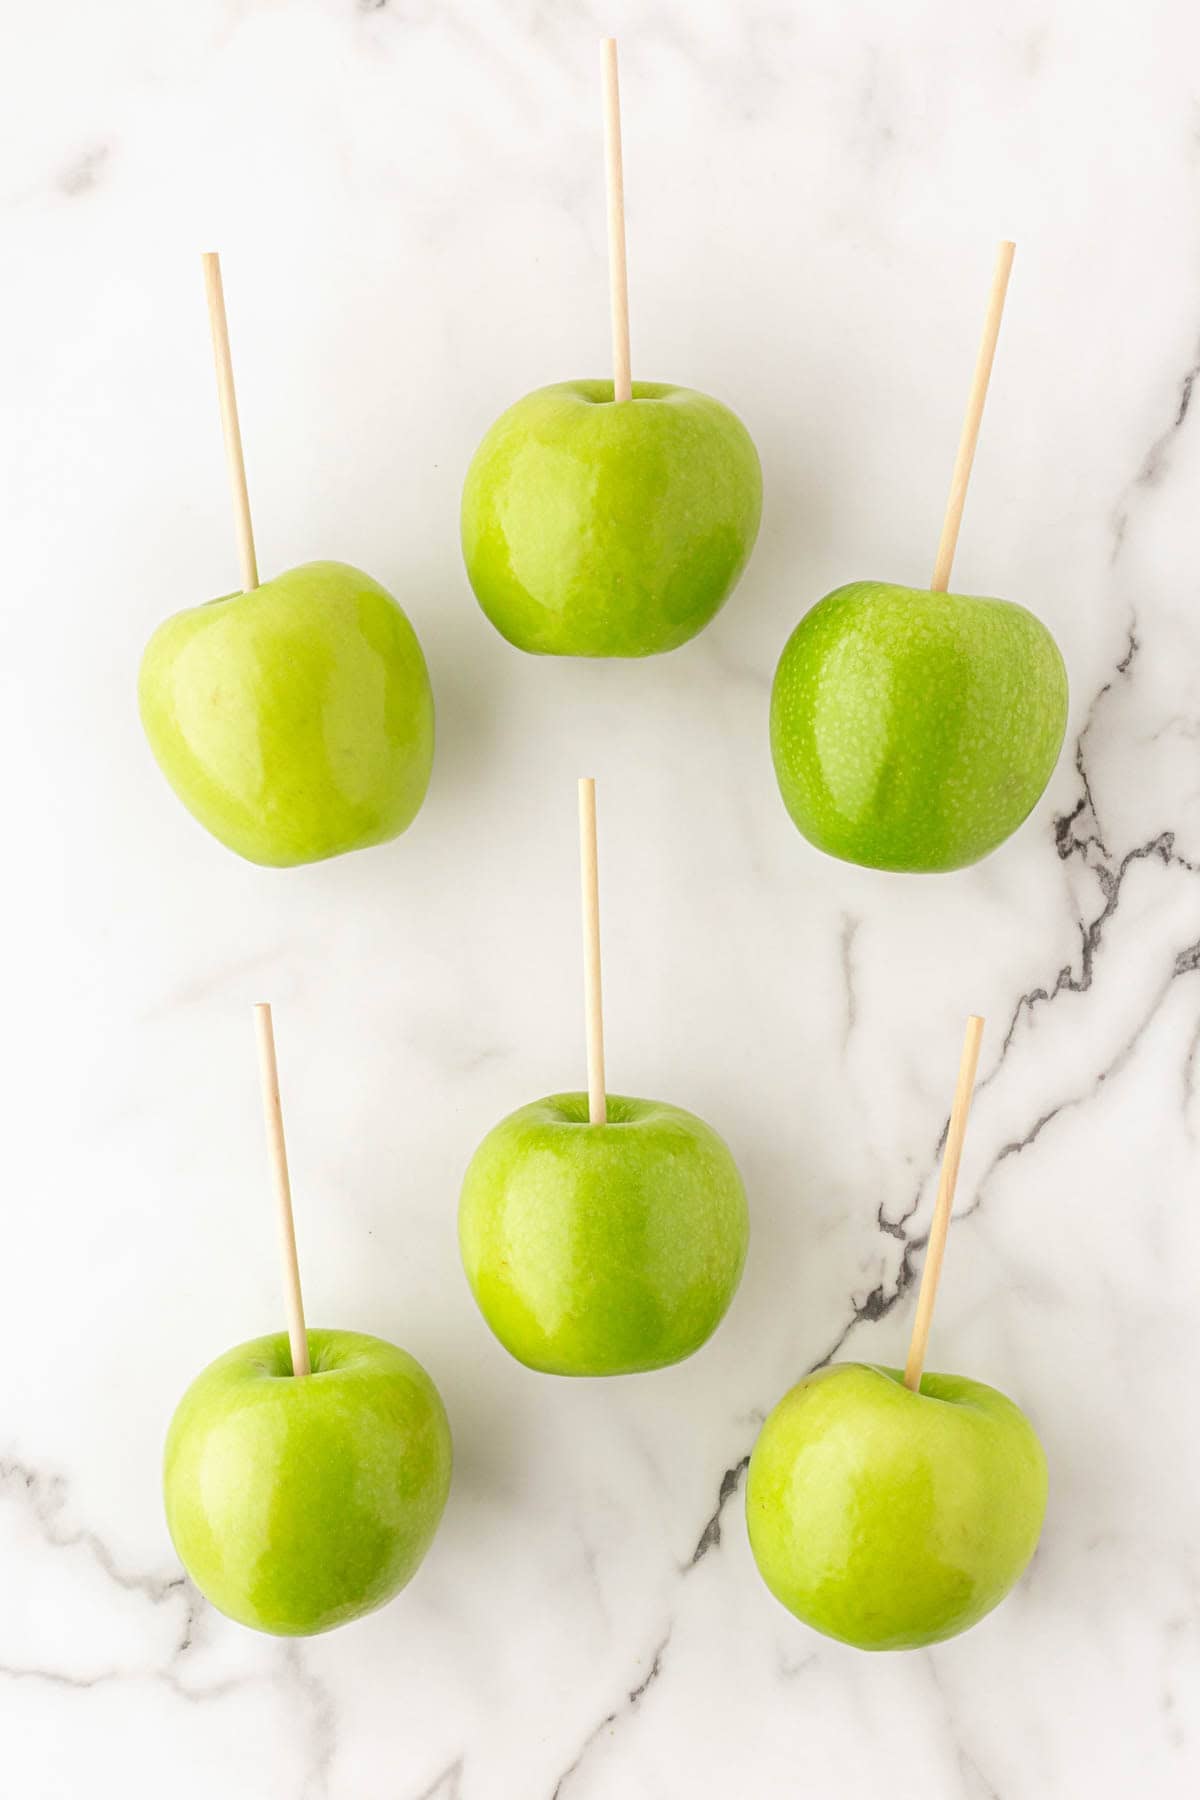
Remove the stems, then push a wooden stick firmly into the top center of each apple.
2. Remove the wax from the apples
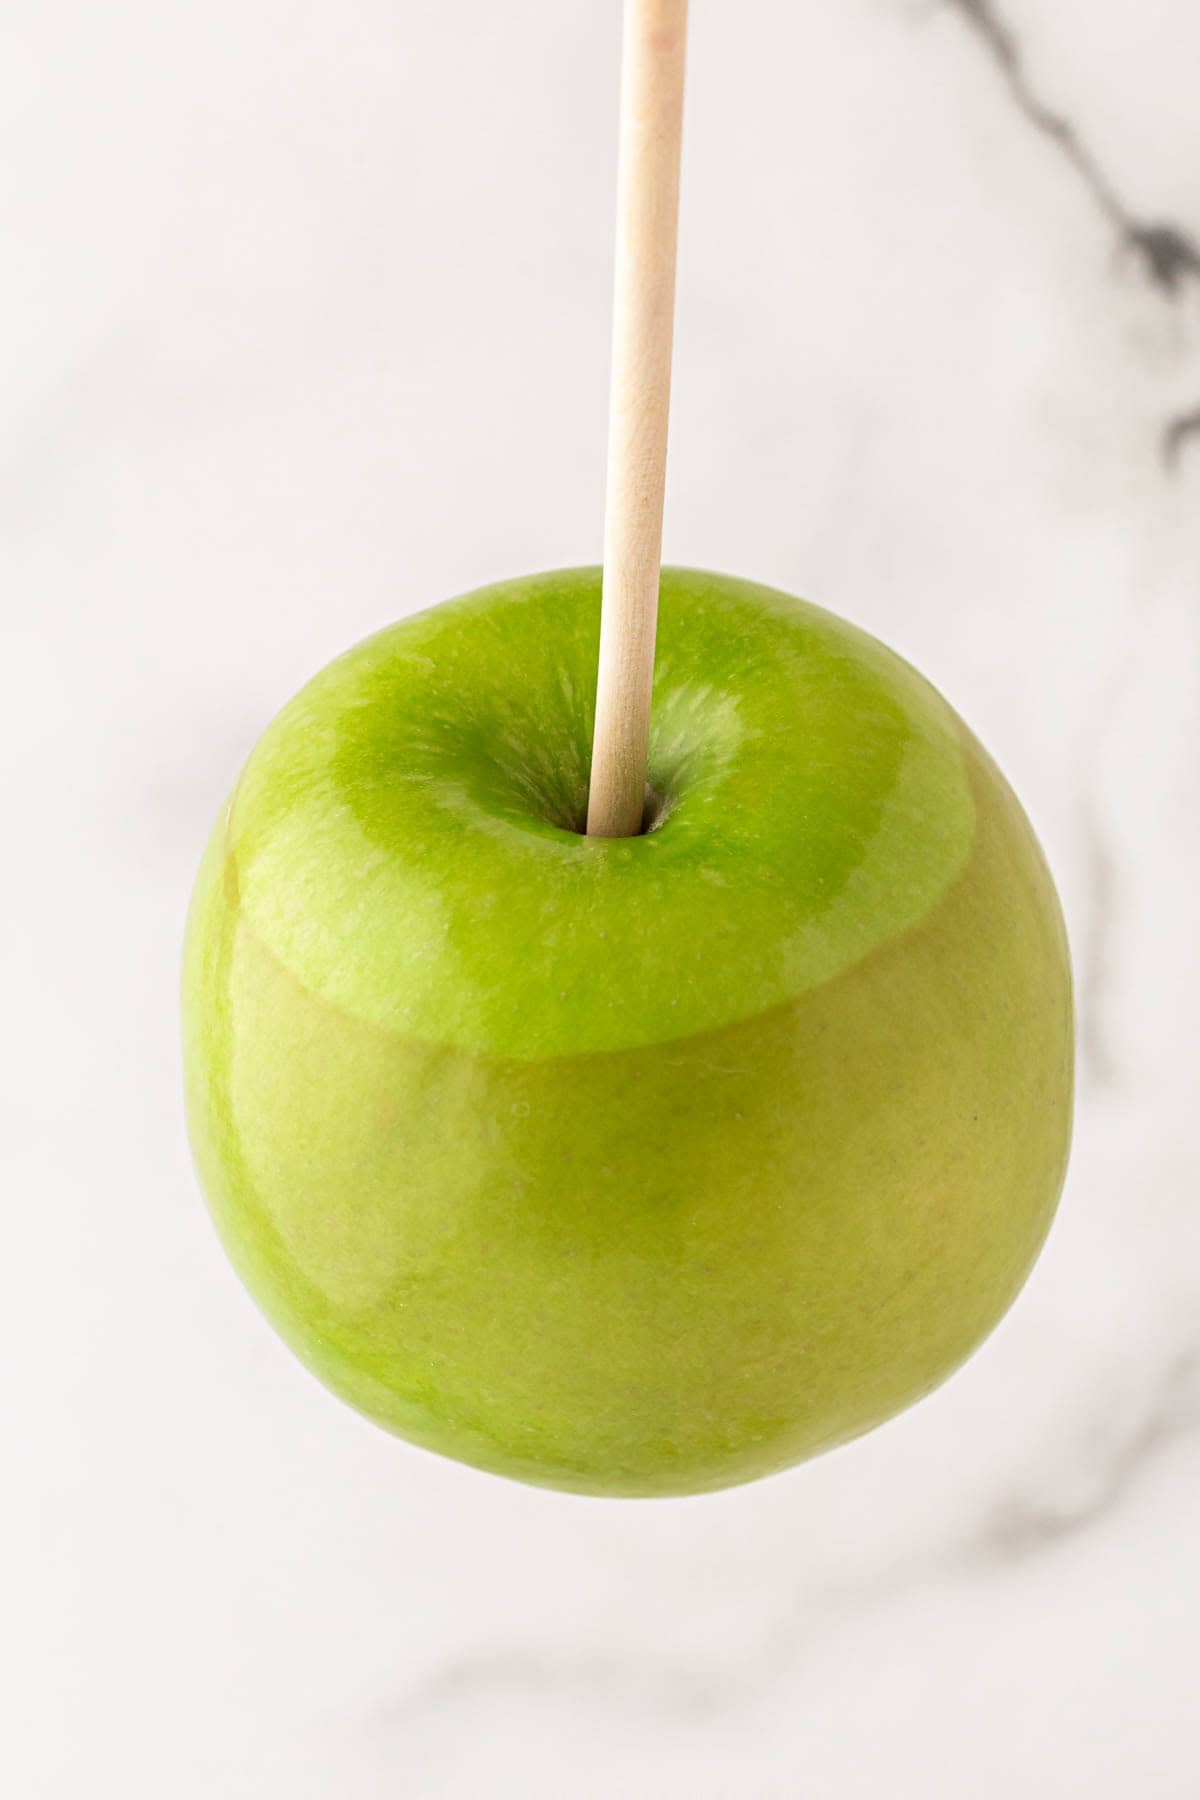
Dip the part of each apple you plan to coat in boiling water. Dry the apples completely, and set them on a parchment-lined baking sheet coated with nonstick spray.
3. Cook the candy syrup
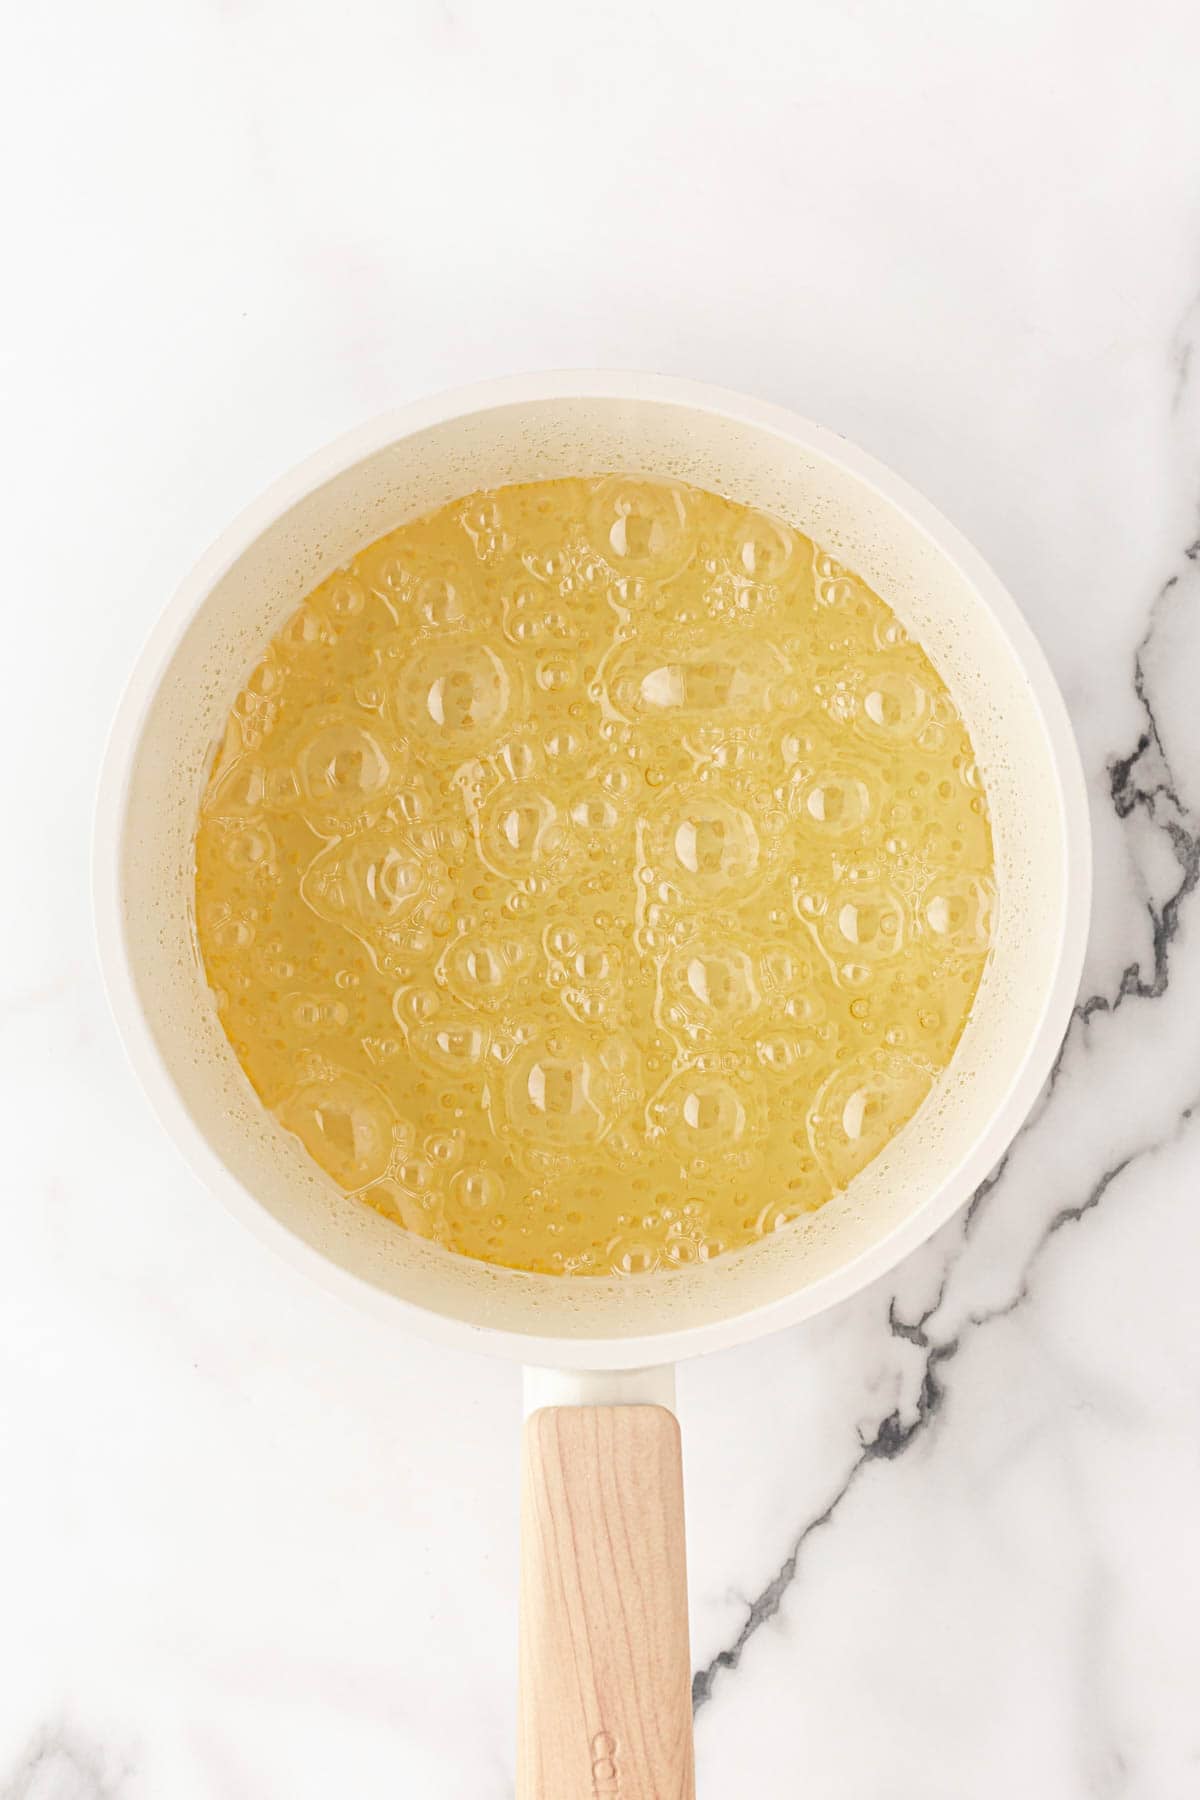
Stir the sugar, water, corn syrup, and salt over medium heat until the sugar dissolves. Attach a candy thermometer and boil without stirring until the syrup reaches the hard-crack stage.
4. Add the red food coloring
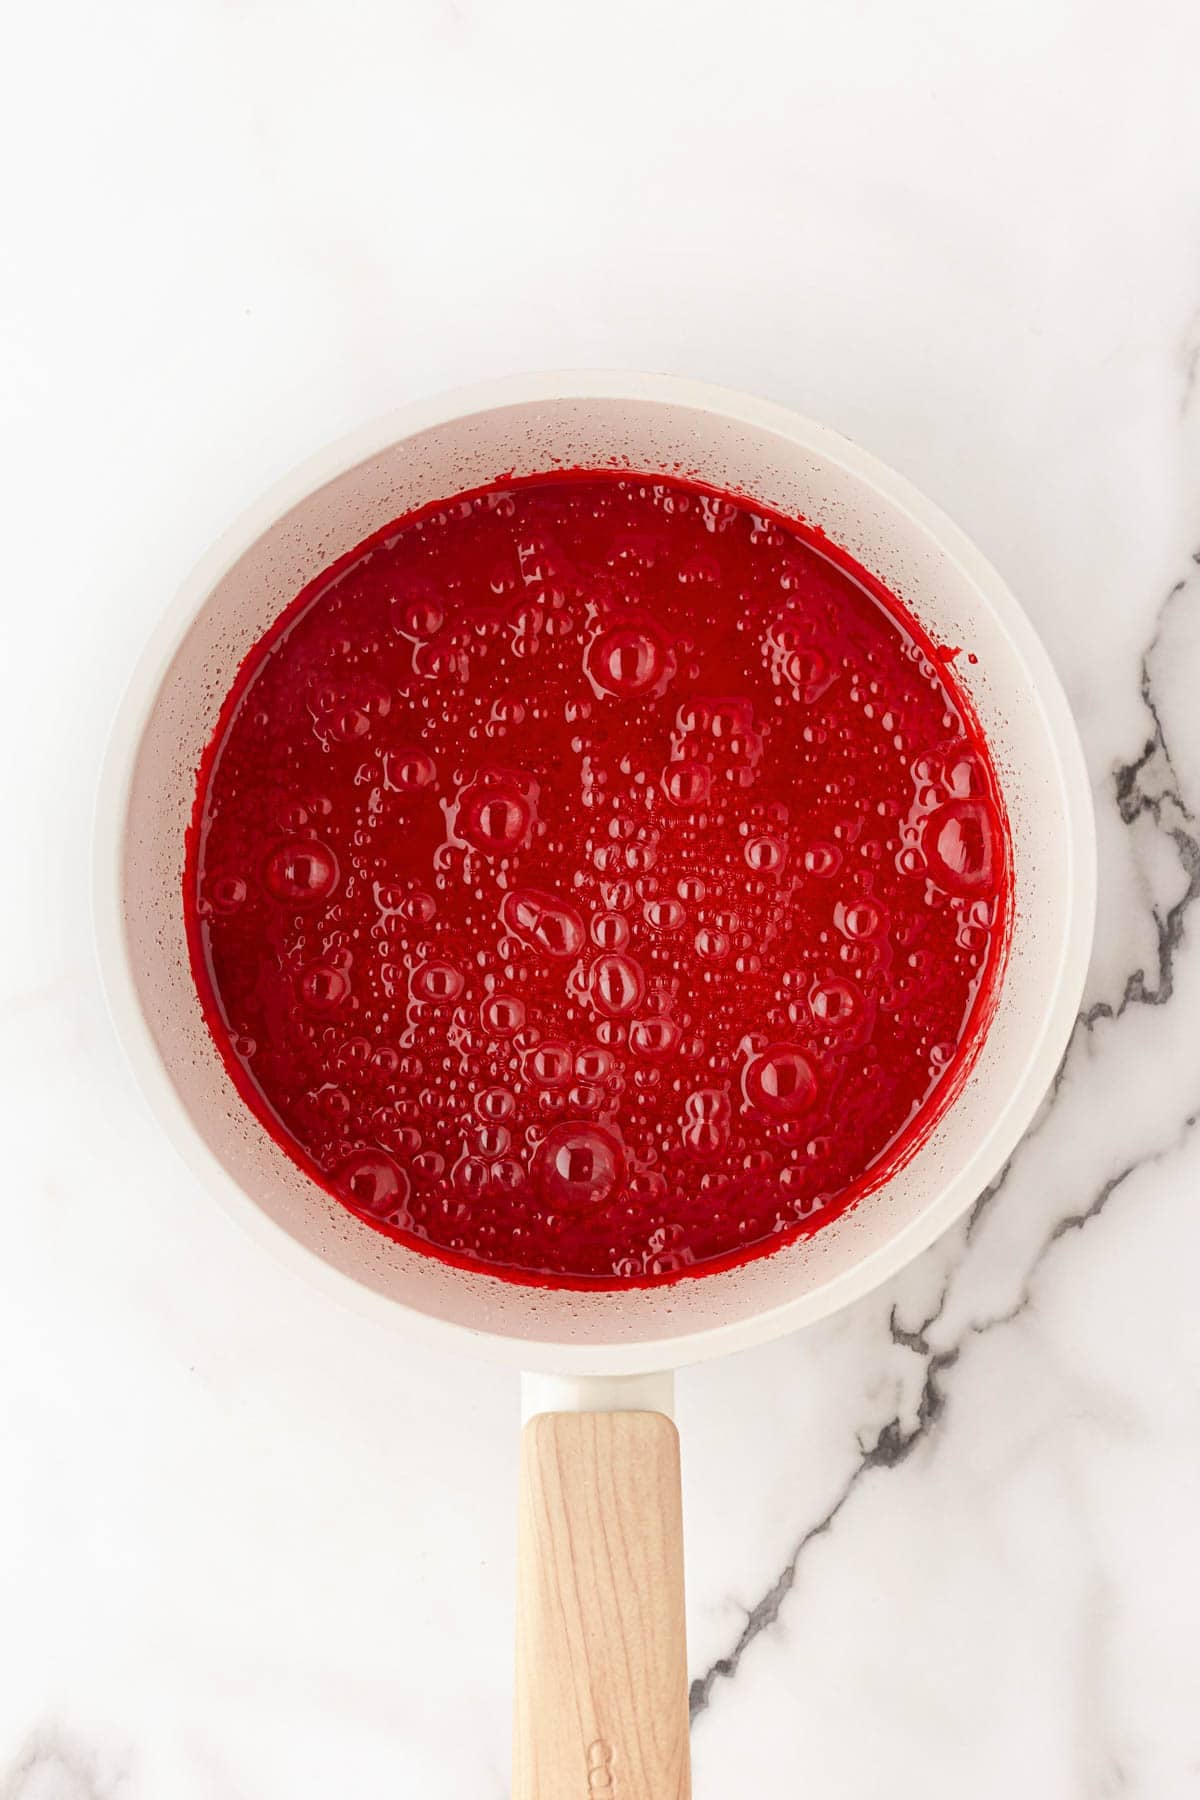
Remove the pan from the heat and gently stir in the red gel food coloring. Let the big bubbles settle down before you start dipping.
PRO TIP: Y’all need a thermometer for these candied apples, boos. I tried to get away without it the first time, but nope! The syrup needs to reach 300°F. Anything lower can leave you with a sticky coating, while going too far past it can make the shell extra hard. Also, make sure the tip sits in the syrup without touching the bottom of the pan.
5. Dip the apples in the candy coating
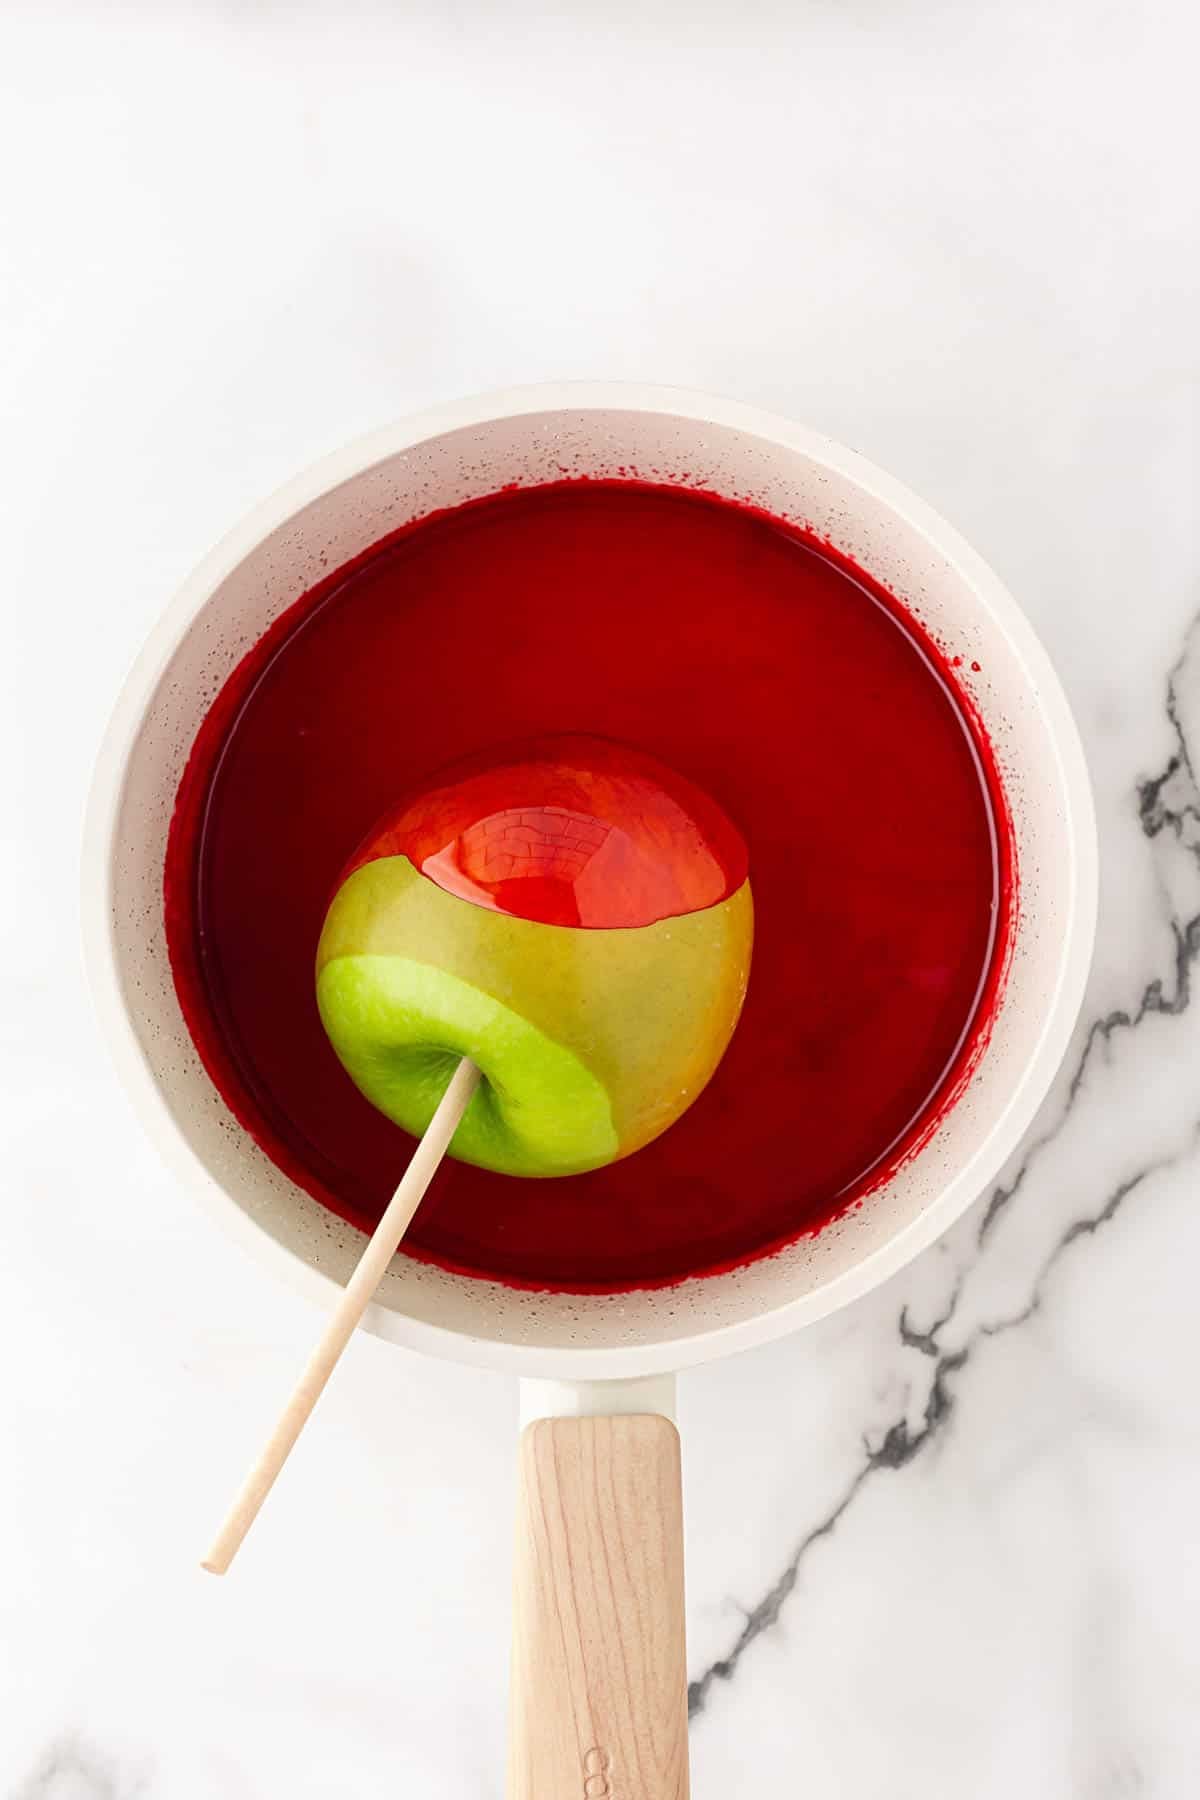
Tilt the pan and turn each apple in the syrup until the blanched portion is covered. Let the excess drip back into the pan.
6. Let your homemade candy apples harden
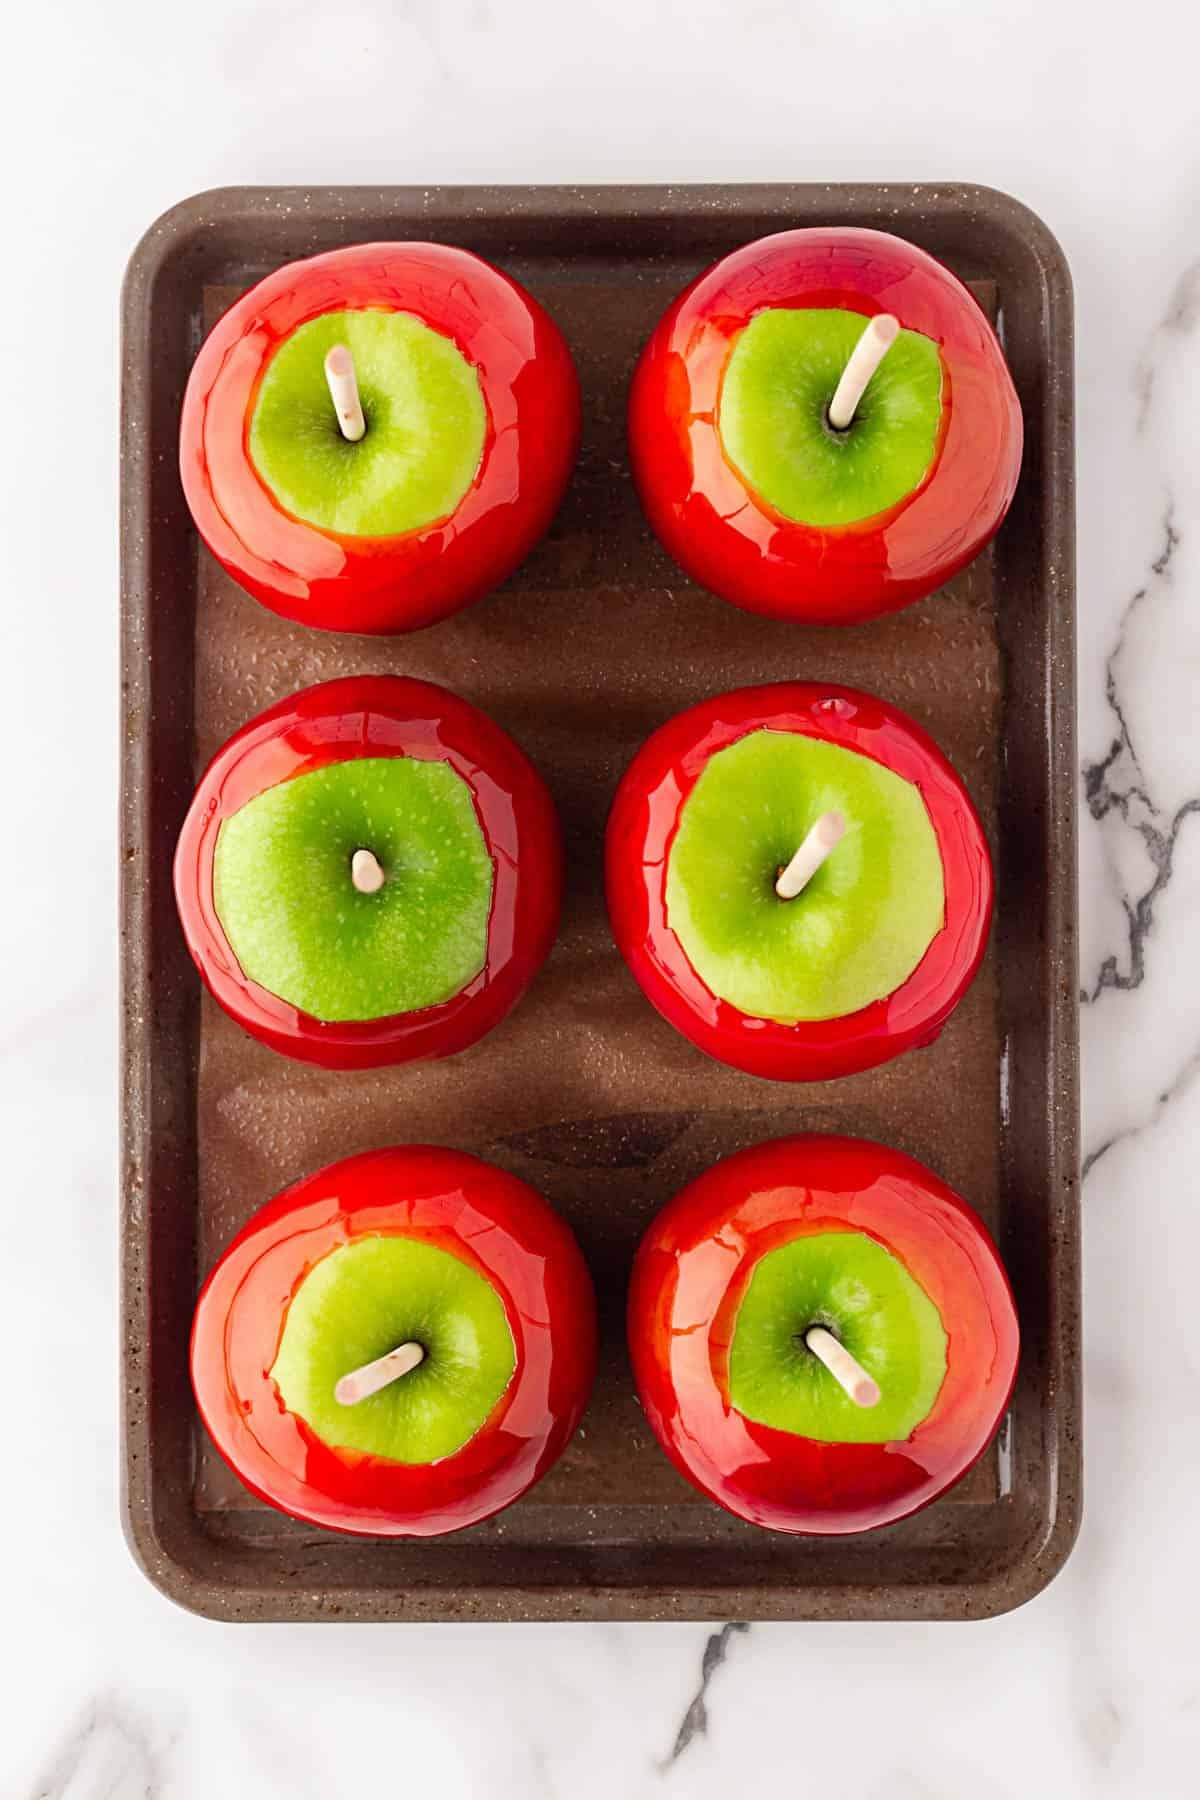
Set the candied apples on the prepared baking sheet. If candy pools around the bottoms, trim it with greased kitchen shears once it is cool enough to handle but before it hardens completely.
PRO TIP: Move quickly once the food coloring goes in because the syrup starts thickening as it cools. If it gets too thick before you finish, pop the pan back over low heat just until it loosens up again. Try not to keep reheating it though, or the coating can get darker and thicker.
Want to Save This Recipe, Boo?
Full Candied Apples Recipe
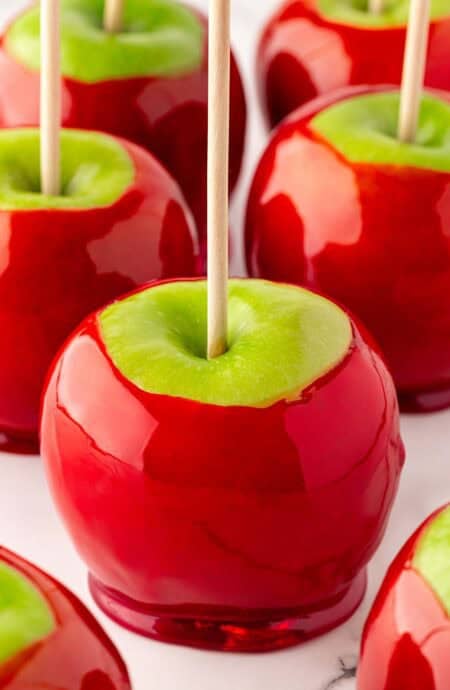
Candied Apples Recipe
Want to Save This Recipe, Boo?
Ingredients
- 6 medium Granny Smith or Crisp apples about 2.5 pounds total
- 2 cups sugar
- 3/4 cup water
- 1/4 cup light corn syrup
- 1/4 teaspoon kosher salt
- ½ teaspoon red food coloring gel
Instructions
- Use kitchen shears to score three 12-inch wooden sticks in the center, then carefully break each one in half to make six sticks. Remove the stem from each apple and insert a stick firmly into the top.
- Bring a large pot of water to a boil. Dip the portion of each apple you want to coat into the boiling water for about 5 seconds to remove the wax. You should notice a slight color difference between the dipped and undipped portions. Dry the apples thoroughly with paper towels. Line a small baking sheet or pan with parchment paper and generously coat it with nonstick cooking spray.
- Add the sugar, water, corn syrup, and salt to a medium heavy-bottomed saucepan or Dutch oven. Cook over medium heat, stirring gently until the sugar dissolves completely. Attach a candy thermometer to the side of the pan.
- Bring the mixture to a boil and continue cooking without stirring until it reaches 300°F, or the hard-crack stage. Remove the pan from the heat and carefully stir in the red gel food coloring with a heat-resistant spatula.
- Carefully tilt the pan and dip each apple into the hot candy mixture, turning it until the blanched portion is completely coated and a little apple skin remains visible near the top. Lift the apple and allow the excess coating to drip back into the pan before placing it on the prepared baking sheet.
- Let the candied apples stand at room temperature for about 10 minutes, or until the coating cools and hardens. If excess candy pools around the bottom, wait until it is cool enough to handle but not fully hardened, then carefully trim it with greased kitchen shears. Candied apples are best served the same day.
Notes
How to Store
- Room Temp: Keep the candied apples in a cool, dry spot and serve them within 2 hours.
- Fridge: Once the coating has completely hardened, place the apples in a lidded, parchment-lined container. Leave space between them so they don’t stick together, and refrigerate for up to 2 days. You can also place each apple in its own cellophane bag.
Nutrition
Recipe Tips
- Grab crisp apples. Granny Smiths are my fave because they stay firm and that tartness balances the sweet candy shell. Honeycrisp and Pink Lady work too. Just skip any apples that feel soft or have mealy spots because the coating ain’t gonna fix the texture underneath.
- Dry the apples all the way. After you remove the wax, get rid of every bit of moisture. The candy won’t stick properly to a wet apple, and water can create bubbles in the coating.
- Have everything ready before you start. Your apples should be prepped and your baking sheet should be lined and greased before making the syrup. Candy waits for nobody!
- Dip each apple once. One thin coat gives you plenty of crunch. A second dip might have y’all risking a tooth! Add a lil more gel coloring to the syrup if you want a deeper red.
Recipe Help
There was probably wax or moisture left on the apples. Give them a quick dip in boiling water to remove the wax, then dry them completely before coating.
Your sugar crystallized, boo. Once the syrup starts boiling, don’t stir it or scrape down the sides of the pan. Any sugar crystals that fall back into the syrup can make the whole batch grainy.
The syrup didn’t reach 300°F. Humidity can also soften the coating after it sets, so keep the apples covered at room temperature and serve them the same day.
 pinterest
  facebook
  twitter
  email
email