
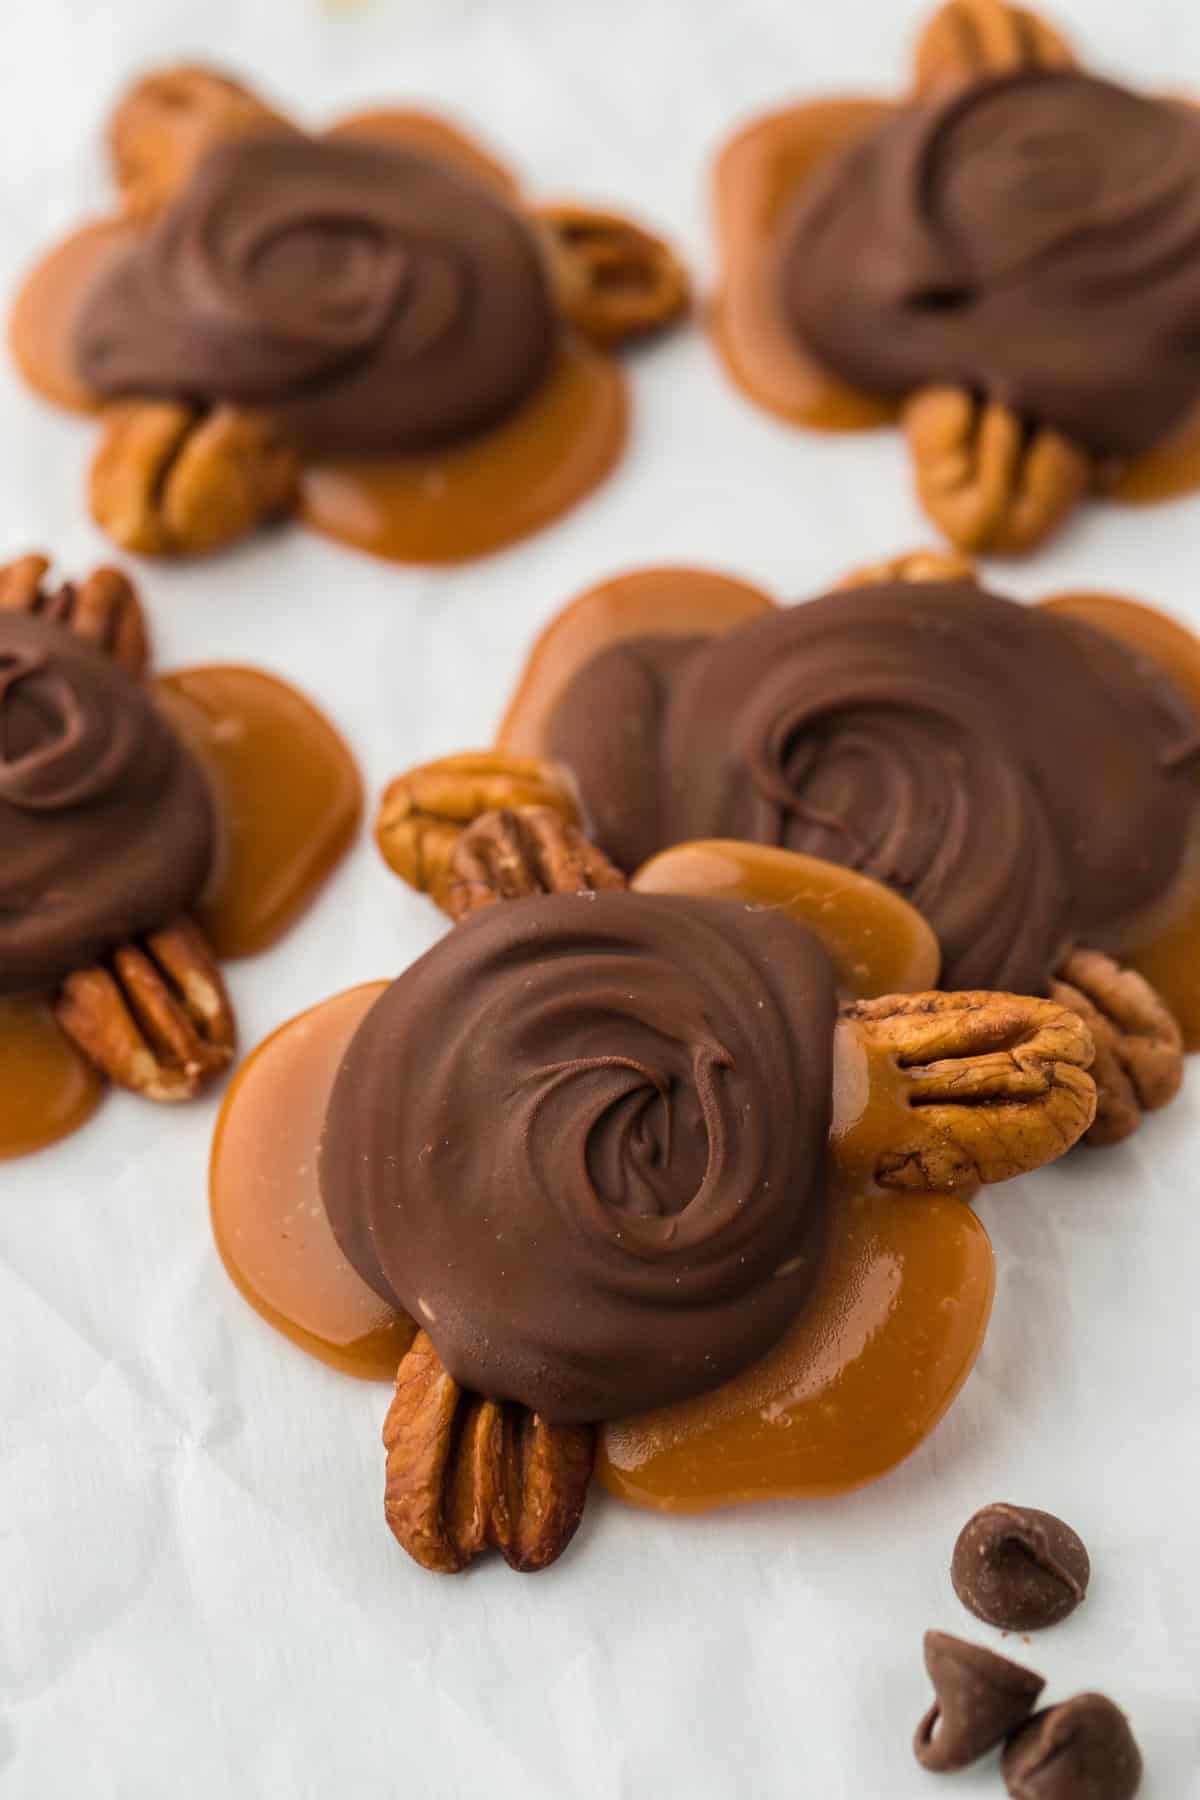
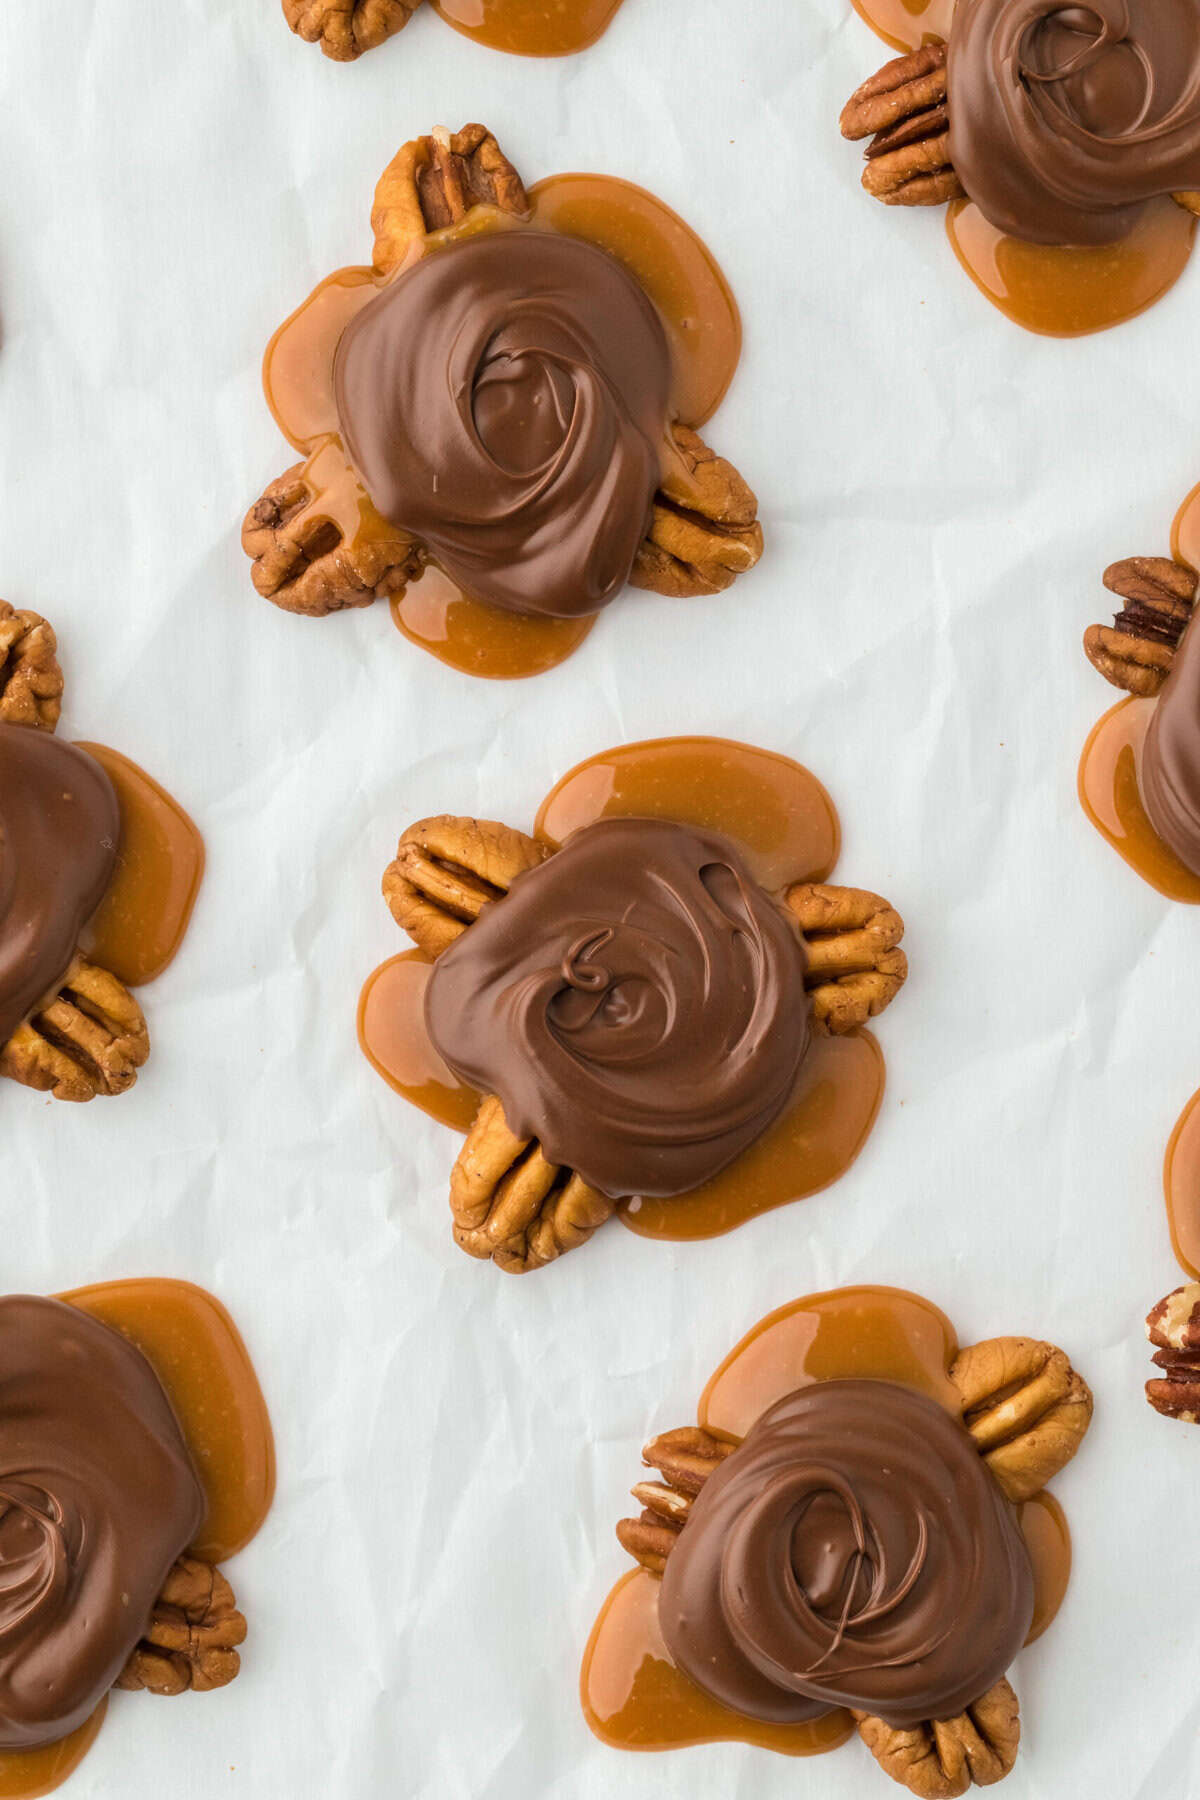
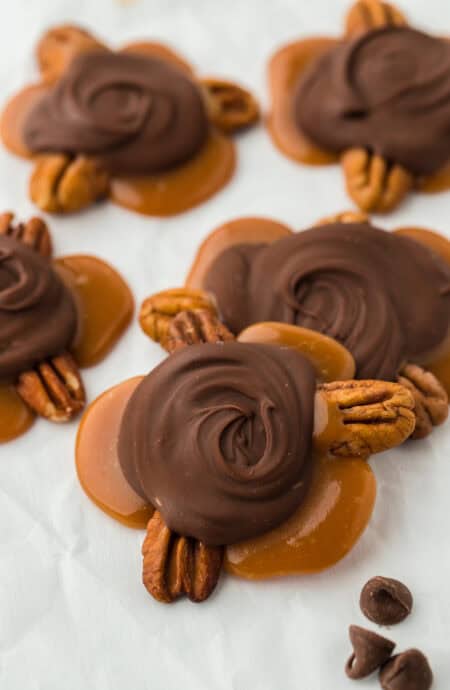
Homemade turtle candy is straight-up chef’s kiss and better than any you can find in your local candy shop boos! This no-bake treat is crazy easy to whip up and absolutely irresistible. With gooey caramel, buttery pecans, and silky milk chocolate, these little turtle candies are the ultimate salty-sweet flex. Perfect for gifting or sharing with the fam—if you don’t eat ’em all first!
This post may contain affiliate links. Read our disclosure policy.

They’re Lovin’ It! Here’s what They’re Sayin’:
“Can’t stop eating them…. totally addictive!”
—ALISA
Ingredient Notes
- Caramels: I love using Werther’s chewy caramels.
- Evaporated Milk: Use heavy cream if you want more richness.
- Pecan Halves: Cashews, peanuts or even almonds work!
- Milk Chocolate Chips: Or even dark chocolate.
How to Make Turtle Candy
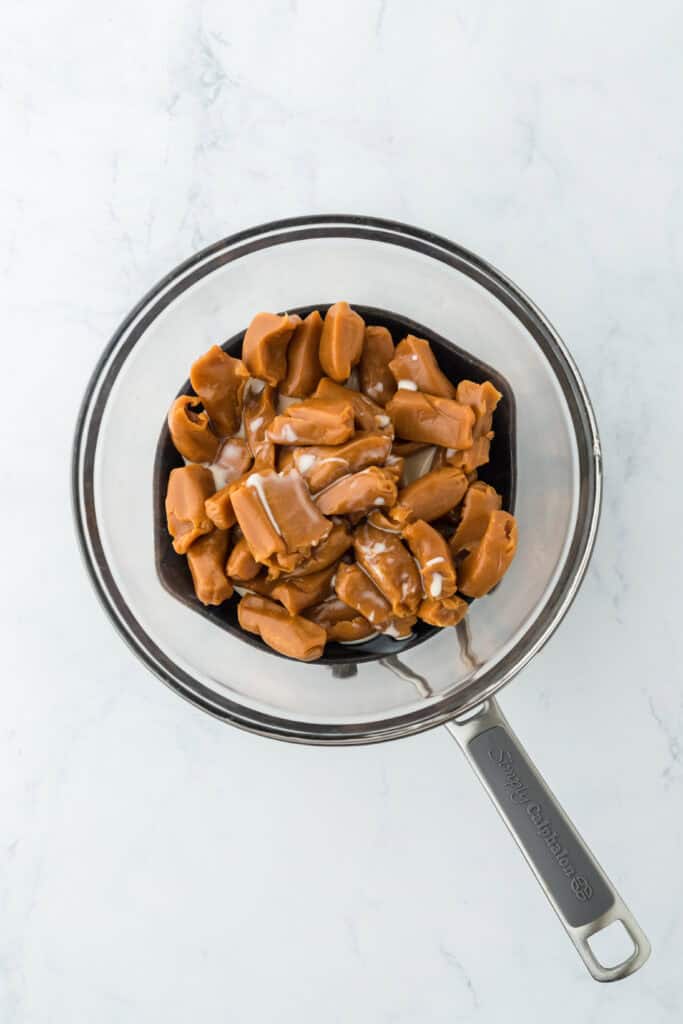
Step 1: Melt caramels and milk together in a double boiler over hot water.
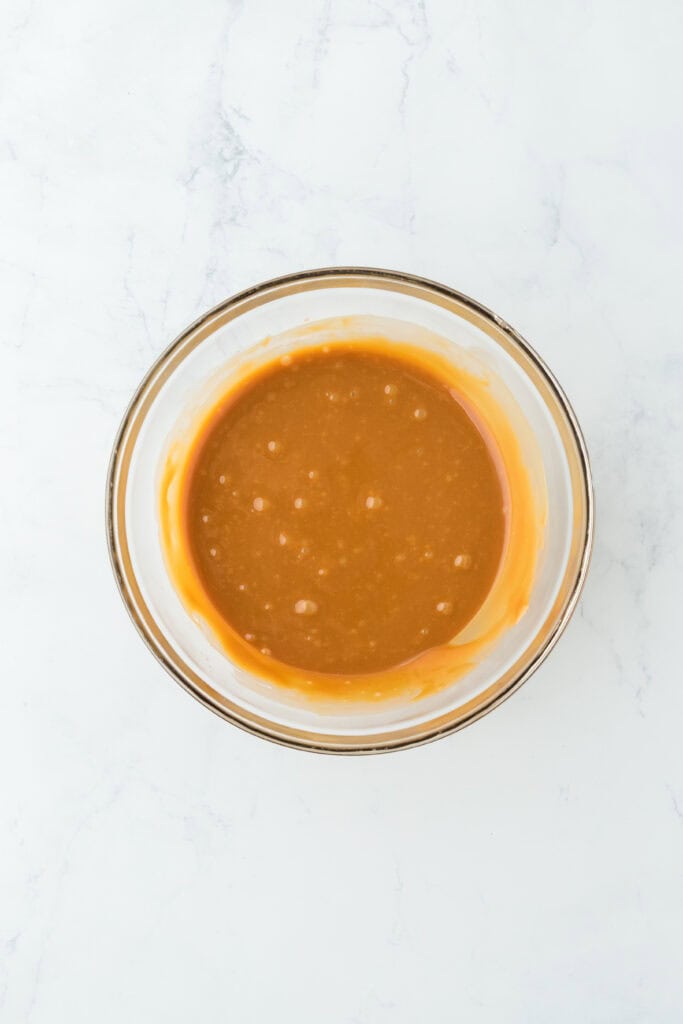
Step 2: Stir until combined. This takes about 10 minutes.
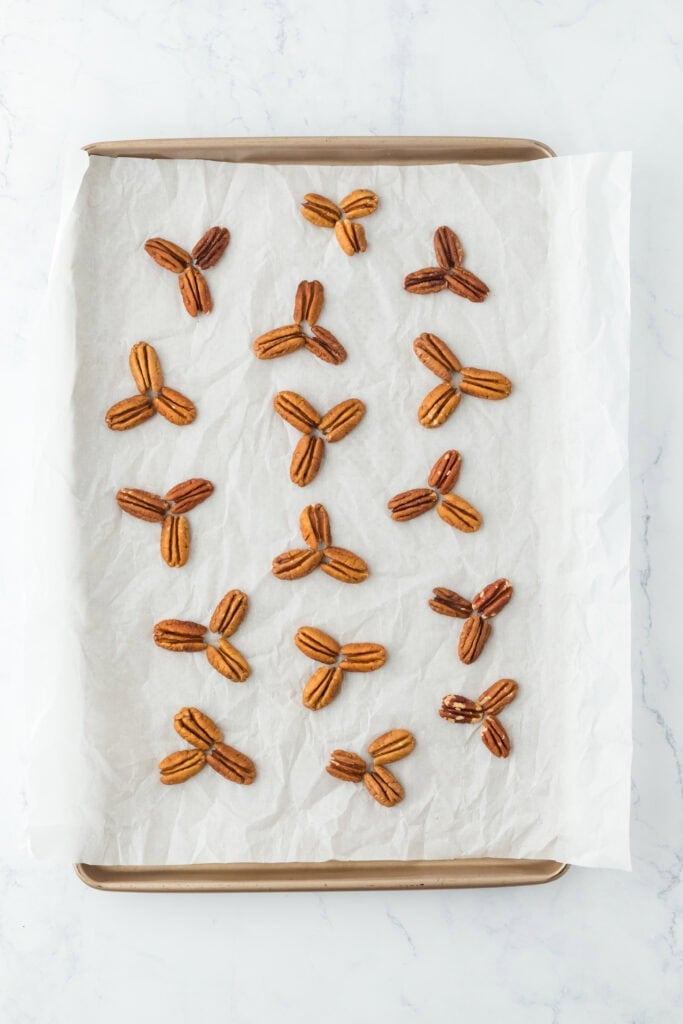
Step 3: Place nuts on wax or parchment paper paper in groupings of 3.
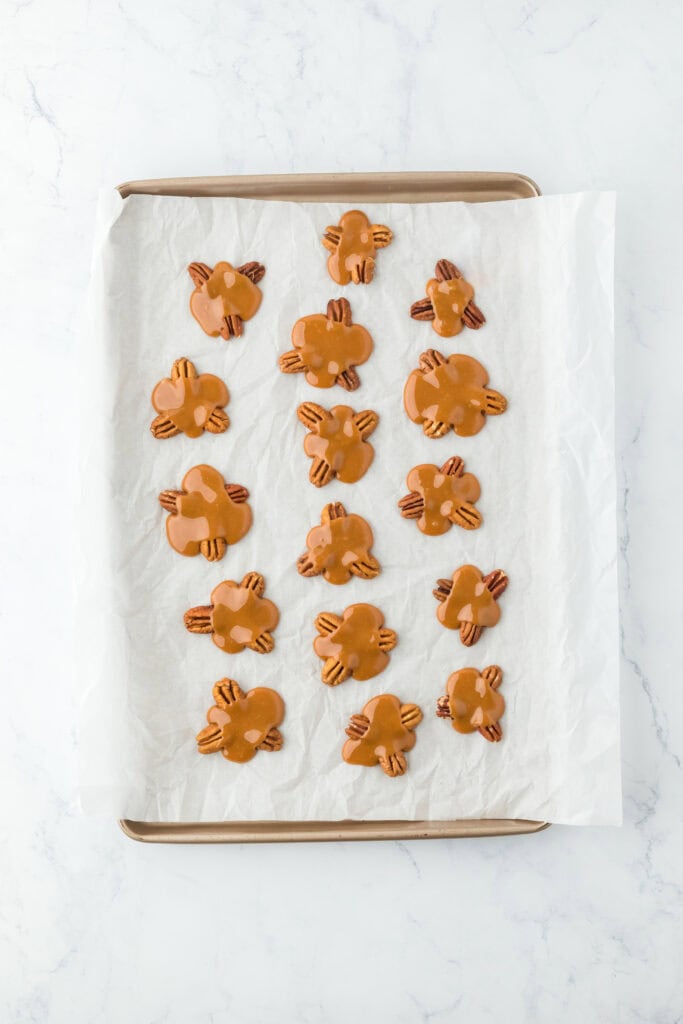
Step 4: Spoon the completed caramel over the nuts, leaving the nut tips exposed. Let set for 30 minutes.
Want to Save This Recipe, Boo?
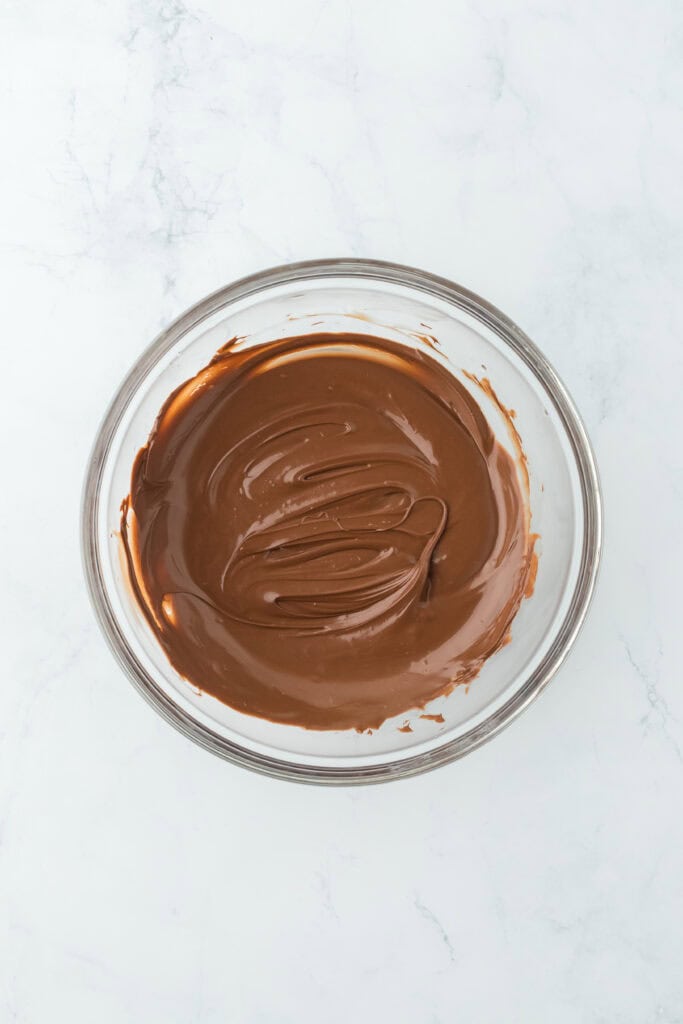
Step 5: Next, melt chocolate over hot water as well or in the microwave then cool until room temperature.
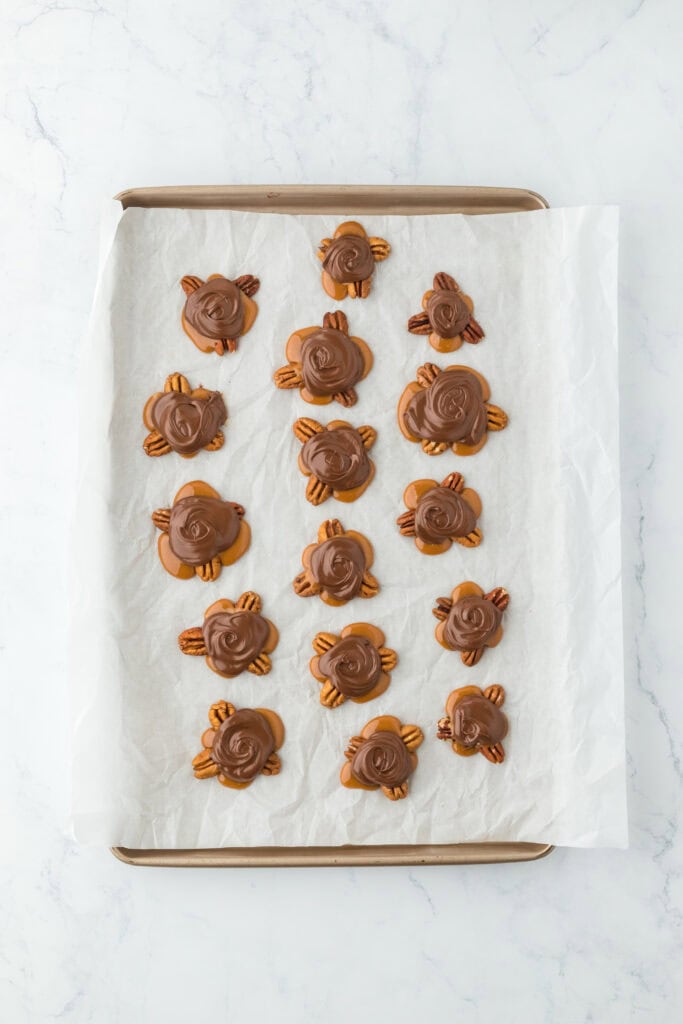
Step 6: Spread over caramels and let set.
Recipe Tips
- Go High Quality: I love using Guittard Milk Chocolate Chunks for the ultimate creamy, chocolatey goodness. Lindt, Ghiradelli and Baker’s are also great options!
- Microwave to Save Time: Add the caramel and milk to a microwave safe bowl and microwave in 20-30 second intervals (stirring after each interval) if you don’t have time for the double boiler method.
- Skip the blooming: Temper by reserving a little chocolate to stir in after melting. This is gonna help stabilize it and prevents the white streaks (bloom) that sometimes pop up as chocolate cools.
Recipe Help
Just stir in a little more milk to soften it back up.
Using a super small cookie scoop is the best way to make sure the portions of the caramel and chocolate are the same.
Best Candy Inspired recipes
- Chocolate Turtle Cake
- Divinity Candy
- Pumpkin Cupcakes with Candy Corn Buttercream
- Peanut Brittle
- Candied Pecans
- Bourbon Balls
- Turtle Brownies
- Turtle Cookies
- Pralines!
Turtle Candy
Want to Save This Recipe, Boo?
Ingredients
- 1/2 lb chewy caramels Werther's chewy caramels
- 2 tbsp evaporated milk
- 1 cup pecan halves
- 6 oz milk chocolate chips (basically half of a 11.5 oz package)
Instructions
- Melt caramels and milk together in a double boiler over hot water and continue to stir until combined (about 10 minutes).
- Place nuts on wax or parchment paper paper in groupings of 3. Spoon the completed caramel over the nuts, leaving the nut tips exposed. Let set for 30 minutes.
- Next melt chocolate over hot water as well or in the microwave then cool until room temperature. Spread over caramels and let set.
 pinterest
Can’t stop eating them…. totally addictive!
These are so cute! I’ve been on a bit of a pecan kick lately so I’ll definitely have to give these a try!
One of our all time favorite candies! Love that they are so easy to make at home!
Pretty sure I’ve found my new favorite turtle candy recipe, right here 🙂 Easy to make with beautiful presentation. Thanks for sharing!
The kids loved these turtle candies! So delicious and easy to make. Definitely making again.