
Working with yeast can be a challenge but waiting for dough to rise is even harder! Learn how to activate yeast faster with this handy-dandy guide filled with amazing tips and tricks.
This post may contain affiliate links. Read our disclosure policy.
Want to Save This Recipe, Boo?
I am by no means a bread baker. I’m more of a bread-eater and enjoyer. But, I can appreciate the value in a batch of homemade dinner or cinnamon rolls, both of which require a yeasted dough.
One of the biggest downfalls of baking bread is how long it takes to bake. I’d love to think that I’m a patient gal but waiting for dough to rise takes long enough to drive just about anyone nuts!
So, on the days where I absolutely NEED fresh baked bread OR the cooler weather is cramping my baking style, I count on the info below to get me where I need to go.
Can you Active Yeast Faster?
Yes and no you can activate yeast faster. Dough containing yeast will rise faster as temperatures increase and the amount of yeast used is increased. Bakers use both of those variables to control the speed at which dough will rise. However, there is a limit to how much yeast should be used and how warm the environment should be.
How Much Yeast is too Much?
The amount of yeast needed is subjective to what you’re baking. Varieties of bread loaves, rolls, and crusts will all require different quantities. If following a recipe, there’s no need to adjust the suggested measurement.
If you’re a novice baker looking to create a recipe of your own, here’s a general rule to follow: 2 ¼ teaspoons of yeast will rise approximately 4 cups of flour. Once a recipe has exceeded that measurement, bread can quickly become tough or chewy.
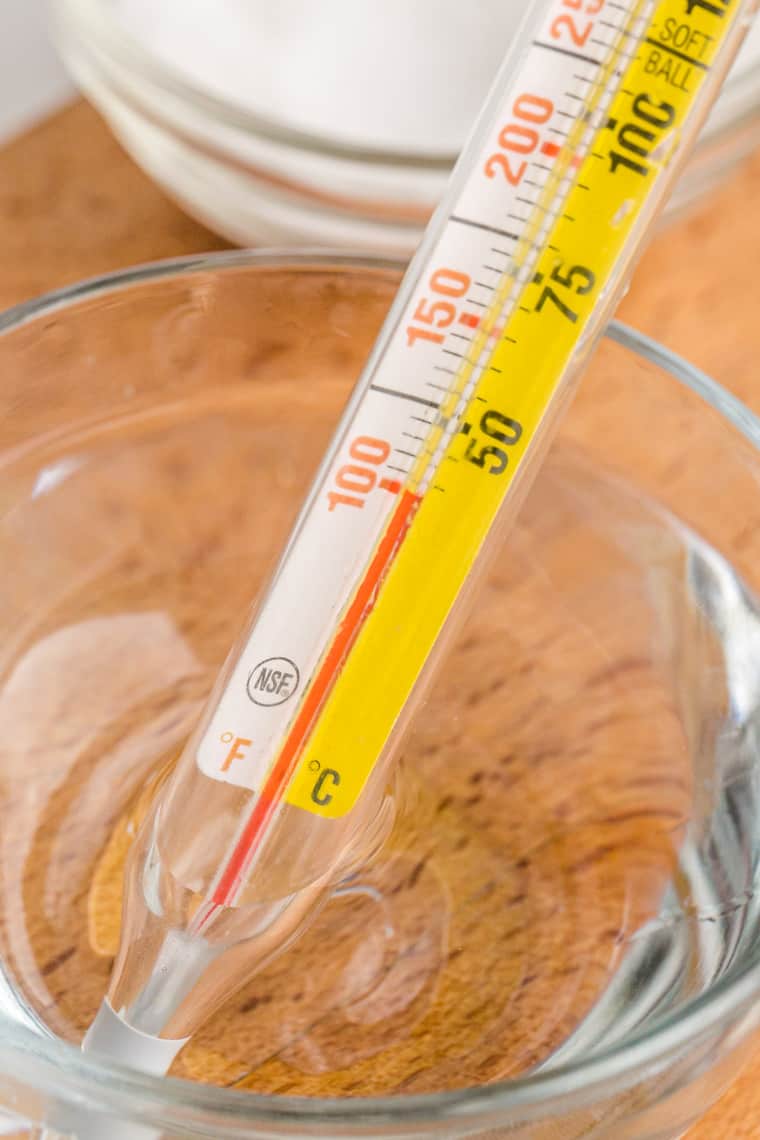
What Temperature Should the Water Be?
Most store bought varieties of yeast will start to die off once they reach 120 degrees fahrenheit. Any hotter than that and the yeast will cease to produce the gasses that causes rising to happen.
So, when a recipe asks you to bloom your yeast in warm water what does that mean? Typically, hot water somewhere in the range of 105° and 115°F is ideal for proofing dry yeast. 95°F is often recommended for live yeast, but it may not be hot enough at 95°F for activating the dry yeast.
THE WRIST TEST: Still not sure if your water is the right temp? Drizzle a few drops of water on the inside of your wrist. If it’s comfortably warm, then it will be good enough for your yeast. But, if instead it feels hot, it most likely will be too hot for your yeast to survive. Lastly, if it is too cold, then your yeast will simply remain dormant.
Will Speeding Up Rise Time Affect Flavor?
Most likely, yes. A slow rise allows flavors to develop better, so speeding up the process isn’t always what’s best for the recipe.
Personally, I only use the methods below when the weather gets cooler or when I’m in a pinch for time to help activate yeast faster. I highly recommend giving your yeast time to work and make that bread taste amazing!
How to Activate Yeast Faster
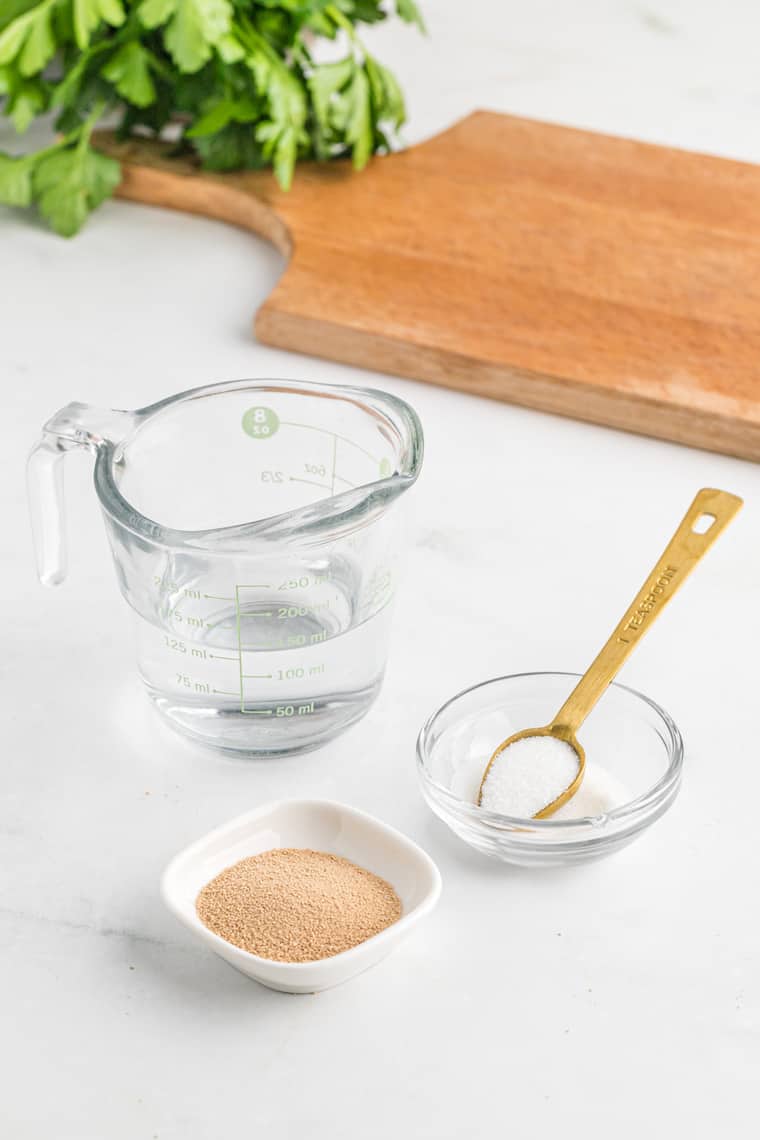
Let’s get down to business, shall we? To learn how to activate yeast faster, there are two conditions that need to be considered when making yeasted dough: moisture and warmth. Both conditions will vary day to day, changing the pace at which yeast flourishes.
Keep in mind that your location, both geographically and immediately, will also heavily determine the rate of growth. Dough will rise faster in warmer, more humid environments.
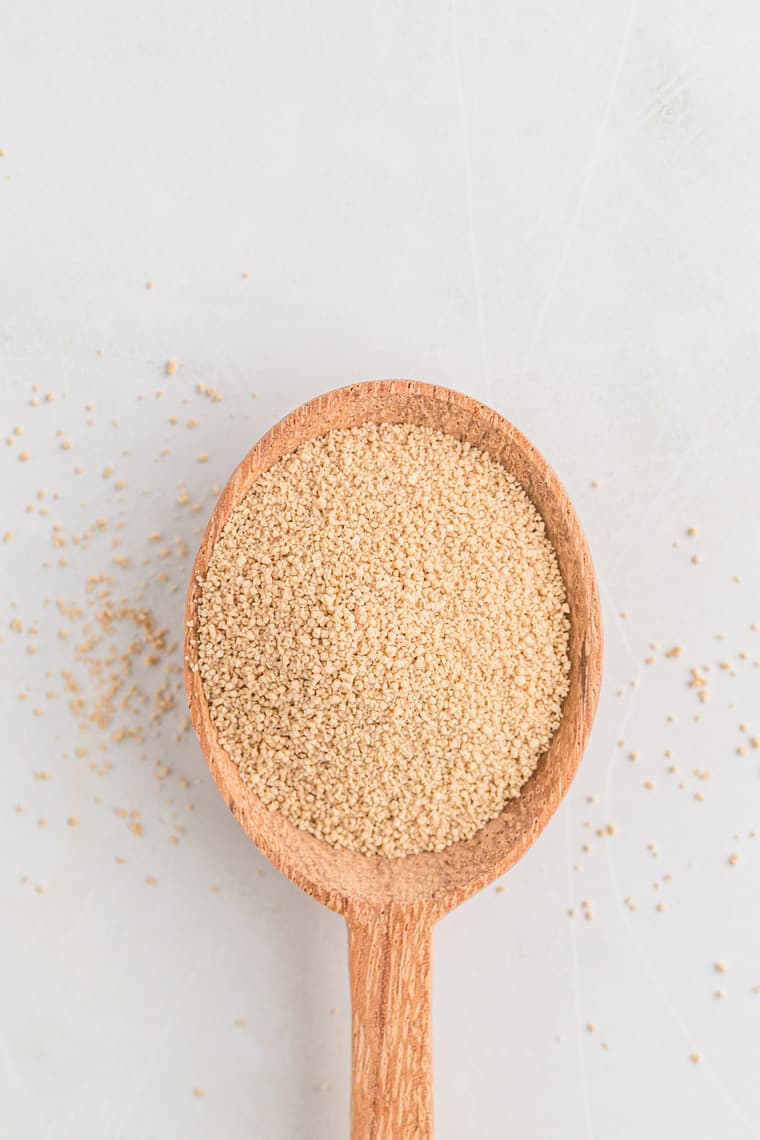
Ensure Yeast is Active
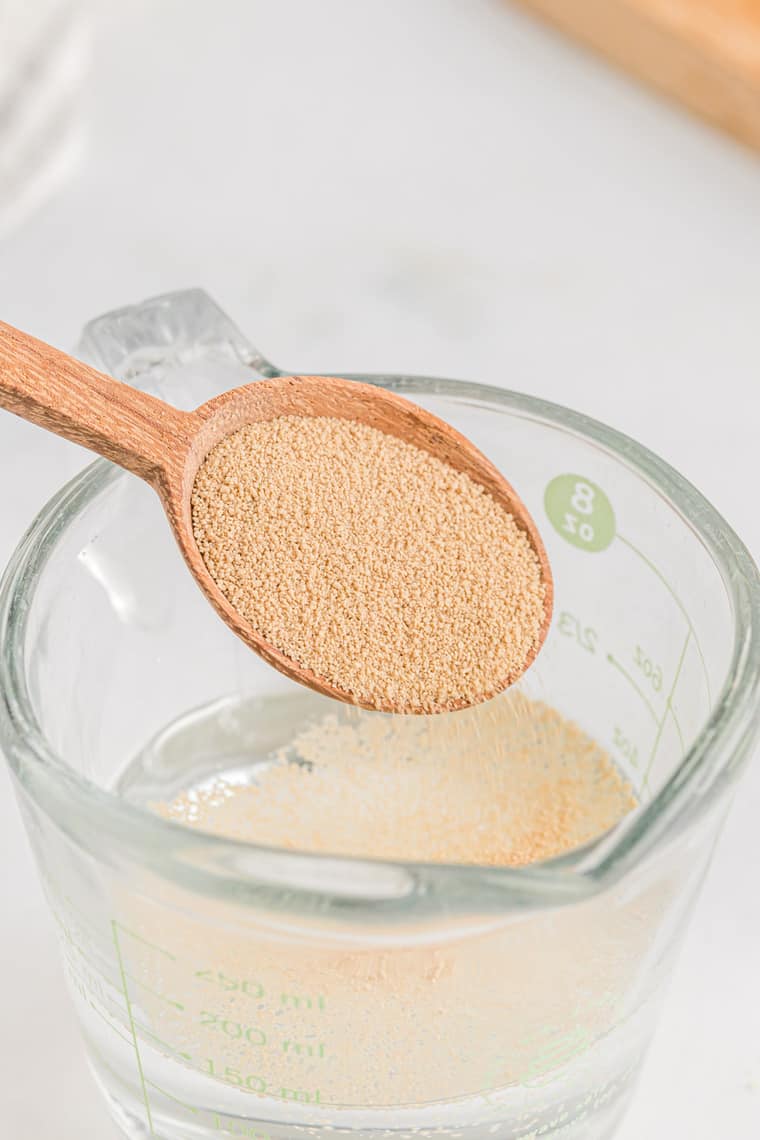
To save you a lot of time and frustration, make sure the yeast is active before adding the rest of the ingredients. This simply involves blooming or proofing the yeast first, which is written into just about every bread recipe you’ll find.
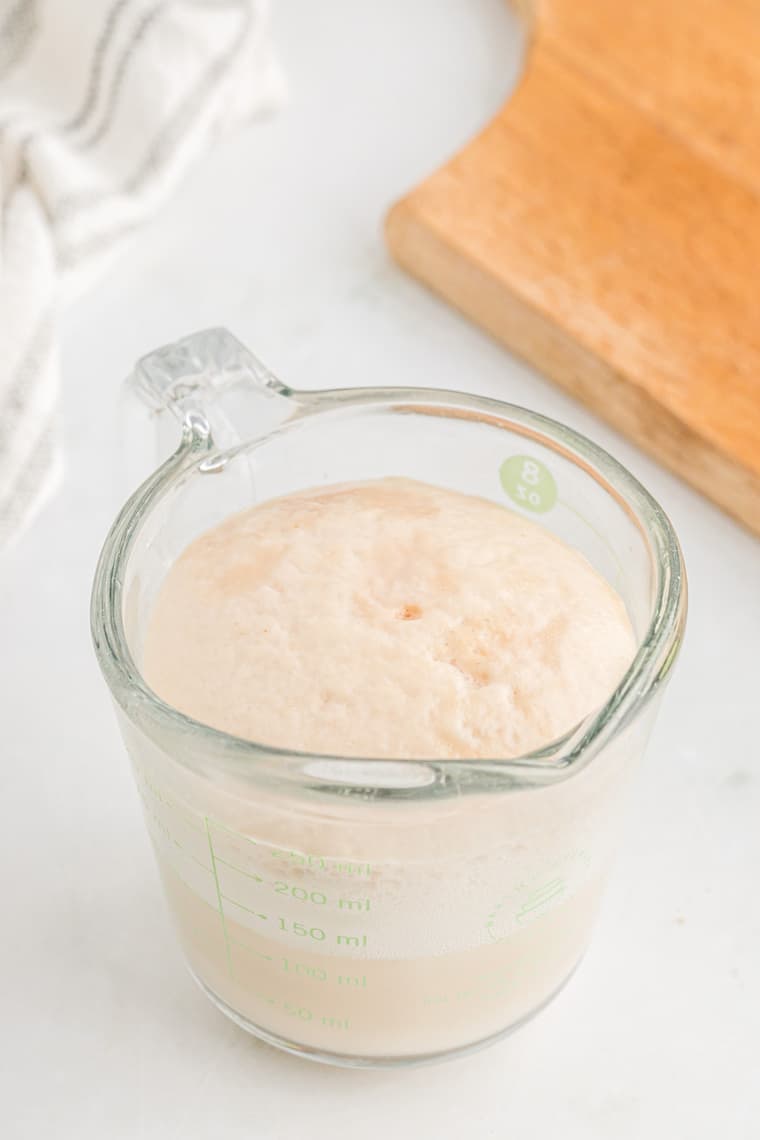
Active yeast will bubble, foam, and sud up the warm water it has been added to. This should only take 5-10 minutes. If you see that, go ahead with the rest of the recipe. If not, you’ll need to buy fresh yeast.
Use a Rapid Rise Yeast
Instant yeast, sometimes referred to as rapid rise yeast, doesn’t require proofing with warm water before using it. Instead, it’s mixed into the rest of the dry ingredients.
Even though this type of yeast doesn’t require proofing, you can proof it if you suspect it might not be lively. You would simply proof it the same way you would proof the active dry yeast.
Rapid rise yeast will shorten rising time by 15-30 minutes. Perhaps quicker if you first bloom the yeast.
Proof in the Oven
Ovens are likely the best place in most home kitchens to increase the heat of their dough’s environment. But don’t turn it on!
Instead, place the bowl on the top rack of the oven. Just underneath, place a small pot of boiling water or a hot cast iron pan. The rising steam and warmth will help the dough to rise.
Alternatively, you can preheat the oven to its lowest temperature and then turn it off and place the bowl inside.
Proof on a Heating pad
Here’s a quick and easy method for ya: use a heating pad! Sometimes, it’s just as simple as introducing a little extra warmth.
Place a folded towel over a heating pad set to its lowest temperature. Sit your bowl on top of the heating pad and allow the dough to rise. Once doubled in size, your dough is ready to go!
Proof in the Microwave
Microwaves are great for generating heat and moisture very quickly. To use this method, place 1 cup of water in a glass measuring cup in the microwave. Heat on high for 2 minutes. Add the bread dough (in its covered bowl) and shut the microwave door. Wait for the dough to rise, checking every 30 minutes on its progress.
If you love this, you will also love this tutorial on baking tips and high altitude assistance.
 pinterest
What great info and tips. I love baking bread and sometimes I just can’t get the dough to rise properly. So THANK YOU!
One of my favorites! These looks absolutely great! can’t wait to try!
Oh, wow, thanks for these great tips. I didn’t know I can use the microwave. I’ll give that a try for sure.
Great tips! I love bread making and sometimes yeast gets tricky to work with.
These are great tips! The wrist test is so handy for determining proper temperature, and I didn’t know that speeding up the process may not be best for the recipe.
You can also proof in the oven using the oven light to supply the heat. Mine gets to about 90° and if I need the temperature lower, I stick a wooden spoon in the door so some of the heat can vent.
This post was so helpful. We bake bread often at home and no matter how many times we make the same recipe we always have different results with the yeast. I think after reading this post we are ready to make the best bread!