
Back in the day, my mama would buy those bomb Hawaiian sweet rolls and throw them on the dinner table. We would seriously gobble them up. Once I learned how to make these Hawaiian sweet rolls at home, I realized they could taste even better. I nail that pillowy texture in these and we get that sweetness from a little pineapple, honey and brown sugar in the mix. I know you will adore these. If you have a little extra time, get at these.
This post may contain affiliate links. Read our disclosure policy.
How to Make Hawaiian Sweet Rolls
- Use a stand mixer with a greased dough hook. Whisk together 5 cups flour, yeast, and salt.
- In a microwave-safe bowl, whisk milk, pineapple juice, butter, and honey; warm in 20-second bursts until 120–130°F (about 90 seconds).
- On low speed, gradually add the warm mixture, brown sugar, eggs, vinegar, and vanilla to the flour. Knead 2 minutes, then increase to medium-low and knead until smooth and elastic, 7 minutes. Dough should clear the sides but remain sticky on the bottom. Add flour ¼ cup at a time as needed. Rest on a floured surface 10 minutes.
- Grease a 9×13 pan. Divide dough into 18 balls (3×6), spacing evenly. Cover and let rise until doubled, 30–40 minutes. For extra rise: let the whole dough proof 1½ hours, punch down, shape, then proof another 1½ hours.
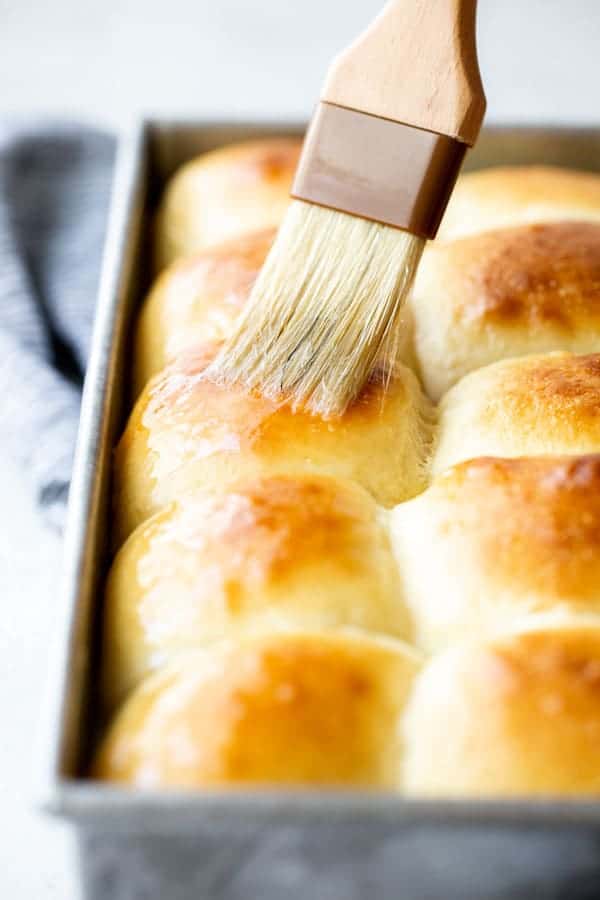
- Preheat oven to 350°F. Brush rolls with egg wash (1 egg + 1 Tbsp milk) and bake 18–20 minutes, rotating halfway, until golden. Cool 10 minutes, remove, brush with melted butter, and serve warm.

Hawaiian Sweet Dinner Rolls Recipe
Want to Save This Recipe, Boo?
Ingredients
- 5- 5 1/2 cups all-purpose flour divided plus more for dusting
- 4 1/2 tsp instant or rapid rise yeast
- 2 1/2 tsp kosher salt
- 1/2 cup whole milk plus 1 tablespoon, divided
- 1 cup pineapple juice
- 8 tbsp unsalted butter divided
- 1/3 cup honey
- 2 tbsp packed dark brown sugar
- 3 large eggs divided
- 1 tsp apple cider vinegar
- 2 tsp pure vanilla extract
Instructions
- Use a stand mixer fitted with a greased dough hook. Add 5 cups flour, yeast, and salt to a bowl, and whisk to combine.
- In a medium sized microwave safe bowl, add 1/2 cup of milk, pineapple juice, 6 tablespoons of butter and honey and whisk to combine. Microwave the mixture in 20 second increments until it reaches 120 to 130 F, about 90 seconds.
- Set the mixer to low speed and gradually add the warmed milk mixture, brown sugar, 2 eggs, apple cider vinegar and vanilla to the flour mixture. Scrape the sides of the bowl with a spatula as needed to incorporate the flour.
- Knead the dough on low until the dough begins to pull away from the bowl, 2 minutes. Increase the speed to medium low and knead until the dough is elastic and smooth in texture, 7 minutes. The dough should start to clear the sides of the bowl, but will be sticky on the bottom. Add 1/4 cup of additional flour, mixing on low speed, 1 minute. Add another 1/4 cup if needed, until the desired texture is achieved and a slightly sticky bowl is formed. Use as little added flour as possible. Transfer the dough to a lightly floured surface. Cover and allow to rest for 10 minutes.
- Grease a 9×13 inch pan with cooking spray and set aside. Cut the dough into 18 even size pieces. Roll pieces of the dough into balls with smooth tops, lightly flouring the work surface as needed. Place the dough balls into the greased pan. 3 balls per row, 6 rows total. Leave about 1/2 inch around the corners of the pan.If you have any problems with rolls not rising, try this! After the dough is made, take it out of the bowl and kneaded it a couple extra times, dusting it with more flour. Transfer the dough to a lightly greased bowl and let it double in size for an hour and a half. Then take the dough out, punch it down, shape the rolls, and let that proof for another hour and a half.
- Loosely cover the pan with plastic wrap or a kitchen towel and place in a warm draft-free place. Allow the dough balls to rise and double in size, 30 to 40 minutes. The buns should be touching each other and nearly filling the pan completely.
- Adjust the oven rack to the lower middle position and preheat the oven to 350 F.
- In a small bowl, whisk together 1 egg and 1 tablespoon of milk. Brush the egg wash on the tops and sides of the buns. Bake the rolls until golden brown and shiny on the surface, 18-20 minutes. Make sure to rotate the pan halfway through baking.
- Cool the rolls on a wire rack for 10 minutes. Remove the rolls from the tray and brush with 2 tablespoons of melted butter. Serve the rolls immediately while warm.
Nutrition
Recipe Tips
- Sticky Feel: Make sure the dough is very soft and pliable but slightly sticky. If you add too much flour to the dough, they will make some stiff rolls.
- For Even Rolls: If you have a scale, weigh your rolls so they all end up the same size. They will also bake more evenly this way too.
- Dough Not Rising Tip: After the dough is made, take it out of the bowl and kneaded it a couple extra times, dusting it with more flour. Transfer the dough to a lightly greased bowl and let it double in size for an hour and a half. Then take the dough out, punch it down, shape the rolls, and let that proof for another hour and a half.
Want to Save This Recipe, Boo?
Recipe Help
Yep, you can knead it by hand! Start out by stirring with a spoon until you can’t anymore and then knead it with your hands. Just keep on kneading until all the flour is incorporated and the dough is soft to the touch and only slightly sticky. It’s a workout, but you can do it boos.
Yep just make this recipe as instructed, properly wrap and store them and put them in the freezer. When ready to eat, remove them from the freezer and allow them to thaw and rise until double in size. This can take anywhere from 1-3 hours so allow yourself enough time. Then continue to bake according to the recipe instructions.
 pinterest
Absolutely delicious recipe, thank you! They are so easy and quick to make. I like to add the yeast to the warm liquids and let it sit for 5 mins before adding to the flour. I get a quick rise in our cold house every time!
Delicious and Yummy ! Will recommend this to my sister.
So glad you liked them, Hannah!
Just discovered your site! I’m a long time baker but need inspiration and lady, you are my new muse. I use SAF yeast and have been nuking my liquids forever. I’ve printed about three of your recipes already and just had to stop and say thank you for offering gram measurements! I can almost always tell when a stove top recipe will work and usually for baking. Yours look great. Got a ham in the oven and now I don’t know which rolls I’ll make first, these or the cheddar herb and sub Swiss cheese.
Thank you and keep on! You really have talent!
great idea, thanks
Something that’s easy to prepare, thanks for sharing this one ,will try this for sure.
Love these rolls and also how you shared much detailed instruction. Will surely gonna try these to say ” these are my self made rolls”
The recipe given here is perfect which I could make in less time. I also did this in the microwave try but the process is a bit slow The recipe given here is correct.
thanks for sharing
Thanks for sharing!