
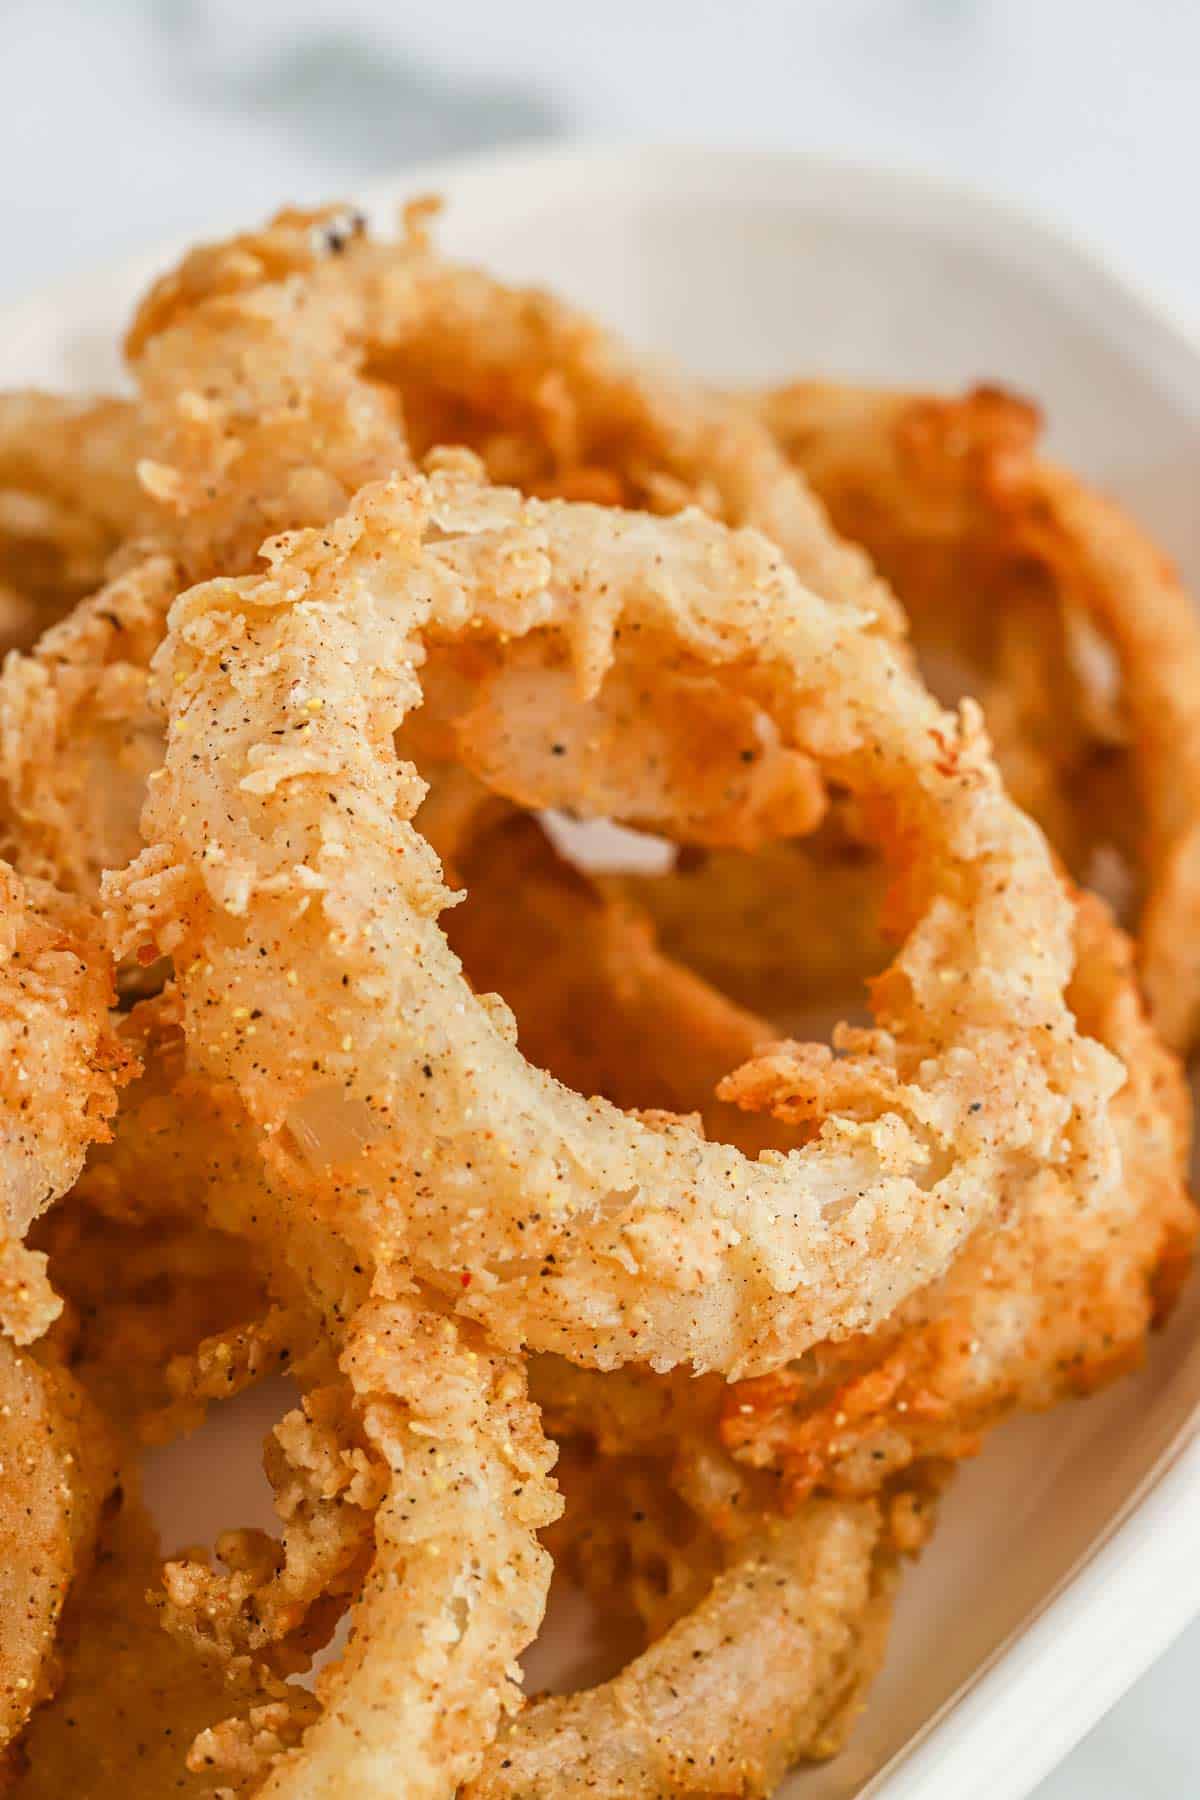
Y’all forget about those soggy onion rings from the fast-food joint! I tested this recipe to give you crunchy rings every single time. Plus I build flavor with a bomb buttermilk soak and a seasoned flour that keeps you craving these. Sorry not sorry.
This post may contain affiliate links. Read our disclosure policy.

They’re Lovin’ It! Here’s what They’re Sayin’:
“These are the crunchiest, tastiest onion rings EVER! Everyone in my family loves the flavor. Great recipe!”
—liZA
Ingredient Notes
- Onions: Sweet ones like Vidalia are delish but if can’t find them, go with a classic yellow onion. I just wouldn’t grab red onions because that strong flavor will be doing way too much.
- Buttermilk: If ya ain’t got any lying around, make your own boos. Just add a tablespoon of lemon juice or vinegar to a cup of milk, wait a few minutes for it to curdle then use instead.
- Vegetable Oil: or any other neutral oil like canola or peanut.
How to make onion rings
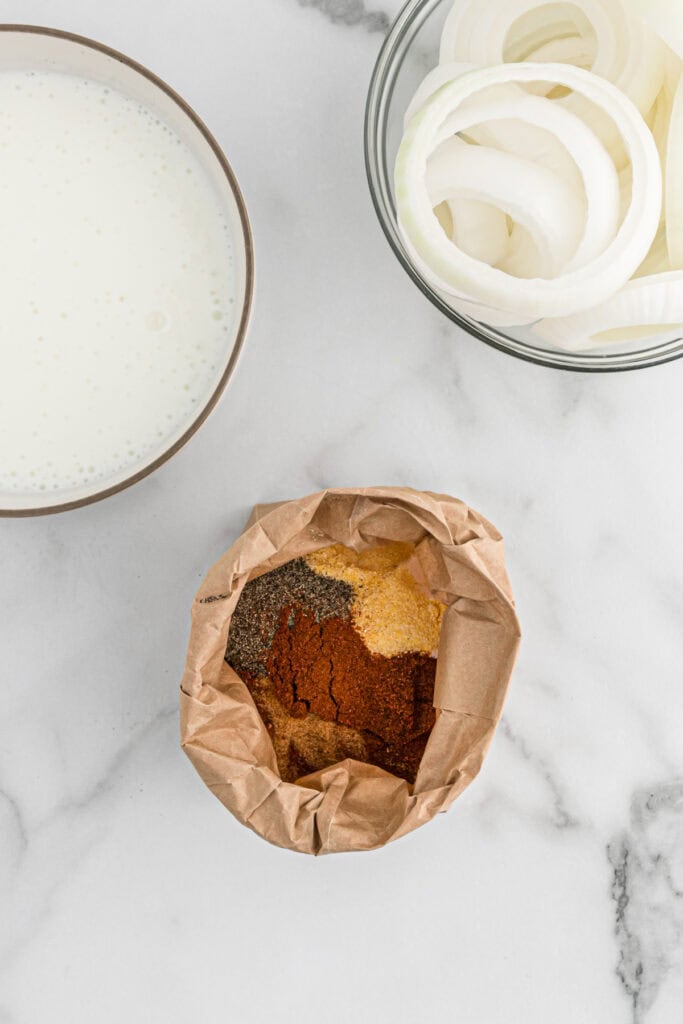
Step 1: Make the seasoned flour. Combine the flour, seasoned salt, cornmeal, black pepper, paprika, and cayenne pepper in a paper bag and shake to mix well.
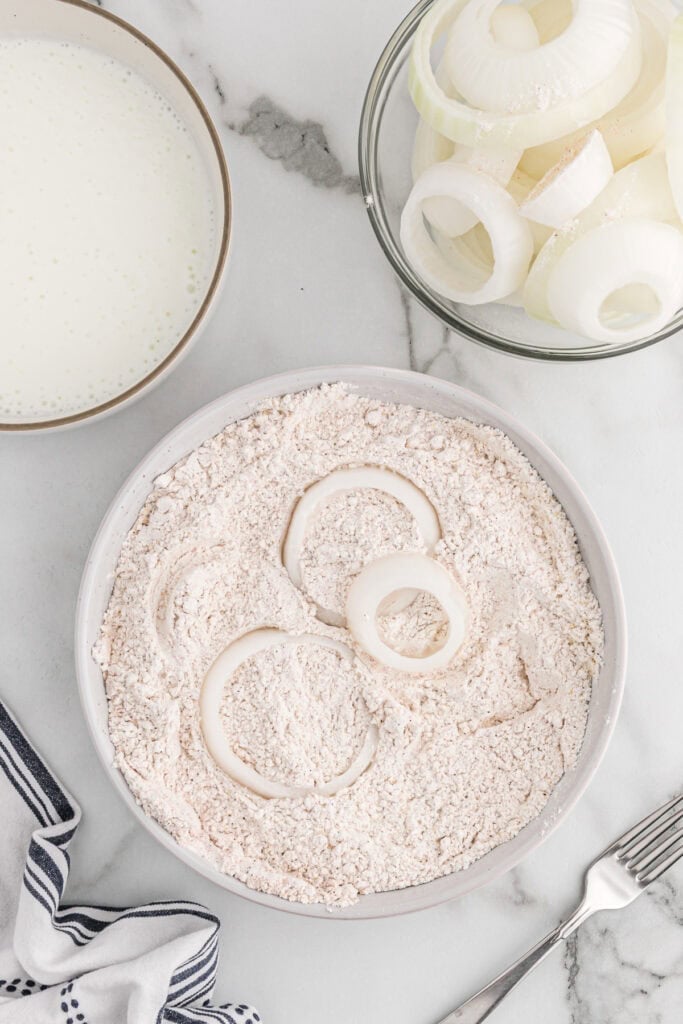
Step 2: Dip the rings. Working with one onion ring at a time, dip each ring into the seasoned flour first.
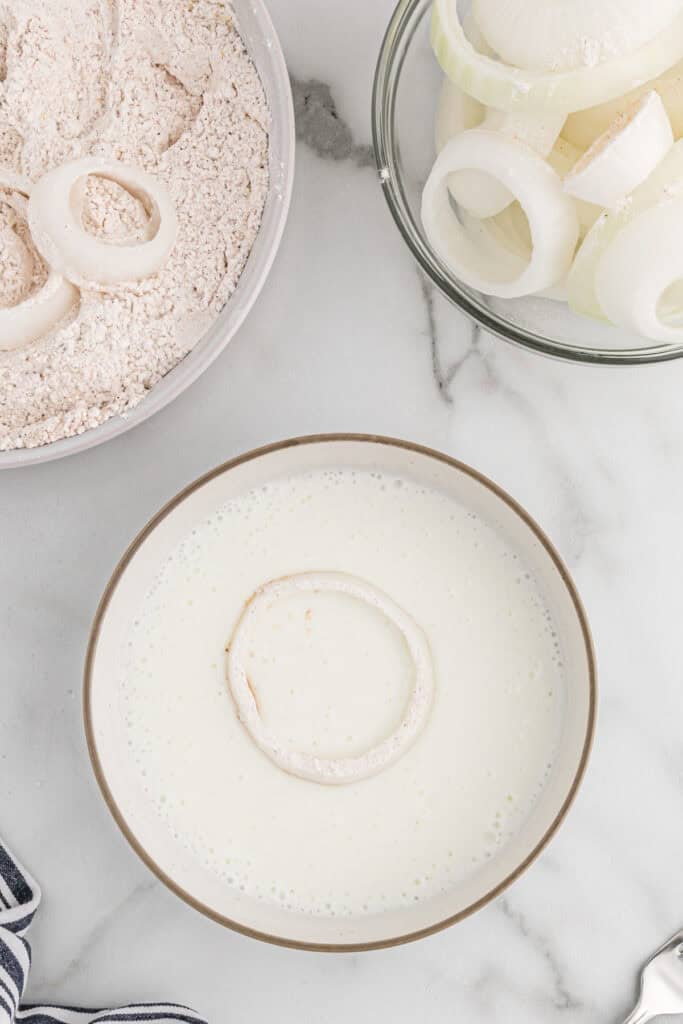
Step 3: Next dip into the buttermilk.
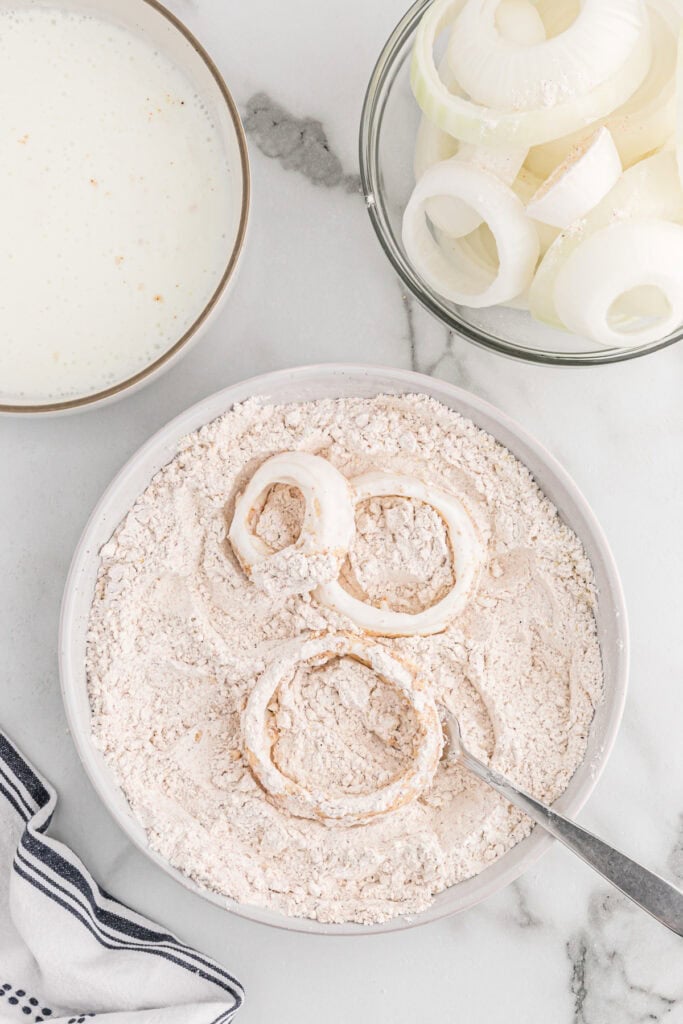
Step 4: Finally return the rings to the seasoned flour coating all sides.
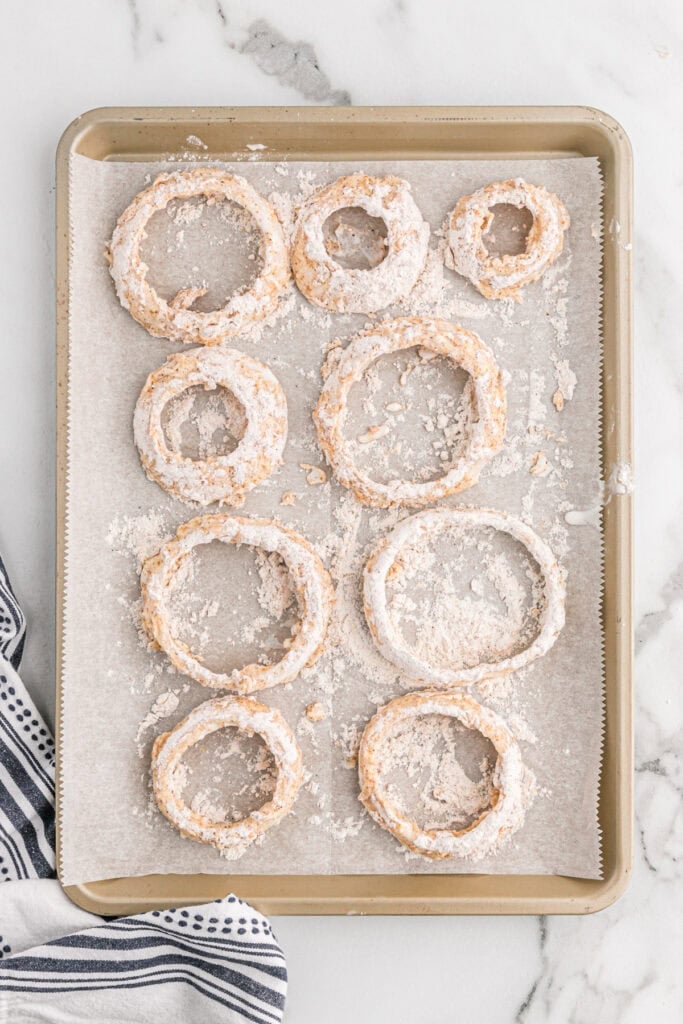
Step 5: Set each battered onion ring on a baking sheet lined with parchment paper and continue battering the rest of the onions. Let them sit for a bit to set up and rest.
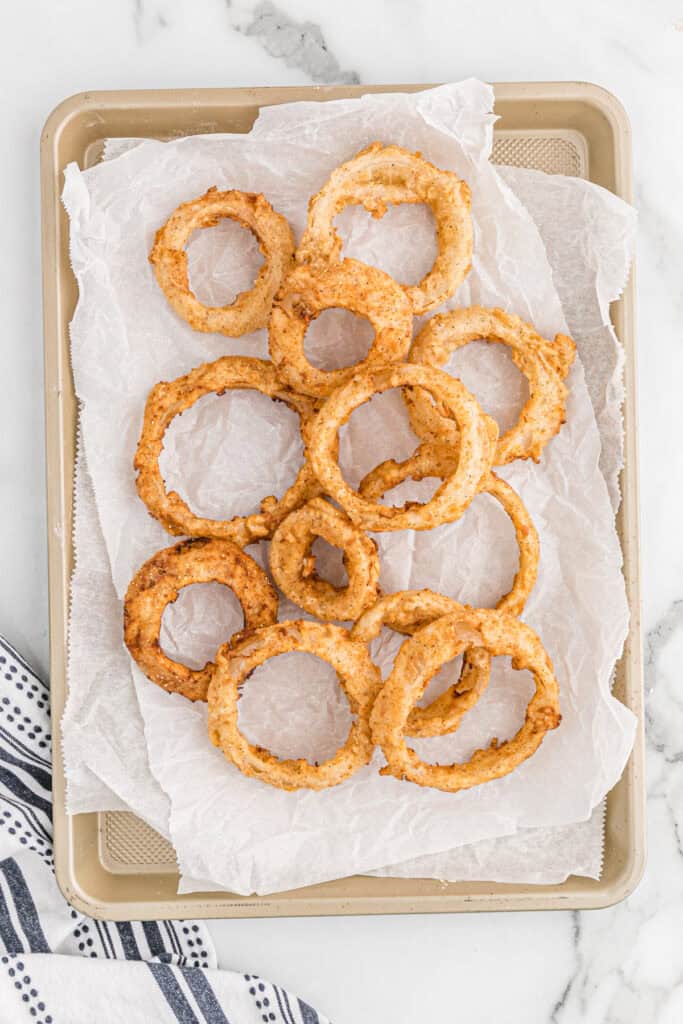
Step 6: Heat oil to 360 F in a heavy bottom pot then fry the onions a few at a time. Avoid overcrowding the pot. Fry on each side until golden brown in color. Then remove them using a slotted spoon or strainer and place them on paper towels to drain. Then they are ready to serve up!
Want to Save This Recipe, Boo?

Crispy Fried Onion Rings recipe
Want to Save This Recipe, Boo?
Ingredients
- 2 ½ cups all-purpose flour
- 3 tablespoons seasoned salt
- 2 tablespoons yellow corn meal
- 2 teaspoons black pepper
- 2 teaspoons smoked paprika
- 1 teaspoon cayenne pepper
- 2 onions sliced into ⅓-½ inch rings
- 1 cup buttermilk
- Vegetable oil for frying
Instructions
- Add flour, seasoned salt, corn meal, black pepper, paprika, and cayenne pepper to a paper bag or ziptop bag and shake to mix well.
- Dip each onion ring into seasoned flour then dip into buttermilk then back into seasoned flour coating all sides. Set each battered onion ring on a parchment covered baking sheet to rest until all onion rings are battered (about 10-15 minutes after dredging).
- While coating sets, add 3-3 ½ inches of oil to a cast iron or heavy bottom pot and heat over medium high heat. Heat oil to 365 to 375 F degrees.
- Fry the rings 4-5 at a time depending on the width of your pot making sure not to overcrowd. Fry on each side until golden brown then remove and place on paper towels to drain or add to a wire rack to drain over a paper towel lined baking sheet.
- Serve hot when done.
Notes
How to store & reheat fried onion rings
Pop any leftovers into an airtight container or toss into a ziptop storage bag. When you want to reheat, grab the air fryer because it returns them to that perfect crispy texture. Just heat to 400°F and cook for a few minutes until hot and crisp again. The oven also works. Preheat to 400°F and bake for about 10-15 minutes or until crispy and serve them up. Just don’t use the microwave boos. That ain’t it!How long will they last in the fridge?
They last up to 3 days in the fridge.Can I freeze this homemade onion ring recipe?
Yep you sure can boos. Place leftovers in a single layer on a baking sheet, freeze for about an hour then transfer the rings to an airtight container or freezer bag. They should last up to 3 months.Nutrition
Recipe Tips
- Same Size. You can do it by hand or use a mandolin but just make sure they are evenly cut so they cook up evenly.
- Dredge With Less Mess: Designate a dry hand and a wet hand when breading. Set up a small station and work slowly to avoid clumpy, messy hands boos.
- Chill Out: After you bread your rings, take a chill pill and let them set. Don’t start frying right away. Giving them 10 minutes will allow that breading to stick on so it doesn’t fall off in the frying oil.
- Right Temp: Get that oil cranked up between 365 and 375 F so they fry up crispy and don’t get soggy.
- Work in Batches! Don’t overcrowd the pot with too many rings or they’ll clump together and lower the oil temperature. Be patient y’all.
- Grab the Right Pan. I love using a dutch oven or cast iron skillet because I find the oil stays evenly heated but any heavy metal bottom pot will do boos.
Recipe help
That oil probably wasn’t hot enough boos! Make sure the oil is between 365 and 375 F before frying. Also don’t overcrowd your pot with too many rings. This will drop that temp so fast your head will spin.
More Southern Fried Recipes
- Fried Chicken Gizzards
- Chicken Fried Steak Recipe
- Buttermilk Fried Chicken
- Fried Shrimp Recipe
- Oven Fried Catfish
This post was originally published June 2015. It’s been republished with new images and content.
 pinterest
Awesome recipe…. very crispy onion rings…a keeper
Thanks so much, Janet!