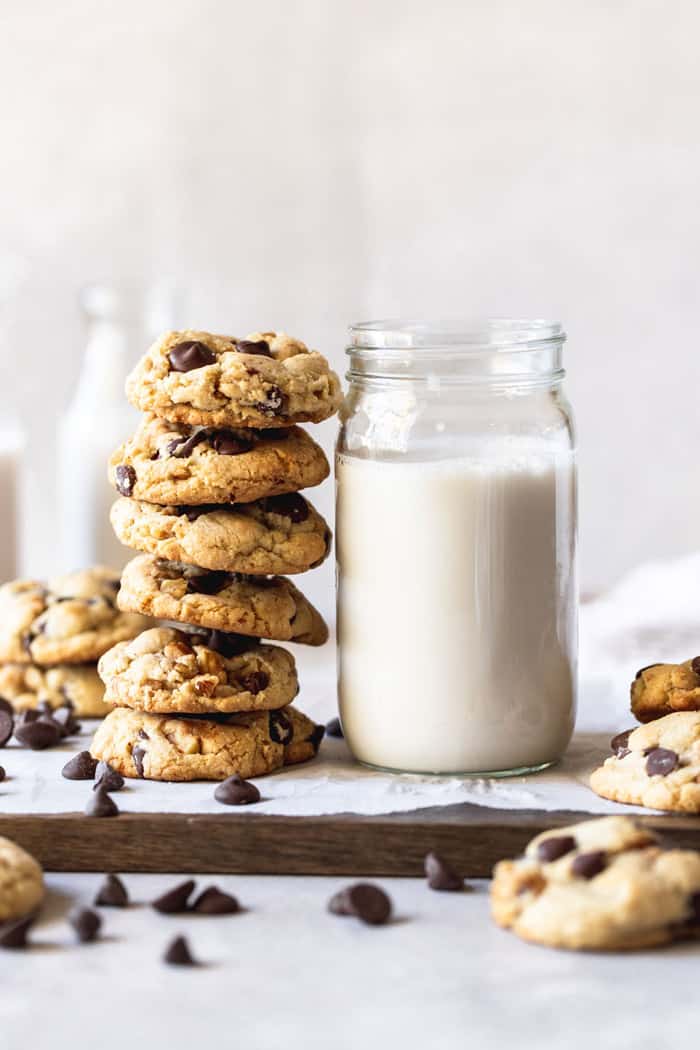
Don’t let high-altitude baking get you down! With the help of a few useful tips and tricks, I can guarantee that your favorite tricks won’t turn into your next baking fail!
This post may contain affiliate links. Read our disclosure policy.

Want to Save This Recipe, Boo?
I won’t lie to ya, baking is hard! Cooking is intuitive and forgiving, whereas baking acts more like a science. A mixture of scales, sifters, and concentration are required to make the majority of baked goods. Add altitude changes to the mix and you’ve got a recipe for a sugar-laden disaster.
But, no! Not today y’all! A lot of little changes can be made to recipes to make sure you get perfectly baked goods at every altitude. With a few of my Baking Altitude Tips and tricks, your cookies and cakes are destined to be delicious whether you’re in the mountains of Colorado or the plains of Minnesota.
But, before we get this party started, I encourage you to make the sea-level recipe first; that may turn out just fine without any modifications. And, make sure you change just one part of the recipe at a time to know what works best!
General High Altitude Baking Tips
When approaching high altitude baking, there’s one thing to keep in mind: the higher the altitude, the lower the air pressure. Baking relies on the specific reactions of several ingredients: flour, leavening, fat, and liquid. Air pressure changes the nature of those reactions.
When experiencing altitude baking issues, first attempt the options below. You might be able to troubleshoot the issue without having to launch a full investigation.
- Increase Liquid– extra liquid keeps baked goods from drying out at higher temperatures and elevations. I’d recommend using extra large eggs or increasing the measurement of milk/water.
- Switch to a High Protein Flour– the protein content of a flour affects the strength of a dough. In a high altitude setting, a high amount of protein will help hold everything together. King Arthur and Bob’s Red Mill both have great options.
- Use Less Fat– add oil, butter, and sugar in increments. Watch as the batter or dough begins to come together and only add fat as needed.
Alright, so if you’ve given these tricks a try, and things are still not looking great, it’s time to bring in the big guns. I’ve broken down my go-to solutions for the most common baked goods. Make sure to change just one part of the recipe at a time to know what works best!
ANGEL, SPONGE, AND LAYER CAKES
Cakes can be especially finicky at high altitudes! As someone whose namesake is attached to cakes, it’s crucial that I know how to adjust a recipe according to where I am.
Angel & Sponge Cake
Both cakes require egg whites whipped to soft (rather than stiff) peaks. If the whites don’t droop slightly, you’ve over beaten the eggs and will need to start again.
Layer Cake
I’ve definitely been met with quite a few issues with high altitude cake baking. But don’t worry I did all the testing so you don’t have to.
- Decrease the amount of leavening agent by ⅛-¼ teaspoon
- Bake at a higher temperature to set the texture of the cake before they over expand or dry out. Try a 15 degree increase for chocolate or more delicate cakes, and a 25 degree increase for every other variety.
- Reduce butter, shortening, or oil by 1-2 tablespoons; they can be added as needed.
- Add an egg white or use extra-large eggs
COOKIES
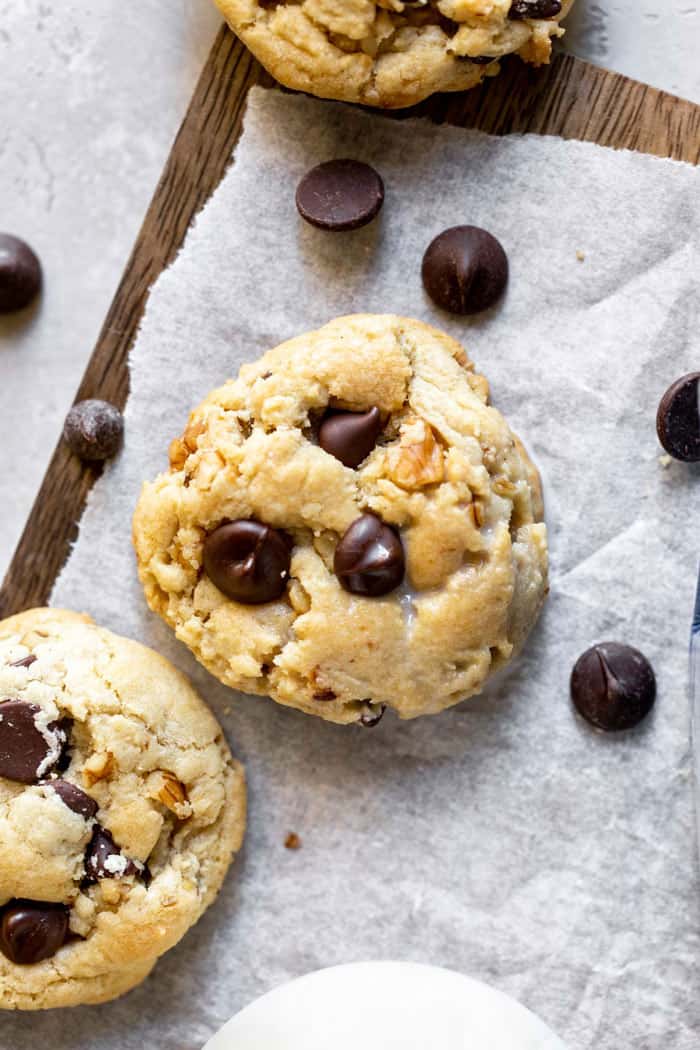
Cookies bake for a very short amount of time and contain much less liquid and fat content than most other baked goods, which means they’re less likely to be affected by high altitude. But, if you are experiencing issues, there are a few simple adjustments that can be made.
- Add More Liquid- added water, milk, or egg will help the dough come together.
- Decrease the Amount of Leavener- decrease the baking soda and baking powder measurement by ⅛-¼
- Increase Oven Temperature- start by bumping up the temperature by 15 degrees. Watch the cookies closely! The baking time may need to be decreased by a few minutes. If the cookies still aren’t right, bump up the temp by another 10 degrees (25 total).
- Stick to Regular Cookie Sheets- Double insulated pans and silpat sheets are a no no. You don’t want to use anything that will retain more heat than necessary. A parchment paper-lined baking sheet is perfect.
NOTE: Increasing the oven temperature and reducing baking time should be your last resort! Give any (maybe all) of the other suggestions a shot before trying this; it could alter the texture of your baked goods for the worst.

PIE CRUSTS
Pie crusts are not really affected by high altitude (at least not in my experience), but you could always add a little extra liquid if needed. Keep a small bowl of ice-cold water on hand and, if the dough is too dry, add a teaspoon more at a time.
YEASTED BREADS, ROLLS, & PIZZA DOUGH
When yeast is exposed to a higher altitude, the reaction time is sped up. A quicker rise might sound appealing but it impedes the bread’s flavor development. Along with the adjustments below, be sure to always store yeasted dough in a cool spot. Watch your dough closely, and don’t overproof it!
- Do not use a quick-rise yeast! This will set you up for immediate disaster.
- Reduce the amount of yeast by about ¼.
- Add a second rise to the process (punch the dough down after the first rise, then allow it to double in size again.
- Higher protein is most useful here; it will make for a more chewy, tender, crusty result.
QUICK BREADS AND MUFFINS
These are among the most affected by altitude changes! These recipes will require more specific changes than others.
When in doubt, reference the guide below:
Flour
For all altitudes, add up to 2 tablespoons of flour per cup. I don’t often find this necessary, so try baking the recipe as is first.
Leavening Agents
Leaveners like baking soda and baking powder contain gas that expands faster at higher altitudes. Most often, this is the part of the recipe that will need to change. Luckily for us, this adjustment is easy!
To adjust the measurement according to your specific altitude: decrease by an ⅛ for each teaspoon at 3,500 feet. After 6,500 feet, reduce by another ⅛ (¼ in total). Continue to do so for each additional 2,000 feet.
TIP: When baking a recipe that uses both baking soda or baking powder plus something acidic like buttermilk, try switching to all baking powder and regular milk.
Sugar
As the altitude changes, the concentration of sugar is increased because of the increased evaporation. Adjusting the sugar will help to maintain the structure of your baked goods.
At 3,500 feet, decrease the amount of sugar by a tablespoon for every cup. If you’re at elevation 6,500 feet or higher, reduce the sugar by 2-3 tablespoons.
Liquid
My first suggestion is to try using extra-large eggs. If that doesn’t work, try increasing the liquid by 1-2 tablespoons at 3,000 feet, then increase by 1 ½ teaspoons for each additional 1,000 feet.
Baking Time- Sometimes the issue isn’t with measurements or ingredients! A simple decrease in baking time can resolve the problem. Try reducing the baking time by 5-8 minutes per 30 minutes of baking time.
Best Baking Guides
I love sharing baking tips just as much as I love sharing recipes! I mean, who couldn’t stand to improve their kitchen game? I know I’m always down.
Take a page or two from the Grandbaby Cakes book by trying out some of my go-to tips and tricks:
This was so helpful and very informative! Thank you for the tips! So helpful!
Thank you for all these great tips! While I don’t feel like I live at a high altitude, I do live in the mountains, and I’m thinking some of these tips will help improve my baking!
Thanks for all these great tips! I’m a terrible baker, and I’ll read alllll the tips I can!
Such an informative post! Thanks for sharing!
I’m not much of a baker but I’m trying to get better! These are such helpful tips!
I had no idea that you have to make adjustments like this just to bake. Thank you for this information.