
Looking to put a new spin on an old classic? Learn How to Convert a Cake into Cupcakes in this easy to follow, step-by-step guide! With GBC’s tips and tricks, you can always bake the right dessert for the occasion!!
This post may contain affiliate links. Read our disclosure policy.
I’m gonna keep things simple here. Cupcakes and cakes are pretty much the same dang thing! Both recipes include similar ingredients and utilize the same baking method, making it crazy easy to convert your favorite cake recipe into a batch of shareable cupcakes.
The only true difference between cakes and cupcakes is that they use different pans and require different baking times. With a few simple changes, you can give an old recipe a new fun twist!

How to Convert a Cake into Cupcakes
A traditional cake 3-layer cake recipe will produce 24-30 cupcakes. A single layer cake will make about 12-15 cupcakes. So, you’ll need to prepare accordingly by making sure you have 1-2 muffin tins and a couple dozen paper liners on hand. You won’t need to change oven temperature but you will need to reduce the time spent in the oven.
Below, we’ll be breaking down the whole process of how you can convert a cake to cupcakes and sharing some tips along the way. Let’s get to it!
STEP 1: Pick a Cake Recipe
First things first, when learning how to convert a cake into cupcakes, we can’t make cupcakes without a cake recipe! I recommend picking out a butter-based cake; a cake that starts by beating butter and sugar together. I find that these cakes convert the best.
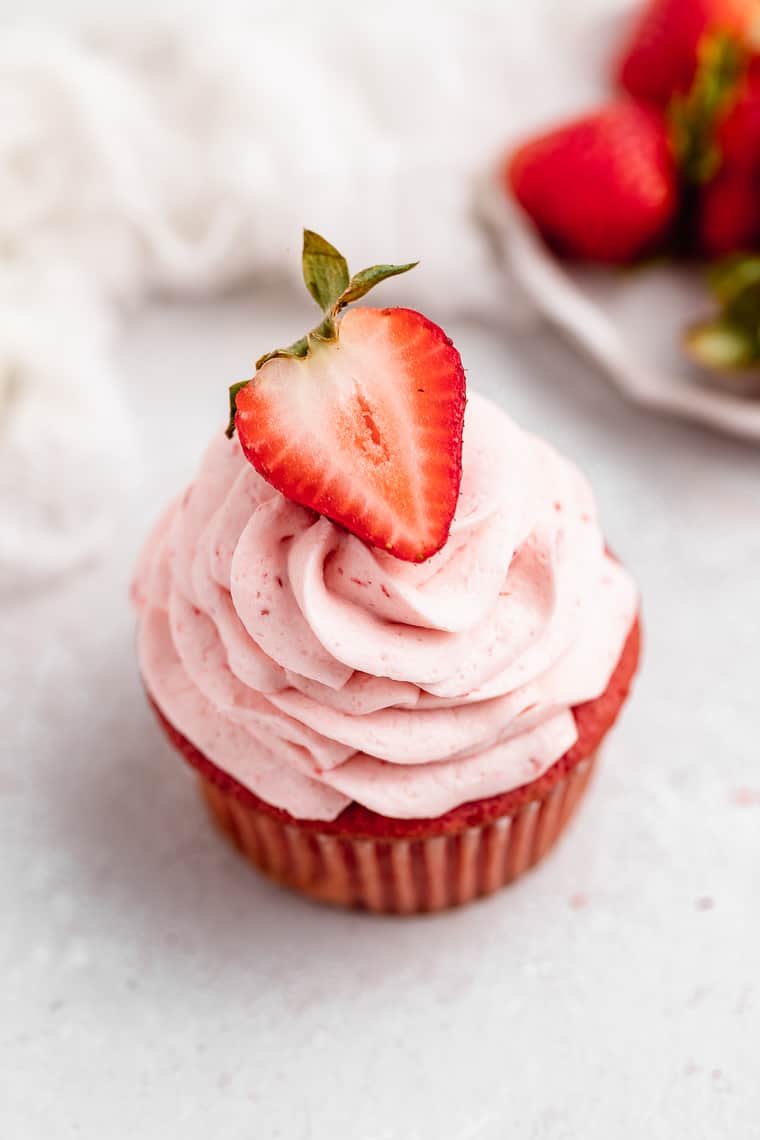
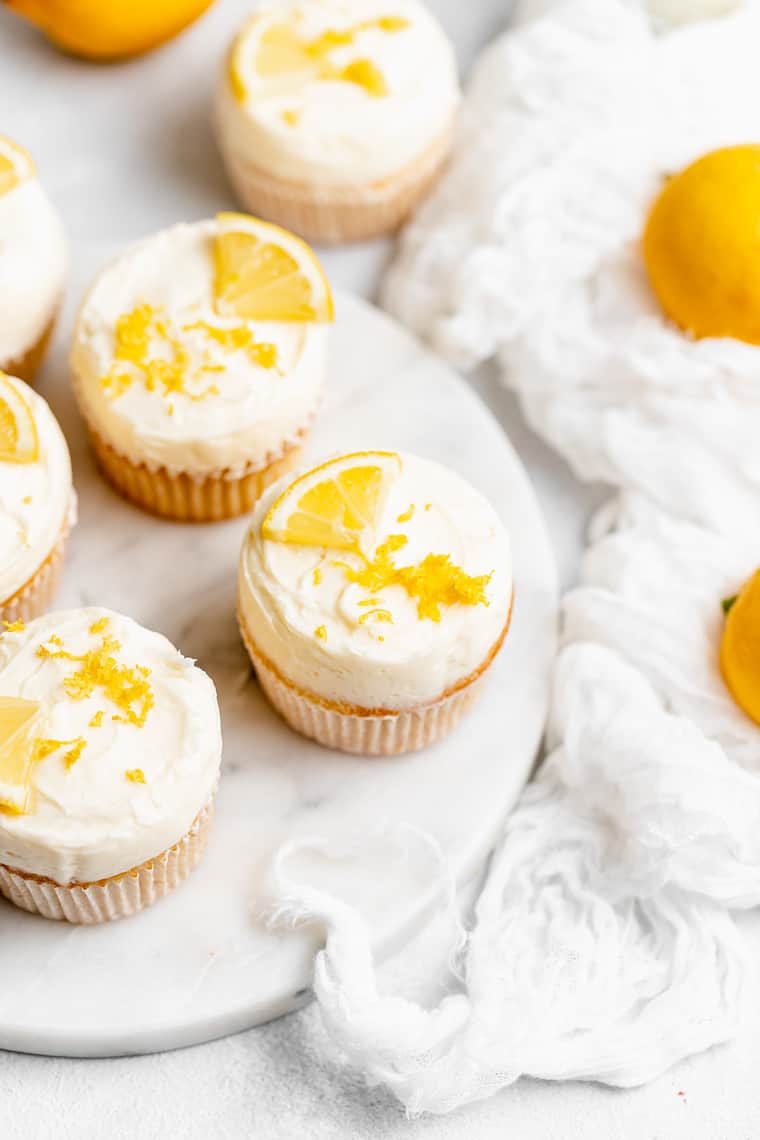
Some of GBC’s best cupcakes started with these cake recipes:
STEP 2: Prepare the Batter
Prepare the cake batter as instructed. No need to make any conversions or substitutions unless you’re looking to add toppings of your own. For example, you could add chocolate chips to a yellow cake or swirl raspberry jam into a chocolate one.
You could use a boxed cake mix but I find that homemade is best. Be sure to start with room temperature ingredients!
STEP 3: Prepare the pan
Of course, you’ll need a couple classic muffin tins for this. You’ll also need parchment, foil, or regular paper baking cups. Line the desired number wells, then get ready to fill ‘em!
STEP 4: Fill the Cupcake Liners
I like to use a cookie scoop to spoon my batter into the liners. It keeps me from going overboard and even keeps things a little tidier. Approximately ¼ cup of batter will go into each cup, meaning they’ll be anywhere from ½-¾ full.
Want to Save This Recipe, Boo?
If you’d like your cupcakes to have flatter tops, shoot for halfway full. More batter will create a more domed top. You could bake a few testers at different heights to see what you like!
Depending on how full the cups are, you’ll end up with different amounts of cupcakes.
STEP 5: Bake Cupcakes and Cool
Learning how to Convert a cake into cupcakes means you’ll have to reduce baking time. Most cupcakes bake anywhere from 15-25 minutes, depending on their density and/or fillings. You should start checking on the cupcakes at the 15 minute mark.
Once done, allow the cupcakes to cool in the pan for about 5 minutes. Transfer the cupcakes to a wire rack to cool completely. Do not attempt to frost the cupcakes at this point.
Unfrosted cupcakes can be wrapped in plastic wrap and refrigerated for up to 2 days, or frozen for up to 2 months for later frosting/serving.
How to Know when the Cupcakes are Done
Your cupcakes are done baking when a toothpick inserted in the center comes back mostly clean with a few crumbs. Remember that the cupcakes will continue to cook as they cool in the pan. You could also batch test a couple cupcakes to pin down the exact baking time before baking the rest.
Decorating Tips
- Never frost a warm cupcake! The frosting will immediately melt and run everywhere.
- Use a piping bag fitted with a frosting tip to get creative and decorate each cupcake with personality! Don’t worry if it’s not perfect, with time and practice you’ll get better.
- If you don’t have a piping bag, you can use a storage bag instead. Fill the bag about ½ full and snip off one of the corner tips.
- Toppings are your friend! You don’t have to rely on your piping skills to make a beautiful cupcake. Use toppings like nuts, chocolate chips, sprinkles, and cookie bits to cover any and all imperfections.
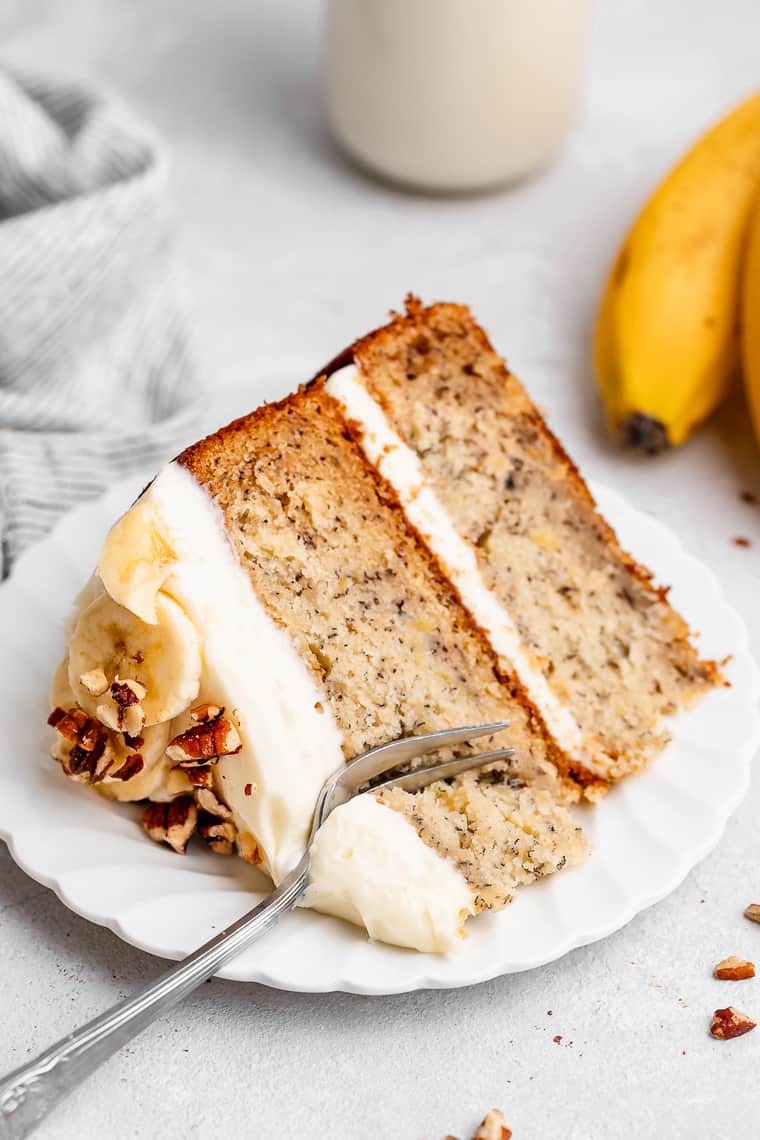
More Layer Cakes to Try
Now that you’ve learned the tricks of the trade, it’s time to put them to work. Learn how to convert a cake into cupcakes using one of Grandbaby Cakes’ classic layer cake recipes!
More Tutorials
If you love this tutorial, try learning how to make Powdered Sugar or Brown Sugar and these incredible High Altitude Baking Tips.
 pinterest
Hi, will the caramel cake recipe convert to cupcakes?
Yes, you can make cupcakes out of the caramel cake recipe!
Thanks for your tips. I knew there’s a way.
Hi! Will this work for pound cakes? I love your site. The cake release is bomb! Thanks so much for sharing your knowledge and your family’s traditions with us!
a nice alternative, optimistic that these will somehow limit me to a single cupcake, a smaller service size than my cake slices have sometimes been, so thank you!
Thanks for all these great tips! I’m definitely bookmarking this guide because I have no doubt it will come in handy. Love a good cupcake!
This is a great idea! I can have both types, cake and the cupcake versions for potlucks!
This is a super simple way to convert my favorite cake recipes into cupcakes. I love how you put into simple steps so that the cupcakes bake up perfectly! Who knew it was so simple!
Cupcakes are great for kids – perfect portion sizes and nobody tries to cut a cake slice themselves and topple the whole cake. Thanks for this indepth tutorial.
what a great idea we are only two people and cupcakes is the way to go we always had to much leftover