
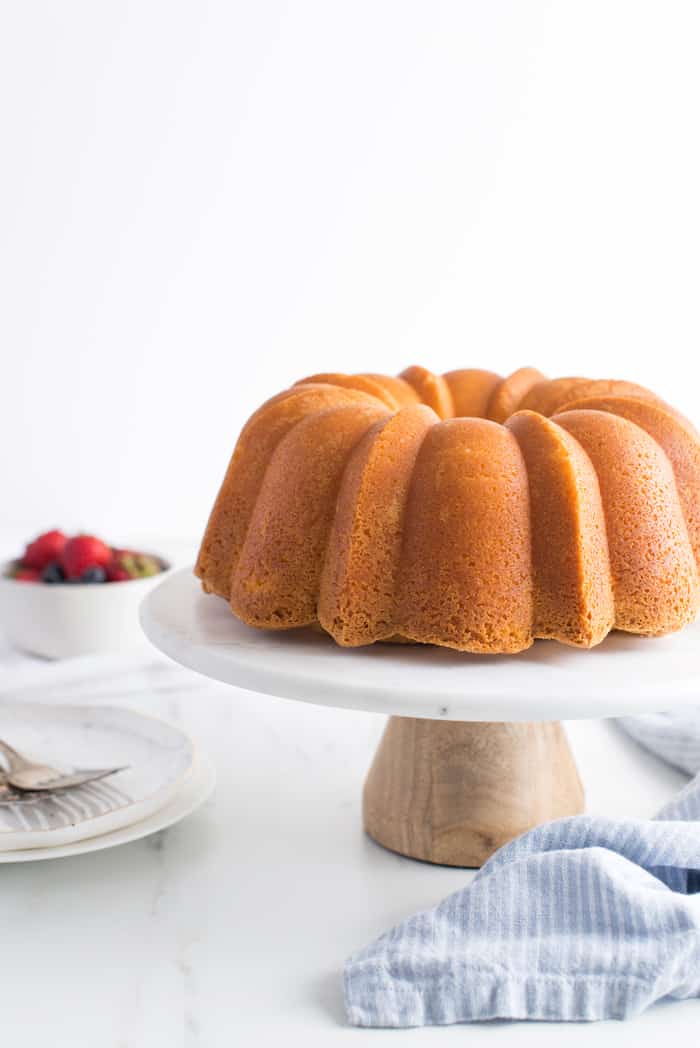
Grease and flour your cake pans in one step using my easy homemade cake release! Made with 3 simple ingredients, this cake goop guarantees your cakes, muffins and breads come out clean and don’t stick every time.
This post may contain affiliate links. Read our disclosure policy.
How to Make Homemade Cake Pan Release
Cake release recipes can vary in ingredients but, for the most part, they include equal parts flour, vegetable oil and shortening (but melt in the microwave so it blends easily). I use a cup of each. If you’d like to make more or less, just adjust the measurements, making sure to maintain the equal ratios.
To make, place all the ingredients in one bowl and mix until incorporated and lump-free.
Want to Save This Recipe, Boo?
Homemade Cake Release
Want to Save This Recipe, Boo?
Ingredients
- 1 cup all purpose flour
- 1 cup vegetable oil
- 1 cup shortening melted
Instructions
- Mix all of the ingredients together.
- Store in an airtight container in the refrigerator. It lasts for up to 6 months.
Notes
Nutrition
How to Use
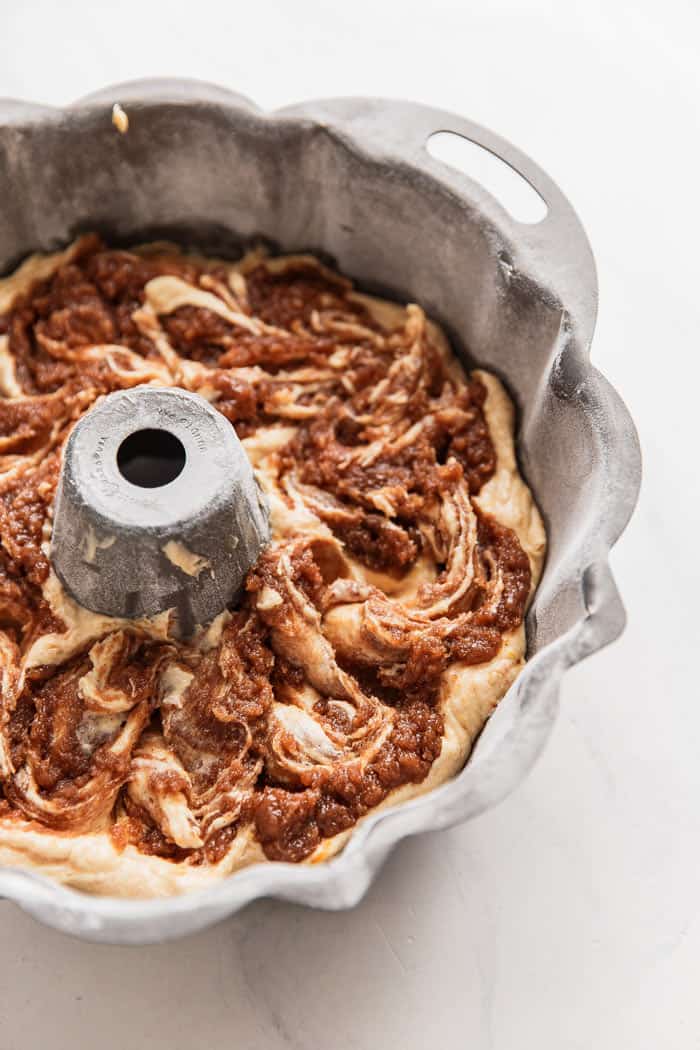
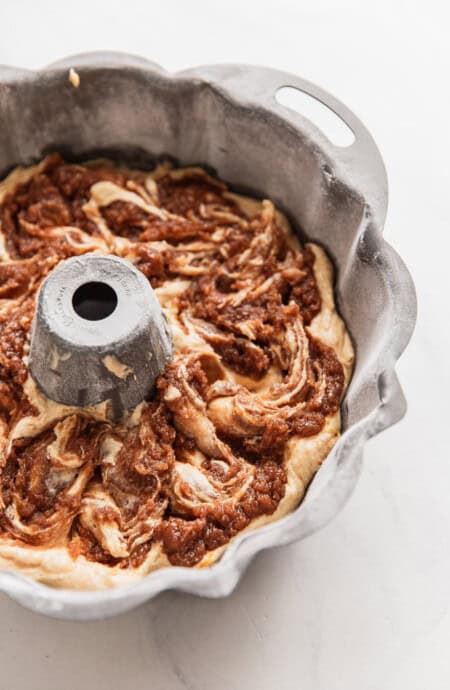
When the oven is preheated and the batter is ready to go, dip a rubber pastry brush into the mixture and brush it onto your pan. I like to go pretty heavy with the release to ensure absolutely no sticking.
Storage
I prefer to store it in a glass jar or container, but plastic will work too. No matter which you use, make sure it’s airtight. Stored at room temperature, it will last for up to 3 months. If in the fridge, it will last for about 6 months.
 pinterest
What if the mixture is too liquified? Do you put it in the fridge to make it more solid? What should the consistency be, like shortening?
I definitely store mine in the fridge to make it more solid then I use a pastry brush to add to the inside of my baking pans.
Do you use Cisco for the shorting Or lard ? Jenny . very blessed with that dear daughter
Crisco is totally fine.
This did not work for me. I used a Bundt pan. Cake directions said to let sit 10 min, before releasing. I am wondering if you release your cakes immediately or maybe you leave them in the pan much longer before releasing? Please help
Hi Nancy, I release after 10 minutes usually. In addition to using the release, also make sure your pans are good too. If you are using super old pans, cakes can sometimes stick no matter how great the non-stick release is.
From one Mississippi girl to another, thank you!
My pleasure
Oh my GOODNESS THANK YOU THANK YOU THANK YOU love you heart you are truly a BLESSING TO THE WORLD
My pleasure. And thank you for the sweet message.
Thanksgiving is just around the corner and I needed this recipe. I have a lot of cakes to bake for other people. This makes the process a lot easier. Thank you!
You’re so welcome!
Thank you!! I’m so happy I saw the cake release recipe before attempting any of your recipes! Can’t wait to try!
You’re so welcome! It’s a must for every cake I bake!