

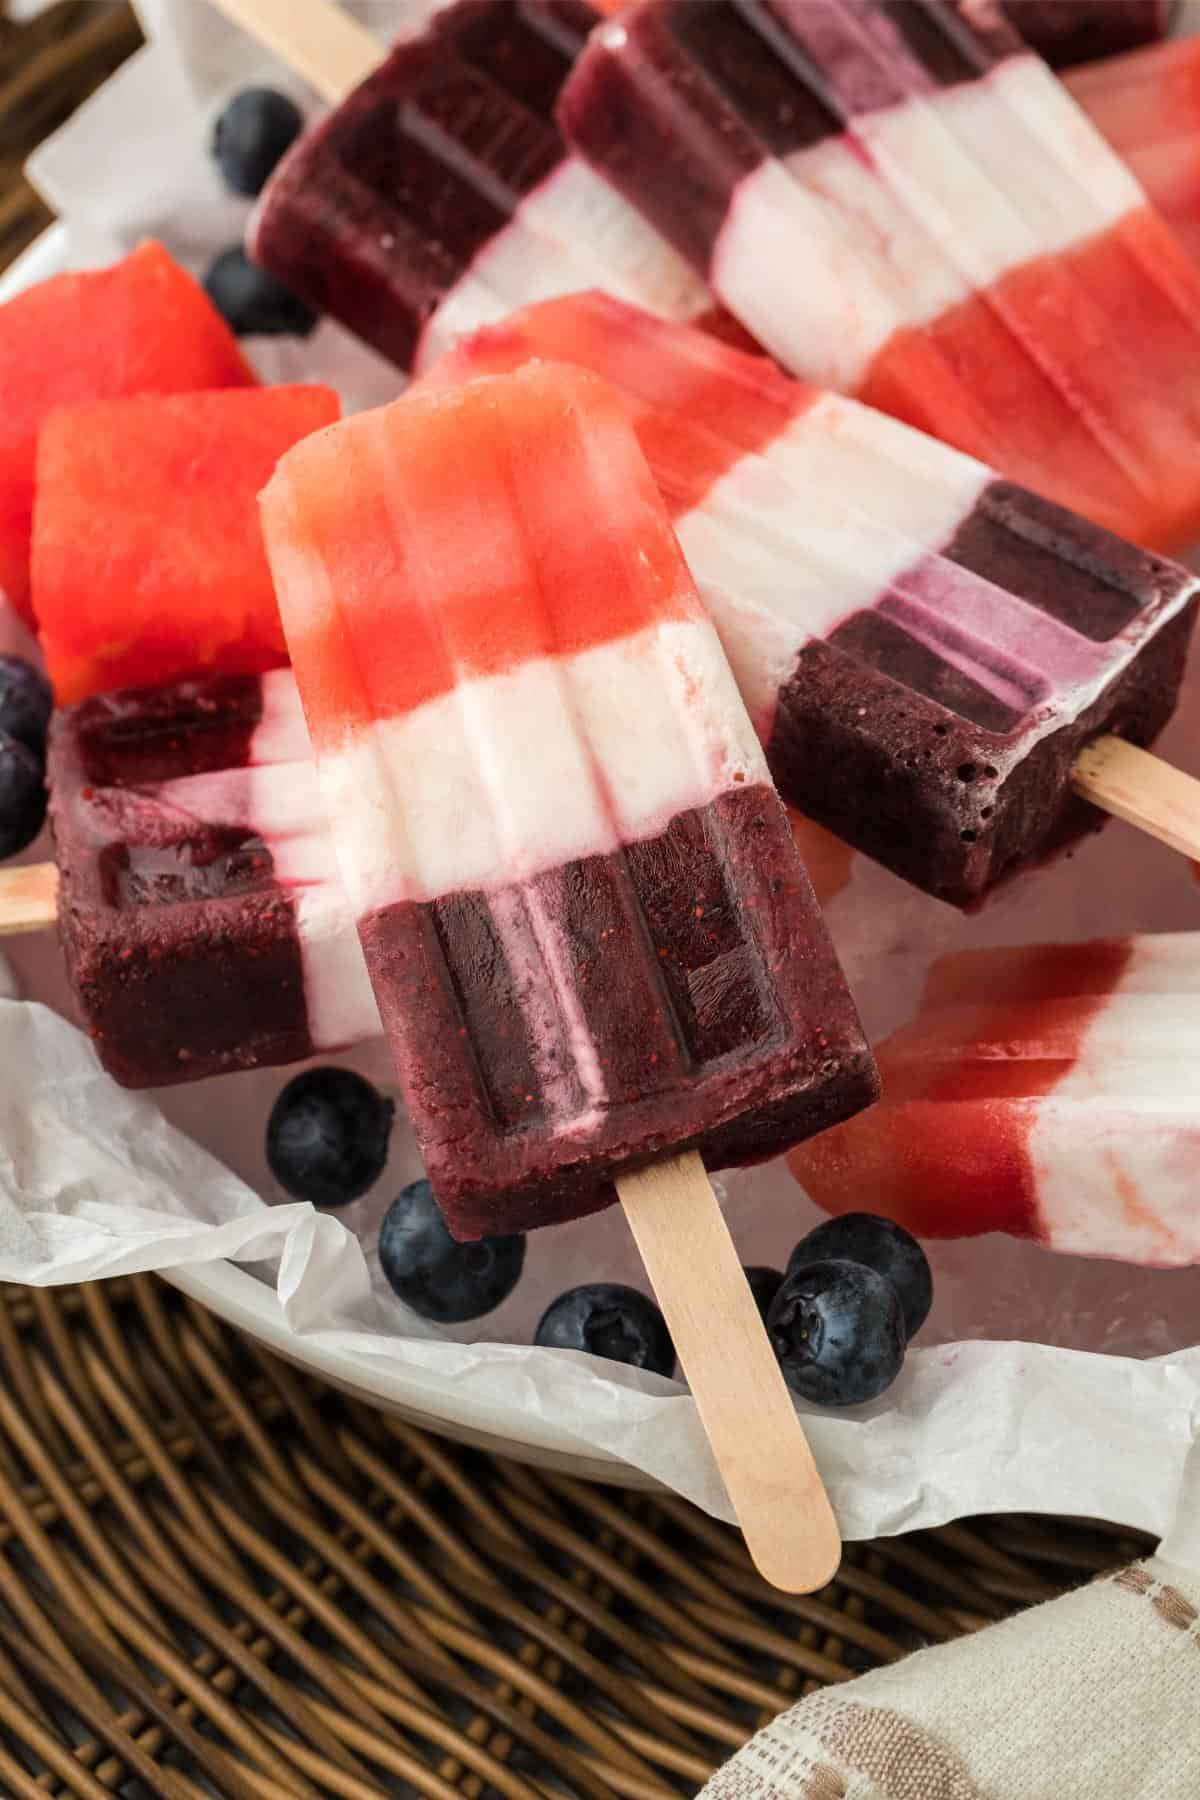
Y’all, these red, white, and blue popsicles are taking me straight back to those hot summer days chasing down the ice cream truck for a bomb pop. Only this homemade version is even better! They’ve got three colorful layers made with watermelon, coconut milk, and blueberries. Just as good as the OG red, white, and blue popsicles, no artificial dye needed.
This post may contain affiliate links. Read our disclosure policy.
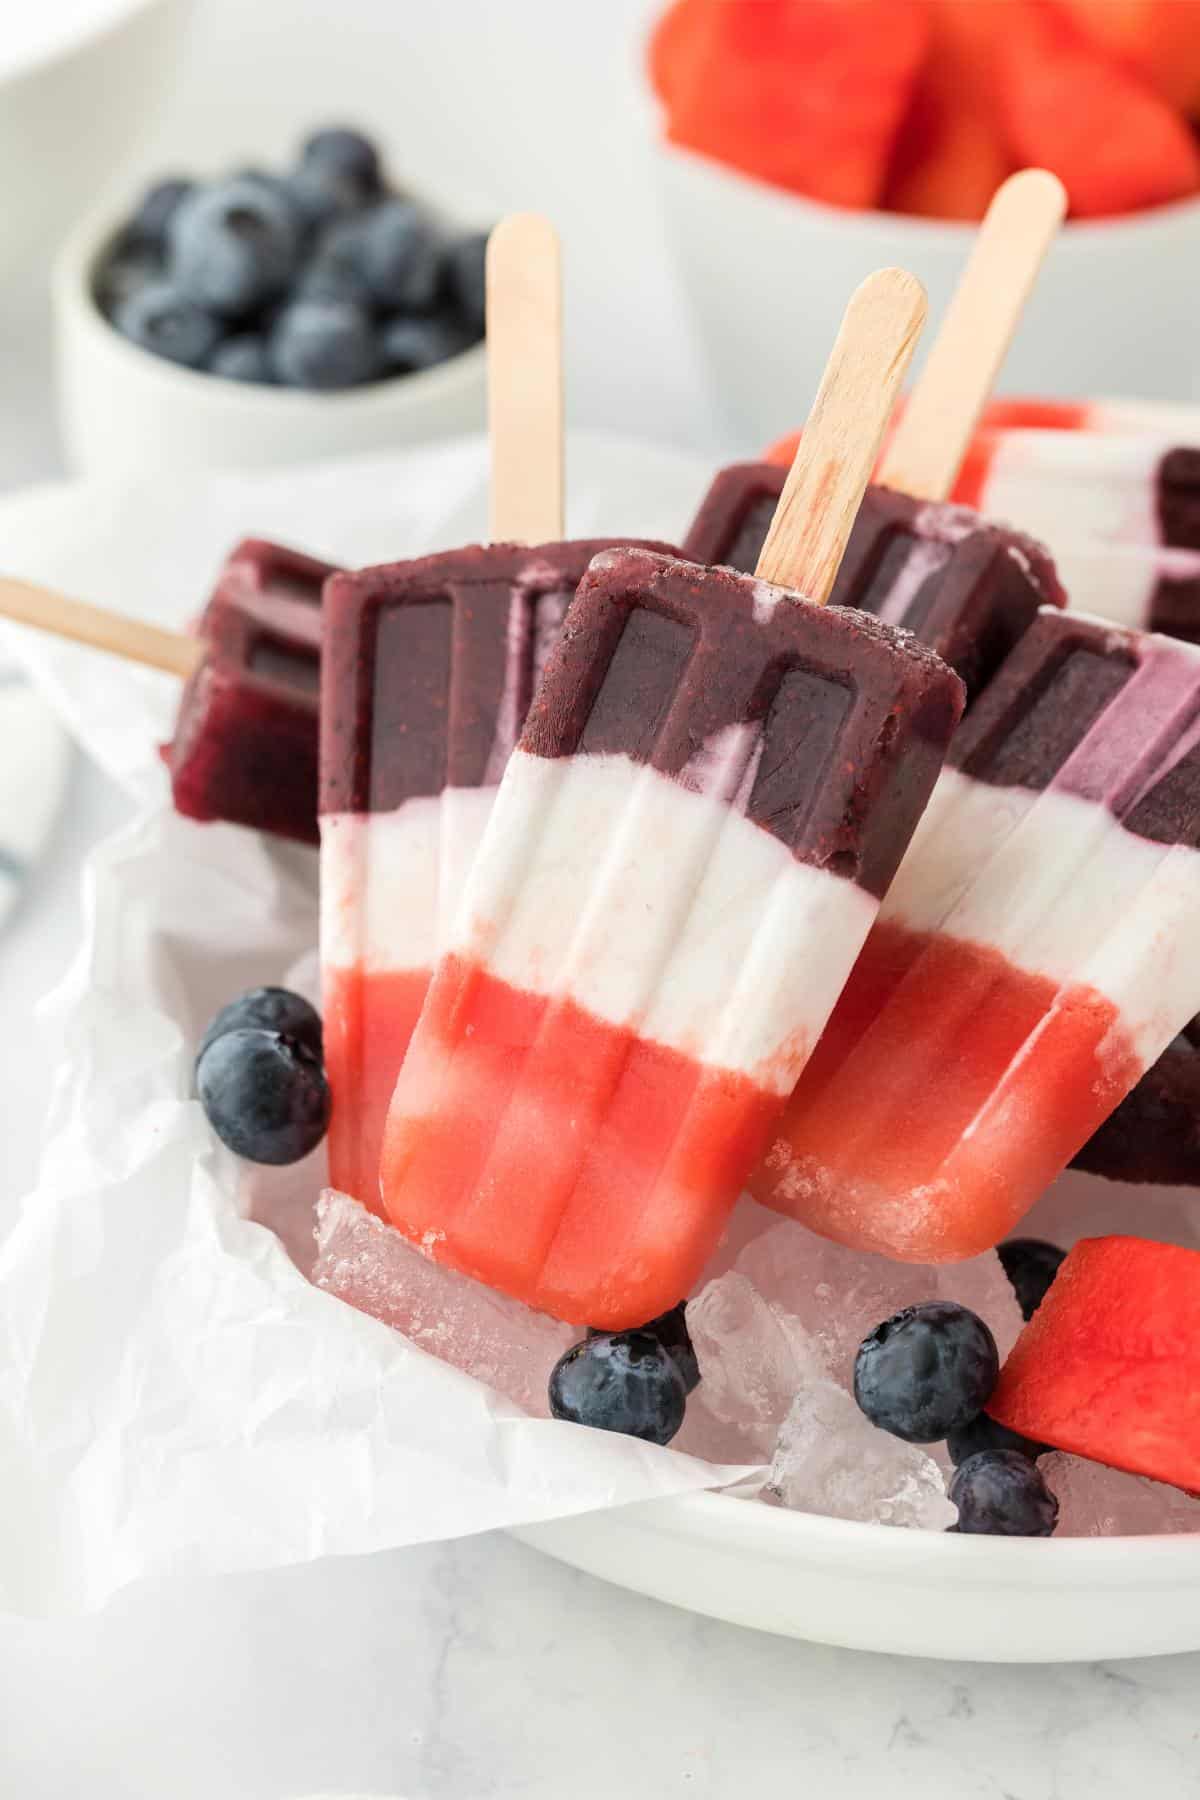
How to Make Red, White and Blue Popsicles
These step-by-step photos show how to make homemade bomb pops, but be sure to check the recipe card below for the full ingredient list and detailed instructions. Skip to the → Red, White and Blue Ice Pops Recipe
1. Combine the red layer ingredients in a blender and blend until smooth
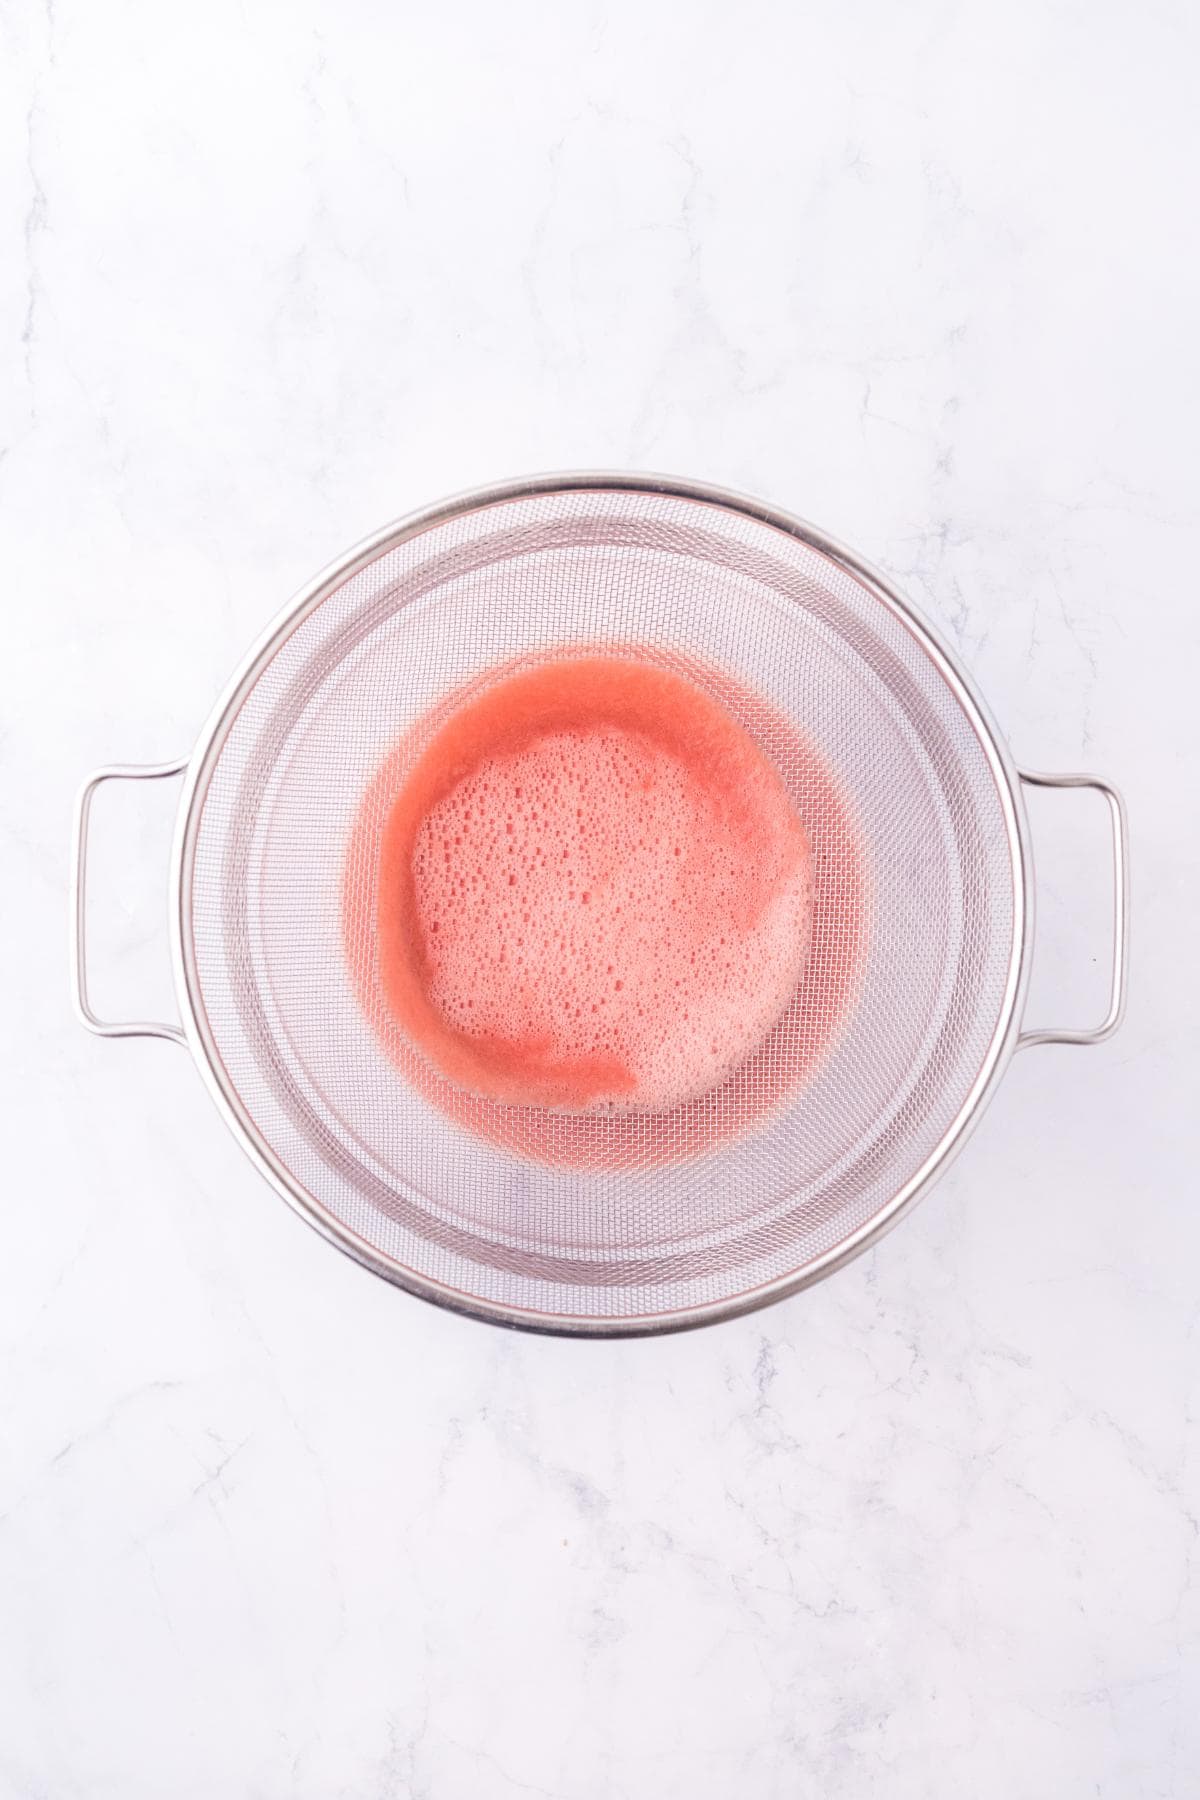
Strain through a fine mesh sieve.
2. Pour the red watermelon mixture into the molds
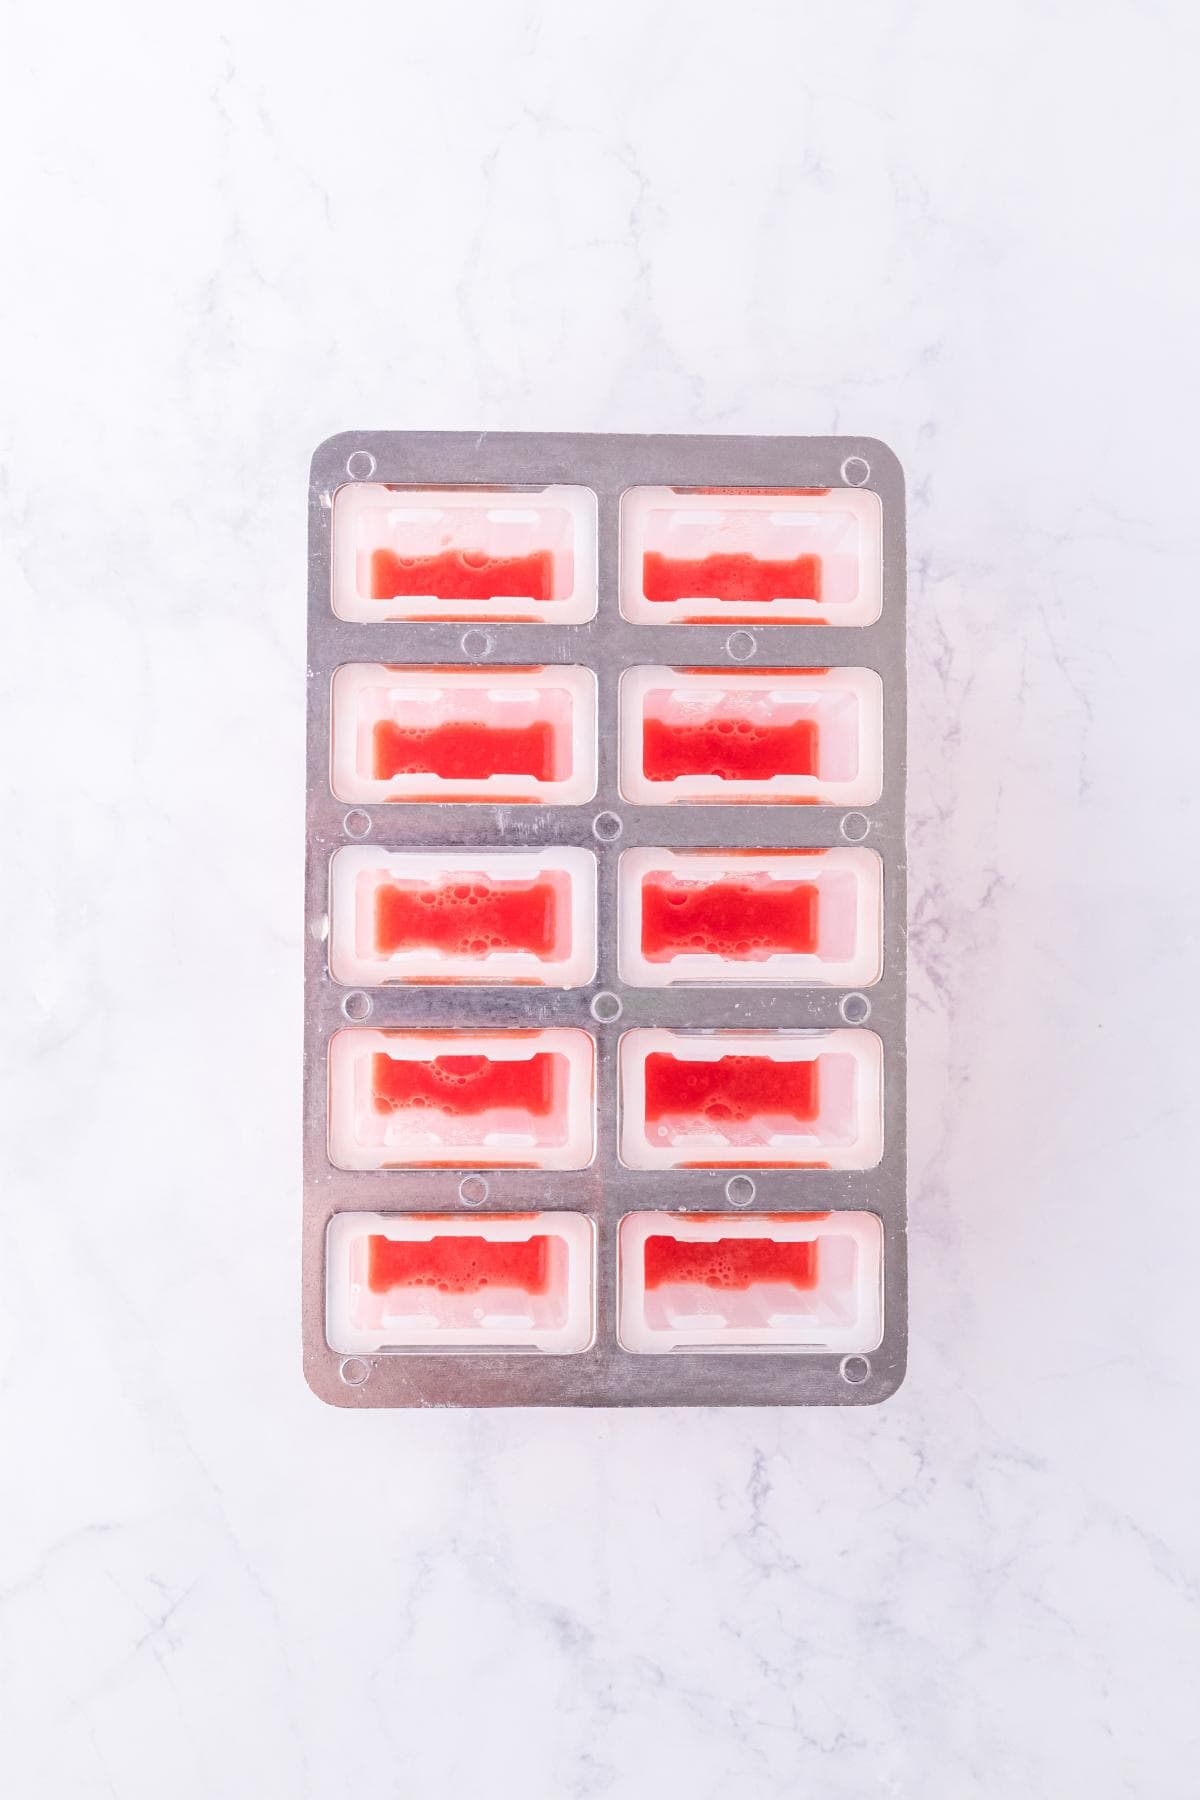
Freeze until the red layer is completely solid.
3. Add the white layer ingredients to a bowl
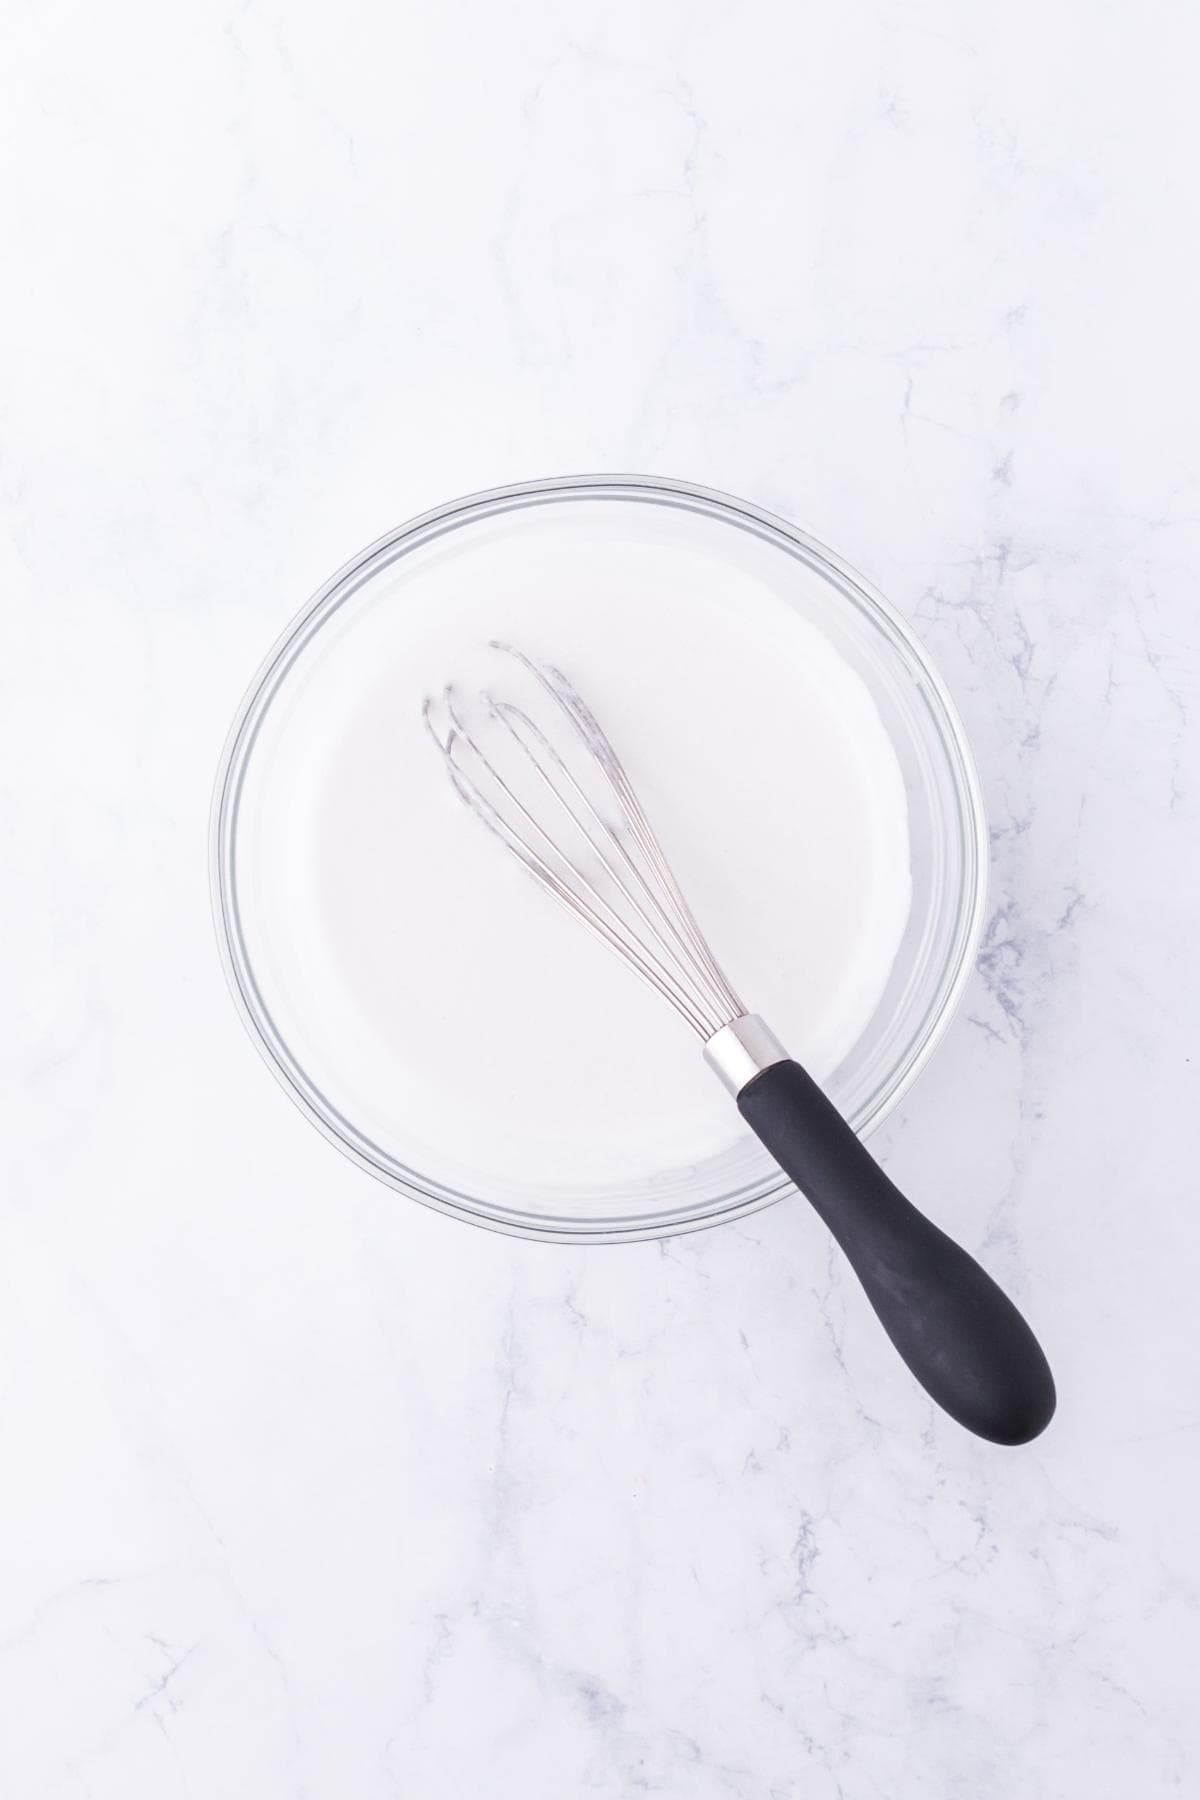
Mix until smooth and combined.
4. Pour the white mixture over the red layer
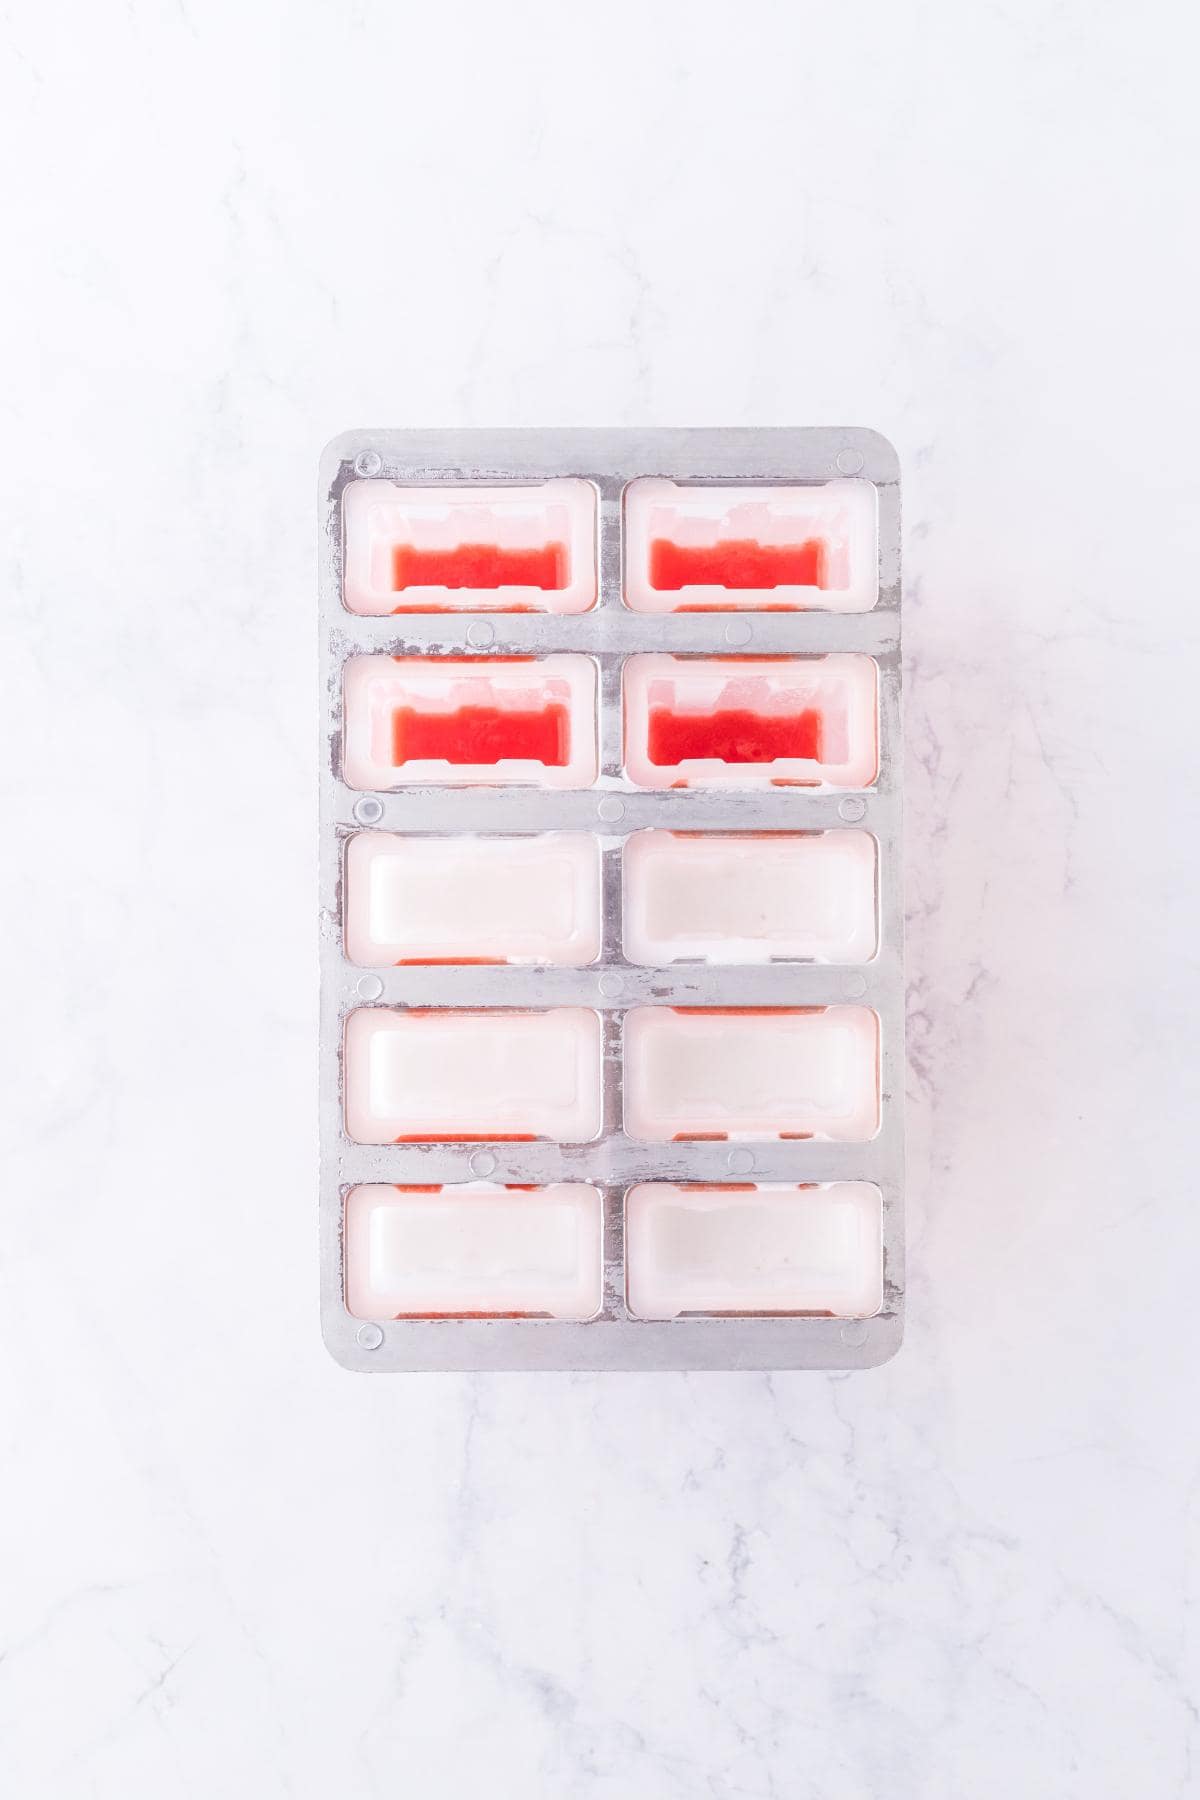
Freeze again until the white layer is fully set.
5. Add the blue layer ingredients to a blender and blend until smooth
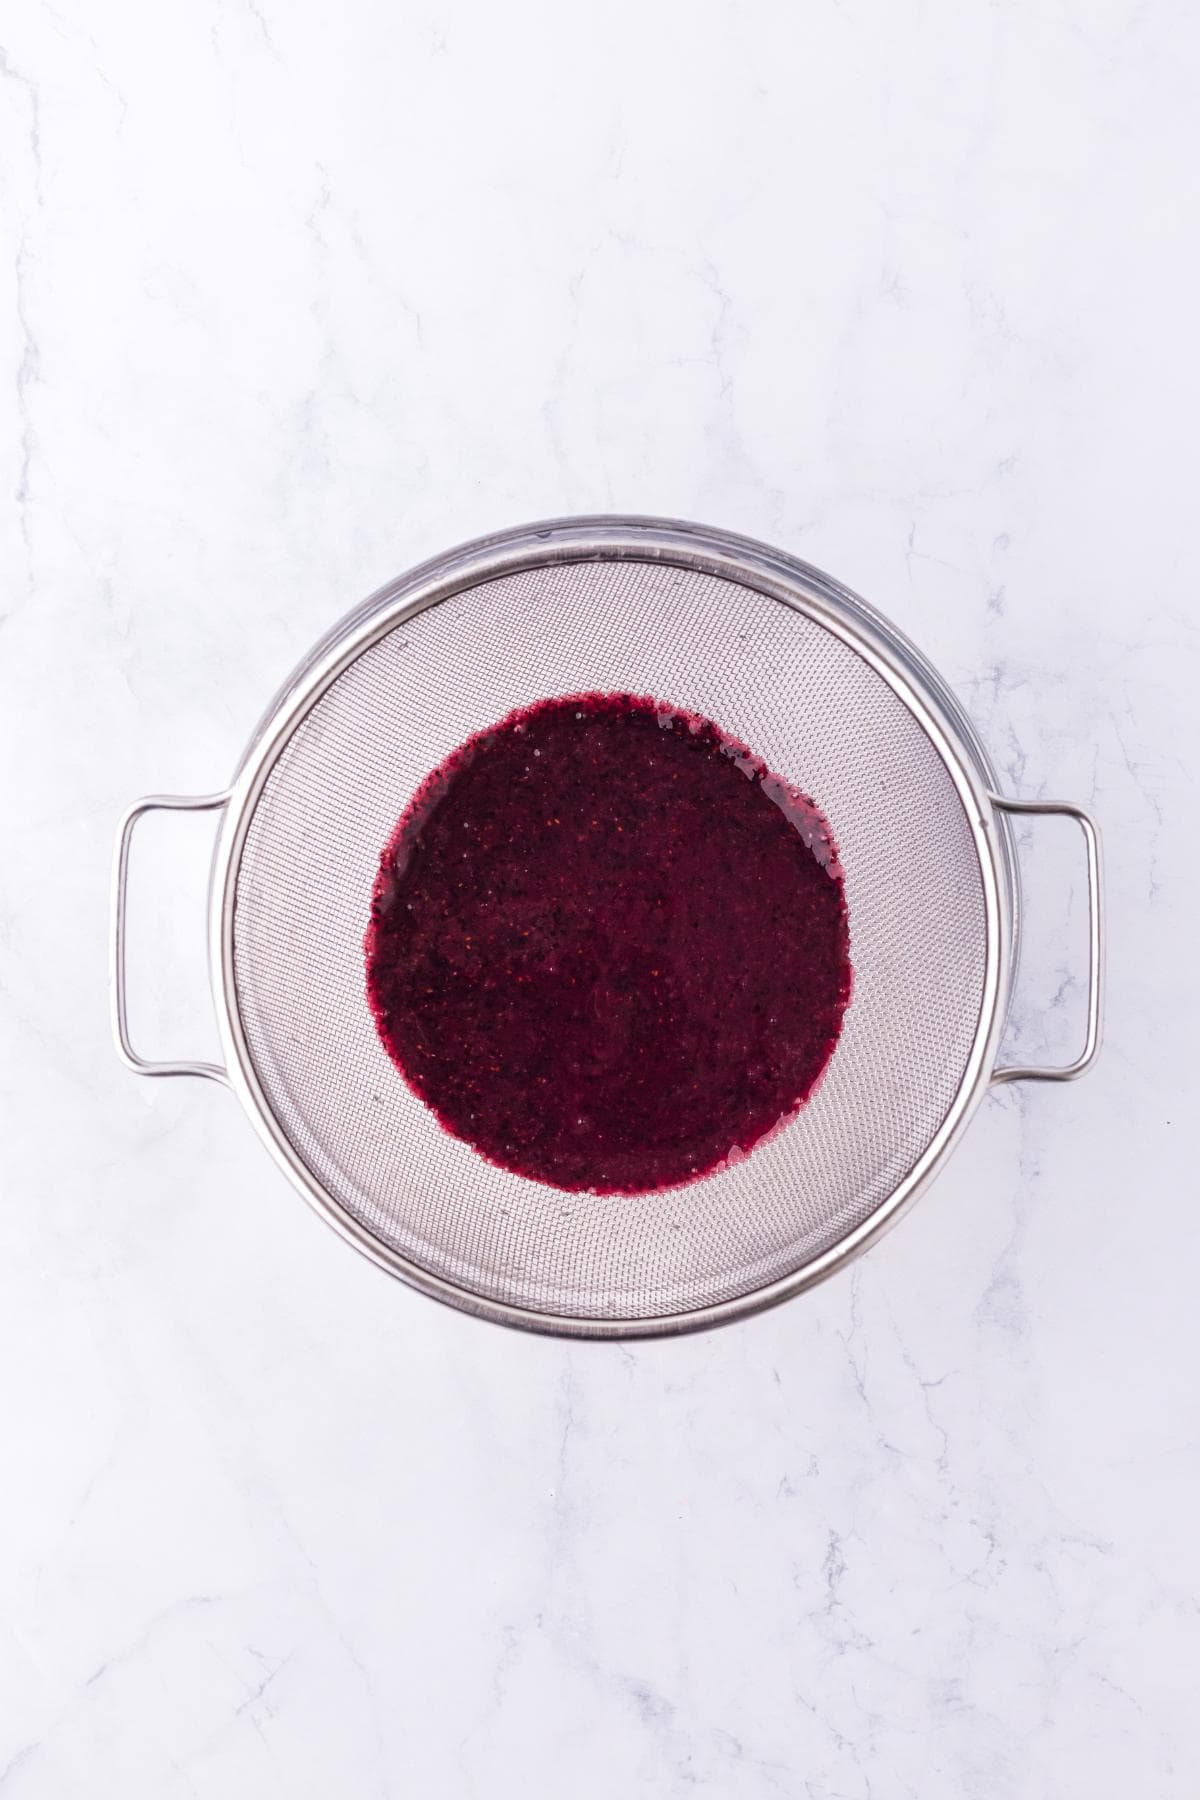
Strain the blueberry mixture through a fine mesh sieve. Remove the skins and seeds.
6. Pour in the blue layer and insert the popsicle sticks into the molds
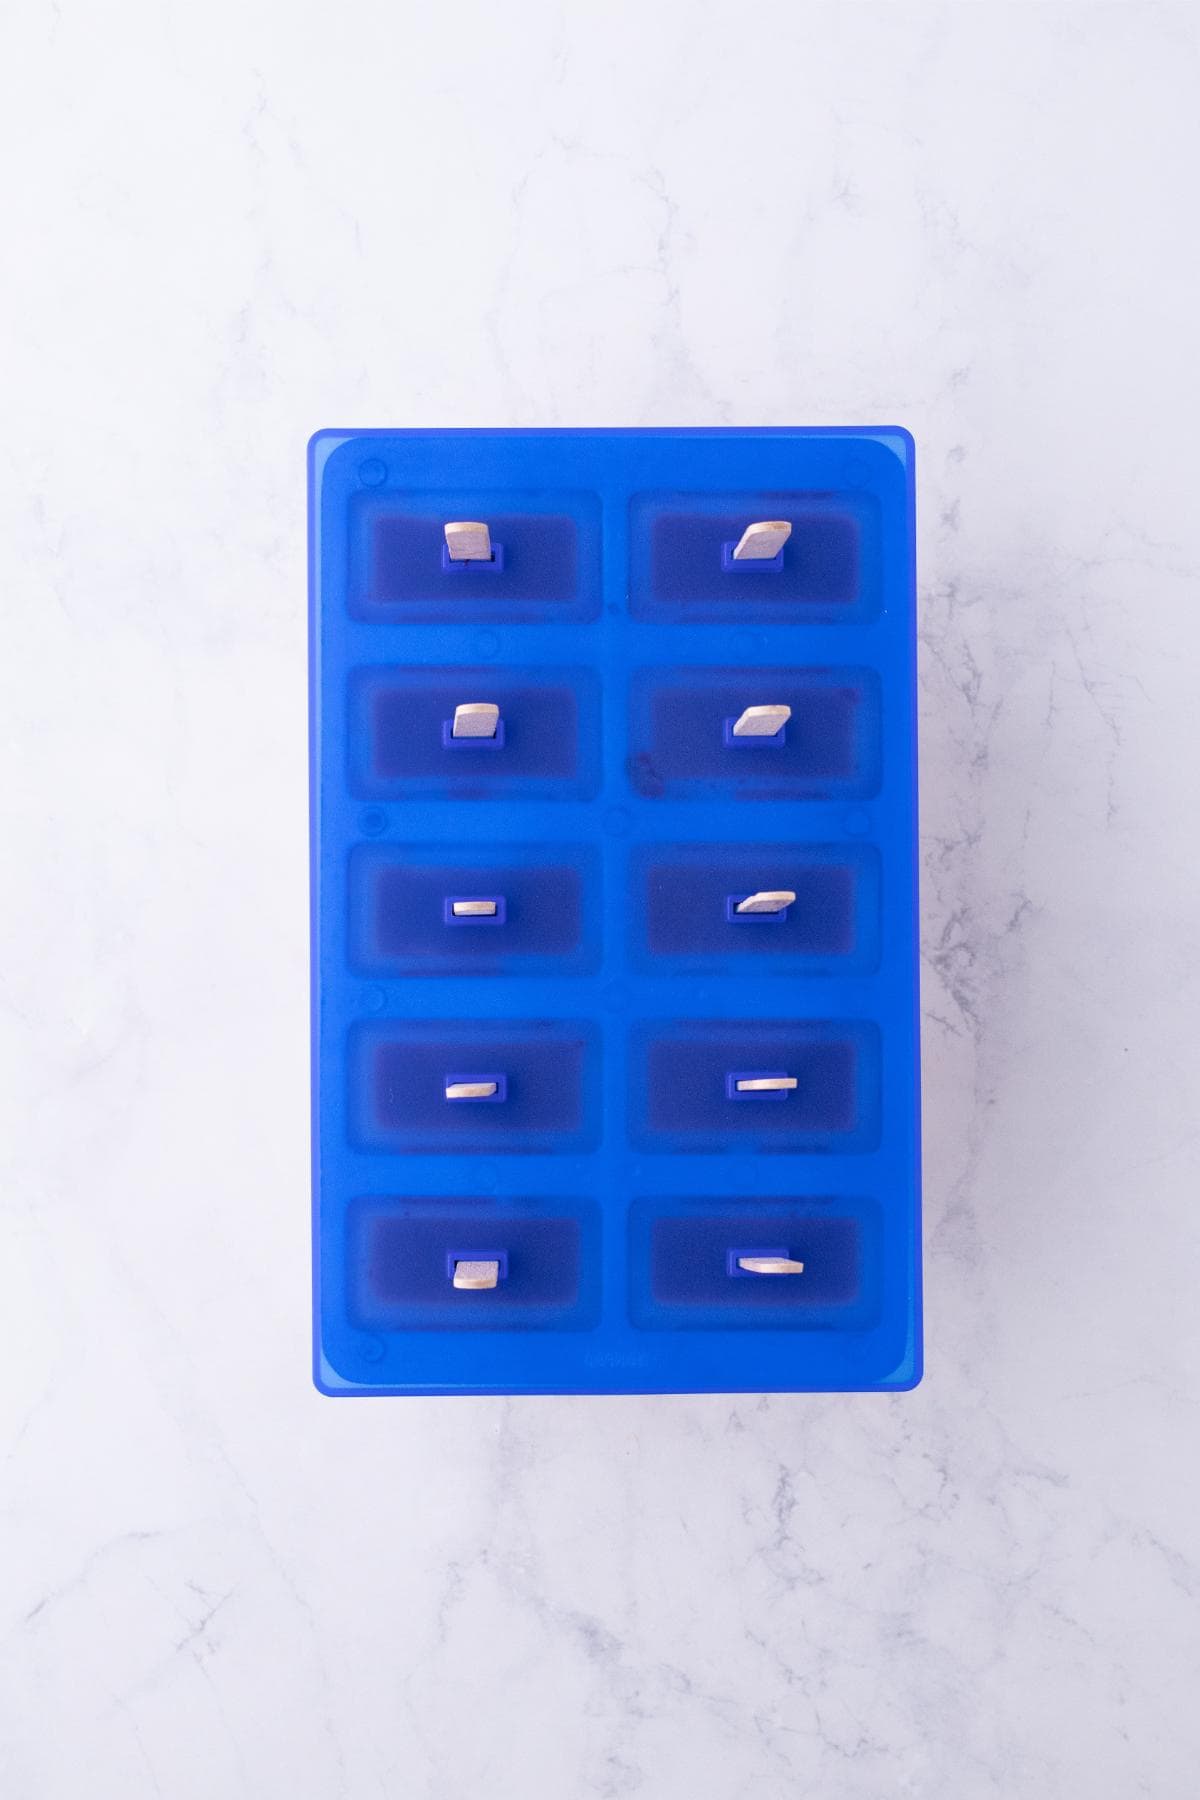
Freeze until solid. Then, run the molds under warm water to release your bomb pop popsicles, and enjoy!
PRO TIP: Slide a paper cupcake liner or a Dixie cup up the popsicle stick before serving. It was my mama’s old-school trick to keep sticky melted juice off little hands, clothes, and furniture.
Full Red, White and Blue Popsicles Recipe
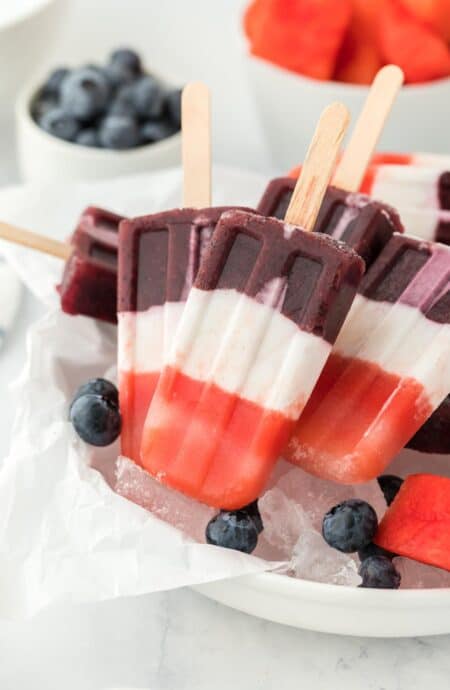
Red, White, and Blue Popsicles Recipe
Want to Save This Recipe, Boo?
Ingredients
For Red
- 1 ½ cups cubed watermelon
- 1 tablespoon Karo light corn syrup
- 2 teaspoons fresh lemon juice
For White
- 2/3 cup unsweetened coconut milk
- 1 ½ tablespoon Karo light corn syrup
- Pinch kosher salt
For Blue
- 2 cups blueberries
- 1 tablespoon Karo light corn syrup
- 2 teaspoons fresh lemon juice
Instructions
- Place your popsicle mold on a plate or small baking sheet and make space in your freezer.
- Starting with the red layer, combine ingredients in a blender and blend until smooth, about 30 seconds. Strain through a fine mesh sieve.
- Pour 1 ½ tablespoons into the bottom of each mold. Freeze until solid, about 45 minutes.
- Next, for the white layer, stir together coconut milk, Karo syrup, and salt. Then pour 1 ½ tablespoons of the mixture into the mold on top of the red layer. Freeze until solid, about 1 hour and 10 minutes.
- Finally, for the blue layer, combine blueberries, Karo, and lemon juice in a blender and blend until smooth, about 30 seconds. Strain through a fine mesh sieve, removing the skin and seeds. Pour to fill the mold, place the popsicle stick in, and place in the freezer until frozen solid, about 45 minutes.
- When ready to serve, run the mold under hot water for about 30 seconds to loosen the popsicles. Remove and enjoy!
Notes
How to Store
- Freezer: Once frozen solid, remove your homemade popsicles from the molds and transfer them to a freezer-safe bag or airtight container. They will keep well for up to 2 months.
- Tip: If you’re taking these to a cookout or party (they are great as Fourth of July popsicles!), pack them in a cooler with plenty of ice packs to keep them frozen.
Nutrition
Recipe Tips
- Give each layer a quick taste before pouring it into the molds. That way you can adjust the sweetness if needed before freezing.
- Pour the mixtures into a measuring cup, boos. It makes filling the molds SO MUCH easier and helps keep drips and spills to a minimum.
- Freeze each layer until solid. If you add the next layer too soon, the colors can bleed together and you’ll lose those clean red, white, and blue stripes.
- Leave a little space at the top of each mold. About ¼ to ½ inch is perfect. Liquid expands as it freezes and can overflow if the molds are too full.
Want to Save This Recipe, Boo?
Recipe Help
Run the mold under warm water for about 10 to 20 seconds. Don’t pull too hard or you might snap the stick!
Yup boos! Plastic cups, paper cups, or even small yogurt containers work great. For sticks, try thick paper straws, wooden craft sticks, plastic spoons, or teaspoons.
 pinterest
  facebook
  twitter
  email
email
First popsicle something I’ve wanted. And very different and delicious and my great grandson can help enjoy also. Thanks ♥️
Thank you so much! That makes me so happy to hear.
I love that you finally got to make homemade popsicles, and even more that your great-grandson gets to enjoy them with you. Those are the sweetest kinds of kitchen memories to make together.