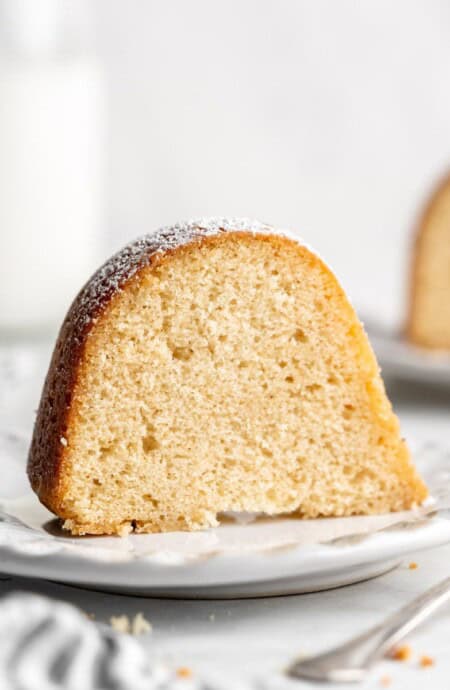
Y’all, this Southern Kentucky Butter Cake Recipe is in a league of its own – it’s not your average butter cake, honey! I’ve jazzed it up with a twist of that nutty, rich browned butter flavor and topped it off with a sweet sugar glaze that just soaks right into every delicious inch. The texture? We’re talking moist and tender on the inside, with that sugar glaze hardening up just a bit to give you a little crunchy surprise on the outside. It’s like a little piece of cake heaven that’s just out of this world!
This post may contain affiliate links. Read our disclosure policy.

Want to Save This Recipe, Boo?
As most of you know, pound cakes made in my Big Mama’s kitchen are highlights of my childhood. We belly laughed while mixing batters and licking spatulas we used to scrape bowls until they were sparkling clean.
Those memories mean everything to me, and the recipes we use are ones I still make on a regular basis. Today, I’m sharing one of my favorite cake recipes with a small twist that is sure to wow: A Kentucky Butter Cake Recipe.
The Heart & Soul Of This Kentucky Butter Cake
Cuisine Inspiration: Southern American
Primary Cooking Method: Oven
Dietary Info: Vegetarian
Key Flavor: Kentucky butter cake is rich and buttery with hints of nuttiness from the browned butter in both the cake and the sweet glaze. The cake is beyond moist on the inside with a crackly, buttery crust on the outside.
Skill Level: Beginner-Intermediate
Sweet Spots
- Perfect Buttery Flavor. Each bite of this cake is rich with butter! But it’s not just plain old butter, it’s browned butter so it has that extra richness and nuttiness from cooking the butter that infuses the cake and the glaze.
- All-Occasion Cake. This cake is a classic! Its simple, yet exquisite flavor, is perfect for all types of occasions from a dinner party dessert to a cake to carry for a potluck or brunch, and so much more!
- Great to Make Ahead. If you need a cake that’s even better the next day this cake is it! It actually even tastes better on the second day.
- Simple Ingredients. You don’t need anything more than basic ingredients when making this rich browned butter cake. You may have some of them in your kitchen and if not, they’re all easy to grab at the grocery store.
- Versatile Cake. It tastes amazing served up just as it is but also pairs well with a variety of different toppings and additions to create a dessert that will receive rave reviews!
What is Kentucky Butter Cake?
Butter cakes originated from the English pound cake, which traditionally used equal parts butter, flour, sugar, and eggs to bake a heavy, rich cake. Over time both butter-based cakes and pound cakes have become quintessential cakes in Southern American baking. My household saw more than its fair share of these cakes but Kentucky Butter Cake was a popular one.
Ingredients to Make Kentucky Butter Cake
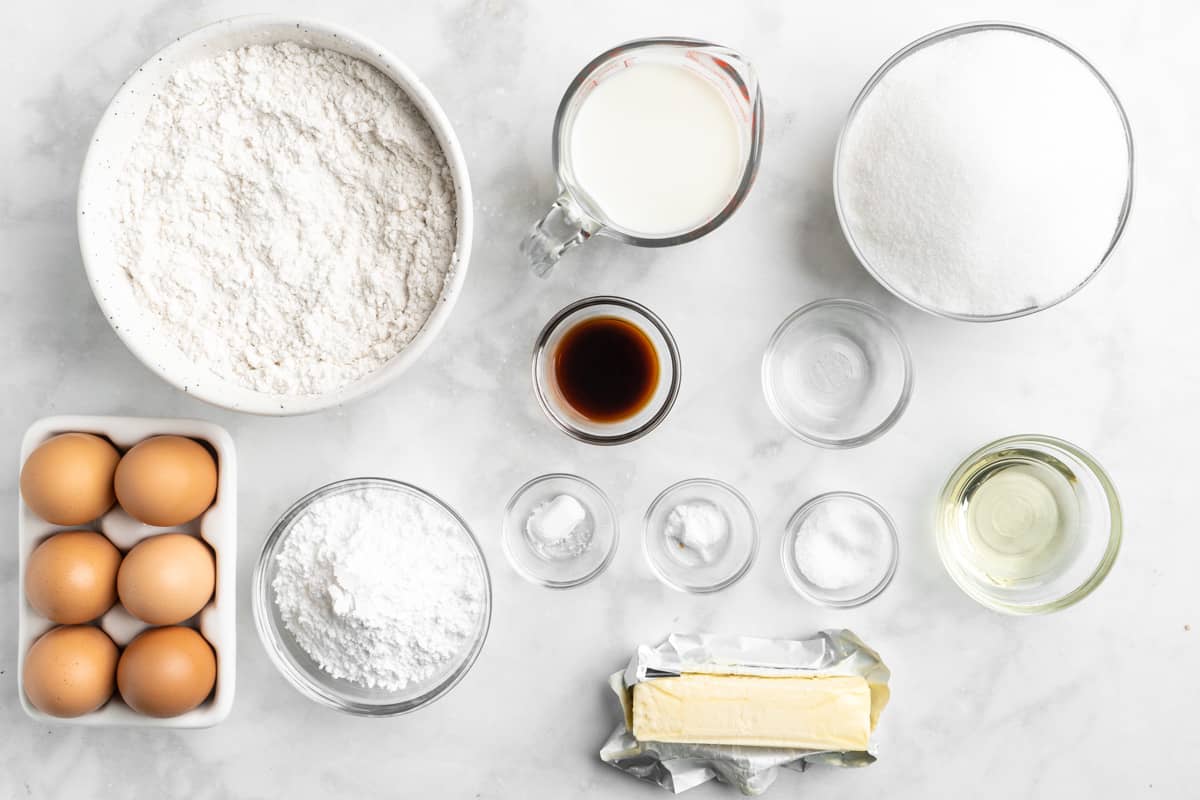
- Unsalted Butter: We’re talkin’ rich, creamy, and ready to make this cake and glaze pop! Brownin’ the butter gives it a nutty, toasty vibe that’s simply amazing.
- Shortening or Oil: This is our secret weapon for added moisture.
- Granulated Sugar: Sweetness galore because that’s how we roll! It’s used to sweeten the cake and the glaze.
- Large Eggs: Room temperature, please! They mix in better and make our cake oh-so-fabulous.
- Sifted Cake Flour: The finest of flours for the most tender crumb.
- Salt: Just a pinch to balance the sweet.
- Baking Powder & Baking Soda: These guys are liftin’ us up and making sure our cake is on point.
- Buttermilk: Bringing in a bit of tang and tenderness.
- Vanilla Extract: Because every great cake needs a splash of vanilla goodness. You will also need a bit more to add that sweet, sweet vanilla magic to the glaze as well.
- Water: Just a splash to get our glaze to the right consistency.
How to Make Kentucky Butter Cake
Step 1: Mixing the Cake Batter
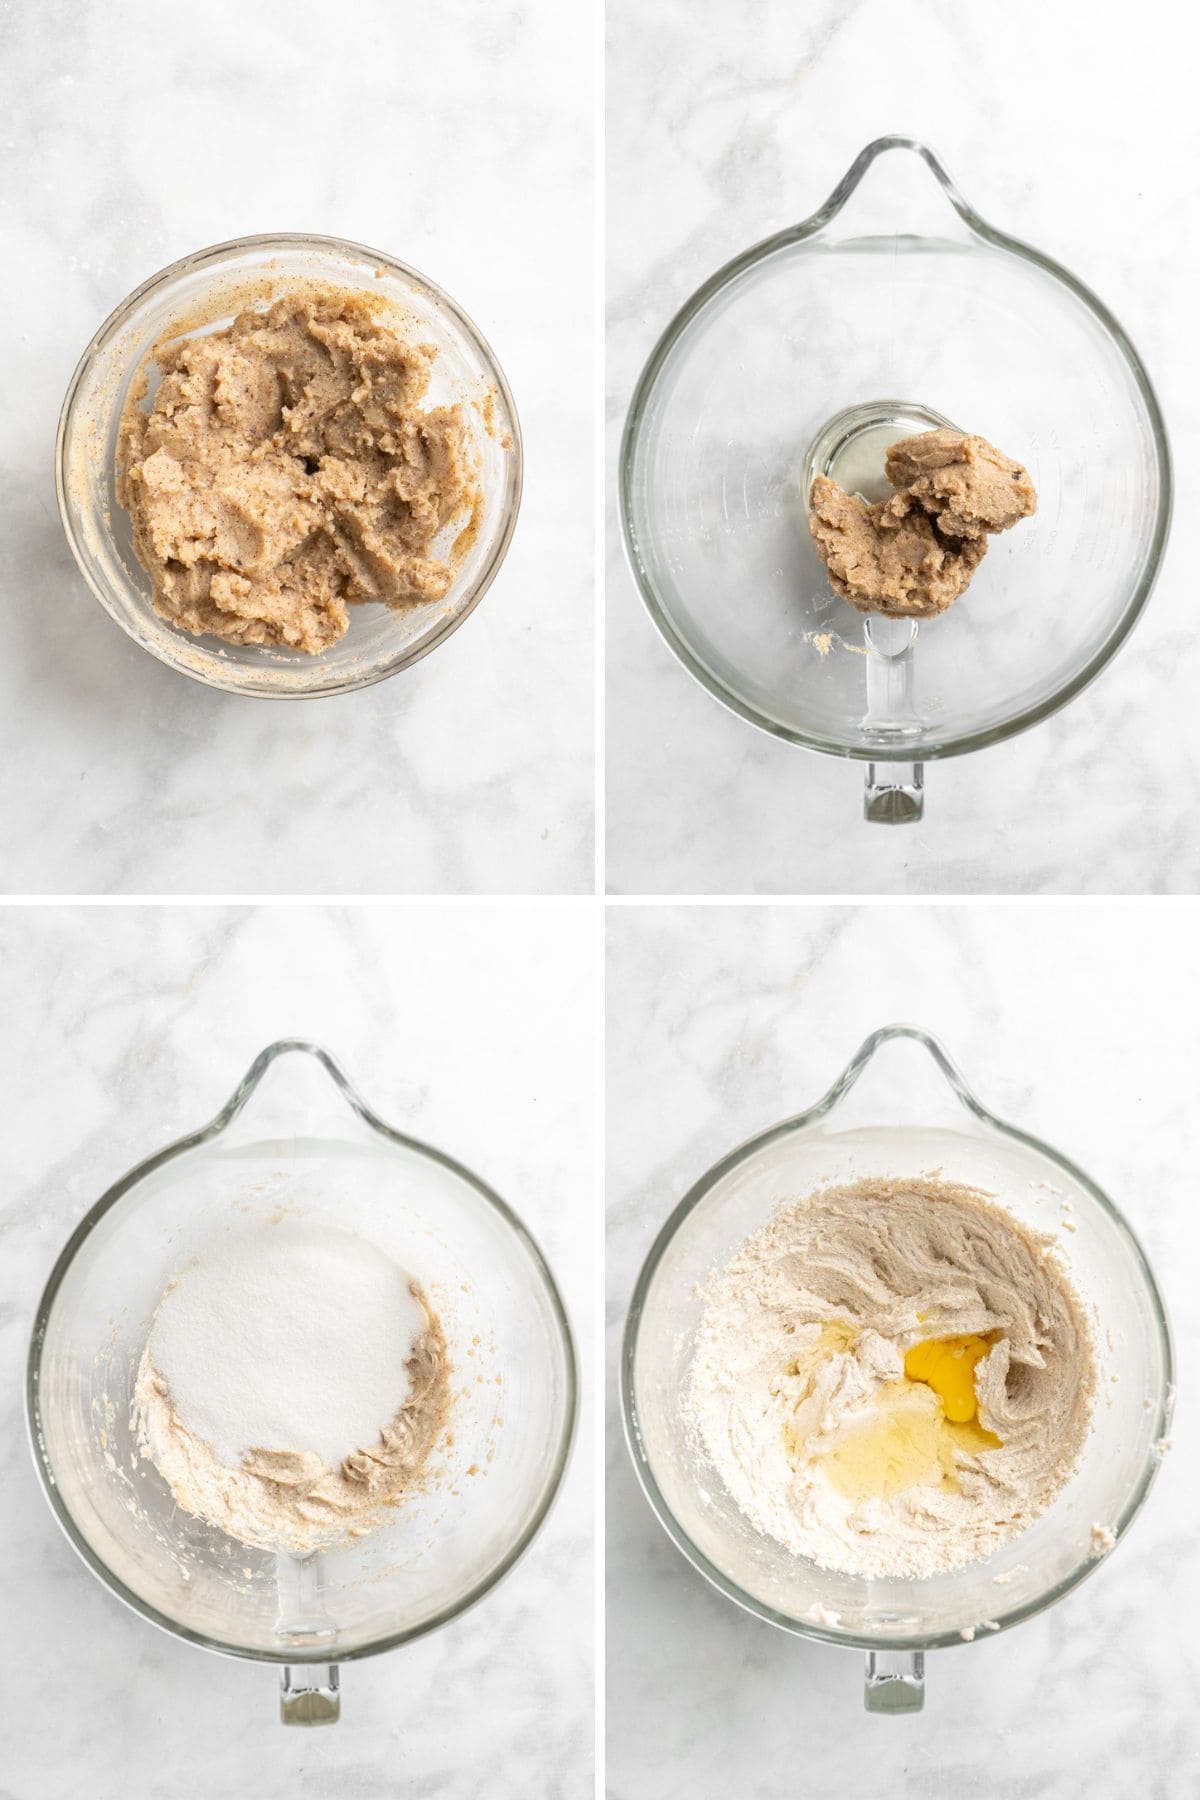
- It all starts with completely cooled browned butter. I like to do this the day before because it takes a while to cool down all the way.
- Add the browned butter and shortening. Beat them for two minutes at high speed.
- Add the sugar slowly to the bowl and beat on high speed until the mixture is very pale yellow and fluffy.
- Add your eggs in one at a time, making sure to scrape the sides as needed to fully incorporate them.
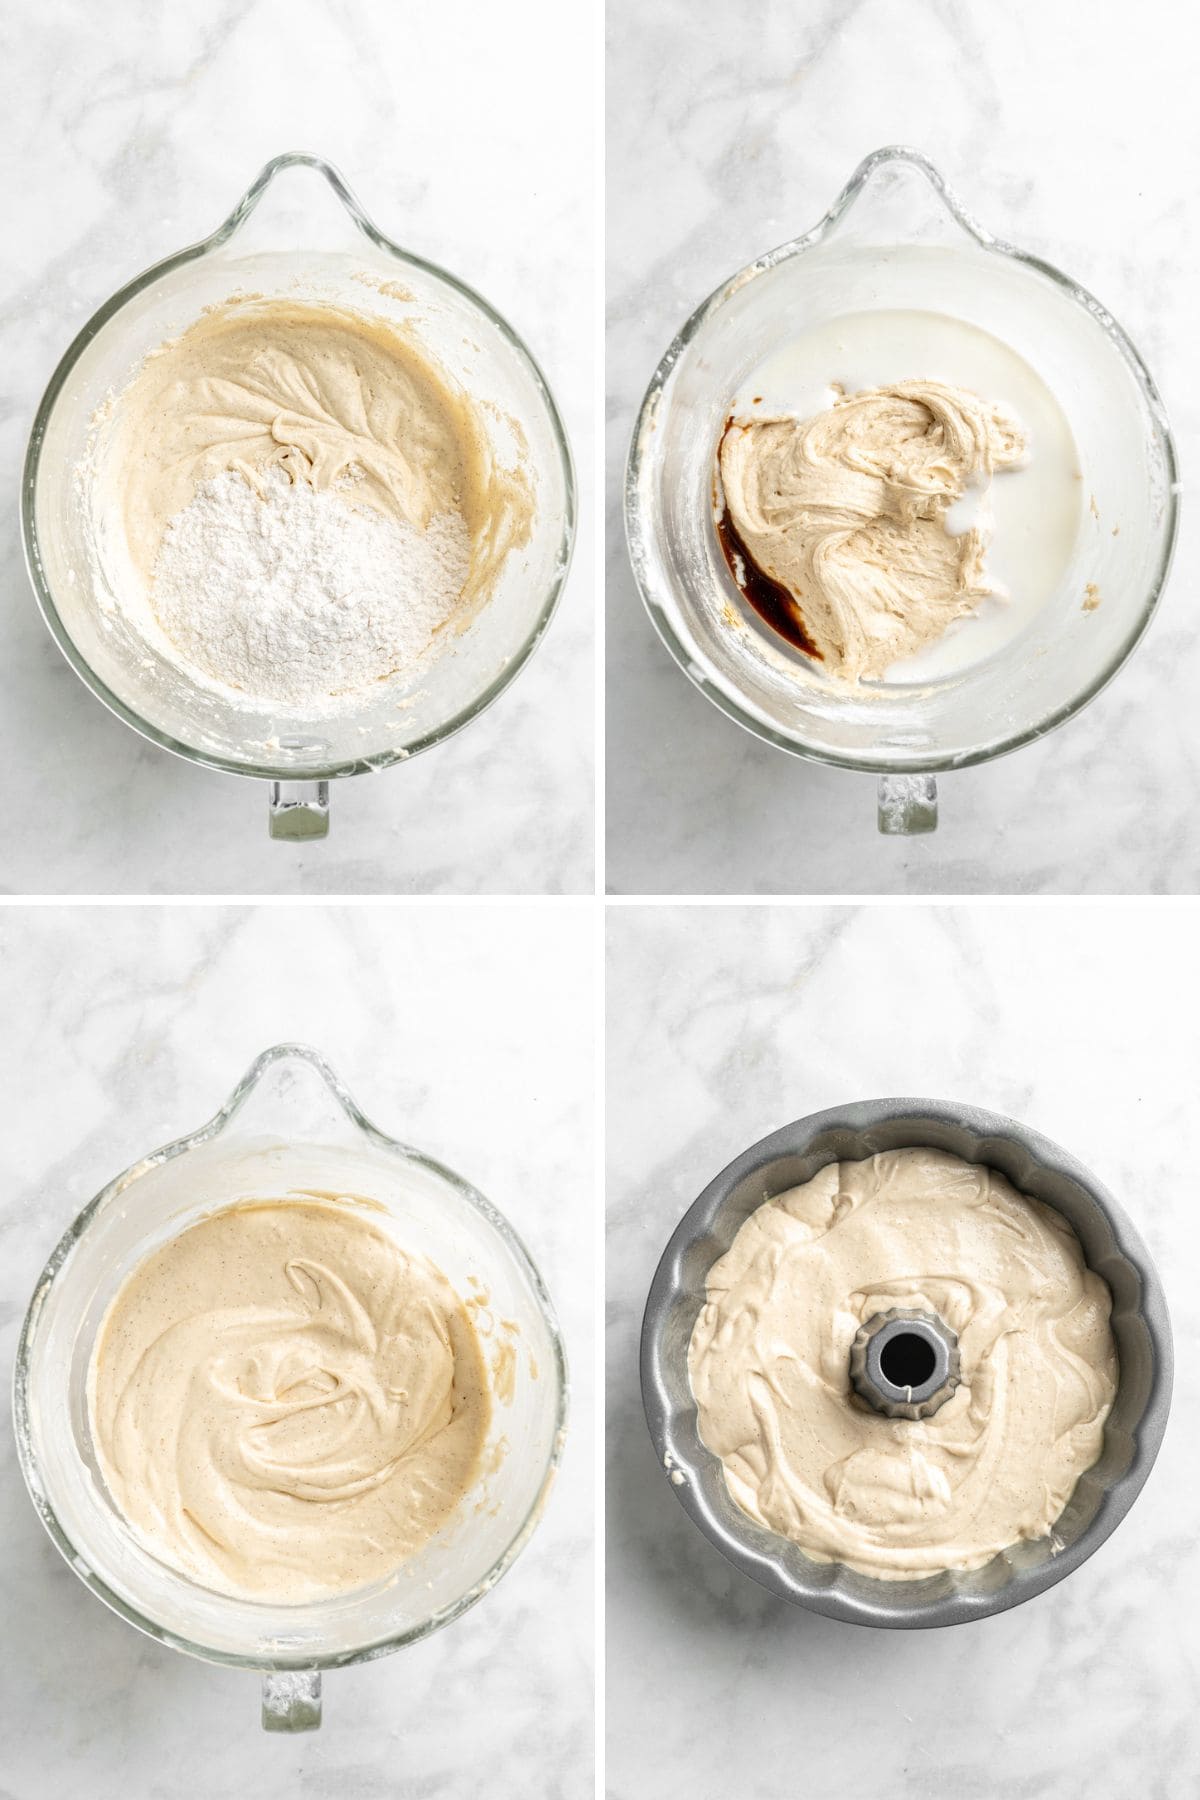
- Add the flour and mix into the butter, sugar, and egg mixture using the lowest speed.
- Pour in your buttermilk and vanilla extract.
- Mix just until everything is combined. Be sure not to over-mix your batter!
- Pour the cake batter into a prepared cake pan.
Step 2: Make the Butter Glaze
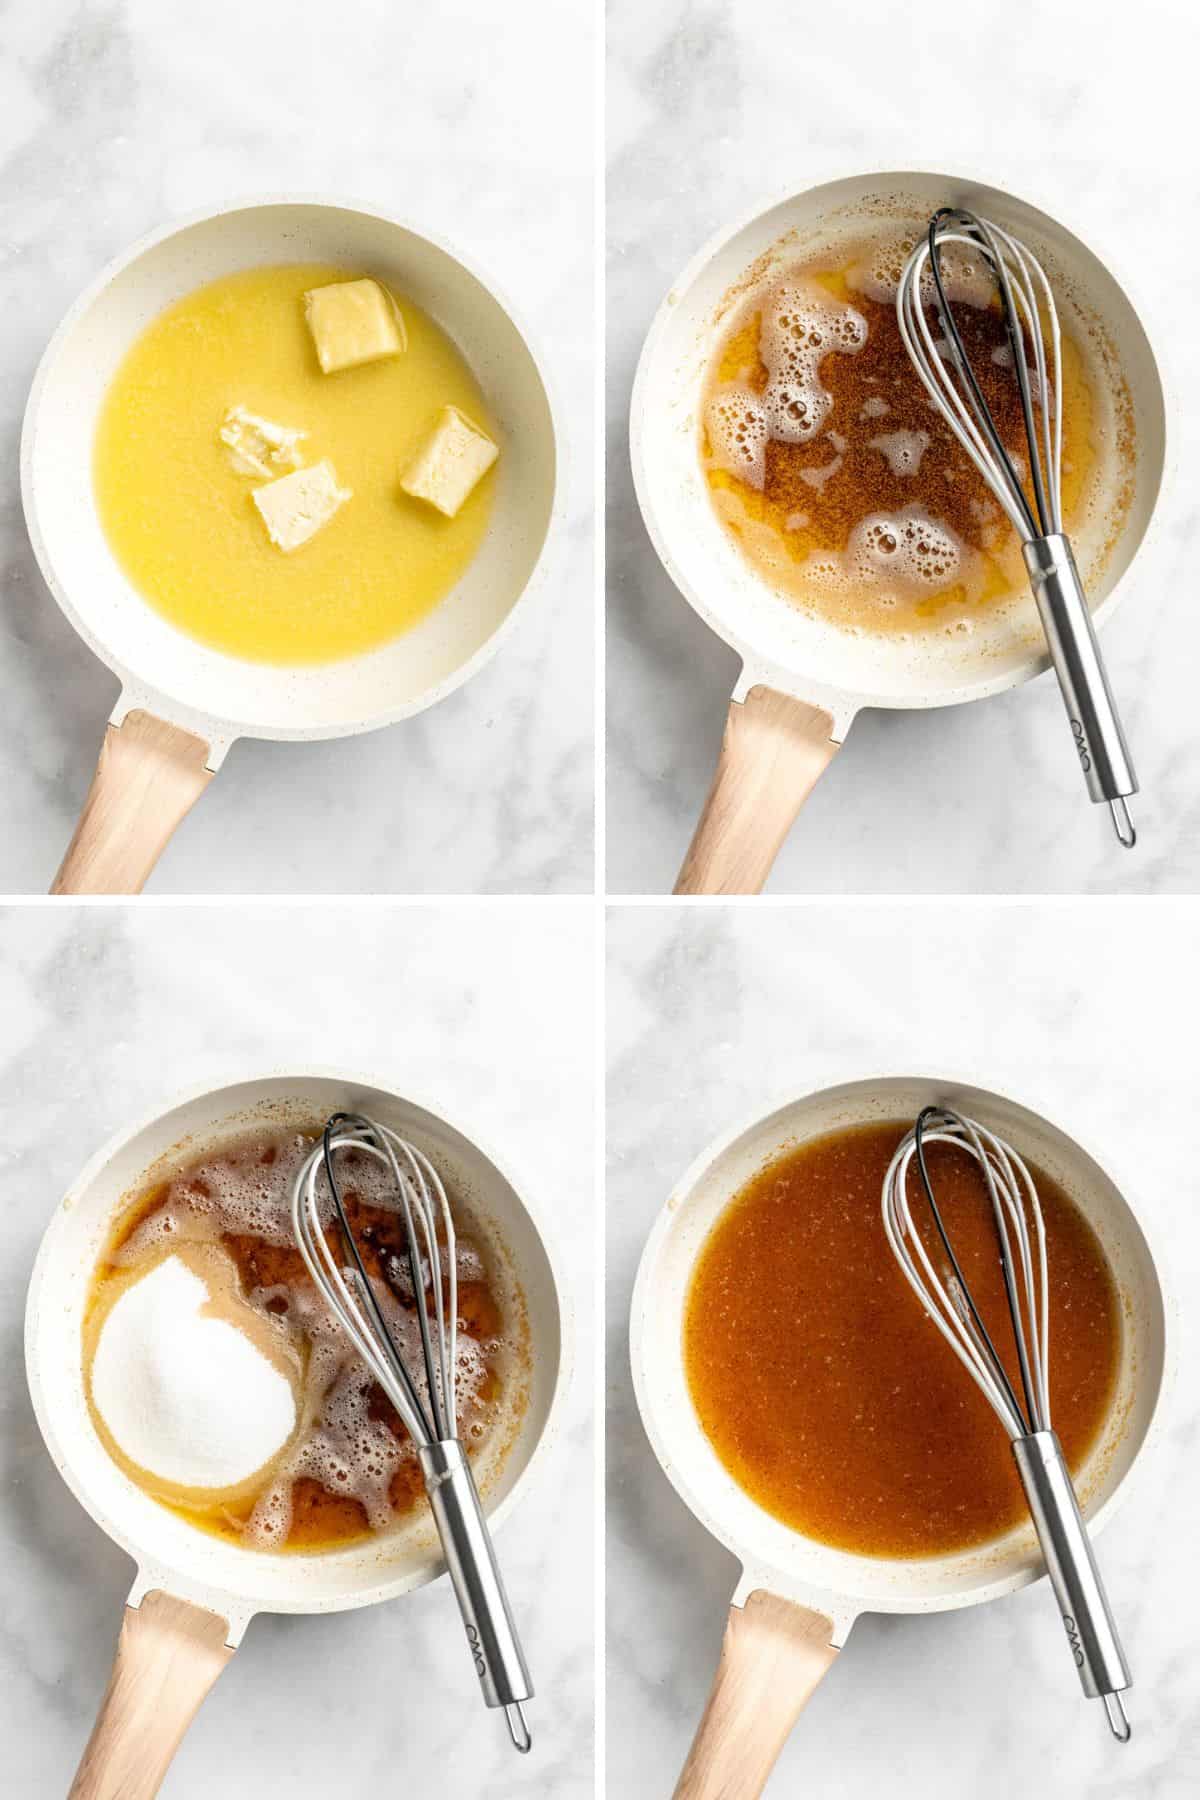
While your cake is baking, you’ve gotta make that sweet brown butter glaze that is going to take your cake from good to unbelievable. It comes together simply and with ease.
- Melt the butter in a skillet.
- Continue to cook until it’s browned and then remove from the heat.
- Add the sugar, water, and vanilla.
- Whisk together until the sugar dissolves.
Step 3: Assemble the Cake
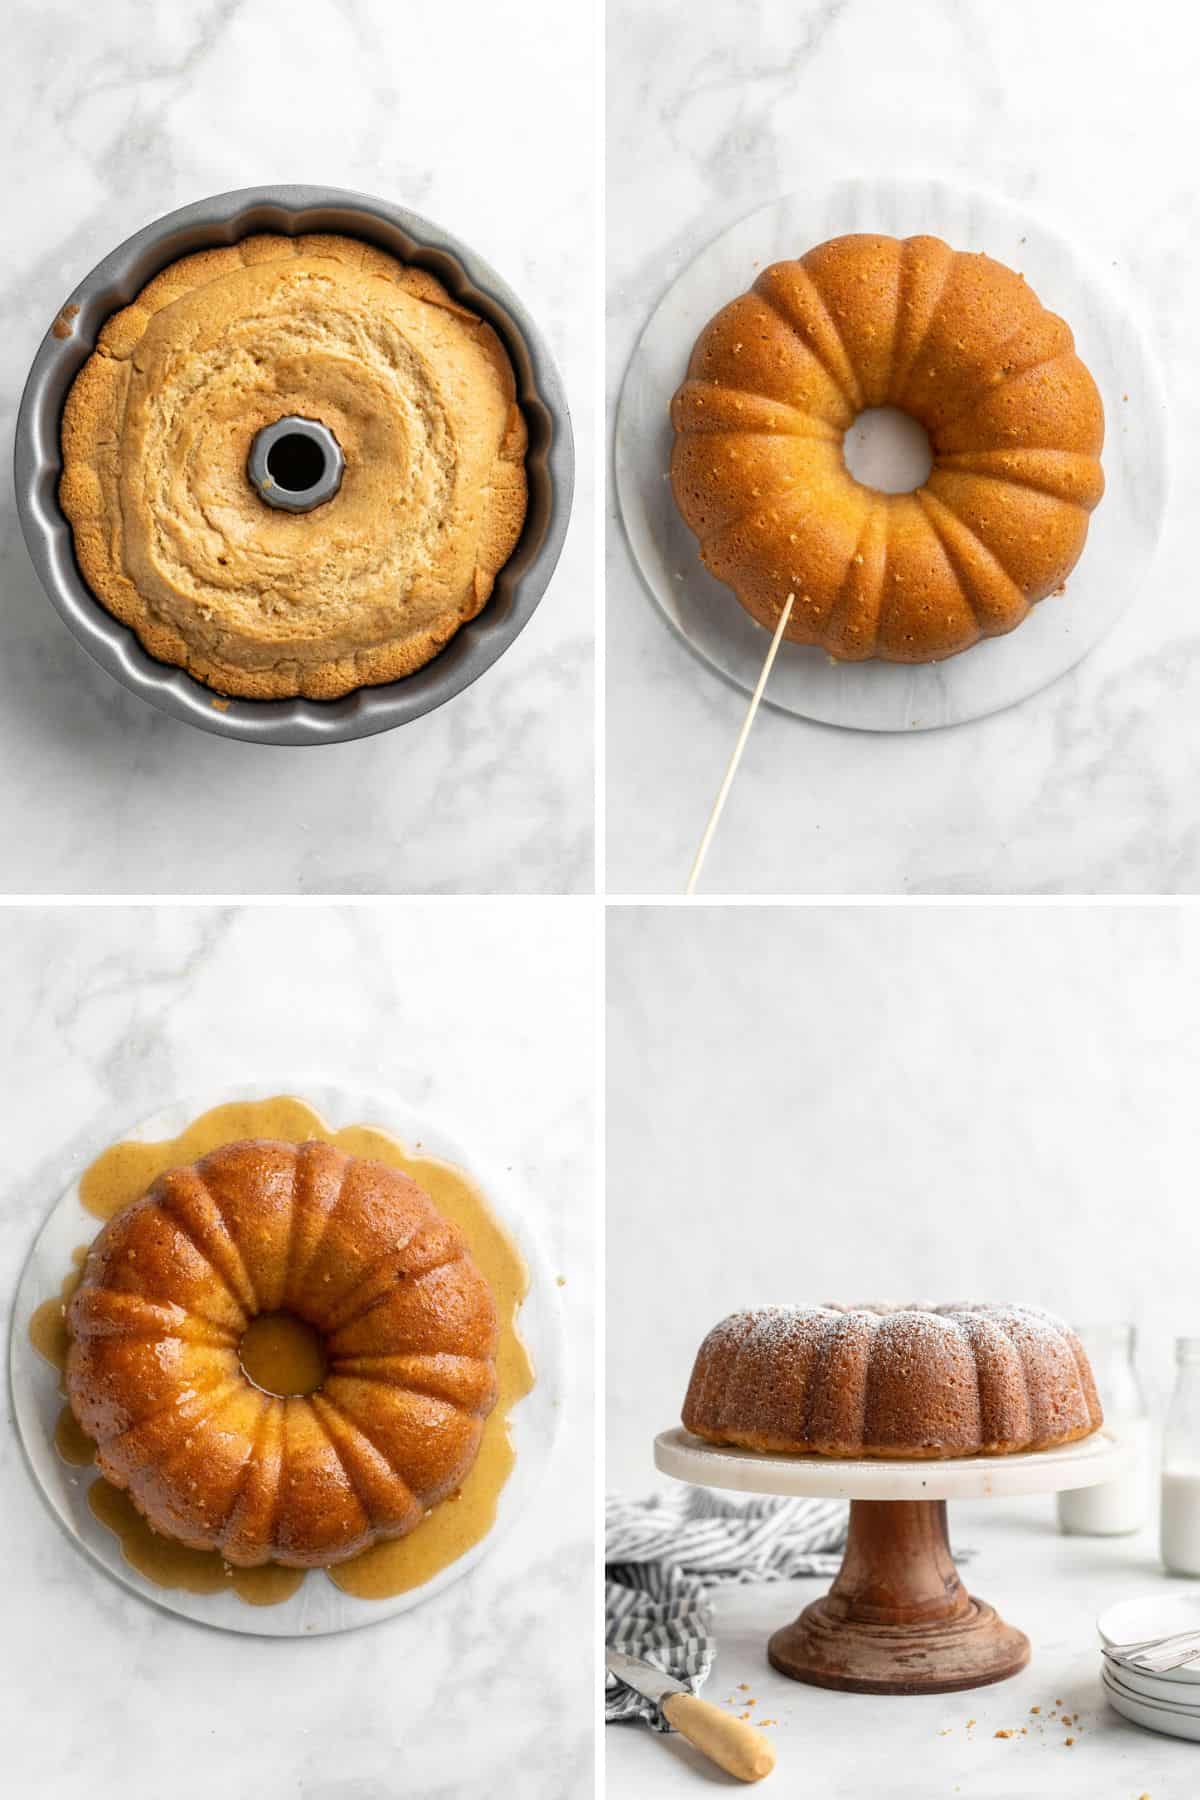
- Cool the cake in the pan for 10 minutes and then invert it onto a platter.
- Poke several holes all over your cake using a wooden skewer.
- Pour the glaze all over the cake so it seeps in and distributes all through the cake.
- Dust with powdered sugar and serve it up!
Tips for Making the Best Brown Butter Cake
- Watch the Butter Closely. You want it to brown and not burn so it’s a good idea to stay close to the pan while it’s cooking. The butter will first melt and then begin to foam a bit as it cooks. Then you will start to see browned flakes appear on the bottom of the pan. Cook until it’s an amber color and then remove it from the heat.
- Cooled Browned Butter. The cooling process can take a few hours so I suggest making your butter the night before. Even if that is not possible for you, I can’t stress enough that your butter needs to be completely cool. Using brown butter that is still warm will change the texture of the cake. You’ll end up with a dense, not fully risen, and eventually hardened cake that won’t last through dinner.
- Do Not Over Mix. This is THE key to tender cakes! Mixing too much causes the gluten to activate more which leads to a more dense texture.
- Make to Poke Holes Over the Whole Cake. The holes will allow the glaze to thoroughly seep into the cake so make sure you cover the entire thing so it soaks into the cake evenly.
- Cool the Cake in the Pan for a Bit. This makes it much easier to remove the cake from the pan while keeping it intact.
Popular Substitutions & Additions
- No Cake Flour? It’s important to use cake flour to keep this cake from developing too much gluten so don’t try to swap it for all-purpose flour. If you don’t have any you can make your own cake flour using flour and cornstarch.
- Rum or Bourbon Flavor. Add a bit of rum extract or liquor, bourbon, brandy, or any other extract flavor you enjoy to the butter glaze!
- Salted Butter. I prefer unsalted butter because you have more control over the amount of salt. However, you can use salted butter to make your cake but you might want to cut back or reduce the amount of salt you add to the cake. It may make the butter sauce poured over the top a bit saltier than the unsalted butter.
- Add Nuts. Stir in chopped pecans or walnuts into your cake batter just before baking.
- Buttermilk Substitute. If you don’t have any buttermilk on hand use regular milk instead combined with an acid. Add a tablespoon of vinegar or lemon juice to a measuring cup and then add milk to the one cup measure. Let it sit for five minutes.
What to Serve with Brown Butter Pound Cake
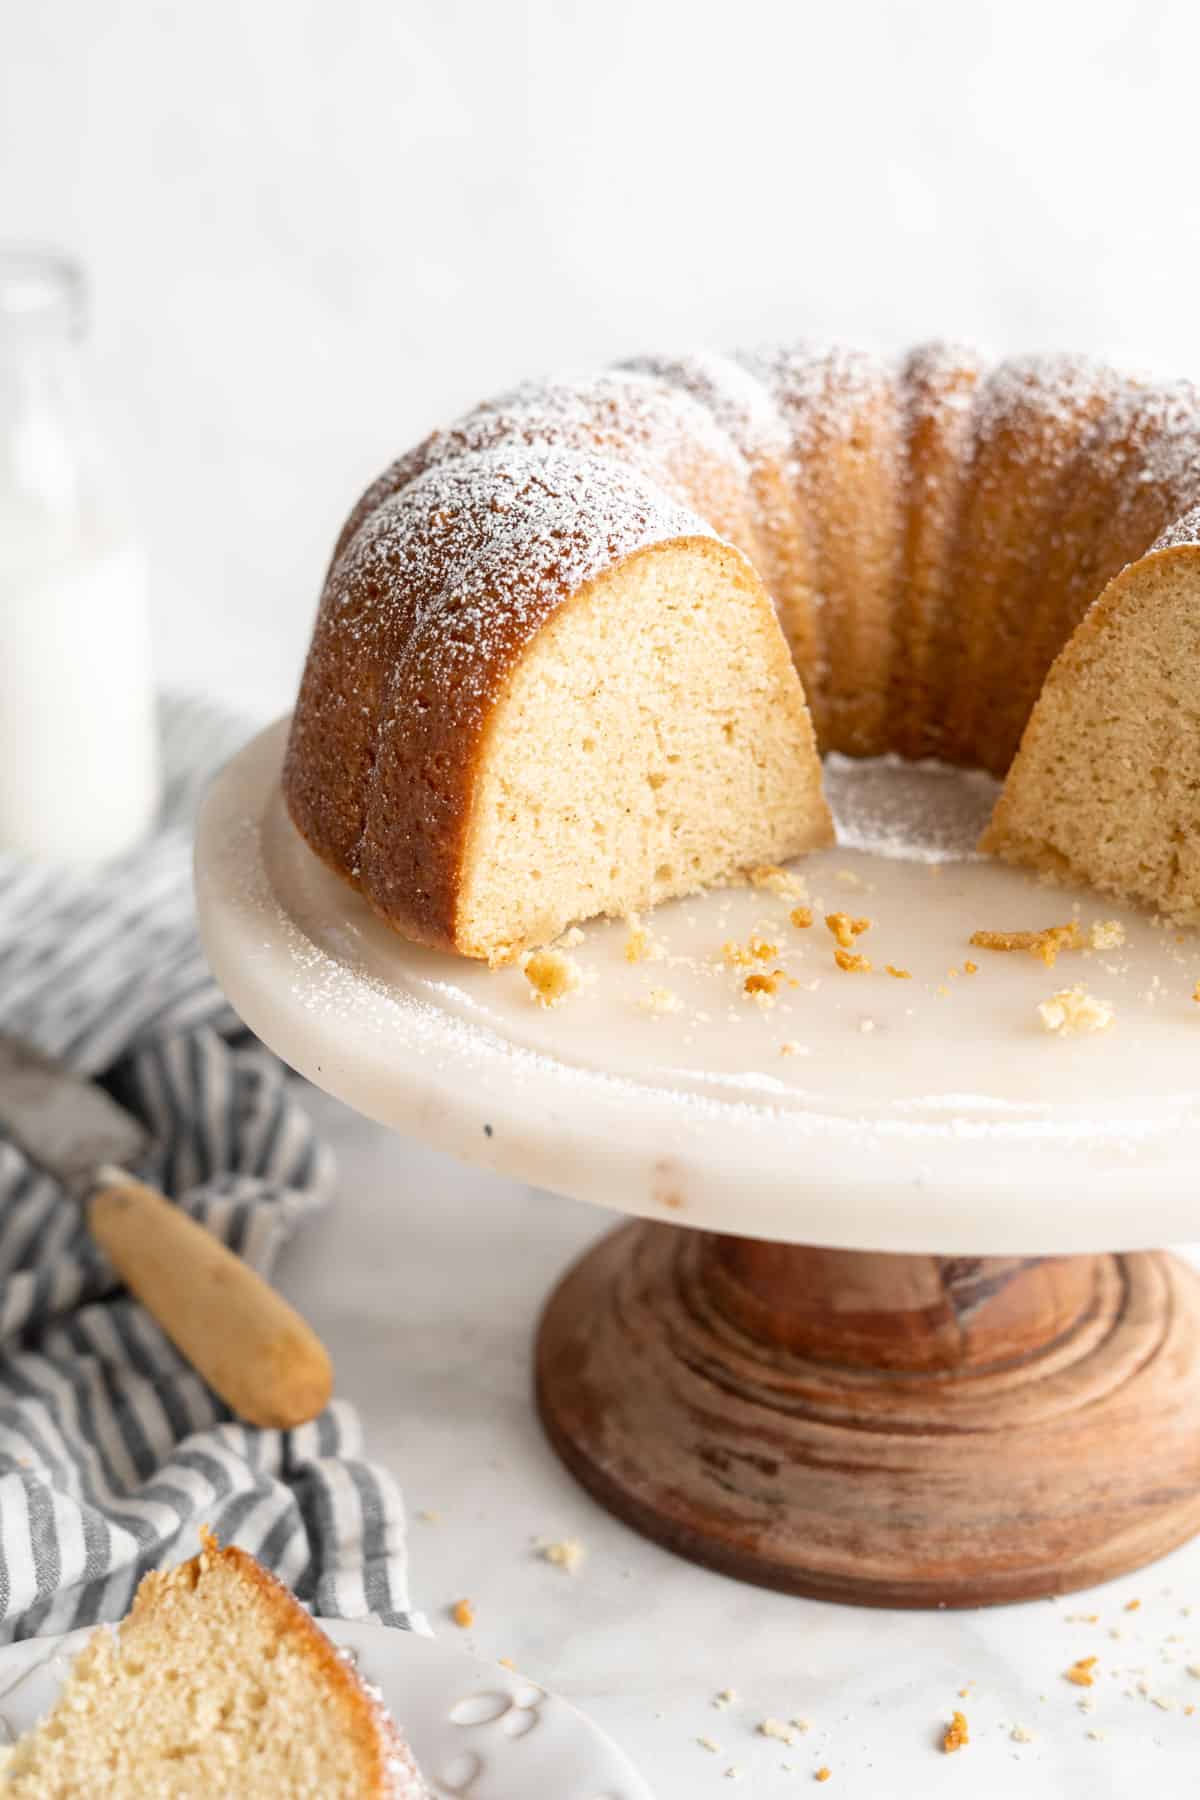
- While it tastes great all on its own, it’s even better with some fresh sliced fruit and whipped cream.
- Add a scoop of ice cream! It’s great with any flavor but you can’t go wrong with vanilla ice cream though strawberry ice cream is great too! You can even warm up the cake when serving with ice cream.
- Add a spoonful of homemade fresh berry sauce over the top!
- Add a dollop of lemon curd or another flavor of this tart creamy fruit custard.
How to Store Kentucky Butter Cake
Y’all keep this note: This browned butter cake gets even better as it sits so it actually tastes the bomb on the second day. Here’s how you can store it so it stays super fresh! Cool the cake completely and then wrap it in plastic wrap. Keep it at room temperature but someplace that’s cool and out of the sunlight.
If you want to serve it up warmed (so bomb!) you can heat individual slices in the microwave for a few seconds.
How long will Kentucky butter cake last?
When stored properly it will last at room temperature for up to four days. You can extend its freshness by keeping it in the fridge for up to a week however the refrigerator may dry out cakes.
Can I freeze browned butter cake?
Yep fo sho. Wrap it in plastic wrap followed by aluminum foil. Store it in the freezer for up to three months. Thaw it out in the refrigerator overnight and then let it sit at room temperature a bit before serving it.
Frequently Asked Questions
Proper measurement is one of the keys to baking. A scale is the gold standard for measuring but most American recipes or Americans do not use the scale. The best way to measure dry ingredients is to use a spoon to scoop the dry ingredients into the measuring cup and then level it off with the straight edge of a knife. For liquids, make sure to use a lined measuring cup and check it at eye level to ensure you have measured correctly.
Bundt cakes are notorious for sticking. Mainly because the pan usually has lots of little creases which may be difficult to coat. You may find using a special baking spray works well or you can also grease the pan using shortening or butter. With this method use a paper towel or wax paper to make sure you get all the little crooks and crannies in the pan coated. Then dust it lightly with flour. Double check that there are no areas not covered. Then pour the batter in the pan.
This isn’t a good idea. This cake, like most pound cakes, is quite dense. The structure of the bundt cake helps it to cook evenly. It disperses the cake batter from the center — which is usually the last to cook. This ensures the cake cooks completely without the outside of the cake getting too dark.
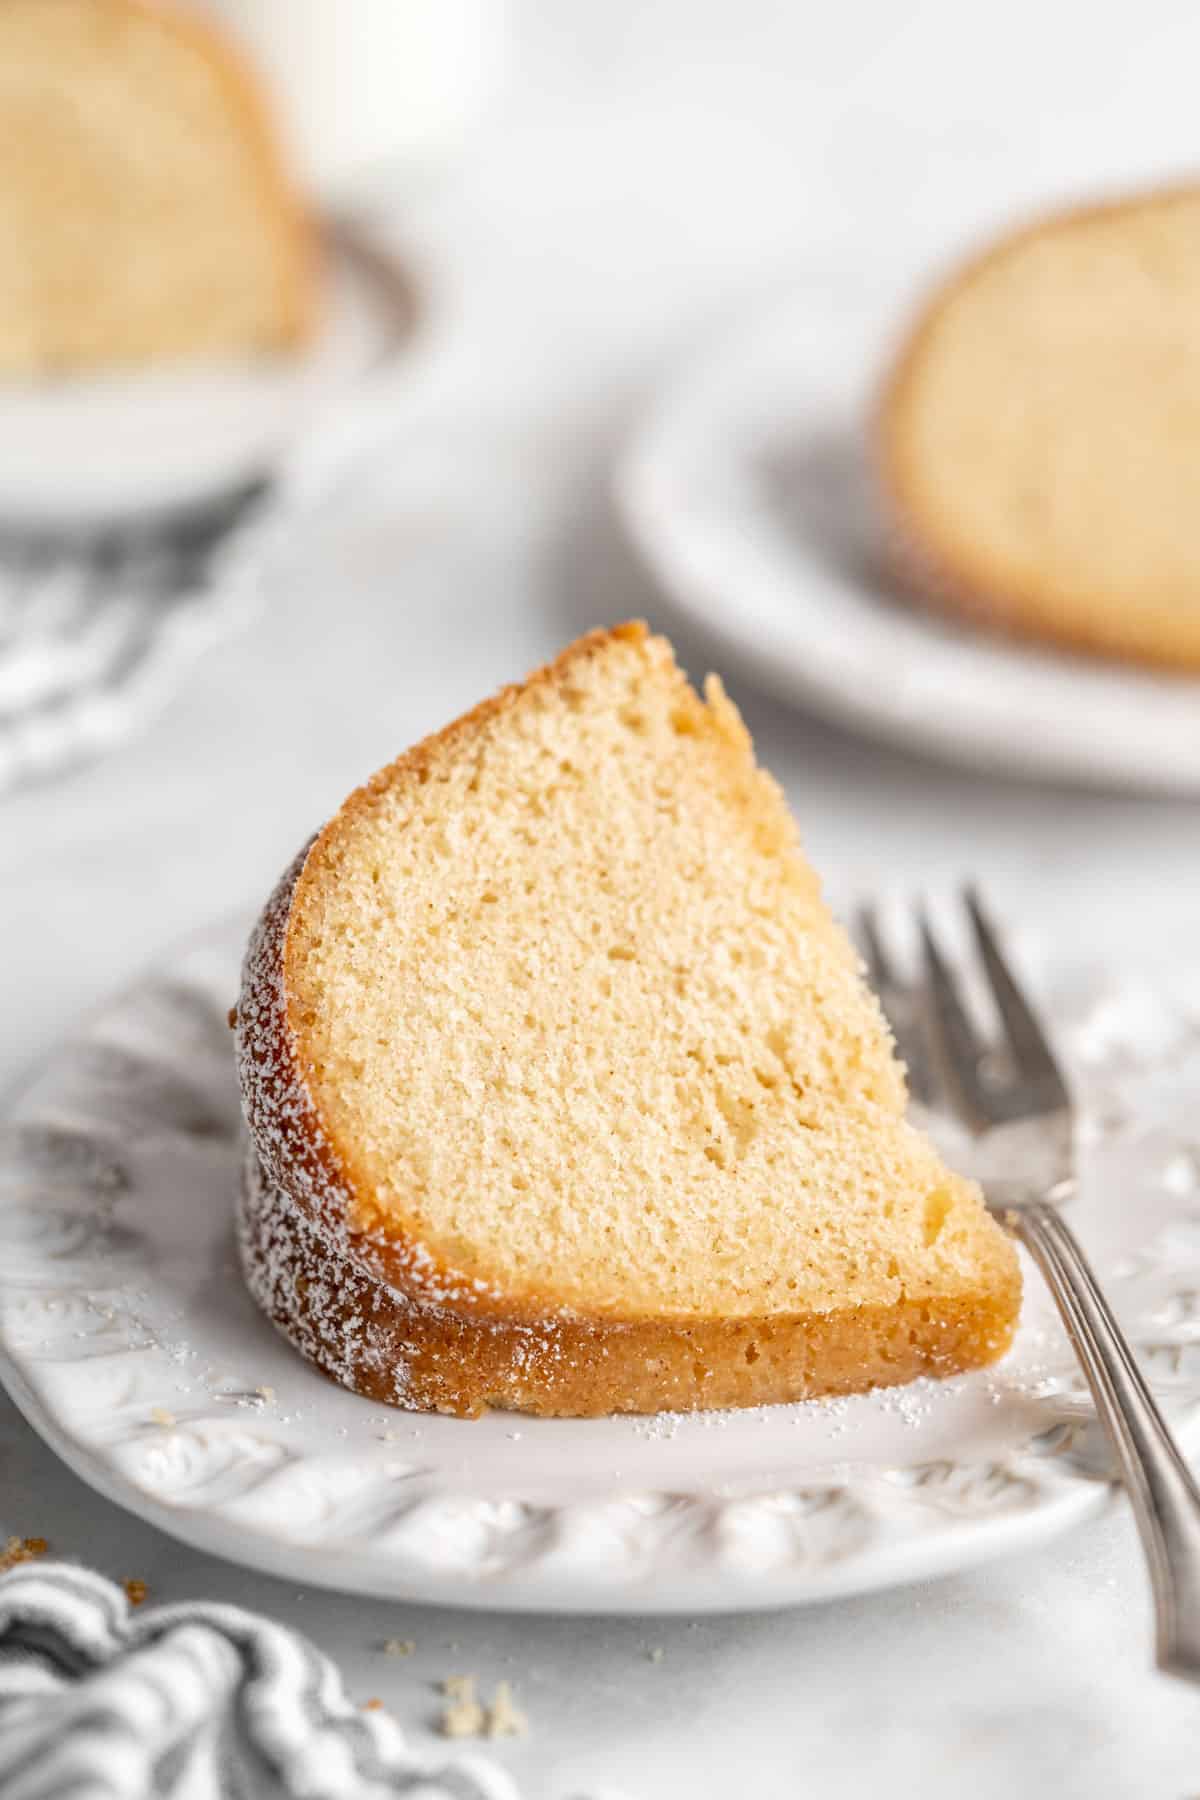
This Kentucky Butter Cake is not just another buttery dessert – it’s a whole mood! It’s got this extra little nutty oomph from browned butter and a sweet sugar glaze that just elevates it to superstar status. You better believe it’s gonna be the talk of the town at your next get-together.
More Brown Butter Dessert Recipes
- Ginger Browned Butter Blondies
- Butterfinger Browned Butter Cookies
- Browned Butter Maple Blondies
- Chai Brown Butter Snickerdoodles
- Brown Butter Chocolate Chip Cookies
- Pumpkin Bundt Cake
Kentucky Butter Cake Recipe
Want to Save This Recipe, Boo?
Equipment
Ingredients
For the Cake
- 1 cup unsalted butter
- 2 tbsp shortening or oil
- 2 cups granulated sugar
- 4 large eggs room temperature
- 3 cups sifted cake flour
- 1 tsp salt
- 1 tsp baking powder
- ½ tsp baking soda
- 1 cup buttermilk room temperature
- 1 tbsp vanilla extract
For the Brown Butter Glaze
- ⅓ cup unsalted butter
- ¾ cup granulated sugar
- 3 tbsp water
- 1 tbsp vanilla extract
Instructions
For the Cake
- In a small saucepan, add butter and melt over medium heat. Once the butter has fully melted, a white foam will begin to appear over the top of the butter.
- Watch carefully as the butter’s color changes to brown and the smell of the butter becomes somewhat nutty.
- As soon as the butter is an amber brown color, remove from heat and cool in the refrigerator until it the butter has become solid again (can take 1-2 hours so I sometimes do this the night before baking the cake).
- Once butter is solid, preheat oven to 325 degrees then liberally spray 10 cup bundt pan with non-stick baking spray.
- In your mixer bowl, add butter and shortening and beat for 2 minutes on high speed. Slowly add in sugar beat on high speed for an additional seven minutes until very pale yellow and fluffy.
- Next, add eggs, one at a time, combining well after each addition and scraping down the sides as needed.
- Turn your mixer down to its lowest speed, and slowly add flour into batter in two increments then add salt, baking powder and baking soda. Be careful not to overbeat.
- Lastly, pour in buttermilk and vanilla extract, scrape down sides and mix until just combined and turn off mixer.
- Add batter to prepared cake pan and bake for 45-55 minutes or until toothpick inserted into center comes out mostly clean but still moist. While cake is baking, work on the butter sauce below.
For the Brown Butter Sauce
- While cake cools, add butter to saucepan and again melt then brown until the butter turns an amber color.
- Turn off heat and whisk in sugar, water and vanilla extract until smooth.
- Remove cake from the oven and poke warm cake with a toothpick or skewer in several places all over the cake then pour 3/4s of the sauce into the cake, allowing it to seep in.
- Once sauce is settled, remove cake from pan then brush remaining sauce over the top.
Notes
- Watch the Butter Closely. You want it to brown and not burn so it’s a good idea to stay close to the pan while it’s cooking. The butter will first melt and then begin to foam a bit as it cooks. Then you will start to see browned flakes appear on the bottom of the pan. Cook until it’s an amber color and then remove it from the heat.
- Cooled Browned Butter. The cooling process can take a few hours so I suggest making your butter the night before. Even if that is not possible for you, I can’t stress enough that your butter needs to be completely cool. Using brown butter that is still warm will change the texture of the cake. You’ll end up with a dense, not fully risen, and eventually hardened cake that won’t last through dinner.
- Do Not Over Mix. This is THE key to tender cakes! Mixing too much causes the gluten to activate more which leads to a more dense texture.
- Make to Poke Holes Over the Whole Cake. The holes will allow the glaze to thoroughly seep into the cake so make sure you cover the entire thing so it soaks into the cake evenly.
- Cool the Cake in the Pan for a Bit. This makes it much easier to remove the cake from the pan while keeping it intact.
If I wanted to make this for Christmas Dinner would making the cake the night before be good?? Brown the butter on the 23rd make cake on the 24th eat on the 25th??
Yep you can totally do this!
What type of oil is best? Can I use canola oil? Or is it best to just go with shortening?
Yep canola oil is totally fine.
I made the cake this weekend and while everyone loved it I wasn’t sure that I made it correctly. I poked the cake with a skewer all over but the glaze didn’t seep through completely and I was left with it pooling into the center and the outside? What did I do wrong? Should I have used a toothpick instead?
The.best.cake.ever! I have made this at least six times in the past month!
That’s so awesome!! Thank you!
After cooling the butter, do you bring it to room temp or mix it cold with the shortening?
No you will let it mix as it is out of the refrigerator.
This has been a family favorite for as long as I can remember! We still serve it at many family gatherings. I’m so happy you’ve shared it here!
Jocelyn,
This cake is FIRE!!!!!! It is so good. The glaze is awesome! I made it for the 4th. Followed the directions to a tee. This is one of the best recipes I have tried of yours. Thank you so much for sharing!
Wonderful!!!! I’m so so glad you loved it!
I cannot tell you how thrilled I was to see you have a cookbook! I’ve been making your Carmel cake for the past few years now. It is everyone’s absolute favorite cake. I have to double the recipe on the Carmel though because we all have to lick the bowl a hundred times. Best cake on the planet. Can’t wait to get your cookbook, should be here tomorrow!
I saw this butter cake made on America’s test kitchen and they made a apricot filling…do you have a recipe for that filling and how to put it together? Thank you.
Hi Fran, this butter cake is my family recipe with a twist. I don’t have the recipe for the America’s test kitchen one and the apricot filling. They would only have that version unfortunately but this version is really amazing so you should try it!
Although I haven’t tried this recipe yet, I know it will be wonderful!!! I wonder if a nice shot of good old Kentucky bourbon would be OK in the glaze or even in the batter. What do you think? Love your recipes — please keep them coming!
Hi Lois, I actually think that’s a great idea! The bourbon would really take this up a notch for reals!!