
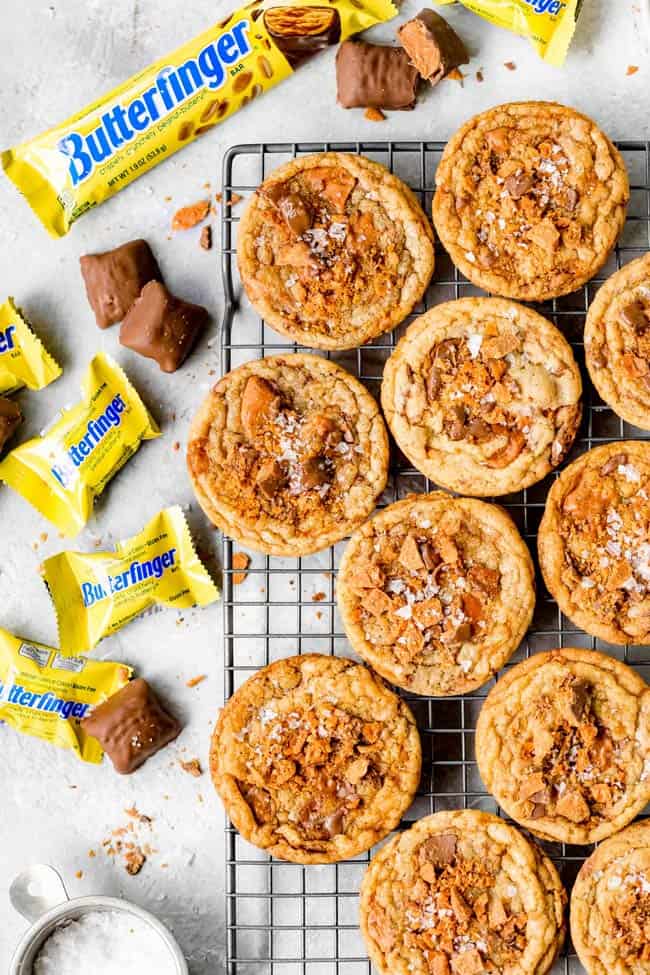
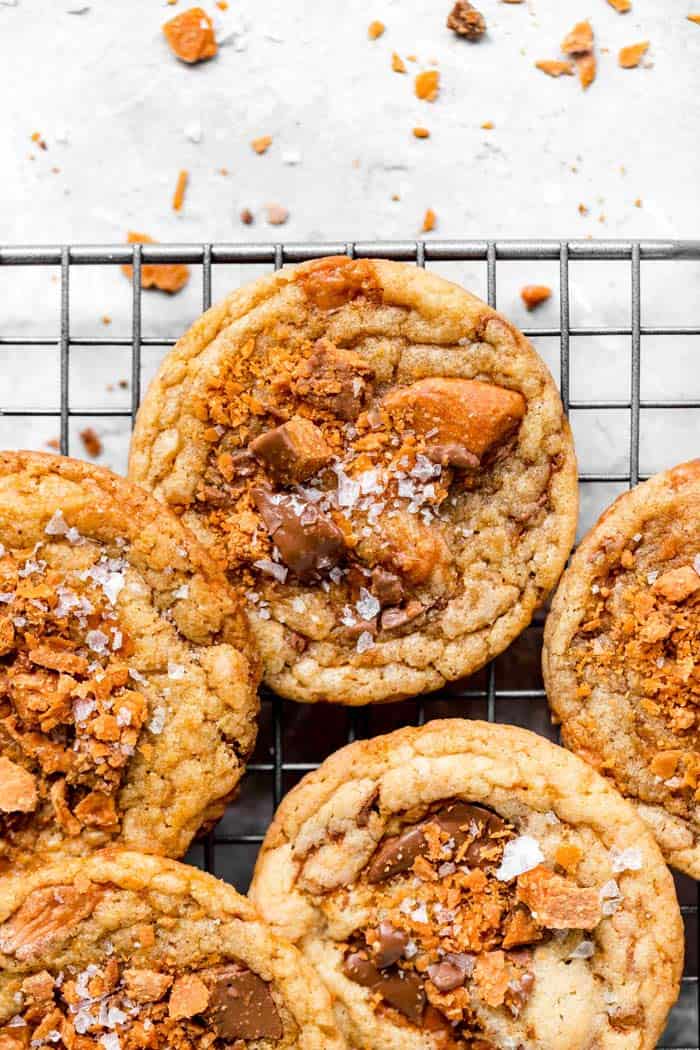
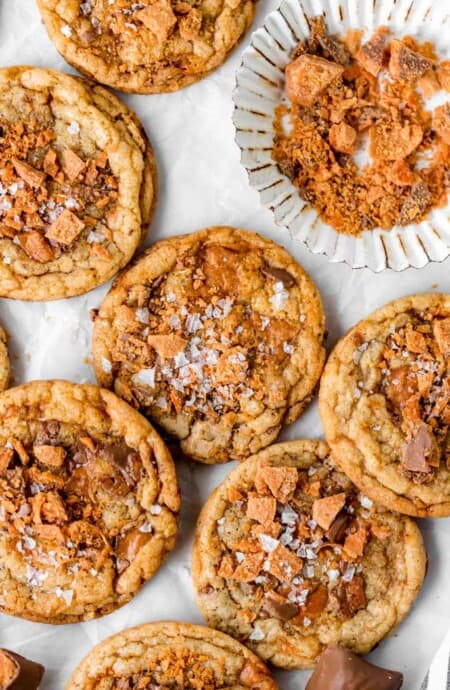
These Chewy Butterfinger® Brown Butter Cookies are perfectly chewy and made with toasted brown butter and packed with sticky, sweet Butterfinger® pieces! Crisp edges meet a soft, buttery middle in these sweet, caramelly cookies!
Disclosure: I partnered with Butterfinger® for this recipe post, but all opinions expressed here are my own. I am grateful for authentic partnerships like this.
Want to Save This Recipe, Boo?
I have always had a thing for Butterfinger®. I mean, how could you not? A smooth, creamy chocolate exterior and a crisp, flaky, buttery interior? Each bite is almost an out-of-body experience! I’ll be honest, I don’t eat candy often and I never have. As a kid, candy was reserved for rewards or holiday treats so I was pretty excited anytime I got it.
Whether it was bite-sized pieces in Halloween baskets or a prized king-size in a Christmas stocking, I always hunted for that signature bright yellow packaging and blue block letters. Trust me, if a Butterfinger® crossed the threshold into my house, I knew about it.
Today’s recipe is an ode to my childhood favorite! Brown Butter Butterfinger® Cookies are the best of two worlds: chewy butter cookies and nutty candy bars. Watch out y’all, I’m coming with your new favorite cookie!
Ingredients
Y’all are in for a treat today! Seriously, these cookies will have you coming back for seconds, thirds and a midnight snack. No judgement here.
Here’s what today’s grocery list is looking like:
- Butterfinger® Bars- the bar that started it all! Butterfinger® bars are crispety, crunchety, peanut buttery and covered in a rich, chocolatey coating. During baking, Butterfinger® bars maintain their texture making for an intense, flavorful bite.
- Brown Butter- rich, nutty and toasted, brown butter makes for a chewy, flavorful cookie.
- All-Purpose Flour- if you prefer a more tender cookie, I highly suggest sifting the flour before tossing together the dry ingredients.
- Baking Powder & Baking Soda- both should be fresh and active. If necessary, test both before use to ensure a proper rise.
- Salt- Butterfingers are quite salty on their own so it’s important to properly measure added salt. Kosher salt is a must!
- Light Brown Sugar- when measuring brown sugar, always pack the measuring cup. We want maximum sweet, chewy goodness.
- Granulated Sugar- brown sugar is denser, moister and heavier than granulated sugar. By using both sugars we create balance and allow air to be incorporated into the dough.
- Eggs- eggs serve as binders and emulsifiers. Be sure to use room temperature eggs so the proteins don’t seize during baking.
- Vanilla- what’s a cookie without a dash of aromatic vanilla?
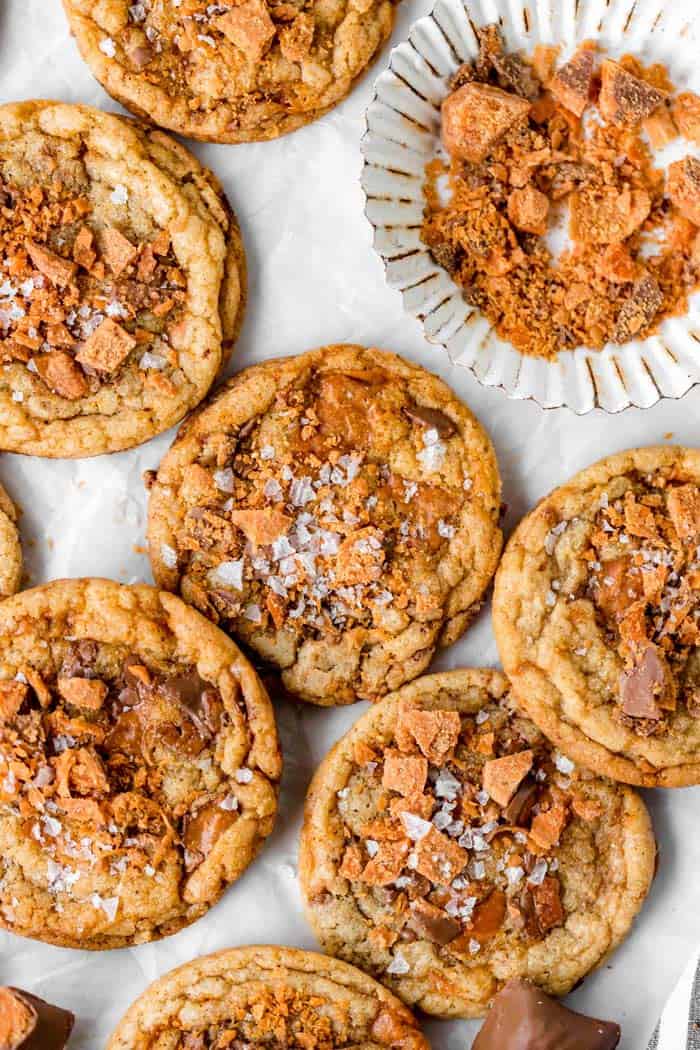
- Flaky Sea Salt (Optional)- Sea salt is the way to go! Not only does it add a pop of flavor but it’s also so pretty!
How to Make Butterfinger Brown Butter Cookies
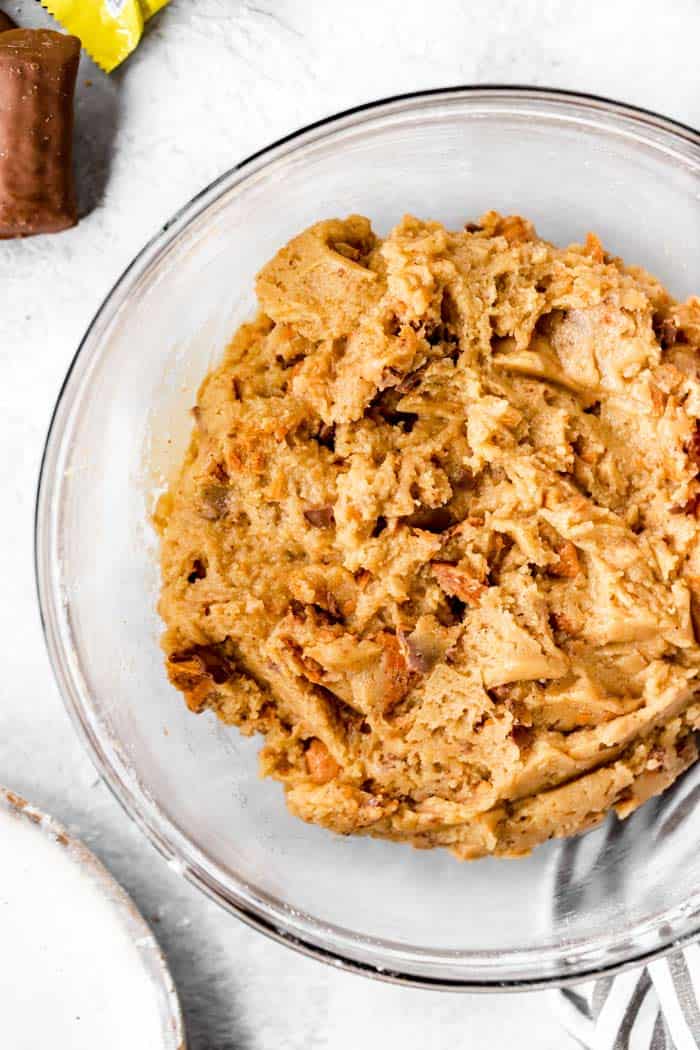
The Mix:
- In a big bowl, blend the cooled brown butter, sugars, and vanilla. Whip it good for about 2 minutes until it’s dreamy smooth.
- Whisk in those eggs one by one, then gently fold in the flour mix in three parts. Don’t forget those Butterfinger bits!
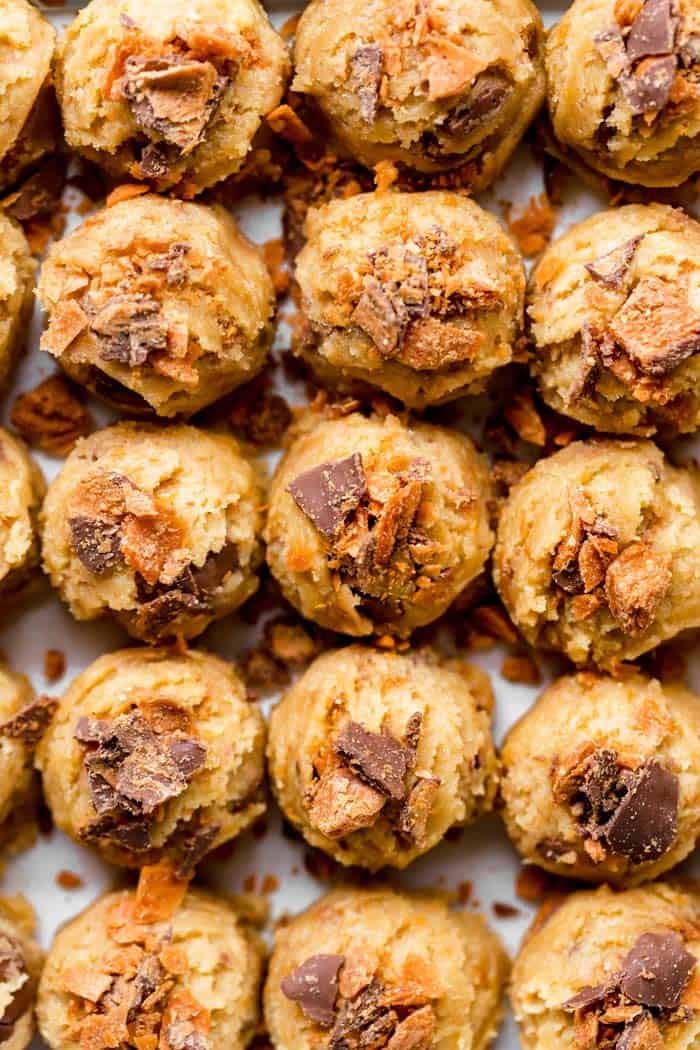
Chill and Scoop:
- Chill your dough for 30-45 minutes to get the perfect scoopable consistency.
- Scoop out 2-tablespoon-sized dough balls onto your baking sheet, giving them some room to spread out.
Bake and Enjoy:
- Bake for 10-12 minutes, then let them cool for 15 minutes.
- Serve and watch them disappear!
Storing Leftovers
Most cookies will stay fresh when stored in an airtight container at room temperature for 3-5 days. After that, it’s best to freeze them. After baking, allow the cookies to cool completely. Place them in a single layer on a parchment-lined baking sheet to freeze them, then store them in a freezer-safe zip-top bag. Be sure to squeeze out the extra air!
Tip: If you’re storing at room temperature, place a slice of white sandwich bread in with the cookies. The bread’s moisture will release and keep the cookies nice and soft!
The Best Cookies
No matter what time of year or time of day, cookies are always good. Not just good, craveably delicious, mouth-watering good! Enjoy the best of them by giving a few of my FAVORITE cookie recipes a try:
- Gluten Free Chocolate Chip Cookies
- Turtle Cookies
- Dark Chocolate and Cranberry Cookies
- Brown Butter Chocolate Chip Cookies
- Peanut Butter Cookies
- Chewy Chocolate Chip Cookies
- Brown Butter Snickerdoodles
Butterfinger Brown Butter Cookies
Want to Save This Recipe, Boo?
Ingredients
- 12 tbsp unsalted butter
- 2 cups all purpose flour
- 1 tsp baking powder
- 1/2 tsp baking soda
- 1/2 tsp salt
- 1 cup light brown sugar packed
- 1/2 cup granulated sugar
- 1 tbsp vanilla extract
- 2 large eggs
- 1/2 cup Chopped up Butterfinger candy up to 3/4 cup
- sea salt to garnish optional
Instructions
- In a small saucepan, add butter and melt over medium heat. Once the butter has fully melted, white foamy bubbles will begin to appear over the top of the butter. Watch carefully as the butter’s color changes to brown and the smell of the butter becomes somewhat nutty.
- As soon as the butter is an amber brown color, remove from heat and cool in the refrigerator for 20-25 minutes or until it reaches room temperature.
- Preheat your oven to 350 degrees and line a baking sheet with parchment paper.
- In a medium sized bowl, whisk together flour, baking powder, baking soda and salt and set aside.
- Pour butter into a large bowl and stir in both sugars and vanilla and thoroughly whisk until combined and continue to whip with your whisk for about 2 minutes.
- Next whisk in each egg one at a time. The batter should be glossy and smooth.
- Next add the flour mixture in three increments and carefully fold into the batter using a spatula until flour is completely mixed in. Pour in the Butterfinger bits and mix into the batter. Refrigerate the dough for 30-45 minutes.
- Scoop out balls that are 2 tablespoon sized and add to your lined baking sheet at least 1 inch apart. Bake for 10-12 minutes.
- Remove from the oven and cool for 15 minutes then serve.
 pinterest
So excited to try this! Approximately how many candy bars are needed to make this? Thanks!
We made these but our cookies are spreading out really far. Do you think it could be the butter is too warm? Any ideas? They taste fabulous but just get so thin.
You probably needed to refrigerate them longer. I would let the dough chill and firm up a bit more and bake the dough again.
Awesome cookie! I started baking cookies today for my daughters wedding 11-5-22. These were my first batch and came out perfect! I found this recipe and they just sounded like a great fall cookie! I love butterfingers. I will be making more! So glad I found you! She will be having a cookie table at her wedding and her and I plan on making 750-1000 cookies!
Good luck girl! It’s coming up!