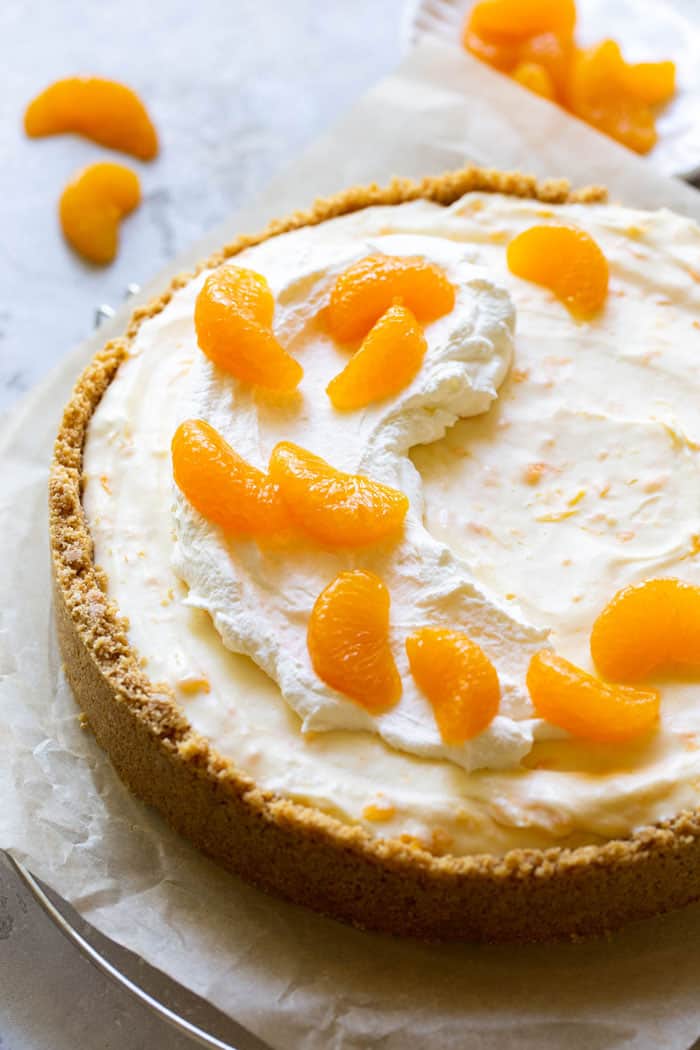
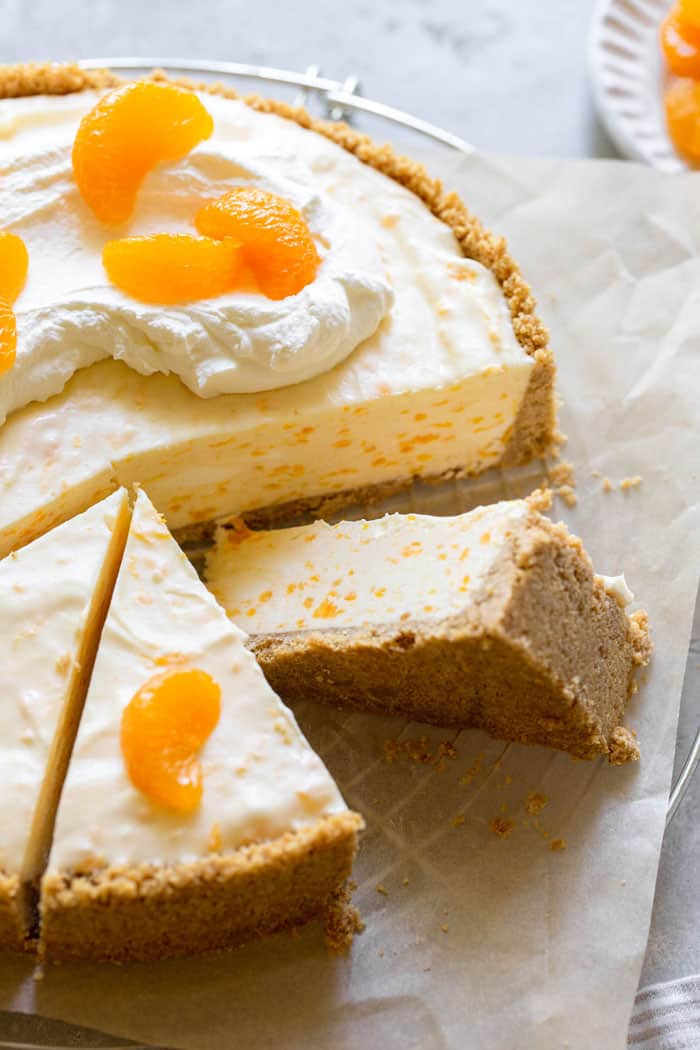
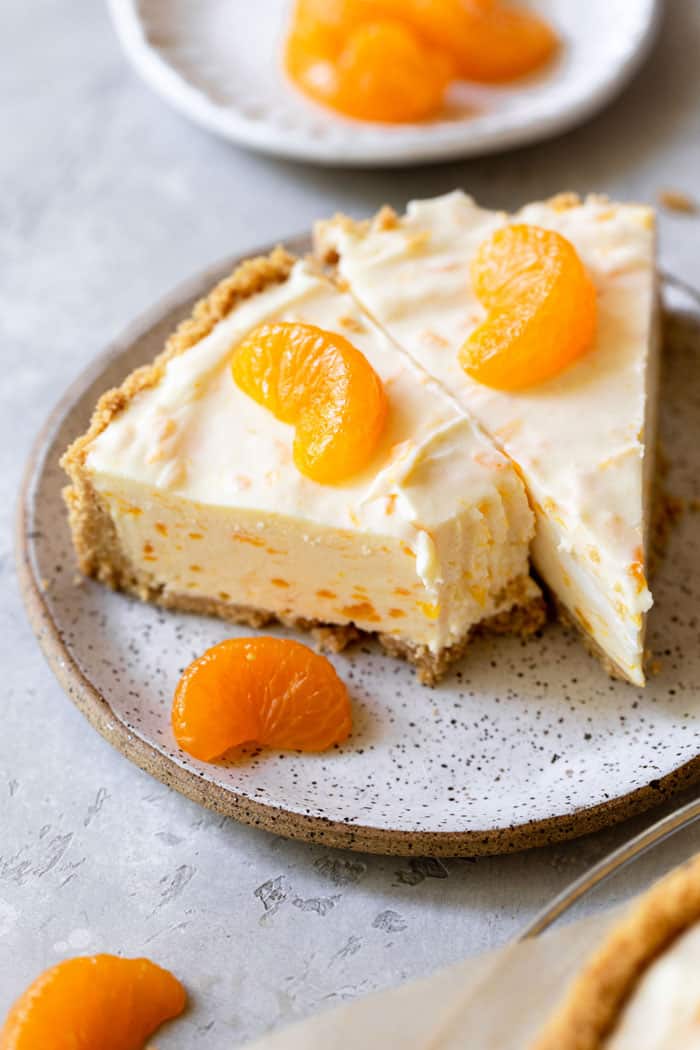
This No-Bake Orange Creamsicle Cheesecake starts with buttery graham cracker crust that’s topped with citrusy sweet and light cream cheese filling then topped with homemade whipped cream. It tastes just like a Creamsicle!! This easy-to-make cheesecake is destined to be the star of picnics and BBQs alike!
This post may contain affiliate links. Read our disclosure policy.

Want to Save This Recipe, Boo?
With Summer right around the corner, I’ve been hard at work developing refreshing recipes meant to soothe even on the hottest of days. I’m drawing inspiration from some of my favorite childhood sunny season treats: popsicles. We can all recall memories of colorful, icey pops of various fruity flavors that dripped down our fingers and changed the color of our tongues. Such fun!
My favorite popsicle flavor? Orange Creamsicle! These sugary, cream filled popsicles were always abundant in my freezer. I relied on these cold delicacies to cool me down and re-energize me for the next round of outdoor play.
Even now that I’m all grown up, I still enjoy the occasional creamsicle. So, today I’m taking my favorite Summer sweet and turning it into something even sweeter! It’s just like this Pig Pickin’ Cake in cheesecake form.
The Heart and Soul of the Best Orange Creamsicle Cheesecake Recipe
Cuisine Inspiration: American Dessert
Your favorite childhood popsicle just got a gourmet upgrade! We’re taking the nostalgic, creamy, orange-flavored delight of an Orange Creamsicle and turning it into a sophisticated, mouthwatering cheesecake. This American classic is about to become your go-to summer dessert!
Primary Cooking Method: No-Bake
Who wants to slave away in front of an oven when it’s gorgeous outside? No oven, no problem! This cheesecake comes together with a little mixing, a bit of chilling, and zero baking. It’s all the indulgence without the heat!
Dietary Info: Vegetarian
This treat is 100% vegetarian-friendly! While it’s rich and creamy, there’s no gelatin involved in the setting process, making it perfect for those following a vegetarian diet.
Key Flavor: Orange Citrus Bliss
Imagine the tangy yet sweet burst of citrusy orange, paired with the velvety smoothness of cream cheese. It’s a match made in flavor heaven, with every bite transporting you back to those endless summer days of childhood.
Skill Level: Easy Peasy
Don’t let cheesecakes intimidate you! This recipe is a cinch, perfect for beginners or those who just don’t want to fuss. If you can mix ingredients and own a fridge, you’re all set!
Sweet Highlights:
- Effortless Elegance: No baking doesn’t mean no flair! This dessert is as chic as it is easy to make.
- Childhood Throwback: The iconic Orange Creamsicle taste will take you on a delightful journey down memory lane.
- Beat the Heat: Keep your kitchen cool with this no-bake method, ideal for hot summer days or when you’re oven’s on the fritz.
- Creamy Dreamy Texture: Achieve that coveted, creamy cheesecake consistency without cracking or the dreaded water bath.
- Party-Ready: Not only a treat for the family, but this visually stunning dessert is also perfect for your next gathering or event. It’s a guaranteed crowd-pleaser!

What is a Creamsicle?
Growing up, I LOVED Orange Creamsicles so much! After spending long, hot days outside playing with friends and getting up to no good, I’d pop open the freezer in search of frozen treats. Creamsicles are refreshing fruit juice popsicles stuffed with a creamy, vanilla filling. Though they can come in various flavors, Orange Creamsicles are both the most well-known and, if you ask me, the most delicious.
I won’t lie, I recently enjoyed one of these bad boys and a thought occurred to me: this would taste AMAZING in cheesecake form. Citrusy, sweet and tangy, this Orange Creamsicle Cheesecake is the perfect way to reinvent an beloved Summer delight.
Ingredients
Cheesecake is infamous for being difficult and time-consuming but I’m here to quiet that nonsense. This Orange Creamsicle Cheesecake is simple, delicious and made with only 7 ingredients!
Let’s get our shopping list together, shall we?
Graham Cracker Crumbs
- Flavored with honey, molasses and sugar, graham crumbs make for the perfect sweet, crisp crust.
Butter
- I mean, who doesn’t love butter? It also helps to bind together the crust!
Cream Cheese
- Cream cheese is smooth, tangy and full of delicious fatty goodness.
Granulated Sugar
- Creamsicles are notoriously super sweet, so the added sugar is necessary for the ultimate sugar rush.
Mandarin Oranges
- Sweet Satsuma oranges infuse an incredible amount of citrusy, slightly sour flavor. I used Dole Mandarin Oranges for this recipe.
Vanilla Extract
- Earthy, floral and fragrant, vanilla gives our cream filling the classic creamsicle flavor.
Whipped Cream
- Whipped cream incorporates air into our cheesecake; this lightens up the texture and makes for an almost ice cream like meltiness.
How to Make Orange Creamsicle Cheesecake
1. Crust Creation:
- Start by giving your 9-inch springform pan a good greasing – it deserves love too!
- Grab a bowl and get whisk-happy, combining those graham cracker crumbs with melted butter until they’re best buddies.
- Press this sandy mixture into the bottom of your pan (go up the sides if you’re feeling adventurous). Then let it chill in the fridge for 45-60 minutes, because good crusts need a break.
2. Filling Fun:
- While your crust is kicking back in the cold, it’s time to make magic. In your stand mixer or a large bowl (hand mixers welcome!), mix cream cheese, sugar, oranges, and vanilla until smoother than a jazz tune.
- Now, show off those folding skills! Gently fold whipped cream into the mix with a spatula. Be kind; we want fluffy, not flat!
- Take out your chilled crust and lovingly pour that citrusy, creamy goodness into it. Smooth it out like you’re icing a cake. Or writing a love letter. Whichever’s your jam.
3. Freeze and Please:
- Pop your soon-to-be cheesecake into the freezer. It needs its beauty sleep, so give it at least 4 hours. (Good things come to those who wait, right?)
- When it’s set, grab a hot knife (run it under warm water) and slice up that beautiful dessert. Keep it in the freezer, but remember to transfer it to the fridge about 30 minutes before serving. It likes to chill, not freeze!
4. Garnish and Relish:
- Time to get fancy! Decorate your slices with a dollop (or a mountain) of whipped cream and some of those zesty oranges.
- Serve and watch those smiles spread. You just brought sunshine to the table, you dessert genius, you!

Tips and Tricks
Wanna make the perfect cheesecake? I got your back! Here are a few of my best pointers to ensure you make the BEST cheesecake possible.
Use Room Temperature Cream Cheese
Cream cheese that is too firm (aka cold) won’t mix well and will leave you with a lumpy mess. Be sure to use room temperature cream cheese and you’ll be rewarded with a smooth, lump-free cheesecake.
TIP: In a pinch, take the cream cheese out of the foil, cut into smaller pieces and microwave for about 10 seconds at a time until softened.
Don’t Overmix the Batter
Over mixing a batter will incorporate too much air. Be patient, use a low speed and only mix long enough to incorporate the ingredients.
Use a Springform Pan
if you’re a lover of cheesecake, this is a great investment. A springform pan makes for the easiest removal ever!
TIP: No springform pan? No problem. Line the bottom of a cake pan with either aluminum foil or parchment paper. Use enough of the material to hang over the sides of the pan. Once ready to serve, use the overhanging material to lift the cheesecake out of the pan.
Best Cheesecake Recipes
On the hunt for this Summer’s go-to dessert recipe? Treat yourself to a cool, creamy slice of heaven! Try out one of Grandbaby Cakes’ most decadent cheesecake creations below:
- No Bake Banana Cream Cheesecake
- The Best Vanilla New York Cheesecake
- Miami Vice No Bake Cheesecake
- Cookie Cheesecake Swirl Bars
- No Bake Strawberry Cheesecake
- Banana Pudding Cheesecake Bars

No Bake Orange Creamsicle Cheesecake
Want to Save This Recipe, Boo?
Ingredients
For the Crust
- 2 cups graham cracker crumbs
- 1/2 cup butter melted
For the Filling
- 16 oz cream cheese room temperature (2 block packages)
- 1 cup plus 2 tbsp of granulated sugar
- 1 cup mandarin oranges in light syrup drained
- 1 tsp vanilla extract
- 1 cup whipped cream (already whipped)
Instructions
For the Crust
- Thoroughly grease a 9 inch springform pan. Next in a medium sized bowl, whisk together graham cracker crumbs and melted butter together until combined.
- Press crust mixture into the bottom (and sides) of the pan. Refrigerate for 45-60 minutes.
For the Cheesecake Filling
- While cookie crust chills, add cream cheese, sugar, oranges and vanilla to your stand mixer or to a bowl with your hand mixer. Mix until smooth.
- Gently fold whipped cream into filling using a spatula.
- Remove the springform pan from the refrigerator and pour filling into it and smooth with a spatula.
- Freeze cheesecake for at least 4 hours then use a hot knife cut slices. Keep frozen and put in refrigerator for about 30 minutes before serving.
- Decorate and garnish with additional whipped cream and remaining oranges.
Oh my goodness!! I know about creamsicles. I just purchased my ingredients to make this delicious pie. Thank you so much for all the wonderful recipes. You are amazing.
Hopefully not a dumb question…but can I use cool whip in place of the whipped cream?
Not dumb at all. You can use cool whip in place of whipped cream.
Can Cool whip be used?
Yes it can.
I can’t wait to try this. I sort of feel sorry for those who didn’t have creamsicles growing up. They were my favorite too!
Omg, the orange creamsicle flavor in this is so delicious! And I love how it’s a no bake cake. Makes it much easier!
I never would have thought of making creamsicle cheesecake! your recipe is easy & delish
Your saying one cup of whipped cream.
Do you mean to whip the heavy whipping cream and then measure it into one cup and add to filling ingredients.
Yes it should already be whipped. Not heavy whipping cream in liquid form.
It doesn’t happen often, but I have all the ingredients needed for this gorgeous cheesecake! It’s going to be a great dessert for our Memorial Day cookout! Thank you.
I am all about a no bake recipe, and this is so perfect for Spring/Summer! Yum! Thank you!
Your recipe for “No Bake Orange Creamsicle Cheesedake” sounds great and triggers a very pleasant childhood summertime memory. (I live in Costa Rica, so every day is pretty much summer. So, if we can find Mandarin oranges here, I am sure we will have this frequently.)
One question; the instructions tell us to “Press crust mixture into the bottom of the pan,” yet the photos show the crust pressed into both the bottom and sides of the pan. I would opt for both the bottom and the sides, but what’s your recommendation.
Thank you.
Yes you can totally do either. It really depends on your crust preference.