

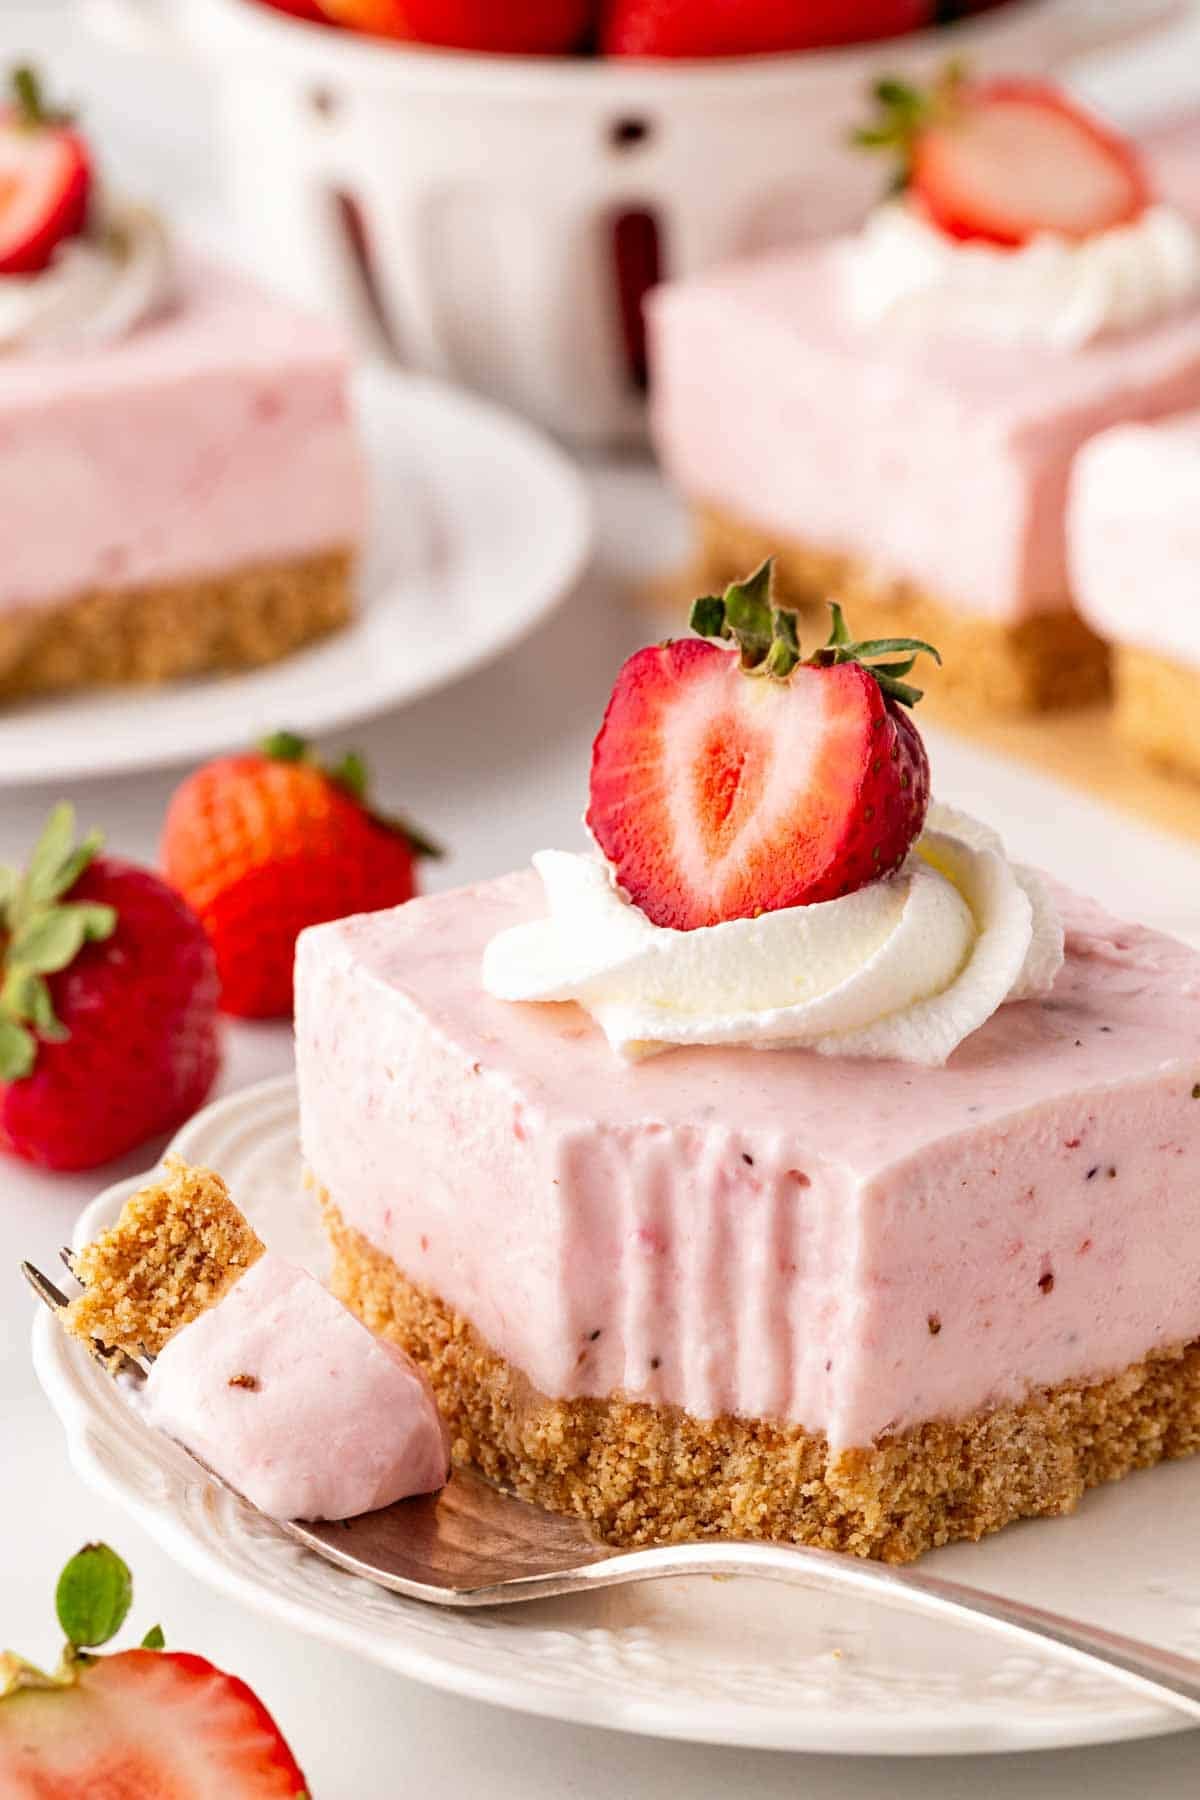
Y’all know my oven gets a workout most of the year, but when it’s hot outside, the last thing I wanna do is turn it on. That’s why these no bake strawberry cheesecake bars stay on repeat, boos. The filling comes together right in the blender, so it’s easy as can be AND crazy creamy. Then I add so much fresh strawberry flavor that it tastes like your fave strawberry ice cream, but in handheld form. Addictive!
This post may contain affiliate links. Read our disclosure policy.
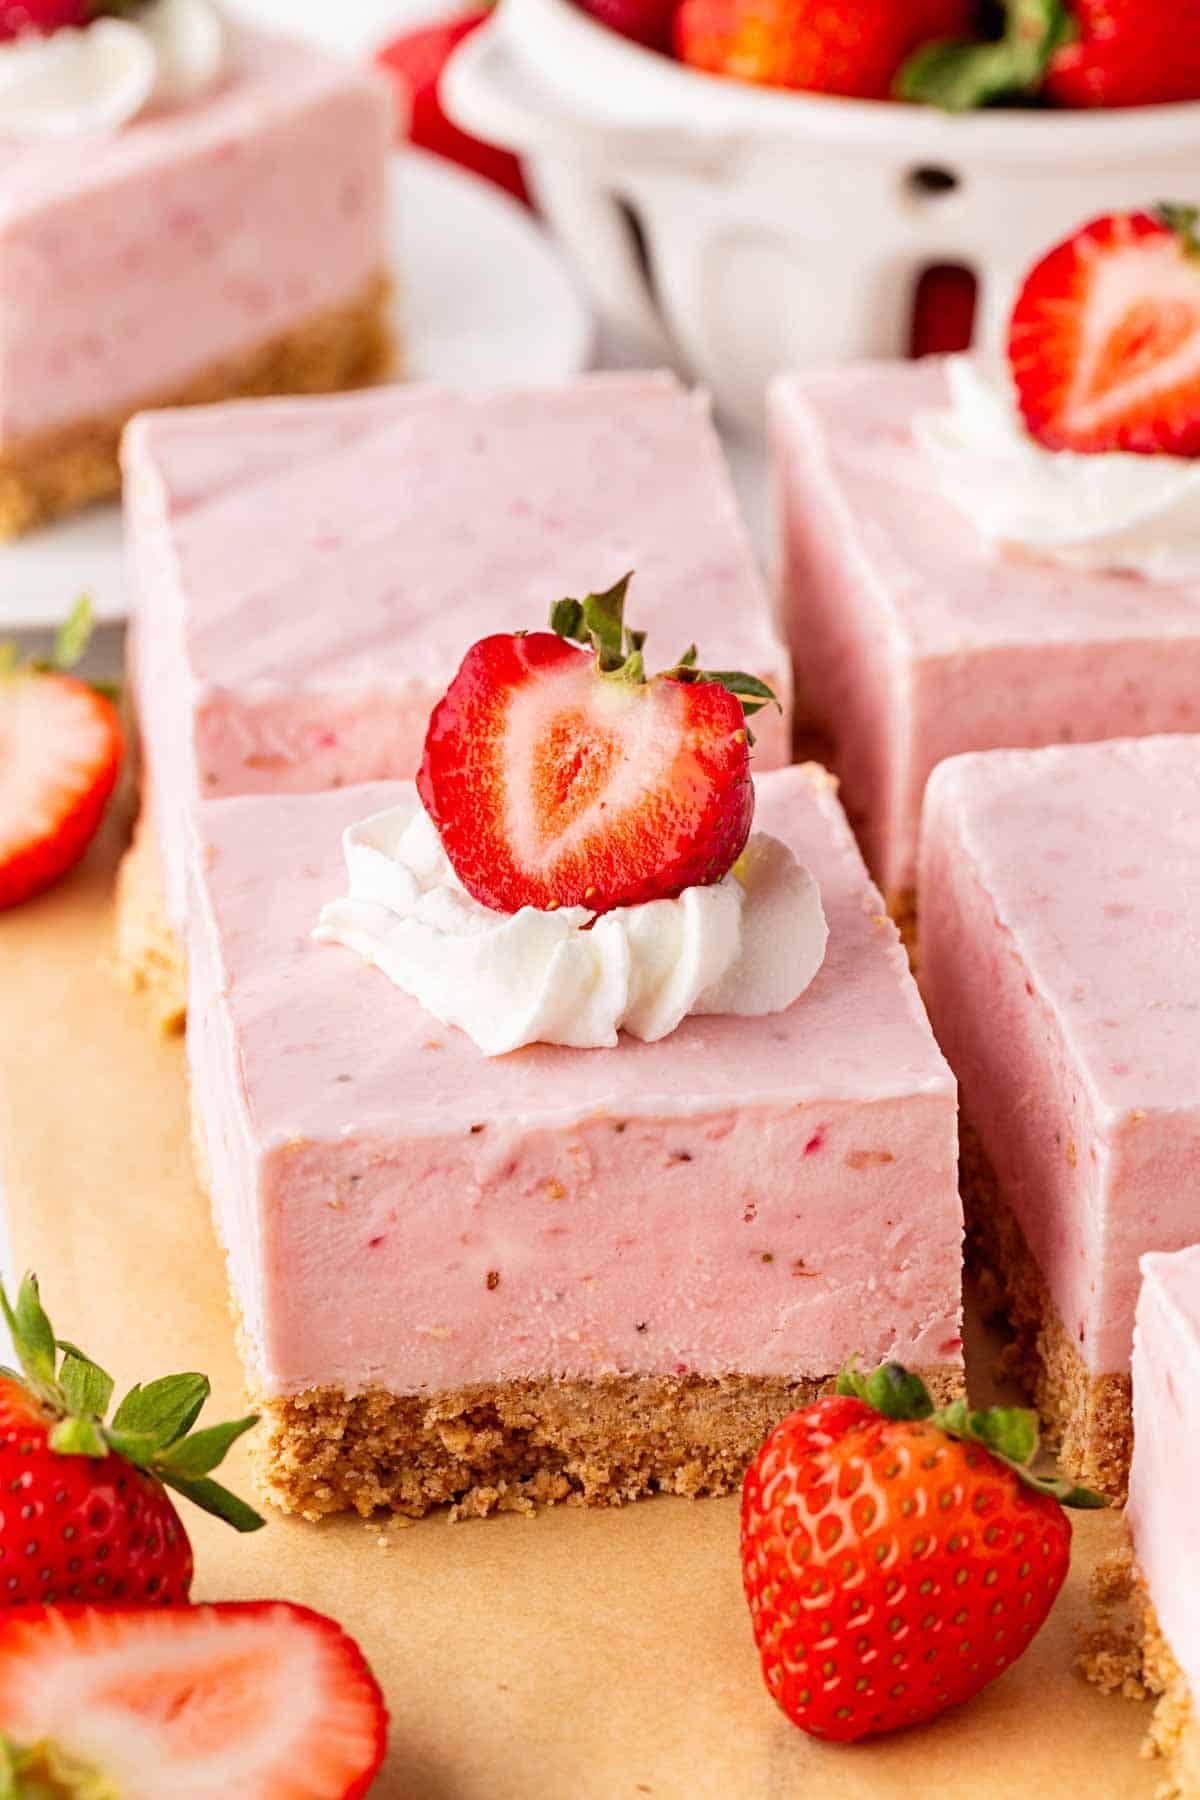
How to Make Strawberry Cheesecake Bars
These step-by-step photos show how to make no bake strawberry cheesecake bars, but be sure to check the recipe card below for the full ingredient list and detailed instructions. Skip to the → Strawberry Cheesecake Bars Recipe
1. Add all the cookie crust ingredients to a bowl
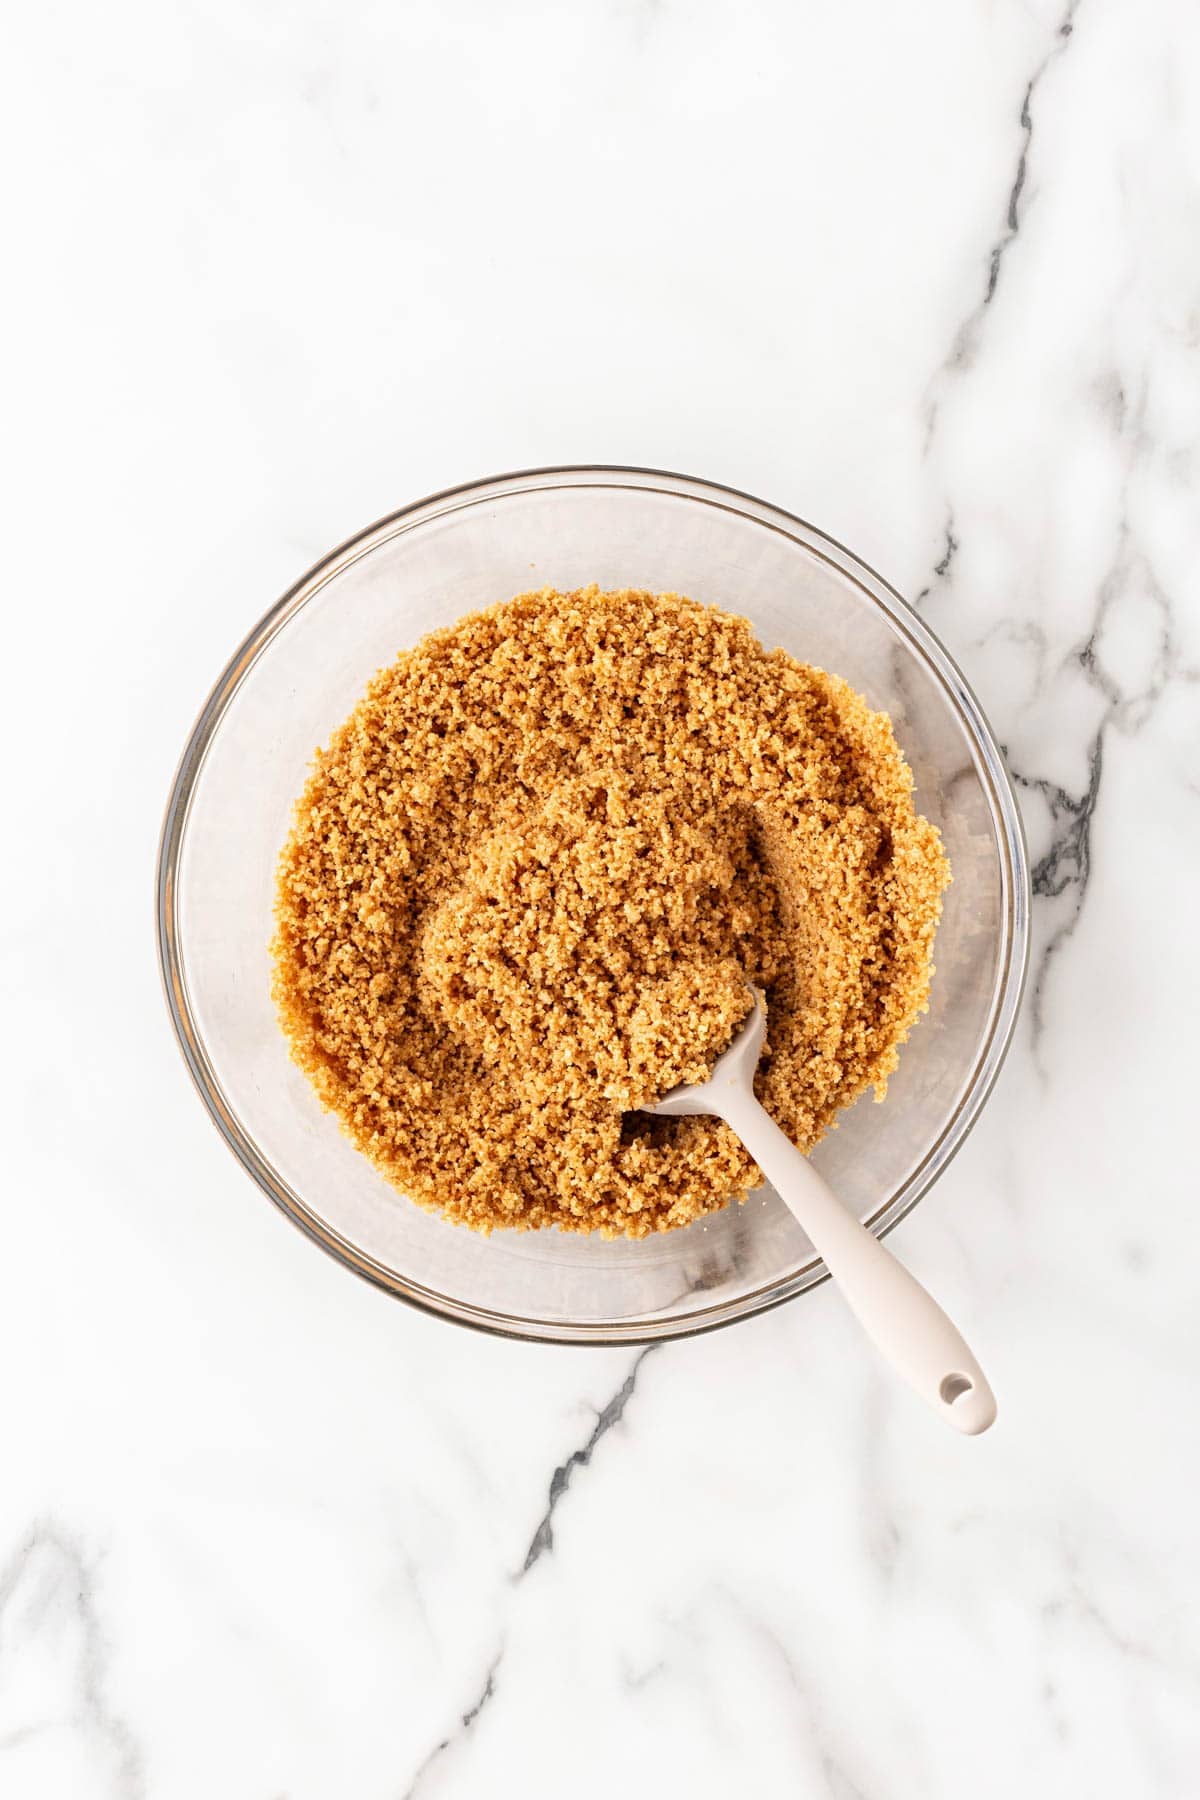
Whisk together until combined.
2. Press the crust into the prepared pan
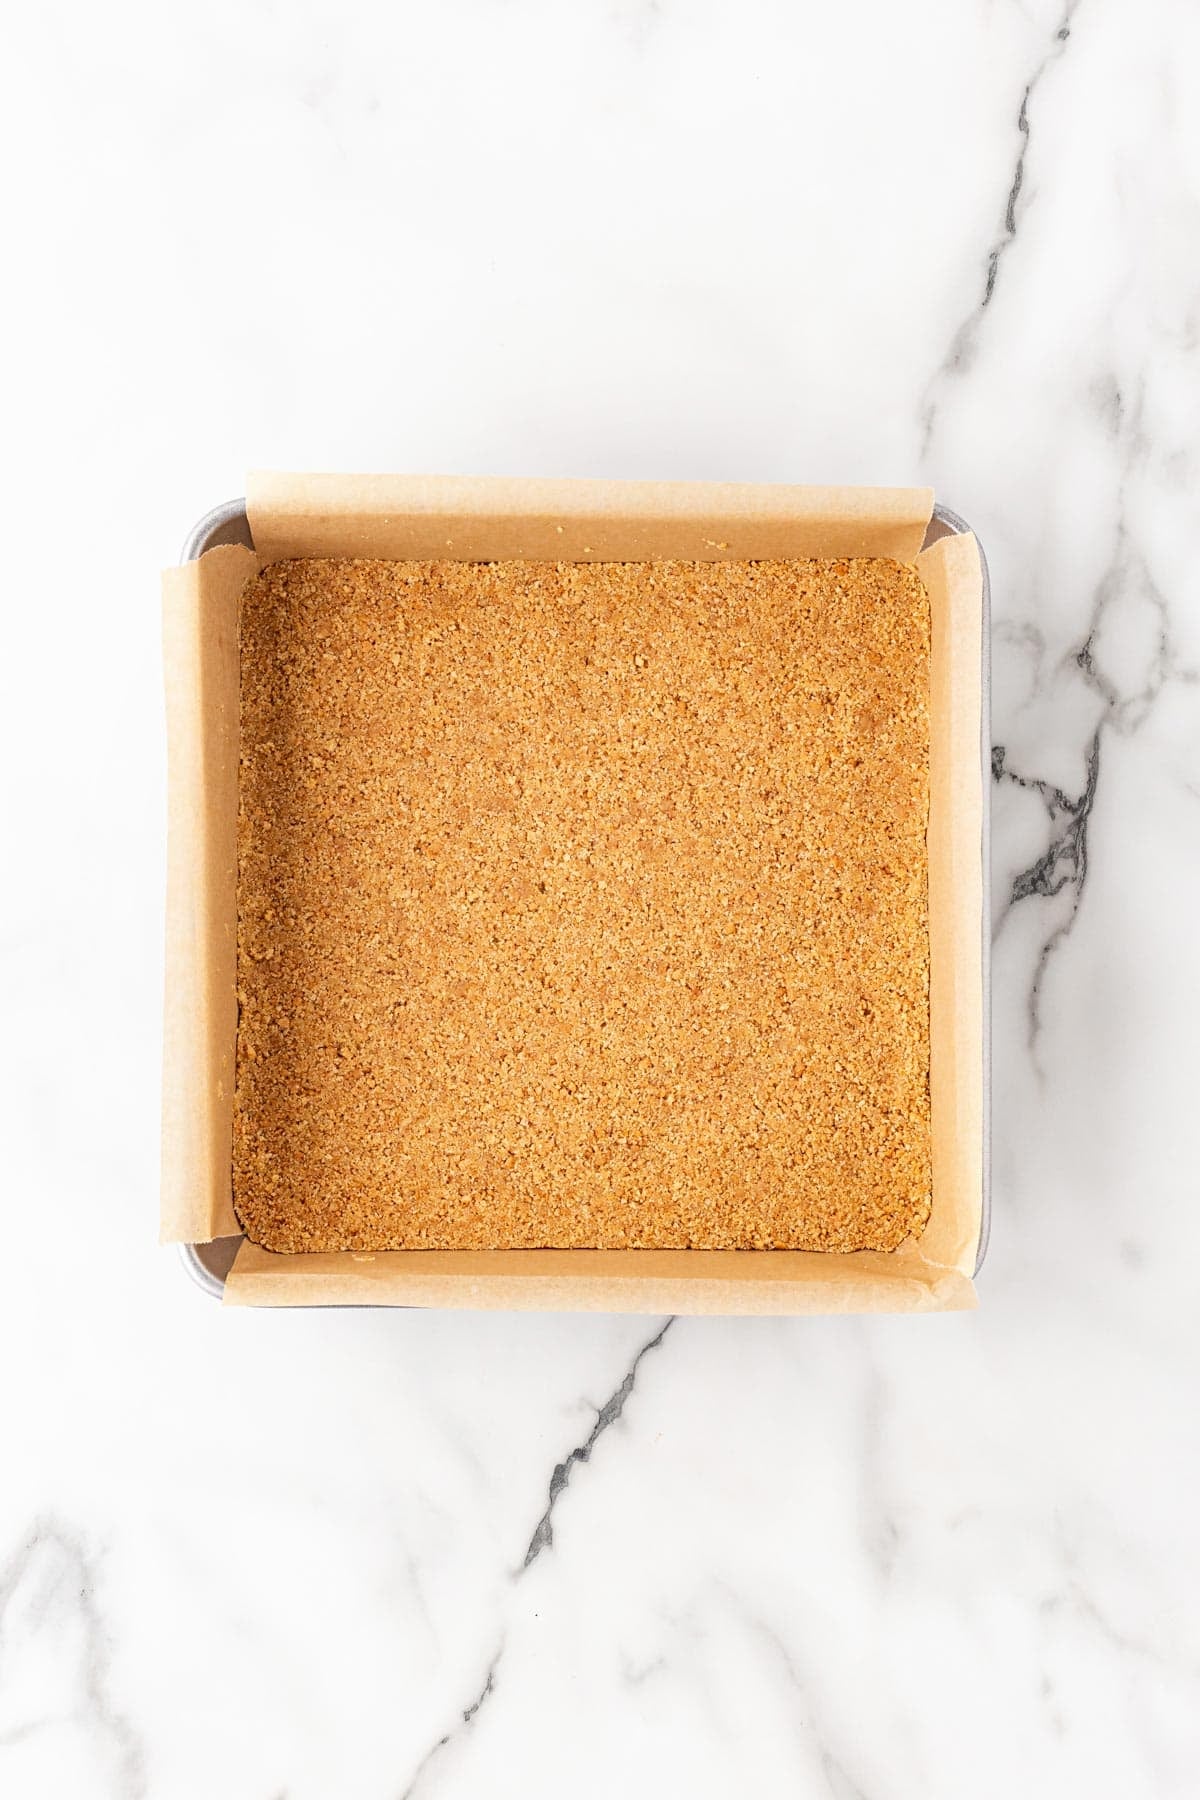
Spread the mixture into an even layer, then chill until firm.
3. Add all the filling ingredients to a mixer or blender
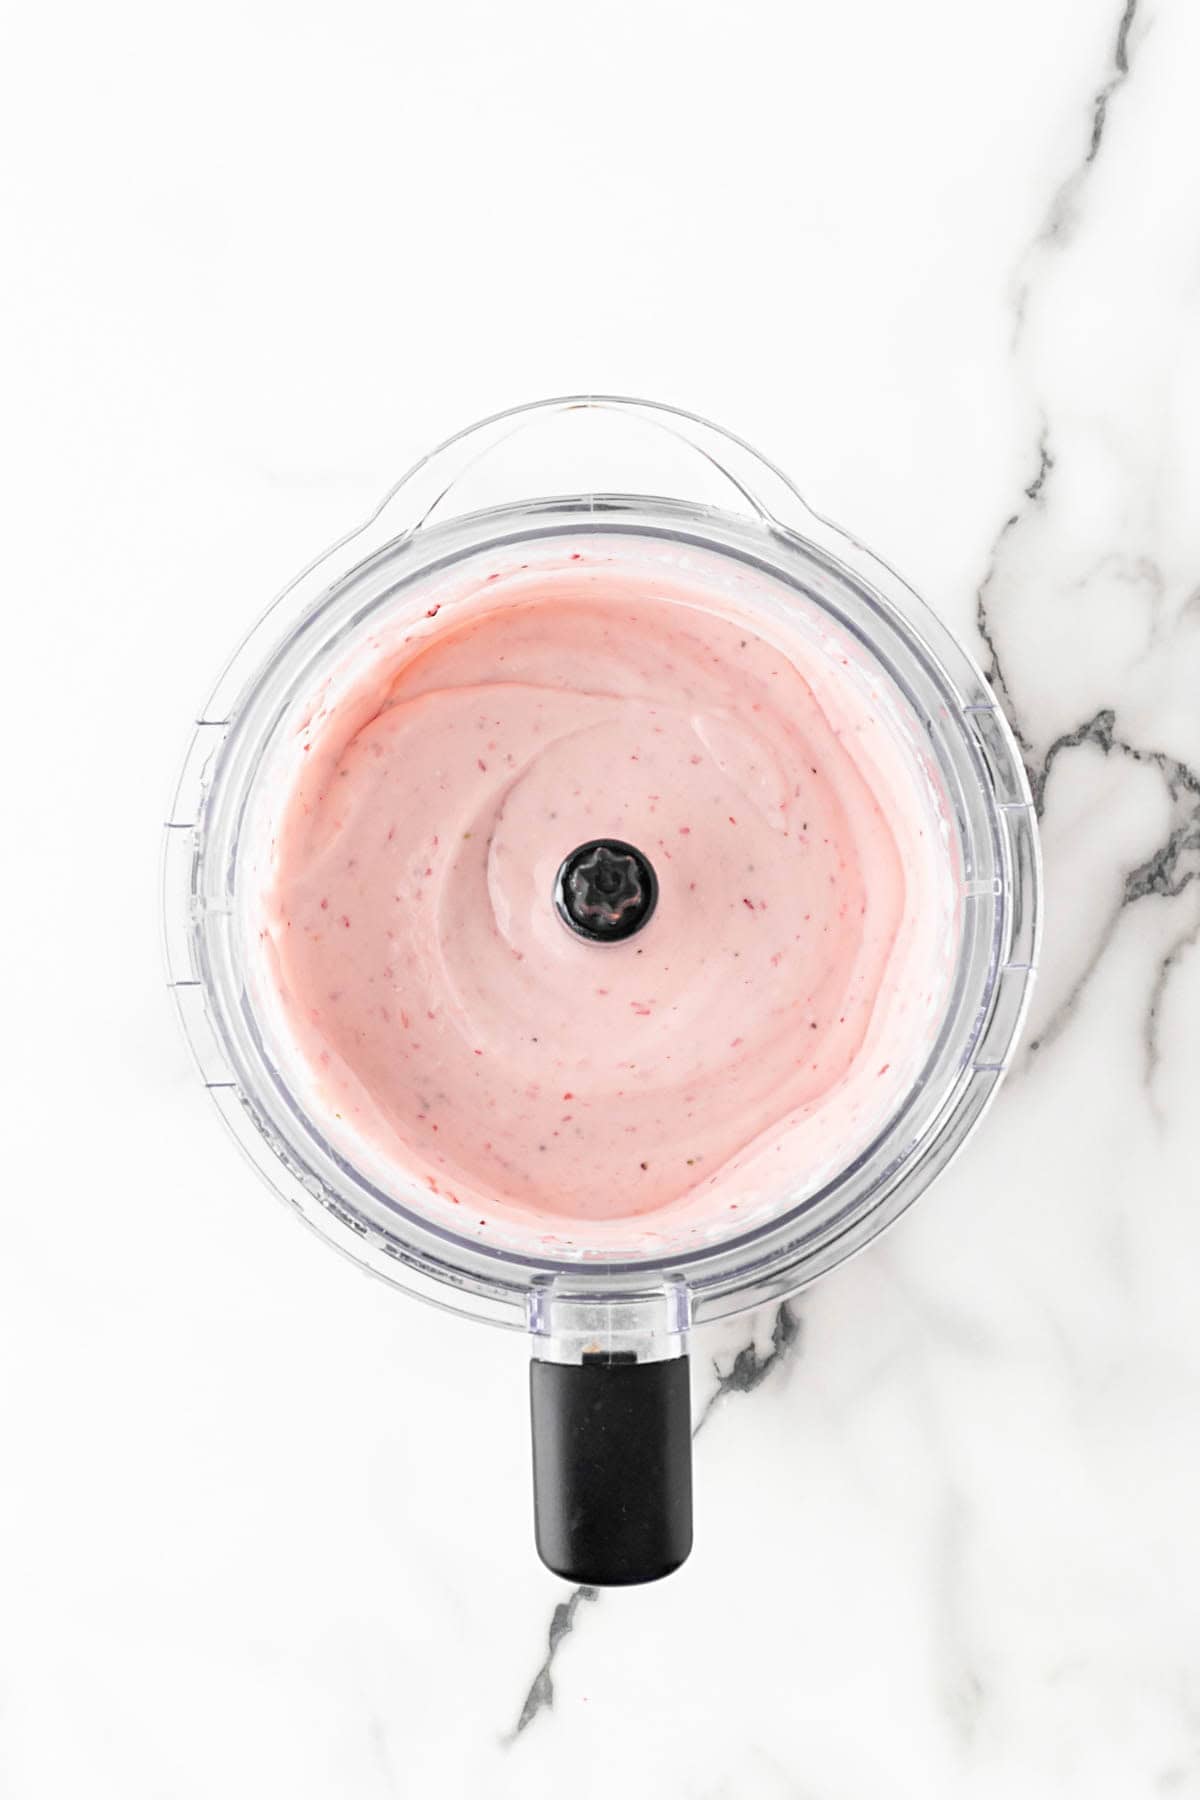
Process until smooth.
4. Fold the whipped cream into the filling
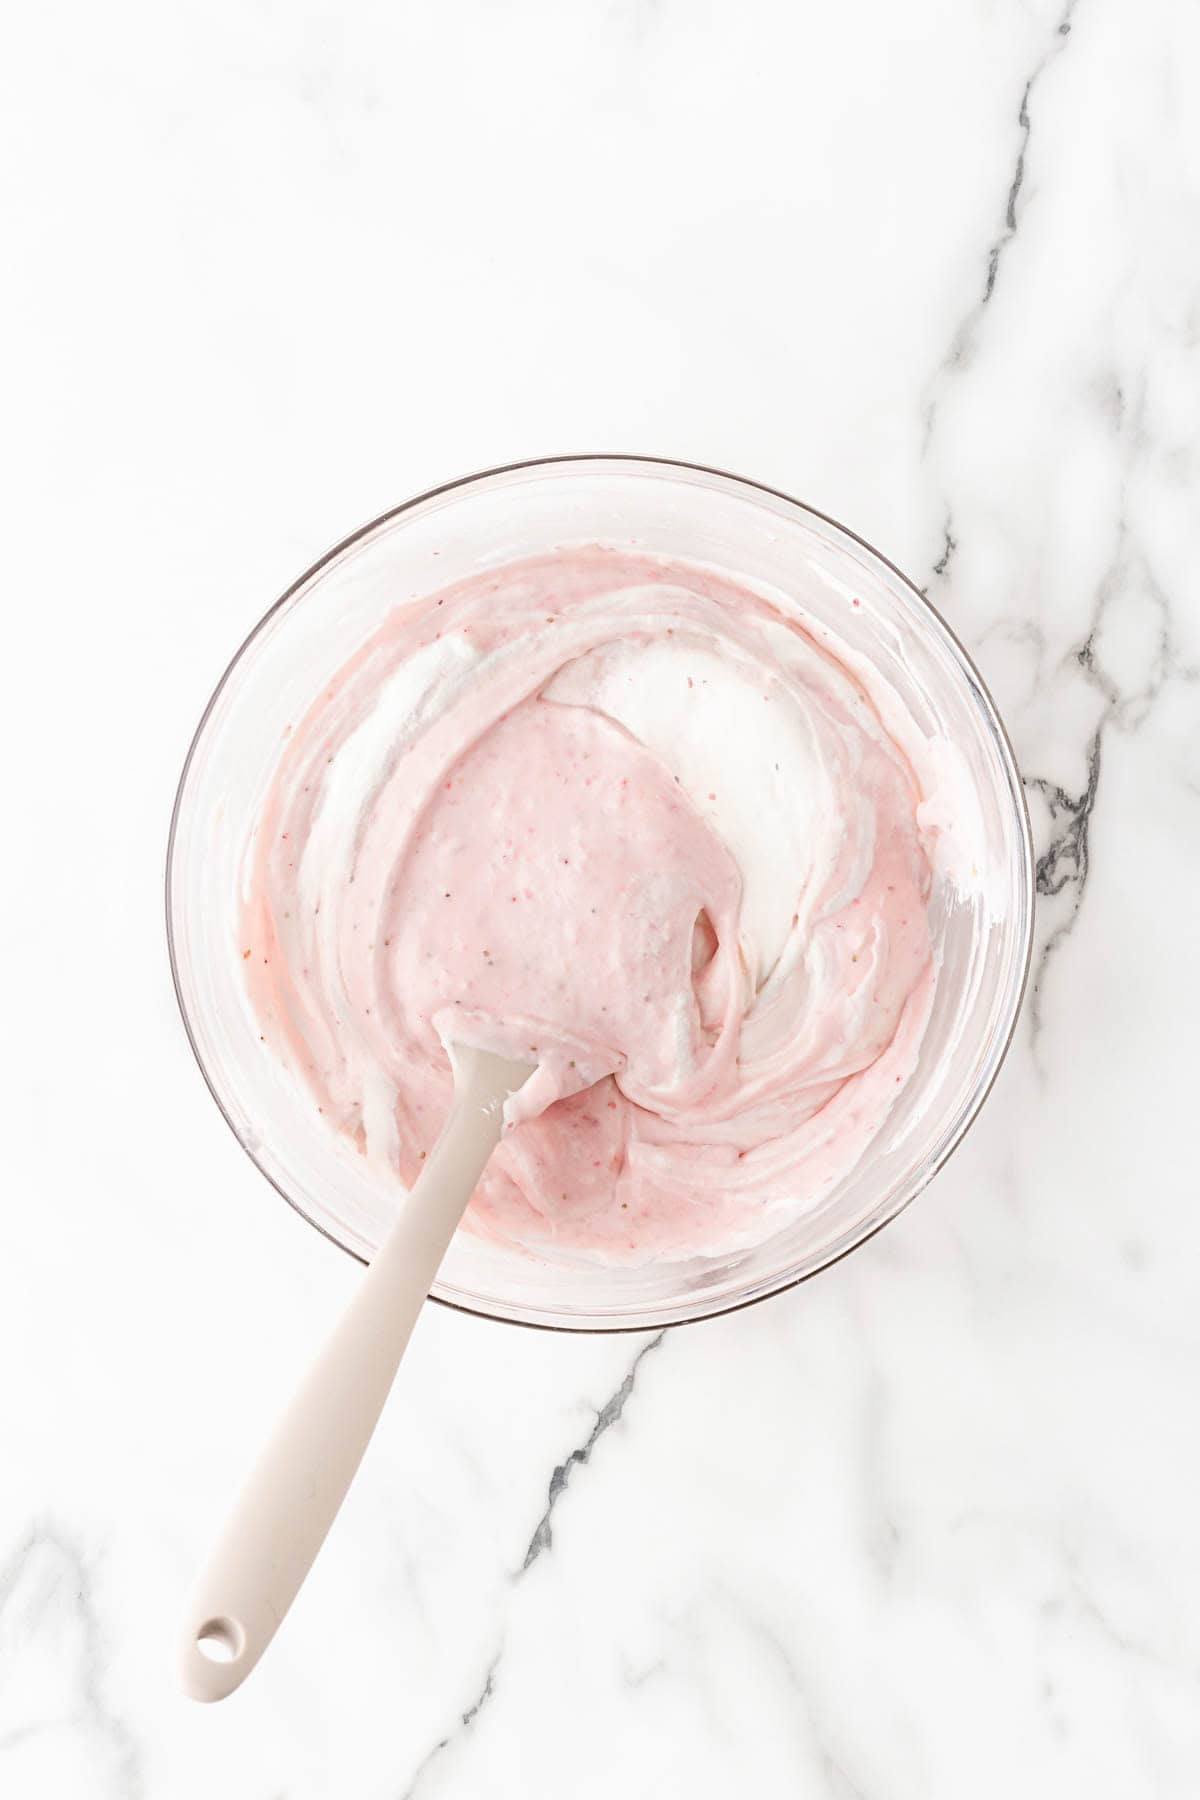
Gently incorporate it in batches to keep the mixture light and fluffy.
5. Spread the strawberry cheesecake filling over the chilled crust
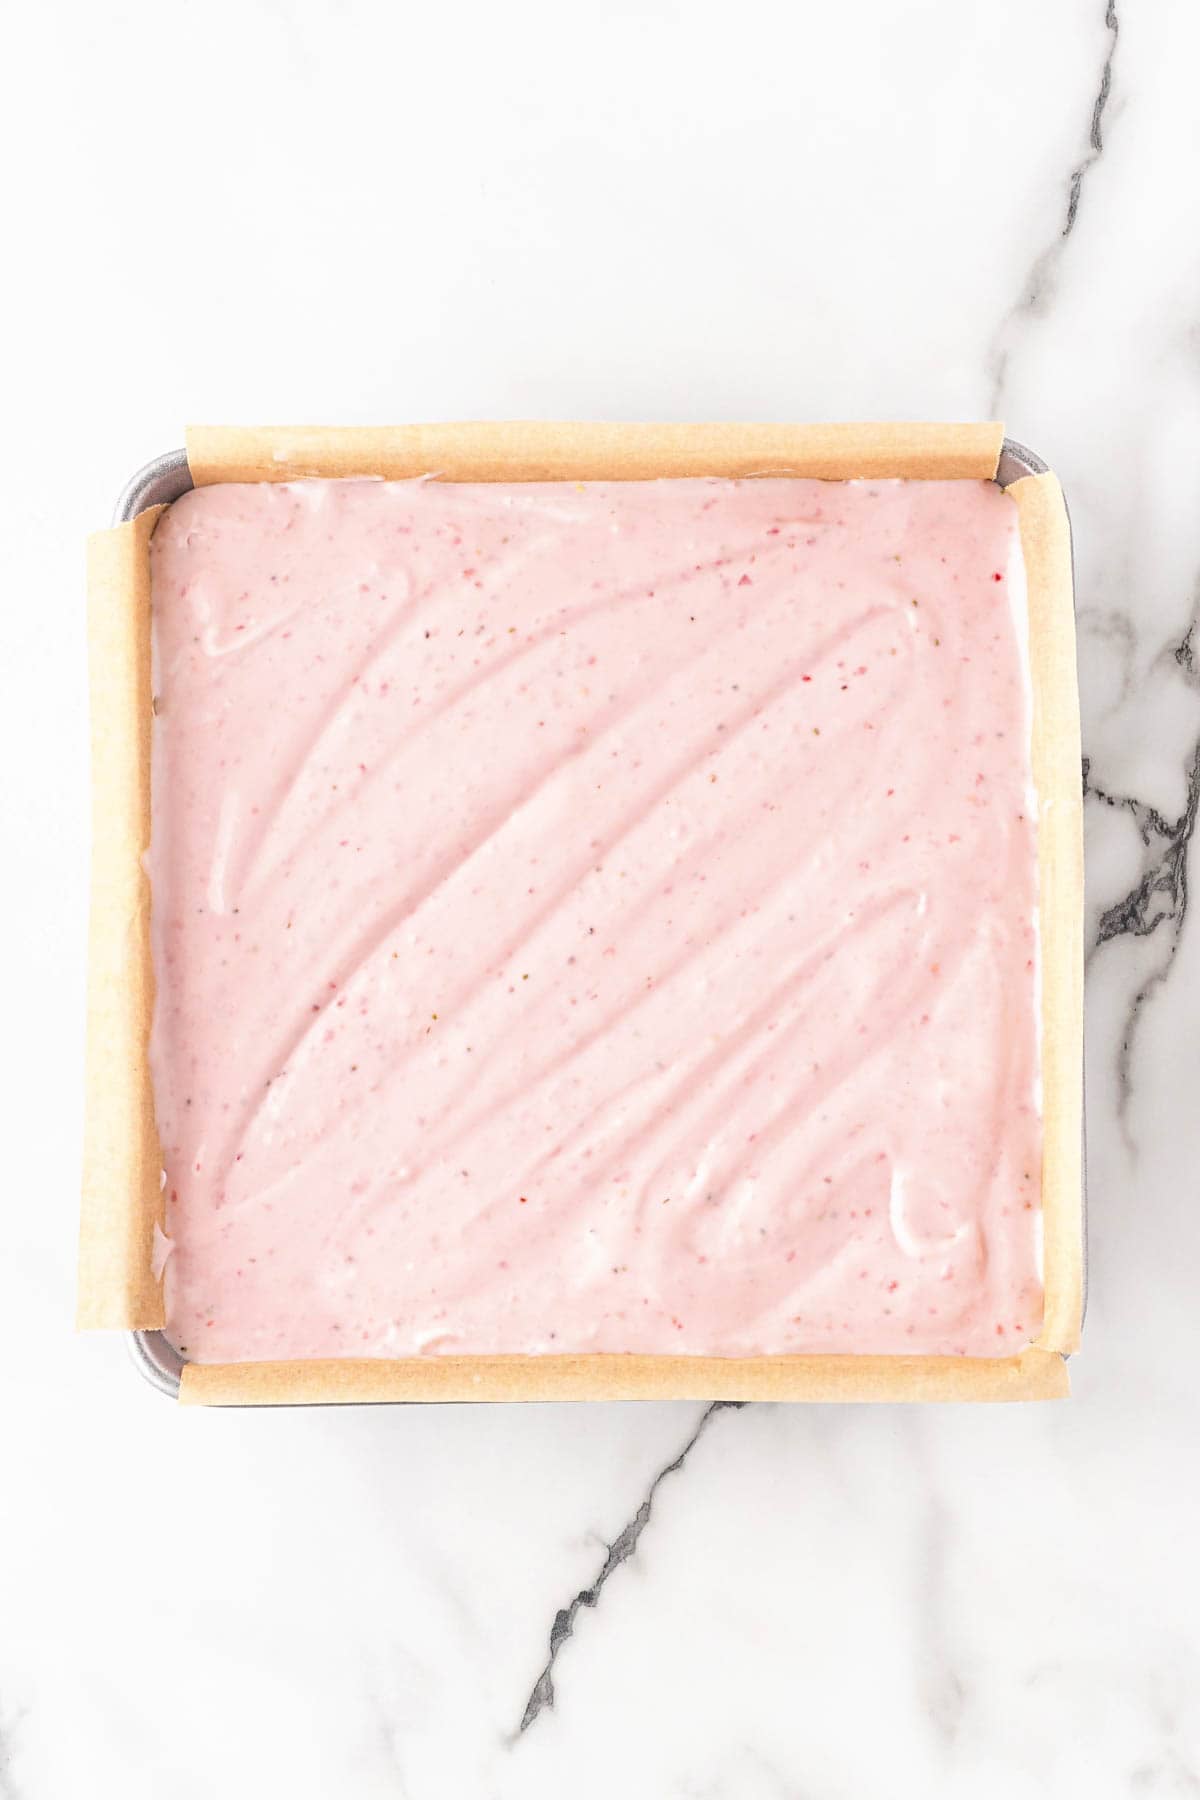
Smooth the top with a spatula so the bars freeze evenly.
6. Cut the cheesecake into bars before serving
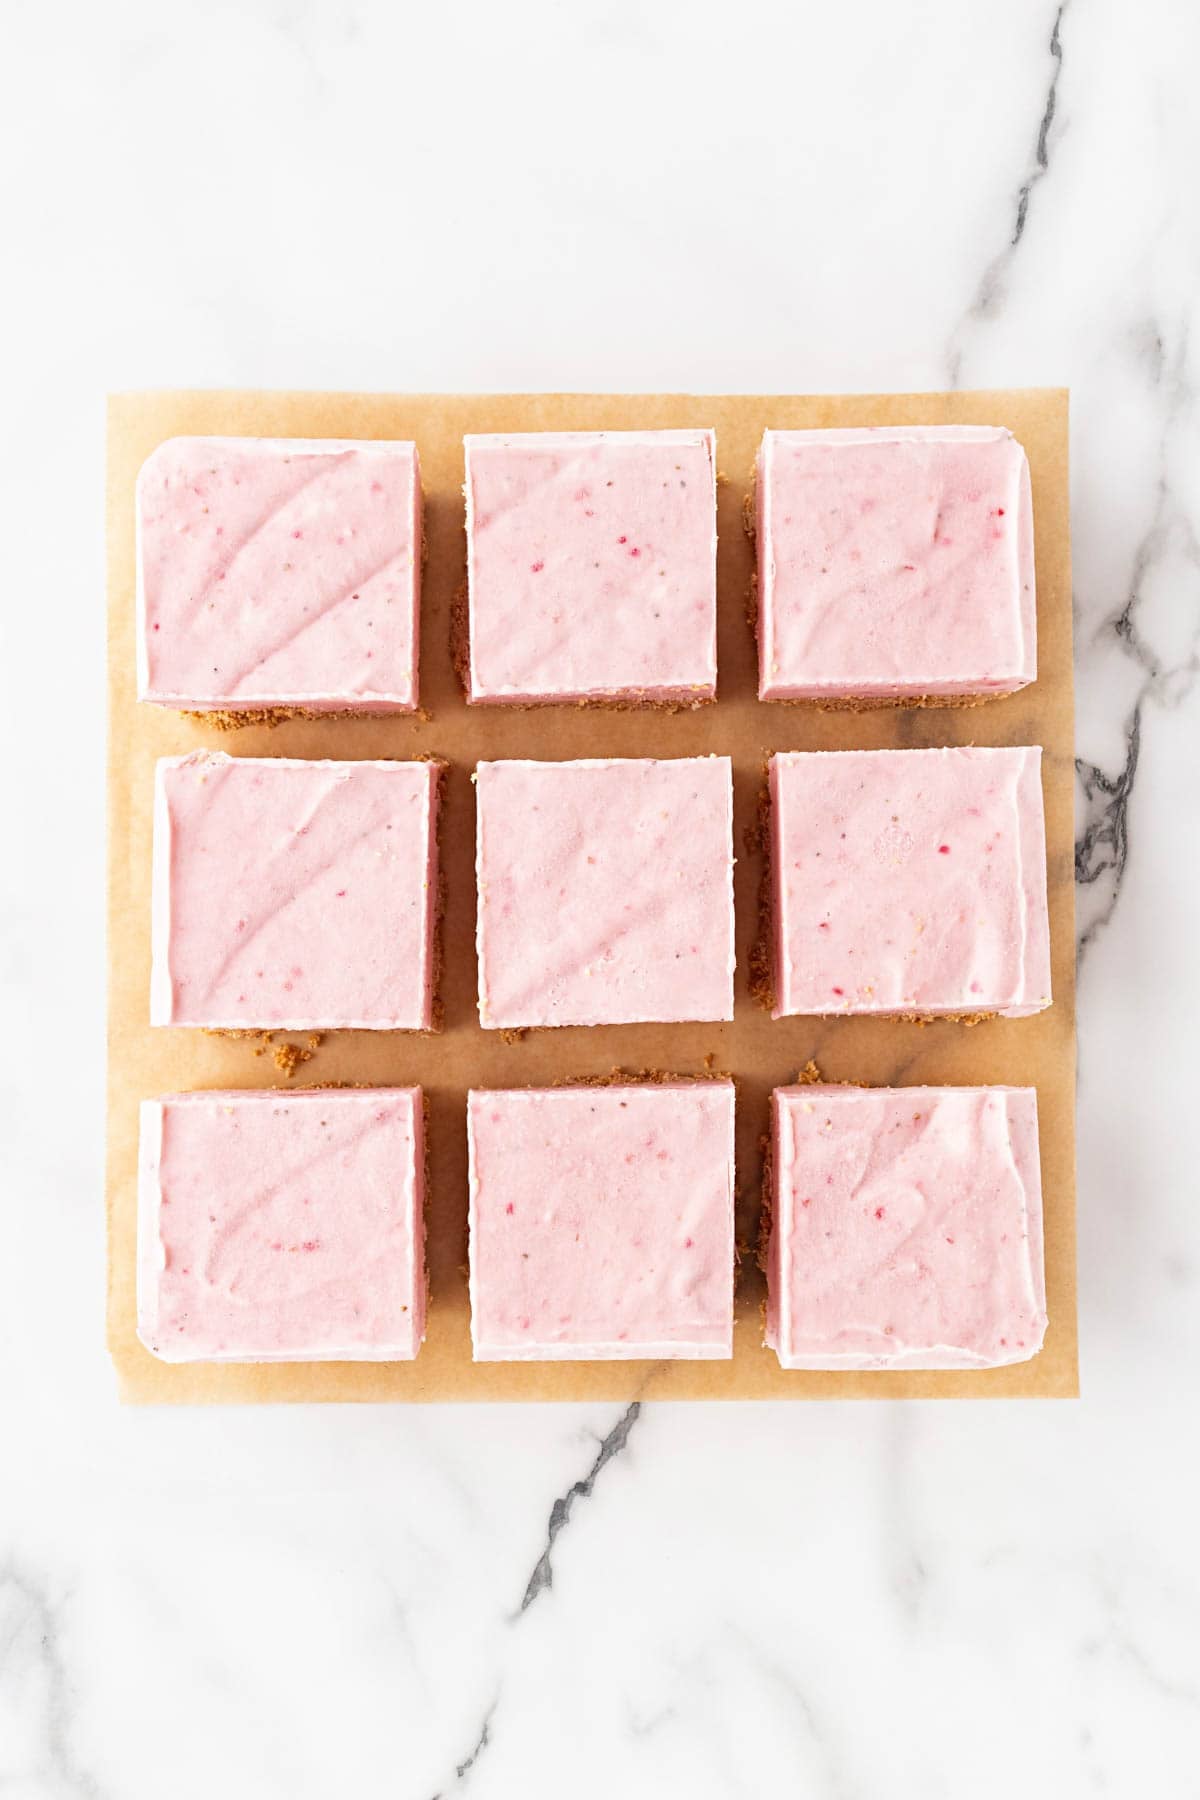
Keep your easy strawberry cheesecake bars frozen, then let them soften slightly in the refrigerator before enjoying.
PRO TIP: If you forgot to set out your cream cheese, cut it into small cubes and let it sit on a plate for about 20 minutes, or unwrap it and give it a few short 10-second bursts in the microwave. Starting with softened cream cheese is the easiest way to get a creamy filling.
Want to Save This Recipe, Boo?
Full Strawberry Cheesecake Bars Recipe
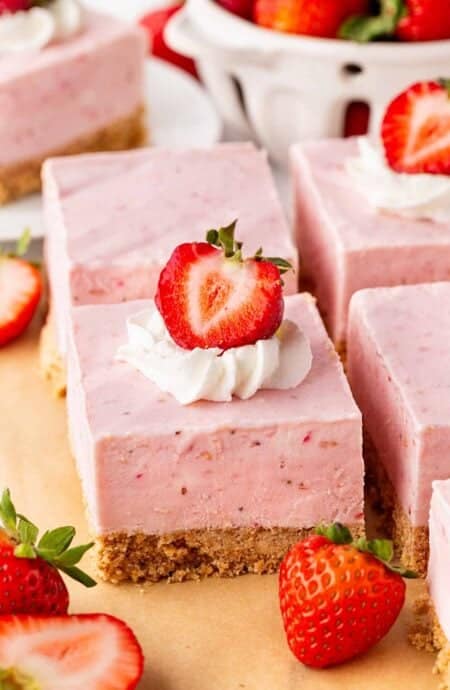
Strawberry Cheesecake Bars Recipe
Want to Save This Recipe, Boo?
Equipment
Ingredients
For the Cookie Crust:
- 2 cups shortbread or graham cracker crumbs
- 2 tablespoons granulated sugar
- ½ cup butter melted
For the Strawberry Cheesecake Filling:
- 2 packages cream cheese, room temperature (16 ounces total)
- 3/4-1 cup granulated sugar this depends on your preference of sweetness and sweetness of your berries
- 1 ¼ cup strawberries thinly sliced
- 1 teaspoon pure vanilla extract
- 1 cup fully whipped cream or whipped topping
Instructions
For the Cookie Crust:
- Line an 8 inch square baking pan with parchment paper leaving some outside of the pan.
- Next in a medium sized bowl, whisk cookie crumbs, granulated sugar and melted butter together until combined.
- Press cookie mixture into the bottom of the pan. Refrigerate for 45-60 minutes.
For the Strawberry Cheesecake Filling:
- While cookie crust chills, add cream cheese, sugar, strawberries and vanilla to the bowl of a stand mixer (or for more of an ice cream texture, add to a heavy duty blender).
- Mix until smooth.
- Add half of whipped cream to cheesecake filling and gently fold in using a spatula. Repeat with remaining whipped cream.
- Remove baking pan with crust from refrigerator and pour filling into baking pan and smooth with a spatula.
- Freeze cheesecake for at least 5 hours then use a hot knife cut into 3 rows horizontally and vertically creating 9 bars. Keep frozen and put in refrigerator for about 30 minutes before serving.
Notes
How to Store
- Fridge: Store the whole cheesecake or individual strawberry cheesecake bars in an airtight container in the refrigerator for up to 5 days. If you’re stacking bars, place parchment paper between the layers so they don’t stick together.
- Freezer: Freeze the whole cheesecake (cut or uncut) or individual bars for up to 3 months. Wrap tightly in plastic wrap, then place in a freezer-safe container or bag. Thaw overnight in the fridge before serving.
- Tip: Label your container or freezer bag with the date before storing. Future you will thank you, boo!
Nutrition
Recipe Tips
- Use full-fat cream cheese. It gives these bars the richest, creamiest texture and helps the filling set up better.
- Press the crust down evenly. I love using the bottom of a measuring cup to pack it into the pan, but a flat-bottomed glass or mason jar works just as well.
- Give the crust plenty of chill time. We’re making no bake cheesecake bars, so the crust needs time in the fridge to firm up and hold everything together.
- Fold in the whipped cream gently. Don’t just stir it in. A few careful folds will keep the filling smooth.
Recipe Help
Yep, but thaw and drain them first. Frozen strawberries release more liquid than fresh ones, and excess moisture can prevent the filling from setting up properly.
Most of the time, it just needs more time in the freezer. Make sure it freezes for at least 5 hours. Also double check that your whipped cream was fully whipped before folding it in. That helps give these easy cheesecake bars their structure.
Run a sharp knife under hot water, wipe it dry, and make a cut. Repeat the process between each slice.
 pinterest
  facebook
  twitter
  email
email
I will be making this tomorrow. This looks Thank you for sharing.
Hope you enjoy!
Two questions:
Can mascarpone CHEese be used in place of cream cheese?
Is 1 cup of whipping cream measured before it is whipped or is it 1 cup of whipped cream total?
Yes you can use mascarpone cheese for a twist on this. The whipping cream should be whipped and measure 1 cup.
Does this work in a 9×13 pan?
I have not made it in a 9×13, but I don’t see why it wouldn’t work. You would want to double the recipe most likely or it will be really thin.
I made these for the May Challenge and added a chocolate spin to it by making an Oreo crust and adding mini chocolate chips to the filling. Such an easy and delicious dessert!
This is so spectacularly delicious, not too sweet it is just right and easy to make. Perfectly showcases the strawberry season flavor.
Koshkalady – Michelle B.
Thanks so much, Michelle!!
Once it says 18bars and once 9 bars.
Is it enough for two pans? Or should I double it?
It depends on how large you cut the bars. For larger size, it is 9 bars. If you cut those bars in half, you get 18 smaller bars. I hope this helps.
I found this cheesecake recipe very easy and extremely tasty
Yay! Glad to hear it!