
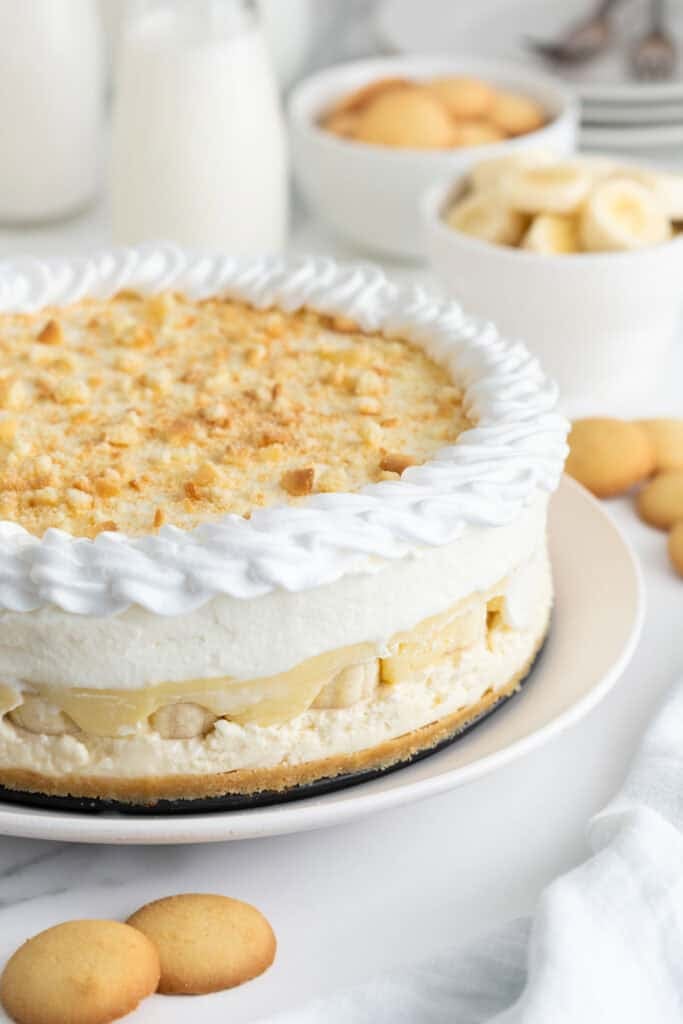
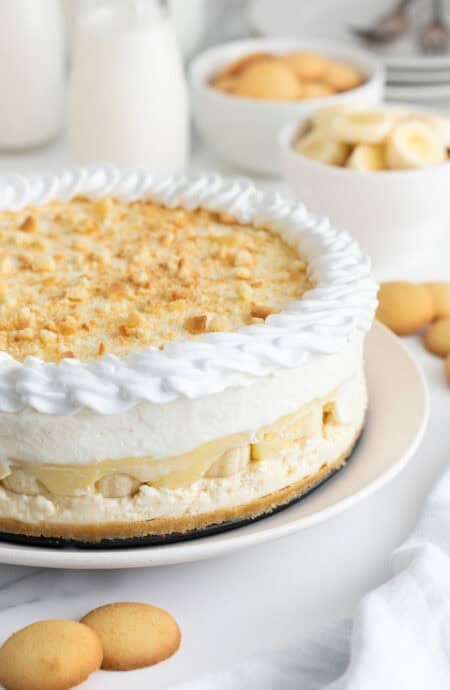
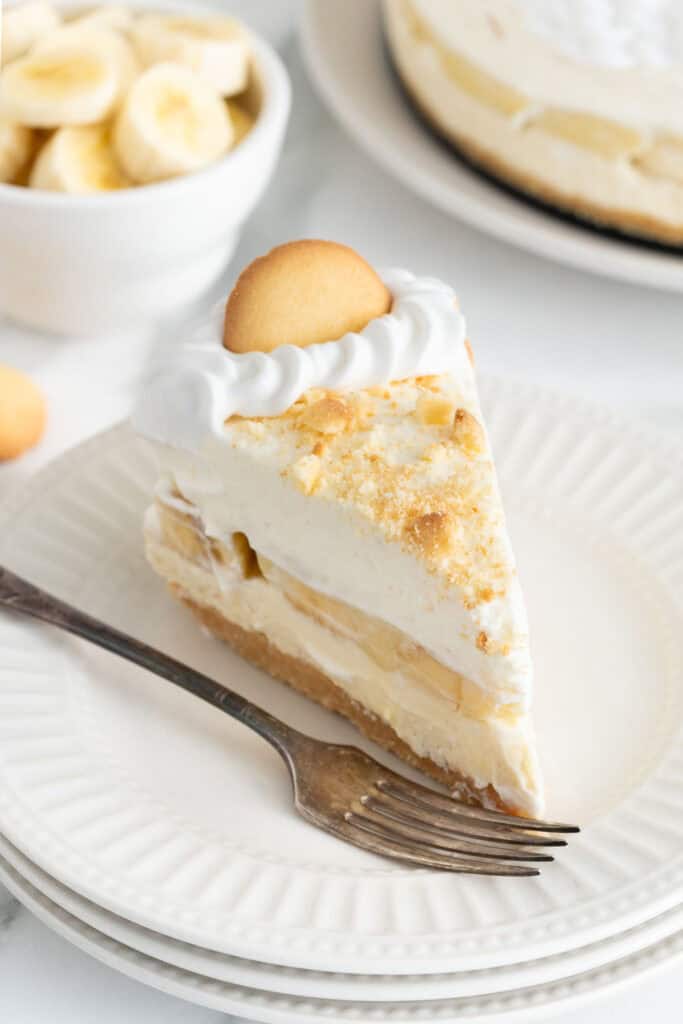
This banana pudding cheesecake has layers of Nilla wafer crust, custard pudding, cheesecake, banana and whipped cream. Plus the whole thing is no-bake. Get into it!
This post may contain affiliate links. Read our disclosure policy.
This is a super easy recipe with multiple steps. Here are some additional tips to pull it off like a pro boos!
- Clean slices: I run a sharp knife under hot water for a few seconds then dry before slicing so the slices look neat.
- Perfectly Even Crust: I like to press a measuring cup over the crust so it evens out on the bottom of the pan.
- No Browning: I like to brush or spray the banana with lemon juice so it doesn’t change color.
- Make ahead: Make sure you make the cheesecake a day ahead of serving so it has enough time to really set up before serving. But at the very least, refrigerate for 3-4 hours.
Make the Pudding
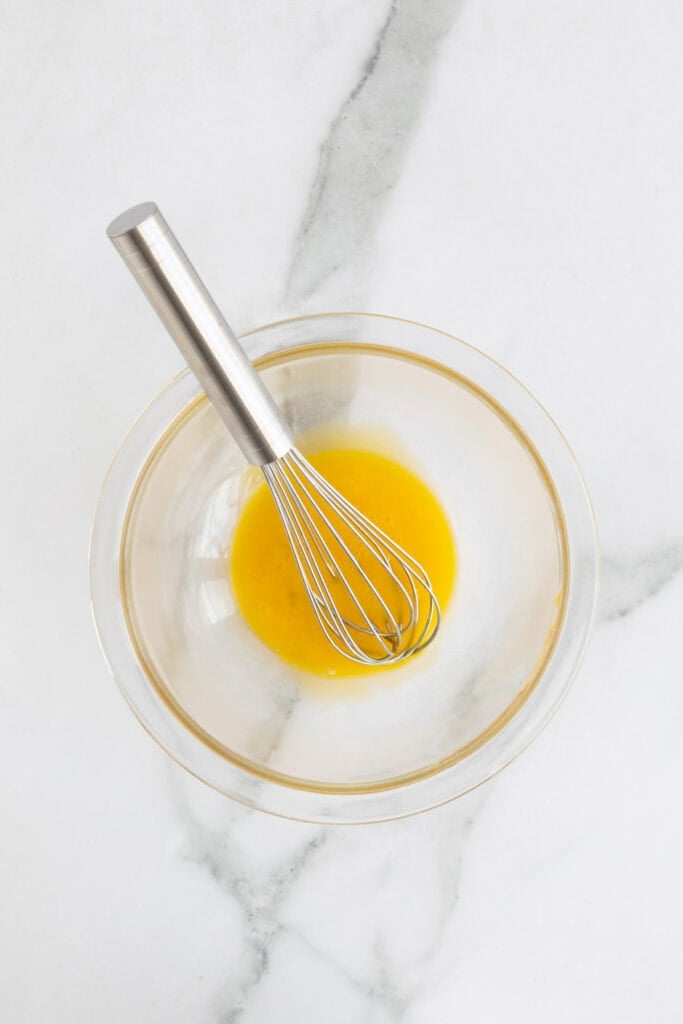
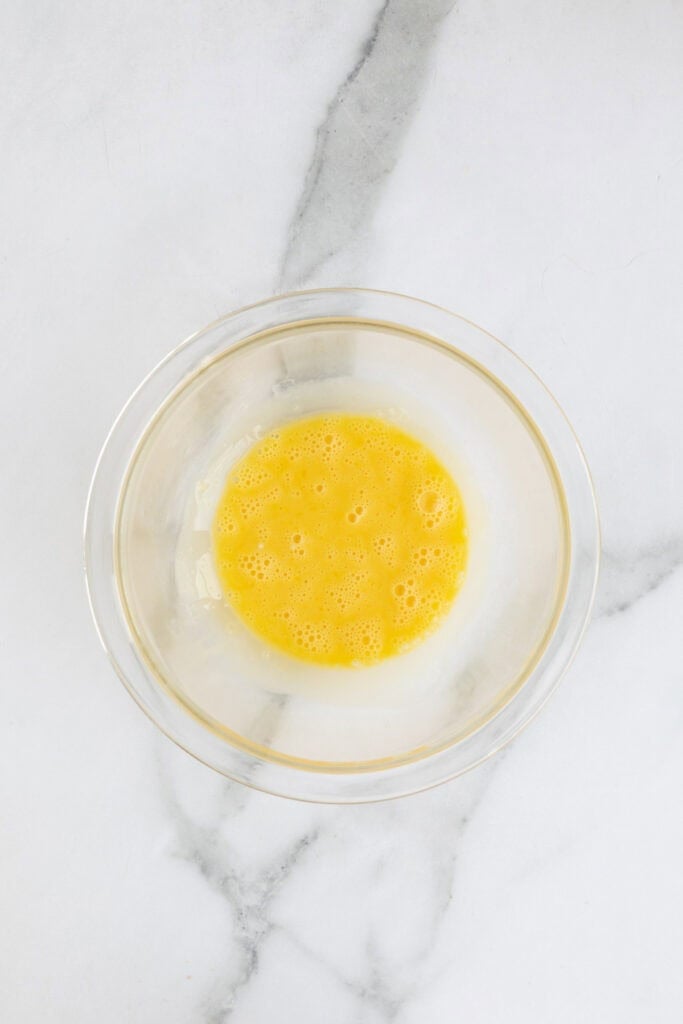
Step 1: Place egg yolks in a separate bowl.
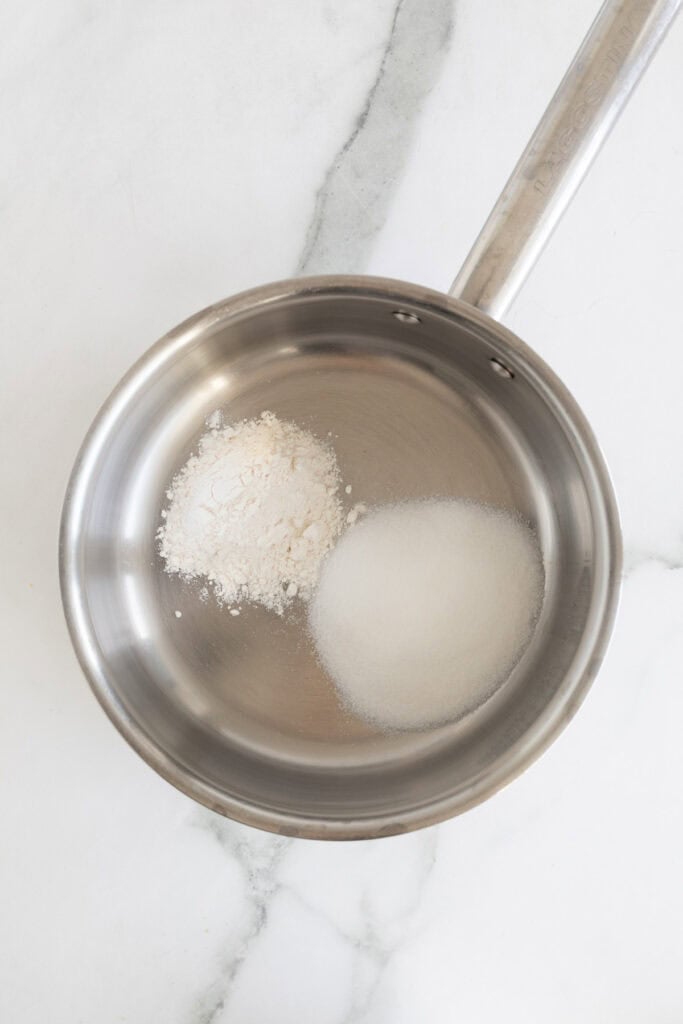
Step 2: In a medium-size saucepan, add sugar, flour and salt, and whisk to combine.
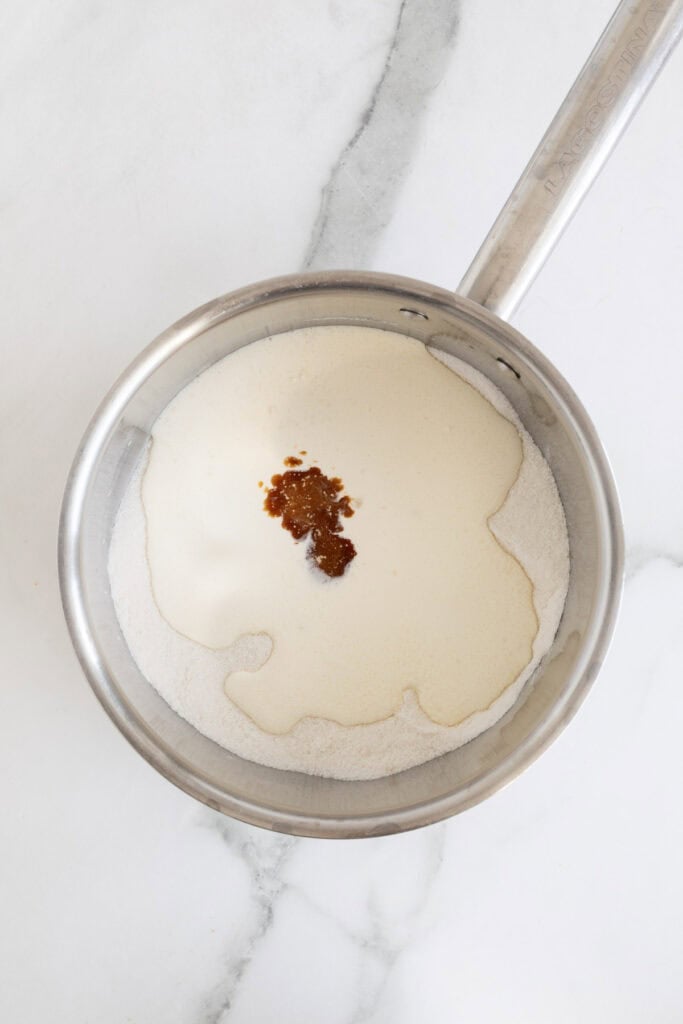
Step 3: Add the heavy whipping cream and vanilla extract, and heat the mixture on the stove top over medium-low heat.
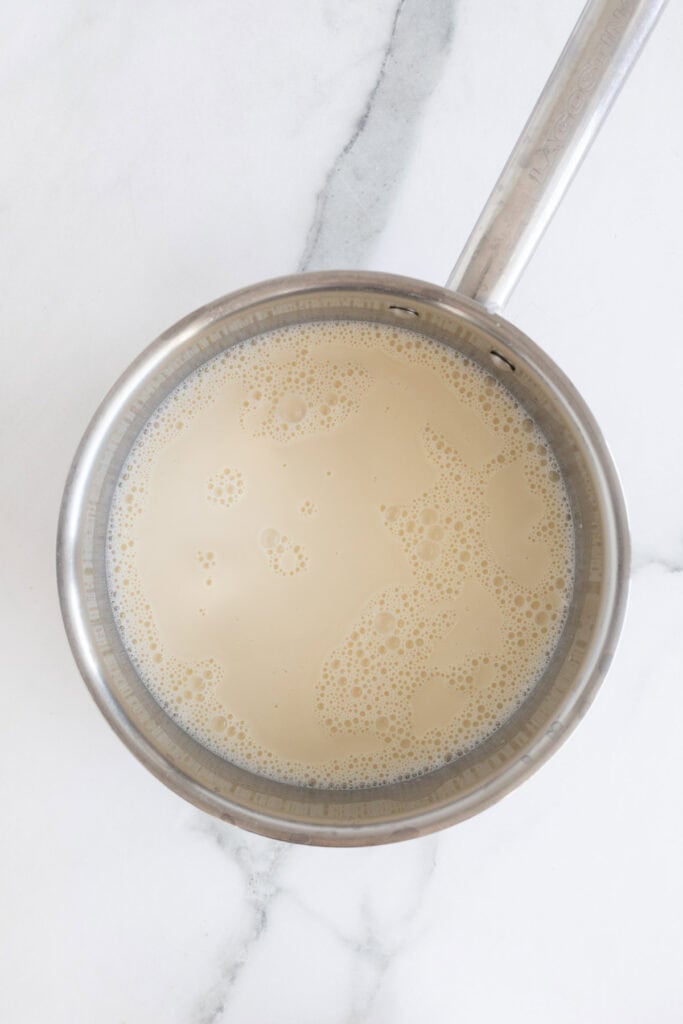
Step 4: Whisk constantly to dissolve the dry ingredients into the cream mixture.
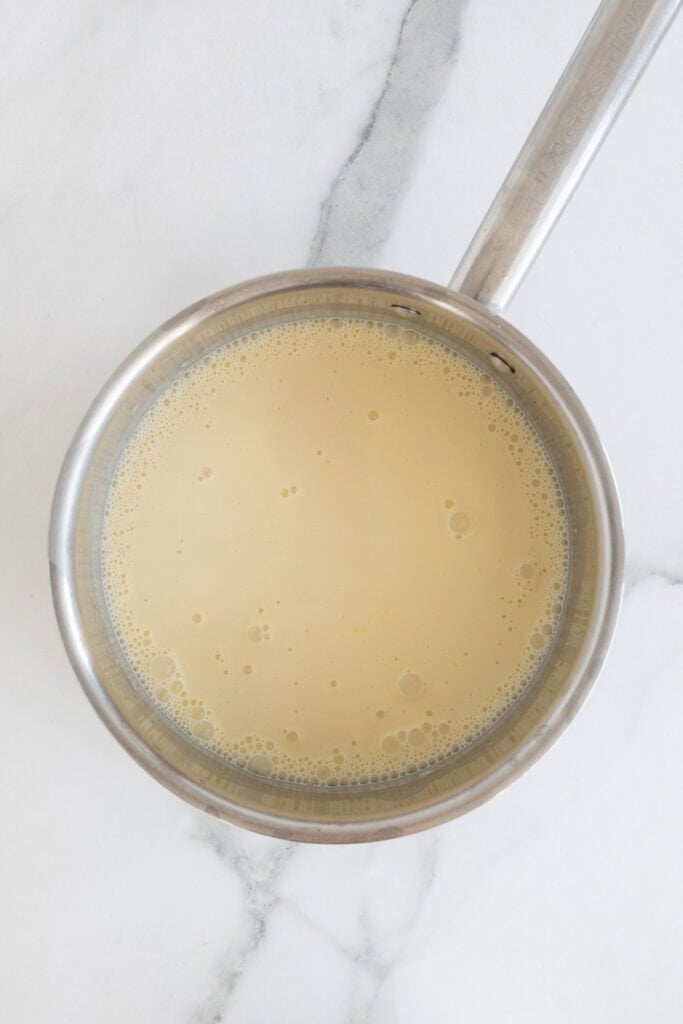
Step 5: After 5 or so minutes, once the mixture is warm (but not boiling), pour about ¼ cup of the cream mixture into the egg yolks and whisk vigorously to temper.
Step 6: Pour the egg yolks into the saucepan and continue whisking over medium-low heat to prevent the eggs from cooking.
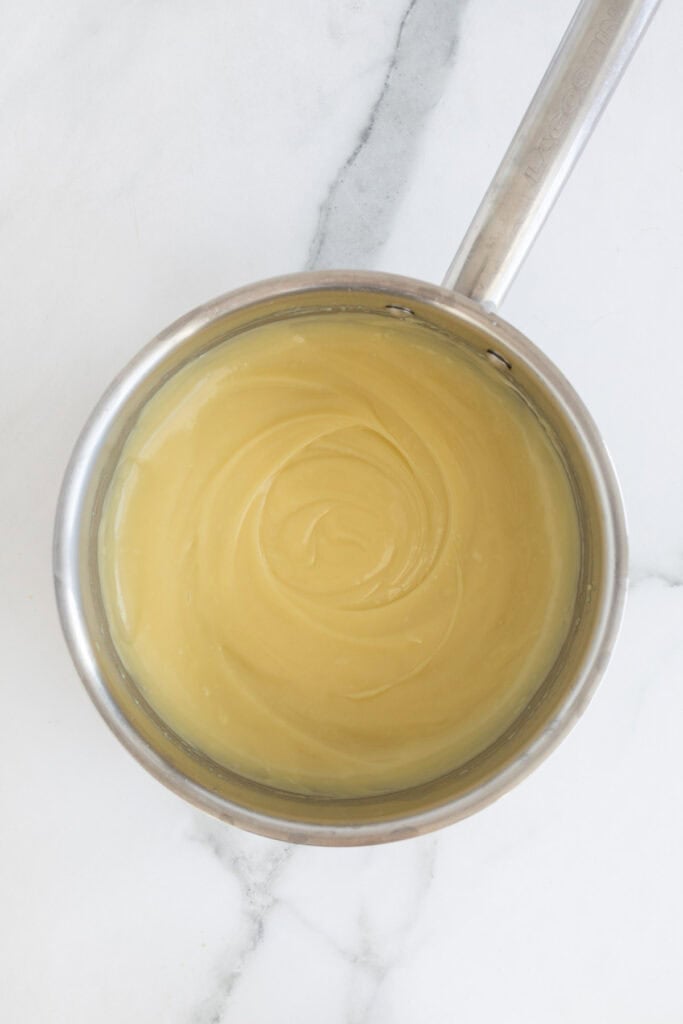
Step 7: Whisk until the pudding starts to thicken and bubbly then remove from heat.
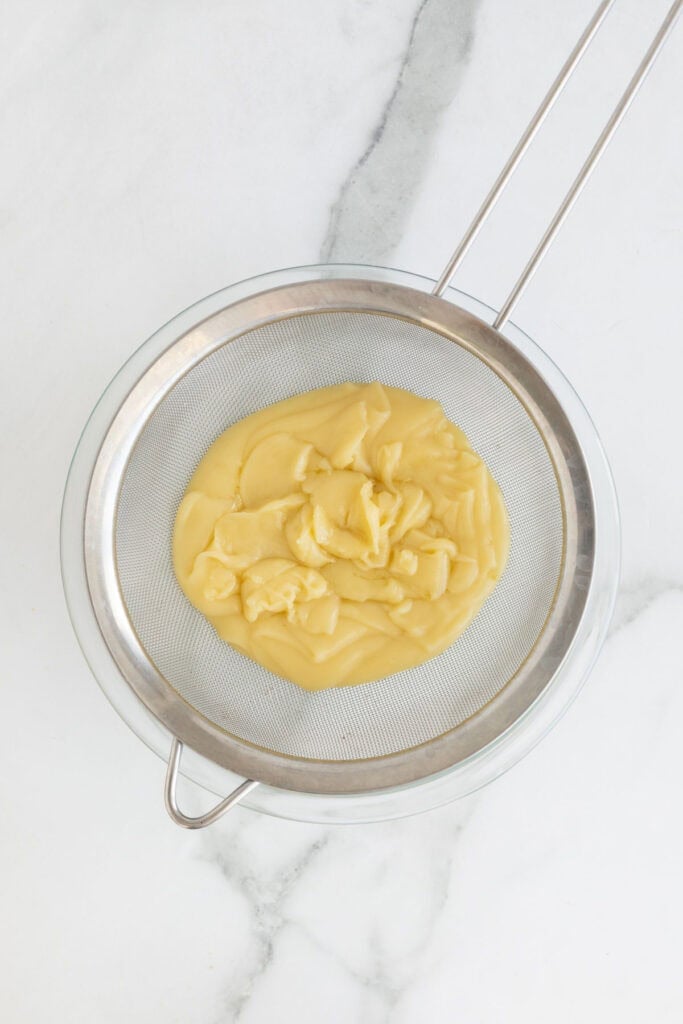
Step 8: Strain the pudding through a fine sieve into a medium-size bowl. This step is optional but it will catch anything that didn’t blend well.
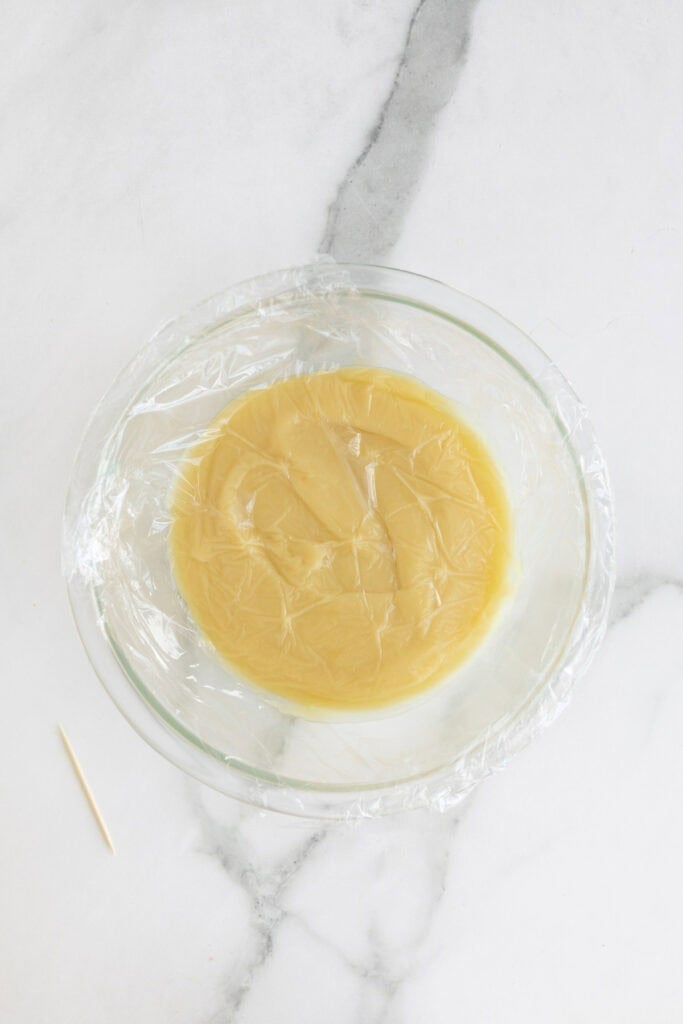
Step 9: Immediately directly cover the top surface of the pudding with clear plastic wrap and poke a few holes with a toothpick. Cool for 30 minutes at room temp, then refrigerate for 2 hours until the pudding is cold.
For the Crust
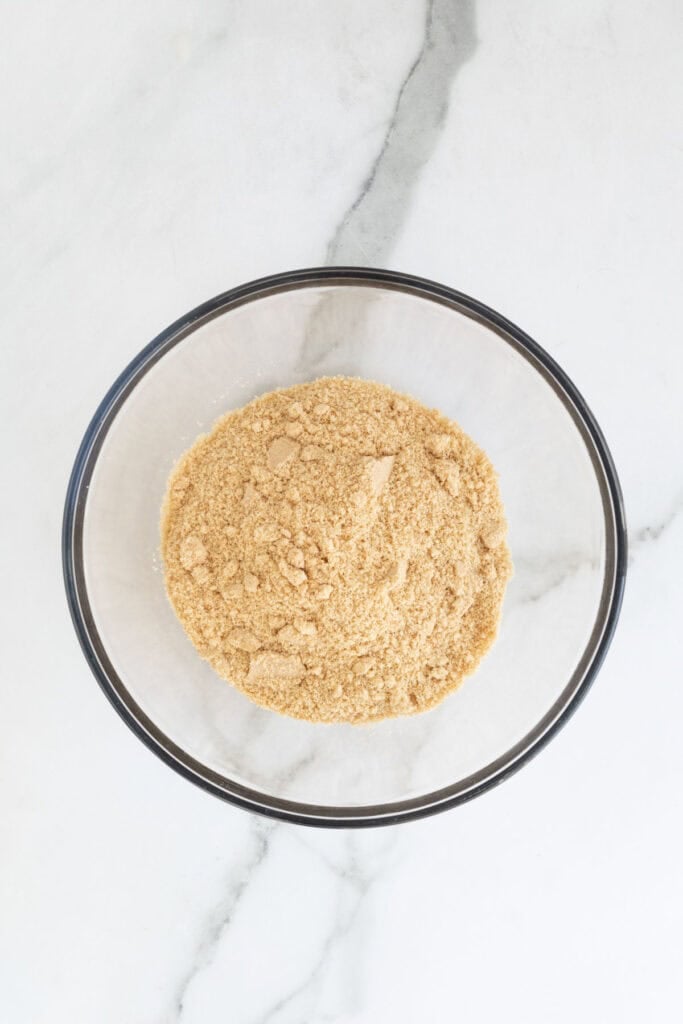
Step 10: Grind the wafers into fine crumbs using a food processor or blender. Then microwave butter until melted.
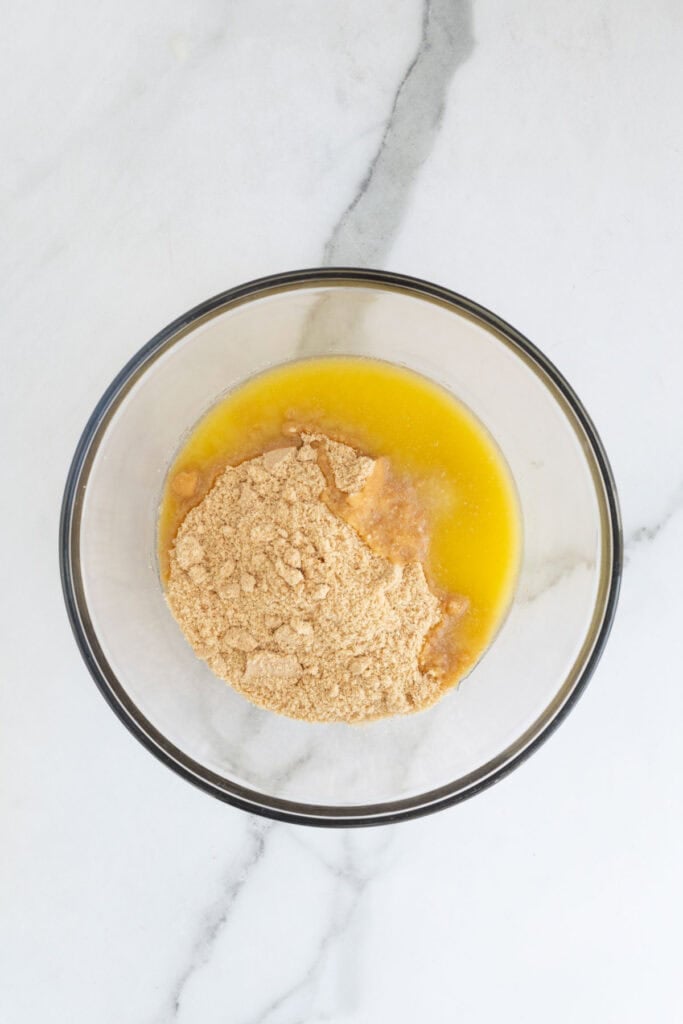
Step 11: Pour the melted butter into the cookie crumbs.
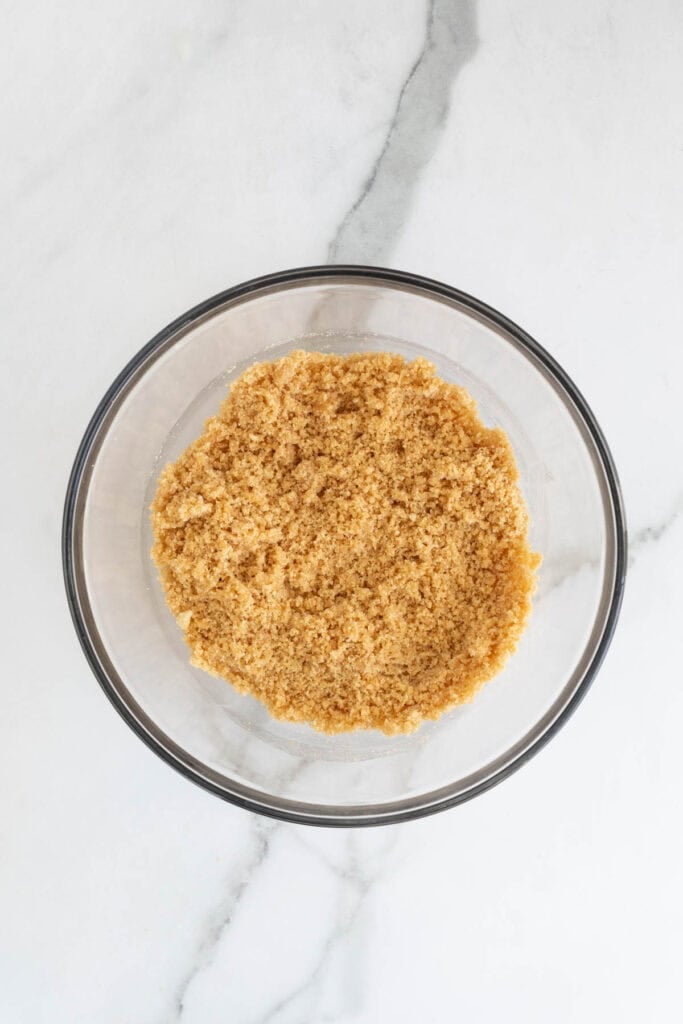
Step 12: Stir until there are no dry crumbs left.
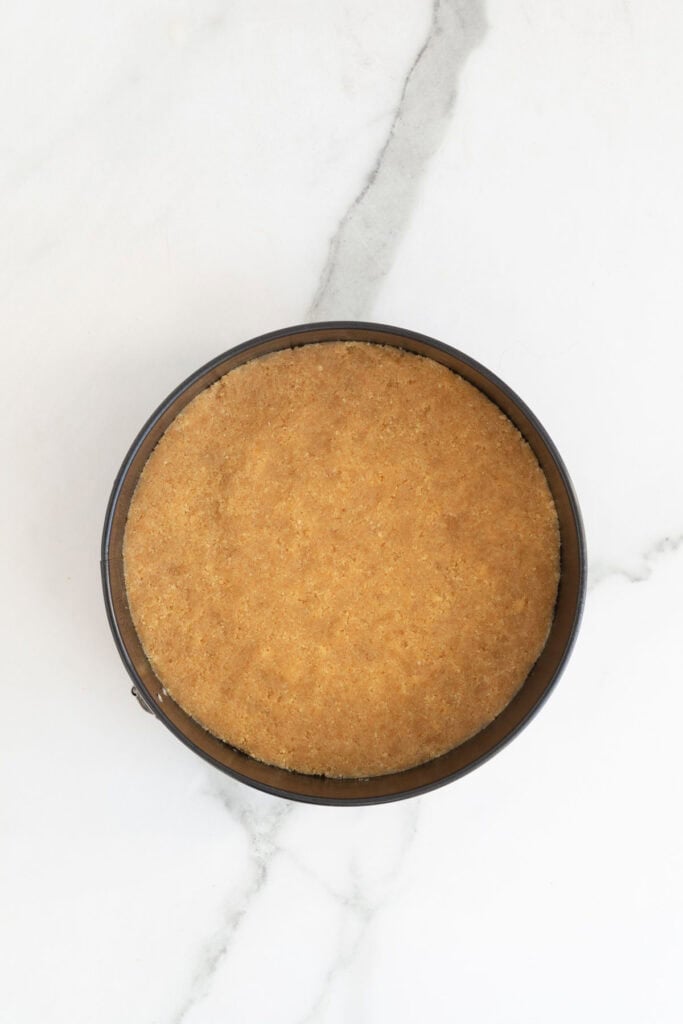
Step 13: Pour he crumbs into a greased 9-inch springform pan and press firmly into the bottom to create a thick crust.
Make the Cheesecake Filling
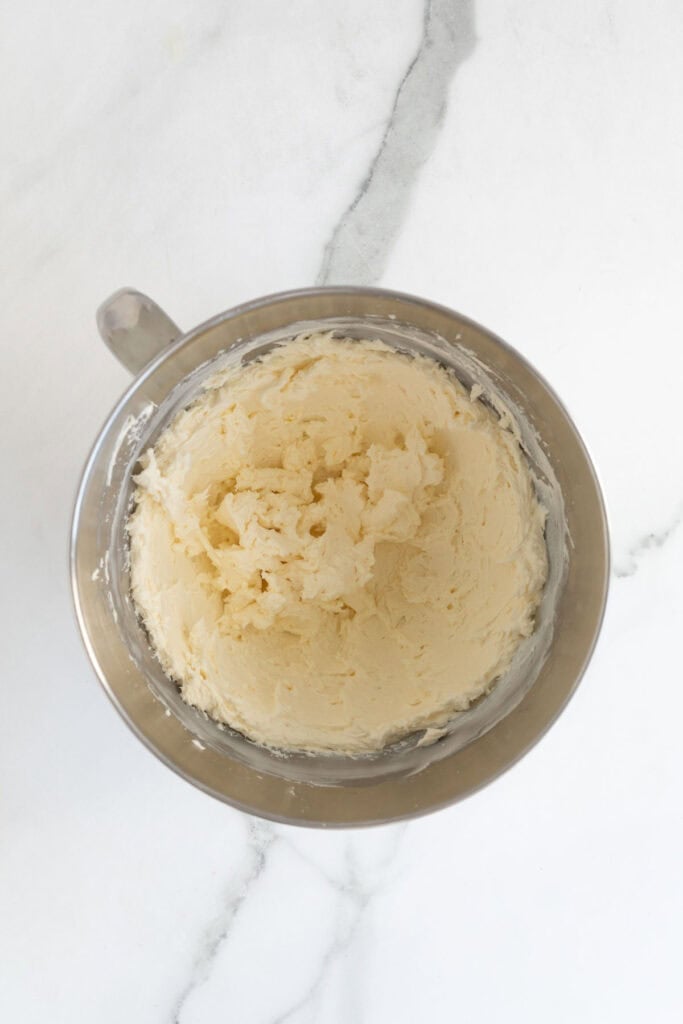
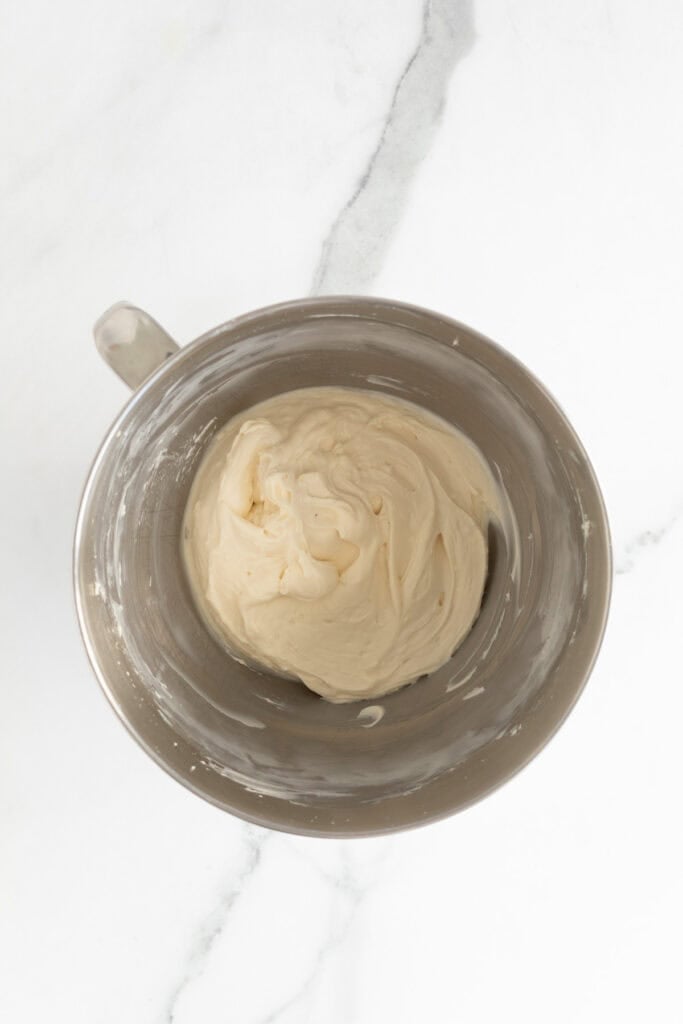
Step 14: Beat cream cheese on medium-high speed for 2-3 minutes until it’s light and fluffy.
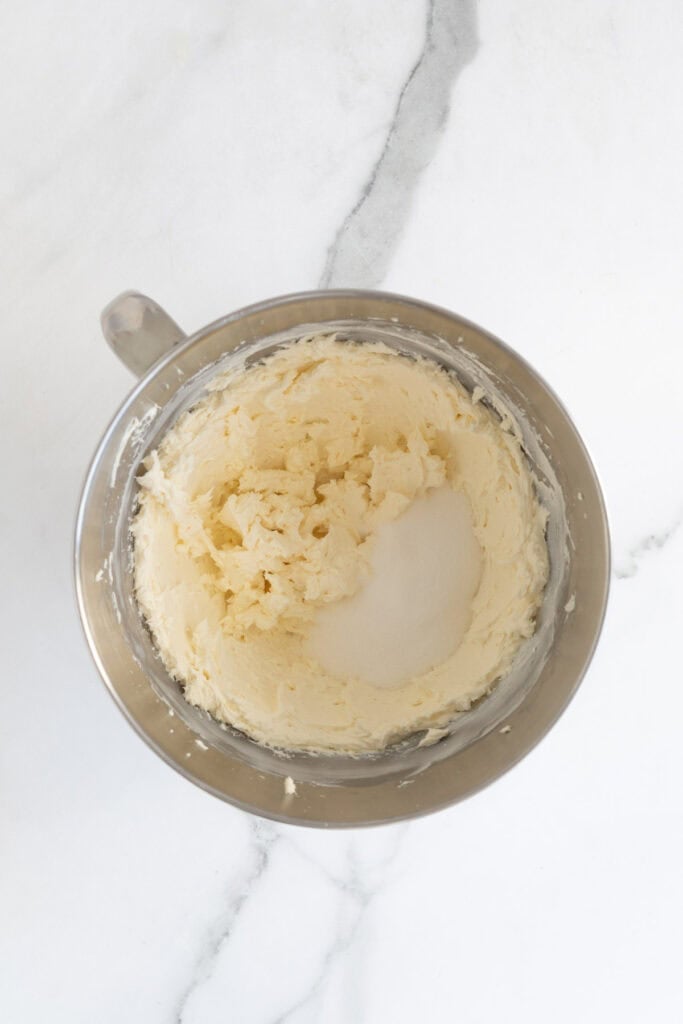
Step 15: Slowly add sugar into the cream cheese while continuing to beat the mixture, scraping down the bowl as needed.
Want to Save This Recipe, Boo?

Step 16: Next, add heavy whipping cream and vanilla extract.
Step 17: Beat until the filling is smooth and creamy.
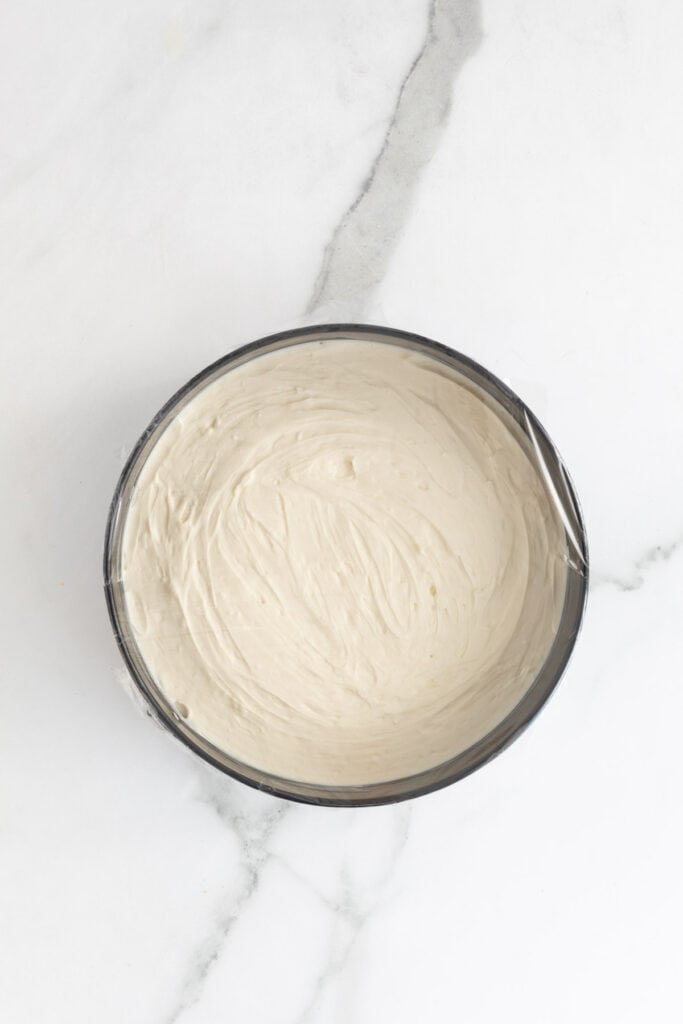
Step 18: Pour cheesecake filling into the prepared pie crust, cover and refrigerate for 2 hours.
Make the Topping
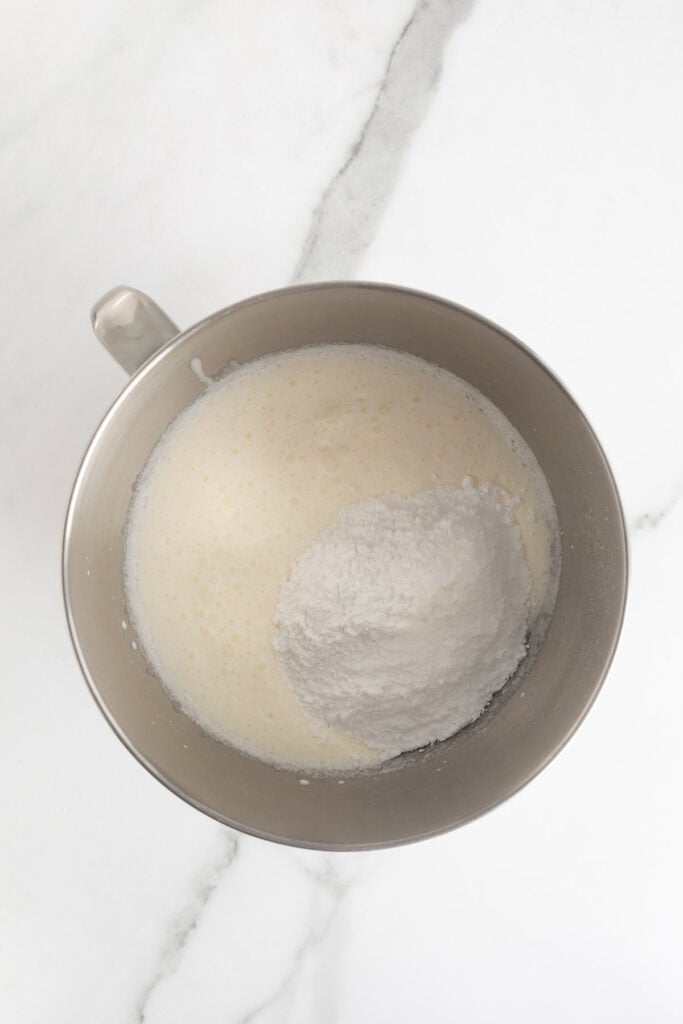
Step 19: Chill your mixing bowl in the freezer for 10 minutes then pour heavy whipping cream into the bowl then slowly add powdered sugar and beat on high.
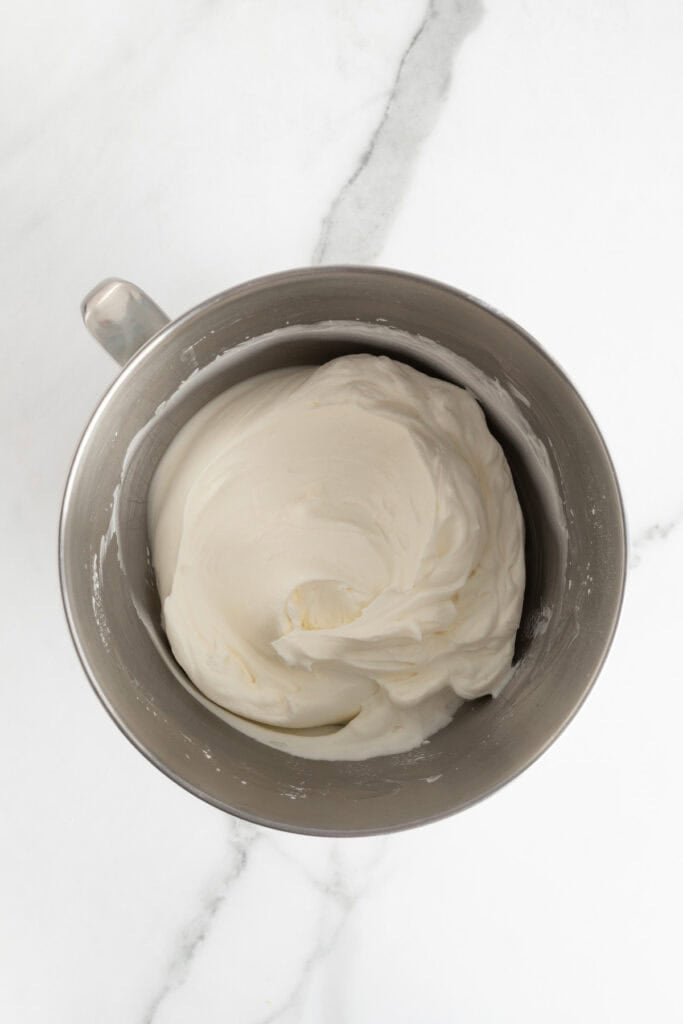
Step 20: Beat on high speed until stiff peaks form. Separate out 1 ¼ cups of the whipped cream for piping edge on cake.
Assemble
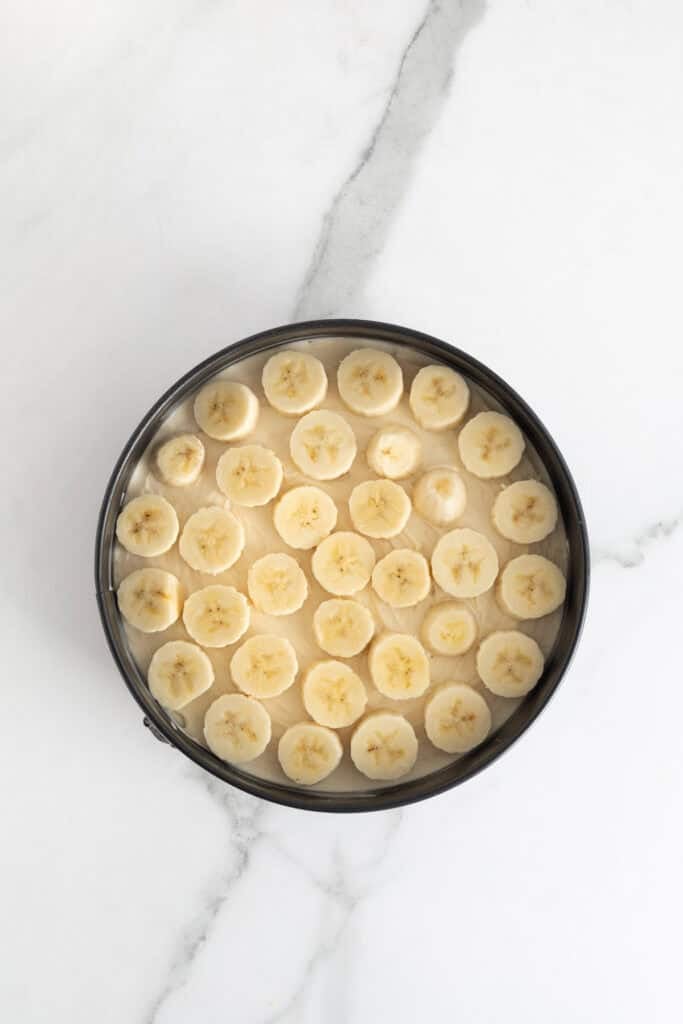
Step 21: Slice bananas about 1/2 inch thick. Start by aligning them on the outside of the cheesecake and work your way in toward the middle.
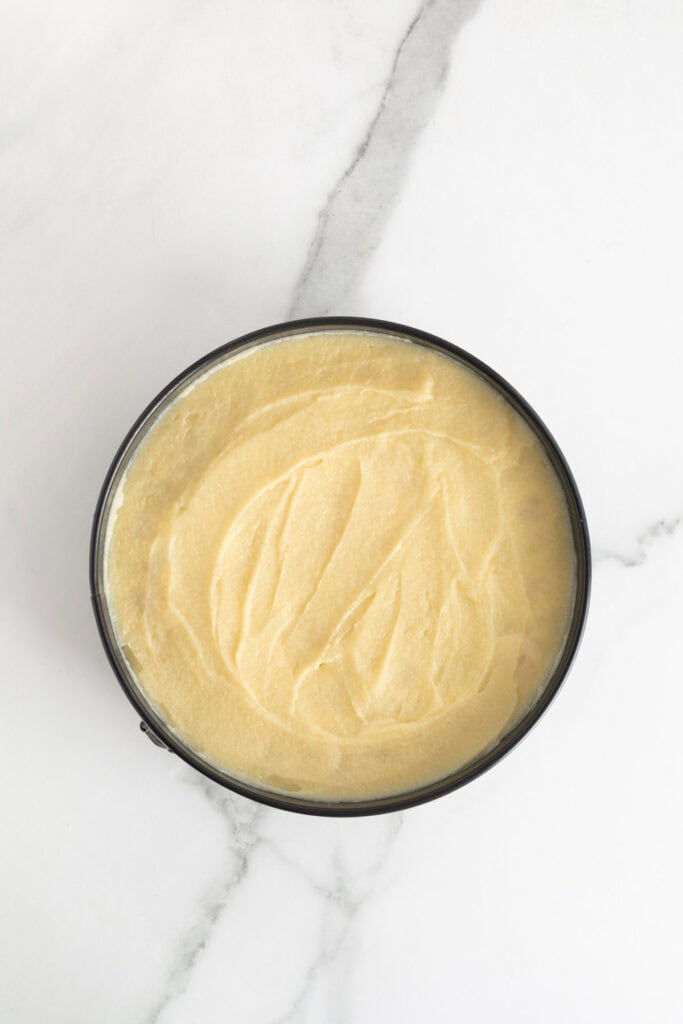
Step 22: Pour chilled pudding over the top of sliced bananas, spreading evenly.
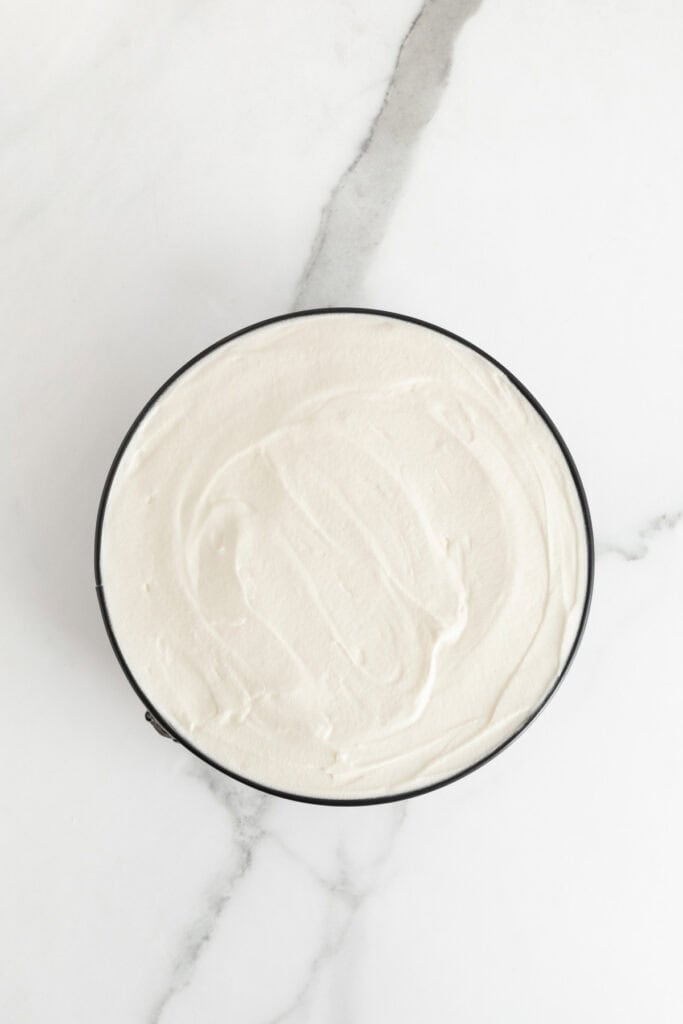
Step 23: Add whipped cream on top and spread smoothly.
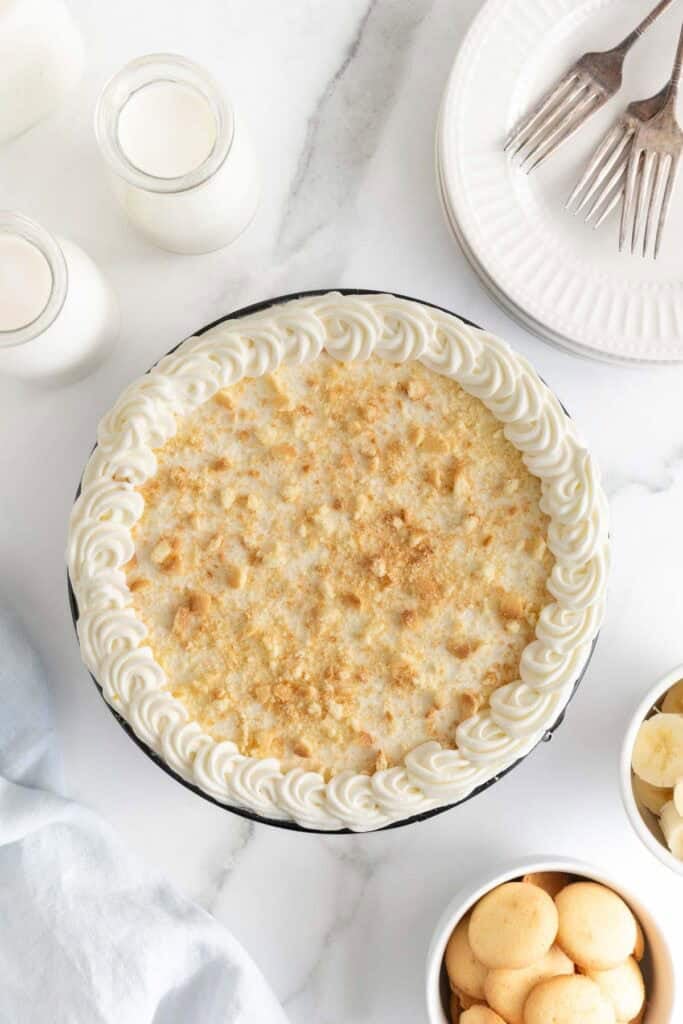
Step 24: Use the remaining whipped cream to pipe a border along the top of cheesecake. Garnish with crushed wafers. Refrigerate for 3-4 hours before serving.
Banana Pudding Cheesecake Recipe
Want to Save This Recipe, Boo?
Ingredients
For the Pudding:
- 2 large egg yolks slightly beaten
- 1/3 cup granulated sugar 64 g
- 2 tbsp all-purpose flour 16 g
- Dash salt
- 1 ½ cups heavy whipping cream 355 ml
- ½ tsp vanilla extract
For the Crust:
- 11 oz vanilla wafers 312 g
- 8 tbsp unsalted butter 115 g
For the Cheesecake:
- 16 oz cream cheese, softened 454 g
- ½ cup granulated sugar 96 g
- 2 tbsp heavy whipping cream 30 ml
- 1 tsp vanilla extract
For the Topping:
- 2 cups heavy whipping cream 473 ml
- 1 ½ cups powdered sugar 195 g
- 2 whole bananas sliced
- 6-8 vanilla wafers crushed
Instructions
For the Pudding:
- Measure out all of the ingredients for the pudding prior to starting. Place egg yolks in a separate bowl.
- In a medium-size saucepan, add sugar, flour and salt, and whisk to combine.
- Add the heavy whipping cream and vanilla extract, and heat the mixture on the stove top over medium-low heat. Whisk constantly to dissolve the dry ingredients into the cream mixture.
- After 5 or so minutes, once the mixture is warm (but not boiling), pour about ¼ cup of the cream mixture into the egg yolks and whisk vigorously to temper.
- Immediately pour the egg yolks into the saucepan and continue whisking over medium-low heat to prevent the eggs from cooking. Whisk until pudding starts to thicken. Once the mixture is thick and bubbly, remove it from the heat.
- Strain pudding through a fine sieve into a medium-size bowl. This step is optional, but it will help catch any lumps of ingredients that did not get blended.
- Immediately cover the top of the pudding with clear plastic wrap (directly on the surface of the pudding), and poke a few holes with a toothpick. Allow the pudding to cool for 30 minutes at room temperature, and then refrigerate for 2 hours until the pudding is cold.
For the Crust:
- Prepare a 9-inch springform pan by lightly greasing the edges of the pan with cooking spray, and then wiping gently with a paper towel.
- Grind the wafers into fine crumbs using a food processor or blender. In a microwave-safe bowl, microwave the butter for 45-60 seconds until the butter is melted.
- In a separate medium-size bowl, pour the melted butter into the cookie crumbs and stir until there are no dry crumbs left. Pour the crumbs into your springform pan and press firmly into the bottom to create a thick crust.
For the Cheesecake:
- Beat cream cheese on medium-high speed for 2-3 minutes until it’s light and fluffy.
- Slowly add sugar into the cream cheese while continuing to beat the mixture, scraping down the bowl as needed.
- Next, add heavy whipping cream and vanilla extract. Beat until the filling is smooth and creamy.
- Pour cheesecake filling into the prepared pie crust, cover and refrigerate for 2 hours.
For the Topping:
- Prepare the whipped cream by placing the mixing bowl in the freezer for 5-10 minutes to chill. Pour heavy whipping cream into the chilled bowl and use an electric mixer to beat heavy cream on medium-high speed until the cream gets bubbly.
- Slowly add powdered sugar and continue beating on high speed until stiff peaks form. Separate out 1 ¼ cups of the whipped cream for piping edge on cake.
- To assemble cheesecake, slice bananas about 1/2 inch thick. Start by aligning them on the outside of the cheesecake and work your way in toward the middle. Pour chilled pudding over the top of sliced bananas, spreading evenly. Add whipped cream on top and spread smoothly.
- Use the prepared whipped cream to pipe a border along the top of cheesecake. Garnish with crushed vanilla wafers. This cheesecake must be refrigerated for another 2-4 hours before serving to allow all the ingredients to set properly.
Notes
How to Store
Wrap it tightly with plastic wrap or place it in an airtight container to prevent it from absorbing other odors from the fridge.How long will it last in the fridge?
It should last for up to 3 days. Just know the bananas will start to brown. It will last even longer if you leave out the bananas, about 4-5 days.Can I freeze leftovers?
Honestly, it won’t turn out well with the added banana slices. They tend to get mushy and brown once frozen. Whipped cream also doesn’t freeze that great since it can separate and change in texture overtime. If you want to freeze, I remove the banana slices and whipped cream when you assemble. It should last for 2 months. Just thaw it overnight in the fridge when you’re ready to enjoy.Nutrition
Other Banana Recipes
- Banana Pudding Cheesecake Bars
- Classic Banana Pudding
- Banana Milkshakes
- Banana Cake
- Banana Pudding Cake
 pinterest
Is there banana in the whipped cream or pudding? I’m not seeing bananas except for the layer of bananas between the cheesecake pudding mixture and whipped cream. Am I missing part of the recipe?? This sounds delicious and I desperately want to try it.
Yes thats where the banana is and it gives it a lot of banana flavor.
Yummy, going to make this for Sunday dinner at mothers.
Hooray let me know how it turns out!
Egg yolks and no bake? Is this safe? This is my dad’s favorite pie and I would
like to make it for him when he visits this summer. However, I’d hate to let
him take a piece home and maybe make him ill. Please advise. It looks beautiful!
Yes I would definitely try it with pasteurized eggs and it will be totally safe to consume.
The yolks are cooked in the pudding mixture, so it should be quite safe. If in doubt, check with a thermometer. Then, enjoy!
My husband loves cheesecake and bananas! This is a perfect dessert to make for him!
This looks wonderful! I definitely need to check that book out!