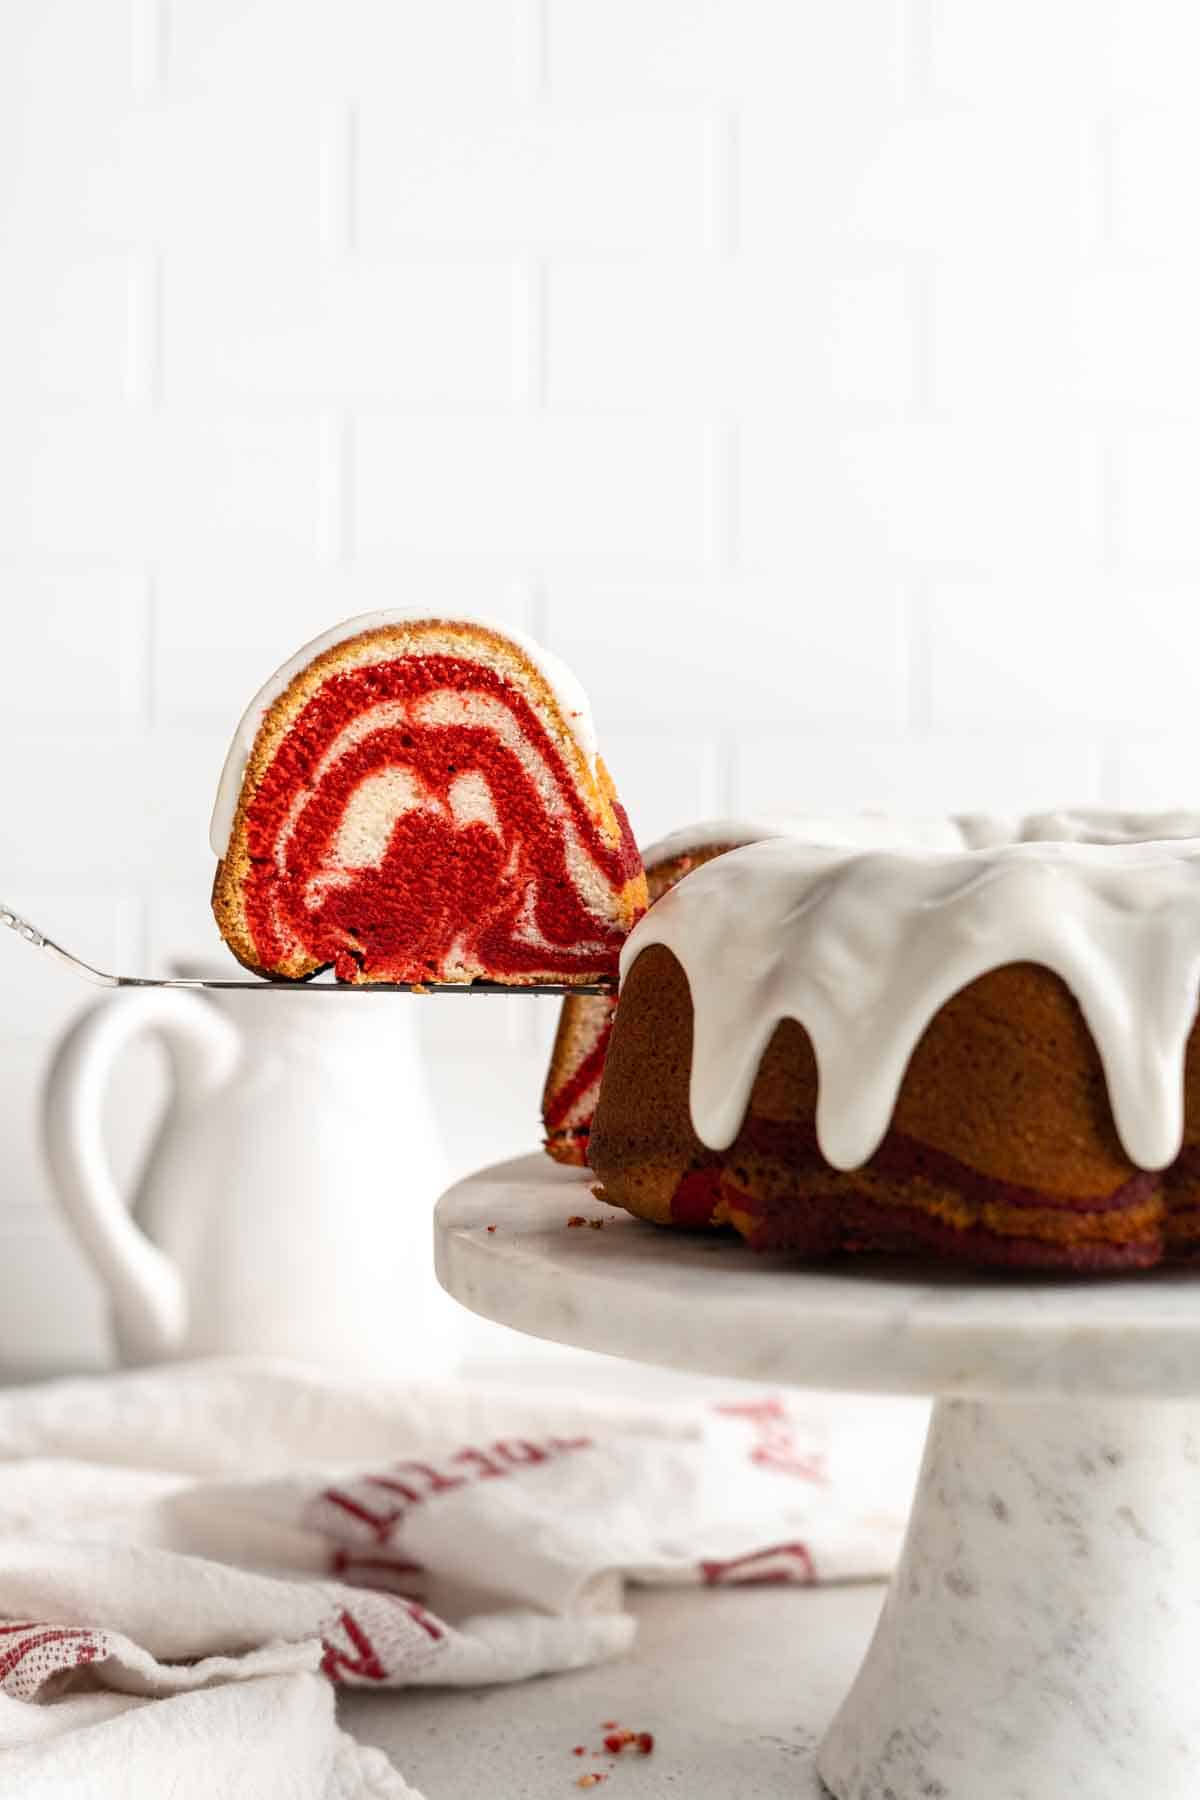
Y’all my Red Velvet Marble Cake recipe is straight up holiday perfection! It’s better than red velvet cake because with this one you get both vanilla and red velvet flavors swirled together in a tender and moist pound cake. And let me tell you, it’s an absolute hit boos! Folks will be begging you for the recipe, no lie!
This post may contain affiliate links. Read our disclosure policy.

They’re Lovin’ It! Here’s what They’re Sayin’:
“Baked this cake for Christmas and received requests for more! So delicious!”
—REBECCA
How to Make a Red Velvet Marble Cake
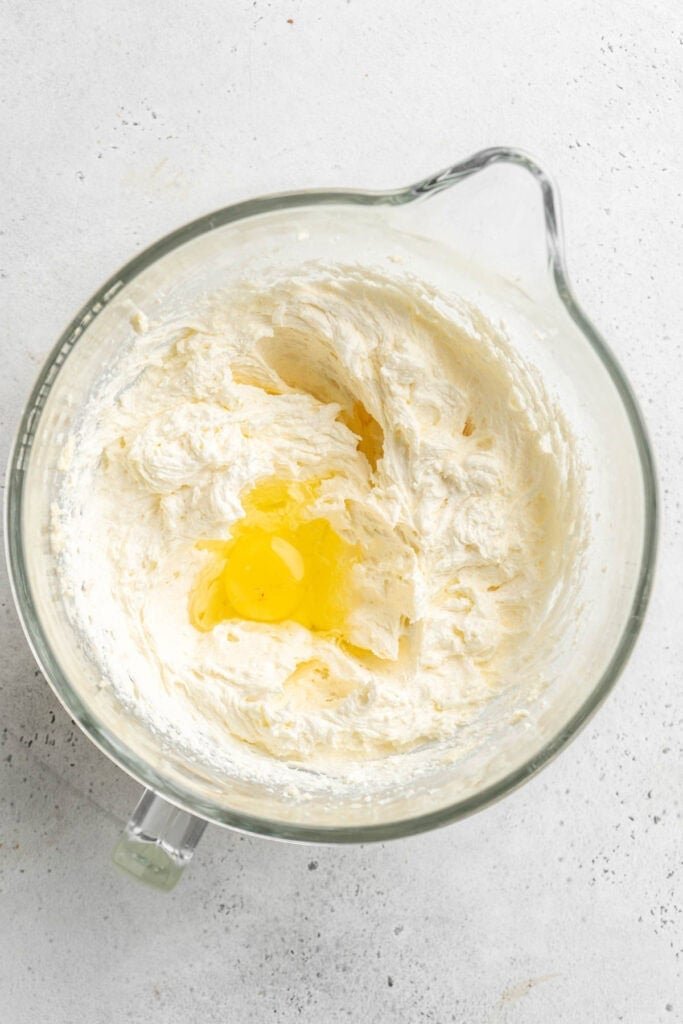
Step 1: Combine the butter and cream cheese in a mixing bowl or the bowl of your stand mixer. Beat for two minutes at high speed. Add the sugar and oil to the bowl and continue beating on high speed for an additional five minutes until the mixture is a very pale yellow and fluffy. Add the eggs, one at a time, combining well after each addition and scraping down the sides to incorporate everything into the batter.
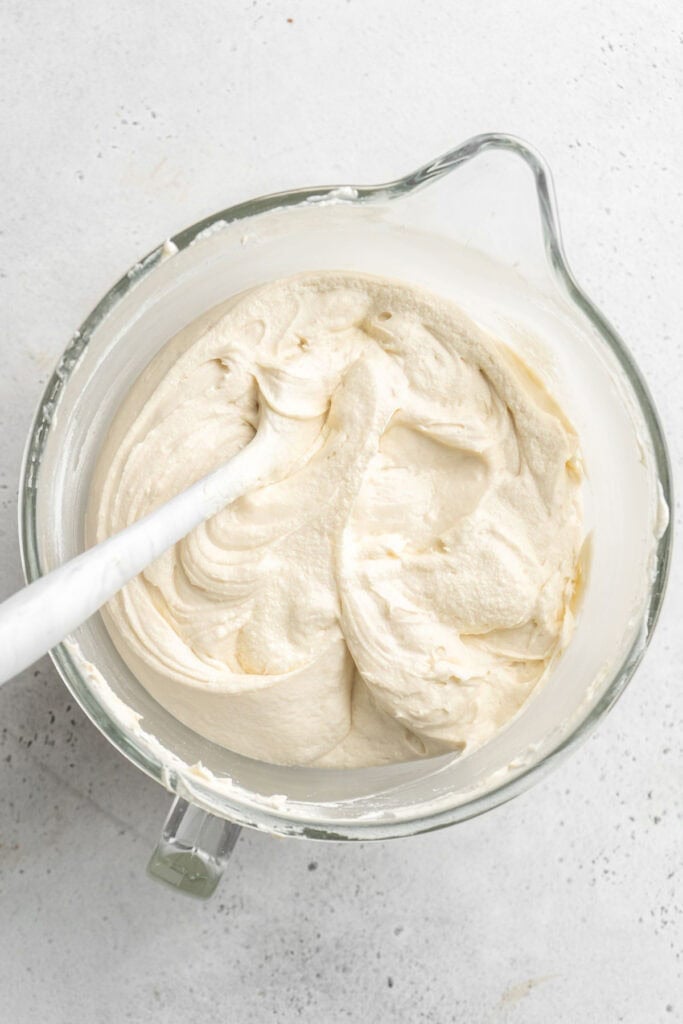
Step 2: Finally add the flour to the cake batter in two increments and then add salt. Mix on low and be careful not to over beat. Add in the vanilla extract and scrape down sides.
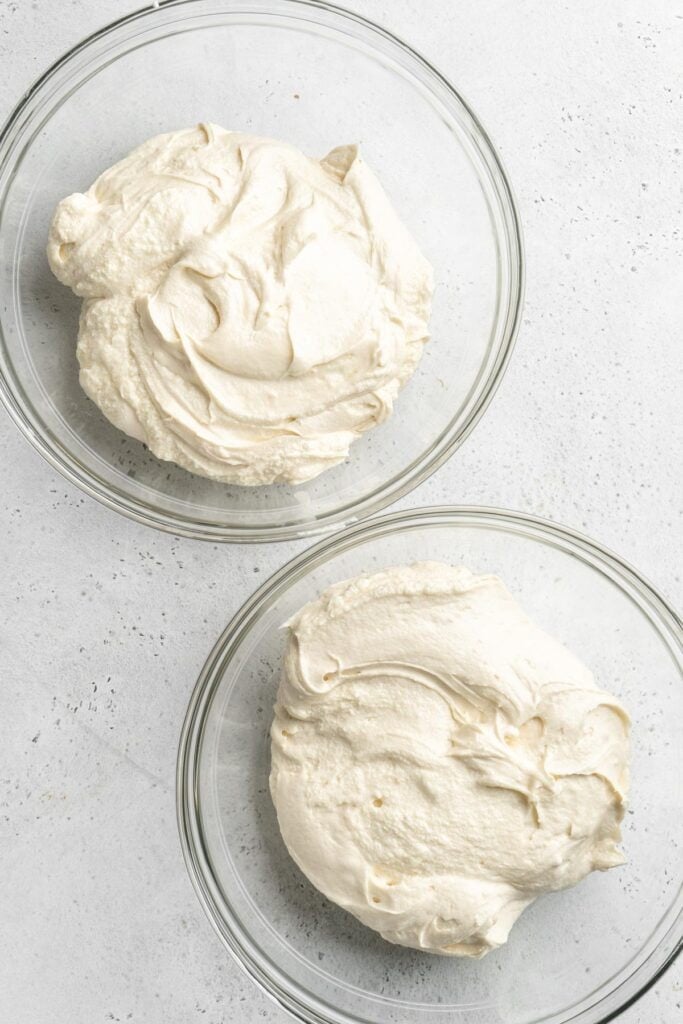
Step 3: Split the cake batter evenly between two separate bowls.
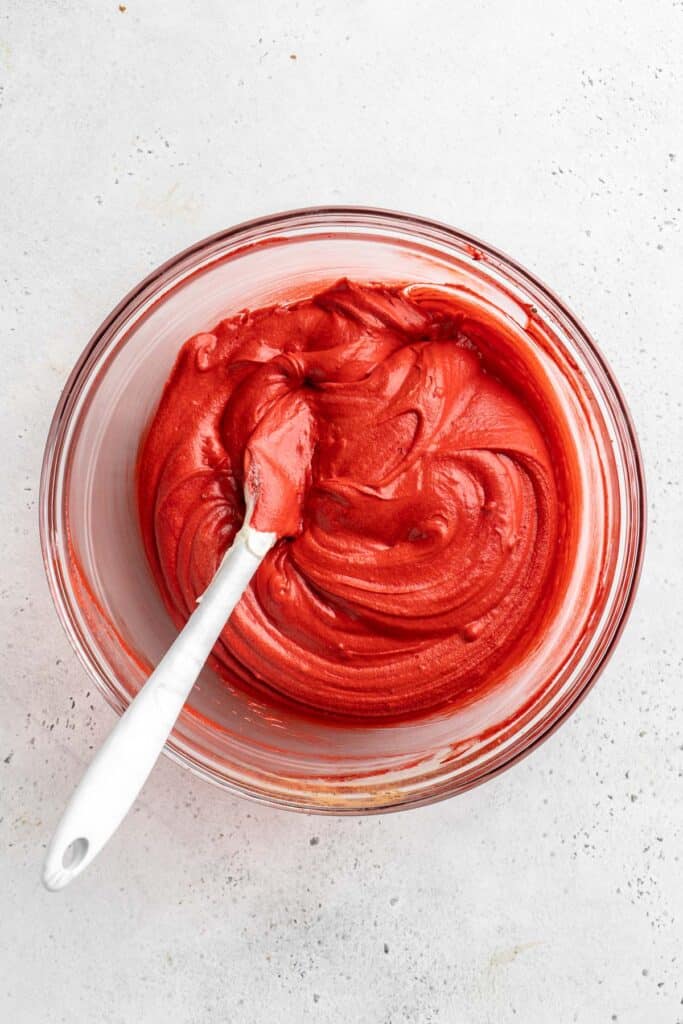
Step 4: Add the cocoa powder, red food coloring, and hot water into one bowl. Whisk together until the batter is completely well mixed.
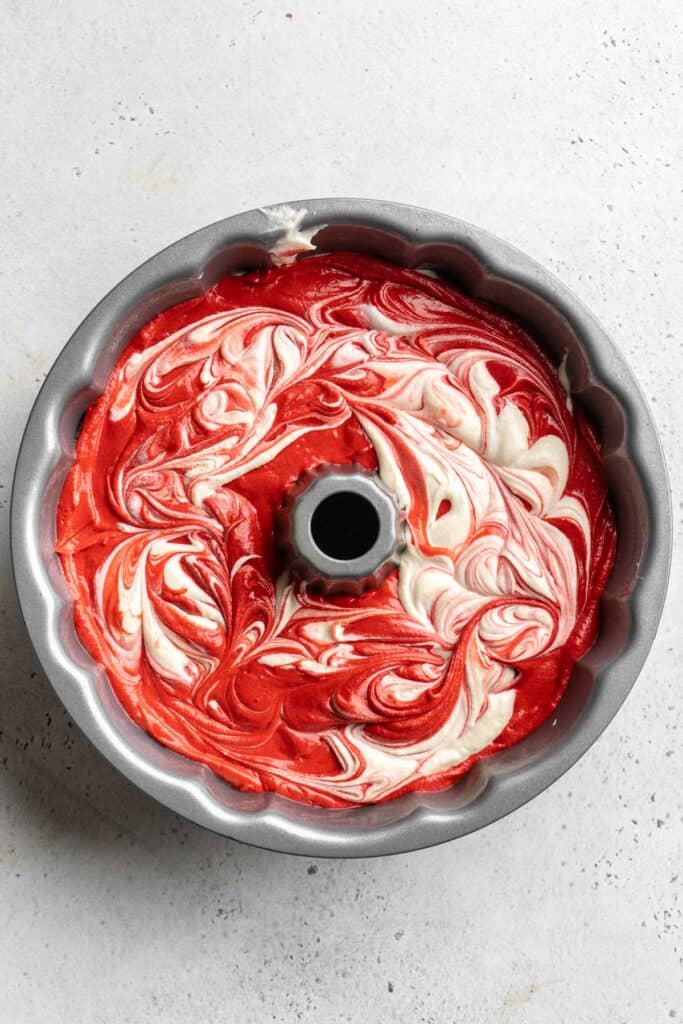
Step 5: Alternate dollops of vanilla and red velvet cake batter into a Bundt cake pan. Swirl the batter with a skewer to create the marbled look.
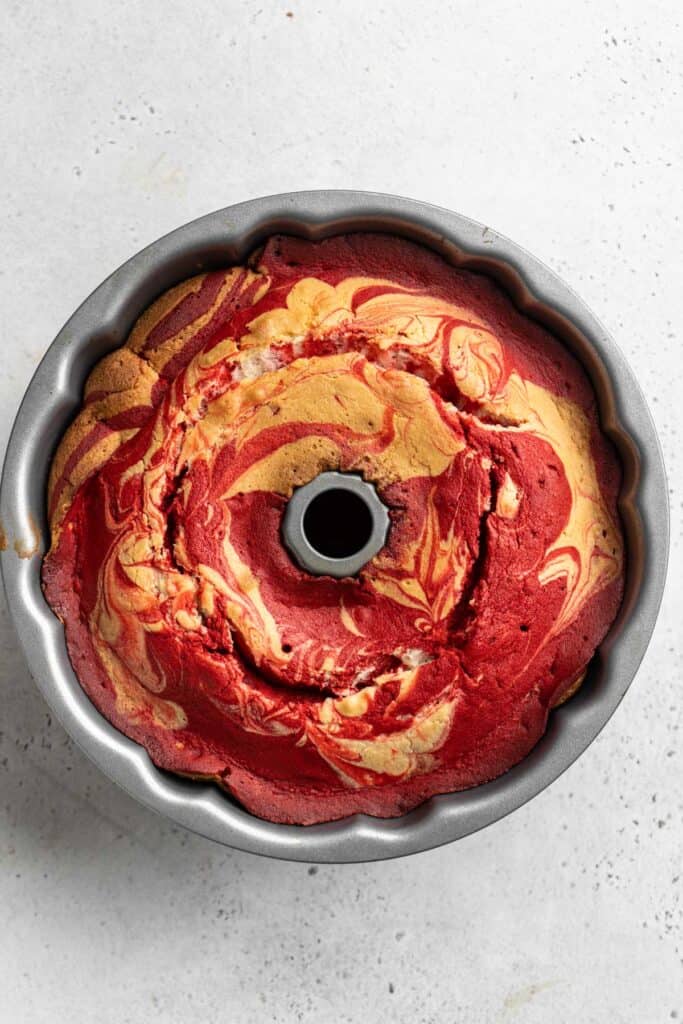
Step 6: Bake the cake for 1 hour and 15 -20 minutes or until a toothpick inserted in the center of the cake comes out clean. Cool the cake in the pan on a wire rack for 10 minutes. Invert the cake onto a serving plate and let it cool for at least an hour or until the cake is cool to the touch.
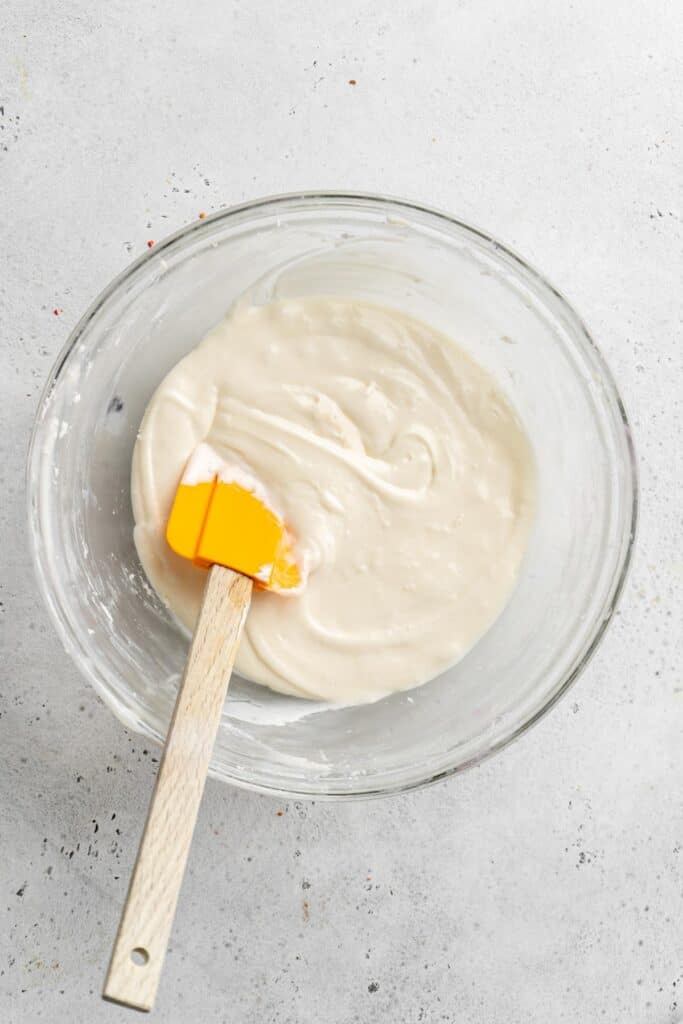
Step 7: Combine the cream cheese, powdered sugar, milk and vanilla extract in a bowl. Mix together until it’s smooth.
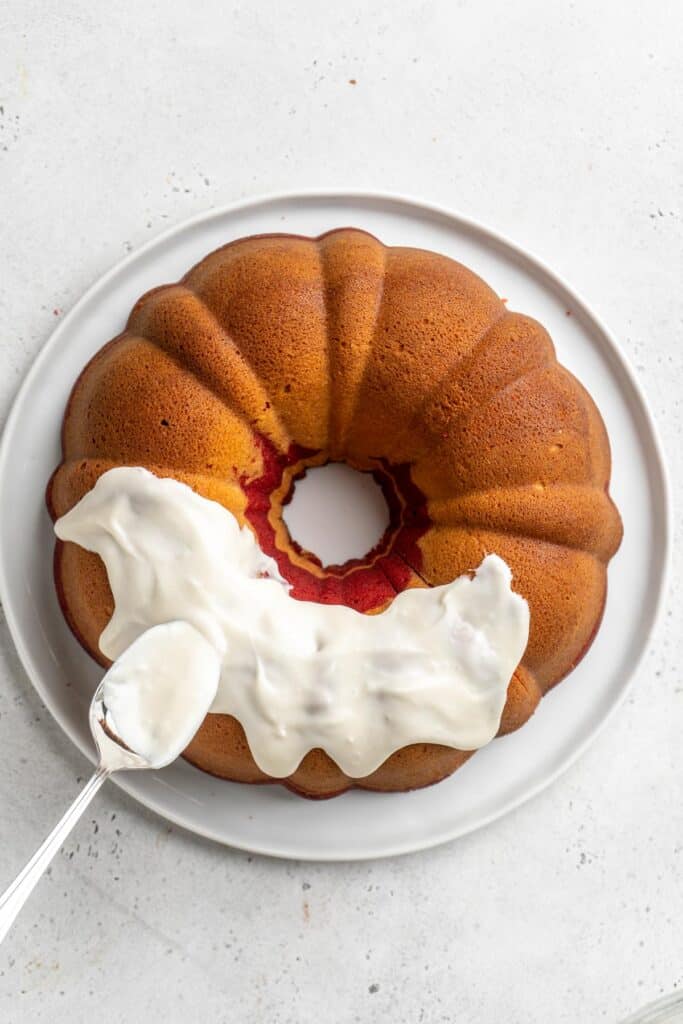
Step 8: Pour it over the top of the cooled cake. Allow the glaze to drip down the sides of the cake.
Want to Save This Recipe, Boo?
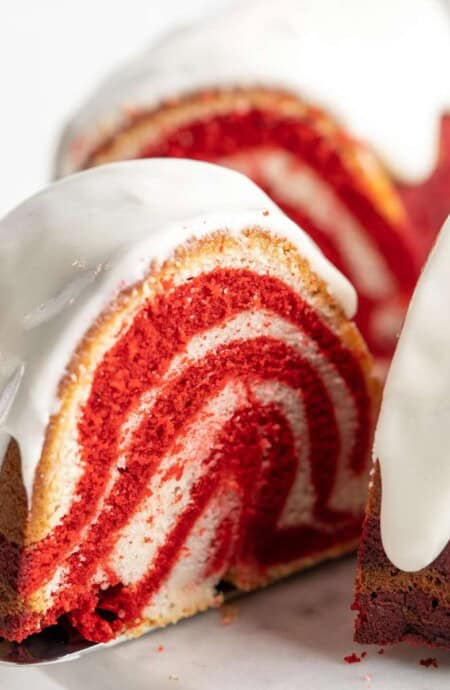
Red Velvet Marble Cake Recipe
Want to Save This Recipe, Boo?
Equipment
Ingredients
For the Cake:
- 1 ½ cups unsalted Butter room temp, 3 sticks
- 8 ounces cream cheese room temp, 1 block
- 3 cups granulated sugar
- 1 tablespoon vegetable or canola oil
- 6 large eggs room temperature
- 3 cups cake flour
- 1 teaspoon salt
- 2 teaspoons vanilla extract
For the Swirl:
- 2 tablespoons unsweetened cocoa powder
- 1 tablespoon red food coloring
- 1 tablespoon hot water
For the Icing:
- 4 oz cream cheese room temperature
- 2 cups powdered sugar
- 4 tablespoons milk
- 1 teaspoon pure vanilla extract
Instructions
For the Cake:
- Start by preheating your oven to 325°F then liberally spray a 12-cup Bundt® pan with non-stick baking spray.
- In your mixer bowl, add butter and cream cheese and beat for two minutes on high speed. Next, slowly add in sugar and oil then continue beating on high speed for an additional five minutes until it’s a very pale yellow and fluffy.
- Next, add eggs, one at a time, combining well after each addition and scraping down the sides as needed.
- Turn your mixer down to its lowest speed, and slowly add flour into batter in two increments then add salt. Be careful not to overbeat.
- Lastly, add in vanilla extract, scrape down sides and mix until just combined and turn off mixer.
- Pour 1/2 of cake batter into a separate bowl and set aside. Whisk in cocoa powder, red food coloring and hot water until completely well mixed.
- Alternate dollops of vanilla and red velvet cake batter into Bundt® pan using a skewer to swirl batter.
- Bake for 1 hour and 15 -20 minutes or until a toothpick inserted in the center of the cake comes out clean.
- Cool in pan on a wire rack for 10 minutes, then invert cake on serving plate for at least an hour or until the cake is cool to the touch.
For the Cream Cheese Icing:
- Mix cream cheese, powdered sugar, milk and vanilla extract until smooth then pour over top of cooled cake and serve.
Video
Notes
How to Store Red Velvet Marble Cake
Place it in an airtight cake container or wrap it up tight to keep it from drying out then pop in the fridge due to the icing. If you’re making the cake ahead of time, wait to add the glaze until you’re ready to serve. Cool the cake completely and then wrap it tightly in plastic wrap and then in foil (if freezing) and store it in the freezer or refrigerator until ready to use. If you’re making it only a day ahead, it’s ok to store the marble cake at room temperature until you add the frosting.How long will red velvet marble cake last in the fridge?
It will last up to 7 days in the fridge.Can I freeze marble red velvet cake?
Yep, you can! You have the option to freeze the whole bundt cake intact or individual slices of cake. I recommend not freezing the bundt cake after adding the glaze. The glaze may not remain the same consistency during the thawing process. Allow your bundt cake to cool completely before freezing. Wrap the cake tightly in plastic wrap, then again in foil. Freeze for up to 6 months. Allow the cake to thaw overnight in the fridge.Nutrition
Recipe Tips
- Alternating the Batters. Use two different utensils to keep the colors from bleeding into each other. This will ensure a more distinct and striking marbled pattern.
- Create Swirls. Use a skewer or toothpick to carefully create swirls. Begin with big swirls and then go back in to make smaller adjustments after looking at the big picture. Just don’t overswirl so the colors don’t blend too much.
- A Perfectly Tender Cake. To make sure your cake cooks with a light and tender texture it’s important to measure your ingredients properly and to avoid over-mixing the batter. Scoop your flour into the measuring cup with a spoon and level it off and make sure to mix the flour into the batter using low speed. This applies for all my bomb cakes too.
- Room Temperature Ingredients. Your ingredients will mix together more easily with creamier results when you start with room temperature butter, cream cheese, eggs, and milk.
- Cool the Cake In the Pan. Just for a short time to prevent the cake from breaking when you flip it. As the cake cools down it will continue to cook a bit and will be less delicate when you give it a slight cool in the pan before inverting it onto the serving plate.
Recipe Help
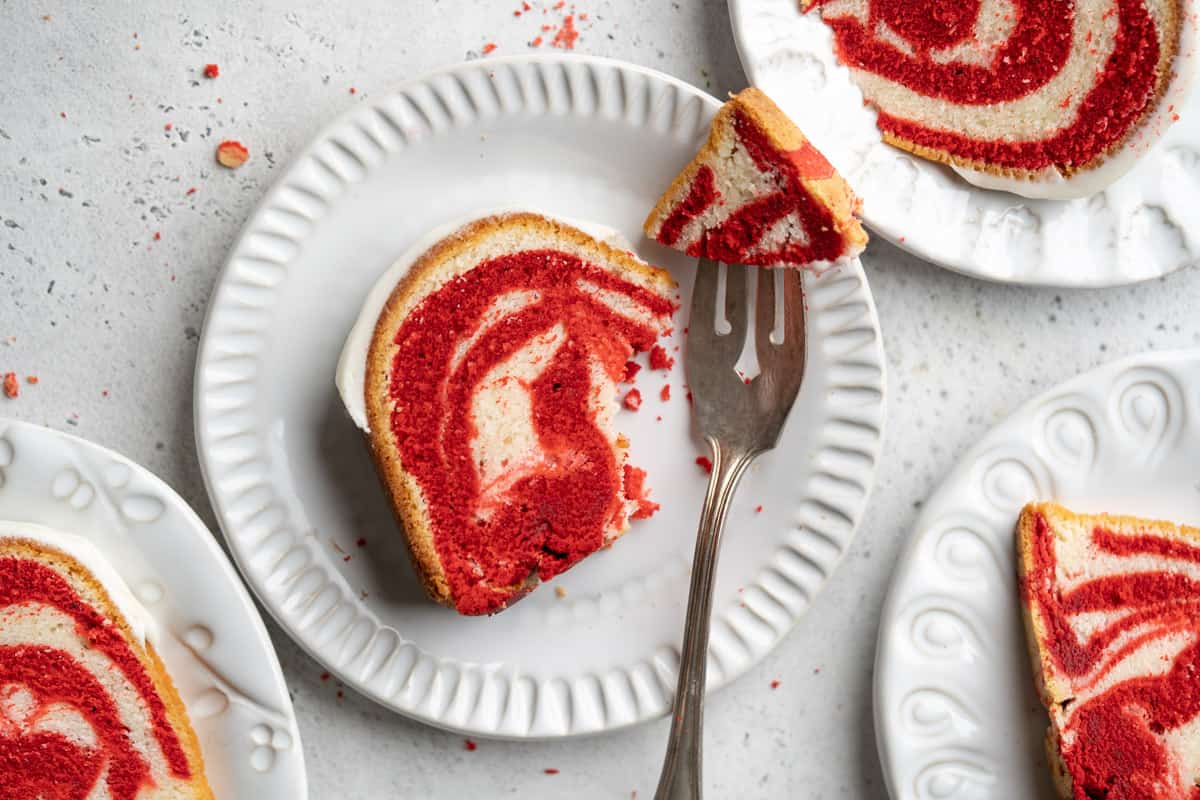
Start by using two spoons to add the colored batter to the pan. Alternate with one white and then one red and continue around the pan. The add another layer on top and continue until all the cake batter is in the pan. Then use a skewer or toothpick to swirl the colors together a bit more for a more swirled effect.
Use the time as a gauge to determine when you’re cake is done but it may not be completely accurate. This cake is fairly dense so it does usually take over an hour to cook. It should appear firm on top and when you press lightly on the top of the cake it should spring back and not leave an indentation. The final way is to check with a toothpick or skewer. Insert it into the cake and if it comes out mostly clean or with only a few crumbs the cake is ready.
It all starts with the correct consistency of the glaze. You want it pourable but not too thin. Slowly pour it over the top of the cake gently so that you add just enough for it to drip down the sides. If you’re anxious that it may come out too fast when pouring you can also use a spoon to drizzle it over the cake giving you a bit more control.
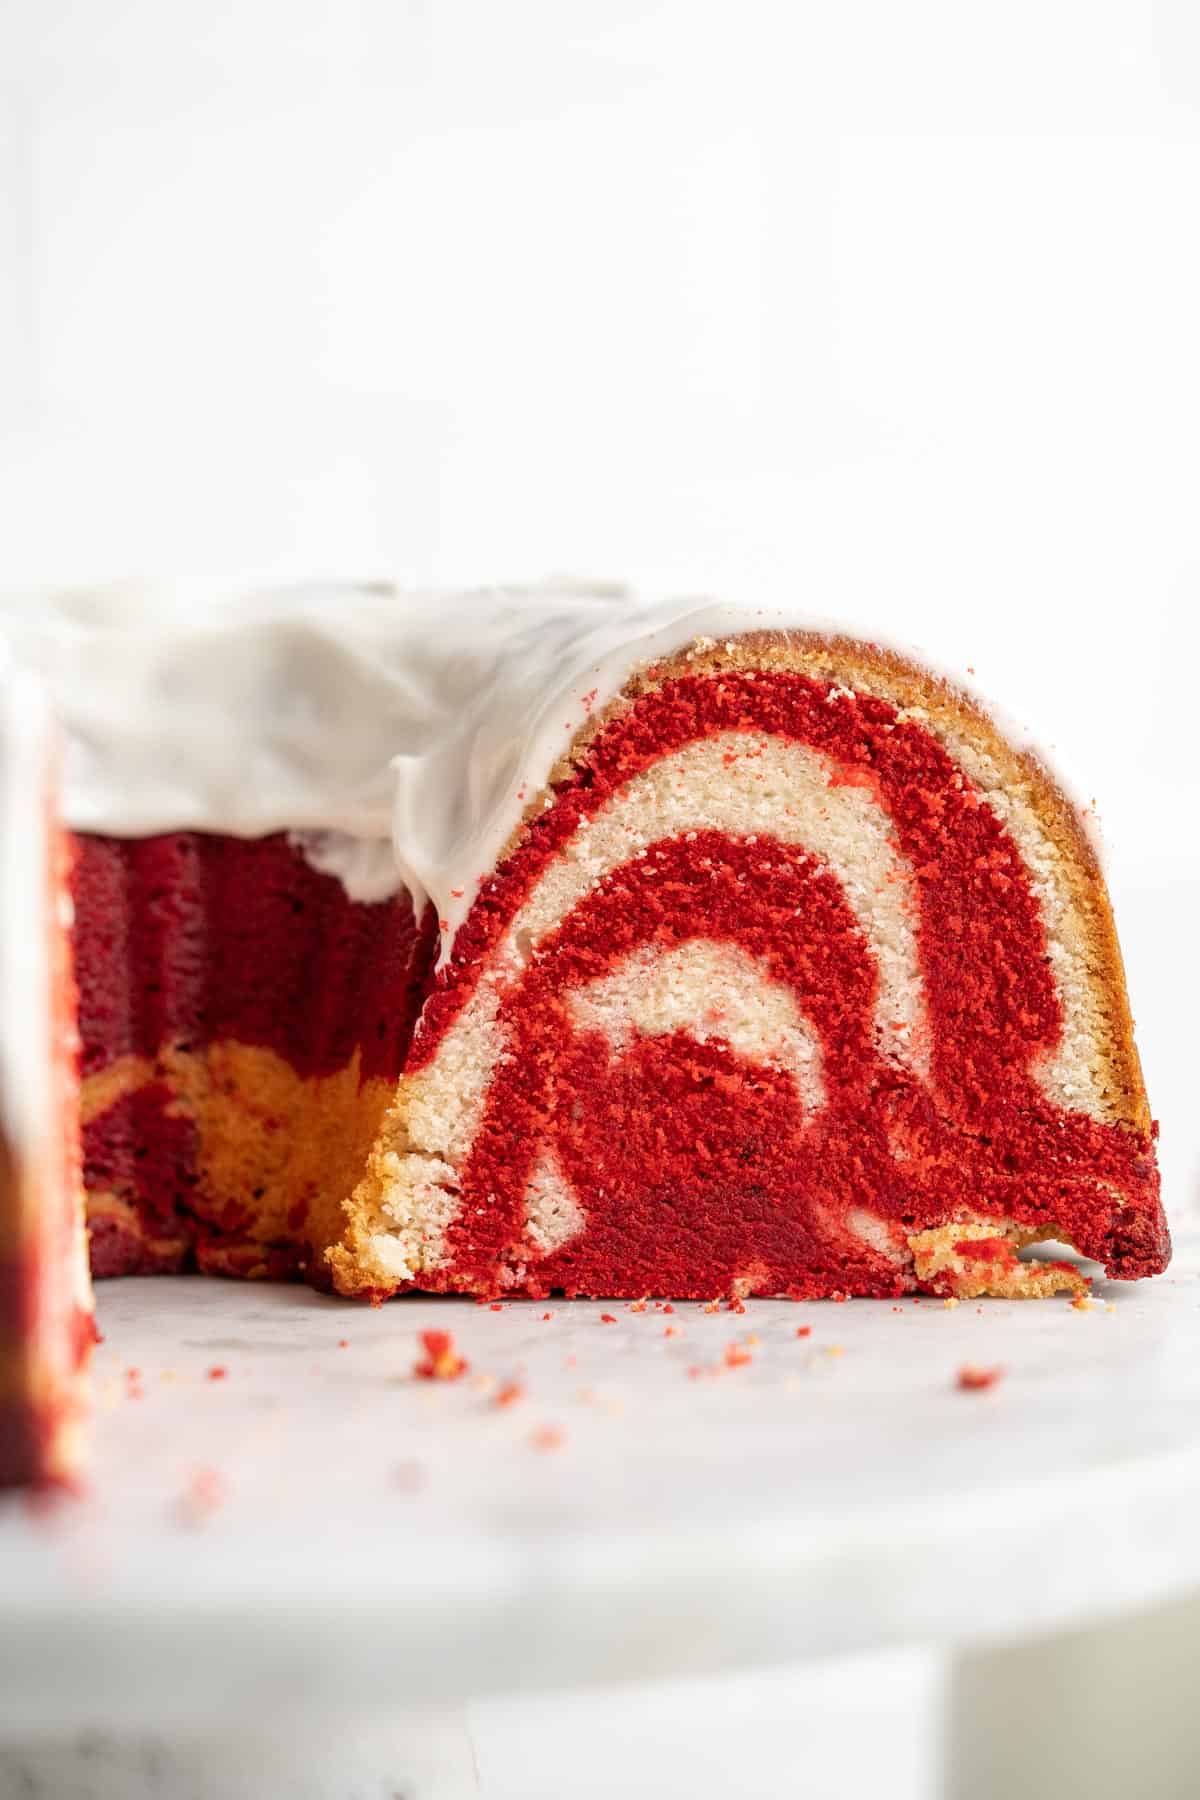
I baked this cake for a coworker’s birthday. In hindsight I should have put a wax paper liner in the pan. The cake stuck, but I was able to salvage it and put it together. She loved it tho! Definitely will be making this again!
I made this cake on Saturday, December 29, 2018 for my hair stylist and her customers. They loved it. It was delicious as well as beautiful. I added holly berry sprinkles on top. Is there a way to post the picture of my cake on your site? I tried on Facebook, but it did not work. I’m making it again on January 5, 2019 for a church Christmas party. I can’t wait to hear the oohs and aahs again!
You can post the photo on instagram with the #grandbabycakes hashtag or you can email me a photo to feature in my newsletter. I’m so so glad you enjoyed it.
I was wondering what baking agent you used: baking soda or powder? Its not listed in the ingredients. If you can let me know which one and how much you used that would be great.
Hi Tiffany, no baking agent is necessary for the cake.
This cake looks absolutely delicious and I cannot wait to try it. I do have a quick question- can I make the cake, two days in advance ? I would like to make it on Friday for our Sunday night Christmas party. I will not have time on Saturday or Sunday morning to make it. Any tips or suggestions ?
Thank you!
Yes you can definitely make it two days in advance however I would make the cream cheese frosting the day of.
This cake was AWESOME! I made it for a friend of mine to take to an orphanage along with your Chocolate layer cake. Yesterday was the first time for this marble cake. Only thing I did different was sprinkle some Christmas sprinkles on it to make it look festive for the kids. I made my husband and I a small bundt from the batch as well. We both LOVED it…we love good cake. I also used my convection oven which worked perfect. The texture and moisture was wonderful. I’m trying not to have another piece before bed!
Oh fantastic! Thank you for the beautiful review!
Dear Jocelyn
I am a 44 years old woman and the last time I baked a cake from scratch I was a teenager living with grandma back in Colombia. So that was many many years ago. Yesterday was not only mother’s day but also my mother’s birthday and I decided to bake her a cake since she loves them. I found your recipe online and I was instantly drawn by the pretty pictures, I said to myself, if I could only bake a cake that looks like that… Well, I did, and I came out just like it. I was so happy and my mother loved it, also my adult kids.
Thank you for sharing this amazing recipe, this cake takes like heaven.
Hi their cake looks delicious, but I have a question does this mean no need for baking powder or soda?
Where do I begin? This cake was fantabulous! Made it for Christmas dinner & my family LOVED it. I used the Land O Lakes European Style butter & I think I’m in love. The cake was moist & the marbiling held beautifully. Thank you for sharing this recipe!
Awww wonderful!!!! I’m so so glad you enjoyed it.
Hello!!!
I just made a cranberry walnut pound cake at 2 AM just one day ago, and it’s addictive. The recipe called for a simple powdered sugar glaze, but I instinctively added some Orange juice to the glaze. However, after reading your recipe, I will add Orange extract and grated orange peel to the batter, as your recipe calls for. Lastly, I will also exchange the AP flour I used for my recipe to cake flour, a lighter version. Thank you for sharing this recipe. I will make it exactly as you do, but will include 1/2 cup of chopped walnuts (or pecans).
May you and your family have a very Merry Christmas and an amazing 2018, beyond your expectations!
Thanks so much! I hope you enjoy!
These look incredibly delicious!
I want to try this, but I have 2 questions:
1. What is the reason for adding the vanilla at the end instead of with the butter and cream cheese?
2. Are you using a Kitchen aid mixer or regular hand held mixer? Five minutes is a long time to beat with a Kitchen aid mixer. Thanks.
Hi Barb, I prefer adding the vanilla at the end of the process so it gets into all of the ingredients. Just my personal preference. Also I use both hand and stand mixer and I prefer a longer creaming period to add as much air to the cake as possible since it isn’t a leavened cake. It will help it to rise.