
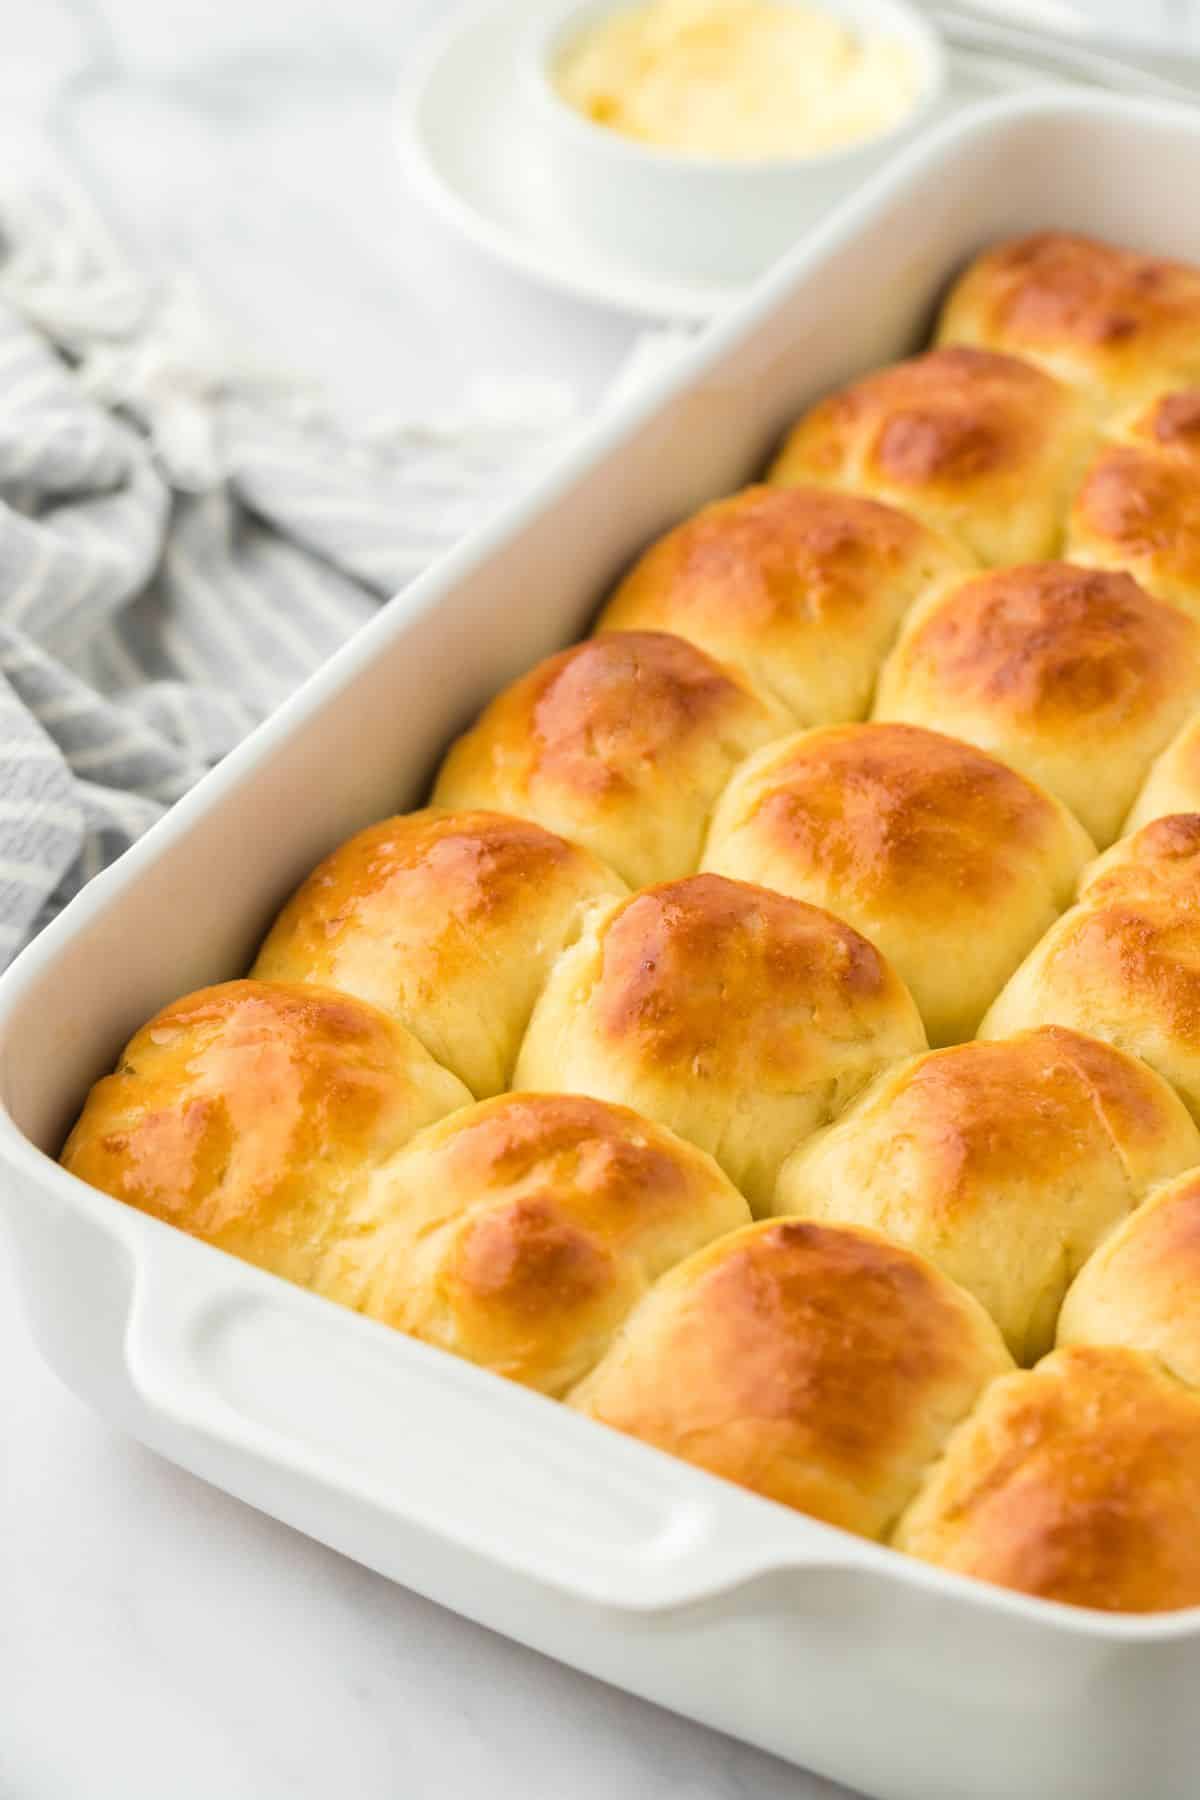
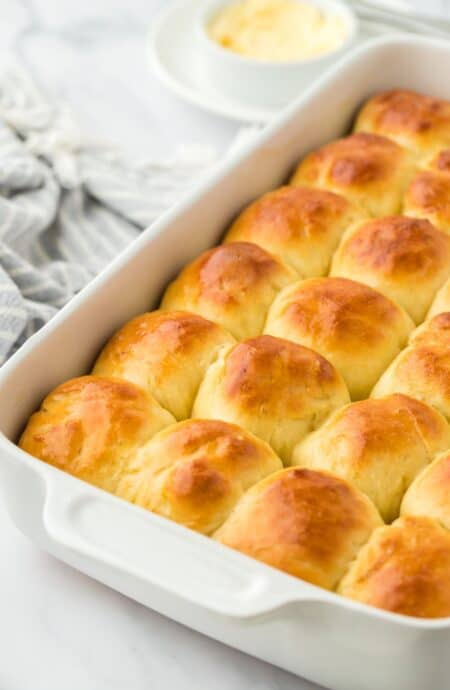
After perfecting this recipe, I no longer buy yeast rolls at the grocery store. They can’t make them as soft and perfect as these boos. I got that texture just right so they taste almost like pillows. I also get a gorgeous golden color on the outside too. If you have some time on your hands and a special occasion coming up, definitely make these. While this ain’t exactly a beginner recipe, I walk you through the whole thing so you can master it like a pro.
This post may contain affiliate links. Read our disclosure policy.
Yeast Rolls Ingredients
- Active Dry Yeast: This is what’s gonna give our rolls that perfect rise.
- Milk: Whole milk works best but you can sub in 2%. Just don’t use skim.
- Unsalted Butter: Salted is fine also.
- Eggs: Don’t use a substitute for these.
- Bread or All-Purpose Flour: Bread flour gives you a chewier texture, but all-purpose works just fine, too. You can also swap in a 1:1 gluten-free baking flour. Make sure it’s one that’s made for yeast-based recipes!
How to make Yeast Rolls
Activate the Yeast

Step 1: Combine yeast and sugar in a small, heat resistant bowl.

Step 2: Add milk and butter to a small saucepan. Heat heat until it reaches 110F. Do not boil. (It’s okay if all the butter isn’t completely melted.) Remove from heat.

Step 3: Pour the milk mixture over the yeast and gently whisk together.

Step 4: Let sit until the yeast mixture is foamy, bubbly on top and has doubled in size. (If your yeast doesn’t do this, it is dead. Purchase new yeast and redo steps 1-2.)
Mix the Dough

Step 5: Whisk together eggs and egg yolk and sugar in the bowl of your stand mixer fitted with the dough hook. Whisk milk mixture into egg mixture in bowl.
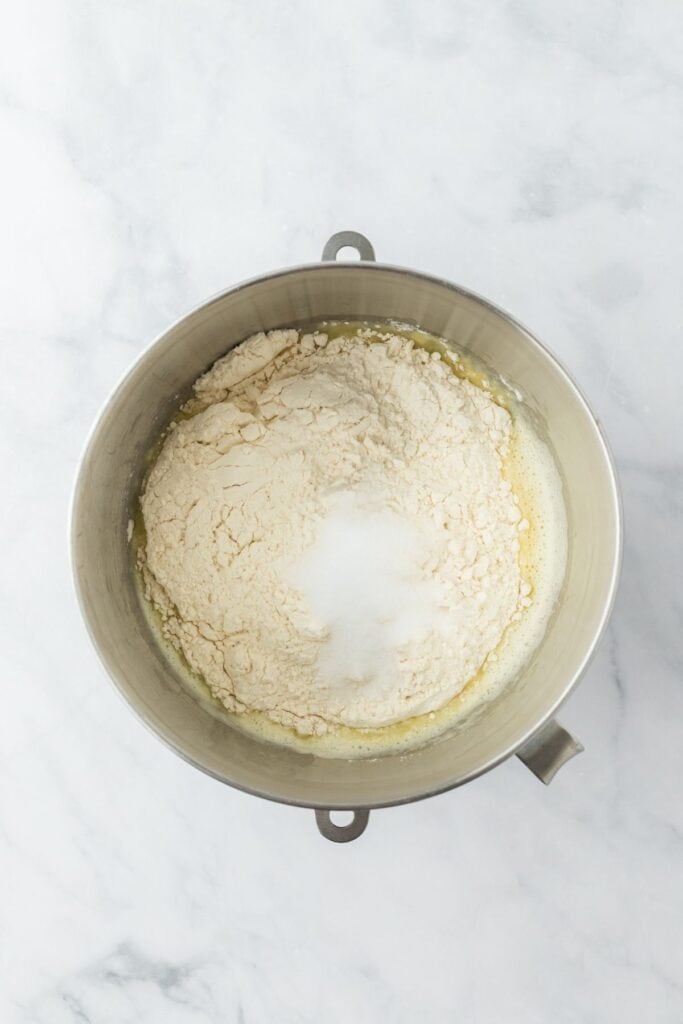
Step 6: Add flour and salt, turn on a stand mixer and mix on low for 30 seconds until a limp dough begins to form.

Step 7: Add the yeast to the soft dough along with an additional flour.

Step 8: Mix on low until most of the flour is absorbed.
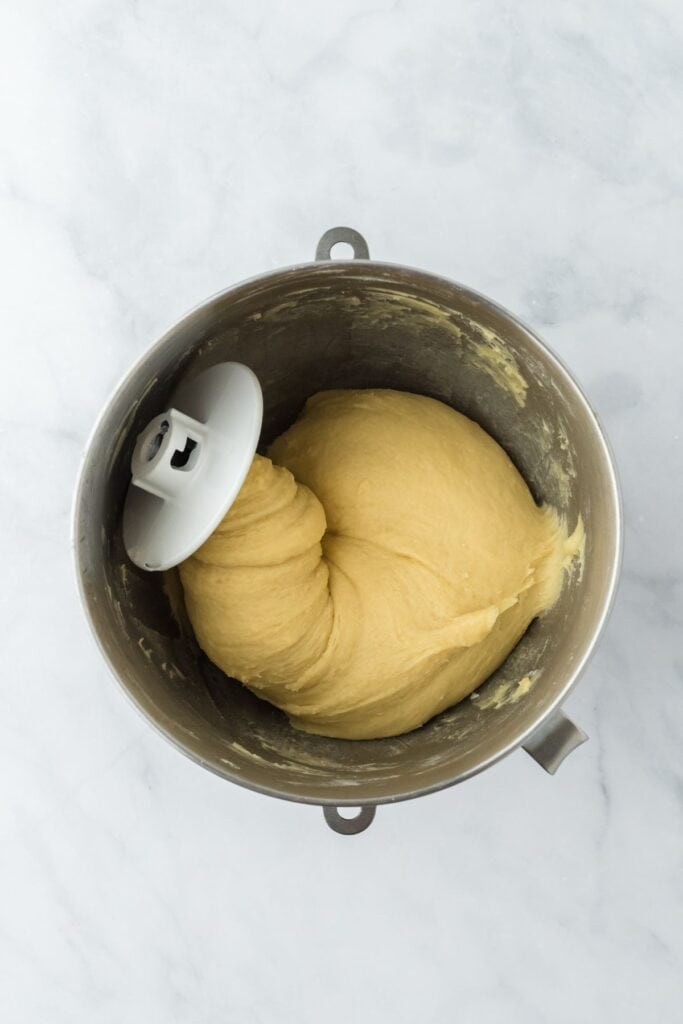
Step 9: Mix until the dough has a sheen to it as well as be fairly smooth.

Step 10: Take a small piece of dough and gently stretch it with your fingers. The dough should appear very thin, where you can almost see through it without breaking.
Knead the Dough and Let it Rise
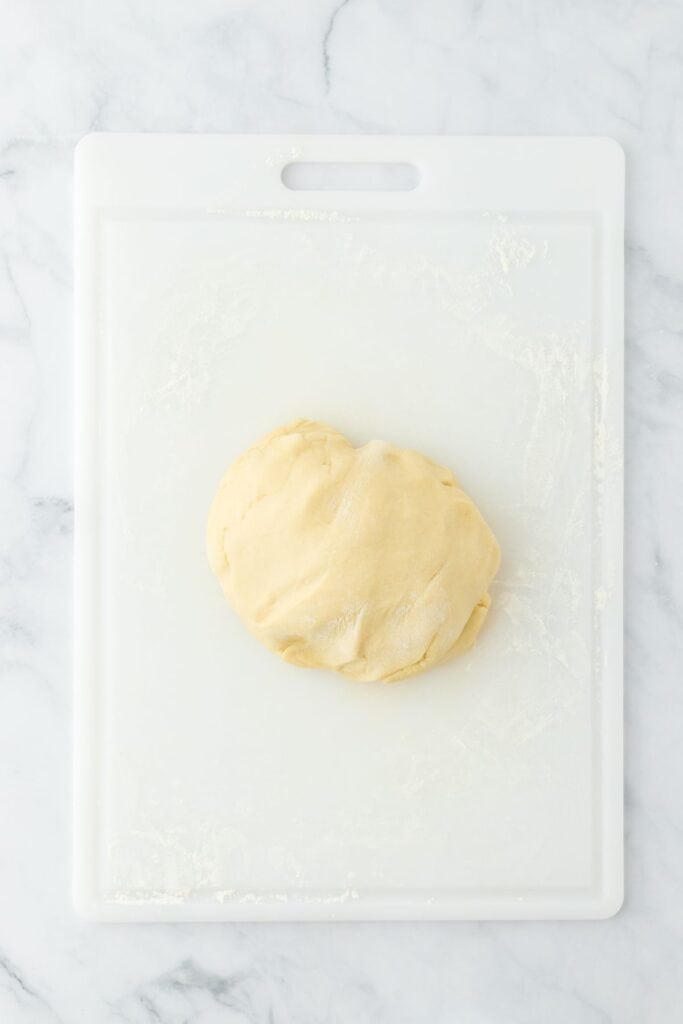
Step 11: Flour your hands and gently flour your countertop and move the dough onto the countertop. Gently knead the dough four or five times.

Step 12: Place the dough into a lightly greased bowl.

Step 13: Place a clean kitchen towel over the bowl. Store it in a warm spot for the dough to rise for 1 hour. The dough should double in size.

Step 14: Take the towel off the bowl. Gently pull the dough from the sides of the bowl and fold it into the middle of the dough.
Want to Save This Recipe, Boo?
Shape the Rolls, Let them Rise Again and Bake!

Step 15: Lightly flour your countertop and remove the dough from the bowl. Stretch and roll it into a 24-inch long log. Evenly divide the log into 24 2-ounce pieces (they should each weigh 2 ounces).

Step 16: Take each piece of dough and gather the four corners together at the bottom, creating a smooth ball on top, with the four corners at the bottom and pinch. Remove any excess flour from the countertop, then make a backwards C-shape with your right hand (or proper C with your left), roll the dough with the pinched side down, creating a smooth, taught ball.

Step 17: Place it in the prepared pan and continue with the remaining pieces of dough until you have 24 rolls placed 6 rows by 4 columns. Cover the pan with a clean kitchen towel once all your rolls are placed in the pan, and return to the warm spot.

Step 18: Let rise until doubled in size, about 1 hour 15 minutes. Uncover the rolls and gently brush with reserved egg white.

Step 19: Place in the oven and bake until golden brown and an inserted digital thermometer reads 190F, about 20-24 minutes.
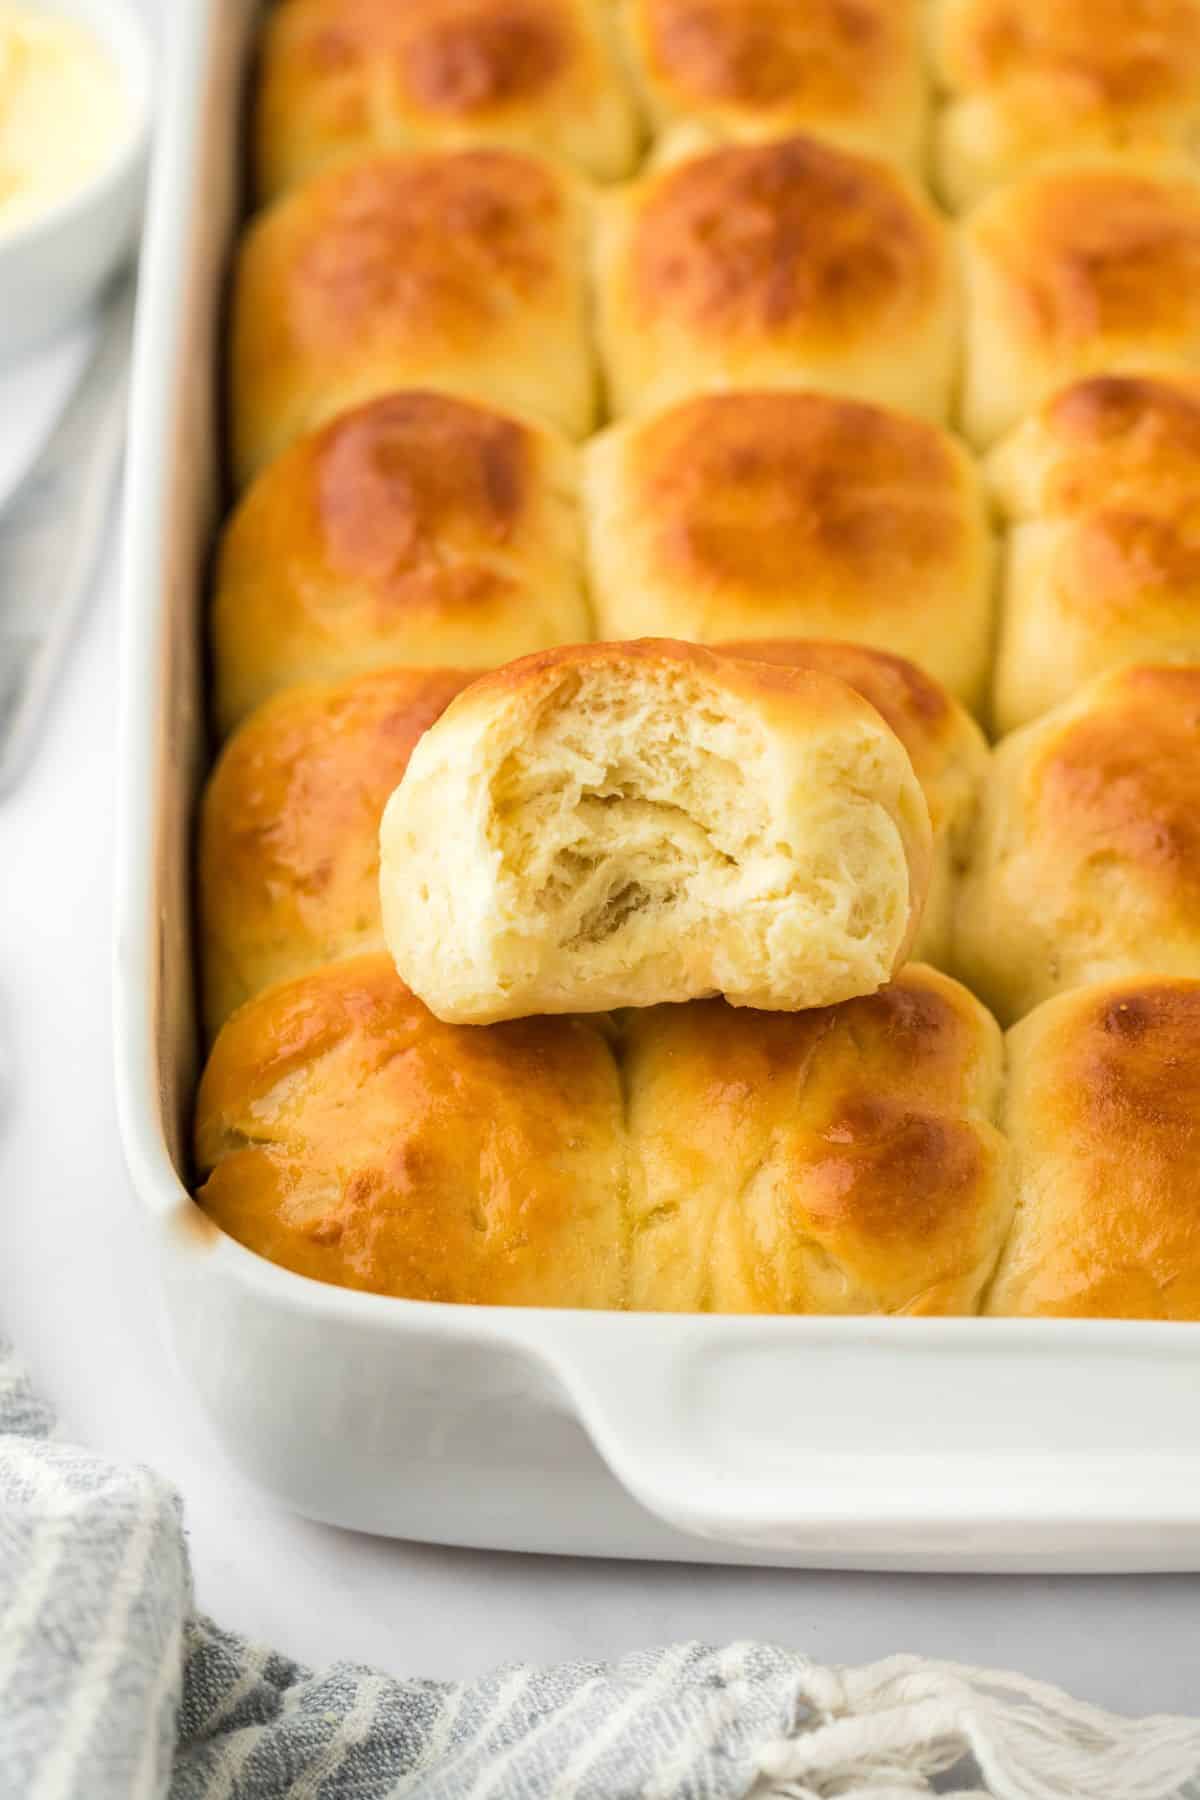
Southern Yeast Rolls
Want to Save This Recipe, Boo?
Equipment
Ingredients
- 4 ½ teaspoons active dry yeast 2 packets
- ½ cup granulated sugar + 1 tablespoon
- 1 ¼ cup milk
- ½ cup unsalted butter cut into large pieces (cut a stick of butter into tablespoons, then cut eat tablespoon in half or quarters)
- 2 large eggs
- 1 egg yolk egg white reserved
- 4 ½ cups bread flour or all-purpose flour, up to 5 cups
- 1 tablespoon kosher salt
- 3 tablespoons unsalted butter melted, for brushing
Instructions
- In a small, heat-resistant bowl, combine the yeast with 1 tablespoon of sugar. Set aside.
- In a small saucepan, heat the milk and butter over medium-low heat until the mixture reaches 110°F (about 5-6 minutes). Do not let it boil. It’s fine if all the butter doesn’t fully melt. Remove from heat.
- Pour ¼ cup of the warm milk mixture into the yeast mixture and whisk gently. Let it sit for 10 minutes until foamy and doubled in size. If it doesn’t foam, your yeast is inactive—replace it and repeat steps 1-3.
- In the bowl of a stand mixer fitted with the dough hook, whisk together the eggs, egg yolk, and ½ cup of sugar.
- Gradually add the remaining milk mixture (from step 2) to the egg mixture and whisk until smooth and combined.
- Add 3 cups of flour and the salt to the wet mixture. Turn on the mixer to low speed and mix for 30 seconds, or until a soft, limp dough begins to form.
- Add the prepared yeast mixture and 1½ more cups of flour. Mix on low speed until most of the flour is incorporated (about 90 seconds). If the dough feels too sticky, add up to ½ cup additional flour, ¼ cup at a time, until the dough is soft but manageable.
- Increase the mixer speed to medium (speed 6) and knead the dough for 7-8 minutes. The dough should become smooth, slightly shiny, and elastic.
- Perform the “windowpane test” by stretching a small piece of dough. It should stretch thin enough to see through without tearing. If it tears, knead for 1-2 more minutes at low speed.
- Lightly flour your hands and countertop. Transfer the dough to the counter and gently knead it 4-5 times.
- Place the dough in a lightly greased bowl, turning it once to coat all sides. Cover with a clean kitchen towel and let it rise in a warm spot for 1 hour, or until doubled in size.
- Spray a 9×13-inch pan with nonstick baking spray, coating the bottom and sides.
- After the first rise, gently deflate the dough by pulling it away from the sides of the bowl and folding it toward the center. Repeat on all sides until the dough forms a loose ball.
- Transfer the dough to a lightly floured surface. Stretch it into a 24-inch-long log and divide it evenly into 24 pieces (each about 2 ounces). Use a kitchen scale for accuracy if needed.
- Take one piece of dough and gather the edges to the center, pinching them together at the bottom to form a smooth top.
- Lightly flour your hands, then roll the dough on the counter with the pinched side down to create a taut, round ball.
- Place the dough ball in the prepared pan. Repeat with the remaining pieces, arranging them in 6 rows of 4. Cover unused dough pieces with a kitchen towel to prevent drying out.
- Cover the pan with a clean kitchen towel and let the rolls rise in a warm spot for about 1 hour to 1 hour 15 minutes, or until doubled in size.
- About 10 minutes before the rolls finish rising, preheat the oven to 375°F. Place the oven rack in the middle position.
- Gently brush the tops of the rolls with the reserved egg white.
- Bake in the preheated oven for 20-24 minutes, or until golden brown and a digital thermometer inserted into the center of a roll reads 190°F. Begin checking at the 20-minute mark to avoid over-browning.
- Remove the rolls from the oven and let them cool in the pan for 10 minutes.
- Brush the tops with melted butter for a soft, glossy finish.
- Serve warm, and enjoy the fluffy, buttery rolls!
Notes
-
- Check Your Yeast: Make sure your yeast hasn’t expired before you start. If it doesn’t foam up when proofed, toss it and grab a fresh packet!
-
- Cover the Dough: When you’re rolling out the dough, cover the pieces you haven’t rolled yet with a clean kitchen towel. This keeps them from drying out.
-
- Don’t Rush the Rise: Give your dough time to rise, y’all! If the spot where you placed your dough isn’t warm enough, it may need a little extra time to double in size.
-
- Keep an Eye on Your Rolls: Every oven’s a lil’ different, so start checking your rolls a couple minutes early. If they start to brown too fast, cover them loosely with foil.
How to store & reheat Yeast Rolls
If you somehow don’t eat ’em all right away (seriously, how?), store your homemade yeast rolls in an airtight container at room temperature. You can also wrap them in foil or plastic wrap and pop them in the fridge. To reheat them from the fridge, pop your rolls in a 350°F oven for 5-7 minutes, or if you’re in a rush, zap them in the microwave for 20-30 seconds.How long will Yeast Rolls last?
These rolls will stay fresh for about 2 days at room temp, but you can stretch that to about 5 days if you store them in the fridge.Can I freeze Southern yeast rolls?
Yes, you can freeze these rolls! Once they’ve cooled completely, wrap them tightly in plastic wrap and store in a freezer-safe bag. They’ll stay fresh in the freezer for up to 3 months.Nutrition
Recipe Variations
- Cheesy Rolls: Mix in a handful of shredded cheddar or parmesan into the dough for cheesy goodness. You can even sprinkle some on top during the last few minutes of baking for a golden!
- Herb-Infused: Add a tablespoon of fresh chopped rosemary or thyme into the dough.
- Sweet Roll Option: Toss in a tablespoon or two of cinnamon and a touch more sugar into the dough. Then, drizzle the finished rolls with a little honey or powdered sugar glaze.
- Whole Wheat Option: If you’re feeling healthy-ish (good for you, boo!), swap half the flour for whole wheat flour.
Recipe Tips
- Check Your Yeast: Make sure your yeast hasn’t expired before you start. If it doesn’t foam up when proofed, toss it and grab a fresh packet!
- Cover the Dough: When you’re rolling out the dough, cover the pieces you haven’t rolled yet with a clean kitchen towel so they don’t dry out.
- Don’t Rush the Rise: Also if the spot where you placed your dough isn’t warm enough, it may need a little extra time to double in size.
- Keep an Eye on Your Rolls: Start checking your rolls a couple minutes early. If they start to brown too fast, cover them loosely with foil.
Recipe Help
Yeah! To make ahead of time, follow steps 1-10, then once all your rolls are in the pan, cover with plastic wrap and place in the refrigerator overnight. The next morning, remove the pan from the fridge and let the dough come to room temperature for 20-30 minutes. If they haven’t doubled in size yet, let them hang out in a warm spot for another 30 minutes or so. Then, pick up where you left off at step 12.
You sure can boo! Once you’ve shaped the dough into rolls (step 10), place them on a baking sheet and freeze until solid. Then, transfer them to a freezer-safe bag. When ready to bake, thaw the dough in the fridge, then at room temp. If they haven’t risen in about 2 hours, place them in a warm, steamy spot (like near a bowl of hot water in your oven) to speed up the process.
It’s usually because your yeast was dead or the dough wasn’t in a warm enough spot. I have tips on how to tackle both scenarios above!
 pinterest
Can you make these into crescent rolls?
No, I don’t think so. Crescent rolls are a hybrid thing.
Awesome recipe! Looks easy. My only question was, The yeast mixture that the instructions stated to use in Step 6 caused me a slight confusion because, The only yeast mixture made was in Step 1, which was already added into the milk mixture. So were we supposed to make an additional yeast mixture to add in the end for Step 6?
Oh I understand. There isn’t a second yeast mixture. You just add the foamy yeast mixture with the milk in that step. I hope this clarifies the question.
So sorry it was confusing! I updated the instructions for more clarity. In step 5 you want to add the milk mixture from step 2 and then step 7 is adding the yeast.
Can you make ahead of time, like for Thanksgiving? and then freeze, and maybe take out on day of dinner to defrost?
Yep you can absolutely do this.
Can you use honey in place of the granulated sugar?
We didn’t test it this way but it shouldn’t be a problem.
Which flour do you use all purpose or bread flour?
You can use either! I use bread flour, but if you have all-purpose that will work!
anything southern is automaticallly a comforting reminder of my beloved grandmothers! thank you for sharing!
Absolutely I feel the same way.
My kids requested cloverleaf rolls. Can this recipe work with 3 smaller balls per muffin cup? Maybe a shorter baking time?
Hi Tamis, it sounds like an amazing idea. I think it could work but I haven’t tested it this way so I can’t tell you that will completely. You would need to do a little experimentation here. If you do, please let us know how it turns out.