
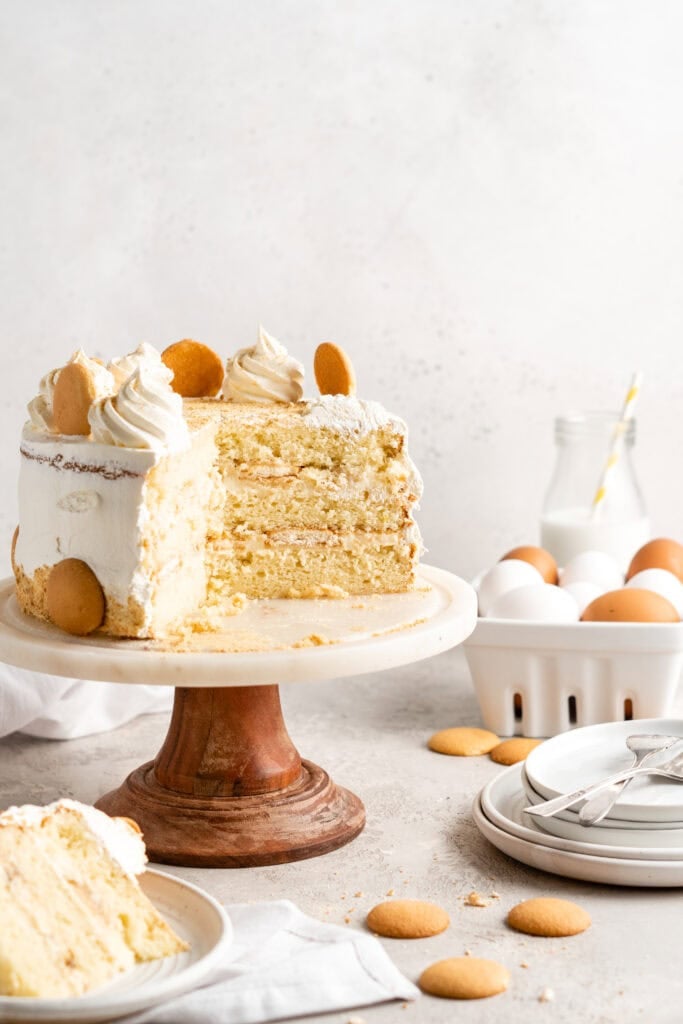
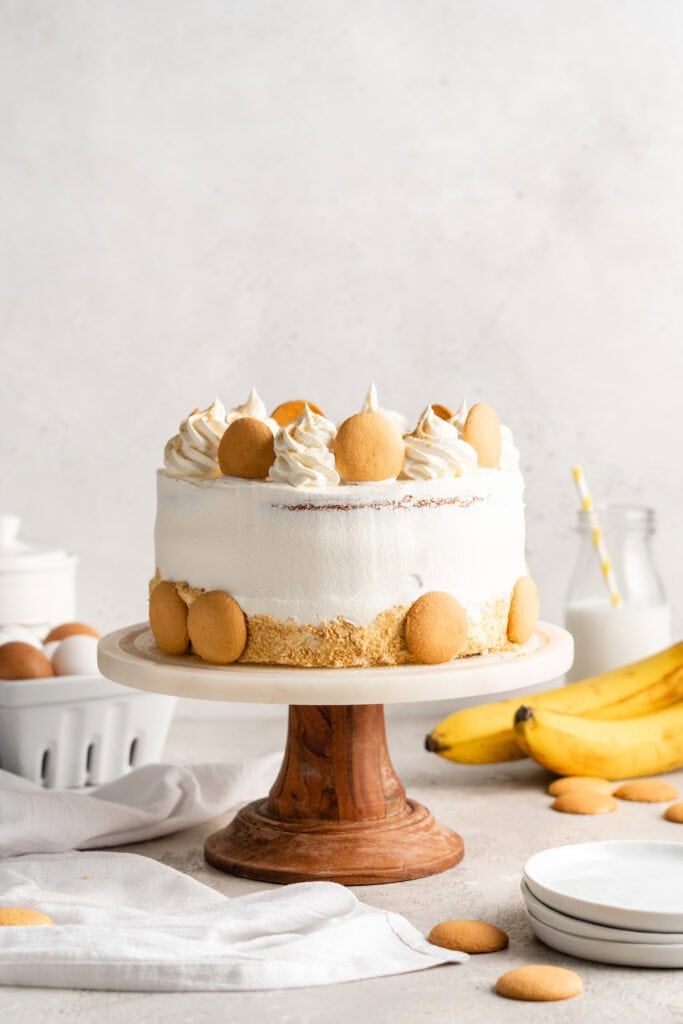
Y’all I mess around and made the ultimate Banana Pudding Cake. I start by baking up some super tender vanilla cake layers with just a little banana flavor then I make a homemade vanilla pudding as the filling. I layer in some vanilla wafer crumbs and top the whole thing off with whipped cream. This baby is a dream come true. If you absolutely love classic banana pudding plus you wanna impress some folks, make this cake for reals.
This post may contain affiliate links. Read our disclosure policy.
How to Make Banana Pudding Cake
Make the Pudding
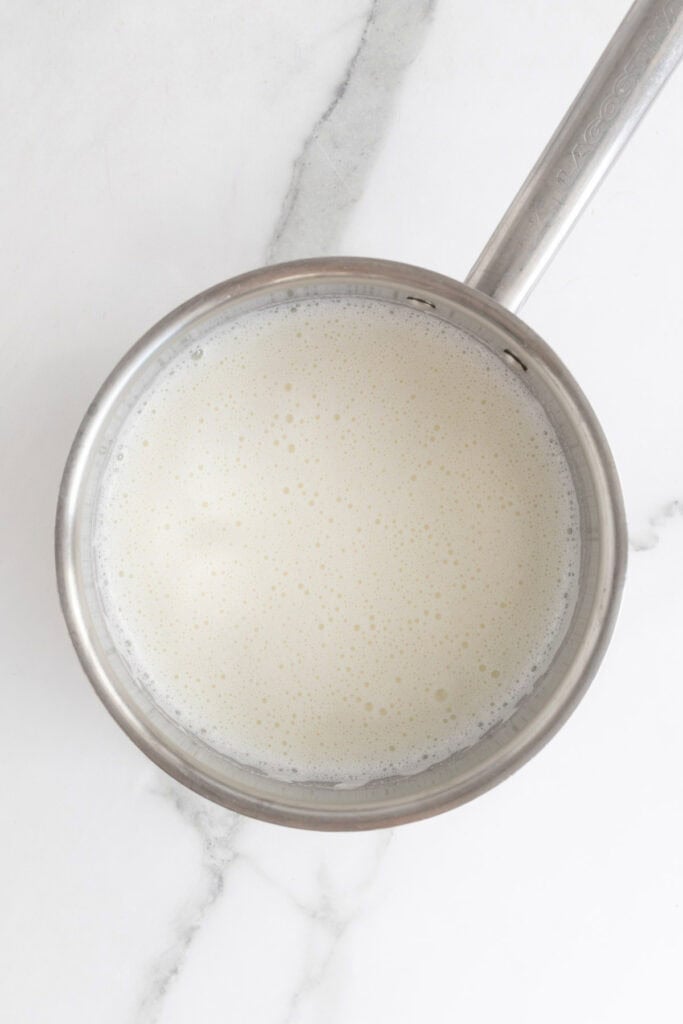
Step 1: Add the milk and cream to a medium saucepan over medium heat. Bring to a simmer, stirring often.
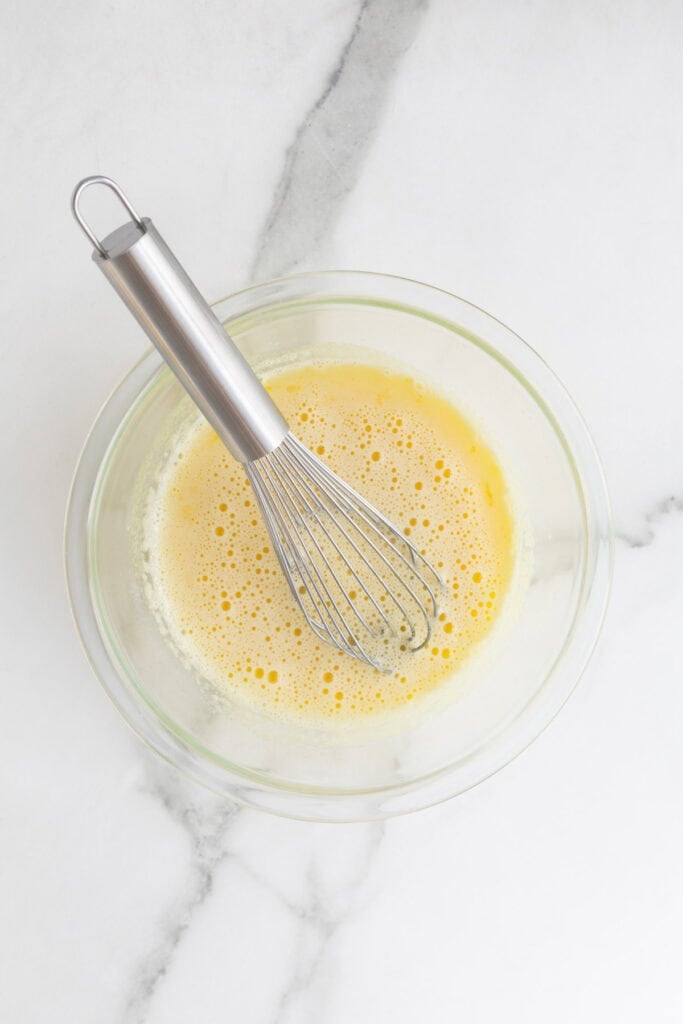
Step 2: In a medium bowl, whisk together the eggs, sugar, and cornstarch until well blended.
Step 3: Spoon a little of the hot milk over the egg mixture and whisk well. Repeat with another few spoonfuls of the hot milk, to temper the eggs (bring their temperature up without “scrambling” them).
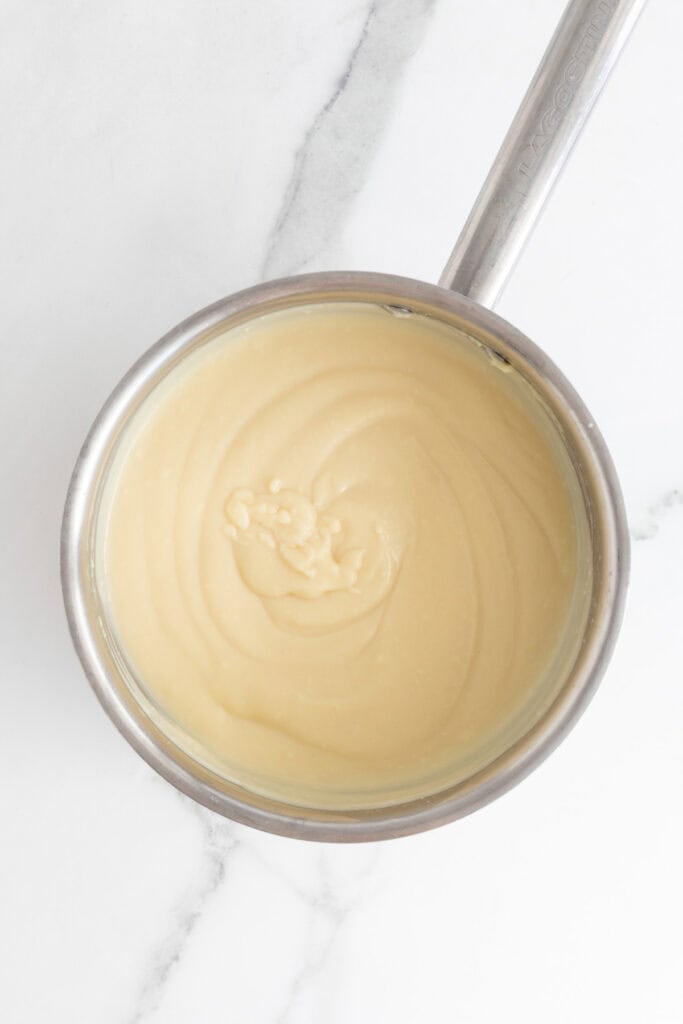
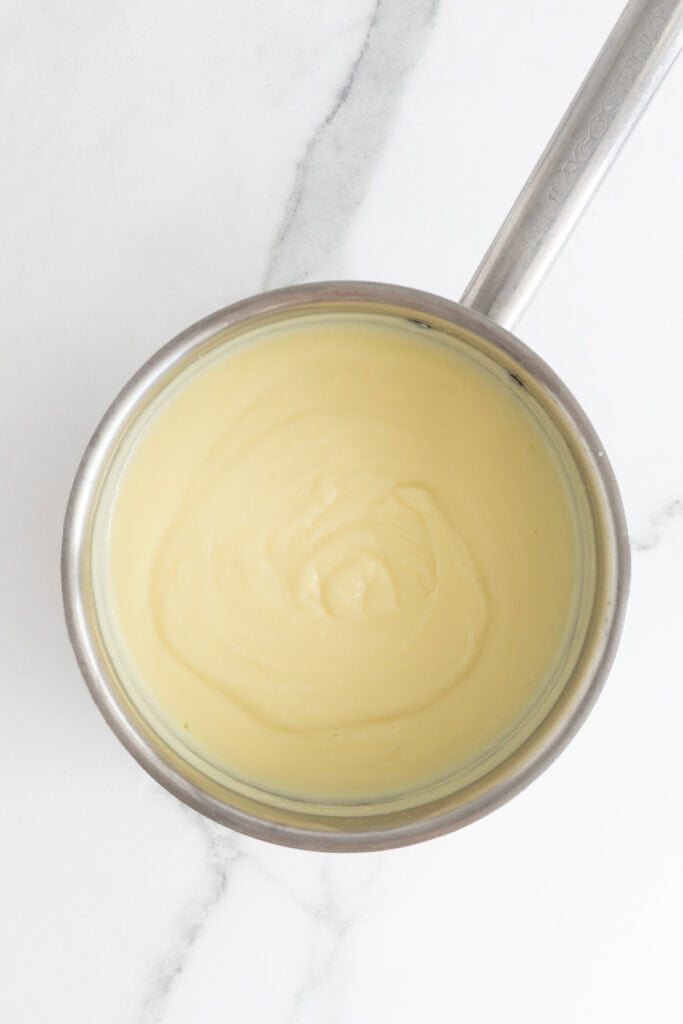
Step 4: Pour the egg mixture into the saucepan and continue to cook over medium low heat for 4-6 minutes, or until it thickens and coats the back of a spoon. Once thickened, remove from the heat and stir in the butter, vanilla extract, banana extract, and salt.
Pour the pudding through a sieve or fine mesh strainer into a container, to remove any lumps. Place a piece of plastic wrap directly on top to prevent a skin from forming. Refrigerate for at least 2 hours, or until completely chilled and set. Stir well before using.
Make the Cake

Step 5: In your mixer bowl, add oil and butter and beat for 2 minutes on high speed. Slowly add in sugar and beat on high speed for an additional 4-5 minutes until very pale yellow and fluffy. Next, add eggs, one at a time, combining well after each addition and scraping down the sides as needed.
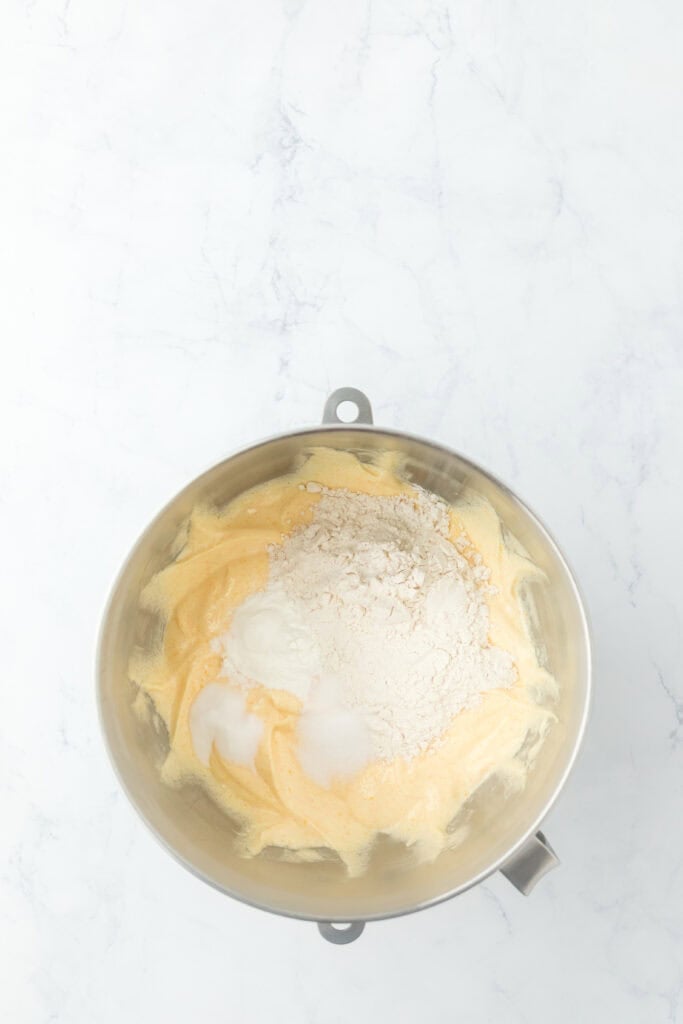
Step 5: Turn your mixer down to its lowest speed, and slowly add flour into batter in two increments then add baking powder, salt and baking soda. Be careful not to over beat.
Want to Save This Recipe, Boo?
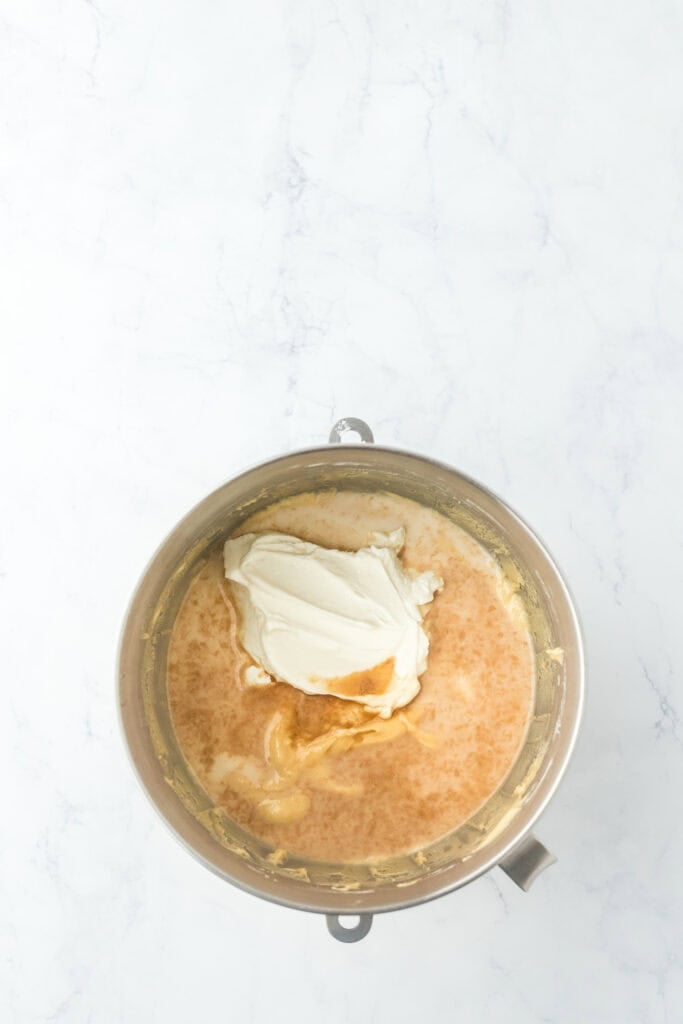
Step 6: Lastly, add sour cream, milk, vanilla extract and banana extract.
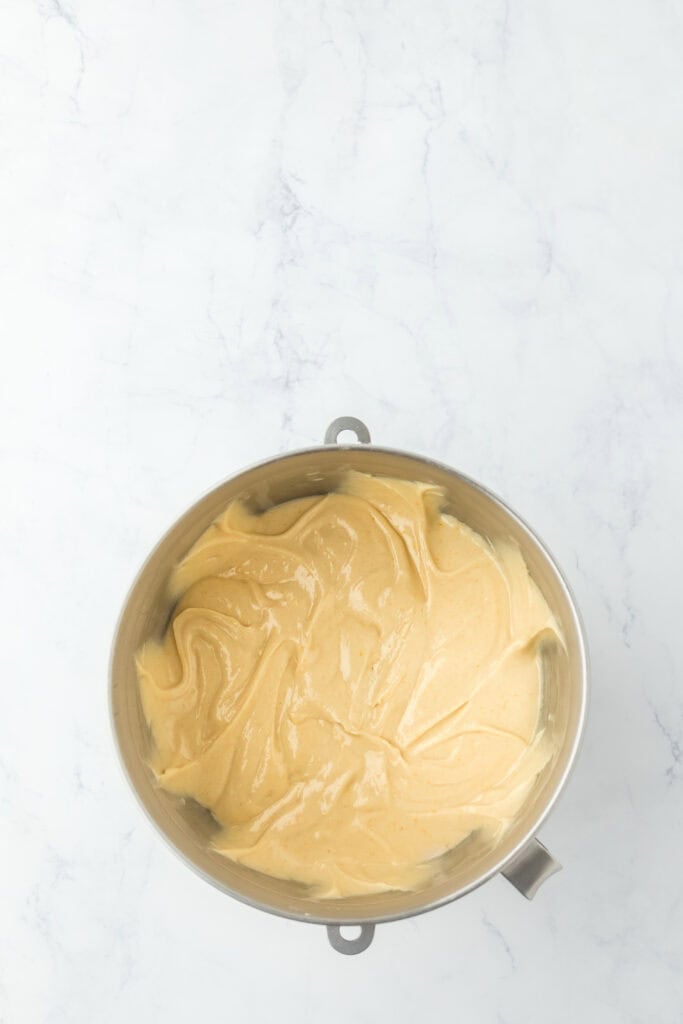
Step 7: Scrape down sides and mix until just combined and turn off the mixer.
Make Whipped Cream and Assemble
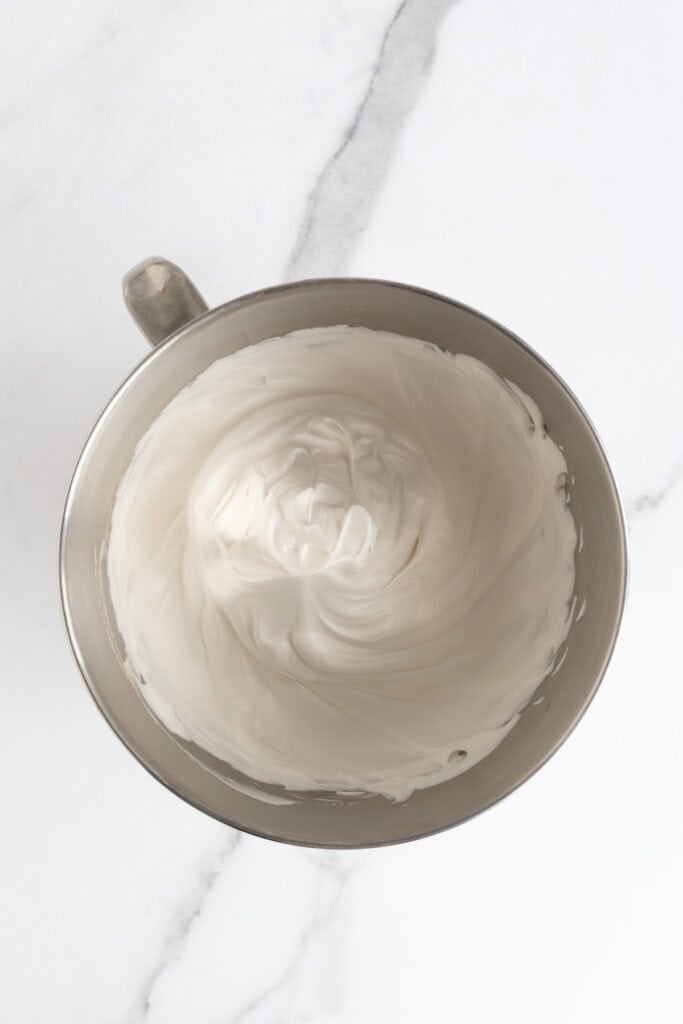
Step 8: Whip cream, sugar, and vanilla until stiff peaks (in a cold bowl with a cold whisk for best results). Chill until ready to use.

Step 9: Place one layer of cake on a cake stand or serving plate. Spoon ½ of the banana pudding onto the cake and use a spatula to spread it to the edge, leaving about a ¼ inch of space. Add crushed Nilla wafer and continue with the next layer repeating steps.
Step 10: Finally, frost the outside of the cake with whipped cream.
Banana Pudding Cake
Want to Save This Recipe, Boo?
Ingredients
For the Homemade Banana Pudding
- 3 cups whole milk
- 1/2 cup heavy whipping cream
- 4 large eggs room temperature
- 2 egg yolks room temperature
- 2/3 cup granulated sugar
- 6 tbsp cornstarch
- 4 tbsp unsalted butter cubed
- 1 tbsp vanilla extract
- 1 tsp banana extract
- 1/2 tsp kosher salt
For the Banana Cake
- 2/3 cup vegetable oil
- 1/3 cup unsalted butter room temperature
- 1 1/2 cups granulated sugar
- 3 large eggs room temperature
- 2 3/4 cup all purpose flour sifted
- 1 1/2 tsp baking powder
- 1 tsp salt
- 1/2 tsp baking soda
- 1 1/4 cup sour cream room temperature
- 1/3 cup whole milk
- 1 tbsp vanilla extract
- 1 tbsp banana extract
For the Whipped Cream
- 2 cups heavy whipping cream
- 2 tbsp granulated sugar
- 1 tsp pure vanilla extract
- 1/2 tsp cream of tartar optional, for stabilizing the whipped cream
For Assembly
- Nilla wafers
- 2 large bananas sliced 1/4 inch thick
Instructions
For the Homemade Banana Pudding
- Add the milk and cream to a medium saucepan over medium heat. Bring to a simmer, stirring often.
- In a medium bowl, whisk together the eggs, sugar, and cornstarch until well blended.
- Spoon a little of the hot milk over the egg mixture and whisk well. Repeat with another few spoonfuls of the hot milk, to temper the eggs (bring their temperature up without “scrambling” them).
- Pour the egg mixture into the saucepan and continue to cook over medium low heat for about 10 minutes or until it thickens and coats the back of a spoon. If you’re still unsure, use a thermometer: it should read 170-175F.
- Once thickened, remove from the heat and stir in the butter, vanilla extract, banana extract, and salt.
- Pour the pudding through a sieve or fine mesh strainer into a container, to remove any lumps.
- Place a piece of plastic wrap or wax paper directly on top to prevent a skin from forming. Refrigerate for at least 3 hours, or until completely chilled and set. Stir well before using.
For the Banana Cake
- Preheat the oven to 325°F. Liberally spray 3 (8-inch) round cake pans with non-stick baking spray or grease and flour.
- In your mixer bowl, add oil and butter and beat for 2 minutes on high speed. Slowly add in sugar and beat on high speed for an additional 4-5 minutes until very pale yellow and fluffy. Next, add eggs, one at a time, combining well after each addition and scraping down the sides as needed.
- Turn your mixer down to its lowest speed, and slowly add flour into batter in two increments then add baking powder, salt and baking soda. Be careful not to over beat.
- Lastly, add sour cream, milk, vanilla extract and banana extract, then scrape down sides and mix until just combined and turn off the mixer.
- Evenly pour cake batter into prepared baking pans and place in the oven to bake for 15-25 minutes or until a toothpick inserted into the center of the cake comes just barely clean.
- Remove cakes from the oven and rest in pans for 10-15 minutes. Invert cakes from pans onto cooling racks, then allow them to cool to room temperature.
For the Whipped Cream
- Whip cream, sugar, vanilla and cream of tartar if using until stiff peaks (in a cold bowl with a cold whisk for best results).
- Chill until ready to use.
To Assemble
- Place one layer of cake on a cake stand or serving plate. Spoon ½ of the banana pudding onto the cake and use a spatula to spread it to the edge, leaving about a ¼ inch of space.
- Sprinkle crushed nilla wafers on top.
- Place the next layer of cake on top, then repeat the previous step.
- Add the last layer of cake on top, then proceed to frosting the cake with the premade whipped cream.
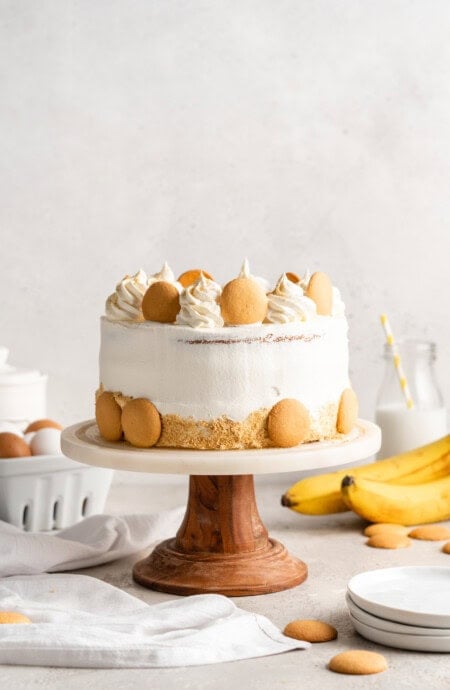
- Decorate the top of the cake with Nilla wafers and slices of banana if desired.
Notes
Because of the perishable filling, you’ll want to refrigerate this cake for a couple hours before serving. This time will allow all the flavors to come together and the filling/ frosting to firm up a bit. Allow Banana Pudding Layer Cake to soften at room temperature for about 15-30 minutes before serving. Any leftover cake should be stored in an airtight cake keeper or sliced and tucked into individual containers. Refrigerate for 2-3 days. I would not recommend freezing this cake.
Nutrition
Recipe Tips
- Try to use ripe, slightly spotted bananas for the best result but make sure they are still firm enough to hold their shape.
- For the top of the cake, if using bananas to decorate, realize they can oxidize quickly, causing them to turn brown and mushy. To avoid that, you can briefly toss your banana slices in lemon juice before layering them onto the cake.
- Cool the cake layers before starting your decorating. That pudding will melt into a mess if ya don’t.
 pinterest
Can I make all of this 2 days ahead of the party and assemble it 1 day before the party? I will wrap the cakes and put the bananas and Nilla wafers on the day of, just wonder if the pudding will still be good if I make Friday and eat on Sunday
Yes, that should totally work. I don’t see any problem with that.