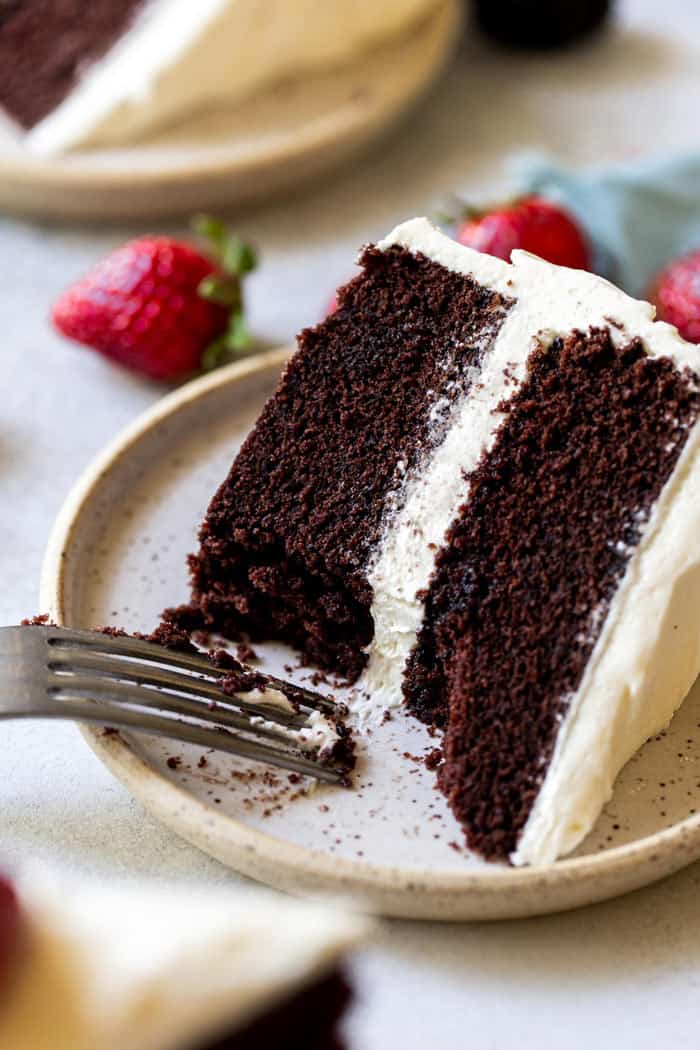
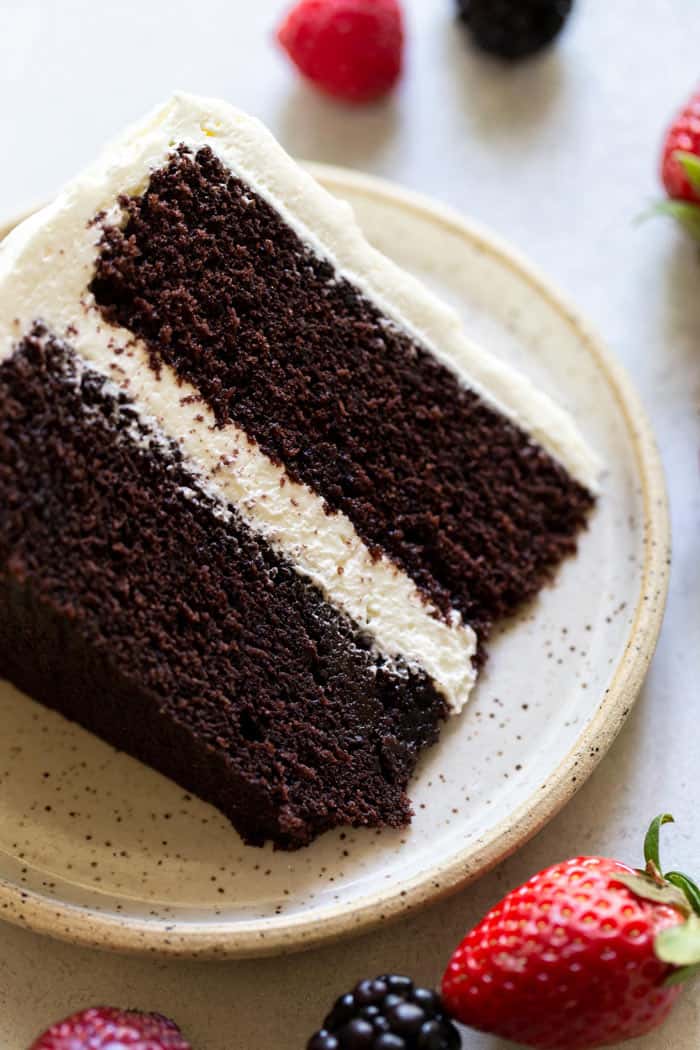
This sinfully delicious Devil’s Food Cake is made with rich cocoa powder, tangy sour cream and fresh, bittersweet coffee. This obscenely fudge like chocolate cake takes dessert to a whole new level of decadent goodness!
This post may contain affiliate links. Read our disclosure policy.

Want to Save This Recipe, Boo?
As you can probably tell from the name of this blog, I love cake! I spent most of my formative years in my Big Mama’s kitchen baking. Our favorite recipes were that of rich, sweet cakes baked in bundt pans or cut into thick layers. Our cakes were drizzled with fruity glazes or coated in sugar-ey frostings. The slices of homemade cake we shared at her table are the best I’ve ever had.
Though Big Mama is no longer with us (and boy, do I miss her), her memory is kept alive in the recipes she entrusted to me. Devil’s Food cake was one of our favorite cakes to make together and it’s one that I continue to make regularly.
Never too sweet, always fudgy, crazy good Devil’s Food cake is a classic recipe that is sure to please. Treat your family, friends or neighbors to this irresistibly wicked treat!
The Heart and Soul of the Best Devil’s Food Cake Recipe
Cuisine Inspiration: American Sink your teeth into a slice of Americana with this sinfully good Devil’s Food Cake. Originating in the U.S., this dessert has danced its way into the recipe books and hearts of cake lovers, earning a rep for being the ultimate chocolate indulgence.
Primary Cooking Method: Baking Baking, baby! That’s how we get the fluffy, moist, and oh-so-decadent layers that make this cake a superstar at any gathering. Preheat that oven and let the magic happen!
Dietary Info: Vegetarian, High-Calorie Calling all vegetarian sweet-tooths! This cake’s got zero meat products but let’s be real; it’s a lavish treat. Packed with butter, sugar, and all things nice, it’s a high-calorie delight that’s worth every bite.
Key Flavor: Rich Chocolate Double trouble chocolate! This isn’t your average cocoa affair; this cake bursts with deep, dark chocolatey goodness, making it the go-to dessert for all chocoholics.
Skill Level: Intermediate Roll up those sleeves, bakers! While not a beginner’s bake, the effort you put into this masterpiece is as rewarding as the first bite (and the second, and the third…).
Sweet Highlights:
- Chocoholic’s Dream: This isn’t just a cake; it’s a chocolate experience, designed to satisfy even the most demanding chocolate lovers’ cravings.
- Moist and Fluffy: Forget about dry, crumbly cakes. Our Devil’s Food Cake is the definition of moist and fluffy, thanks to our secret tip: hot coffee in the batter!
- Crowd Pleaser: Whether it’s a birthday, anniversary, or Tuesday night, this cake steals the show. Its universal appeal makes it a safe bet for any occasion.
- Perfect Canvas: Dress it up! This cake is versatile. Whether you are team frosting, ganache, or prefer it plain, it’s a stunning base for your culinary creativity.
- Timeless Classic: Trends come and go, but the Devil’s Food Cake is forever. It’s a tried and true classic that’s been satisfying sweet cravings for generations.
What is Devil’s Food Cake?
In the 18th century, the term “deviled”was used to reference food that was described as dark, rich, spicy or chocolatey. A chocolate cake as rich as this one was deemed almost “sinful” and therefore, it earned the name Devil’s Food.
So how did the cake we know and love become so well-known?
Devil’s Food cake was an incredibly popular dessert in the 1900’s! In 1902, the recipe made its first published appearance in an American cookbook called Mrs.Rorer’s New Cookbook. Sarah Tyson Rorer’s recipe made its way across the country and became a staple recipe in homes everywhere!
Difference Between Devil’s Food and Red Velvet Cake
Many people question the difference between a Devil’s Food Cake and it’s chocolatey counterpart, Red Velvet. Both cakes were invented during the Victorian-era; they were made with cocoa powder and sweetened with red beets. The beets also imparted their coloring which made for that famous red hue.
Modern versions of both cakes use the same flour, leaveners and sweeteners but their differences can be found in the cocoa powder and liquids.
Cocoa Powder: Devil’s food cake calls for Dutch-process cocoa powder for a richer chocolate flavor. Red velvet uses a more natural cocoa to enhance its color.
Liquid: Red Velvet is known for its tangy flavoring which comes from the added buttermilk and vinegar. Devil’s food is made using fresh coffee, sour cream and boiling water.

Ingredients
All cakes follow the same ingredient guideline: flour, sugar, leavener, butter or oil (maybe both), salt, flavoring and some form of liquid. The difference in cake recipes come from varying ingredient ratios and creative, delicious flavorings.
Even the slightest differences make for unique outcomes! It’s important to take a close look at any recipe before putting on your apron.
So let’s take a look together:
Unsalted Butter & Oil
When it comes to chocolate cakes, I prefer a balanced texture: creamy, light, dense and fluffy. To achieve the ideal consistency, I use a mixture of both butter and oil. The combination ensures a medium-height cake with a small crumb and a rich bite.
Cocoa Powder
Cocoa powder is made by fermenting, drying and roasting whole cocoa beans. The beans are then broken up into nibs and pressed to remove 75% of their cocoa butter. The chocolate liquor that is left over is then dried and ground into powder. Interesting, huh?
Devil’s Food cake relies on cocoa powder to create a deeply rich chocolate flavor. I would suggest using a powder that dissolves easily into liquid which makes for a cake darker in color and mellow in flavor. Dutch-processed cocoa works best!
Room Temperature Eggs
At room temperature, egg yolks break more easily which allows them to mix more evenly with the eggs whites and the other ingredients.
TIP: If you forgot to pull out the eggs ahead of time, all hope is not lost. Simply fill a bowl with lukewarm water and allow the eggs to sit until they reach room temperature. It should only take as long as it takes to mix up your dry ingredients.
Hot Brewed Coffee
On its own, cocoa powder is a bit bitter with hints of fruit and spice. Coffee has these same flavor elements and the addition of a fresh brewed cup can enhance its chocolatey friend. The flavor of the coffee doesn’t actually come through! Instead, you’re just left with a more flavorful dessert!
Sour Cream
Sour cream is the perfect way to add moisture to any cake without thinning the batter. This tangy, fatty cream can also help to control browning and activate baking soda.

How to Make Devil’s Food Cake
- Prep Work is Key: Fire up your oven to 350 degrees F. Show some love to your 9×2-inch round cake pans by greasing them, lining the bottoms with parchment paper, greasing the parchment, and then flouring the pans. Phew! Now, set those bad boys aside.
- Sift and Mix: In a medium bowl, create a flawless blend by sifting together your flour, baking soda, baking powder, and salt. Keep it close; you’ll need it soon.
- Cream It, Dream It: Grab your electric mixer and get wild! Cream your butter and sugar on medium speed for a smooth 3 minutes until it’s all light and fluffy. Go low speed and introduce the eggs one at a time, followed by the oil and vanilla. Give it a good beat until well mixed. Don’t forget to scrape the sides with a rubber spatula for an even blend.
- Chocolate Meets Coffee: Here’s the game-changer: in a small bowl, whisk your cocoa powder and hot coffee together until it’s smoother than a jazz tune. Add this liquid gold to your batter on low speed. You’re welcome.
- Flour Power and Sour Hour: Keeping it low speed (we’re about precision, not power), gradually add half your dry ingredients to the mix, follow it up with all the sour cream, then the rest of the flour mixture. Blend but keep it gentle. Then, fold the batter with a rubber spatula until it’s as mixed as a DJ’s playlist.
- Pan Party: It’s time! Divide your batter between the two pans, smooth out the tops like you’re icing a skating rink, and pop them in the oven. Bake for 30 to 40 minutes, or until a toothpick plays the role of Excalibur and comes out clean. Cool the masterpieces in pans for 30 minutes, then flip them onto a wire rack to cool completely.
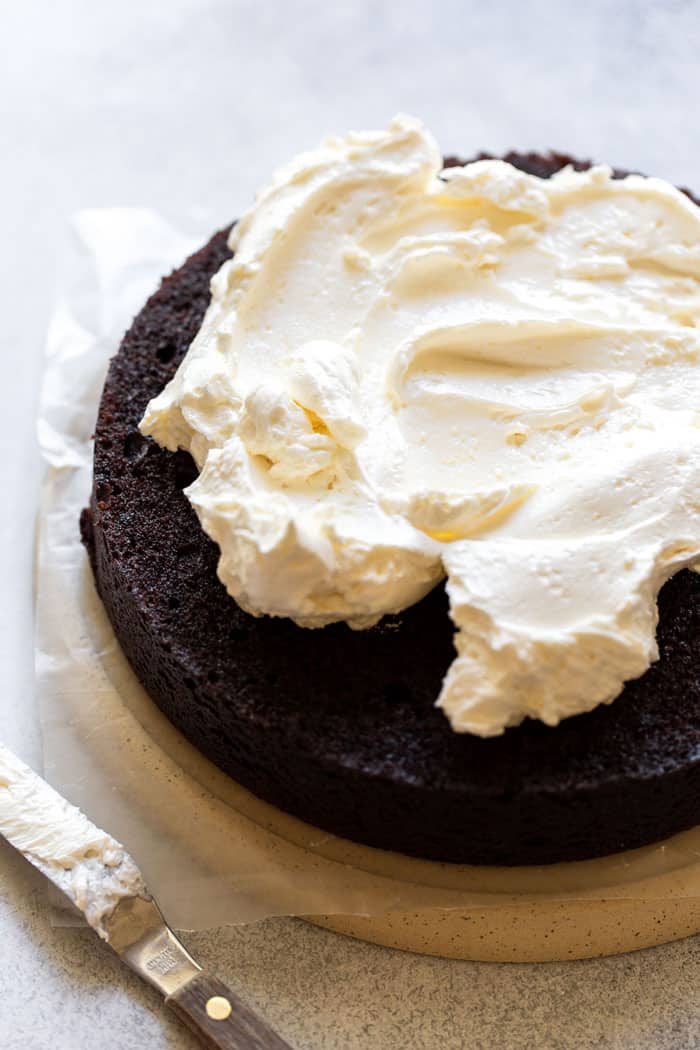
- Layer It, Frost It: Now, get your cake surgeon on! Slice each cake layer horizontally and start the stacking with a generous spread of frosting between each layer. Remember, presentation is everything, so get that frosting nice and smooth.
- Storage Smarts: This beauty can hang out, covered, for up to 3 days. Got meringue buttercream? Refrigerate it, but let it hit room temp before serving. Using another frosting type? It’s chill staying at room temperature.
Should it Have a Reddish Tint?
Most Devil’s Food cakes have a reddish tint similar to that of a red velvet cake. Both cakes achieve their coloring from a chemical reaction that occurs during the baking process. Recipes for Devil’s Food cake include more baking soda than a typical chocolate cake, which raises the pH level and gives the cake a beautifully deep mahogany color.
So why are the colors of Red Velvet cake and a Devil’s Food cake so different now? These days, folks use red food coloring to create that vibrant red due we all attribute to red velvet.
Frosting Options
Typically, Devil’s Food Cake is frosted with a 7-minute frosting or a meringue buttercream. Here I used my favorite Swiss Meringue Buttercream! It makes a ton so you just need to make half. Both are delicious options but you’re welcome to use any frosting that you would like.
A simple chocolate, vanilla or even cream cheese buttercream are all great choices. I’d even encourage you to experiment a bit; try out a coffee merengue, a caramel buttercream or a dark chocolate ganache. Yum!
Best Chocolate Cake Recipes
It seems like I am ALWAYS craving chocolate! If you feel me then you need to try out a few of Grandbaby Cakes’ Best chocolate cakes:
- Deep Chocolate Pound Cake
- The Best Chocolate Birthday Cake
- German Chocolate Cake
- Chocolate Cake with Blueberry Buttercream
- Flourless Chocolate Cake
- Black Forest Cake

Devil’s Food Cake
Want to Save This Recipe, Boo?
Ingredients
- 1 1/2 cups unsalted butter room temperature
- 1 1/2 cups granulated sugar
- 3/4 cup light brown sugar packed
- 4 large eggs room temperature
- 2 tbsp oil
- 1 1/2 tbsp vanilla extract
- 3/4 cup Dutch-processed cocoa powder
- 3/4 cup hot brewed coffee
- 3 cups all purpose flour
- 1 tsp baking soda
- 1 tsp baking powder
- 1 1/2 tsp salt
- 1 cup sour cream room temperature
- Swiss Meringue Buttercream Find the Full Recipe HERE! if desired, halve the recipe
Instructions
- Preheat oven to 350 degrees F. Grease two 9×2-inch round cake pans, line the bottoms with parchment paper, grease the parchment and flour the pans. Set aside.
- In a medium bowl, sift together the flour, baking soda, baking powder, and salt. Set aside.
- Using an electric mixer, cream the butter and sugar on medium speed for 3 minutes, until light and fluffy. On low speed, add the eggs, on at a time. Add the oil and vanilla and beat until well mixed, scraping down the bowl with a rubber spatula.
- In a small bowl, whisk together the cocoa powder and hot coffee until smooth. With the mixer on low, add the chocolate mixture to the batter.
- Still with the mixer on low, slowly add half of the flour mixture to the batter, then all of the sour cream, then the remaining flour mixture, mixing each addition until combined. With a rubber spatula, fold the batter until it is well mixed.
- Divide the batter evenly between the two prepared pans and smooth the tops. Bake for 30 to 40 minutes, until a toothpick inserted into the center comes out clean. Cool in the pans for 30 minutes, then turn the cakes out onto a wire rack and cool completely.
- Slice each cake layer in half horizontally. Place the bottom of the first cake, cut side up, on a flat serving plate and spread 1 cup of frosting on the top. Place the top of the first cake, cut side down, on top and spread another 1 cup of frosting on top. Next, place the top layer of the second cake on top, cut side up, and frost with another 1 cup of frosting. Finally, place the bottom layer of the second cake, bottom side up (so the top of the cake is flat). Frost the top and sides of the cake. The cake can be stored, covered, for up to 3 days. If you use the meringue buttercream, the cake should be refrigerated; bring to room temperature prior to serving. If you use any other type of frosting (a traditional vanilla, chocolate, cream cheese, etc.), the cake can be stored at room temperature.
Made this for Bunco the ladies loved it!
Yay!!