
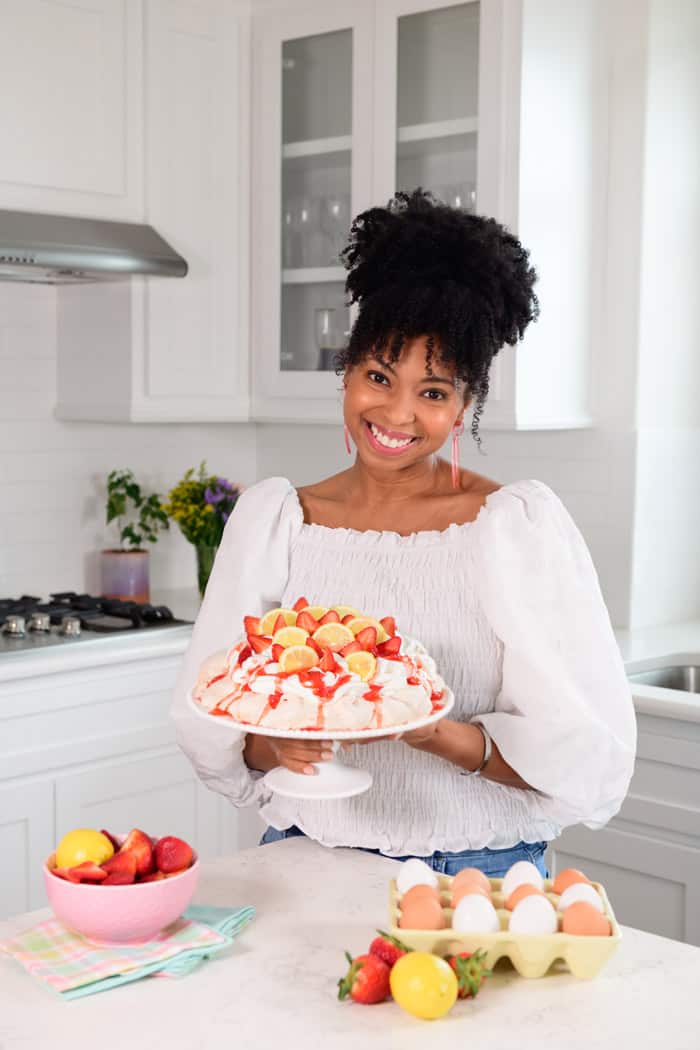
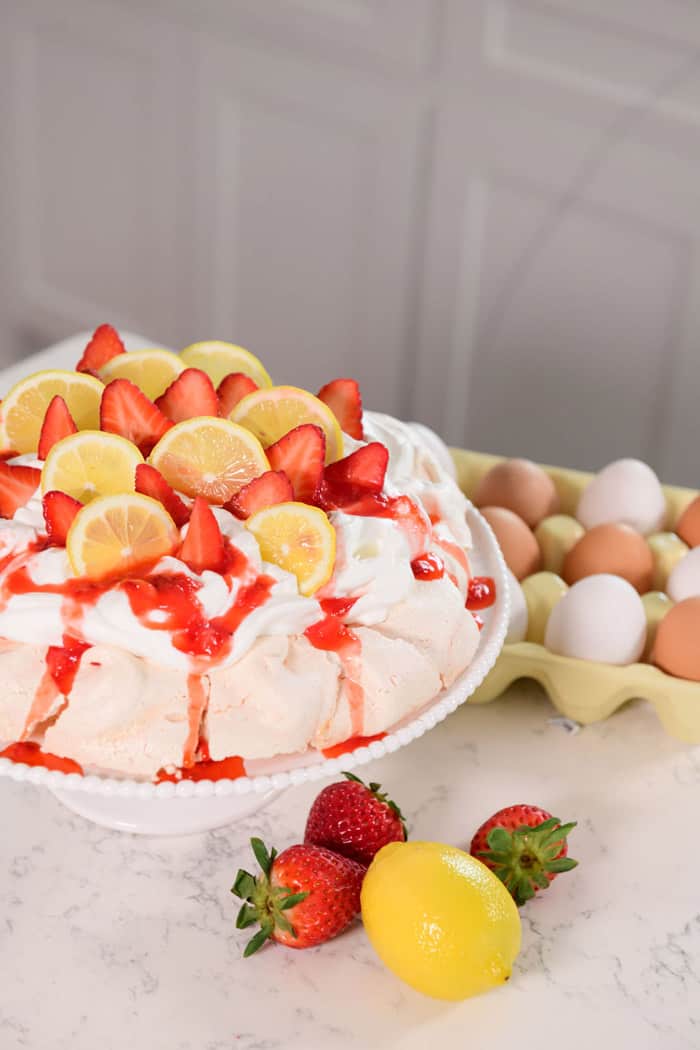
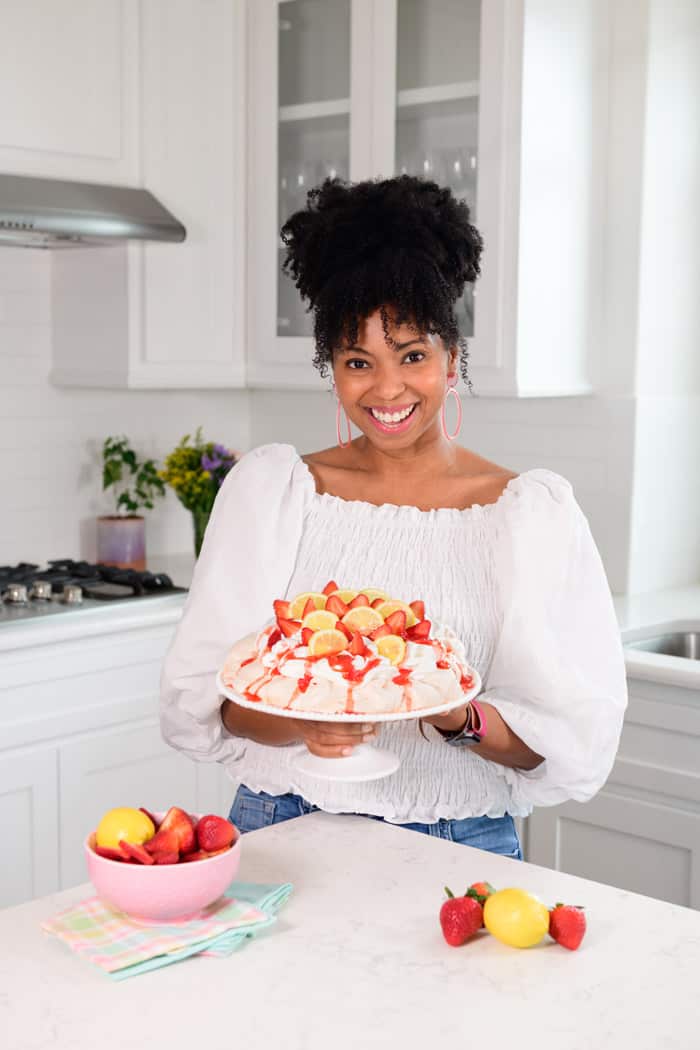
Pavlovas are crisp on the outside with a marshmallow-soft inside, then piled high with whipped cream and fresh fruit! Graceful, elegant , and sweet, Pavlovas are perfect for romantic date-nights or intimate dinner parties!
This post may contain affiliate links. Read our disclosure policy.
Want to Save This Recipe, Boo?
Drop your email below, and this delicious recipe will slide right into your inbox! Plus, you’ll get all the latest updates and goodies from Grandbaby Cakes.
I often share recipes with you that I dub as being “simple” or “easy-to-make”, and I appreciate the value in them. Busy moms, dads, grandparents, and aunties all need a break sometime, if I can help with that I’m one happy girl! But, every now and then, I like to share a recipe that requires a little extra love.
Pavlovas are a creation made up of patience, time, some planning, and little technique. The end result is truly something to be proud of (and meant to be shared). Time spent in the kitchen can be therapeutic, challenging, and insightful, so why not take advantage of that.
If you’ve never had a Pavlova before, you’re in for a treat! So tie your apron and preheat the oven, it’s time to bake.
What is Pavlova?
In the 1920’s, a famed ballerina by the name of Anna Pavlova set out to tour through Australia and New Zealand. Anna’s performances were awe-inspiring and iconic; her fluid, airy form of movement was captivating.
After a particularly incredible show, a pastry chef in Wellington, NZ went home and developed the very first Pavlova. However, those “pavlovas” were more torte-like cakes, not the light, marshmallowy, meringue-based dessert that we all know and love.
But, whatever the origin, we can all agree that Pavlovas are a show-stopping, utterly delicious dessert!
What is the Difference Between Meringue and Pavlova?
Some (including myself) confuse meringue and pavlova, so let me explain the difference between the two.
Both meringue and pavlova are egg-white desserts, and are made in a similar way. Both recipes require egg whites to be whipped to a foam, with sugar mixed in, and are then baked at a low temperature until dry. The primary difference between the two is the final texture. Meringue is crispy and dry throughout, while pavlova is crispy on the outside, but fluffy, soft, and marshmallow-like on the inside.
Basically, a pavlova is a meringue-based dessert, but not a classic meringue.
Ingredients
The success of this recipe depends on the quality of ingredients and a bit of technique. So, let’s start by talking about our ingredients first:
Egg Whites- If your eggs are not at room temperature, they absolutely need to be. To quickly bring to room temp, place the eggs in a bowl of warm (not hot) water for 10-15 minutes. Change out the water halfway through if it’s gone cold.
Granulated Sugar- Properly measuring the sugar is essential! I highly recommend using the spoon and level method for the most accurate result.
Cornstarch- Cornstarch helps to form the crisp exterior and marshmallow-soft interior. Do not omit or replace the cornstarch. When measuring, be sure to level off the spoon!
Salt- Salt is just a flavor enhancer here, you won’t be able to taste it. Sea salt and kosher salt will both work.
Vanilla Extract- Extract adds both flavor and aroma. High-quality extract is recommended for this recipe. Vanilla bean paste is an option as well.
Tips for Making Mini Pavlovas
Pavlovas can seem intimidating, but I promise they’re super easy to make! To set you off on the right foot, I’ve compiled my top tips for making the BEST pavlovas ever.
- Use a Stand or Electric Hand Mixer- A stand mixer will yield a quicker, more even result without any of the physical work. A hand mixer totally works but you’ll need to add a few extra minutes of mixing time for stiff, smooth, and glossy peaks to form. I do not recommend attempting to hand mix- ouch!
- Add the Sugar Gradually- Resist the urge to dump in the ingredients! Instead, carefully sprinkle in about ⅓ of the sugar at a time. Do not add any sugar until the egg whites have formed soft peaks!
- Don’t Skip the Parchment Paper- Lining your baking sheets with parchment makes for easy removal. Do not use wax paper- it sticks like crazy.
- Go for the Piping Bag- Pipe meringue into 3 to 3 ½ inch wide circles on the parchment paper using a bag fitted with a 1M tip. Indent the center with a spoon to make room for toppings.
- Bake Right Away- If you fail to bake them right after forming, Pavlovas will start melting or form a layer of hard brown sugar at the bottom (during baking). Be sure to have the oven preheated and ready to go.
- Use Two Baking Sheets- Overcrowding the pan will cause major problems! Bake on 2 separate sheets in the top and bottom thirds of your oven. When it’s time to rotate the pans (halfway through baking) also switch out the placements of the pans.
- Don’t Open the Oven Door- Once your pavlovas have cooked, do not even think about opening that door! This will only cause your pavlovas to sink. Instead, allow them to completely cool with the oven off, about 2-3 hours.
Toppings
Traditionally, pavlovas are topped with a healthy amount of fresh whipped cream and fruit. The fruit toppings for pavlova are endless!
My favorite options are:
- Blueberries, blackberries, raspberries, and strawberries and sauces
- Kiwi
- Mango
- Stone fruit: peaches, plums, apricots, and tangerines
- Mint leaves, to garnish
TIP: If you’re not a fan of fresh fruit on dessert, macerate fruit first! Add about 4 cups of berries (or fruit of your choice) to a large bowl, then pour ½ cup of sugar in. Squeeze the juice of half a lemon into the bowl and, using a large spoon or rubber spatula, mix everything together. Cover and let sit at room temperature, tossing occasionally, until berries are juicy, 1-2 hours.
Can you make ahead?
Yes! You can make pavlova meringues up to 3 days ahead of time and store them in an airtight plastic bag. Be sure to keep the bag in a low-humidity area. Once ready to serve, remove from the bag and top! After assembly, the pavlovas will begin to soften and should be eaten within 4 hours.
Meringue Recipes
Want more meringue love, try this Lemon Meringue Pie or Swiss Meringue Buttercream!

How To Make A Pavlova
Email This Recipe
Enter your email and this recipe will arrive in your inbox! You’ll also get updates on the latest posts and more from Grandbaby Cakes.
Ingredients
- 6 large egg whites must be room temperature
- 1 1/2 cup granulated sugar
- 1 tsp cornstarch
- 1/4 tsp salt
- 2 tsp vanilla extract
Instructions
- Preheat the oven to 200 degrees F and make sure your baking rack is in the center.
- Add egg whites to the bowl of your stand mixer with the whisk attachment. Begin mixing on medium high speed until soft peaks form.
- Gradually add sugar, cornstarch, salt and vanilla until stiff peaks form that are glossy. The stiff peaks will not move on the whisk. Here, I used a tiny bit of food coloring to tint the color of the pavlova.
- On a piece of parchment paper lining a 9×13 sized baking sheet, draw a circle using a pencil the size you want the pavlova. You can grab a round baking sheet to trace to make this easier then turn over. Spoon out all of the meringue and form into a round shape making sure to create a well in the center for your filling. Have fun with this!To make mini pavlovas, spoon on big dollops of meringue and press the centers to form small bowl shapes or you can use a 1M sized piping tip to pipe the meringue out into a bowl shape. Use a spoon to create more of a well in the center.
- Bake for 1 hour and 20 minutes. Half way through baking, rotate the pan so your bowls bake evenly. Then turn the oven off and without opening the door, let meringue sit in the oven until completely cooled undisturbed, about 2-3 hours.
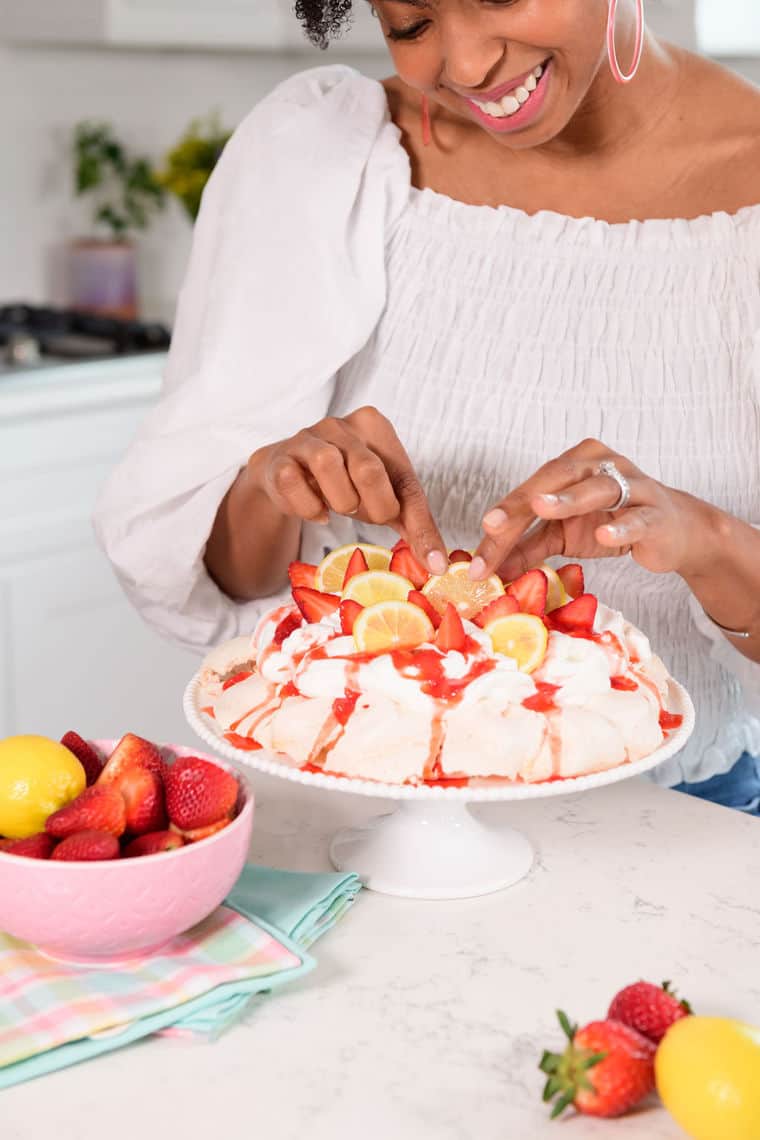
- Place your pavlova or minis on a wire rack then add whipped cream and toppings and enjoy. We added whipped cream, fresh lemon slices, strawberries and a sauce to ours!
 pinterest
This is an amazing dish!
looks great. Cannot waitvto try it out!
Great recipe! Definitely a favourite in our family and will make again.
GOOD LUCK!!