
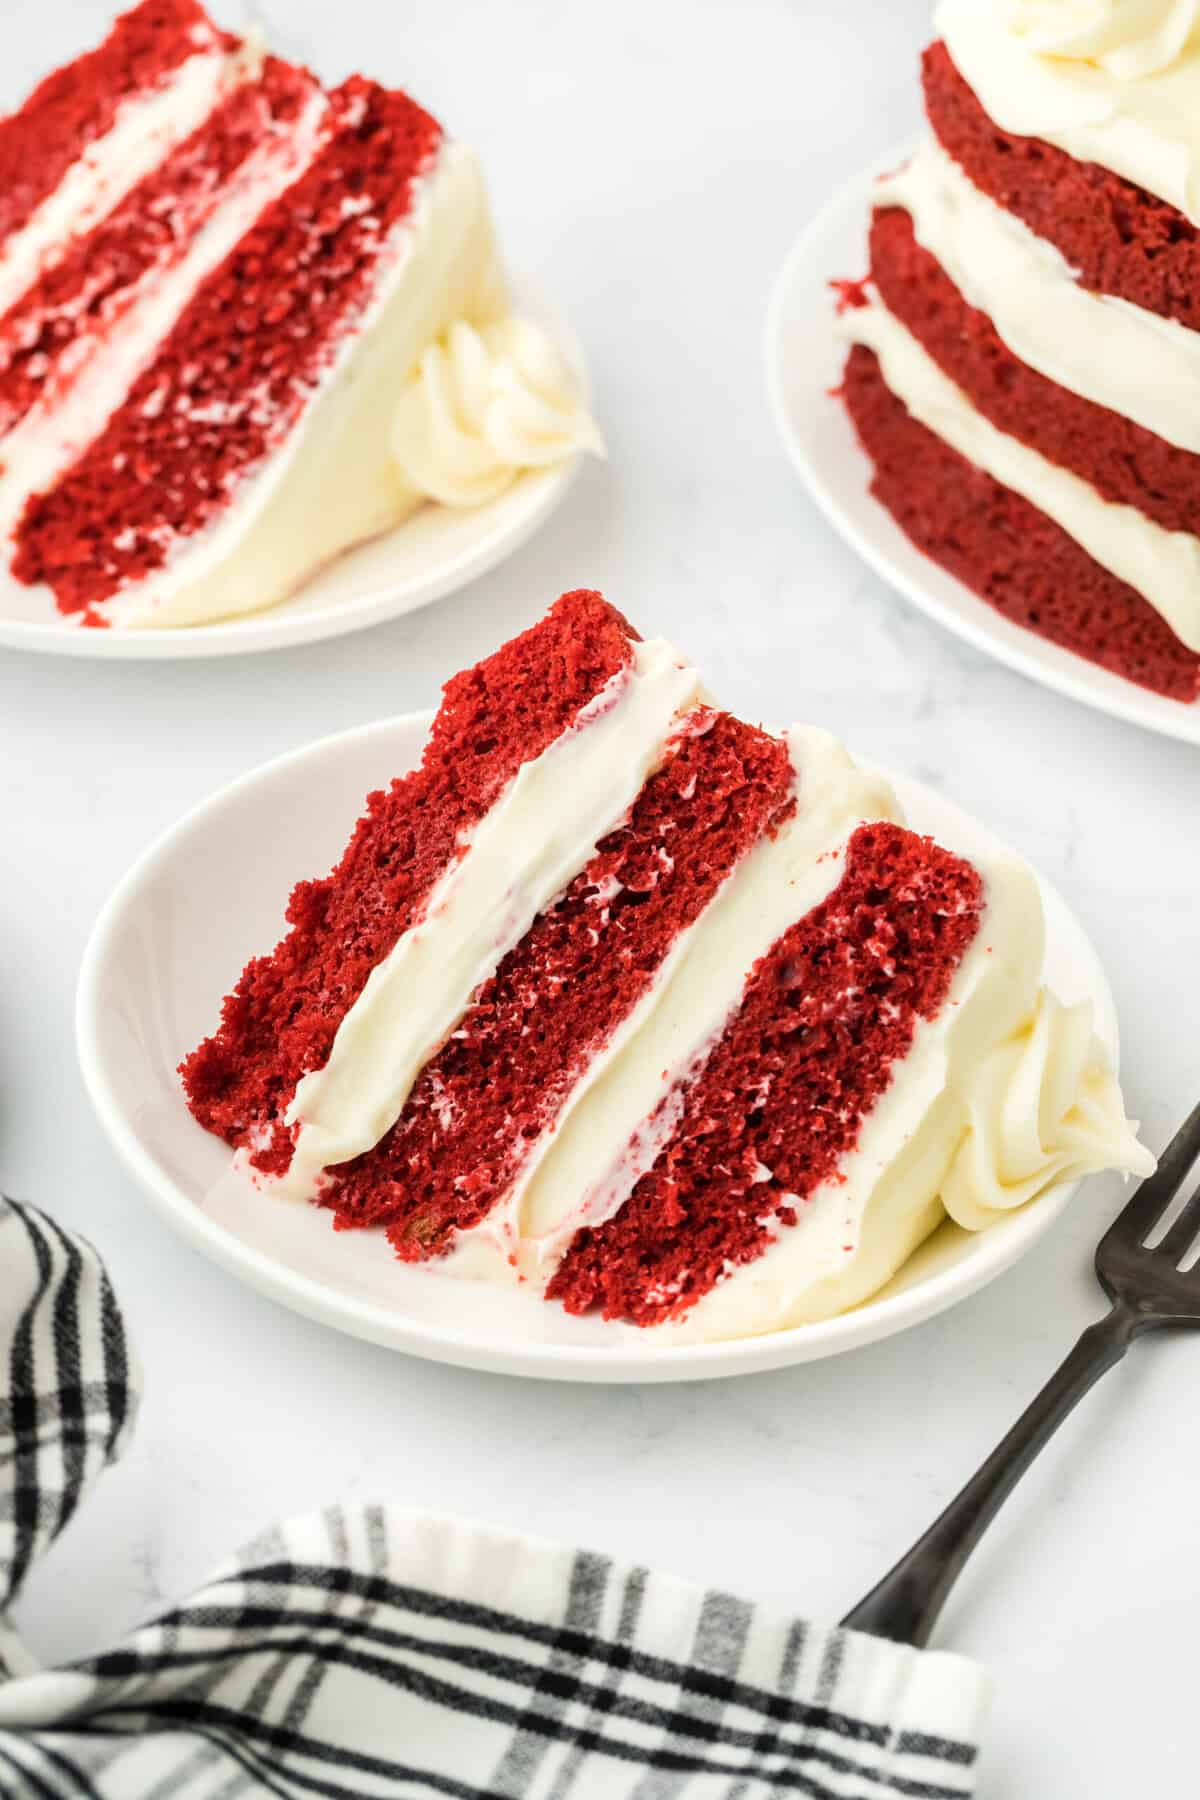
Making authentic Southern red velvet cake is an art form. That’s why I’ve nailed the perfect recipe so you can stop searching the web for the “right one”. Mine gets its moist texture from oil while also adding a ton of flavor even without butter. My cocoa amount is on point without turning this into a chocolate cake. Real red velvet fans know the difference. And finally my cream cheese frosting is tangy, creamy and stiff enough to hold up. For real, my red velvet cake recipe is the best out there plus I have a red velvet cupcake recipe if you want the smaller package! Get into it!
This post may contain affiliate links. Read our disclosure policy.
Ingredient Notes
- Flour and Cocoa Powder: Use unsweetened cocoa powder. All-purpose is best since the cake is very tender.
- Apple Cider Vinegar: You can replace with white vinegar.
- Oil: Any neutral oil like vegetable or canola will work. Don’t use olive oil!
- Buttermilk: To make your own, add a tablespoon of vinegar or lemon juice to 1 cup of milk and let sit for 5-10 minutes until ready to go!
- Butter and Cream Cheese: Go with unsalted butter and full-fat cream cheese.
- Confectioner’s Sugar: If you ran out, you can make your own with homemade powdered sugar with granulated sugar and a blender.
How to make Red Velvet Cake
Bake the Cake
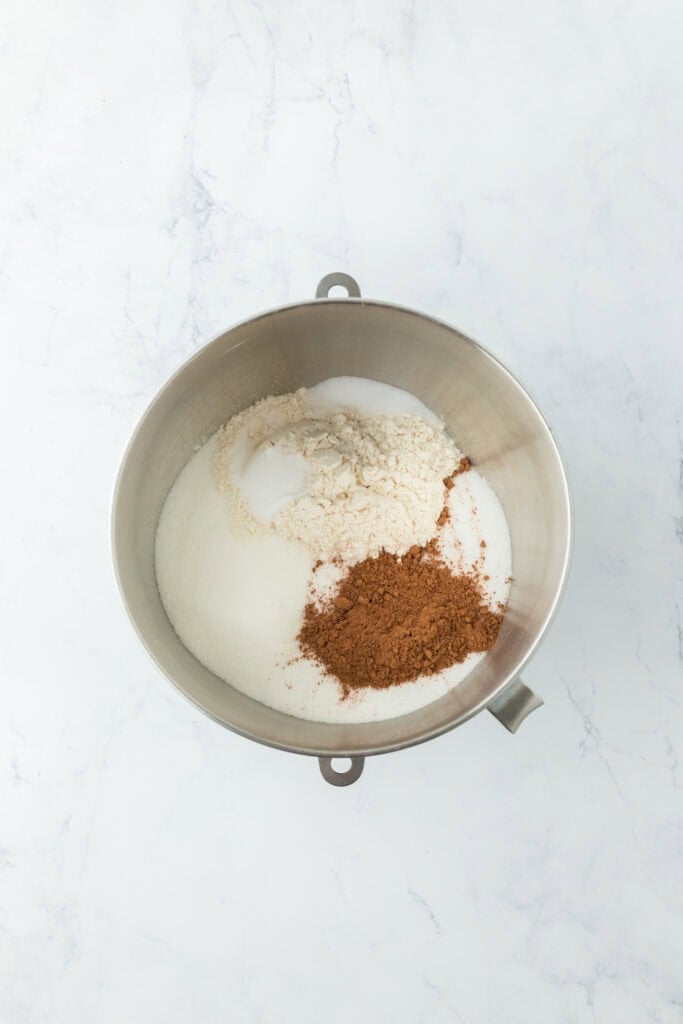
Step 1: Add flour, granulated sugar, cocoa powder, baking soda, and salt and mix on low speed in your stand mixer.
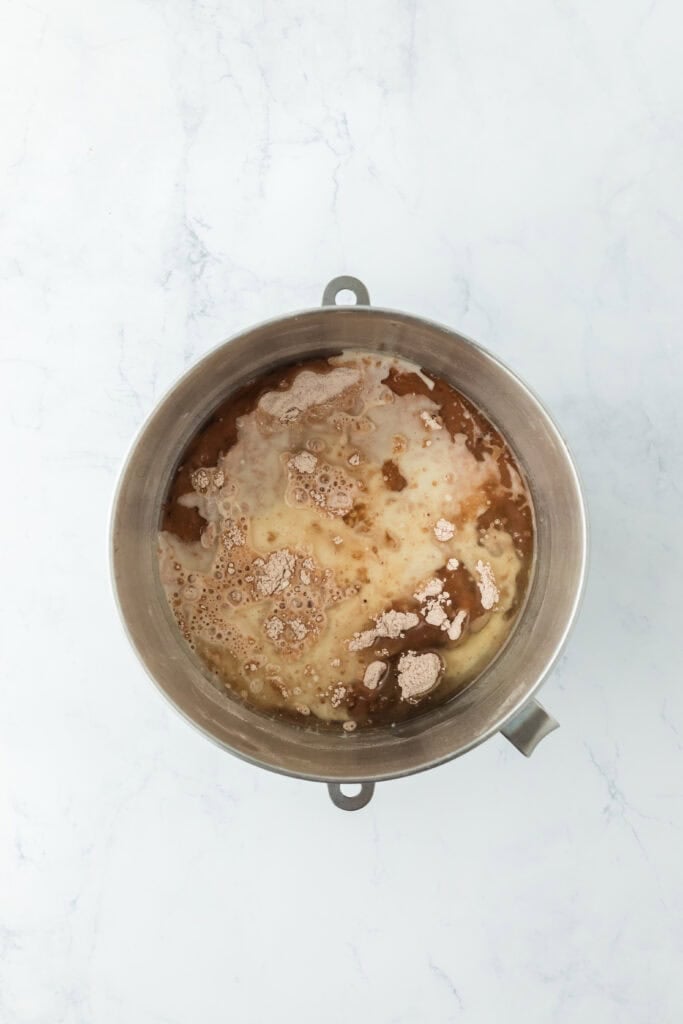
Step 2: Slowly add the oil and buttermilk.
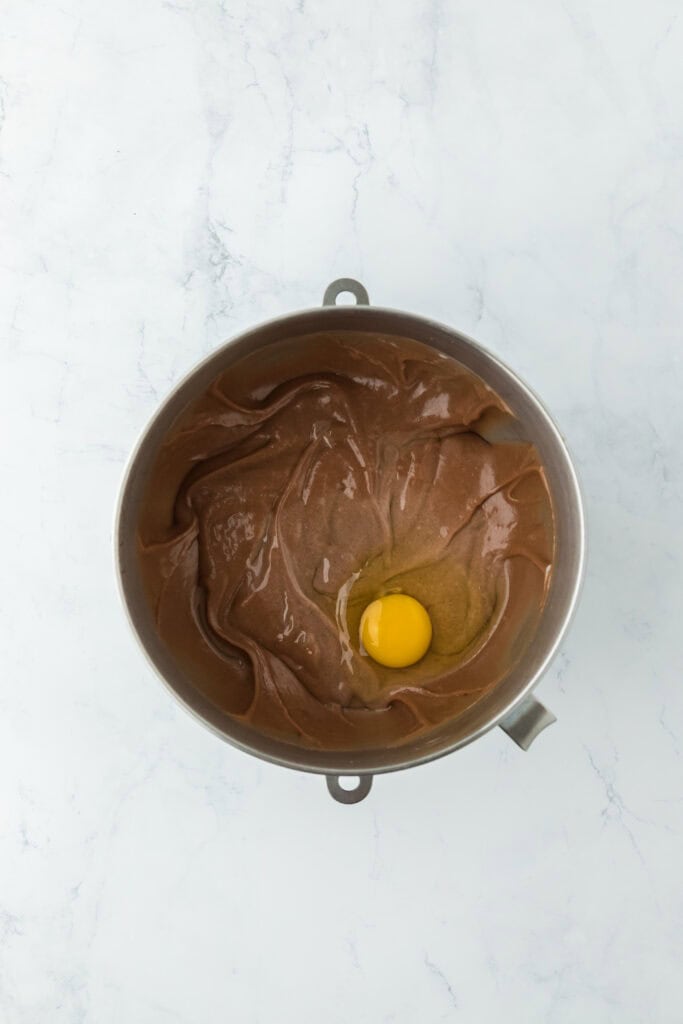
Step 3: Increase the speed to medium-low and add the eggs 1 at a time, combining well after each addition and scraping down the sides and bottom of the bowl as needed.
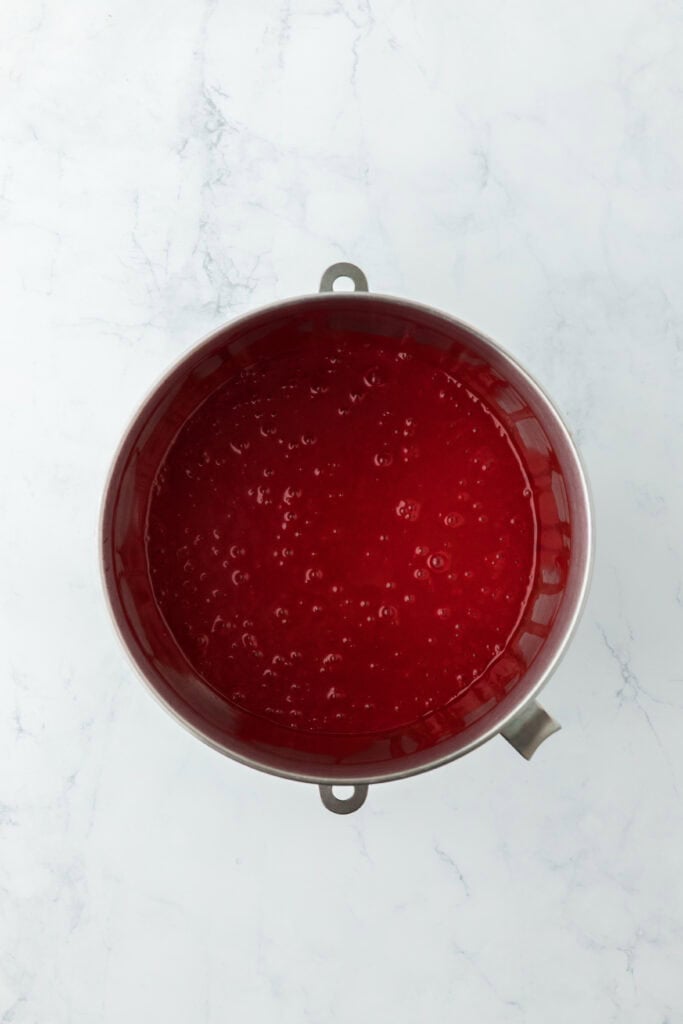
Step 4: Slowly add the coffee, vanilla extract, vinegar, and food coloring. Scrape down the sides and bottom of the bowl and mix the batter until just combined. Be careful not to overmix.
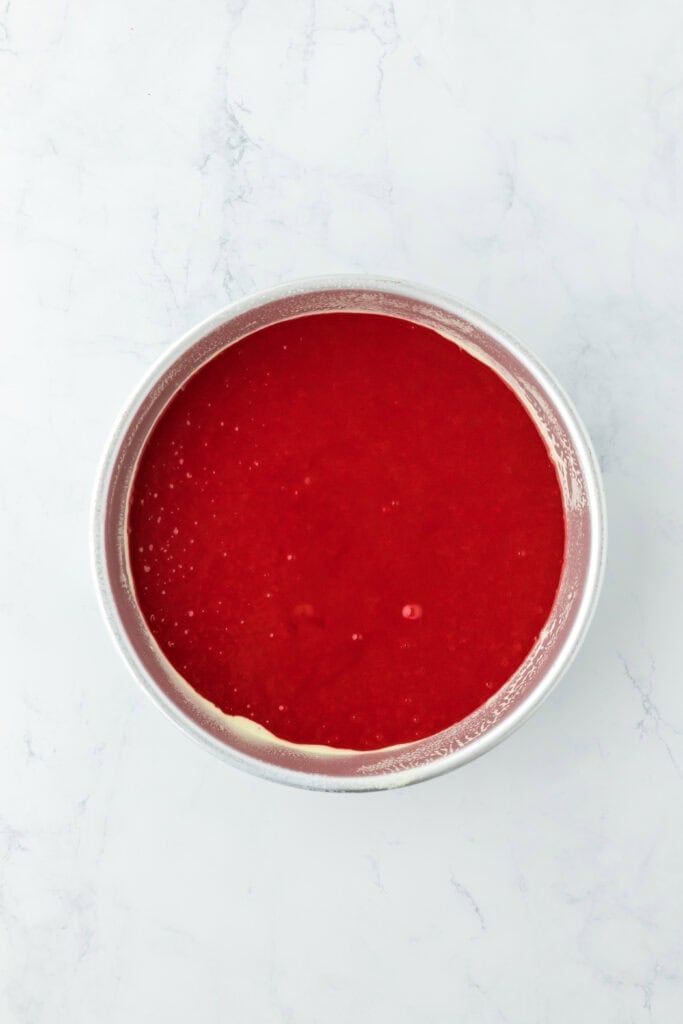
Step 5: Evenly pour the batter into prepared pans with a nonstick method.
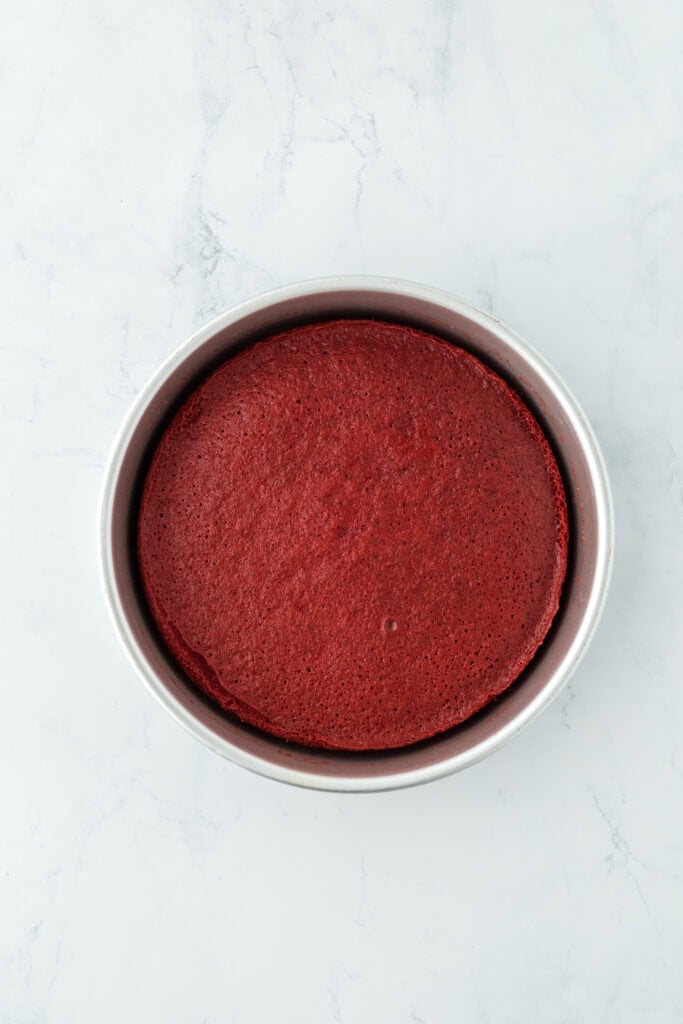
Step 6: Bake in a 325°F preheated oven for 20 to 27 minutes, or until a toothpick inserted into the center of a layer comes out clean. Do not overbake.
Make the Frosting
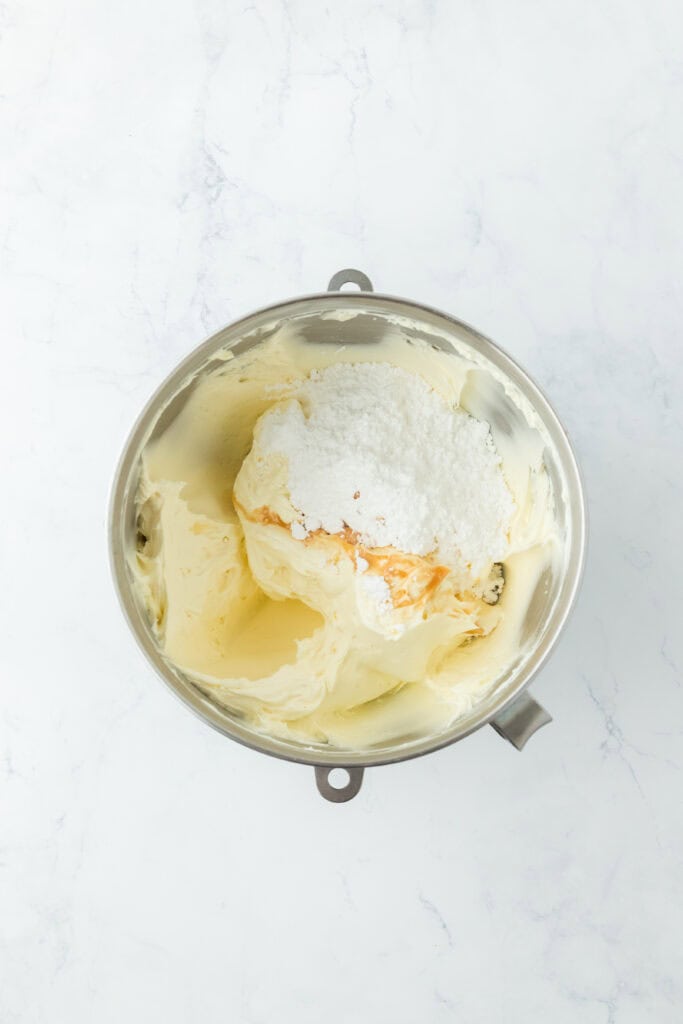
Step 7: Add butter and cream cheese to the bowl of your mixer and beat on high speed until it begins to thicken and fluff. Next, slow down mixer and carefully add in confectioner’s sugar. Once all sugar has incorporated, turn mixer back to high to continue whipping.
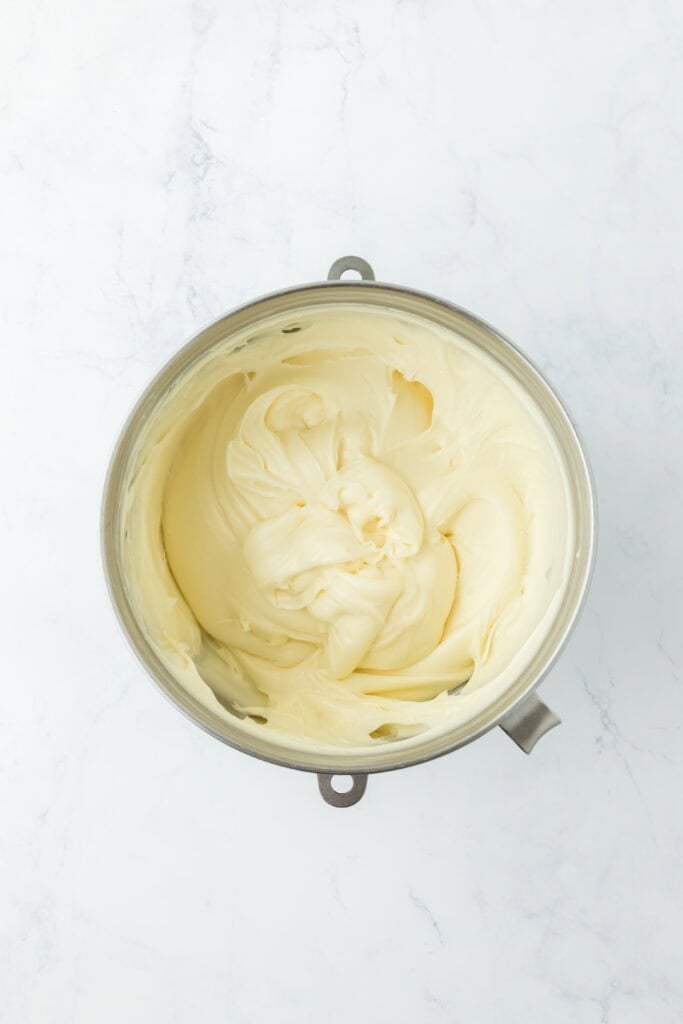
Step 8: Add salt and vanilla extract and continue whipping until it is smooth.
Assemble
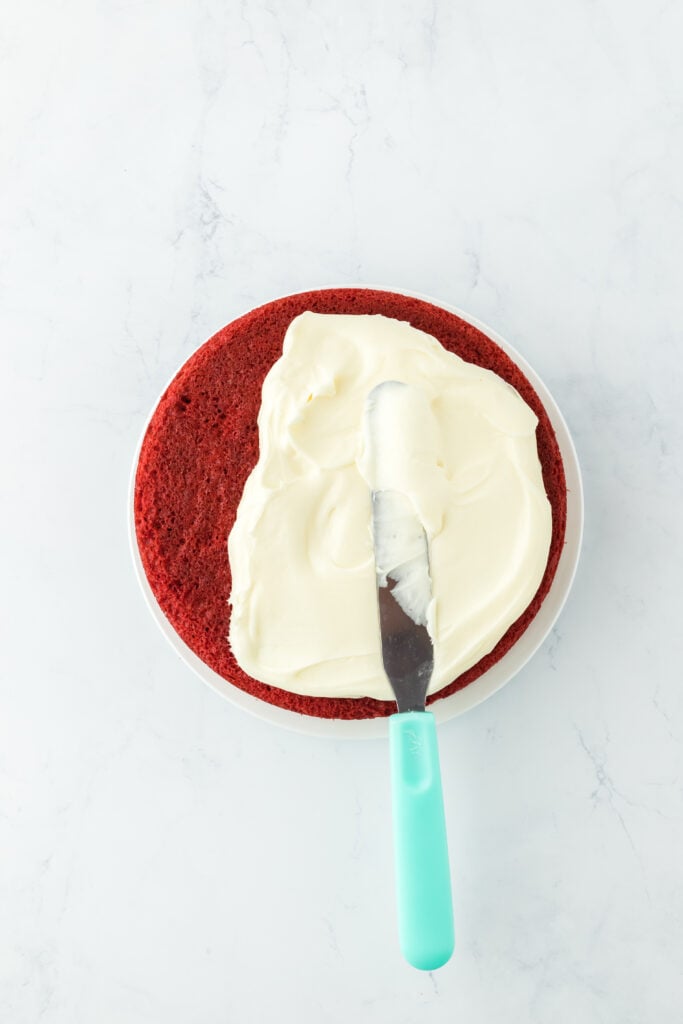
Step 9: Spread just the top of one layer (chilled) with 1/3 of the frosting. Add the second layer and spread with another 1/3 of the frosting.
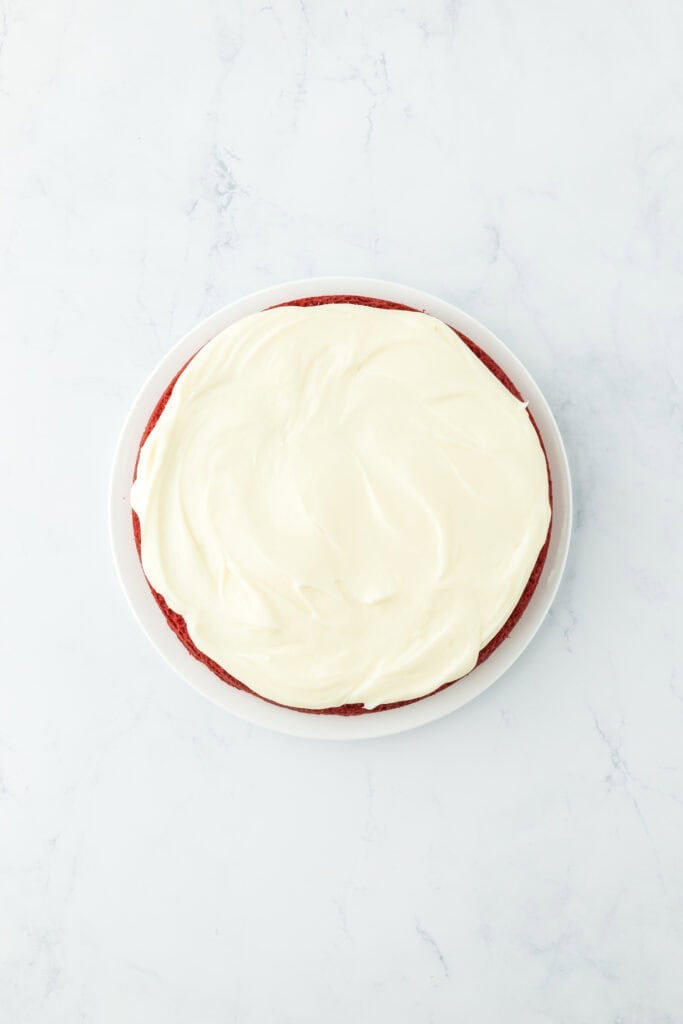
Step 10: Add the final layer, bottom-side up, and top with the remaining frosting. Only frost the sides if you wish. Serve at room temperature.
Want to Save This Recipe, Boo?
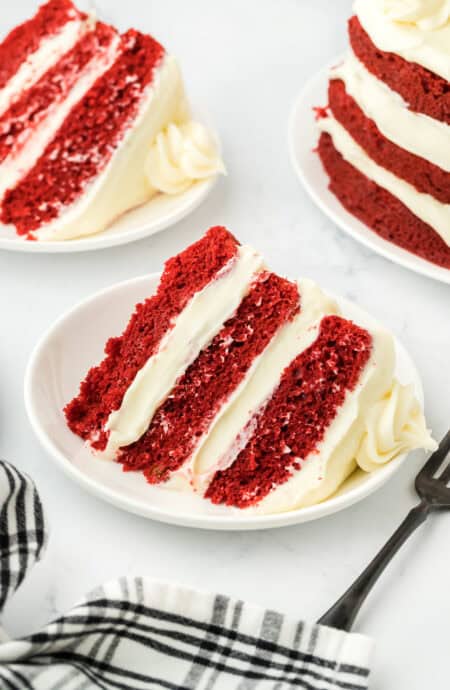
Red Velvet Cake
Want to Save This Recipe, Boo?
Ingredients
For the Cake:
- 2 1/2 cups sifted all-purpose flour
- 2 cups granulated sugar
- 2 tablespoons unsweetened cocoa powder
- 1 teaspoon baking soda
- 1 teaspoon salt
- 1 1/3 cups vegetable oil
- 1 cup buttermilk room temperature
- 2 large eggs room temperature
- 1/4 cup coffee strong and hot
- 1 tablespoon vanilla extract
- 1 teaspoon apple cider vinegar
- 1 ounce liquid red food coloring
For the Cream Cheese Whipped Frosting:
- 1 cup unsalted butter room temperature
- 32 oz cream cheese somewhat softened but still a little stiff
- 7 cups confectioner's sugar to stiffen more, go up another cup
- 1 tsp salt
- 2 tsp vanilla extract
Instructions
For the Cake:
- Preheat your oven to 325°F. Liberally prepare 3 9-inch round cake pans with the nonstick method of your choice. (I recommend the parchment method described on p. 17.)
- In the bowl of your stand mixer fitted with the whisk attachment, add the flour, granulated sugar, cocoa powder, baking soda, and salt and mix on low speed. Slowly add the oil and buttermilk.
- Increase the speed to medium-low and add the eggs 1 at a time, combining well after each addition and scraping down the sides and bottom of the bowl as needed. Slowly add the coffee, vanilla extract, vinegar, and food coloring. Scrape down the sides and bottom of the bowl and mix the batter until just combined. Be careful not to overmix.
- Evenly pour the batter into the prepared pans and bake for 20 to 27 minutes, or until a toothpick inserted into the center of a layer comes out clean. Do not overbake.
- Let the layers cool in the pans for 10 minutes, then invert onto wire racks. Let cool to room temperature. Lightly cover the cakes with foil or plastic wrap so they do not dry out.
For the Cream Cheese Frosting:
- Add butter and cream cheese to the bowl of your mixer and beat on high speed until it begins to thicken and fluff.
- Next slow down mixer and carefully add in confectioner’s sugar. Once all sugar has incorporated, turn mixer back to high to continue whipping.
- Add salt and vanilla extract and continue whipping until it is smooth.
To Assemble:
- Before you start: The cake layers can be quite tender, so feel free to refrigerate them (20 to 30 minutes should do it) to firm them up and make them easier to work with when frosting.
- Once the layers are completely cooled, place 1 layer on a serving plate.
- Spread just the top with 1/3 of the frosting. Add the second layer and spread with another 1/3 of the frosting.
- Add the final layer, bottom-side up, and top with the remaining frosting. Only frost the sides if you wish. Serve at room temperature. Store in the refrigerator or freezer.
Notes
How to store red velvet cake
Because we are using cream cheese frosting, this cake definitely needs to be refrigerated. Just keep it covered or add to a cake dome and pop in the fridge.How long will Southern red velvet cake last in the fridge?
It should last in the fridge for up to to 3-4 days.Can I freeze this red velvet cake recipe?
Absolutely boos! I love to freeze individual slices by adding them to a baking sheet to freeze initially for about an hour. Then I wrap them tightly in plastic wrap followed by a layer of foil. When you’re ready to get into it again, let a slice thaw in the fridge overnight and bring it to room temp before serving.Recipe Tips
- Go Room Temp: Make sure the buttermilk, eggs, butter and cream cheese are brought to room temperature before using so your batter is consistent and your frosting is smooth.
- Don’t Overmix: Once the dry ingredients get worked in, use a light hand so you don’t over-activate the gluten and make a tough cake.
- Chill the Layers: These cake layers are super tender so they can be very soft to work with when frosting your cake. I like to stiffen them by popping them in the freezer to get a little hard before frosting the cake.
- Use Gel: If you want that super nice vibrant hue, go with gel food coloring versus liquid. Also beet juice is a nice option if you want a natural color that isn’t as bold but still gives some color.
Recipe Variations
- Vegan: You can swap out the butter, buttermilk and cream cheese with your fave plant-based milk options. For the eggs, flax eggs or unsweetened applesauce work well.
- Gluten-Free: Replace the flour with your fave 1:1 ratio gluten-free baking flour. The texture may change slightly but it will still taste so bomb y’all.
Recipe Help
Absolutely boos! You can make this ahead and pop in the fridge the day before you serve. Just bring it back to room temp before serving. You can also make the layers and keep in the freezer for about a month before you need.
If your frosting is too soft, the cream cheese or butter could be the culprit because it started out too soft. You can add more powdered sugar to it to stiffen it up or pop in the fridge to let it get firmer.
Of course, you can leave it out and it will just have a light ting of cocoa color.
 pinterest
Hello as I sm not a coffee drinker. How do you make the strong coffee or can it be omitted
You can just leave it and use hot water.
Wow Jocelyn! This is a fabulous tasting cake! Thank you for making this available to the world!
I had to make a couple changes as I didn’t have vinegar. I substituted 1/3 cup sour cream for the 1/3 cup oil. It worked great. I also used 3/4 tsp. Lor’Ann Cherry flavor since it was a Valentine’s Day cake for a work party.
I’ll print the recipe so everyone will visit your Baby Cakes site!
Thank you so much Cammie. For the best referrals to our site, please send them the link to the recipe. This way, I can continue to fund the site and make sure amazing recipes continue to be added.
Can you send the pound cake red velvet cake with the marble swirl recipe?
Here ya go: https://grandbaby-cakes.com/red-velvet-marble-cake-recipe/
Hi. If using food coloring gel versus the liquid, do you use the same amount – 1 ounce? If not, how much is recommended? Thanks for your help and time.
Hi Catherine, usually gel is more concentrated so you will definitely want to use less. Add a little, stir your batter and see what the color looks like. I always start with less and add until I get the color I like.