
If you’ve never made biscuits from scratch because you’re intimidated, you gotta try my easy sour cream biscuits. I make them in a food processor (crazy I know!) but they still taste tender, fluffy and buttery boos. I love pulling this recipe out when I don’t have time to fold, knead and do a whole lot. Even with the low lift, these still taste crazy good.
This post may contain affiliate links. Read our disclosure policy.
How to Make Sour Cream Biscuits
- Preheat oven to 400 degrees and line a baking pan with parchment paper.
- Add flour, sugar, baking soda and salt to bowl of a food processor. Pulse a few times to combine.
- Add butter cubes to flour mixture and pulse until small and medium sized crumbs form.
- Lastly add sour cream and vanilla and pulse until it is just combined.
- Turn biscuit dough out onto floured board and knead just to combine everything but do not overmix.
- Press the dough out with your hands to about 1 inch thickness and cut using a round biscuit cutter. Next place the biscuits on the parchment paper lined baking pan and refrigerate for 20-25 minutes.
- Just before baking, brush the tops of the biscuits with egg wash. Sprinkle the tops with turbinado sugar if making shortcakes.
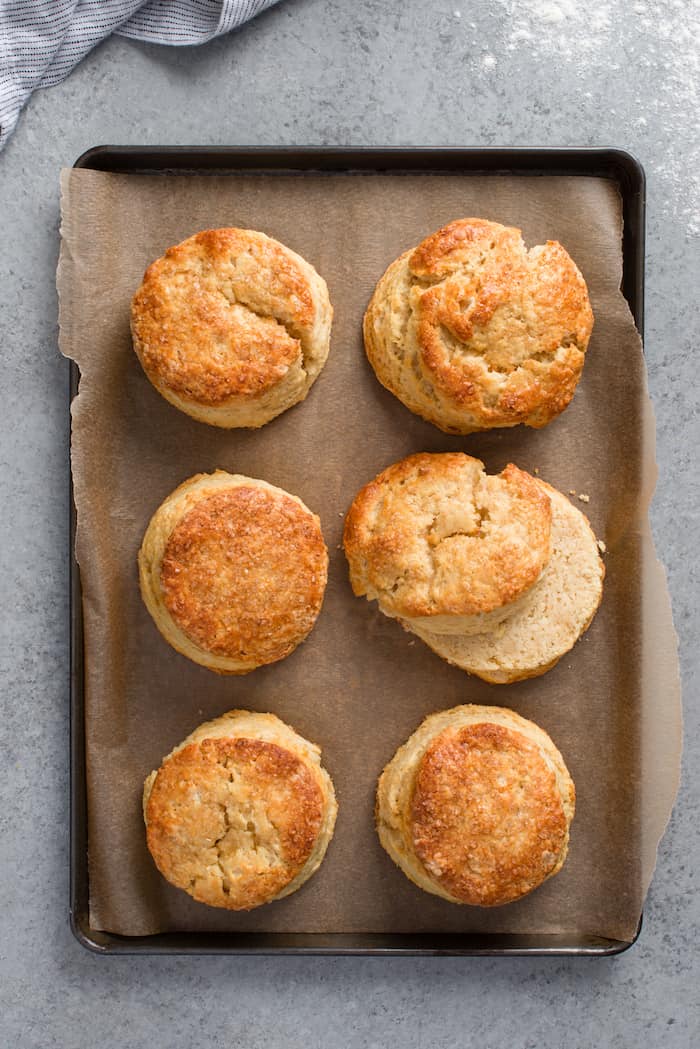
- Bake biscuits for 16-19 minutes or until golden brown. Remove from oven and allow to cool completely.
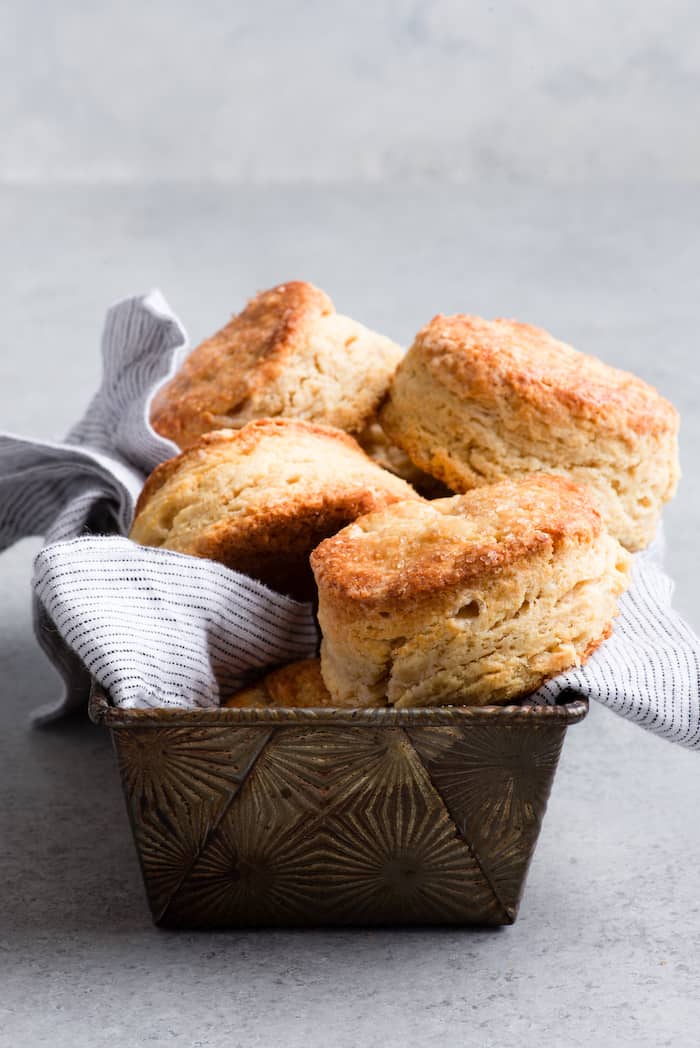
Sour Cream Biscuits Recipe
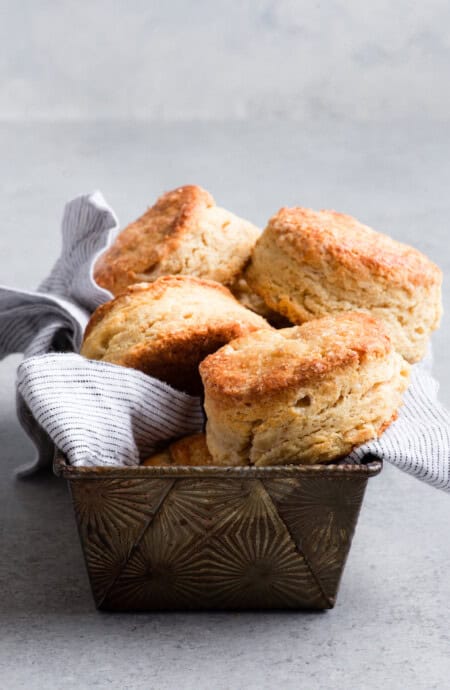
Pillowy soft, tender, flaky and buttery, these Easy Sour Cream Biscuits make for the perfect side to any family dinner or as the perfect shortcake vehicle!
Want to Save This Recipe, Boo?
Servings: 10 servings
Ingredients
- 3 cup all purpose flour
- 2 tbsp granulated sugar for shortcakes, up to 1/4 cup
- 2 tsp baking soda
- 1 tsp salt
- 3/4 cup unsalted butter very cold cut into cubes
- 1 1/3 cup cold sour cream
- 1 tsp pure vanilla extract for shortcakes, up to 1 tbsp
- 1 large egg with 1 tsp water, whisked together
Instructions
- Preheat oven to 400 degrees and line a baking pan with parchment paper.
- Add flour, sugar, baking soda and salt to bowl of a food processor. Pulse a few times to combine.
- Add butter cubes to flour mixture and pulse until small and medium sized crumbs form.
- Lastly add sour cream and vanilla and pulse until it is just combined.
- Turn biscuit dough out onto floured board and knead just to combine everything but do not overmix.
- Press the dough out with your hands to about 1 inch thickness and cut using a round biscuit cutter. Next place the biscuits on the parchment paper lined baking pan and refrigerate for 20-25 minutes.
- Just before baking, brush the tops of the biscuits with egg wash. Sprinkle the tops with turbinado sugar if making shortcakes.
- Bake biscuits for 16-19 minutes or until golden brown. Remove from oven and allow to cool completely.
Notes
These can be kept at room temperature for up to 2 days. I suggest wrapping the biscuits in foil or plastic wrap, then place them in an airtight container or plastic bag. If you want to keep them in the fridge, they’ll keep for about a week.
TIP: Prefer a warm biscuit? So do I. To reheat, preheat the oven to 350 degrees, line a baking sheet with parchment paper or foil and arrange the biscuits on top. Bake for about 5 minutes and top with butter!
Nutrition
Calories: 334kcal | Carbohydrates: 32g | Protein: 5g | Fat: 21g | Saturated Fat: 12g | Polyunsaturated Fat: 1g | Monounsaturated Fat: 5g | Trans Fat: 1g | Cholesterol: 69mg | Sodium: 485mg | Potassium: 94mg | Fiber: 1g | Sugar: 3g | Vitamin A: 640IU | Vitamin C: 1mg | Calcium: 46mg | Iron: 2mg
Tried this Recipe? Tag me Today!Mention @GrandbabyCakes or tag #grandbabycakes!
Recipe Tips
- Freeze the Butter: Before baking, I will actually cut the butter into 1-2”inch cubes, place them in a glass bowl and freeze while I prep the rest of my ingredients so the biscuits can stay flaky.
- Use Good Quality Butter: There aren’t many ingredients in a biscuit recipe so using fresh, quality ingredients is key. Good butter equals better flavor.
- Don’t Use a Rolling Pin: It will flatten the dough making the biscuits hard and tough. Instead, just use your hands to flatten and fold over the dough a few times.
Want to Save This Recipe, Boo?
 pinterest
Thank so much for great recipe.they come right on time
Yay! So happy to hear that you liked them!
HEllo, and thank you for this recipe. I love it when the food processor does most of the work. Is it possible to freeze the se biscuits, either raw or baked, so they are always on hand for unexpected guests?
I believe in freezing biscuits before baking then you can bake them off whenever you want. Make sure they are wrapped extremely tight to avoid any air getting into them.
I am so glad I found this website! A delight to read and recipes work. Thx!
I love biscuits, even when they pop out of a cardboard tube! Homemade of course, much better but none of my versions include sour cream, a nice tweak, so thank you!
These are perfect! So gorgeously moist and fluffy!
These biscuits look absolutely amazing! I love all the tips to help make them perfect and the addition of the sour cream.
Oh wow, this looks so delicious. My family is going to devour it!
Wow these looks absolutely delicious! Love how you paired them with peaches in that photo, that looks soooo tasty!