
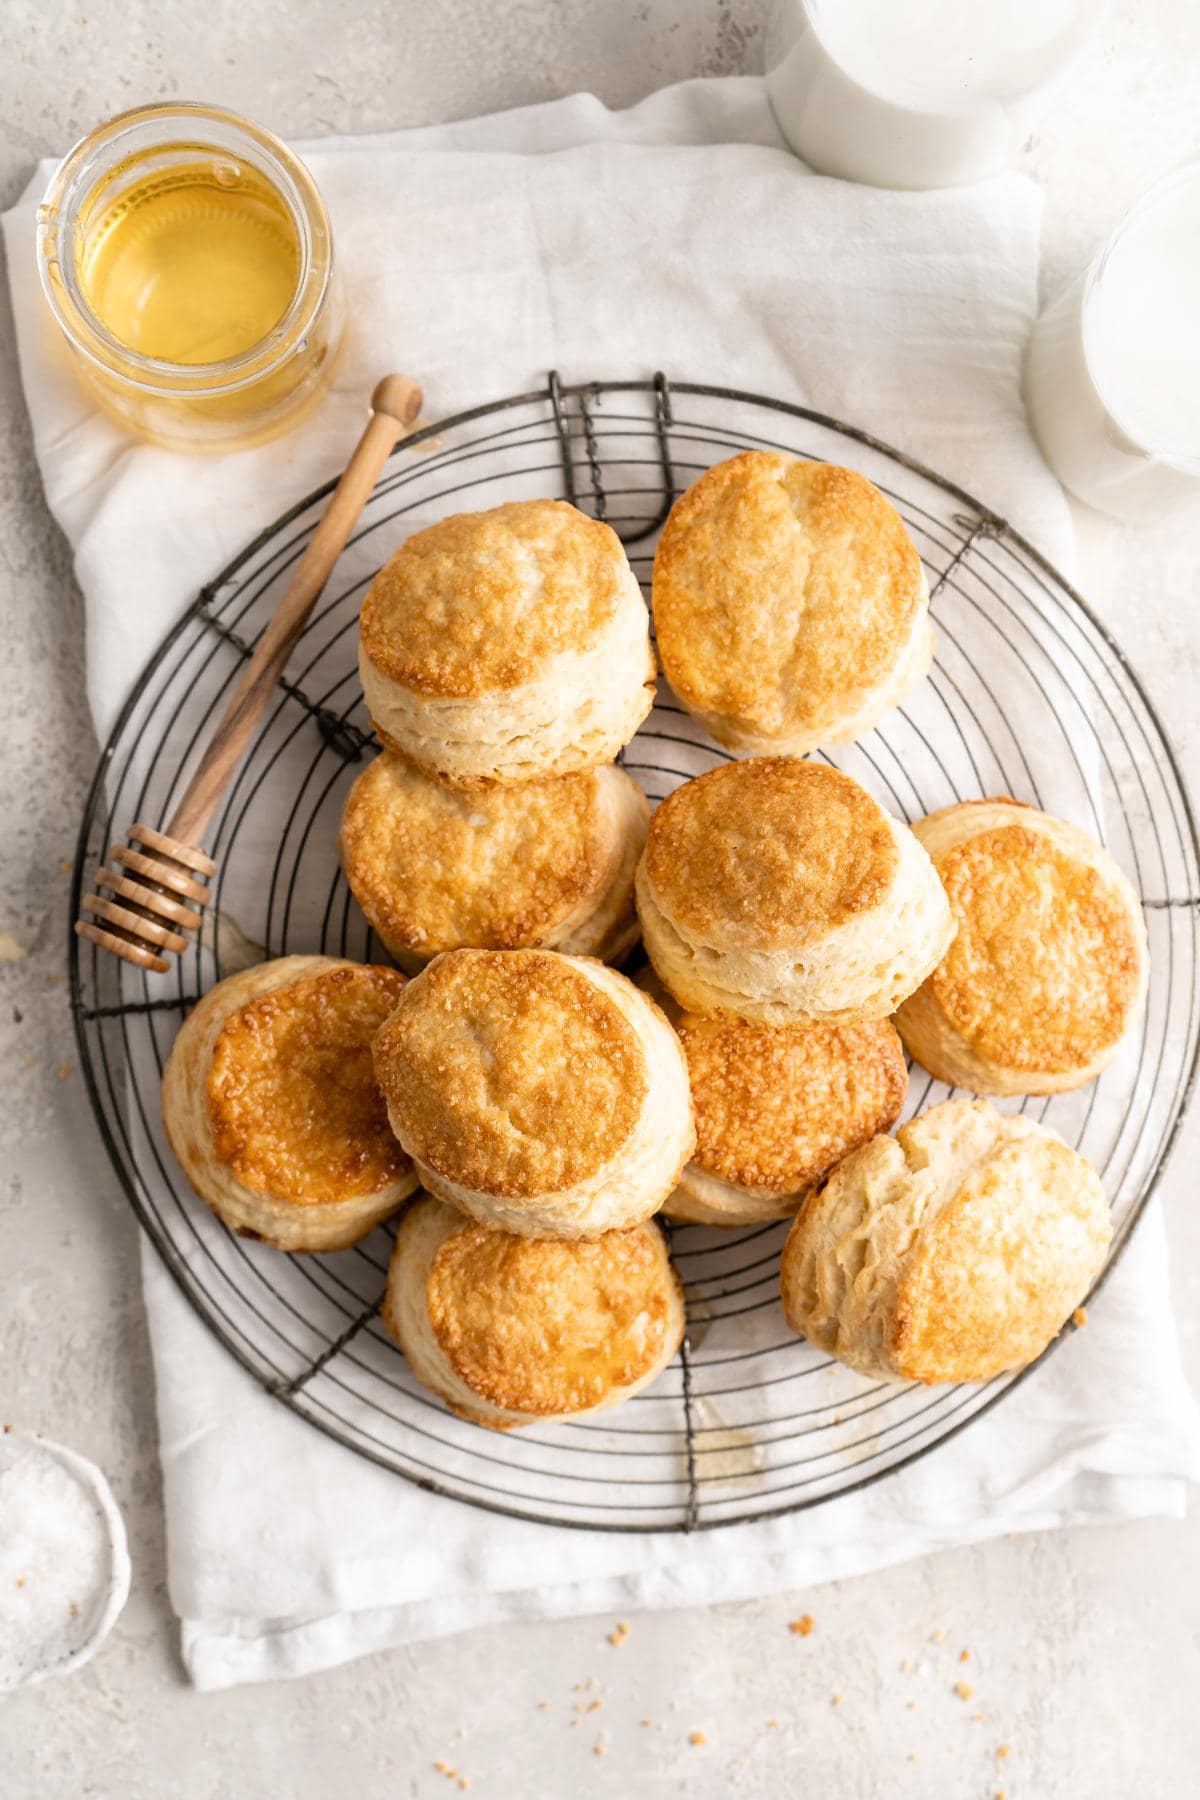
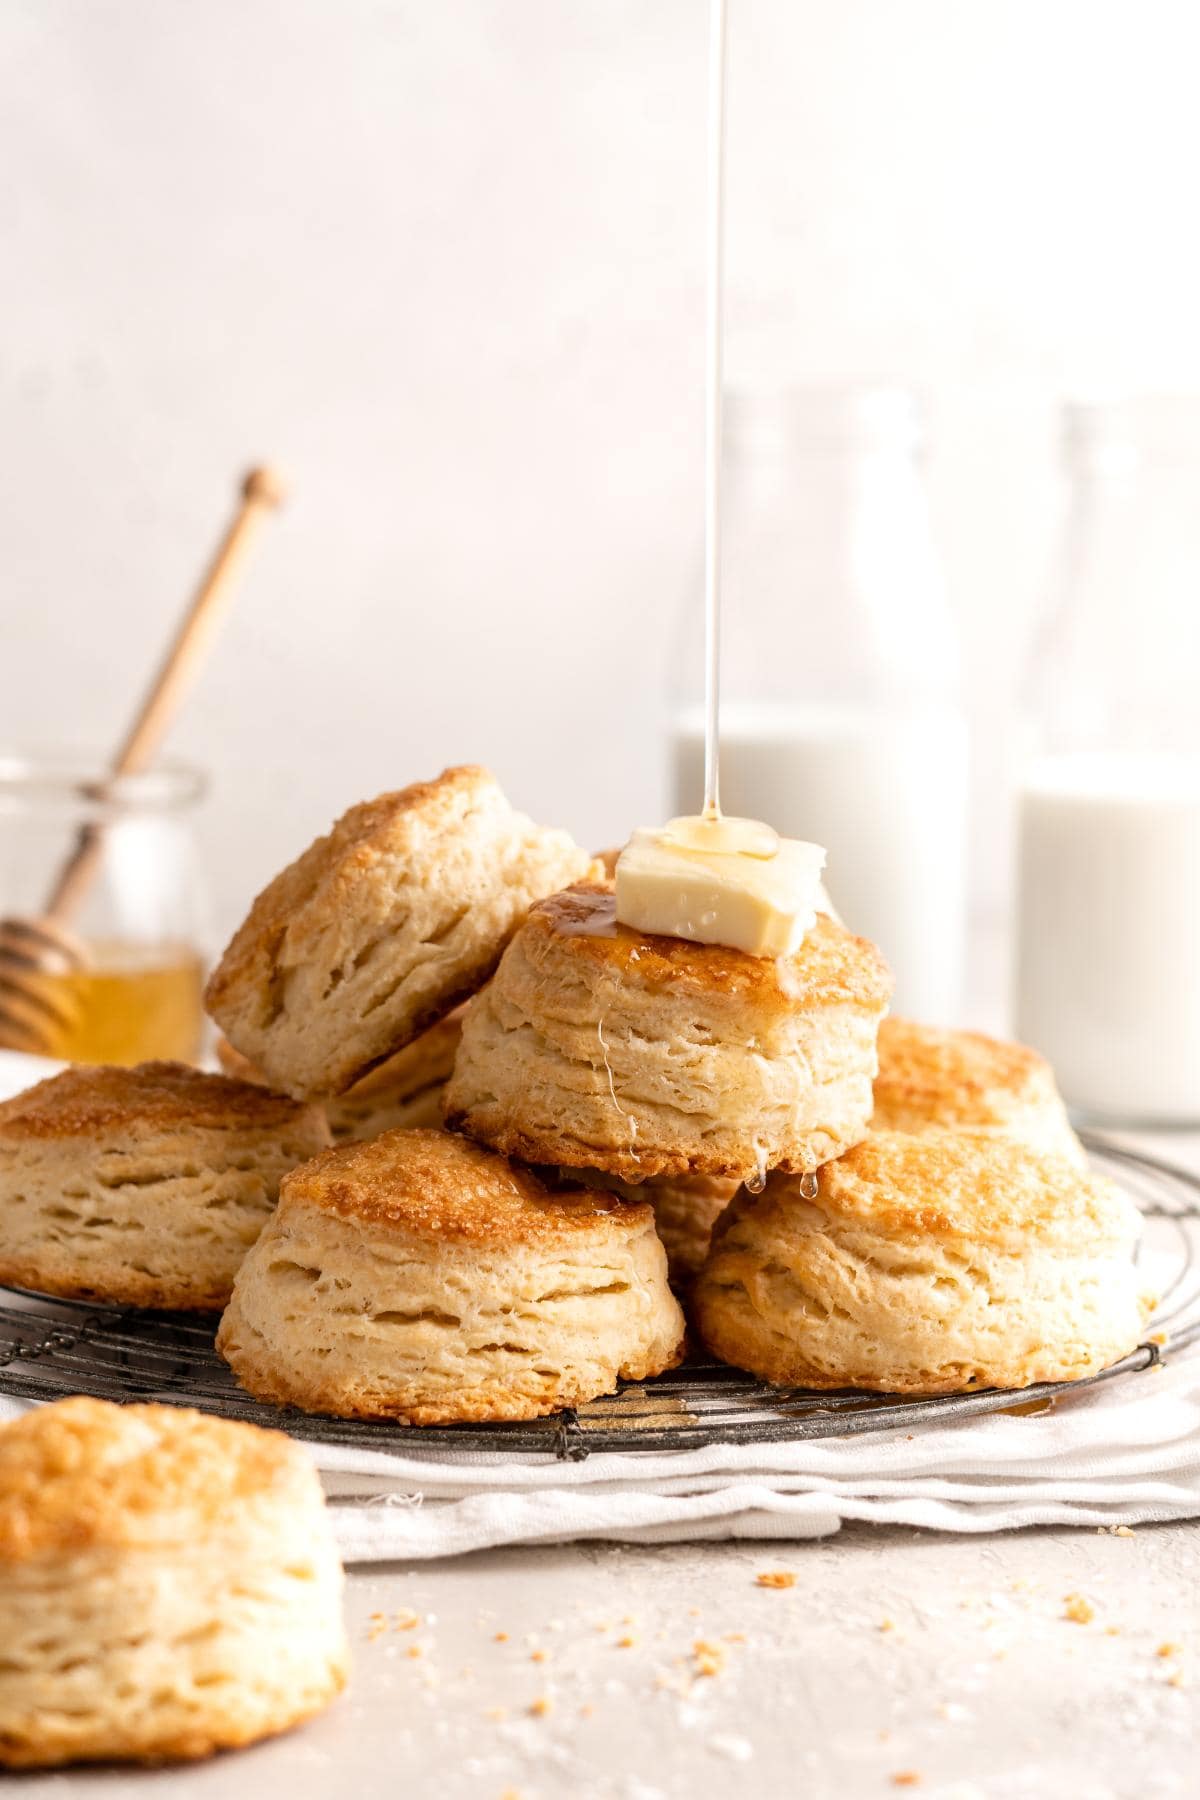
Every now and then I get a MAJOR craving for flaky biscuits, but not the kind that pop out of a can. I mean homemade, the ones you eat warm with butter and a drizzle of honey. Making accordion biscuits from scratch is worth it boos, and it’s really not hard. You just gotta keep the butter cold, mix the dough, and layer it. Waiting for them to bake is the hardest part! But if your girl can do it, y’all can too.
This post may contain affiliate links. Read our disclosure policy.
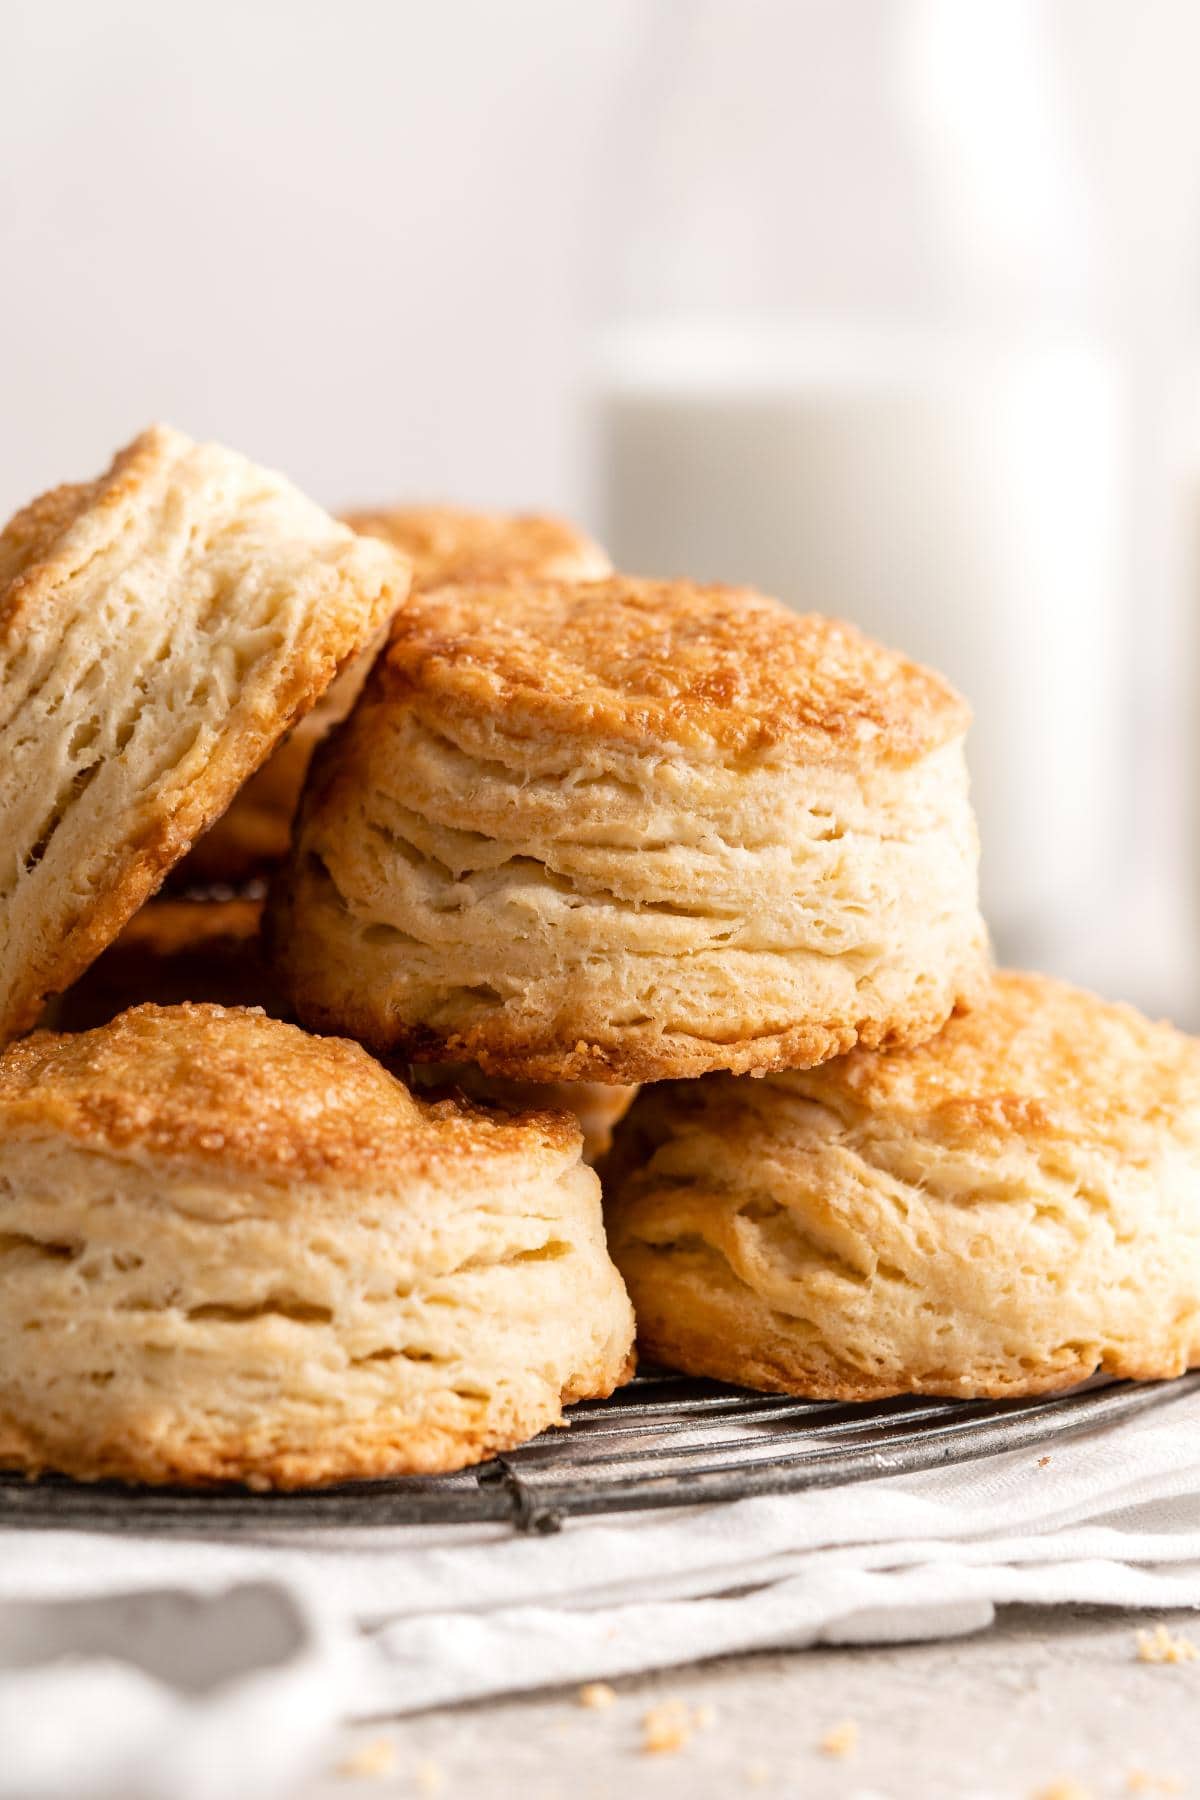
How to Make Flaky Biscuits
Step 1: Whisk the flour, baking powder, sugar, and salt in a large bowl, then toss in the butter to coat and press into flat pieces, breaking up any large chunks. Chill briefly, then whisk an egg with cream and cream cheese in a separate bowl. Pour the egg mixture into the flour mixture, fold until just moistened, and turn the shaggy dough onto a floured surface. Pat it into a rectangle.
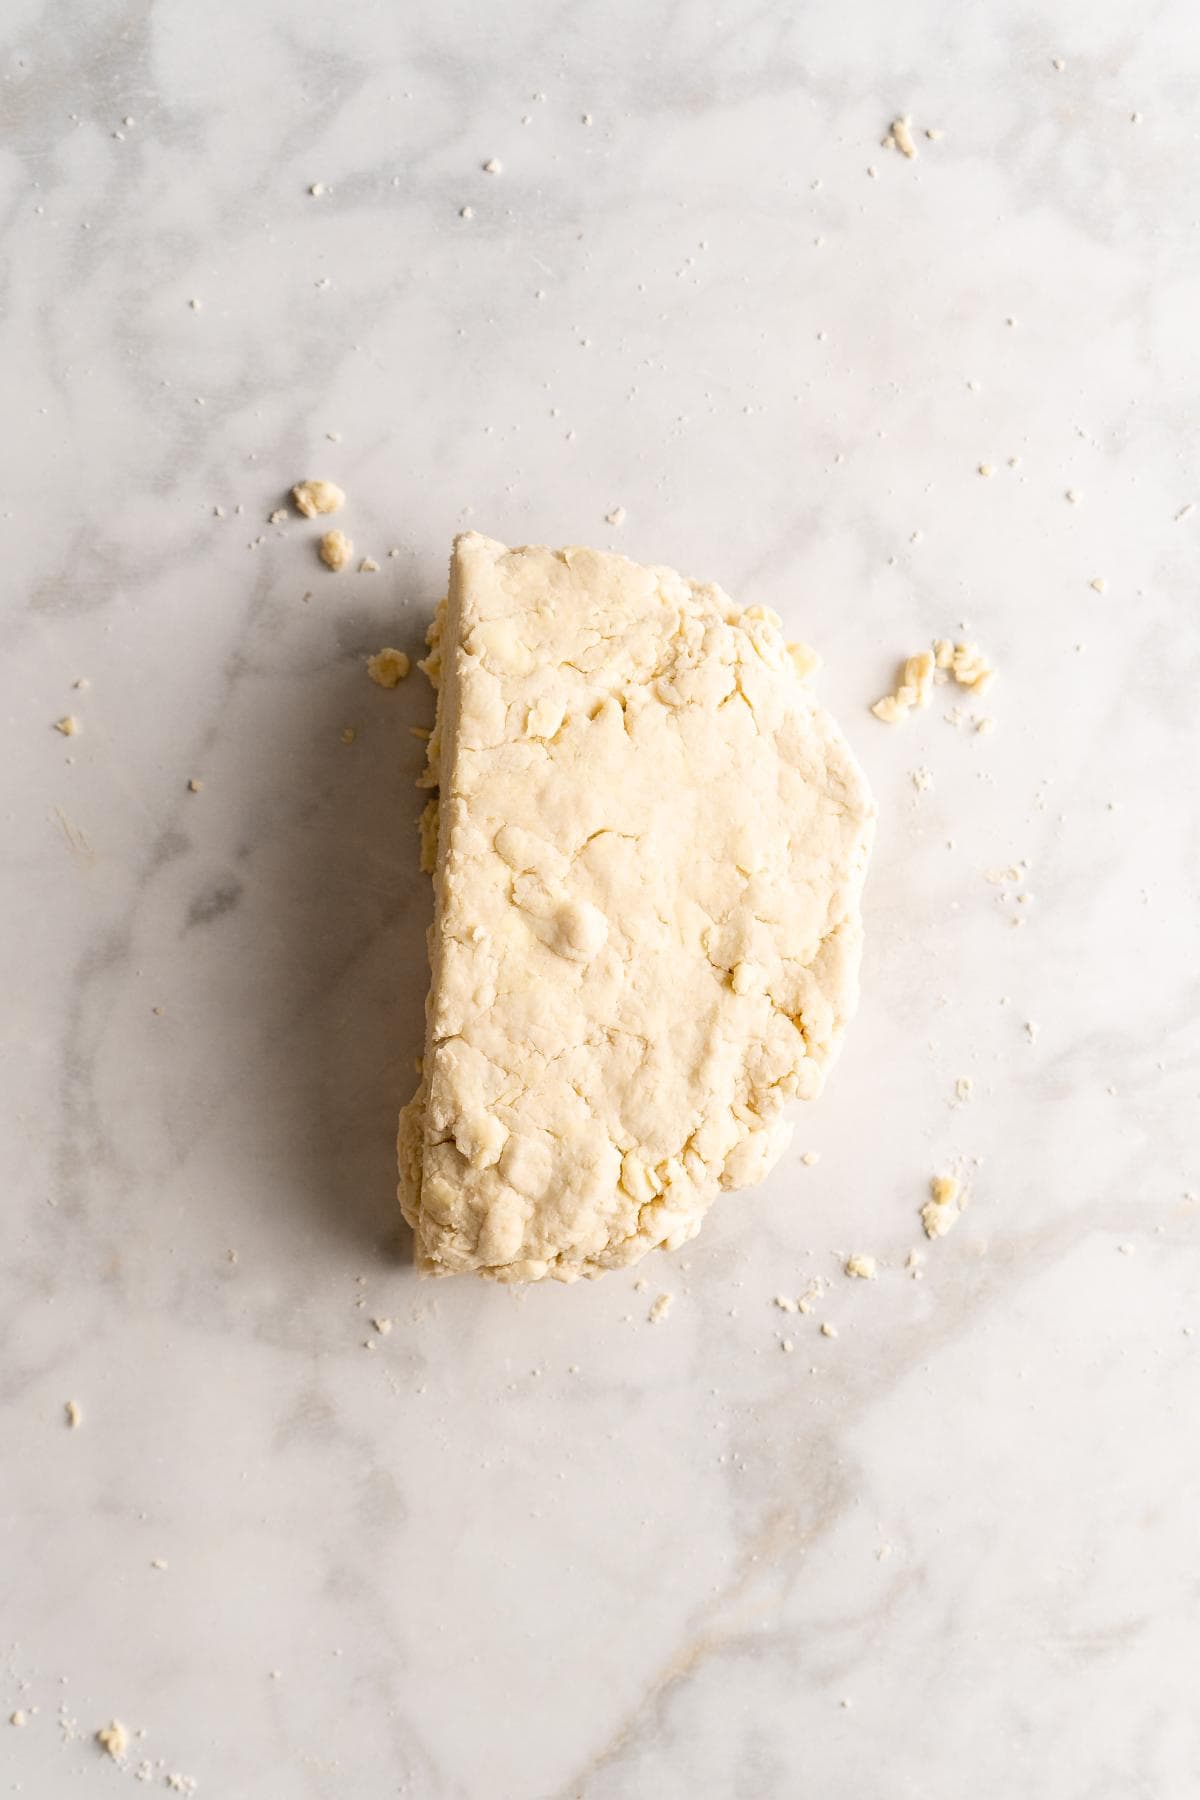
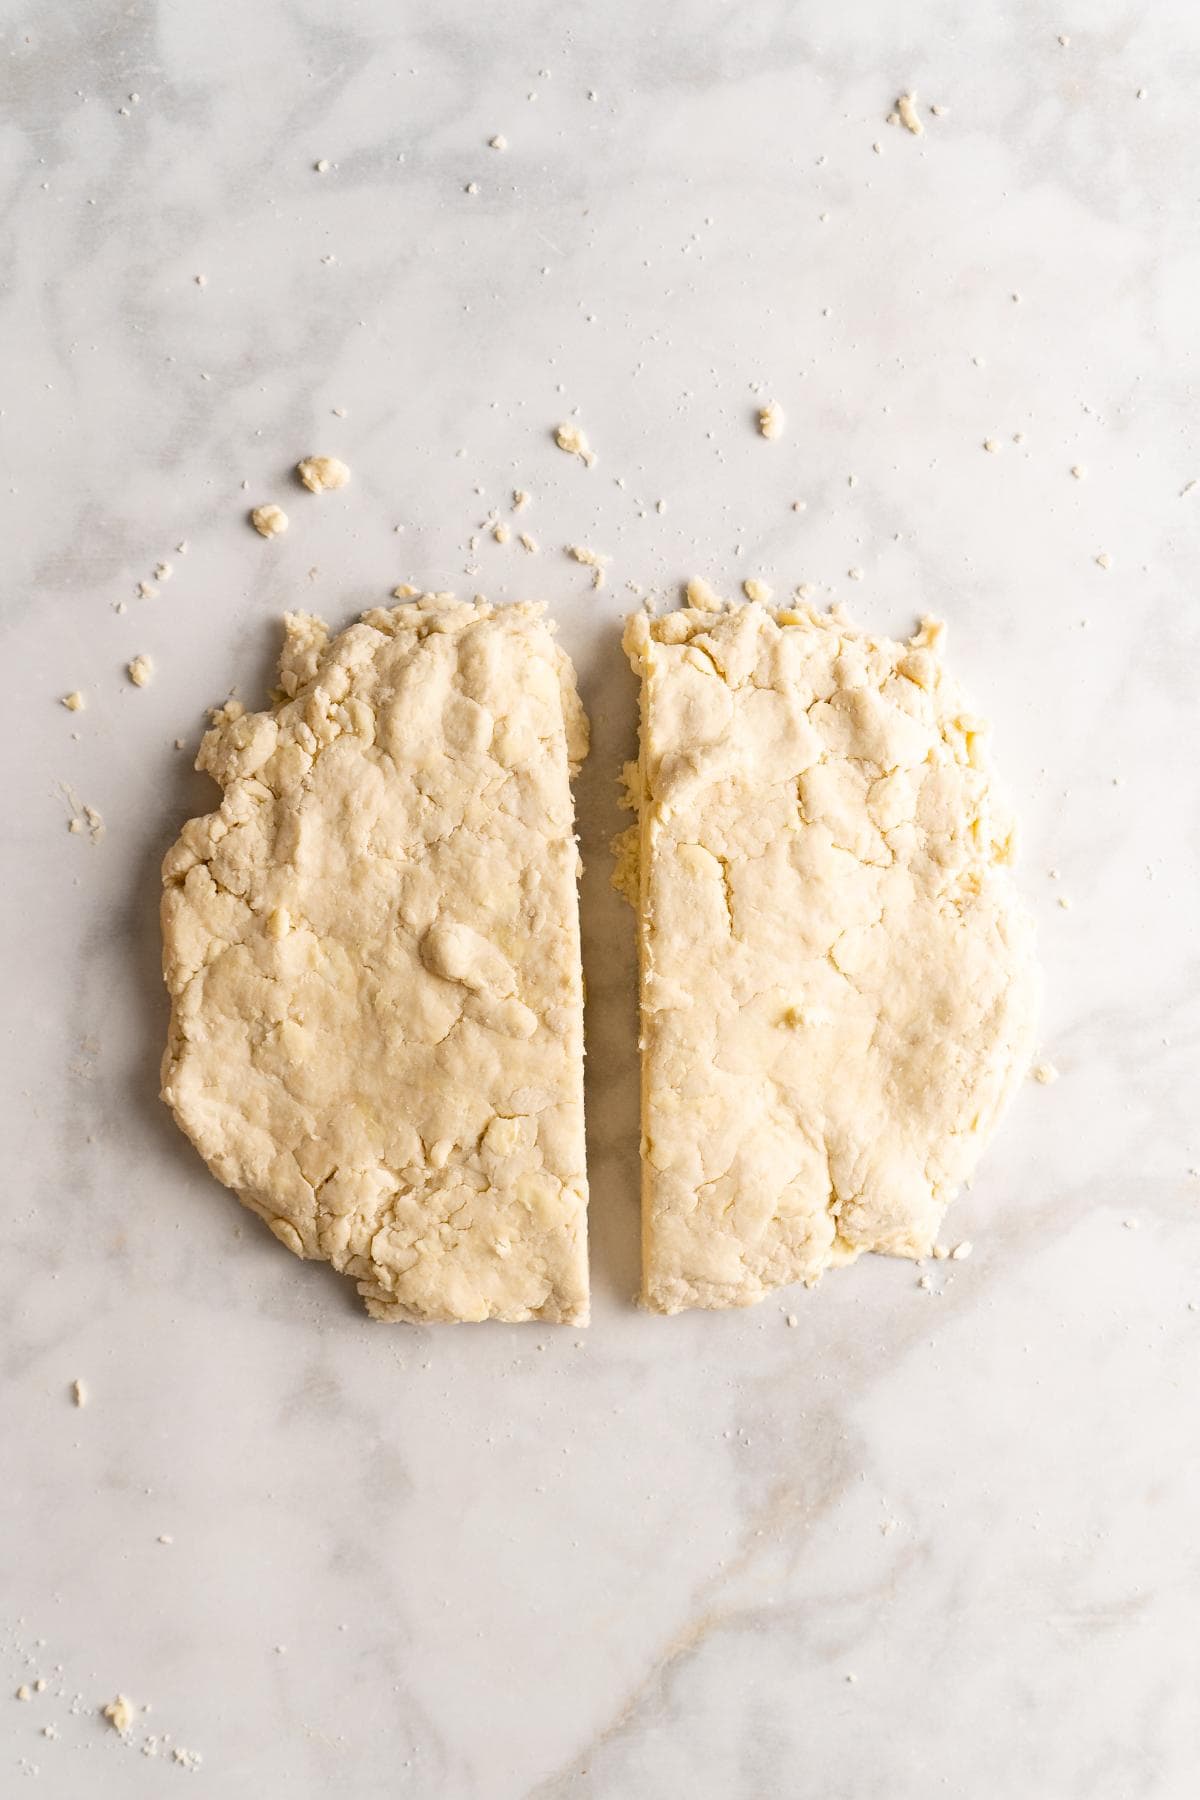
Step 2: Cut the dough block in half and stack the pieces, then repeat the cutting, stacking, and patting a couple more times. Finish by patting the dough down to about 1 inch thick.
PRO TIP: Take a peek at your dough, boos. If you can spot little butter pieces, you nailed it. That’s what gives you flaky layers!
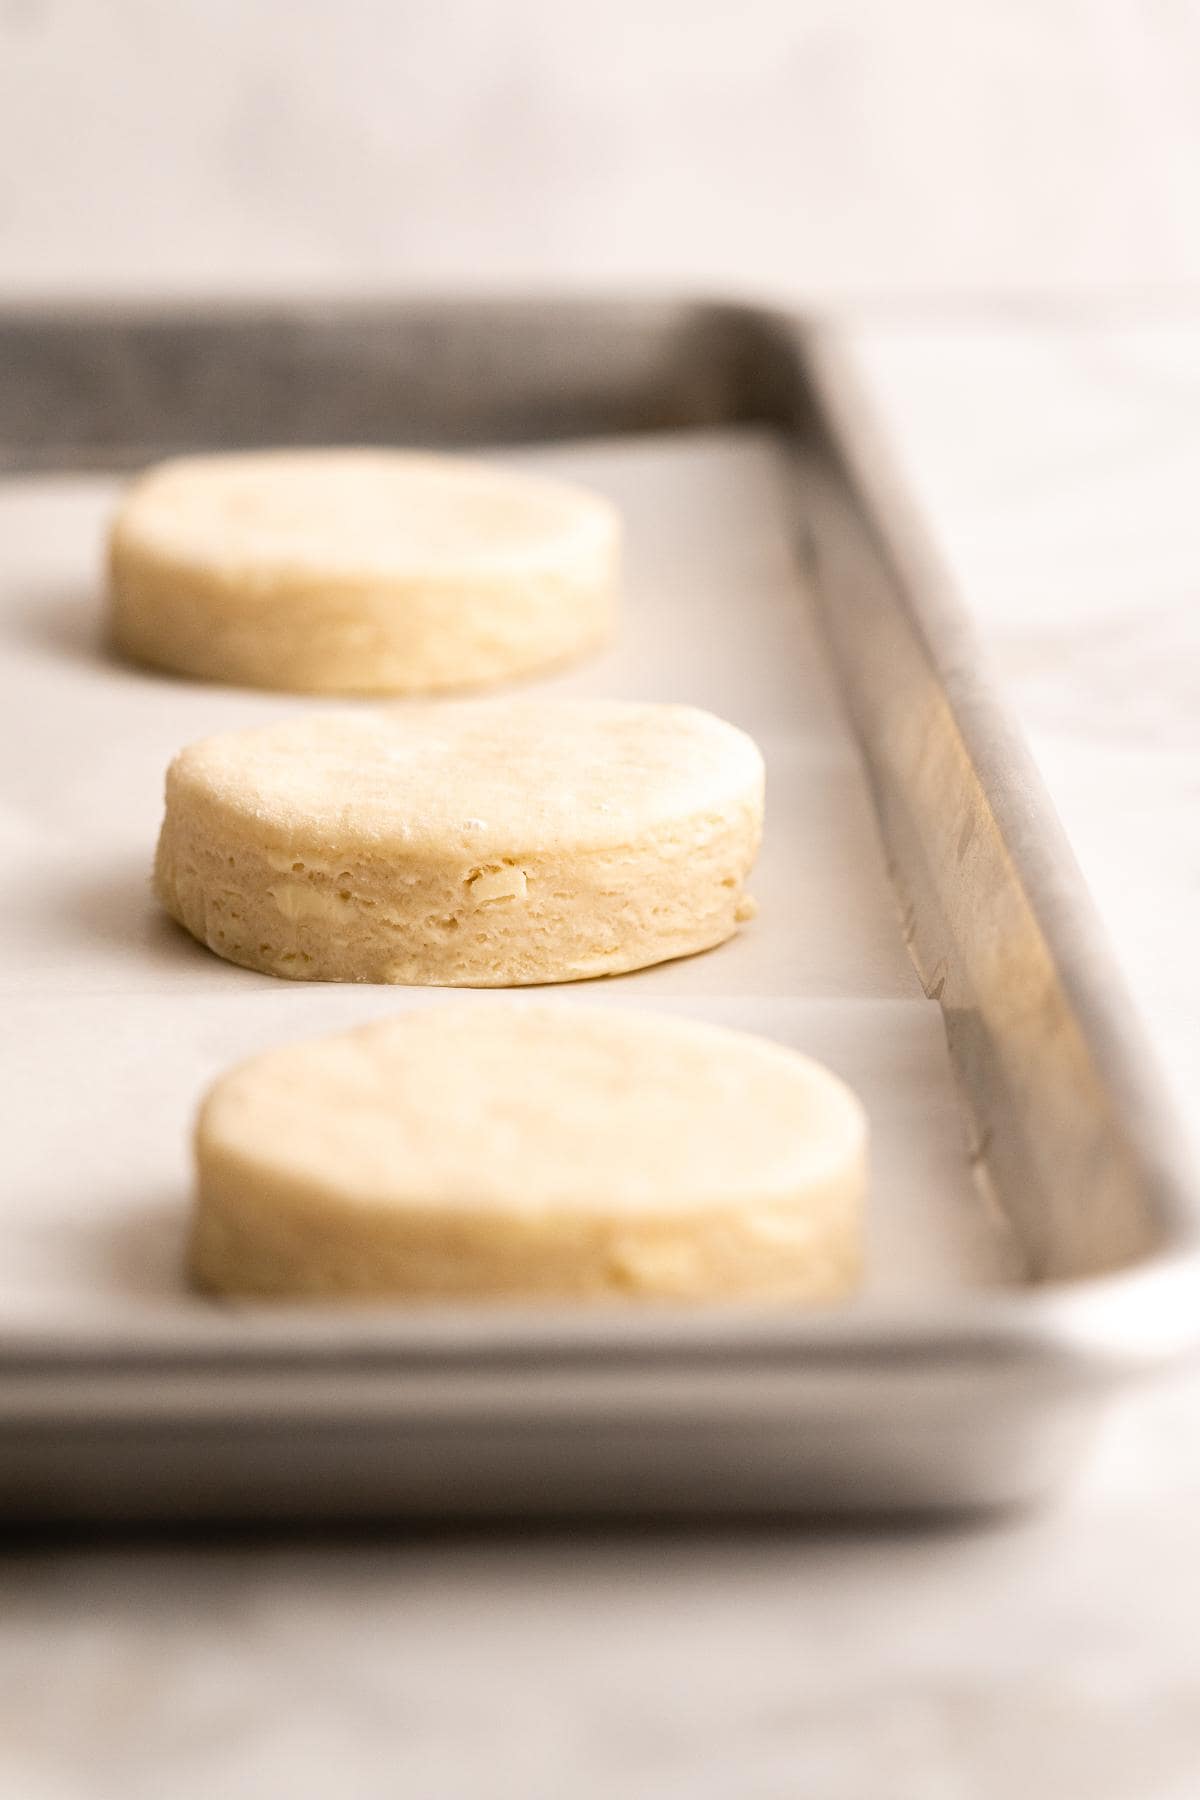
Step 3: Cut rounds from the dough with a biscuit cutter, pressing straight down without twisting and spacing them apart on a prepared baking sheet. Gather the scraps, knead lightly, cut more rounds, and place them on the sheet with space between each. Chill the tray briefly before baking.
Step 4: Brush the tops of the chilled biscuits with beaten egg, working quickly so they stay cold, and sprinkle with sugar if you’d like. Bake until puffed and golden brown, then serve warm. Enjoy your flaky biscuits!
Flaky Biscuits (Accordion Biscuits) Recipe
Want to Save This Recipe, Boo?
Ingredients
- 4 cups all purpose flour plus extra for shaping
- 2 tbsp baking powder
- 1/4 cup granulated sugar
- 2 tsp kosher salt
- 1 cup unsalted butter COLD, cut into 1/2 inch pieces
- 2 large eggs
- 1 1/2 cups heavy cream
- 1/2 cup full fat softened cream cheese or full fat Greek yogurt
- Demerara or granulated sugar for sprinkling on top optional
Instructions
- Preheat the oven to 400 F and place a rack in the middle of the oven. Line 2 baking sheets with parchment aper and set aside.
- Whisk the flour, baking powder, granulated sugar, and salt together in a large bowl.
- Add the butter to the flour mixture and toss to coat each piece with the flour mixture (this will prevent the butter from clumping together). Use your fingertips to smash each piece of butter fat. If any flattened bits are larger than a quarter, break them up, continuing to coat each butter piece with the flour mixture.
- Set the bowl in the freezer for 5 minutes. Whisk one of the eggs in a medium bowl. Add the cream and cream cheese and whisk to combine.
- Remove the flour mixture from the freezer and pour the egg mixture over it. Use a large silicone spatula to fold the mixture until the dry ingredients are just moistened. Tip the shaggy dough out of the bowl and onto a floured surface (it is okay if there are some dry bits of flour that aren't yet incorporated.)
- Using floured hands, pat the mixture into an 8 by 6 inch rectangle. Cut the block in half crosswise, and stack one half on top of the other half. Then, repeat the procedure, patting, cutting, and stacking two more times. Pat the dough down one last time until it's 1 inch thick. Using a 2 1/2 inch round cutter, press straight down into the dough without twisting. Repeat, leaving enough space between each round of dough so that the edges don't pinch together. Transfer the rounds to the prepared baking sheets, leaving 2 inches of space between each round of dough. Lightly knead the scraps and repeat to stamp out the remaining biscuits. Place the baking sheets with the biscuits in the freezer for 10 minutes.
- Meanwhile, whisk the remaining egg in a small bowl. Remove the biscuits form the freezer and brush the tops with the beaten egg. You want the biscuits to be as cold as possible when going into the oven so work quickly. Sprinkle with sugar if using.
- Transfer a baking sheet to the oven and bake until the biscuits have puffed up and are browned on to, 20 to 24 minutes. Remove the biscuits from the oven and repeat with the second baking sheet (or bake both at once if your oven rack allows). Place the baking sheets on a rack to cool slightly before serving.
Notes
- Room Temp: Keep biscuits on the counter for up to 3 days. Cover them with foil or plastic wrap, then slide into a zip-top bag so they don’t dry out.
- Fridge: You can store them for up to a week. Just make sure they’re sealed up tight!
- Freezer: Baked biscuits will keep for about 2 months in the freezer. To freeze the dough, cut out the biscuits and place them on a baking sheet lined with parchment. Freeze until solid, then transfer to a zip-top bag. Then, thaw in the fridge and bake.
- Reheating: Warm biscuits in the oven or toaster oven at 350°F for 4-6 minutes. Hit em with a little butter after reheating for extra goodness!
Nutrition
Recipe Tips
- Use COLD ingredients y’all. Cold butter and heavy cream are the secret to those flaky layers, so keep the cream in the fridge until the moment you need it and freeze the butter before cutting it in.
- Don’t overwork the dough. You want your butter to stay cold, so skip the electric mixer and keep your hands off the dough as much as you can.
- Forget the rolling pin! Just use your hands to gently pat the dough into a rectangle before cutting.
- Flour is your friend. If the dough feels too sticky, sprinkle a little more on top and keep that surface lightly floured. It makes shaping these easy homemade biscuits a whole lot smoother.
- Use a sharp cutter. Dip it in flour between cuts and press straight down. DON’T TWIST IT! Twisting seals the edges and keeps your biscuits from rising tall.
Want to Save This Recipe, Boo?
Serving Suggestions
- Chicken: Pair these flaky biscuits with fried chicken, smothered chicken, or chicken-fried steak for a Southern meal that hits right!
- Breakfast: Use them to make a biscuits and gravy casserole, boos! Or serve them with strawberry preserves, sawmill gravy, apple butter, or white gravy.
- Mains: Layered biscuits go perfectly with pork chops, pot roast, or a big pan of meatloaf.
- Gravies: Brown gravy, turkey gravy, giblet gravy, or chicken gravy all work for dipping or drizzling.
Recipe Help
Yes! You can make the biscuits through step 6 and freeze them. When ready to bake, continue with step 7 and bake them straight from the freezer for 25 to 28 minutes.
 pinterest
Every recipe of yours I have made has been amazing! I’ve got a Granny biscuit hack: use an egg cutter to slice very cold butter, cut a piece of butter about the size of an egg then push it thru the egg cutter in 3 directions and you will have tiny even pieces in a jiffy. Thank you for this recipe
This is a perfect recipe! My biscuits actually looked like this. I couldn’t believe that I made them! Dee-li-cious! Thank you for sharing the recipe.
Well, we freeze our butter for biscuits, but I never thought about briefly freezing the biscuits before baking. That’s just genius!
I love making these biscuits for our family favorite biscuits and gravy. So yummy!
Wow! These are the flakiest homemade biscuits I’ve ever seen. I need to make these ASAP!
These are amazing! So light and flaky, and I made them from scratch thanks to your fail-proof recipe!
Ohhh the flakes! Perfect buttery biscuits!
They look so amazingly tall and flaky! I definitely have to try this stacking technique!