
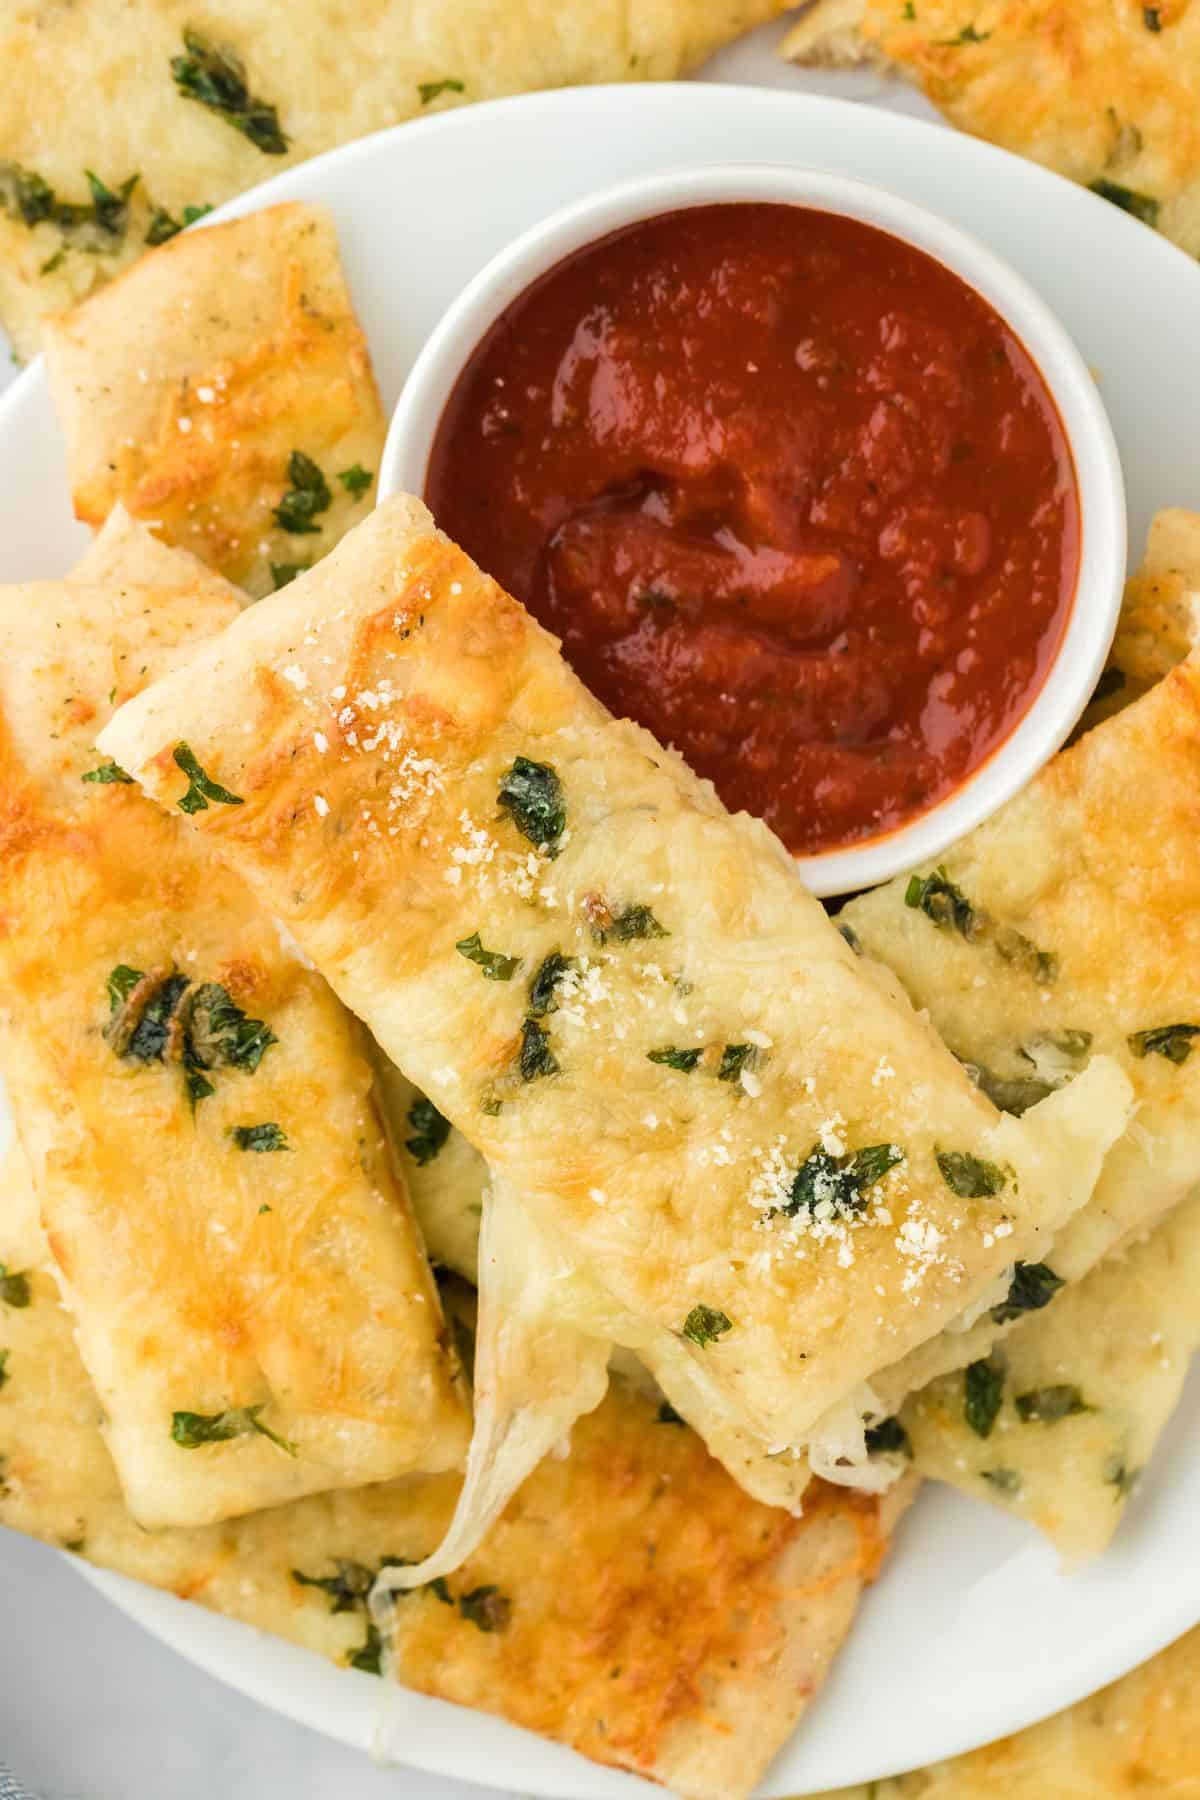
My cheesy garlic breadsticks recipe is where it’s at! I was inspired by Pizza Hut’s back in the day. I make mine with my easy pizza dough recipe that’s got that nice chew but crispy outside. Then I bake it up with cheese and bomb garlic flavor. Serve along with some marinara sauce and get your whole life boos.
This post may contain affiliate links. Read our disclosure policy.
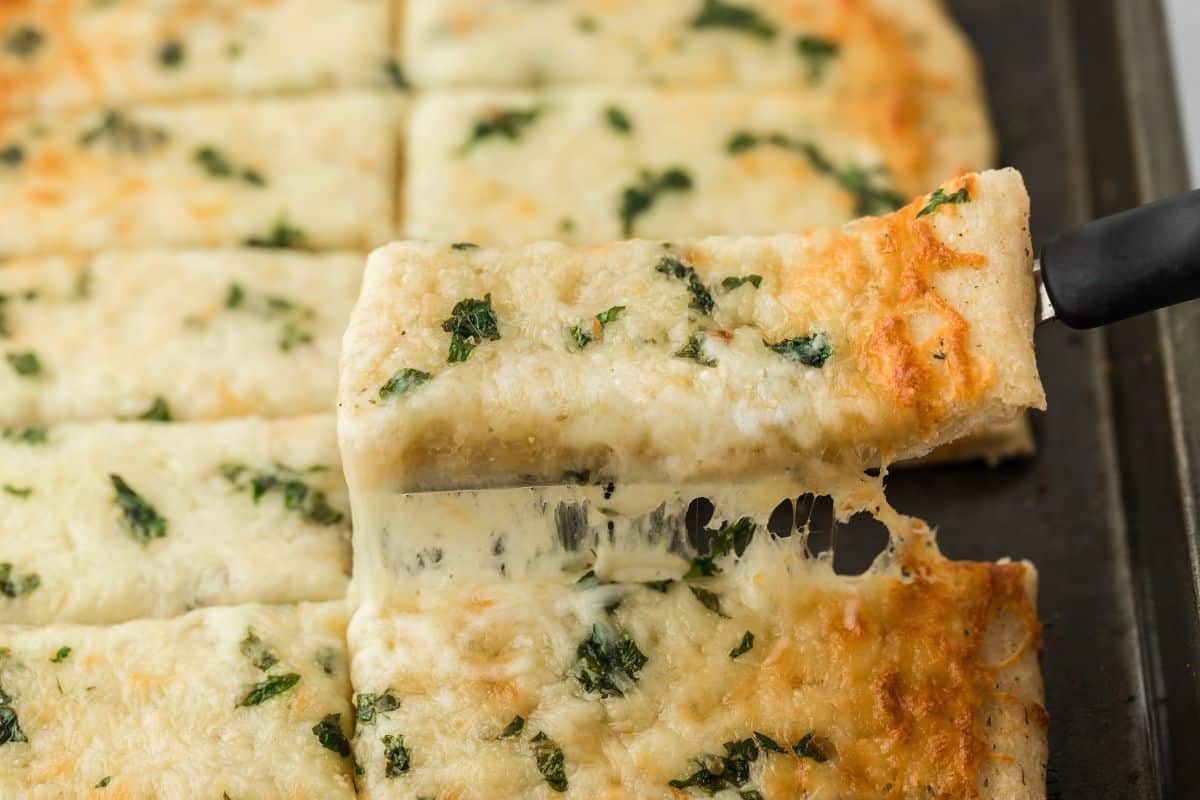
How to Make Cheesy Garlic Breadsticks
Step 1: Making the Dough
- Combine the flour, garlic salt, sugar, and yeast in a medium bowl and whisk together to disperse the ingredients evenly.
- Slowly add the water to the flour mixture.
- Mix together until a soft dough is created.
- Knead the dough with your hands for one minute and form a ball.
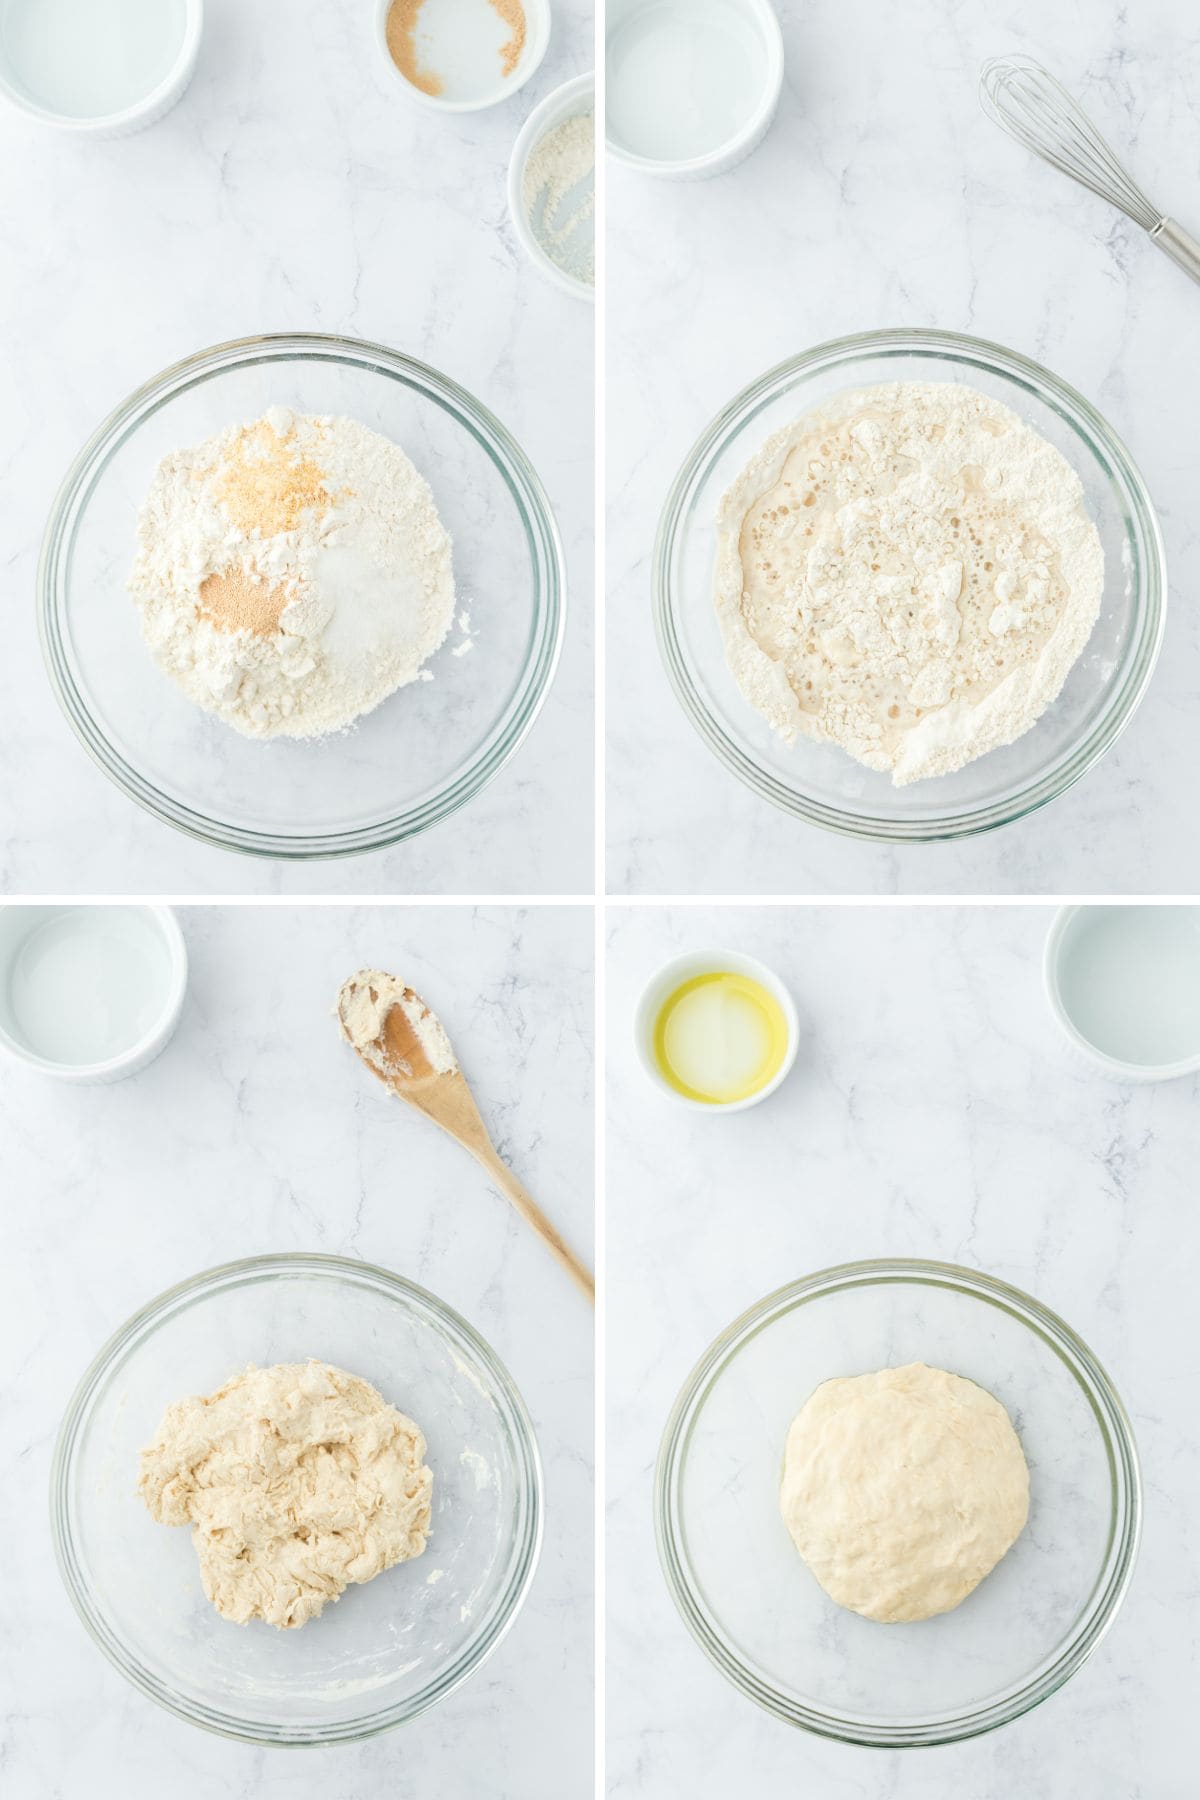
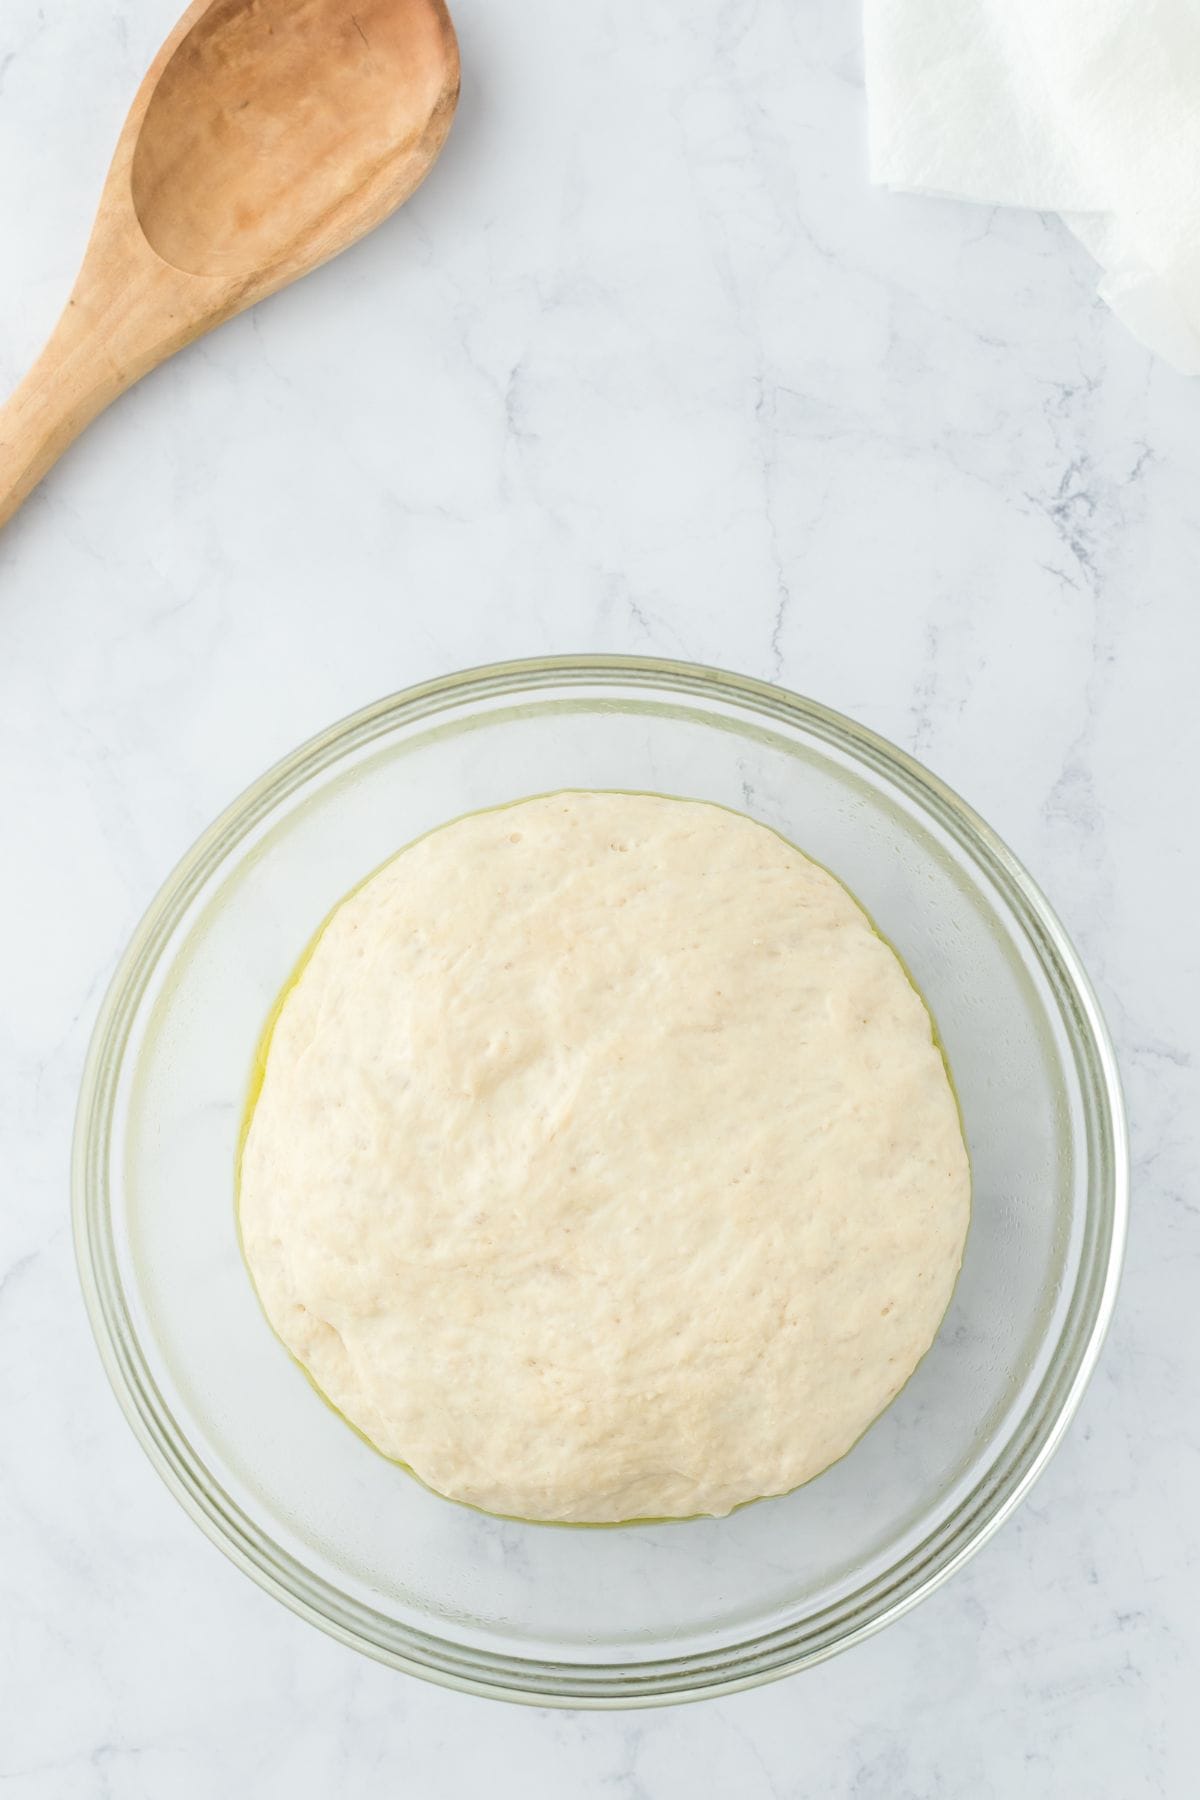
- Place the dough in a bowl coated with olive oil. Cover with a paper towel and let it sit for an hour or until the dough has doubled.
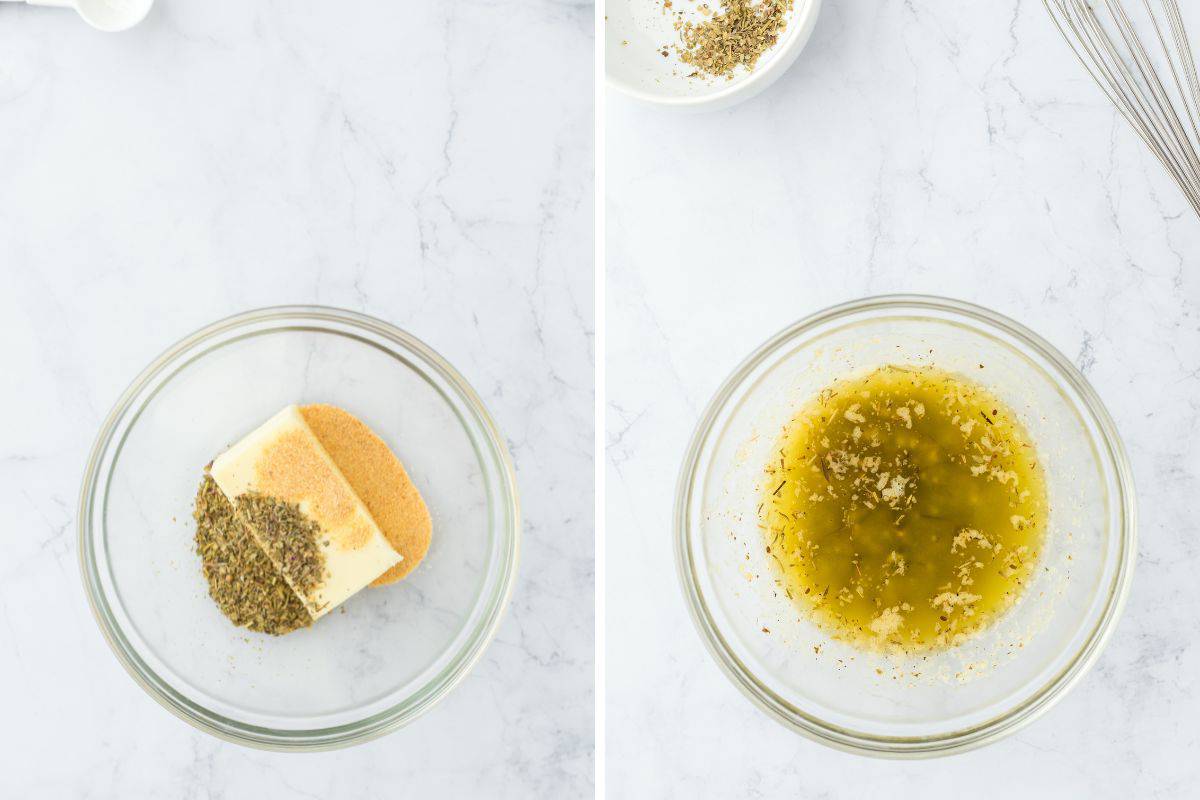
Step 2: Making the Butter Topping
- Add the butter, garlic powder, and Italian seasoning to a small bowl.
- Microwave until it’s melted and whisk the mixture together.
Want to Save This Recipe, Boo?
Step 3: Assembling the Garlic Cheese Bread
- Roll out the dough on your pizza stone or baking sheet.
- Brush the garlic butter over the top of the dough. Sprinkle the shredded cheese, the parmesan cheese, and finally the parsley.
- Bake the bread in the oven for 15-17 minutes or until the dough has browned and the cheese is melted and golden. Cut the bread into sticks and serve with warm pizza sauce if desired.

Cheese Breadsticks Recipe
Want to Save This Recipe, Boo?
Ingredients
- 2 cups all-purpose flour
- 1 ½ teaspoon garlic salt
- 1 teaspoon granulated sugar
- 1 ½ teaspoon dry active yeast
- ¾-1 cup lukewarm water
- 1 tablespoon olive oil
- 4 tablespoons salted butter
- 1 teaspoon garlic powder
- 1 teaspoon Italian seasoning
- 2 cups Italian shredded cheese blend
- ½- 1 tablespoon parmesan cheese
- parsley for garnish
- Optional: warm pizza sauce for serving
Instructions
- In a medium sized bowl, whisk together flour, garlic salt, sugar, yeast and slowly add in water.
- Mix together until dough is created.
- Using your hands knead for one minute and form a ball.
- Spread 1 tablespoon of olive oil in a separate bowl and transfer pizza dough to that bowl. Cover with a paper towel for 1 hour or until dough has doubled.
- Preheat oven to 425 degrees.
- Roll out dough on your pizza stone or baking sheet.
- Add butter, garlic powder and Italian seasoning to a small bowl and microwave until melted. Whisk together then brush on dough.
- Next sprinkle dough with shredded cheese then parmesan cheese. Lastly, sprinkle with parsley.
- Bake for 15-17 minutes or until dough has browned and cheese is melted and golden.
- Cut bread into sticks and serve with warm pizza sauce if desired.
Video
Notes
Let them cool down, then store them in an airtight container or wrapped tightly in foil, and pop them in the fridge. To reheat, add them in the oven at 350°F for about 5-10 minutes, or pop in the air fryer for best results. How long will they last in the fridge?
Within 2-3 days. Can I freeze?
Yep! Just package them up and freeze them for up to one month.
Nutrition
Recipe Tips
- Grate Your Own Cheese: You will get a smoother melt because the additives in the pre-shreds keeping from melting like we want.
- Use Fresh Yeast: If your yeast isn’t fresh, then your dough might not rise properly. Check the expiration date and store packets of yeast somewhere cool to help it stay fresh.
- Proofing the Dough: Let your dough rest for at least an hour to have the chewy yet crisp texture you will want. I suggest making it somewhere warm.
- Oiling the Bowl: Make sure to coat the entire inside of the dough so it won’t stick to the sides of the bowl as it rises.
- Plan Properly: You will need to stretch out your dough and then move forward to cook it as soon as it’s ready to avoid over-proofing the dough. If you do need a bit more time before cooking it, shape it to your pan and then cover and refrigerate for 3-4 hours before baking.
Recipe Help
Ideally, you want the temperature to be 75°-80° for it to rise in an hour. If it’s cold in the kitchen you should place it in a warmer place such as a sunny window or by an oven on warm or that’s recently been used. Your dough will likely still rise even in a cold kitchen but it may take so much longer.
Yep, you can! Sometimes I double up the dough recipe and freeze one for later. Simply stretch out the dough on a sprayed pan or line it with parchment. Freeze it for an hour. After it’s frozen, wrap it up in plastic and foil or store it in a freezer-safe bag and store for up to one month.
If your dough isn’t rising, it could be the temperature in your kitchen. Turn your oven on warm and place the bowl on top of the stove. Let it sit a bit longer to see if that helps. In most cases, you will likely just need to extend the proofing time and let it sit for longer. If your dough still doesn’t rise, the likely culprit was yeast that wasn’t in good condition. You can still go ahead and cook the dough but it will likely not be as light and fluffy as when it’s proofed right. Sometimes baking takes a bit of trial and error.
More Bread Recipes
- Garlic Cheese Stuffed Rolls
- Pizza Rolls
- Garlic Bread
- Roasted Garlic No-Knead Bread
- Cheddar Biscuits
- Hawaiian Sweet Dinner Rolls
*Did you make this recipe? Please give it a star rating and leave comments below!* Post a photo of how your version of the recipe came out on Instagram (using #grandbabycakes)!!
 pinterest
Just made these and my boyfriend flipped!!! Delicious doesn’t even describe!
Hooray I’m so glad you enjoyed it Abby!!
Is it really essential to use garlic sugar? Plus how can I substitute garlic powder with garlic cloves?
Hi Sandara, you can definitely use garlic powder for sure.
It’s fast and easy to make but is still the best homemad breadsticks I ever had.
Hi there! I made this recipe couple of days ago and it was great, but I think there’s something missing in the list of ingredients.
“Add butter, minced garlic and Italian seasoning…” – only there’s no minced garlic in the ingredients listed. I tried to go with one clove, but it seemed too little, probably could have gone with 2-3 cloves to get a good garlic flavour going.
Other than that it was very yummy and I will surely be making it again some time! Thanks 🙂
Thanks Svenja, I actually updated the recipe with garlic powder after that to make it easier for everyone. But I am soooo glad you enjoyed it!!!!! It is one of my fave recipes this year so far.
These look like they not only put Pizza Hut’s breadsticks to shame, but probably just about eveyone’s! I love that you made your own crust, and they look delightfully cheesy and garlicky… perfection!
Can’t wait to try these breadsticks – they look delicious!
I hope you enjoy them as much as I do!
Seriously I can’t even make cheesy bread. HOLY COW WOMAN!! Love this!
YES!!!!!
These look AMAZING! I love these photos and that garlic bread looks so cheesy and delicious. This explains why your garlic bread is #1 on your site (I bet this will follow right behind it).
Oh yeah, this one is already doing quite well. Thanks hon!
I don’t have to wonder why the garlic bread is the most popular though I think this is going to surpass it. You aren’t kidding when you say addictive! Just looking at it has me drooling. You guys make a good team – this is a winner!
Yep I happen to agree!
I can always go for a melty cheesy recipes like this! Amazing! And sooooo drool-worthy. I MUST try this soon!
Oh yeah!