
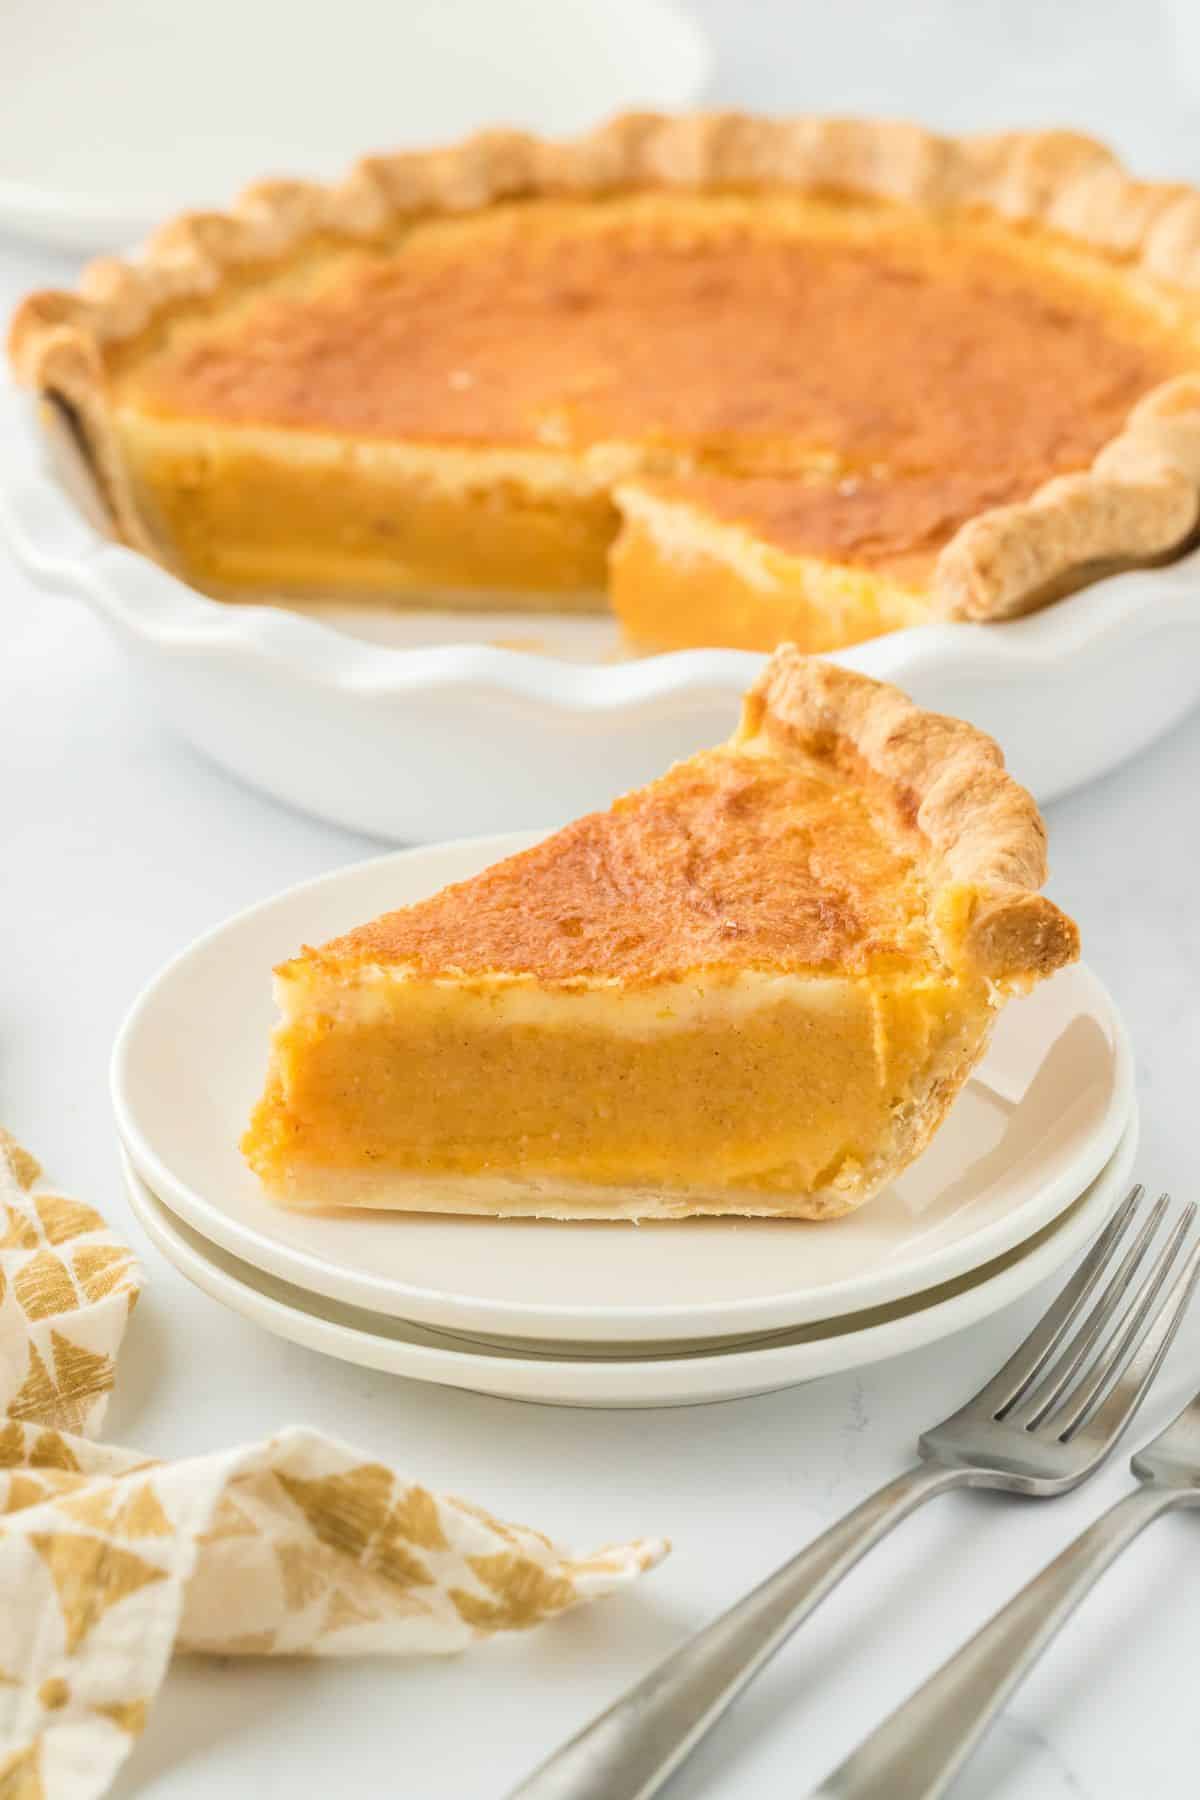
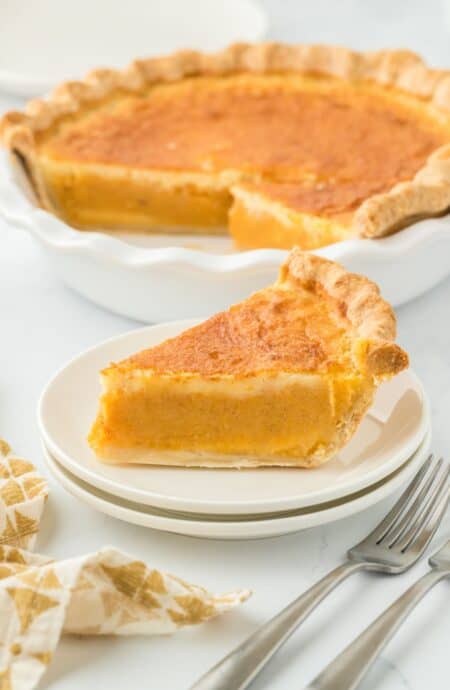
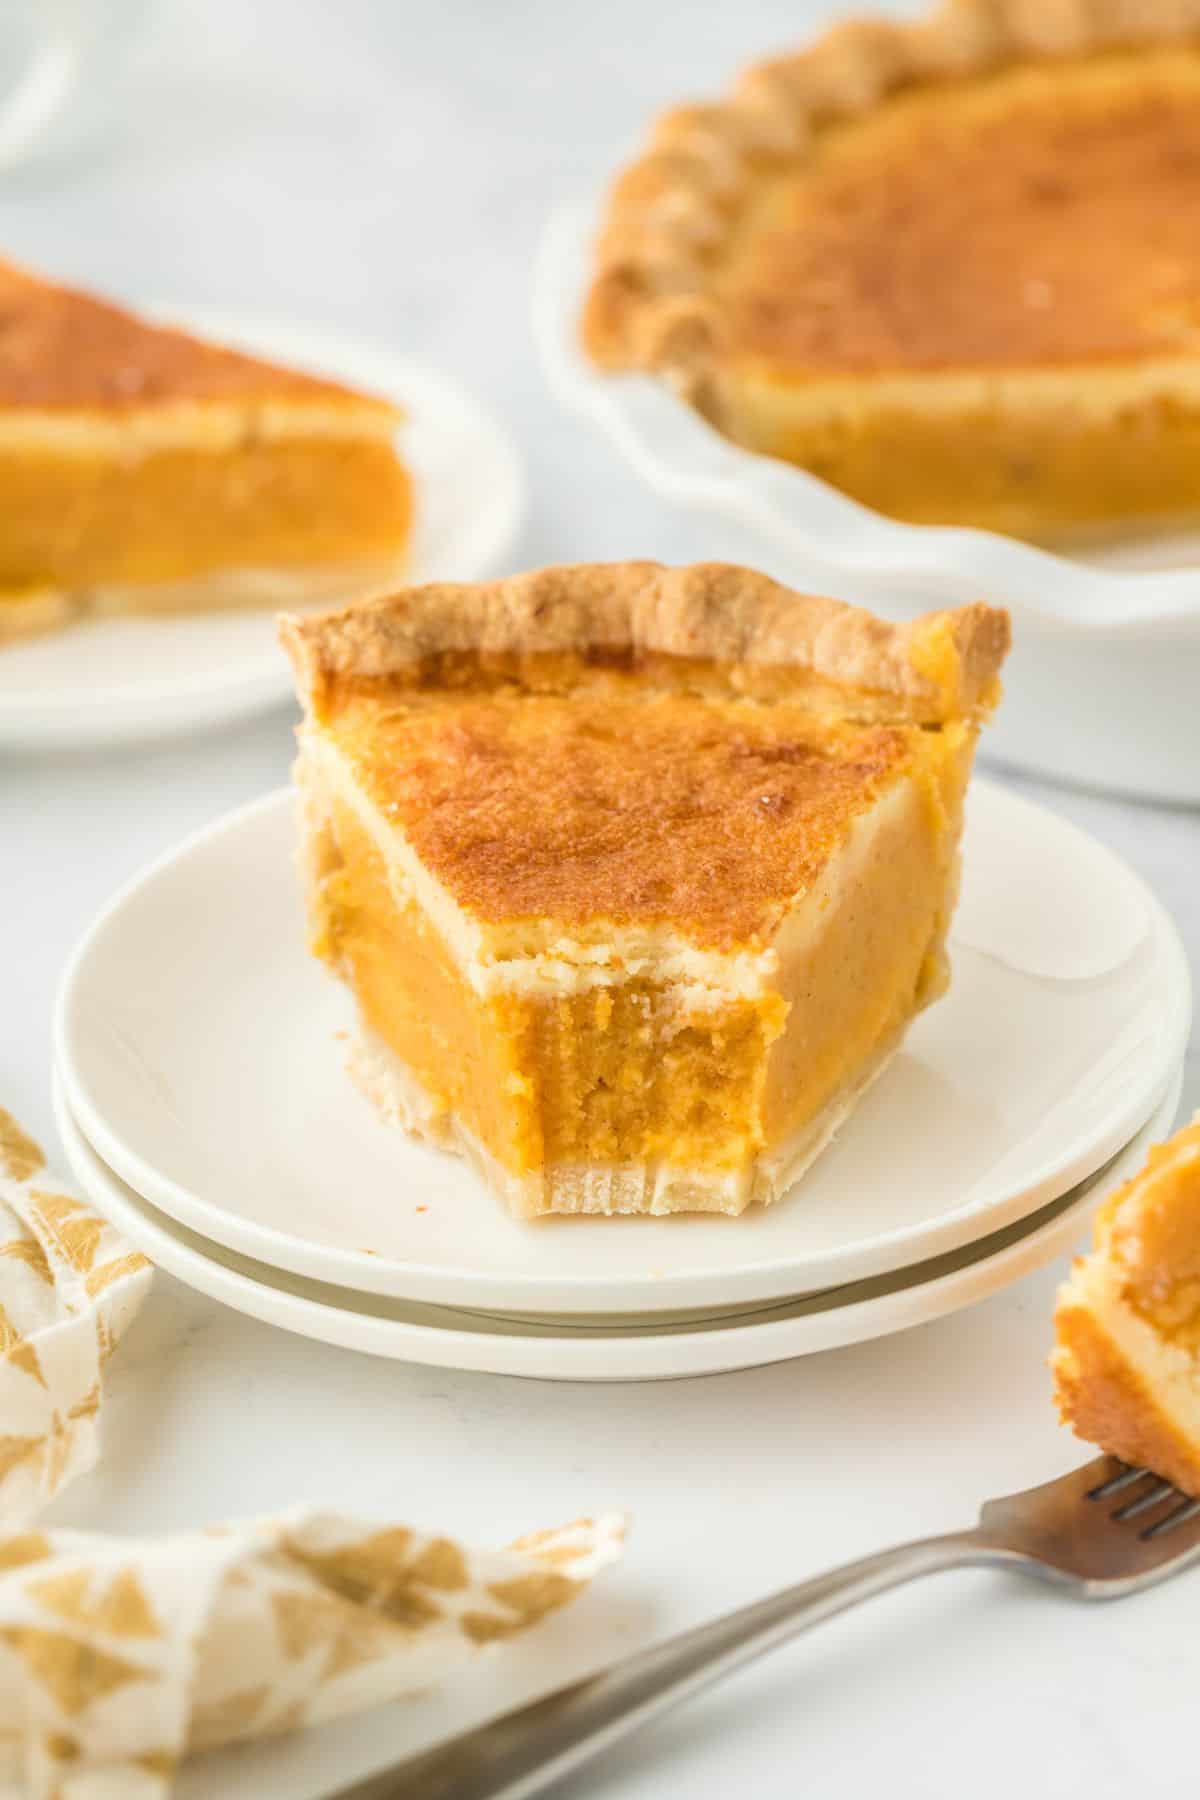
I know there are like a bazillion sweet potato pie recipes out there, but trust me, my Double Crusted Sweet Potato Pie is something special. It’s got my Big Mama’s Sweet Potato Pie filling in the center but it’s surrounded by a flaky crust on the bottom and a buttermilk pie custard on top that sets up like a top crust once baked. I’m giving y’all layers, flavor AND creativity with this one boos.
This post may contain affiliate links. Read our disclosure policy.
Double Crusted Sweet Potato Pie Ingredient Notes
- Sweet Potatoes: Grab fresh first and foremost but you can swap with canned sweet potato puree. Just make sure to drain well so it doesn’t throw off the texture.
- Eggs: Room temp so the custards set up.
- Evaporated Milk: Heavy cream or half-and-half works as a swap.
- All-Purpose Flour: Thickens up the filling just right.
- Nutmeg & Cinnamon: Pumpkin pie spice will also get the job done.
- Unsalted Butter: Keeps the custard smooth.
- Cornstarch: AP Flour also works.
- Buttermilk: As a substitute, mix a cup of whole milk with a tablespoon of white vinegar or lemon juice, let it sit for 5 minutes, and use it up.
- Pie Crust: My all-butter pie crust is the real deal, boos! But if you’re short on time, store-bought will work.
Video Tutorial
How to make Double Crusted Sweet Potato Pie
Prep the Crust

Step 1: Set the first disc of pie dough on a lightly floured countertop, then using a rolling pin, roll to a circle. Gently roll the circle onto your rolling pin and place over the pie plate and unroll. Press the pie dough into the plate. Use kitchen shears or a small sharp knife to trim the edges of the pie dough so they’re even. Pinch the edges of the dough together and flip up slightly to create a thick rim all around the pie. Finally, using your thumb and finger of one hand and thumb of the other, crimp the rim all around the pie.
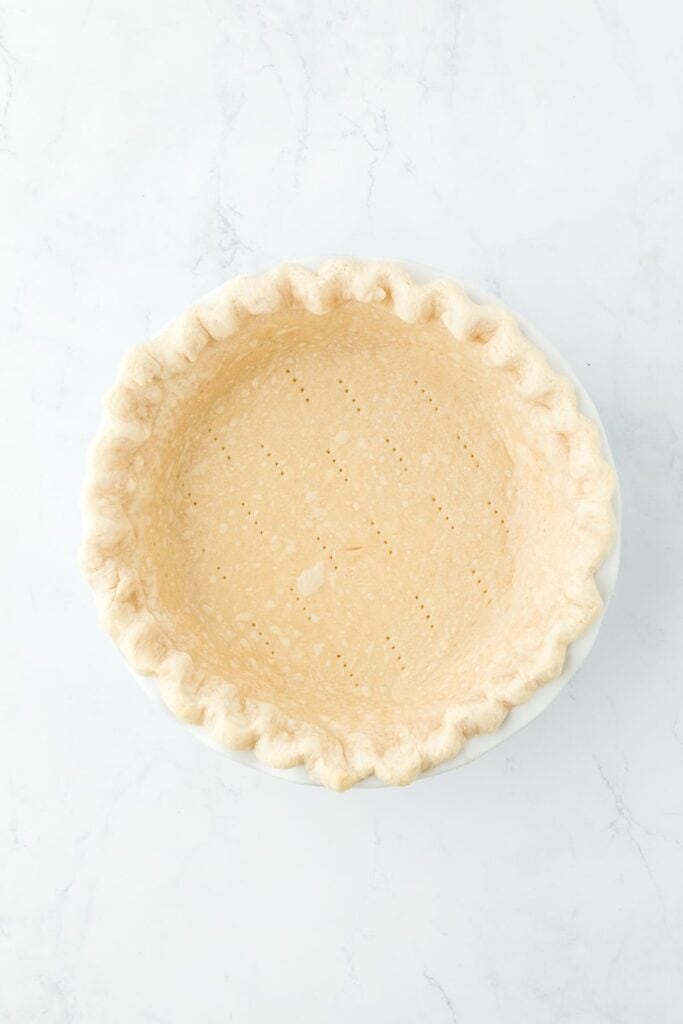
Step 2: Dock the dough by using a fork to poke holes on the bottom crust. Place the pie plate onto a baking sheet. Line the crust with parchment paper, then fill with pie weights. Par-bake until the crust looks a little dry, but not completely cooked through.
Make the Sweet Potato Filling

Step 3: Stick a fork all over each potato multiple times to allow steam to escape and rub oil on the surface of each potato. Place on the prepared pan and bake, flipping the potatoes halfway through. Remove potatoes from oven and let cool slightly on parchment paper until still warm but able to handle. Carefully remove the skin from potatoes.

Step 4: Place the potatoes in the bowl of a stand mixer, fitted with the whisk attachment. Turn the mixer on medium low for about 20 seconds then stop. Repeat these two or three times, each time rinsing the strings from the whisk.
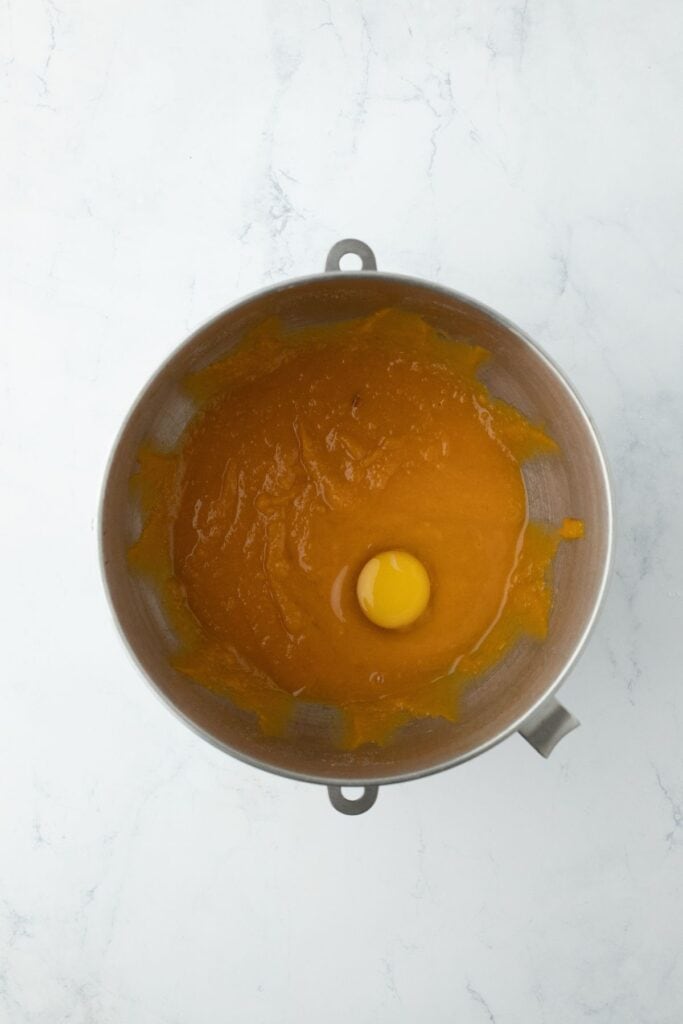
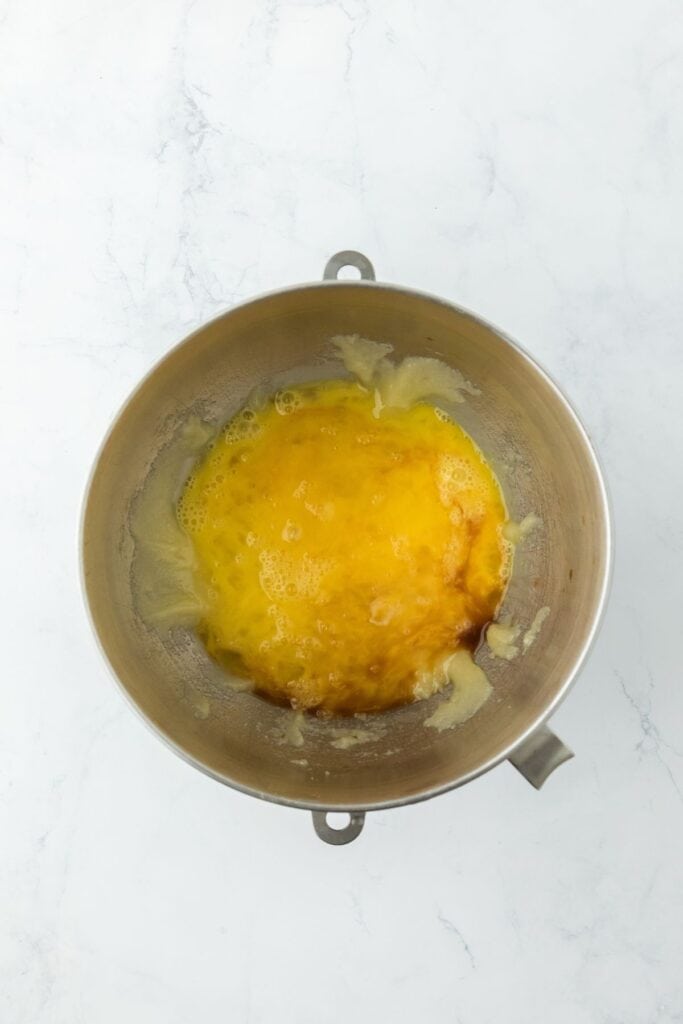
Step 5: Add butter to warm potatoes and mix on medium until butter has absorbed. Slowly add sugar on medium low and mix until incorporated. Scrape down the bottom and sides of bowl as needed. Add the eggs one at a time, waiting for each to incorporate into the batter.
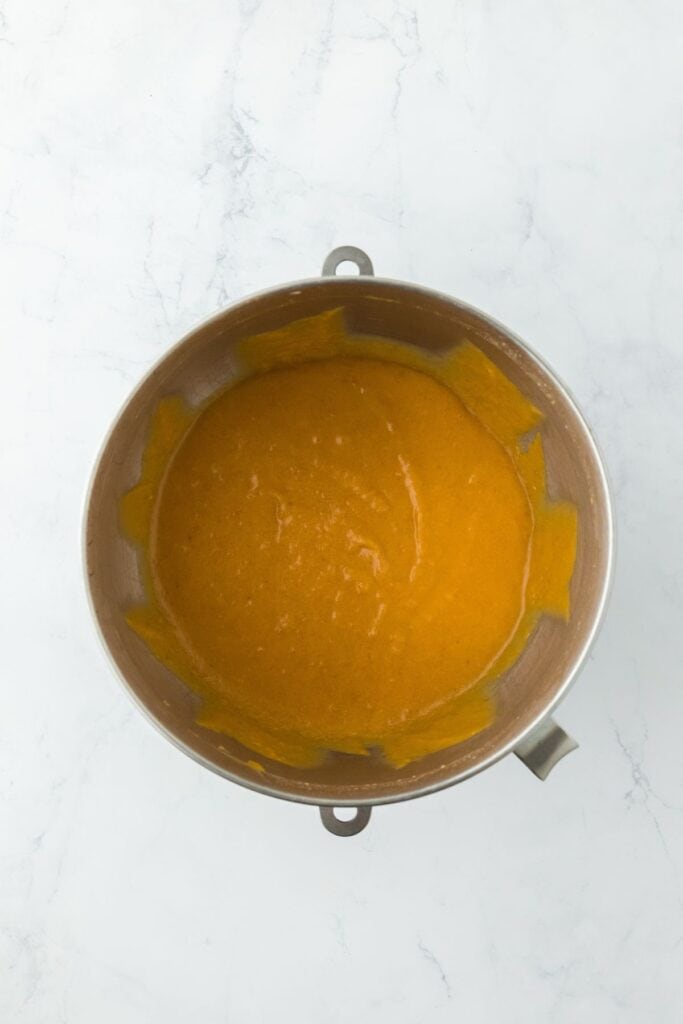
Step 6: Slowly pour in the vanilla and evaporated milk while the mixer is on low. Scrape the bottom of the bowl to ensure the batter is mixed evenly. Add the flour, salt, cinnamon, and nutmeg. Mix into the batter, and set aside.
Mix the Buttermilk Filling
Step 7: Add the butter and sugar to the bowl of the stand mixer and whisk together on medium. Add in the eggs and vanilla in 3 separate additions, scraping down after each addition and allowing to fully incorporate.
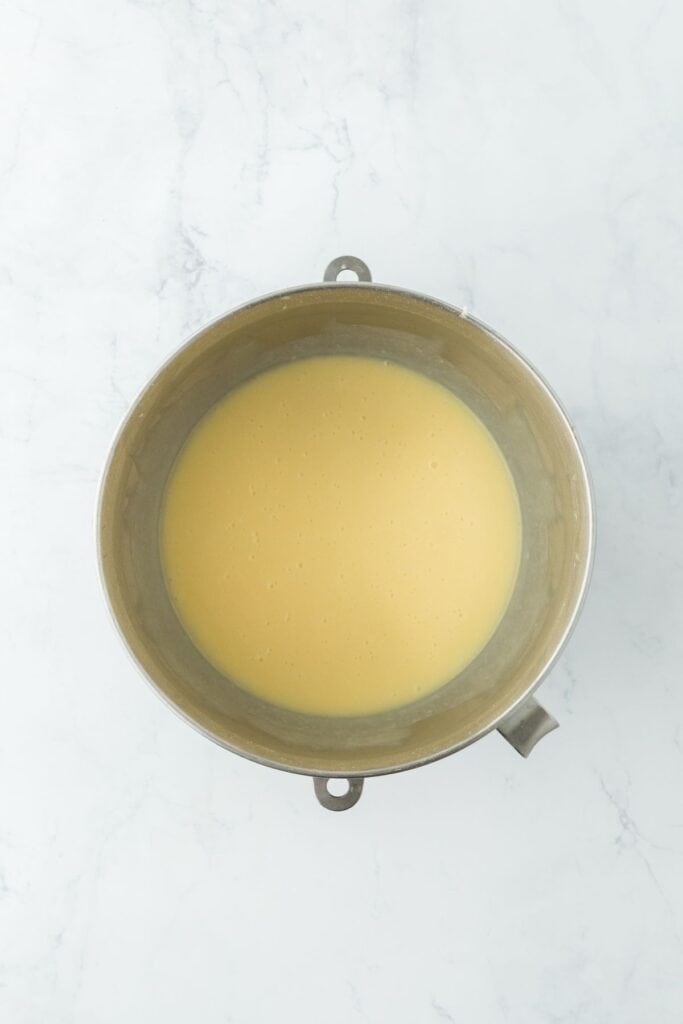
Step 8: Add flour, cornstarch, salt, and buttermilk. Mix well until combined.
Want to Save This Recipe, Boo?
Assemble and Bake

Step 9: Pour the sweet potato batter into the crust.

Step 10: Immediately pour the buttermilk batter on top of that until batter reaches the bottom of the edge of your crust.

Step 11: Return to the oven and continue baking until the center of the pie is slightly jiggly in the center and an inserted toothpick comes out moist, but clean, and the top is light golden brown.
Double Crusted Sweet Potato Pie Recipe
Want to Save This Recipe, Boo?
Equipment
- 9-inch DEEP Pie Dish
Ingredients
Sweet Potato Pie Filling
- 2 medium sweet potatoes 11 ounces each
- neutral oil like vegetable or canola
- ½ cup salted butter room temperature
- 1 ¼ cup granulated sugar
- 2 large eggs room temperature
- 2 teaspoons pure vanilla extract
- ½ cup evaporated milk
- 1 tablespoon all-purpose flour
- 1 teaspoon ground nutmeg
- ¼ teaspoon kosher salt
Buttermilk Pie Filling
- ½ cup unsalted butter melted
- 1 ½ cup granulated sugar
- 3 large eggs room temperature and beaten
- 1 tablespoon pure vanilla extract
- 2 tablespoons all-purpose flour
- 1 tablespoon cornstarch plus 1 teaspoon
- ¼ teaspoon kosher salt
- 1 cup buttermilk room temperature
- 1 Pie Crust
Instructions
- Preheat oven to 400F. Place rack in middle position. Prepare sheet pan by lining with parchment paper.
- Scrub, rinse, and dry sweet potatoes. Stick a fork all over each potato multiple times to allow steam to escape.
- Rub a little oil on the surface of each potato. Place on the prepared pan and bake for about 50 minutes, flipping the potatoes halfway through. Use a toothpick or skewer to check for doneness; the toothpick should slide easily into the potato with no resistance. If not done, bake for a few more minutes.
- Remove potatoes from oven and let cool slightly on parchment paper, about 20 minutes (until still warm but able to handle). Carefully remove the skin from potatoes. You should have 1 ¾ cup of mashed potatoes. (You can gently press on them with a fork or whisk and measure them into a measuring cup.)
- Meanwhile, set the first disc of pie dough on a lightly floured countertop, then using a rolling pin, roll to a 12-inch circle. Gently roll the circle onto your rolling pin and place over the DEEP pie plate and unroll. You will need a deep pie plate or you can use 2 regular sized since the pies make a lot of batter. Gently press the pie dough into the plate. There should be about a 1-inch overhang of dough. Dock the dough by using a fork to poke holes on the bottom crust. With the overhang, use kitchen shears or a small sharp knife to trim the edges of the pie dough so they’re even and only about a ½ inch overhang. Pinch the edges together and flip up slightly to create a thick rim all around the pie. Finally, using your thumb and finger of one hand and thumb of the other, crimp the rim all around the pie. Cover loosely in plastic wrap and place in refrigerator until needed.
- While warm, place the potatoes in the bowl of a stand mixer, fitted with the whisk attachment. Turn the mixer on medium low for about 20 seconds then stop. (Once you start to mix the baked potatoes, long little stringy pieces will attach to the whisk; you'll want to rinse the whisk to get rid of those). Repeat these two or three times, each time rinsing the strings from the whisk.
- Add butter to warm potatoes and mix on medium until butter has absorbed, about 1 minute. Slowly add sugar on medium low and mix until incorporated. Scrape down the bottom and sides of bowl as needed.
- If you see more strings at this step, remove them. Add the eggs one at a time, waiting for each to incorporate into the batter.
- While the mixer is on low, slowly add the vanilla and evaporated milk. Scrape the bottom of the bowl to ensure the batter is mixed evenly.
- Finally, add the flour, salt, and nutmeg and mix into the batter. Set aside.
- Reduce oven to 350F.
- Remove the pie crust from the refrigerator and place onto a baking sheet. Then line the crust with parchment paper, then fill with pie weights. Par-bake for 10 minutes, until the crust looks a little dry, but not completely cooked through.
- To make the buttermilk pie filling, add the butter and sugar to the bowl of the stand mixer and whisk together on medium for about 5-6 minutes.
- Add in the eggs and vanilla in 3 separate additions, scraping down after each addition and allowing to fully incorporate.
- Add flour, cornstarch, and salt, then buttermilk and mix well until well combined.
- Remove the crust from the oven and pour the sweet potato batter into the deep crust or halve into each crust if making two pies. Then immediately pour the buttermilk batter on top of that until batter reaches the bottom of the edge of your crust if using the deep crust or halve into each pie. Now remember that you don't want to overfill the pie. If you pie plate isn't deep enough, eye ball it to ensure you don't overfill it and save the rest of the batter. (Most of the buttermilk batter will sink into the sweet potato pie, but that’s okay.)
- Return to the oven and continue baking until the center of the pie is slightly jiggly in the center and an inserted toothpick comes out moist, but clean, and the top is light golden brown, about 1 hour 5-10 minutes.
- Remove the pie from the oven and cool to room temperature, about 1 hour 30 minutes. Then place in the refrigerator until chilled and set, about 4 hours.
- Remove from the refrigerator about 30 minutes before serving, slice, and enjoy!
Notes
-
- Don’t Skip the Strings: Sweet potatoes can be sneaky with those little stringy bits. Whipping them warm and rinsing the whisk a few times is key to getting that silky-smooth filling. Trust me, it’s worth the extra step!
-
- Room Temp is Everything: Make sure your butter, eggs, and buttermilk are at room temperature. This helps everything mix together and keeps the pie from cracking during baking.
-
- Crust Love: Par-baking the crust is non-negotiable! It keeps the bottom crust from getting soggy and gives you that perfect golden base to hold all that creamy goodness.
-
- Mind the Jiggle: When checking for doneness, the center should have a slight jiggle, like a set custard. Overbaking will dry it out, and ain’t nobody got time for dry pie.
-
- Chill Time is Real: Let the pie cool completely at room temp before chilling it in the fridge. That resting time is what sets the layers perfectly and makes slicing easy.
-
- Make It Shine: Brush the edges of your crust with a little egg wash for that bakery-style golden finish.
-
- Serve It Right: Let the pie sit at room temp for about 60 minutes before serving if you’ve been storing in the fridge. A cold pie is fine, but room temp pie? That’s where the flavors really come alive.
How to store Double Crusted Sweet Potato Pie
If you’re planning to enjoy the rest within a day, you can keep the pie covered on the countertop. Just make sure it’s in a cool place, and cover it with plastic wrap or a pie cover to keep it fresh.-
- Keep It Chilled: For longer storage, wrap the pie tightly with plastic wrap or aluminum foil and place it in the refrigerator.
-
- Shelf Life: The pie will stay fresh in the fridge for up to 4 days. The flavors might even deepen a bit, making it even more delicious!
How long will Double Crusted Sweet Potato Pie last in the fridge?
Up to 4 Days: You can store your pie in the refrigerator for up to four days. Just make sure it’s well-wrapped to prevent it from drying out or absorbing any fridge odors.Can I freeze buttermilk sweet potato pie?
Freezing Instructions:-
- Cool Completely: Let the pie cool down to room temperature. This prevents ice crystals from forming, which can mess with that perfect texture.
-
- Wrap It Up:
-
- Whole Pie: Wrap the entire pie tightly in plastic wrap, then a layer of aluminum foil for extra protection.
-
- Individual Slices: Alternatively, you can slice the pie and wrap each piece individually. This makes it easy to grab a single serving when the craving hits.
-
- Wrap It Up:
-
- Label and Date: Write the date on the foil or container so you know how long it’s been stored.
-
- Freeze: Place the pie or slices in the freezer. It will keep well for up to 3 months.
Nutrition
Recipe Tips
- Don’t Skip the Strings: Sweet potatoes can be sneaky with those little stringy bits. Whipping them warm and rinsing the whisk a few times is key to getting that silky-smooth filling. Trust me, it’s worth the extra step!
- Room Temp is Everything: Make sure your butter, eggs, and buttermilk are at room temperature. This helps everything mix together and keeps the pie from cracking during baking.
- Crust Love: Par-baking the crust is non-negotiable! It keeps the bottom crust from getting soggy and gives you that perfect golden base to hold all that creamy goodness.
- Mind the Jiggle: When checking for doneness, the center should have a slight jiggle, like a set custard. Overbaking will dry it out, and ain’t nobody got time for dry pie.
- Chill Time is Real: Let the pie cool completely at room temp before chilling it in the fridge. That resting time is what sets the layers perfectly and makes slicing easy.
- Make It Shine: Brush the edges of your crust with a little egg wash for that bakery-style golden finish.
- Serve It Right: Let the pie sit at room temp for about 60 minutes before serving if you’ve been storing in the fridge. A cold pie is fine, but room temp pie? That’s where the flavors really come alive.
Recipe Help
Alright, let’s get real—ain’t nobody got time for a runny pie. If your filling didn’t set, it probably needed more oven time. Bake it until the center’s got just a slight jiggle, like Beyoncé-level subtle, and let it cool completely before slicing.
If your pie’s looking a little like the Grand Canyon, it’s probably overbaked. Pull it out when the center is still doing a little shimmy-shake. And let it cool slowly—no rushing the process or placing it near a cold window, okay?
Look, it’s totally normal for the buttermilk layer to do a little sink-and-swirl with the sweet potato filling. That’s part of the charm. But if it’s blending too much, make sure your sweet potato filling is nice and thick before adding the buttermilk layer.
 pinterest
Hello, the cinnamon is missing from the ingredients. How much cinnamon? 1 teaspoon of nutmeg was too much for this pie. Other than that it was delicious.
Our nutmeg amount is a personal preference. You can add a 1/2 teaspoon of cinnamon if you would like.
Great recipe! I added ube powder to my pie dough and the buttermilk filling portion for some extra fun purple color!
OMG I love that idea! So fun.
Jocelyn, can I use Gramas recipe that makes 2 sweet potato pies, then just use the recipe for the buttermilk pie in one of the sweet potato pies so that I can have the best of both worlds??
This here was tried on thanksgiving 2024 and it’s coming back again as Christmas gifts for 2024. It buss then it’s gone buss now!!! Thank you for sharing this. It’s going to become a tradition in the Davis household ❤️
Wow thank you so so much!