
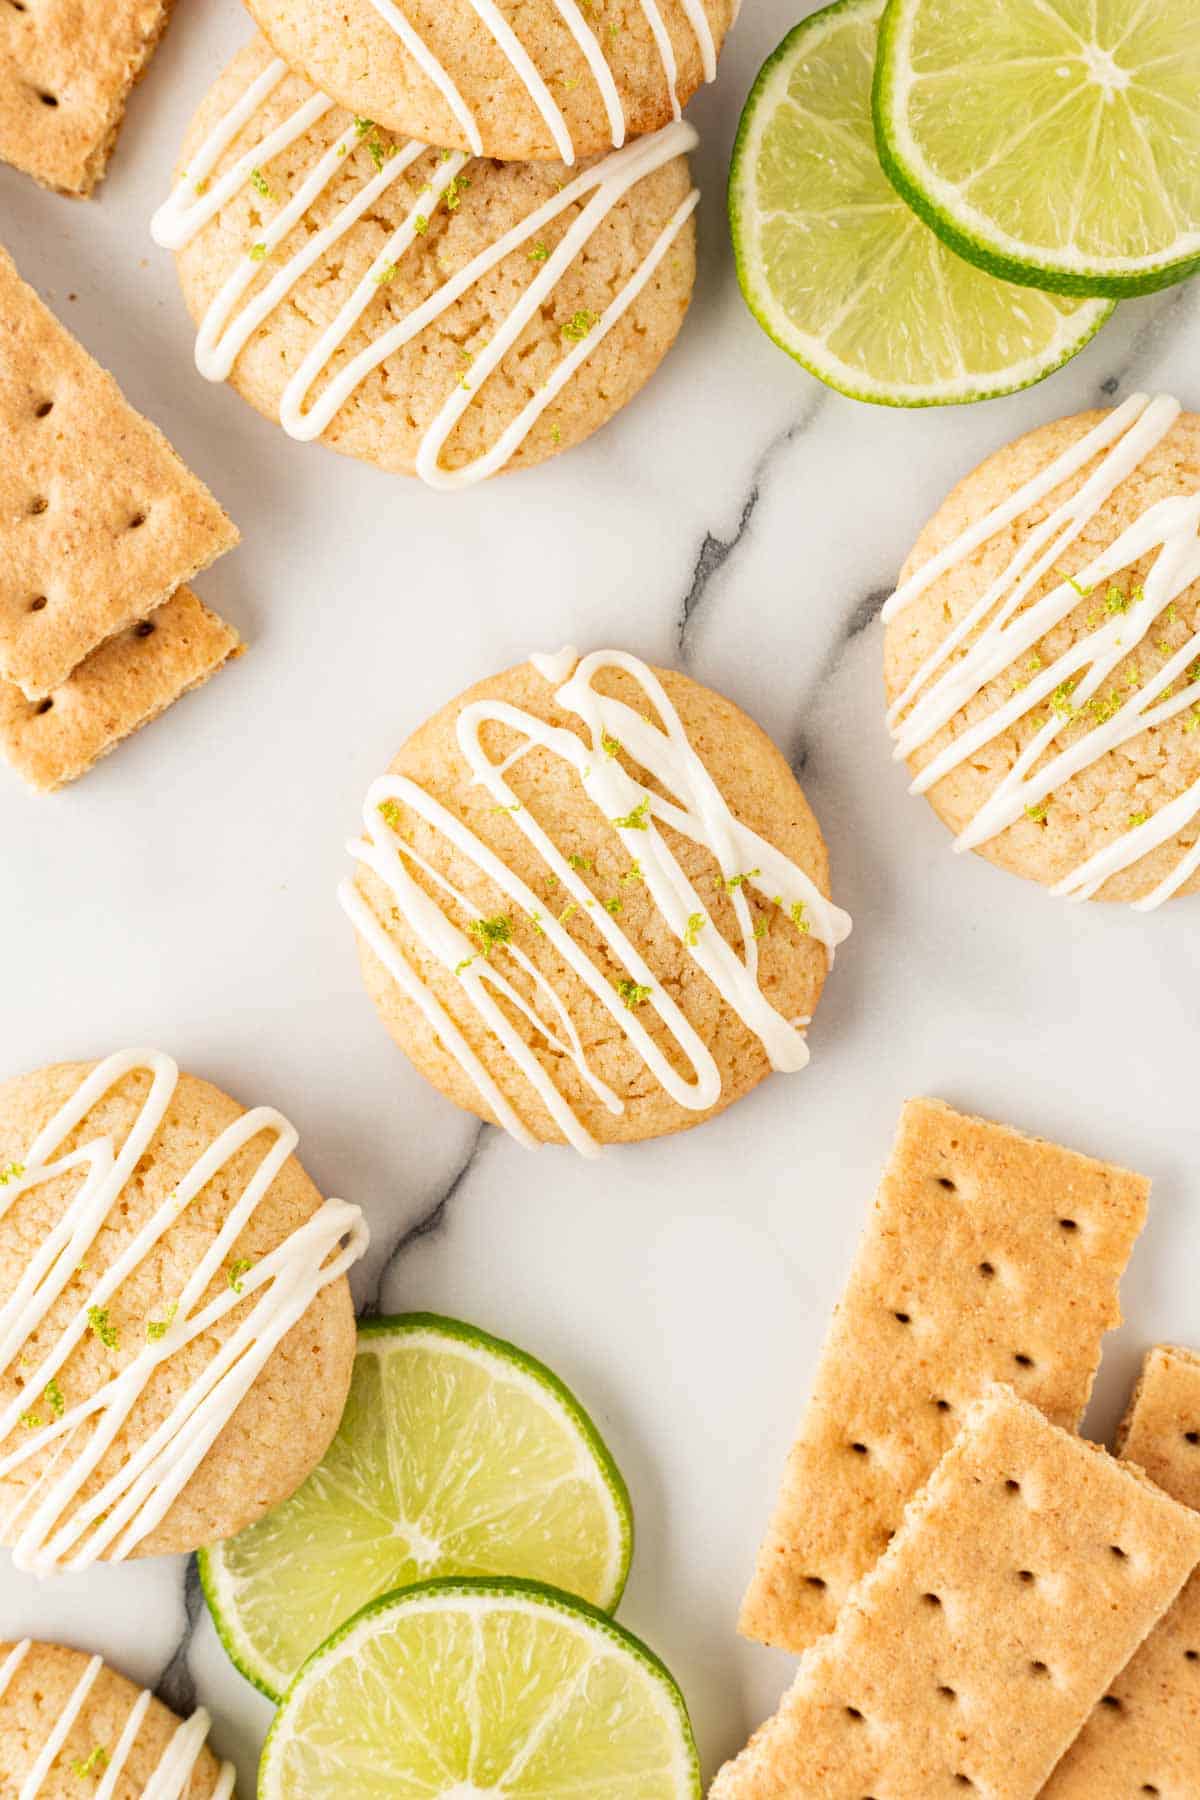
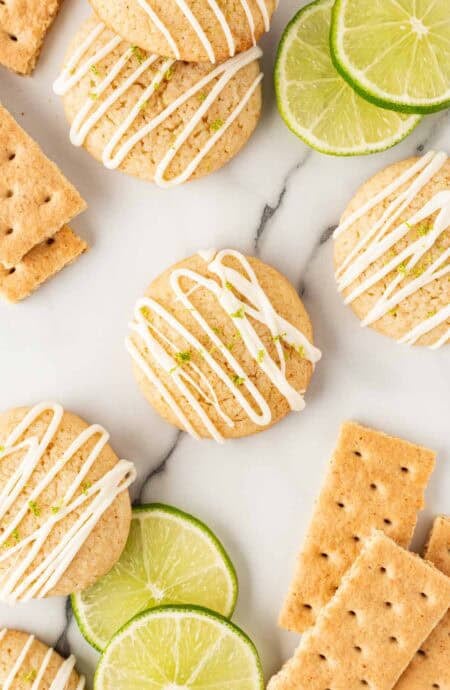
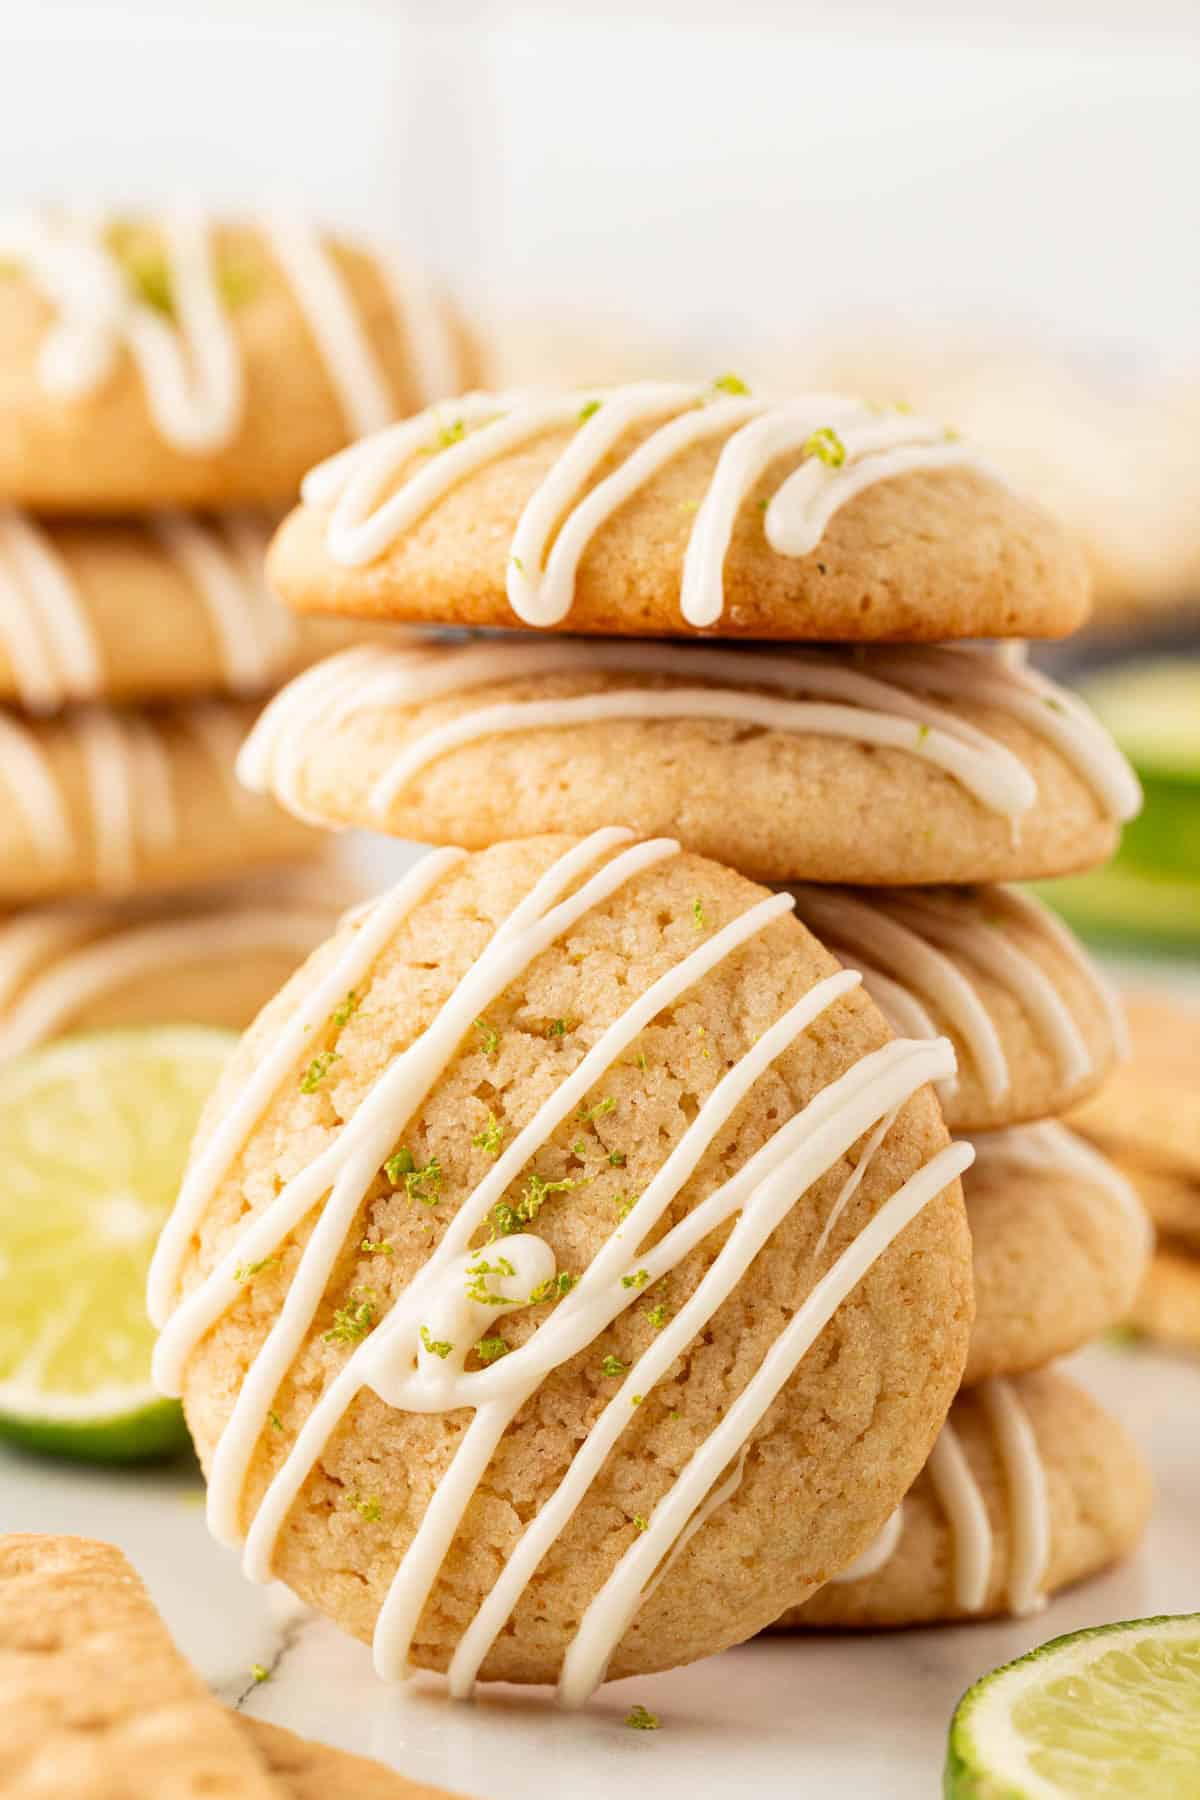
Key lime pie is an all time fave of my daddy’s but let me tell you, he loves these key lime pie cookies just as much. For starters, the texture is just beyond. They are super soft and chewy with a ton of key lime flavor and graham cracker crumbs mixed in the batter. Then the topping of white chocolate glaze with a sprinkle of zest is giving! Get at these boos. Adapted from the Cookies and Cups cookbook.
This post may contain affiliate links. Read our disclosure policy.
How to Make Key Lime Pie Cookies
These step-by-step photos show how to make easy key lime cookies, but be sure to check the recipe card below for the full ingredient list and detailed instructions. Skip to the → Key Lime Pie Cookies Recipe
1. Beat butter and sugar until fluffy
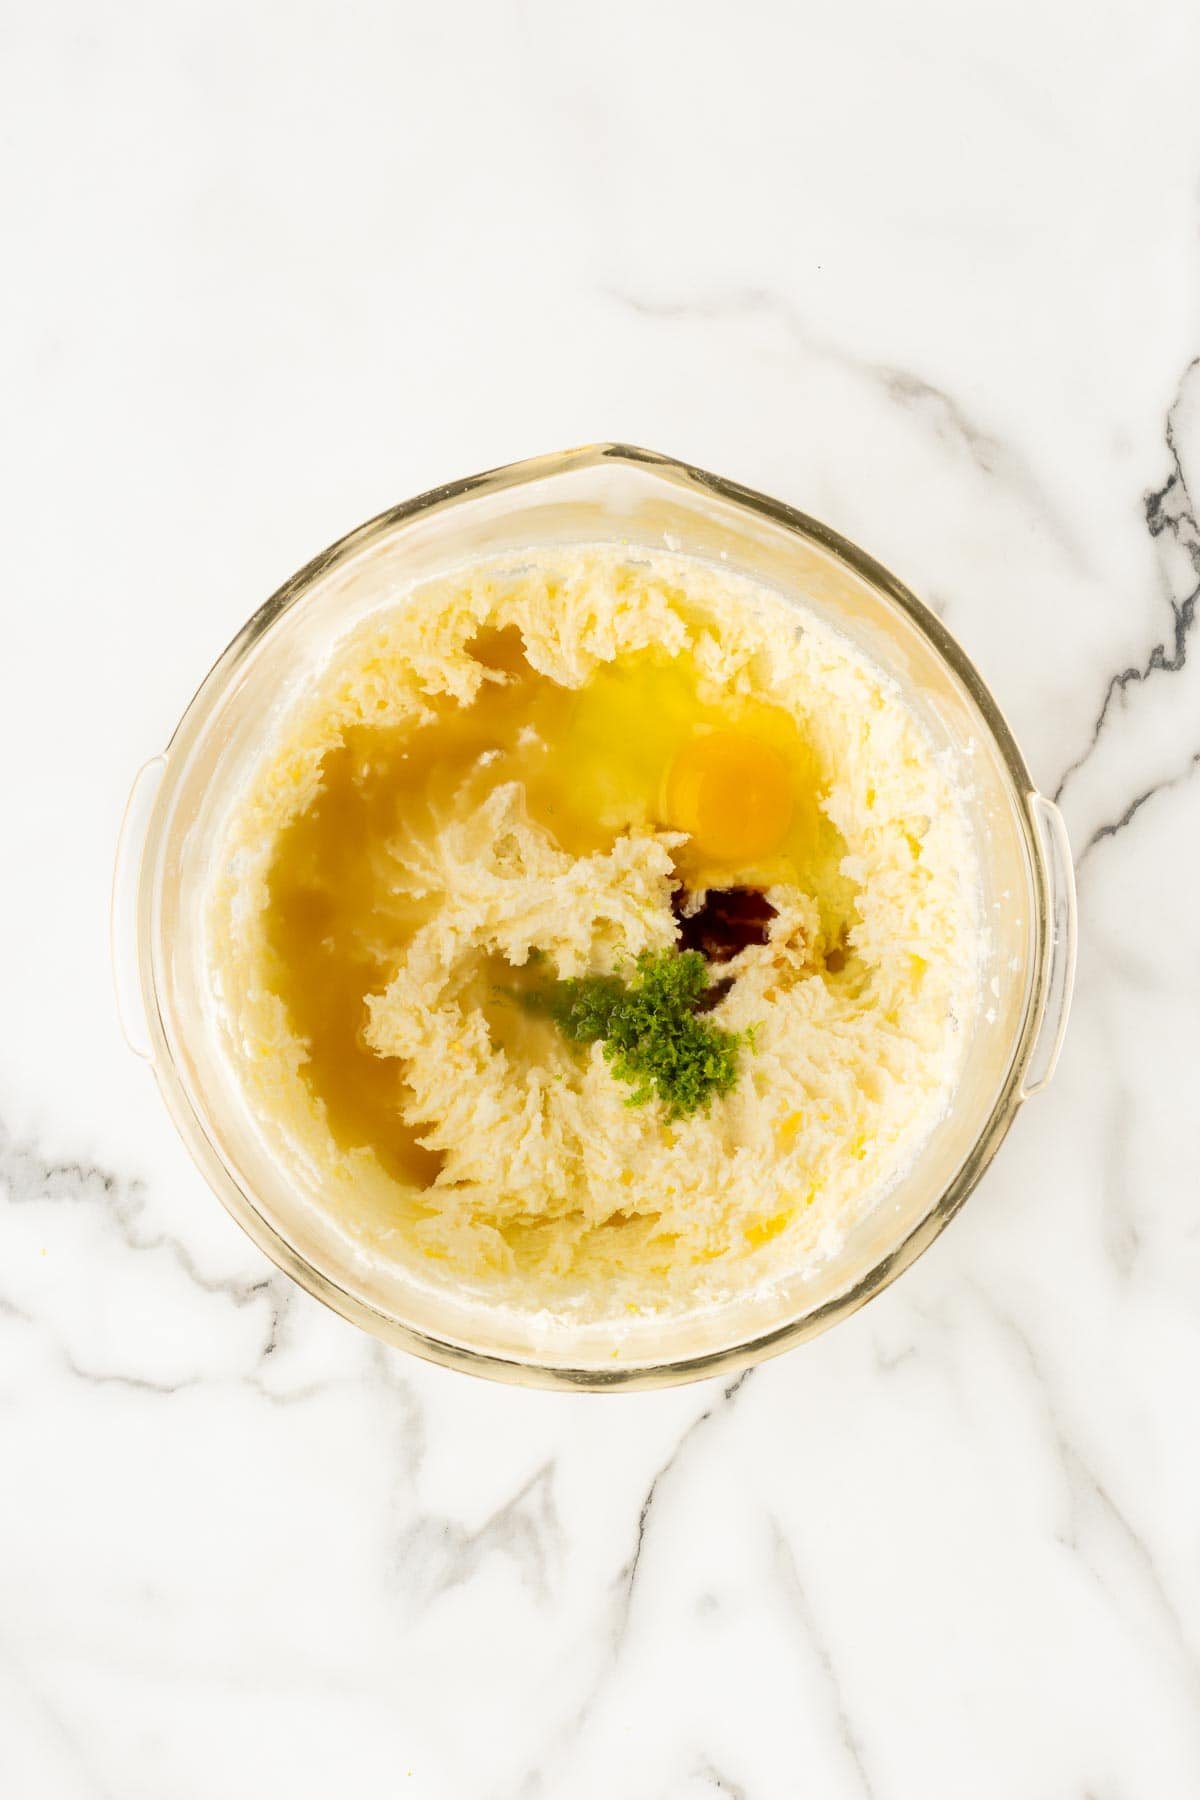
Then, mix in egg, vanilla, key lime juice, zest, salt, and baking soda until combined.
2. Add dry ingredients
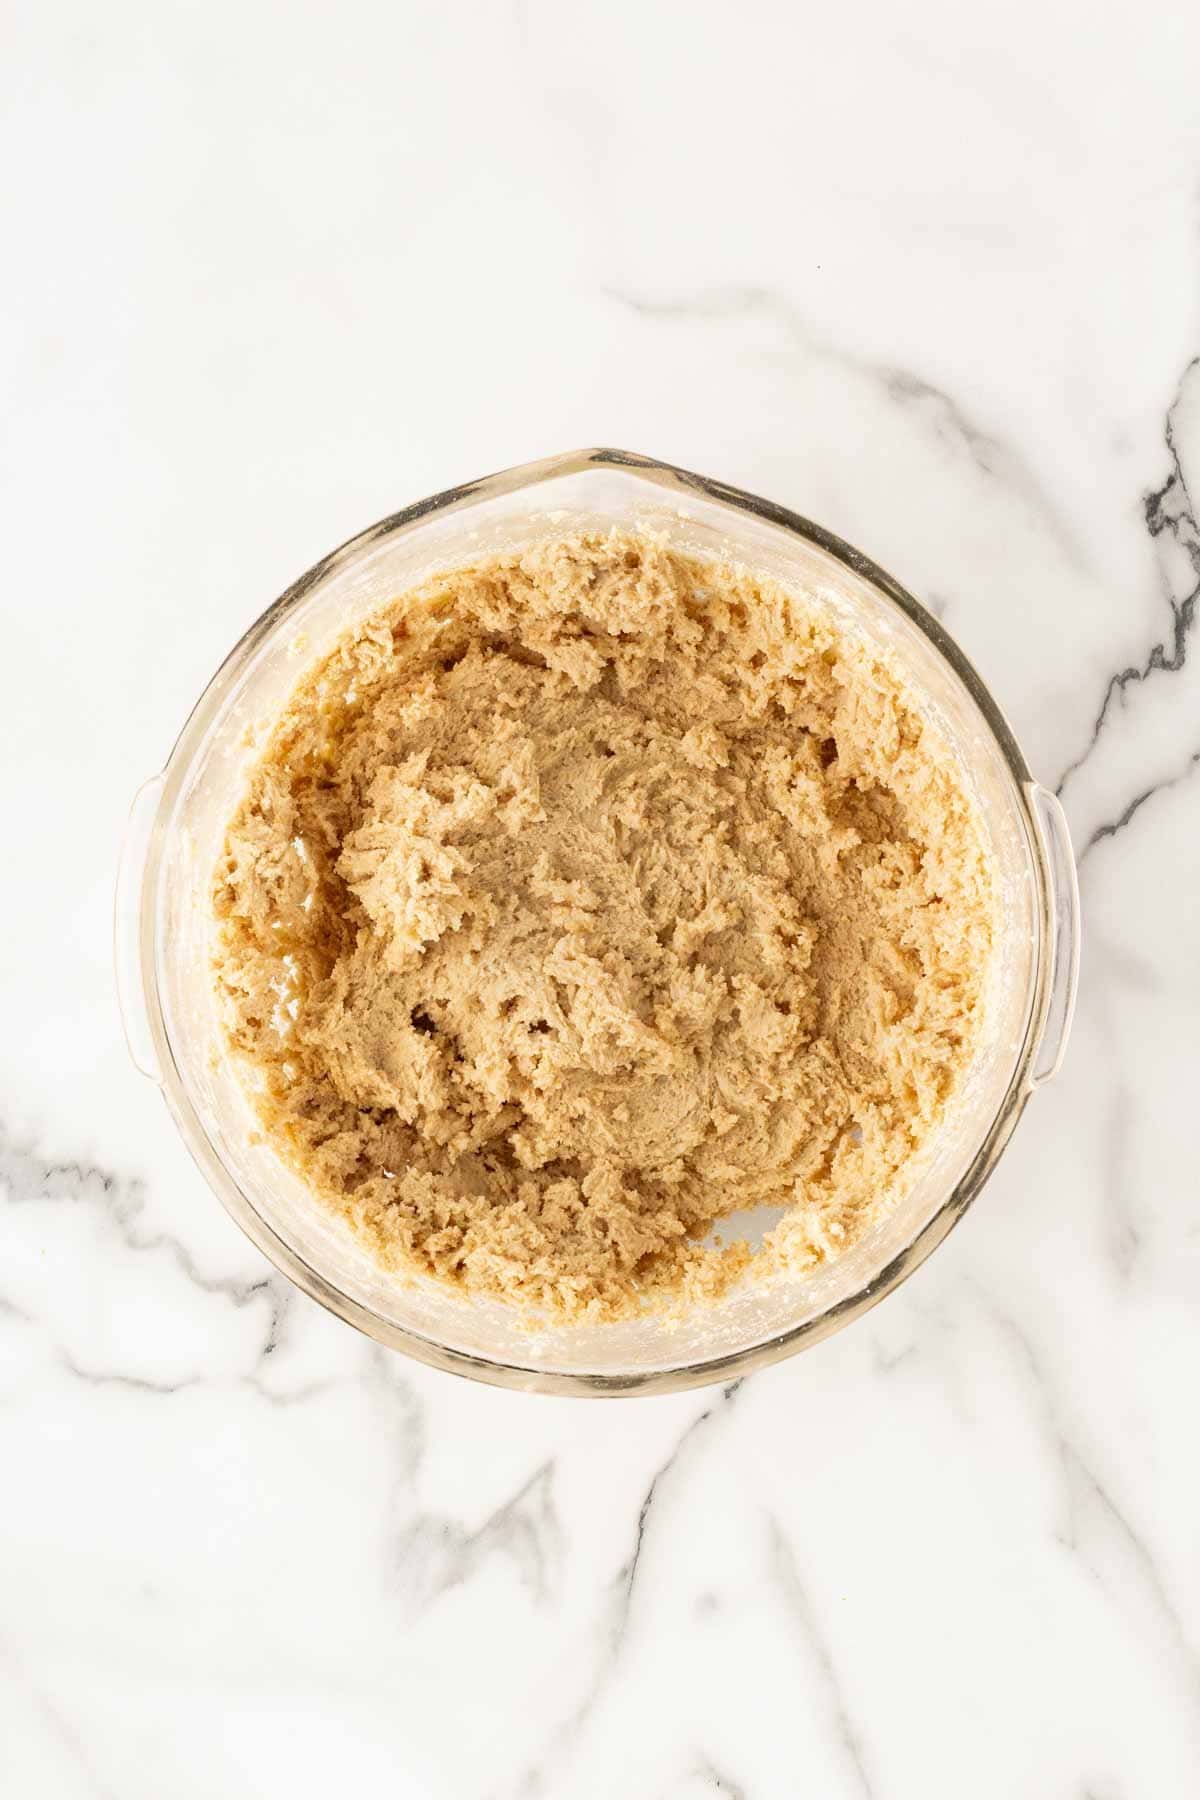
Turn mixer to low and blend in flour and graham cracker crumbs until dough forms.
3. Roll the cookie dough into balls
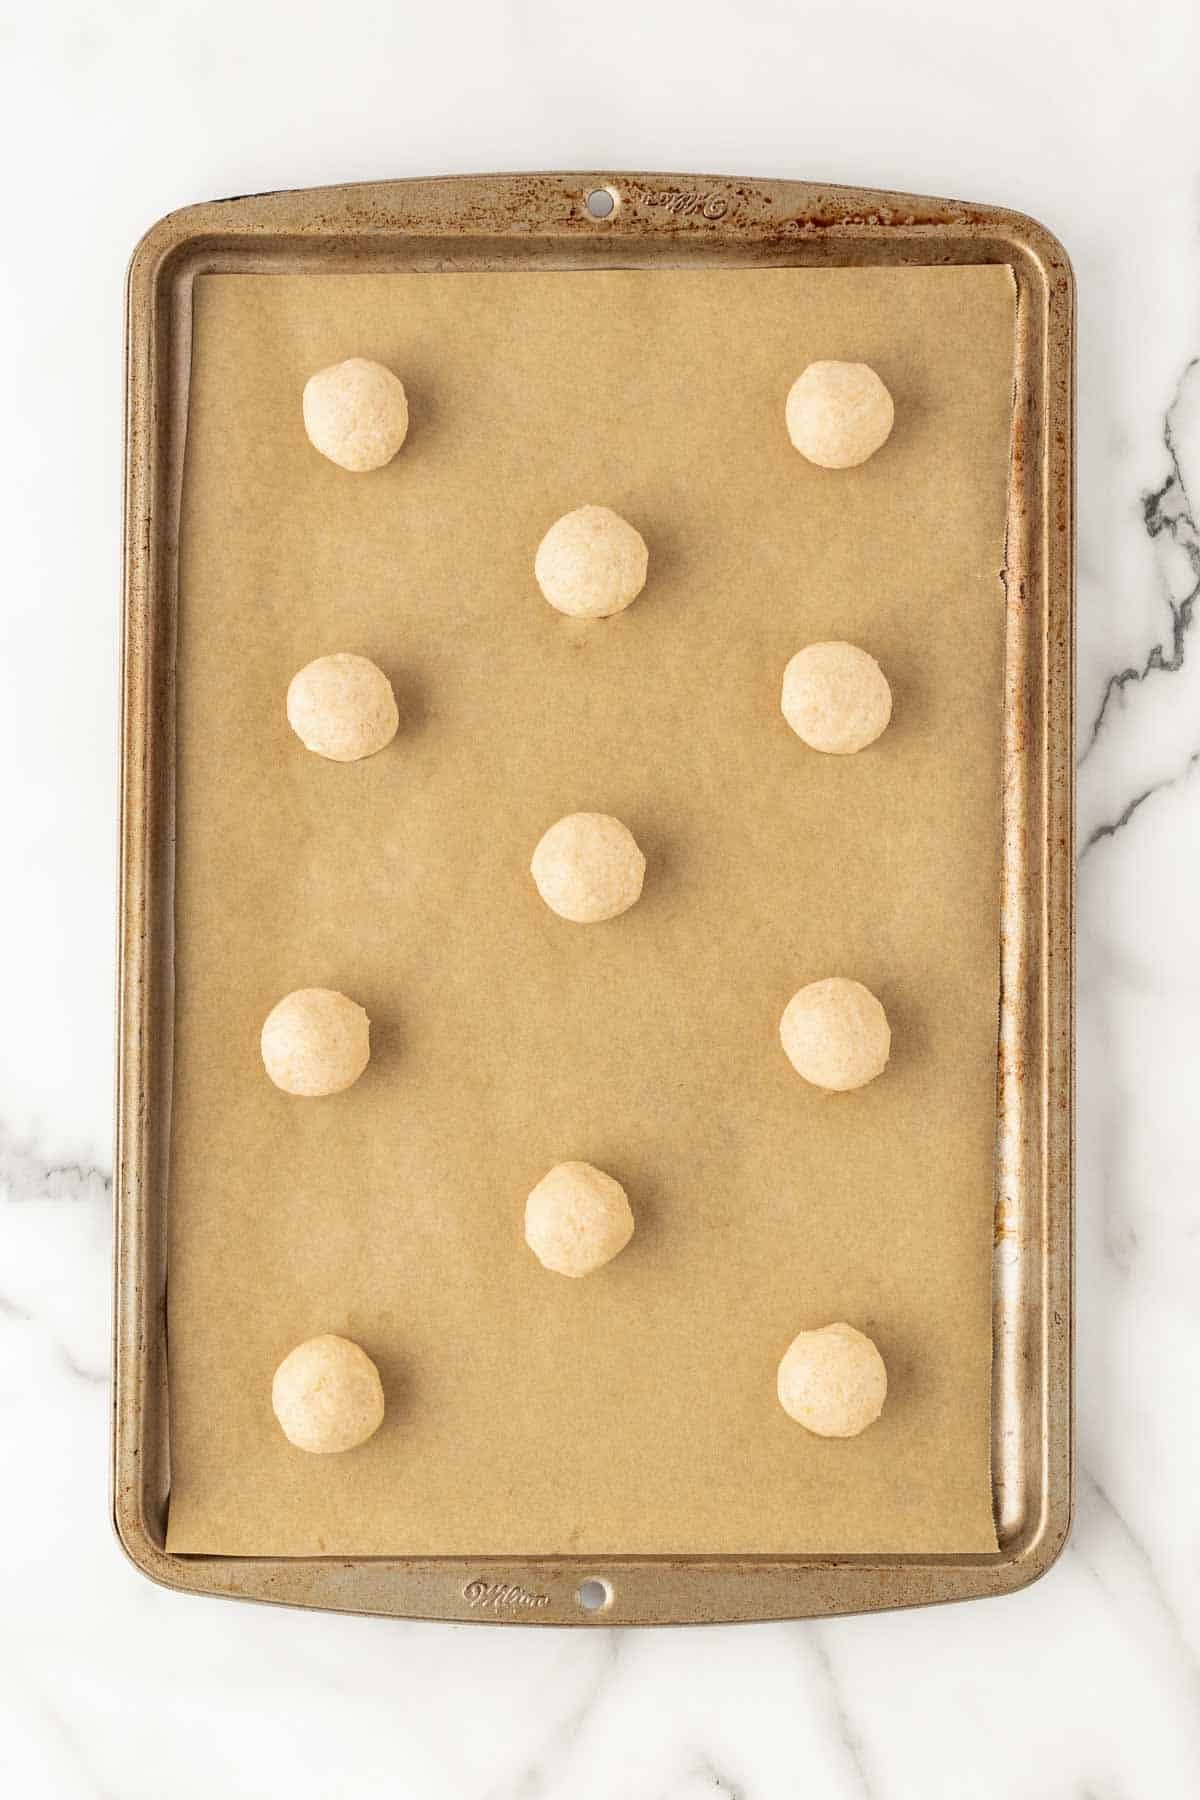
Space them out on a baking sheet.
4. Bake until the edges turn golden
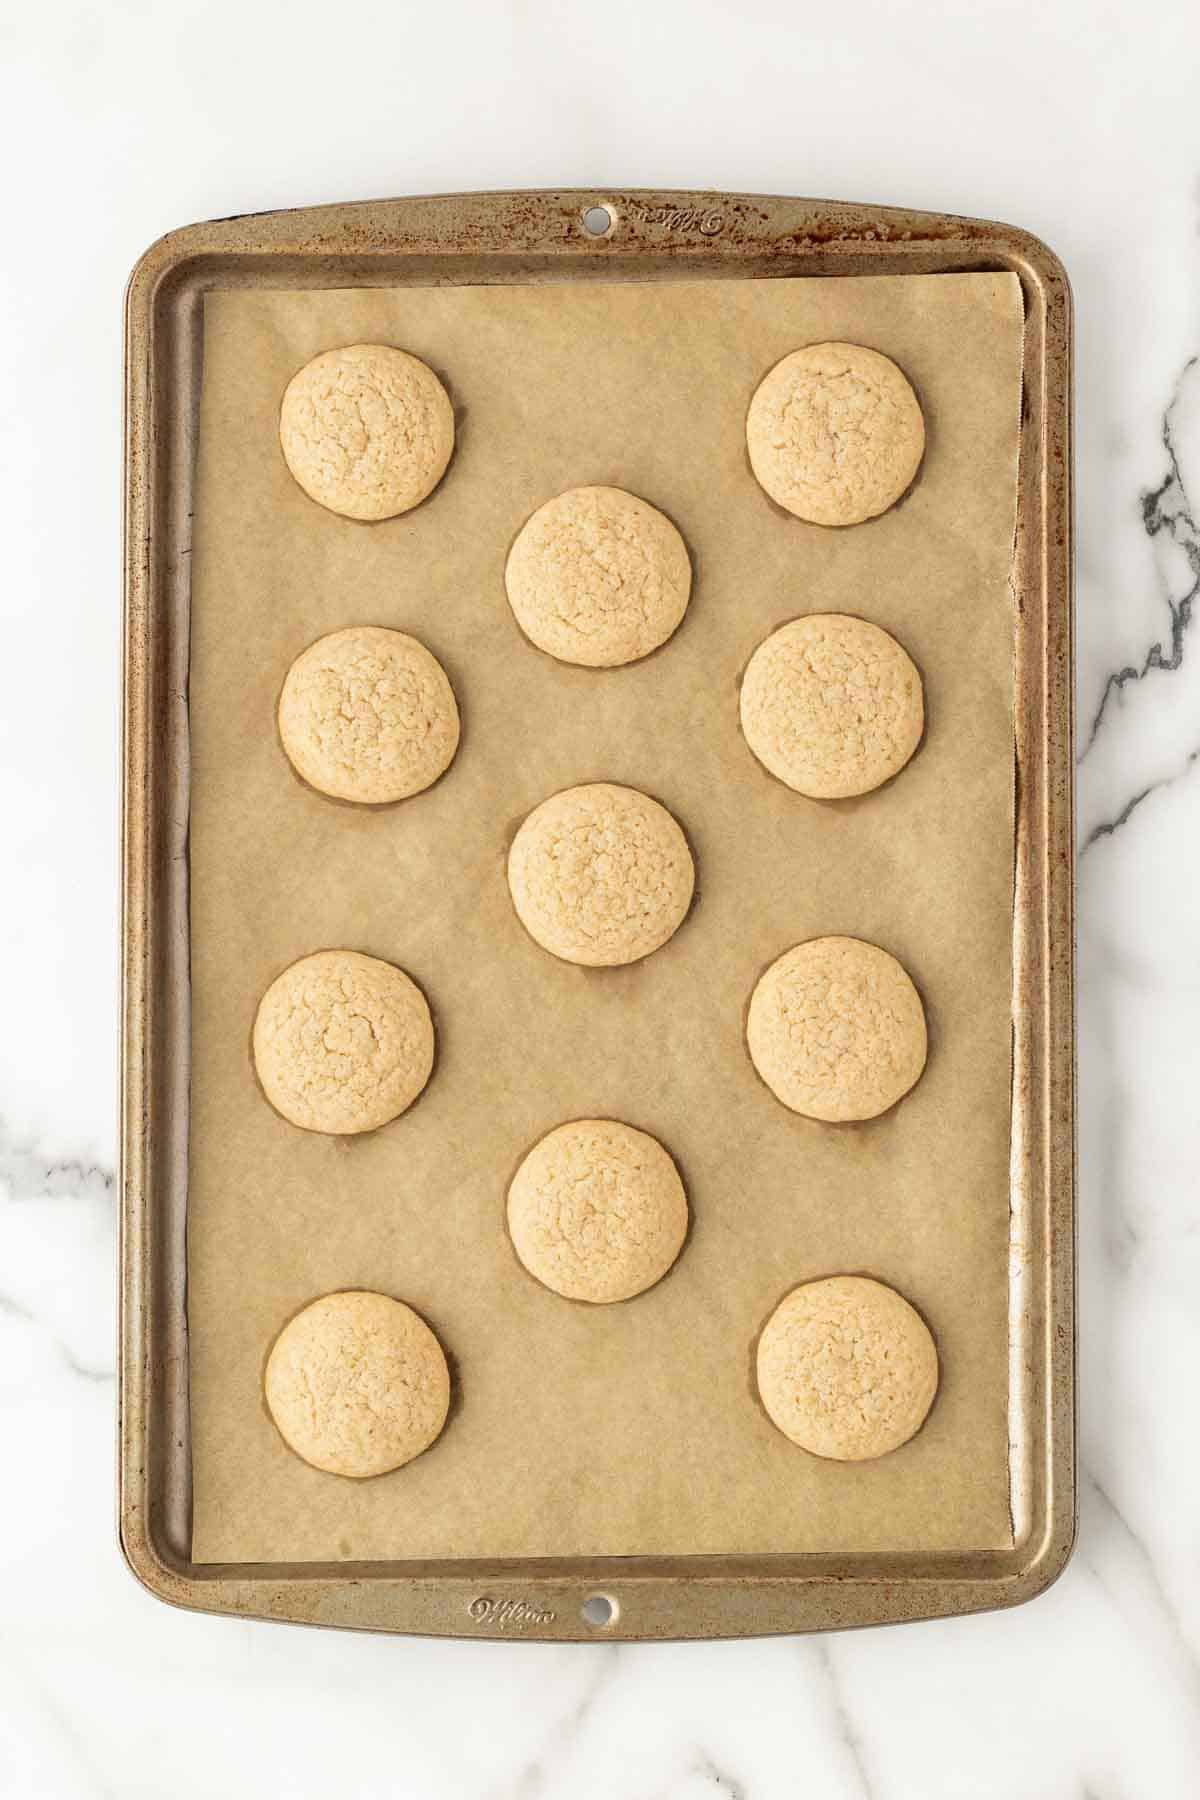
Then, transfer cookies to a rack to cool.
5. Make the white chocolate glaze
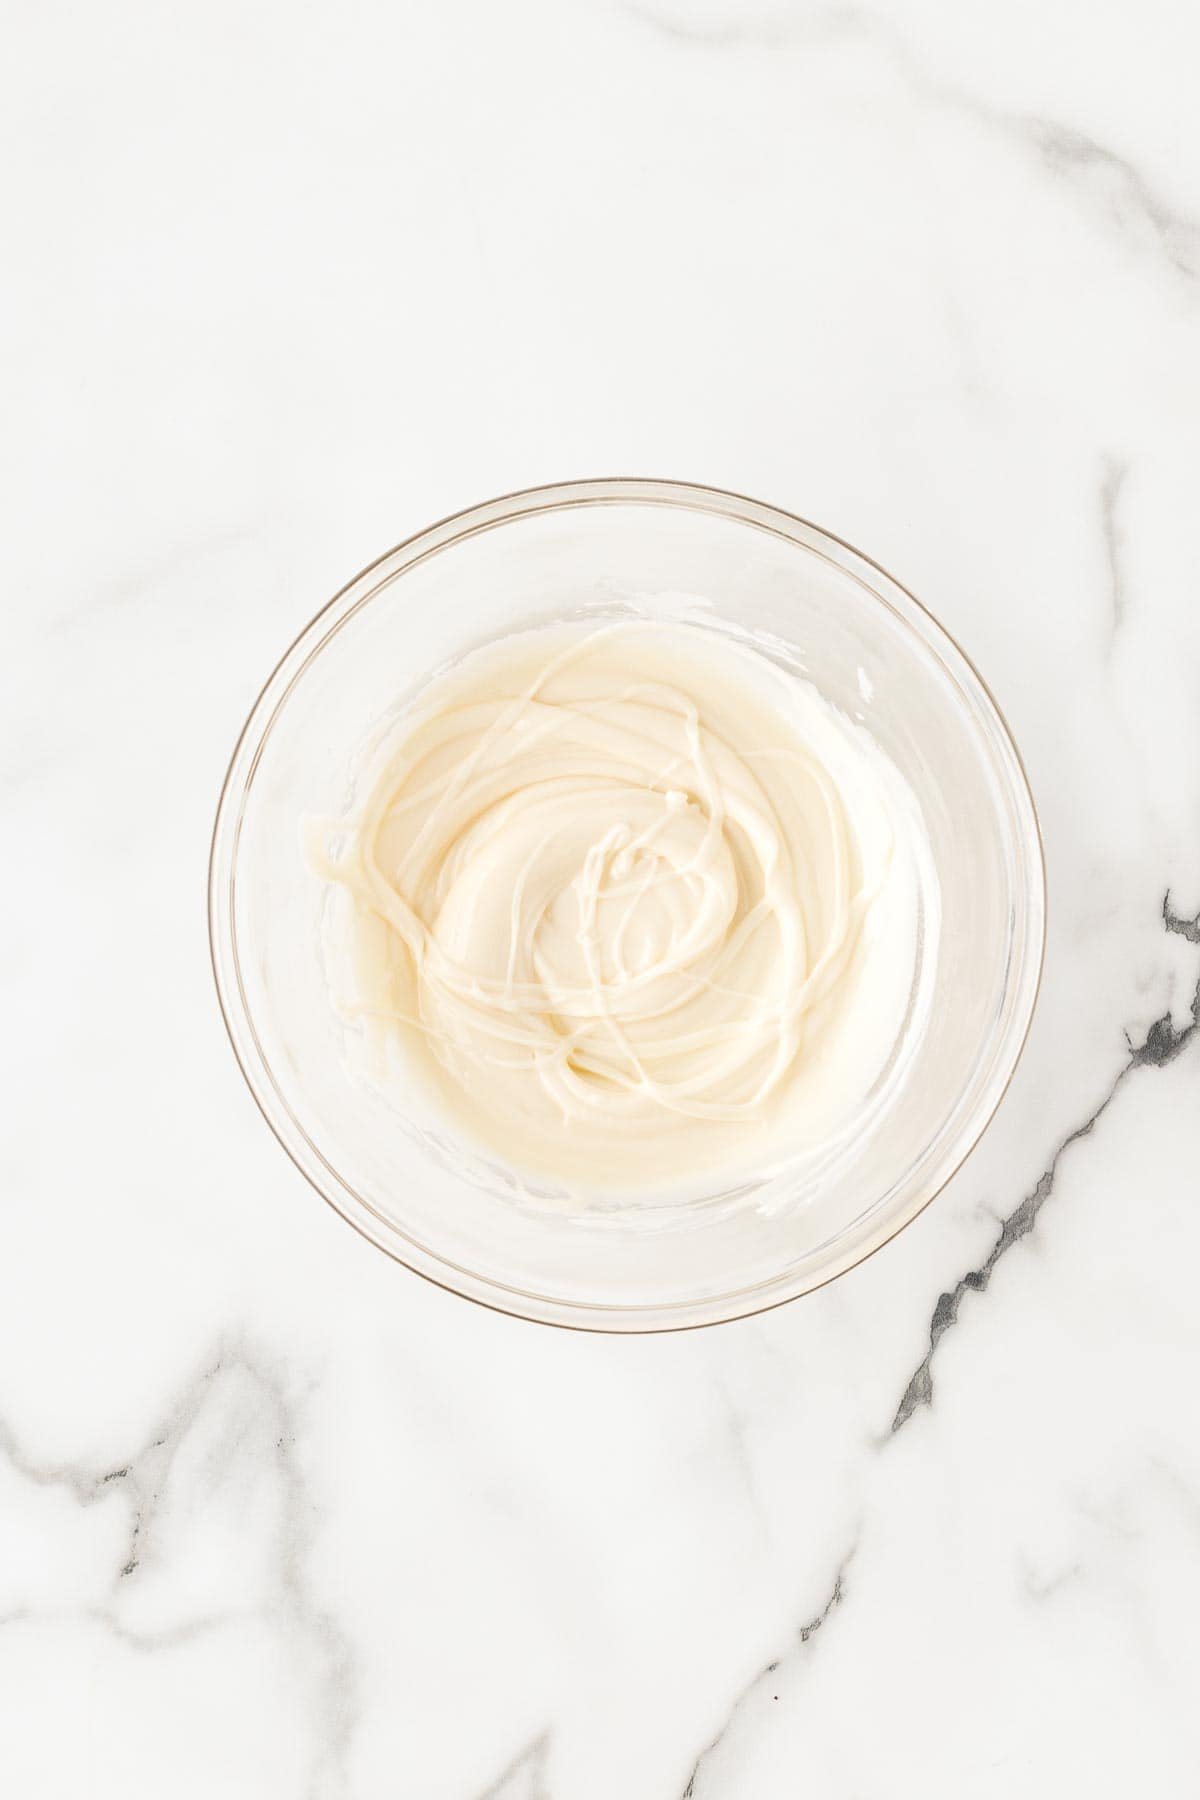
Warm white chocolate in short bursts, stirring until smooth and glossy.
6. Drizzle key lime pie cookies with glaze
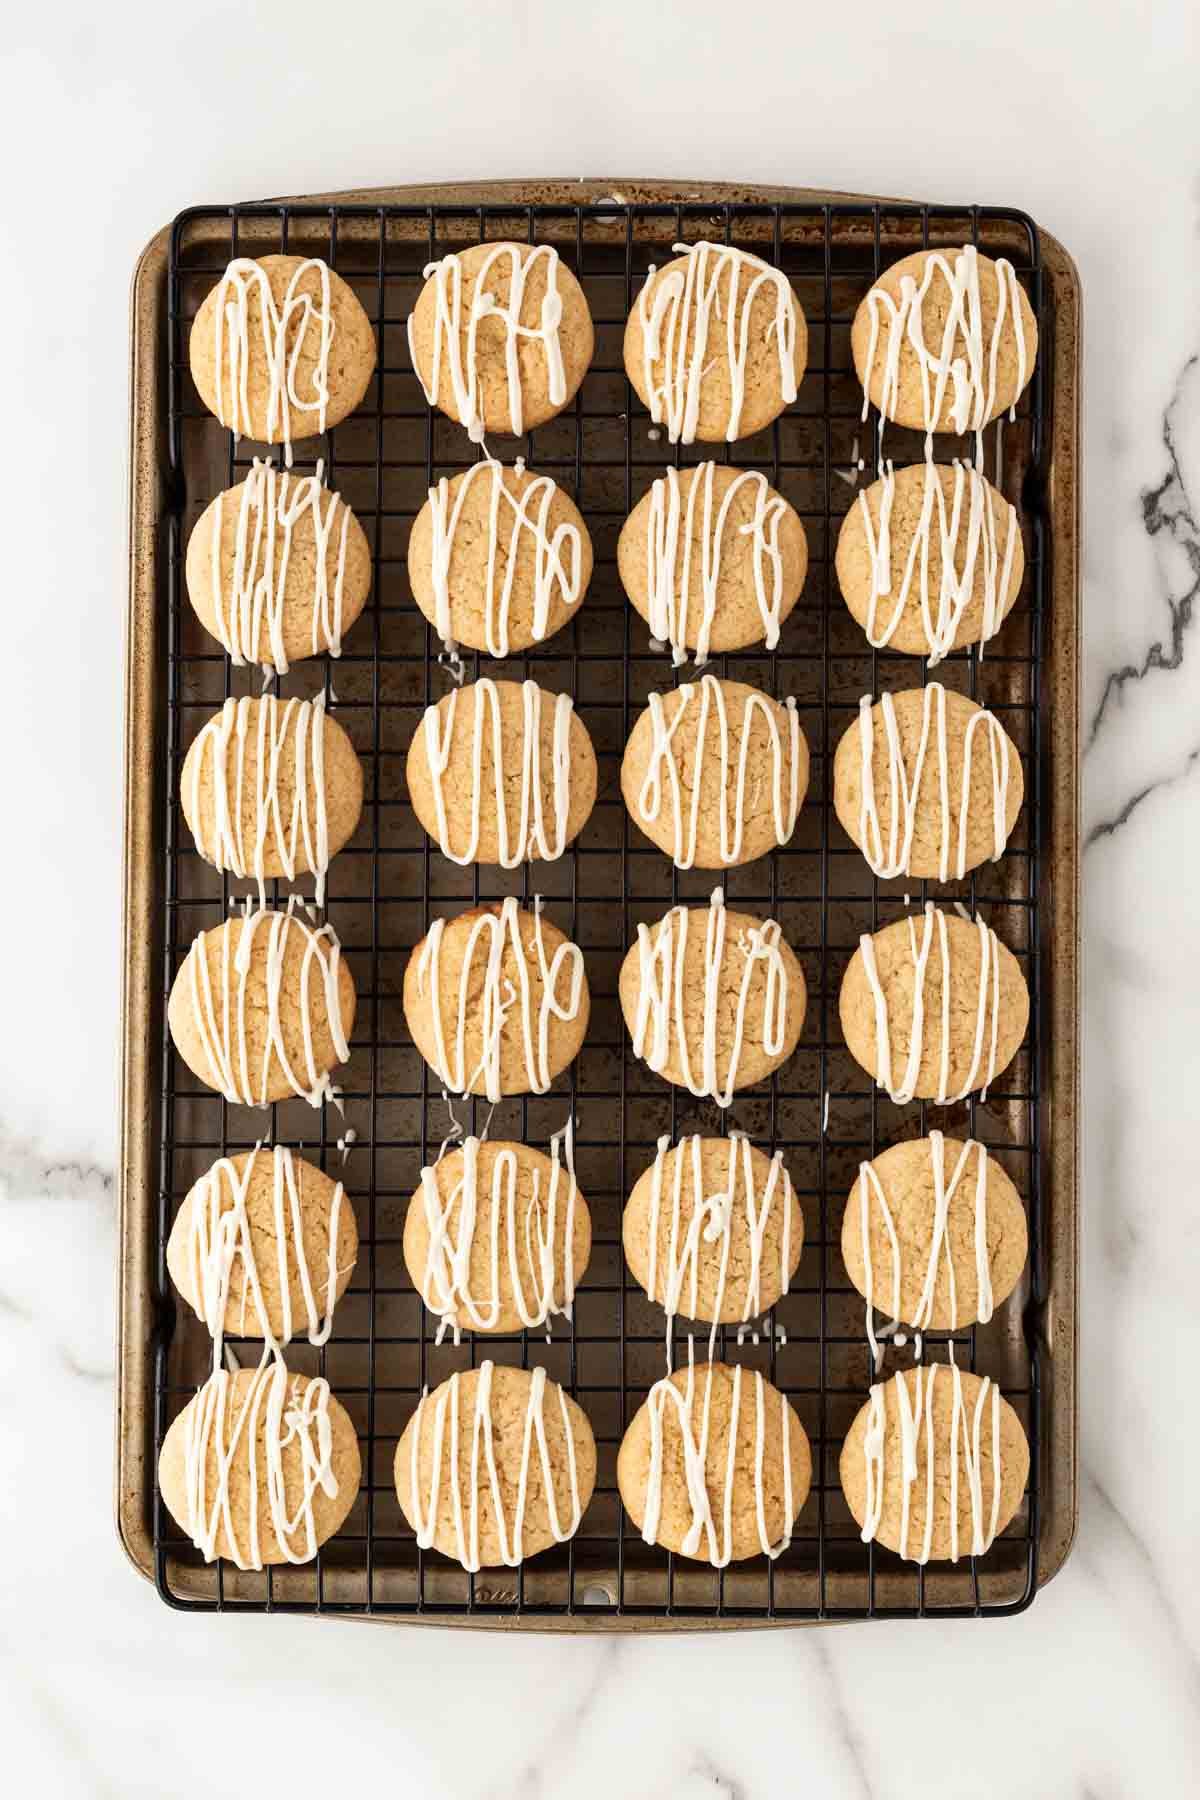
Let it firm up, and enjoy!
Want to Save This Recipe, Boo?
Full Key Lime Pie Cookies Recipe
Key Lime Pie Cookies Recipe
Want to Save This Recipe, Boo?
Ingredients
- 1 cup salted butter, at room temperature 2 sticks
- 1 1/4 cups granulated sugar
- 1 large egg
- 1 teaspoon vanilla extract
- 3 tablespoons key lime juice
- 2 teaspoons grated lime zest
- 1/2 teaspoon Kosher salt
- 1/2 teaspoon baking soda
- 2 1/4 cups all-purpose flour
- 1 cup finely crushed graham cracker crumbs
- 1/2 cup white chocolate
Instructions
- Preheat the oven to 350F. Line a baking sheet with parchment paper.
- In the bowl of a stand mixer fitted with a paddle attachment, mix the butter and sugar on medium speed for 2 minutes until light and fluffy.
- Add the egg, vanilla, key lime juice and lime zest and continue mixing for 1 more minute, scraping the sides of the bowl as necessary. Mix in the salt and baking soda until incorporated.
- Turn the speed to low and add the flour and graham cracker crumbs until the dough comes together.
- Roll the dough into 1-inch balls and place 2 inches apart on the baking sheet. Bake for 9 to 10 minutes, until the edges are lightly golden.
- Transfer the cookies to a wire rack to cool.
- Place the white chocolate in a microwave-safe bowl. Heat on full power for 25 seconds. Remove the bowl from the microwave and stir the chocolate. Repeat this process until the white chocolate is melted and smooth. Transfer the melted chocolate to a small ziptop bag. Snip one corner of the bag off with scissors and drizzle the white chocolate on top of the cookies. Allow the white chocolate to set completely.
Notes
How to Store
- Room Temp: Keep your key lime pie cookies in an airtight container on the counter for up to 3 days.
- Fridge: Refrigerate the cookies for up to a week to keep them fresh. You can also refrigerate the white chocolate drizzle and warm it gently in the microwave when you’re ready to use it again.
- Freezer: Freeze baked cookies for up to 3 months. Layer parchment between them so they don’t stick. You can also freeze the cookie dough balls and bake straight from frozen, just add a minute or two to the bake time.
Nutrition
Recipe Tips
- If you can get your hands on real key limes, do it. Roll them on the counter to loosen the juice, cut them in half and squeeze with your hands if you don’t have a squeezer. They pack way more flavor than the bottled stuff.
- Don’t overmix the dough. Once the dry ingredients go in, stop as soon as everything comes together so the cookies stay soft.
- You’ll get thicker cookies if you chill the dough. I refrigerate the dough balls for 30 minutes to an hour whenever I want cookies with almost no spread.
- Let your key lime pie cookies cool all the way. If they’re even a little warm, the white chocolate drizzle will slide right off.
You probably over-measured your flour, boo. Next time, spoon and level the flour into the cup instead of scooping so you don’t pack in too much.
 pinterest
Made these as part of my Christmas Cookies, and everyone raved about them. They are fantastic.
What size scoop do you use to make the 1 inch dough balls?
I would say a tablespoon scoop
Hi Jocelyn, I love your recipes, they always turn out soooo good! You’re such a great cook and teacher! I’m about to try these cookies and was wondering, you usually say to chill the dough before shaping. Should this dough be chilled also?
Thanks!
I made these cookies and took them to church for the kids at our last Christmas Play rehearsal, and they were a really big hit. Because I just put the container out, some of the older ones were walking away with large handfuls of them, which caused the younger ones to complain. They just couldn’t get enough on them! Thanks for sharing this recipe! I loved them too, and I will definitely make them again!
Would it be fine if I don’t have any lime zest?
Yep it would but you would lose some of that additional lime flavor.
These cookies are absolutely phenomenal! They will be a family favorite for years to come.