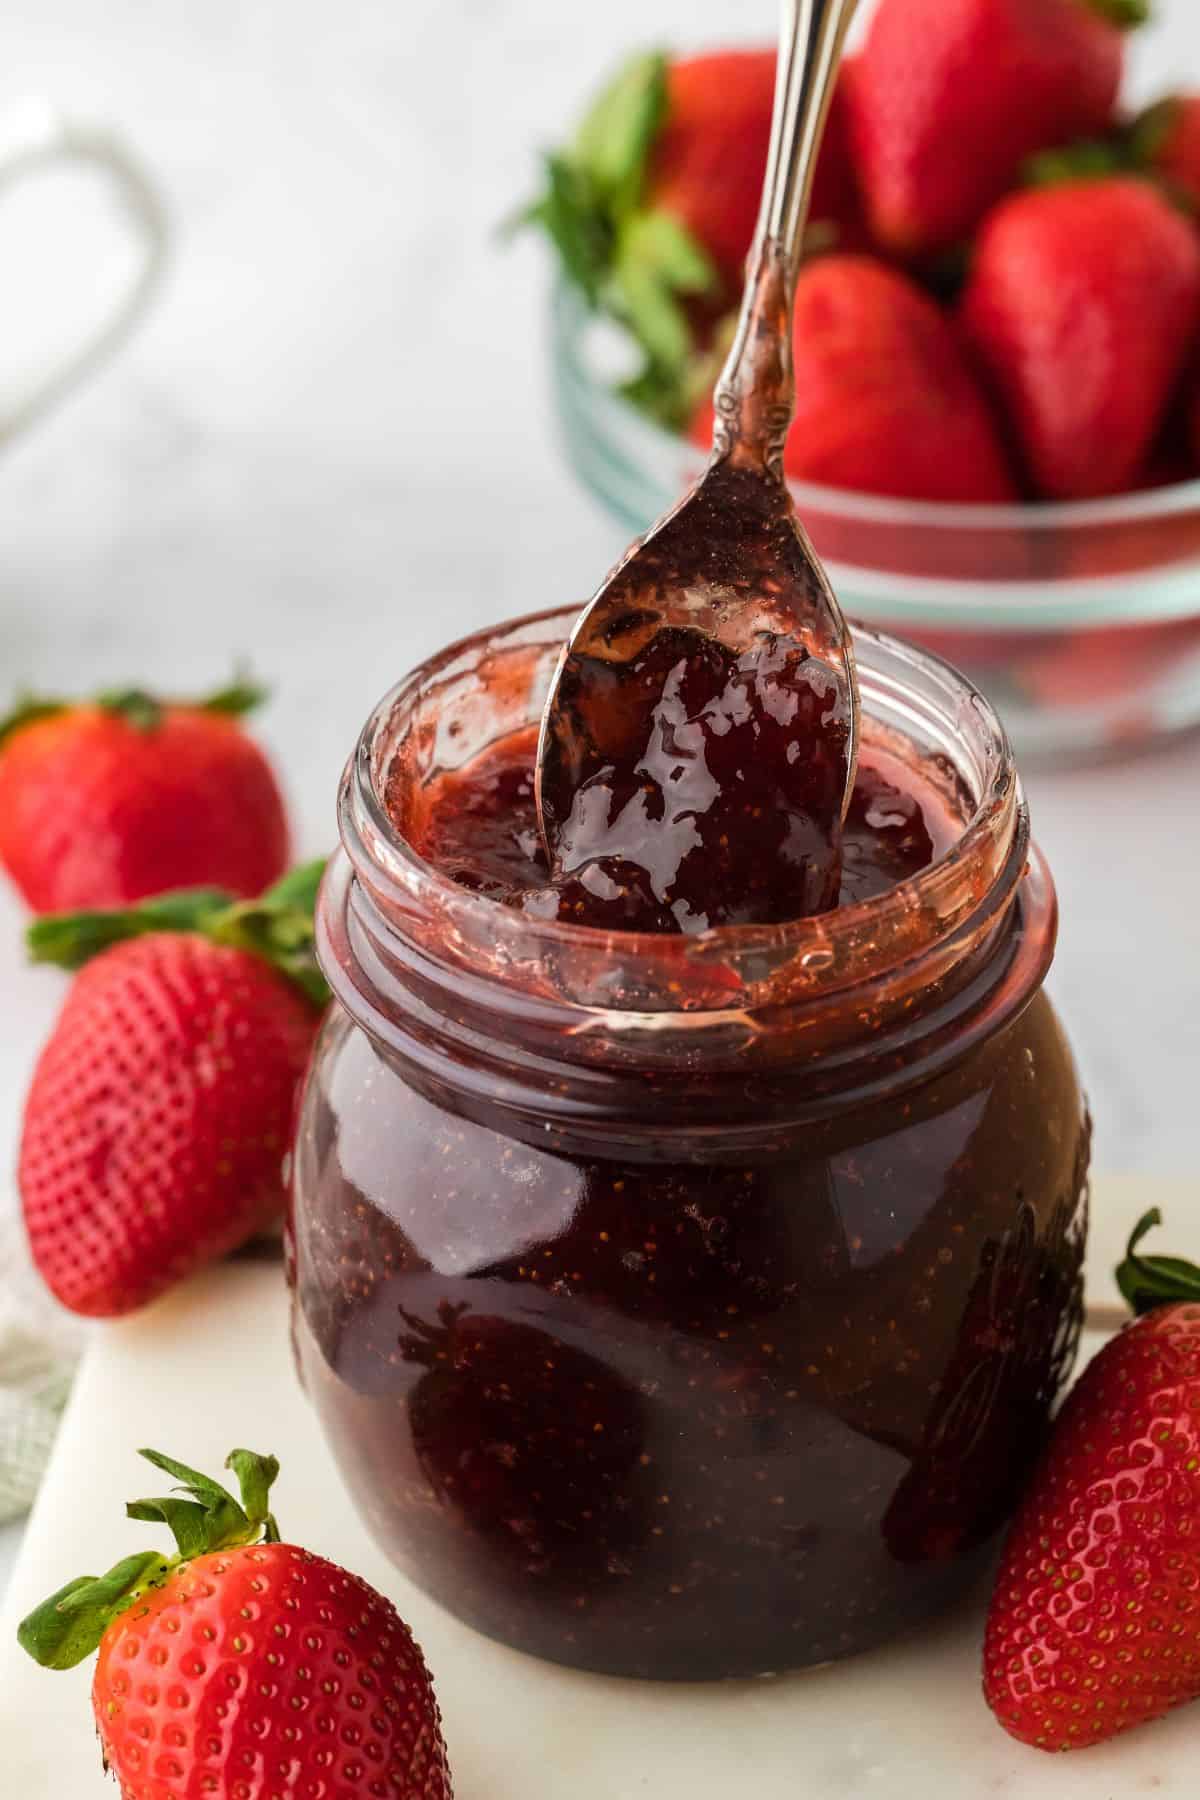
Strawberry Preserves

These Strawberry Preserves are SO tasty and SO easy to make, boo! You only need 3 ingredients, a pot, and a bit of patience – perfect for when you’ve got more berries than you know what to do with. What you end up with is glossy, thick strawberry preserves with soft chunks of strawberries that taste like they’ve just been plucked from the bush. Simple and amazing!

This post may contain affiliate links. Read our disclosure policy.

A spoonful of rich strawberry preserves is being lifted from a glass jar, with whole ripe strawberries and a bowl of strawberries in the background

I’ve got a sweet tooth that won’t quit, but I’ll be honest – most of the strawberry preserves you find on the shelves are too sugary for even me. Sure, they’re a quick fix when I’m craving some fruity toast or need a strawberry kick on a biscuit, but nothing beats homemade. The first time I tried to make this strawberry preserves recipe I ended up using too much lemon juice (wasn’t paying attention, #1 mistake in baking!). But y’all, the second time? It came out PERFECT. The sweetness was there, not too much, not too little, the texture was spot on, and the flavor? Pure strawberry goodness! I’ve even sneaked a spoonful straight from the jar in the fridge. No regrets, babes.

The Low Down On This Strawberry Preserves Recipe

Cuisine Inspiration: American
Primary Cooking Method: Simmering
Dietary Info: Vegetarian, Gluten-Free, Vegan, Low-Fat
Key Flavor: Sweet, fresh strawberry
Skill Level: Beginner

  • Pure & Simple Ingredients: These preserves only need ripe strawberries, granulated sugar, lemon juice, and just a pinch of kosher salt. That’s it. No added pectin and no preservatives, y’all!
  • Perfect for Imperfect Fruit: Got some strawberries that aren’t looking their best? This recipe is their chance to shine! Doesn’t matter if they’re a bit bruised – cooking them down brings out all their sweetness and flavor.
  • No Canning Skills Needed: No need to bother with all that boiling and sealing. Just cook your berries, let ’em cool, and pop them in the fridge. You’ll be enjoying homemade strawberry preserves without any of the fuss!
  • Budget-Friendly: Making these preserves when strawberries are in season or on sale is a smart move, boo. Not only do you get to enjoy premium homemade goodness, but you also save a pretty penny compared to the store-bought stuff.

Ingredients to make Strawberry Preserves

Overhead shot of ingredients to make strawberry preserves on the table before mixing
  • Fresh Strawberries: Pick ’em fresh and ripe, and hull them. If you’ve never hulled a strawberry, it’s easy peasy – just grab a paring knife or a strawberry huller if you’ve got one, and scoop out that top leafy bit along with the white part underneath. You want all strawberry, no leaves.
  • Granulated Sugar: This is gonna draw out those juices from the strawberries, making our preserves sweet and syrupy.
  • Kosher Salt: I know, salt in preserves? But trust me, it’s gonna make those berries pop with flavor!
  • Fresh Lemon Juice: Lemon juice does it all! It cuts through the sweetness, helps our preserves reach the perfect set, and acts as a natural preservative, keeping everything safe and sound in the fridge. Lime juice also could do the trick.

How to make Strawberry Preserves

  1. Stir together all ingredients in a medium pot.
  2. Let them sit until the sugar is mostly dissolved and the strawberries have released their juices. 
  3. Cook the strawberries over medium heat until they come to a boil.
  4. Skim off the foam using a spoon and discard.
  5. Reduce the heat to medium-low and cook until the liquid has reduced and the mixture becomes syrupy and glossy. If using a digital thermometer, cook until the mixture reaches 235F.
  6. Continue skimming as it cooks. The mixture should have a couple of spots with small bubbles coming to the surface and breaking, but do not let it fully boil or burn. Stir occasionally, making sure to scrape the bottom and corners of the pot.
A step by step image collage on how to make strawberry preserves with mixing all the ingredients, letting them boil, skimming the mixture, and checking the temperature of the preserves with a thermometer
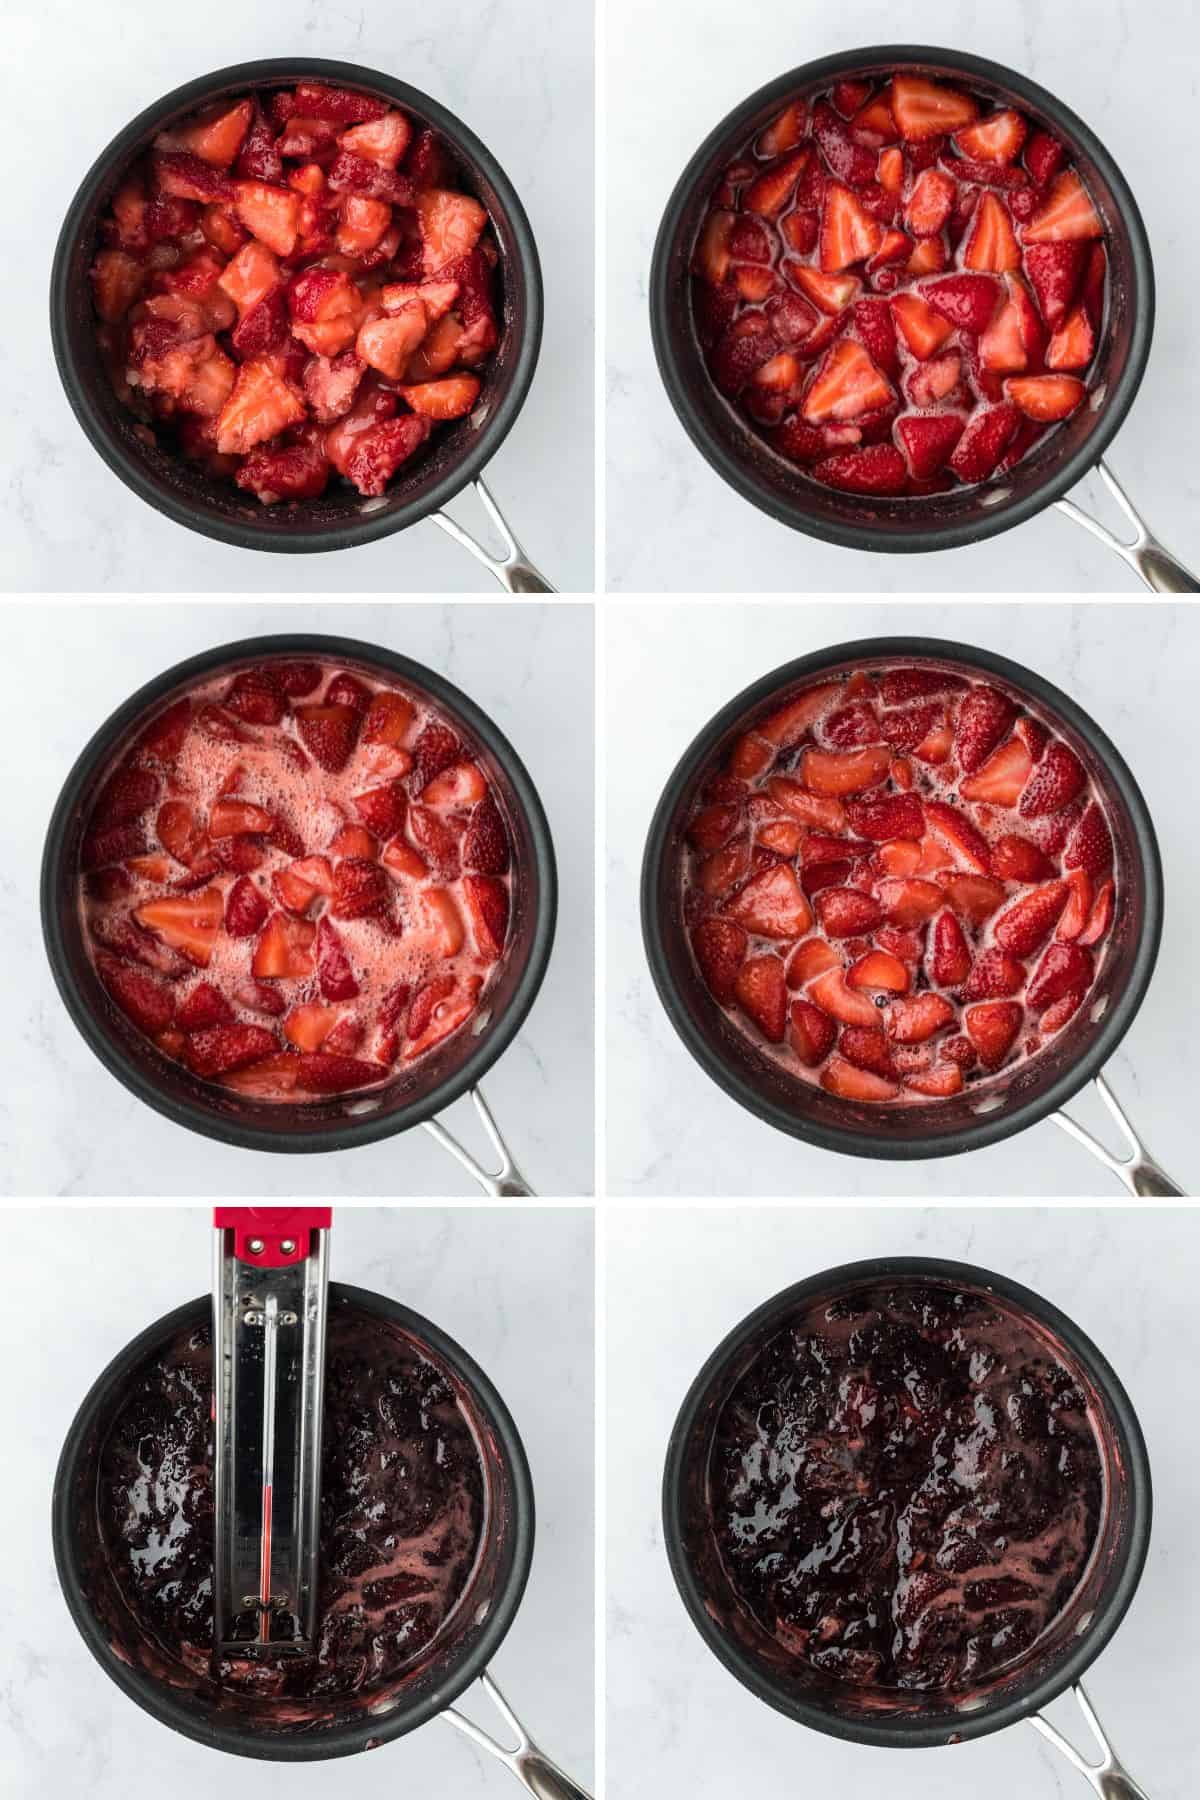
  1. Remove the strawberry preserves from the heat, set aside until room temperature, and store it in a glass airtight container.
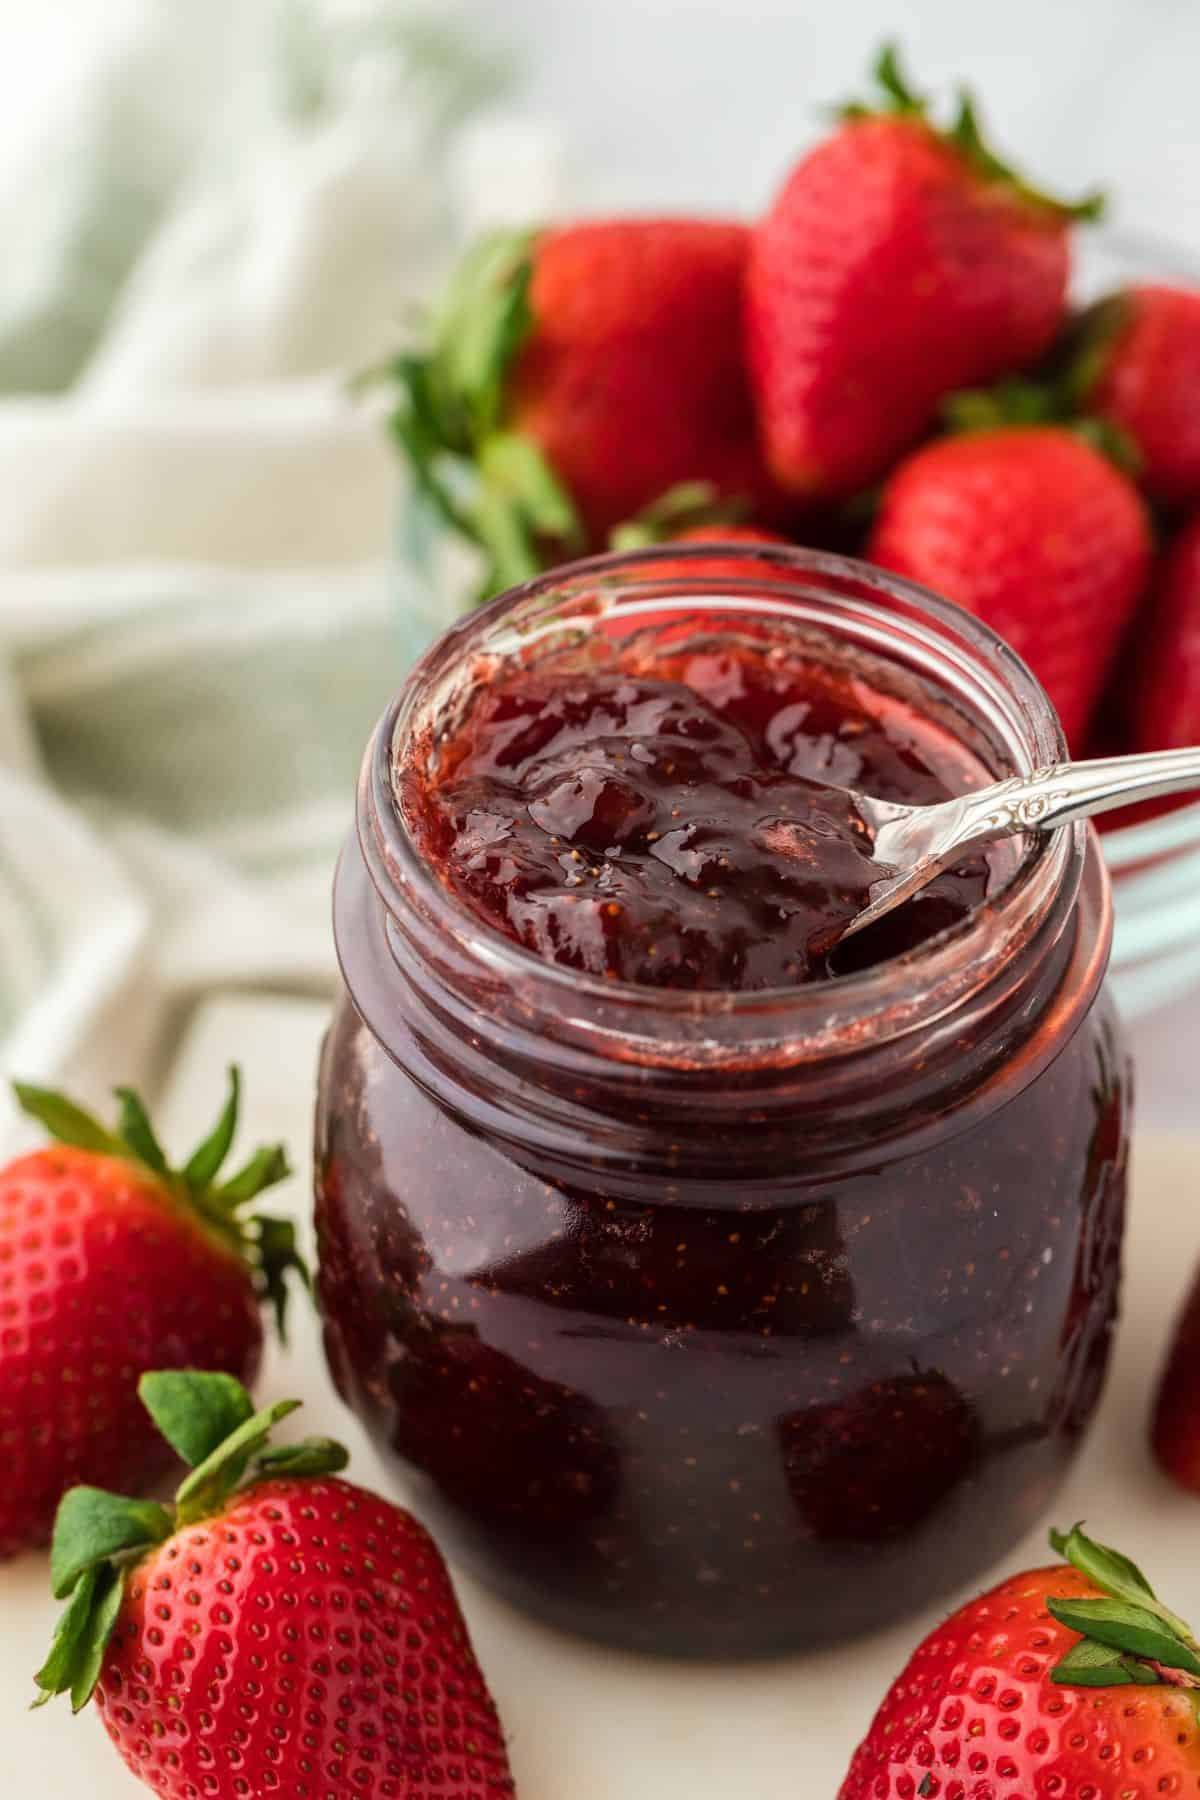
Overhead shot of strawberry preserves on a glass jar with the lid next to it

Tips for making the best easy strawberry preserves

  1. Sweeten to Taste: Start with just 1/4 cup of sugar and then keep adding more until it tastes just right to you. The full 2 cups the recipe calls for might be perfect for some, but you might find your sweet spot somewhere between.
  2. Stir, Stir, Stir: Sugar LOVES to burn if you’re not paying attention. So keep that spoon moving! Especially as it starts to thicken.
  3. Stay Patient: Keeping the heat on medium to medium-low allows the strawberries to cook down properly without rushing them. You want them to get all thick and syrupy on their own time.
  4. Keep a Watchful Eye: Not gonna lie, making strawberry preserves without pectin is a bit like babysitting. You’ve got to keep an eye on them, especially as they start to thicken. Look for those small bubbles breaking the surface, and make sure it doesn’t start boiling over or sticking.
  • Fruit Swap: If strawberries aren’t your jam (pun intended), this recipe is super versatile! Swap in blueberries, raspberries, or blackberries to create your own custom batch of preserves.
  • Cornstarch Slurry: For those who like their preserves on the thicker side, stir in 1 tablespoon of cornstarch dissolved in a bit of water before you start cooking.
  • Spice It Up: Just a pinch is all you need to bring a warm, spicy undertone. It pairs wonderfully with strawberries and, hear me out, it makes your kitchen smell amazing too!
  • Add Some Vanilla: A teaspoon of vanilla bean paste or vanilla extract is the best addition ever if you want creamier, more fragrant homemade strawberry preserves.
A spoonful of rich strawberry preserves is being lifted from a glass jar, with whole ripe strawberries and a bowl of strawberries in the background

What to serve with this strawberry preserves recipe

  • These easy strawberry preserves are a key ingredient in many desserts such as strawberry lemonade cake, strawberry punch bowl cake, strawberry tart, strawberry tiramisu, and more.
  • A stack of fluffy pancakes, golden waffles, or freshly toasted bread with a generous drizzle of strawberry preserves on top? Yes, please! That’s how you enhance your mornings.
  • On those warm evenings when you’re pining for a cool treat, spooning these preserves over vanilla ice cream is just about as perfect as it gets.
  • Don’t be afraid to pair them with savory items! A dollop on a cheese platter or as a glaze for rib tips can be incredibly tasty.

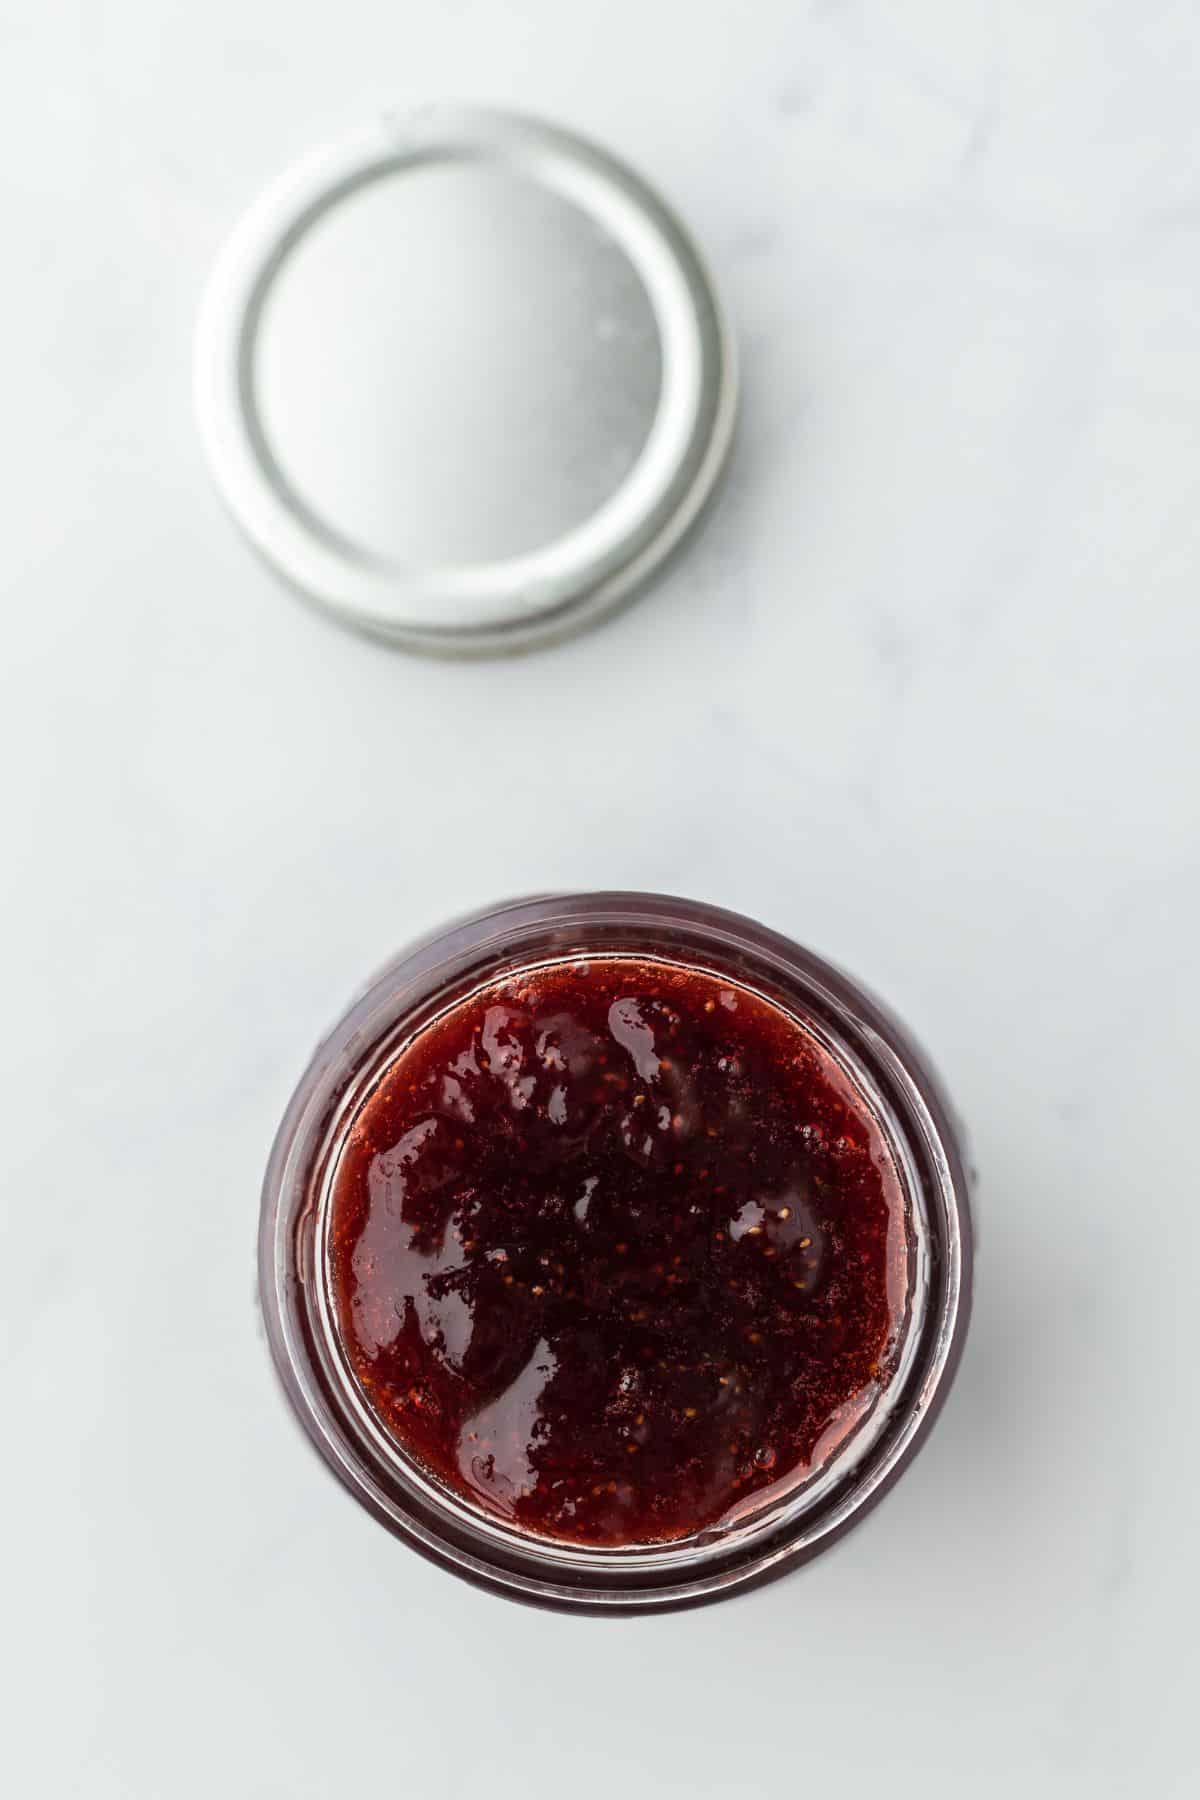
How to store Strawberry Preserves

Once your strawberry preserves have cooled to room temp, scoop ’em into a clean mason jar or any airtight glass container. Pop it in the fridge, and you’re all set.

How long will Strawberry Preserves last in the fridge?

In the fridge, these strawberry preserves will keep like a dream for 2-3 weeks. That’s 2 to 3 weeks’ worth of delicious, berry-filled breakfasts and desserts!

Can I freeze strawberry preserves without pectin?

If you’ve made more preserves than you can use in a week, freezing is a great option! Just pour your cooled preserves into a freezer-safe container or a mason jar, and leave some space at the top for expansion. Seal it up tight, and into the freezer it goes. They will stay fresh and tasty for up to 6 months.

Overhead shot of a piece of toast on a white plate covered with strawberry preserves with a butter knife, accompanied by a jar of preserves and fresh strawberries

Frequently asked questions

My preserves turned hard. What can I do?

If your preserves turned into strawberry concrete, they’re likely overcooked. Sugar can become super thick and hard when heated too much. In this case, the best bet is to start over.

How can I tell when my preserves are ready?

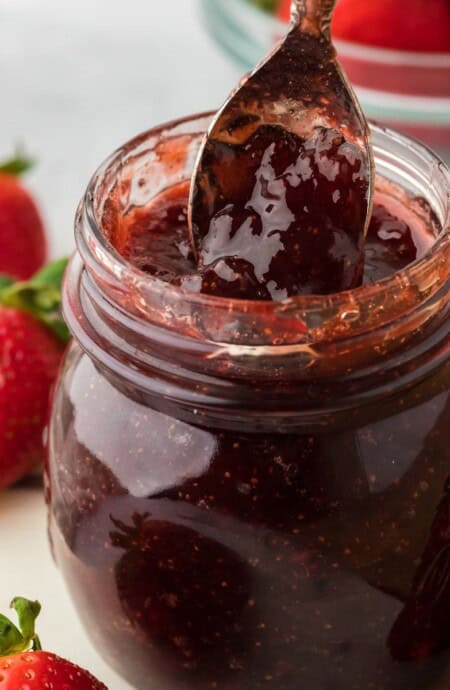
You know they’re ready when the mixture becomes glossy and thickens to a syrup-like consistency. Also, another good test is the freezer test. Drop a small amount on a cold plate and freeze for a minute. If it wrinkles when pushed, it’s ready.

My strawberry preserves didn’t thicken. What happened?

They might not have cooked long enough, or there might have been too much juice from overripe berries. Next time, try cooking it a bit longer, or use berries that aren’t overly ripe.

Overhead shot of a glass jar filled with strawberry preserves, with a spoon resting inside it. Surrounding the jar are fresh, whole strawberries in a cutting board and in a glass bowl

Strawberry Preserves are a must-have in my kitchen, and with this recipe, you’ll never run out! They’re really simple to make boo, and the result is something that you can use for baking goods, spread it on toast, swirl it into oatmeal, sneak a spoonful straight from the jar, and more. So, grab some strawberries next time they’re looking ripe and ready, and whip up a batch!

More Sweet Sauce/Spread Recipes

*Did you make this recipe? Please give it a star rating and leave comments below!* Post a photo of how your version of the recipe came out on Instagram (using #grandbabycakes)!!

A spoonful of rich strawberry preserves is being lifted from a glass jar, with whole ripe strawberries and a bowl of strawberries in the background

Strawberry Preserves

Easy Strawberry Preserves with only 3 main ingredients, fresh strawberries, sugar and lemon! No Pectin, no canning, no preservatives just good ole preserves! (Makes 2 Cups!)
No ratings yet
Prep Time 1 hour 10 minutes
Cook Time 50 minutes
Total Time 2 hours
Course: Snack
Servings: 16 servings

Equipment

Ingredients

  • 2 pounds fresh strawberries hulled and halved (or quartered, if large)
  • 2 cups granulated sugar
  • ½ teaspoon kosher salt
  • 1 ½ teaspoons fresh lemon juice

Instructions

  • In a medium pot, stir together all ingredients. Let sit for an hour until the sugar is mostly dissolved and the strawberries have released their juices.
  • Cook strawberries over medium heat until they come to a boil. Using a spoon, skim off the foam and discard. Reduce heat to medium-low and cook until liquid has reduced and the mixture becomes syrupy and glossy, about 50 minutes to an hour. If using a digital thermometer, cook until mixture reaches 235F.
  • Continue skimming as it cooks. The mixture should have a couple of spots with small bubbles coming to the surface and breaking, but do not let it fully boil or burn. Stir occasionally, making sure to scrape the bottom and corners of the pot.
  • Remove from heat and set aside until room temperature. Keep in an airtight container in the refrigerator for up to one week.

Notes

  • Sweeten to Taste: Start with just 1/4 cup of sugar and then keep adding more until it tastes just right to you. The full 2 cups the recipe calls for might be perfect for some, but you might find your sweet spot somewhere between.
  • Stir, Stir, Stir: Sugar LOVES to burn if you’re not paying attention. So keep that spoon moving! Especially as it starts to thicken.
  • Stay Patient: Keeping the heat on medium to medium-low allows the strawberries to cook down properly without rushing them. You want them to get all thick and syrupy on their own time.
  • Keep a Watchful Eye: Not gonna lie, making strawberry preserves without pectin is a bit like babysitting. You’ve got to keep an eye on them, especially as they start to thicken. Look for those small bubbles breaking the surface, and make sure it doesn’t start boiling over or sticking.

Nutrition

Serving: 2 tablespoons | Calories: 114kcal | Carbohydrates: 29g | Protein: 0.4g | Fat: 0.3g | Saturated Fat: 0.01g | Polyunsaturated Fat: 0.1g | Monounsaturated Fat: 0.02g | Sodium: 73mg | Potassium: 88mg | Fiber: 1g | Sugar: 28g | Vitamin A: 7IU | Vitamin C: 34mg | Calcium: 9mg | Iron: 0.2mg
Tried this Recipe? Tag me Today!Mention @GrandbabyCakes or tag #grandbabycakes!
Filed Under:  Dips & Spreads, Stovetop, Summer Recipes

Comments

  1. Regarding your note: sweeten to taste.
    How do I do this ? Use 1/4 cup sugar, wait an hour and taste.
    Or do I wait till the end and add sugar to the “finished ” jam ?

Leave a Reply

Your email address will not be published. Required fields are marked *

Recipe Rating