If there’s one thing we Southerners know, it’s how to whip up some good ol’ Cheese Grits. It’s in our blood, y’all! And this recipe? It’s been passed down and perfected. It takes less than 20 minutes to prepare, so in no time you’ll have a cheesy bowl of grits seasoned and loaded with gooey, melty cheese right in front of you boos.
This post may contain affiliate links. Read our disclosure policy.

Want to Save This Recipe, Boo?
Everybody knows my love for grits (well, who Southerner doesn’t love ’em?). They’re great with just butter, salt, and a splash of whipping cream, but add some Gouda cheese, coconut milk, and a few spices to the mix, and they’re on a WHOLE new level. But let me take a second to talk about the cheese y’all… I gotta admit, I didn’t hold back because cheese makes everything better. And I’m 100% positive that when you try this cheese grits recipe, you’ll say, “Jocelyn was right, this is THE bomb!”.
The Lowdown On Cheese Grits
Cuisine Inspiration: Good ol’ Southern comfort
Primary Cooking Method: Stovetop simmering
Dietary Info: Packed with dairy goodness
Key Flavor: Creamy, cheesy, and a touch of sweet with that brown sugar
Skill Level: Easy as pie
- Quick and Easy: Ain’t nobody got time for long, drawn-out recipes, right? These grits come together in less than 20 minutes, y’all. Perfect for busy mornings or when you need a quick side dish.
- Budget-Friendly: Most of the ingredients are pantry staples or easy to find at any grocery store. You get a whole lotta flavor without spending a whole lotta cash.
- The Best Side Dish: What doesn’t go well with cheese grits? This versatile dish pairs well with almost anything. You know what they say – when in doubt, make cheese grits!
- Comfort Food Classic: There’s a reason cheese grits are a Southern staple. They’re the epitome of comfort food – warm, creamy, and cheesy. One bite and you’ll feel like you’re back at grandma’s kitchen table, soaking in all the love.
Ingredients Needed To Make Cheese Grits
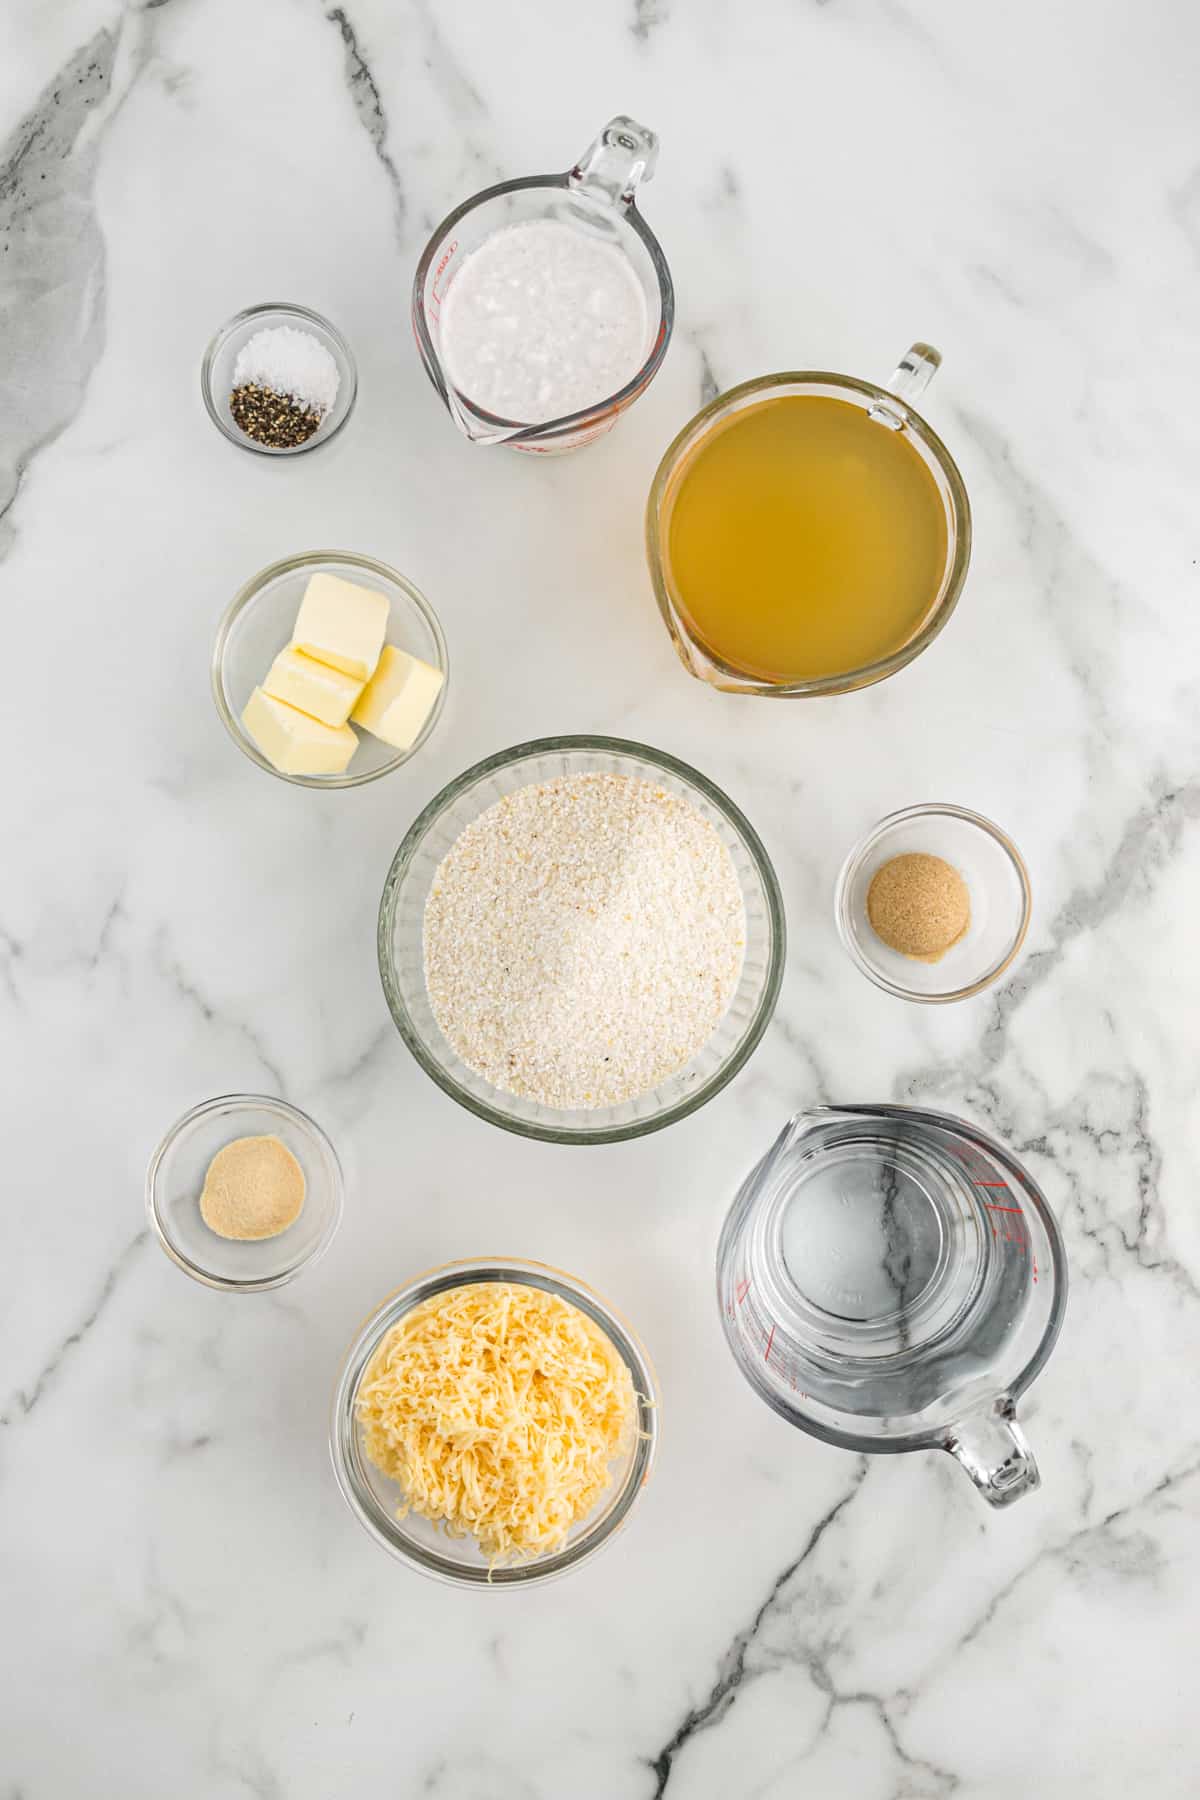
- Quick Grits: Now, y’all, we’re using quick grits here because they cook up nice and smooth in no time… But I do NOT recommend instant grits – they just don’t have that rich, hearty texture we want.
- Water and Chicken Broth: These are gonna be our base for cooking the grits. Use regular chicken broth, my homemade chicken stock (it’s super flavorful y’all!), or a chicken stock concentrate.
- Unsalted Butter: Ain’t nothing richer or more delish than butter. It makes those grits creamy and indulgent.
- Kosher Salt and Cracked Black Pepper: Because seasoning is key!
- Light Brown Sugar: This sweetens up the grits and adds a hint of caramel goodness.
- Garlic Powder: Gives a nice subtle garlicky kick.
- Canned Coconut Milk: Adds a unique creaminess and a subtle sweetness.
- Shredded Gouda Cheese: Gouda is the star of these Southern cheese grits – it melts wonderfully and has a mild, nutty flavor. The cheesier the better!
How To Make Cheese Grits
- In a medium saucepan, bring the water and chicken broth to a boil. Add the butter and season with salt and pepper.
- Pour in the grits and stir to combine.
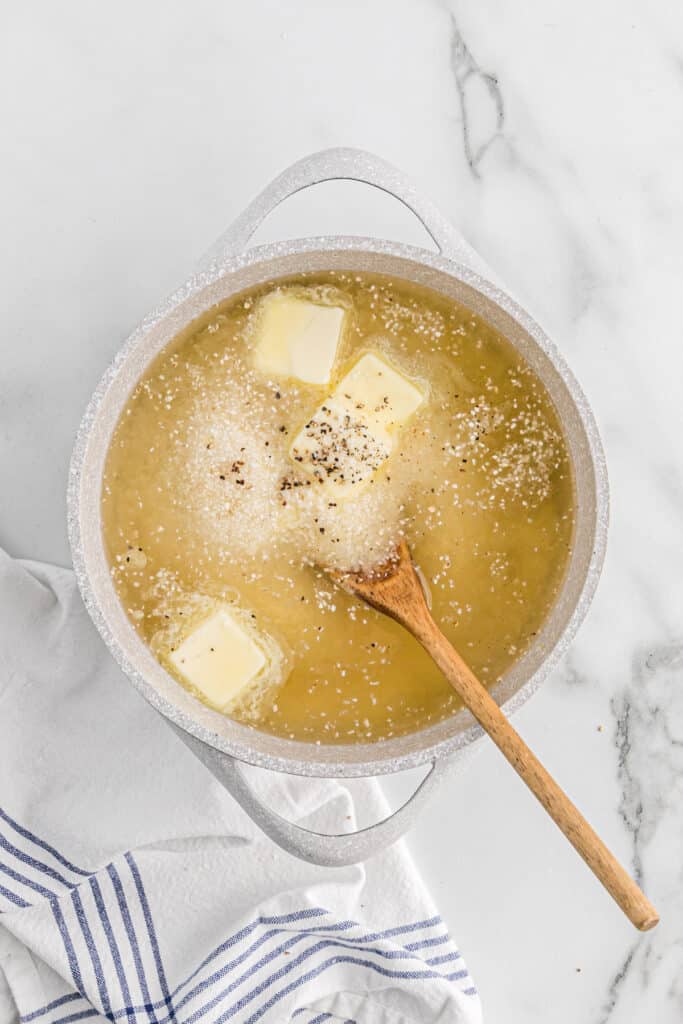
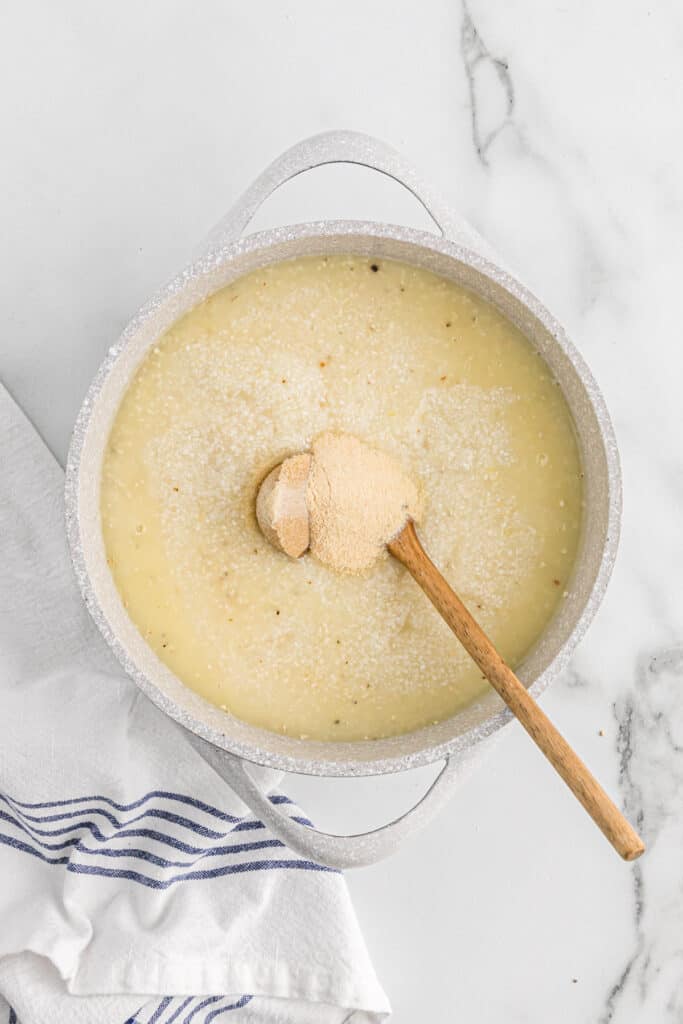
- Cover, reduce heat to medium, and cook, stirring occasionally until thickened. Once the grits begin to soak up the liquid, stir in the brown sugar and garlic powder.
- When the grits are done, stir in the coconut milk and cheese in small increments. Add ¼ cup coconut milk and about ½ cup cheese and stir. Continue this until all the milk and cheese are mixed in.
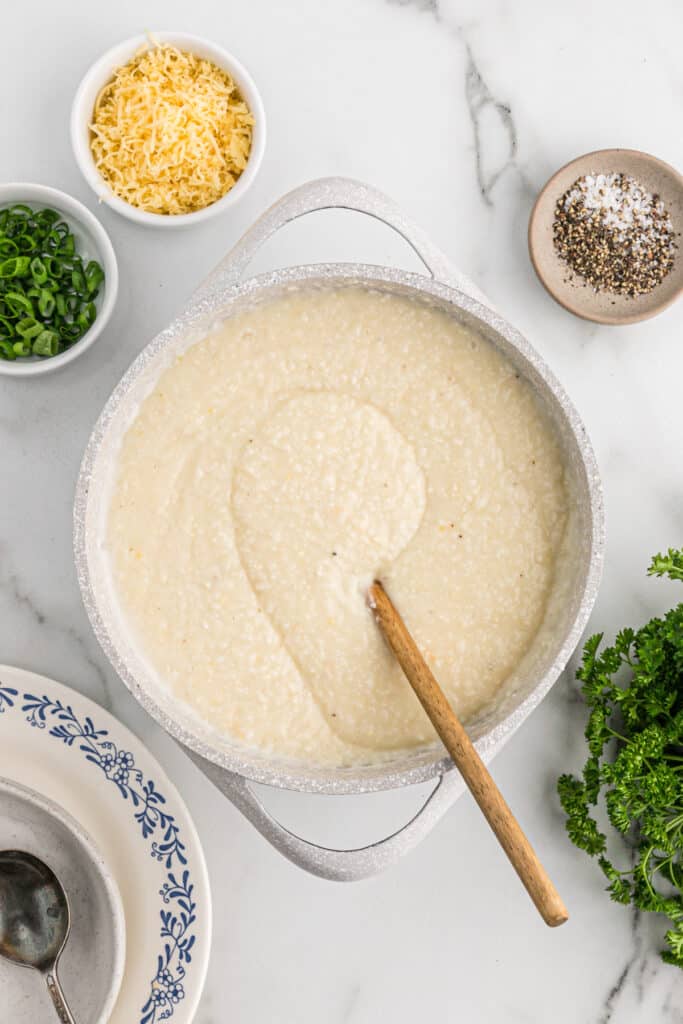

- At this point you can also add more water to thin the grits to your liking. Once they’re done, add a pat of butter on top and chopped fresh chives.
- Season with extra salt as desired, and serve!
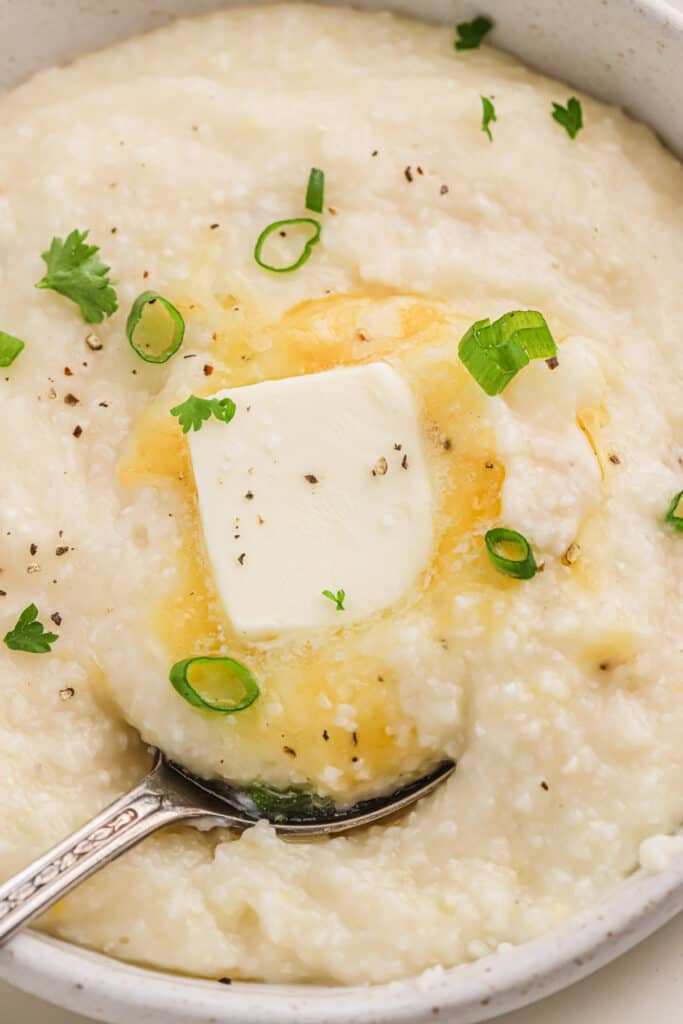
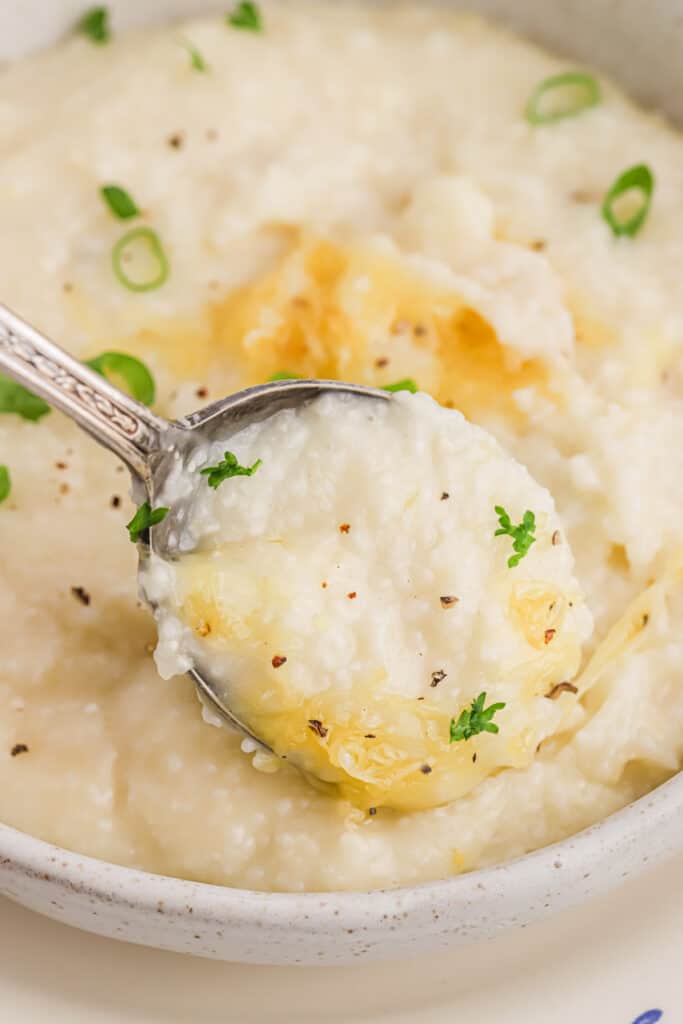
Tips For Making The Best cheesy grits
- Use the Proper Water Ratio: Make sure you measure the liquid exactly. It’s best to go with a 2:1 ratio for perfectly creamy grits. But, always double-check the package instructions on your specific brand to be sure.
- Cook Slowly: Don’t rush the cooking process! Cook grits over a lower heat while stirring occasionally. If you stop stirring or turn up the heat, your cheese grits will turn out lumpy instead of creamy.
- Add the Cheese Gradually: When it’s time to add the cheese, go slow and steady. Add it in small increments to make sure it melts smoothly into the grits. Sometimes finding a blob of cheese is good but in this recipe… Not so much.
- Taste as You Go: Give those grits a taste before you call ’em done. You might want a pinch more salt or an extra dash of pepper.
Popular Substitutions & Additions
- Add Some Protein: If you want to make these grits a full meal, try adding some protein. I love tossing in some cooked shrimp or crispy bacon. Just stir ’em in at the end!
- Kick it Up with Cajun Seasoning: Feeling like spicing things up a bit? Sprinkle a teaspoon or so of Cajun seasoning while the grits are cooking.
- Swap Out the Cheese: While gouda is the love of ma life, sometimes I switch things up with different cheeses. Try sharp cheddar for a tangier flavor or a mix of Monterey Jack and Pepper Jack for a bit of a spicy kick.
- Creamy with a Twist: Instead of coconut milk, you can use heavy cream or even a bit of cream cheese for extra rich and creamy cheese grits. If you go the cream cheese route, about 4 oz should do it, added at the same time as the cheese.
How To Serve cheesy grits
- There aren’t many dishes cheese grits don’t go well with, so I’ll leave you with a few ideas. But seriously, they enhance just about anything! Use them as a bed for Pomegranate Braised Short Ribs, Southern Smothered Pork Chops, or Fried Catfish to get super Southern with it!
- You can also serve them as part of a Southern breakfast spread with Brown Sugar Bacon, Hash Browns, Hoe Cakes, and Bacon Cheddar Biscuits. You’ve got options people!
- Ain’t nothing like cornbread and grits to make you feel right at home! it’s a classic side that pairs wonderfully with cheese grits.
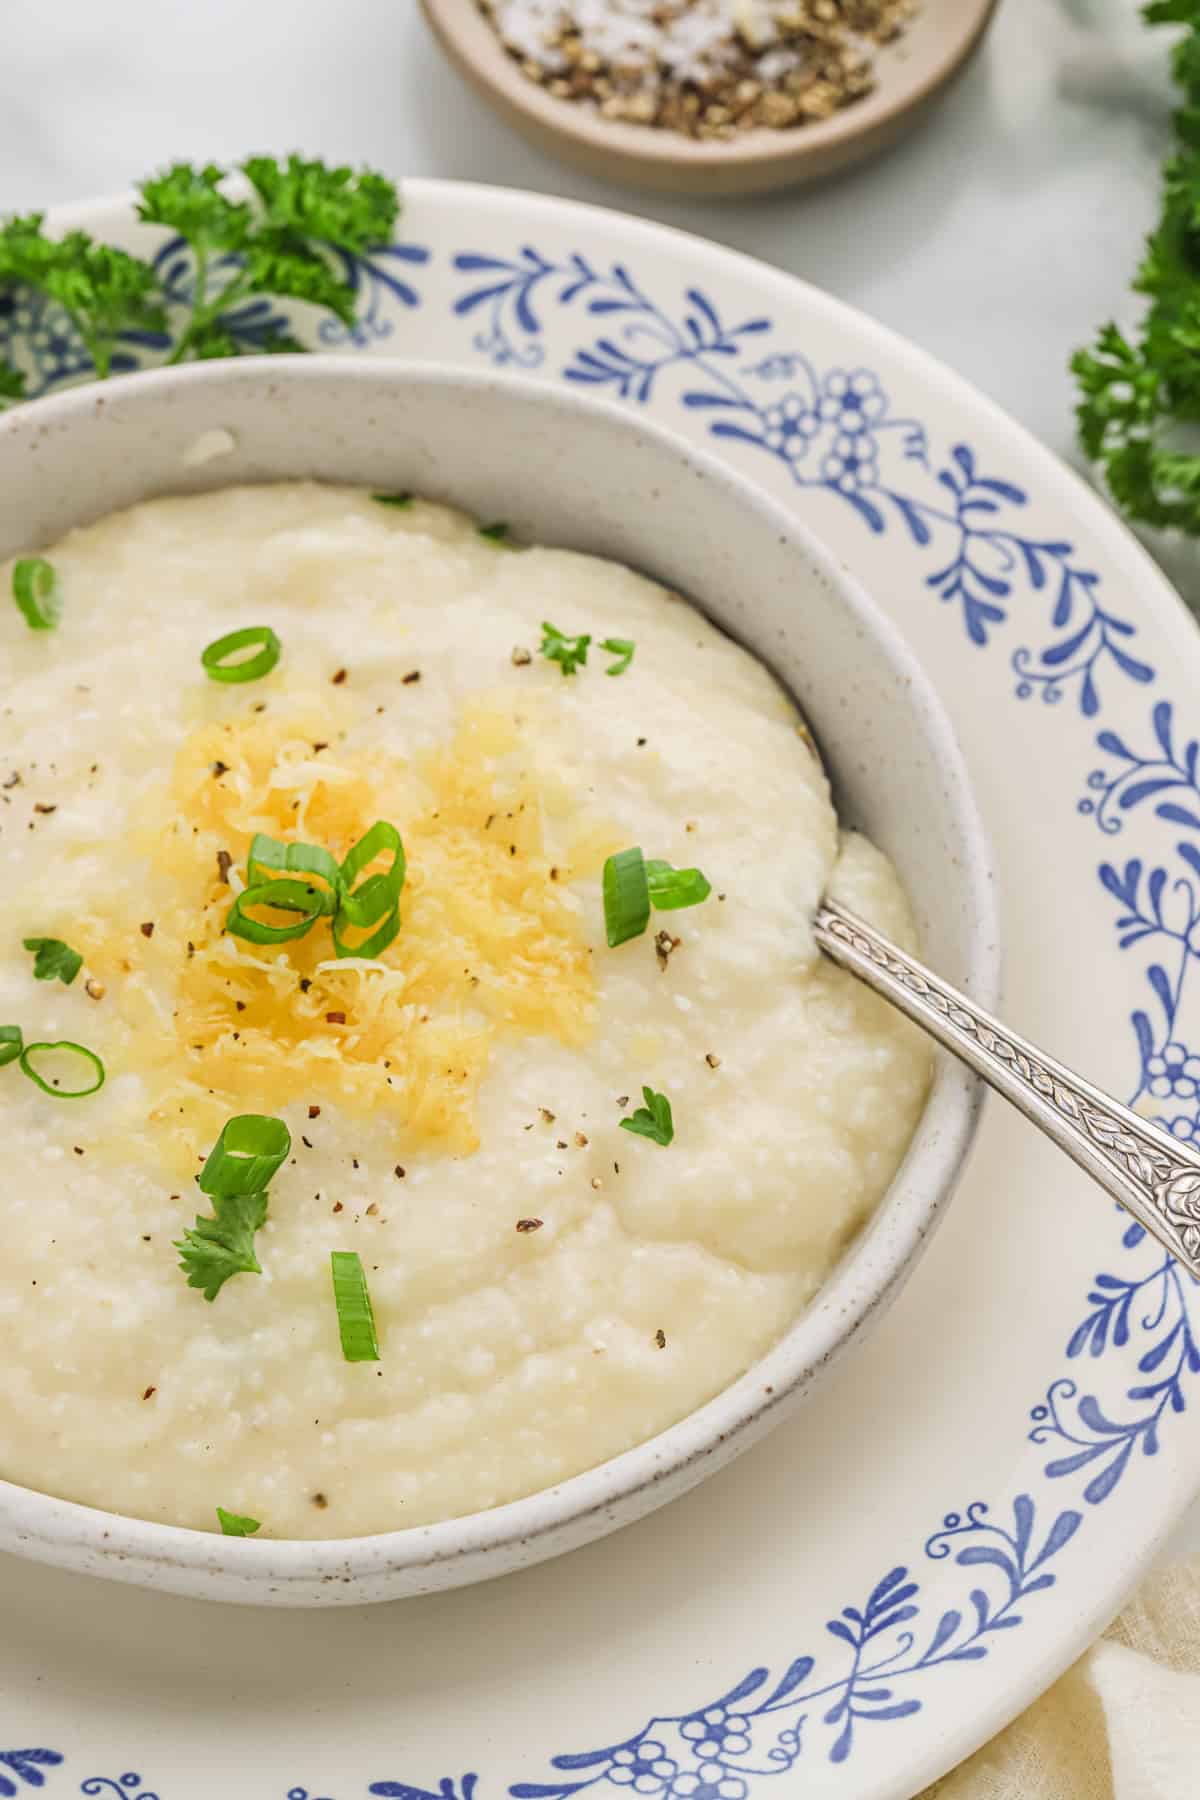
How To Store Southern cheese grits
- Fridge: Wait for your cheese grits to cool down to room temp, then store them in an airtight container or sealed bag for up to 3-4 days in the fridge.
- Reheating: The best way to reheat is on the stovetop. Just add them to a saucepan over low heat, add a splash of broth or water, and stir them until creamy again.
Frequently Asked Questions
Just stir in a bit more water, broth, or even a splash of milk until they reach your desired consistency. It’s an easy fix!
If you don’t have quick grits, you can use regular grits, but they’ll take a bit longer to cook. Follow the package instructions for cooking times and liquid ratios.
That’s not a bad thing, y’all! Just kidding, if they’re more cheese than grits, just add a bit more cooked grits or a splash of broth to balance it out. Stir well, and they’ll be just right.
More Delicious Recipes
If you enjoyed this cheese grits recipe, test out a few more of Grandbaby Cakes’ BEST recipes featuring grits:
- SHRIMP SCAMPI AND GRITS
- CHIPOTLE SHORT RIBS
- GRILLADES AND GRITS
- KETO SHRIMP AND GRITS
- CLASSIC SHRIMP AND GRITS

Cheese Grits
Want to Save This Recipe, Boo?
Ingredients
- 2 1/4 cups Water plus more to thin out to your liking
- 2 cups Chicken broth
- 2 cups Quick grits
- 4 tablespoons Unsalted butter
- Kosher salt
- Cracked black pepper
- 1 tablespoon Light brown sugar
- 1 teaspoon Garlic powder
- 3/4 cup Canned coconut milk
- 2 cups Shredded gouda cheese
Instructions
- In a medium saucepan, bring the water and chicken broth to a boil. Add the grits and butter, season with salt and pepper as desired, and stir to combine.
- Cover, reduce heat to medium, and cook, stirring occasionally until thickened. Once the grits begin to soak up the liquid, stir in the brown sugar and garlic powder.
- When the grits are done, stir in the coconut milk and cheese in small increments. Add ¼ cup coconut milk and about ½ cup cheese and stir. Continue this until all the milk and cheese is mixed in. At this point, you can also add more water to thin the grits to your liking. Season with salt as desired.
Notes
- Use the Proper Water Ratio: Make sure you measure the liquid exactly. It’s best to go with a 2:1 ratio for perfectly creamy grits. But, always double-check the package instructions on your specific brand to be sure.
- Cook Slowly: Don’t rush the cooking process! Cook grits over a lower heat while stirring occasionally. If you stop stirring or turn up the heat, your cheese grits will turn out lumpy instead of creamy.
- Add the Cheese Gradually: When it’s time to add the cheese, go slow and steady. Add it in small increments to make sure it melts smoothly into the grits. Sometimes finding a blob of cheese is good but in this recipe… Not so much.
- Taste as You Go: Give those grits a taste before you call ’em done. You might want a pinch more salt or an extra dash of pepper.
This is exactly how I make my savory grits (without the brown sugar). I also LOVE adding in bacon and jalapeño!
Who knew grits could be so tasty? This Cheese Grits recipe is a game changer! Creamy, cheesy, and oh so comforting. Now I can finally say I know what all the fuss is about. Yum!
Wow this dish looks delicious!! will make it for the family as we really like savory dishes. Thank you for the recipe 🙂
This is true comfort in a bowl! I would have never thought of cheese and grits together, but it tastes amazing.
Oh my goodness, these grits are SO tasty! Love the addition of creamy coconut milk, and the Gouda makes them sooo good-a! 🙂
These cheese grits look perfect! I have never had grits before, but someone told me to bring some to a potluck so I have been looking up alllll the recipes and this one sounds the best. So excited to make this!