
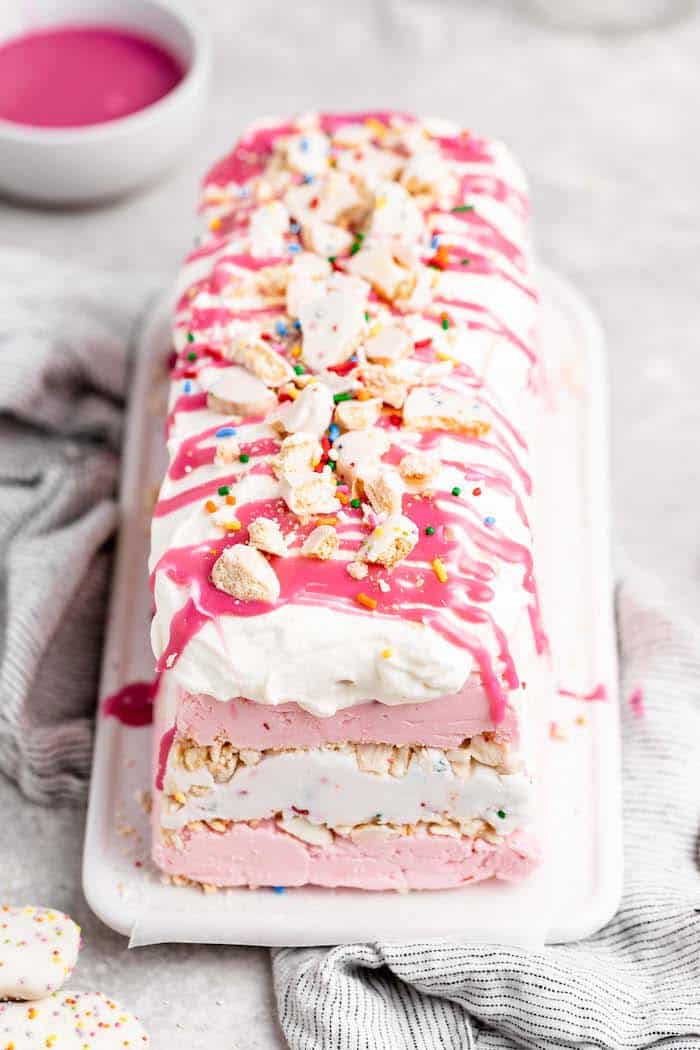
Frosted Animal Cookie Ice Cream Cake is this Summer’s signature dessert. We’re talking layers of frosted animal cookie crumbles, funfetti and strawberry ice cream, fresh whipped cream, and white chocolate ganache!
This post may contain affiliate links. Read our disclosure policy.
Want to Save This Recipe, Boo?
A childhood favorite cookie added to…well, another childhood favorite: ice cream cake! Seriously who doesn’t absolutely LOVE icebox cake, or I guess you could say Ice cream cake. They are incredibly easy to make, filled with delicious layers of flavor and seriously so irresistible and fun to eat during the summertime.
Frosted Animal Cookies have always been a favorite of mine! Crunchy cookies dipped in white chocolate and loaded with colorful sprinkles were (and still are) my jam!
How to Make An IceBox Cake
An IceBox Cake is simply a dessert that doesn’t really require any baking. They come together pretty quickly with simple ingredients and the longest part of the recipe is the chilling process.
Ingredients that work really well in IceBox Cakes or easy Ice Cream Cakes are the following:
- Ice Creams (you can either make your own for something really spectacular or grab some at a local grocery like Whole Foods where I got mine!)
- Whipped Cream (definitely easy to make on your own or if you want an easy option- whipped topping is always easy to find)
- Graham Crackers (I find that graham crackers are probably one of the most popular options to use for icbox cakes like this)
- Other Cookies (chocolate sandwich cookies like Oreos, vanilla wafers and in this case Animal Cookie crumbles work really well and add some pizazz and texture)
- Sauces (chocolate, caramel, berry flavored. Have fun mixing and matching)
How to Make An Animal Cookie Ice Cream Cake
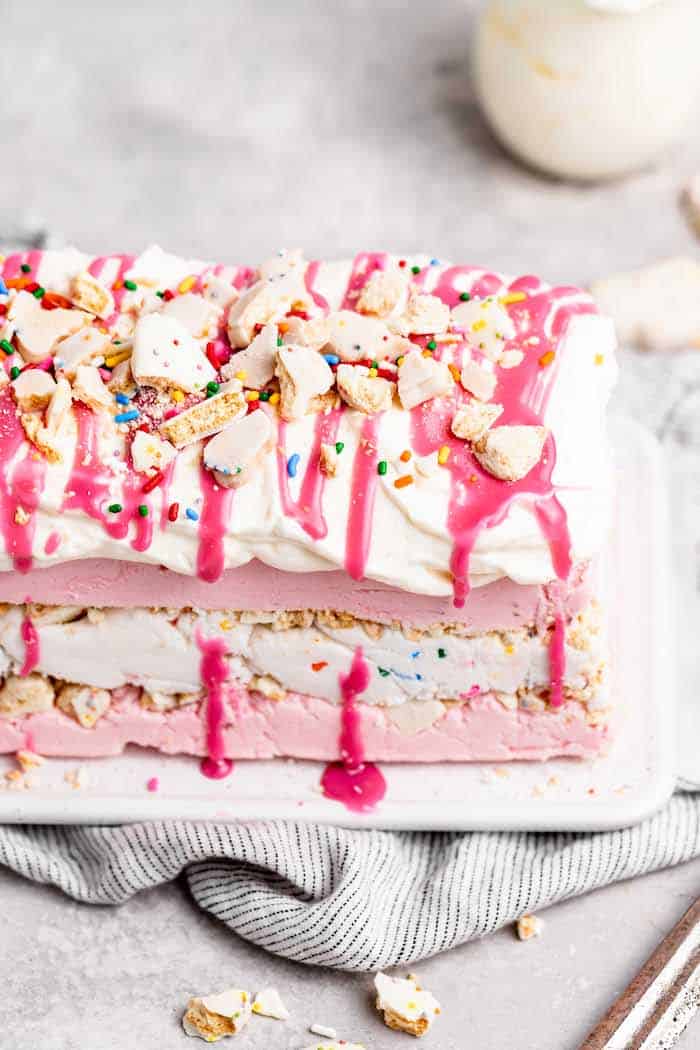
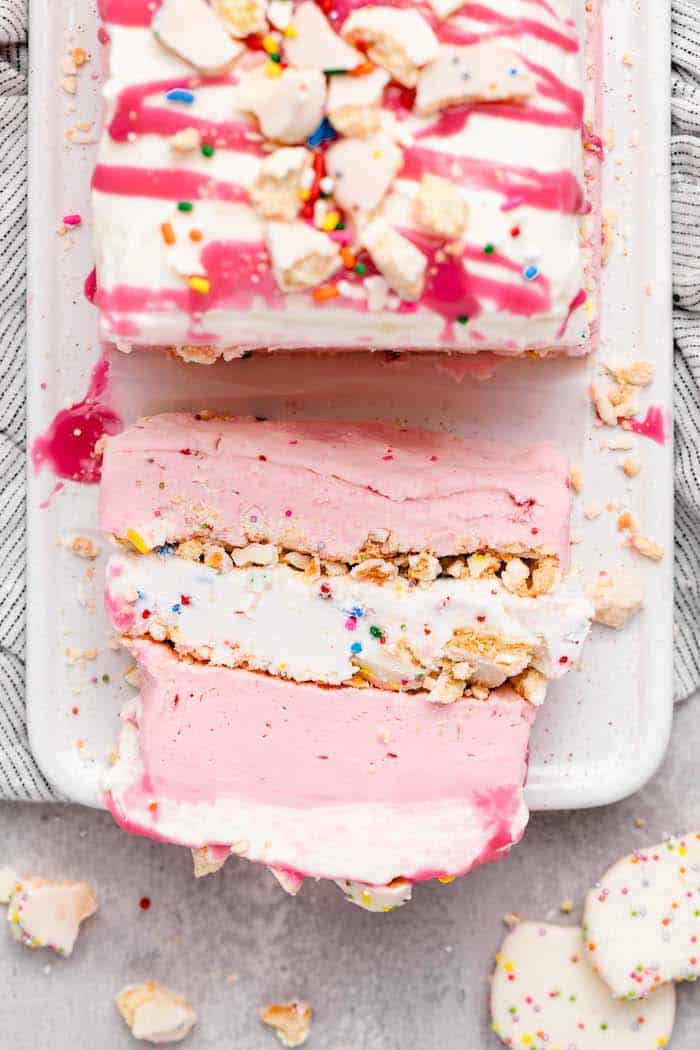
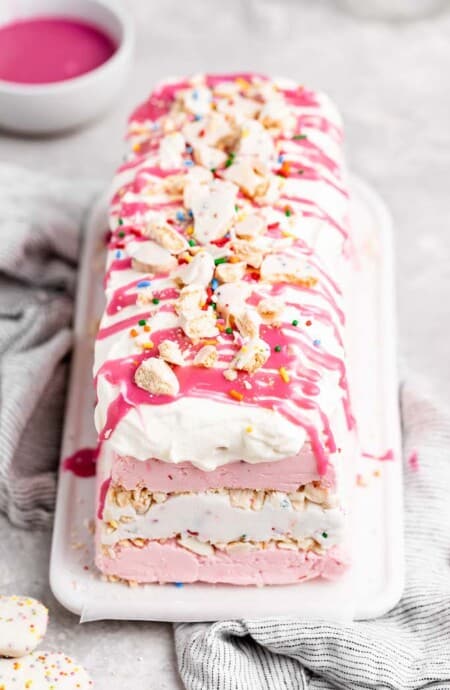
Making this Animal Cookie Icebox Cake was so easy and so much fun! To bring the flavor of this childhood classic to life, I layered crushed animal cookies, funfetti ice cream, strawberry ice cream, a mountain of whipped cream, and, of course, a hot pink white chocolate ganache. Top this colorful cake with a few extra cookies and a handful of sprinkles and y’all got a Summer dessert worth raving about!
Tips for Building Your Own Ice Cream Cake
- Truly think about the flavors. Pairing flavors is something we do a lot with so have fun. I love pairing chocolate with caramels and fruitier flavors together but the it is totally up to you!
- Make sure your ice creams are soft. They will help you spread them easier and you will get more even layers.
- Plan ahead – Unfortunately, you usually won’t be eating your ice cream cake the same day you make it unless you make it super early in the morning and then serve later that night. Your icebox cake will need ample time to set so don’t forget to factor this in.
Storing Icebox Cakes
You can easily store your icebox cake in the vessel you make it in like the cake pan. It can be stored in the freezer for up to 1 month.
They get a little harder the longer they sit in the freezer– if they’re super solid, let them sit out for a few minutes before enjoying. I’d recommend using both plastic wrap and aluminum foil to avoid freezer burn.
GRANDBABY CAKES’ BEST Frozen RECIPES
There’s no such thing as Summer without frozen desserts! If you’re as crazy about this creamy-cool confection as I am, try out a few more of Grandbaby Cakes’ recipes!
Mint Chocolate Ice Cream Cake
Strawberry Vanilla Ice Cream Cake
Frozen Banoffee Pie
Brownie Ice Cream Sandwiches
Frozen Strawberry Margarita Pie.
Animal Cookie Ice Cream Cake
Want to Save This Recipe, Boo?
Ingredients
For the Icebox Cake
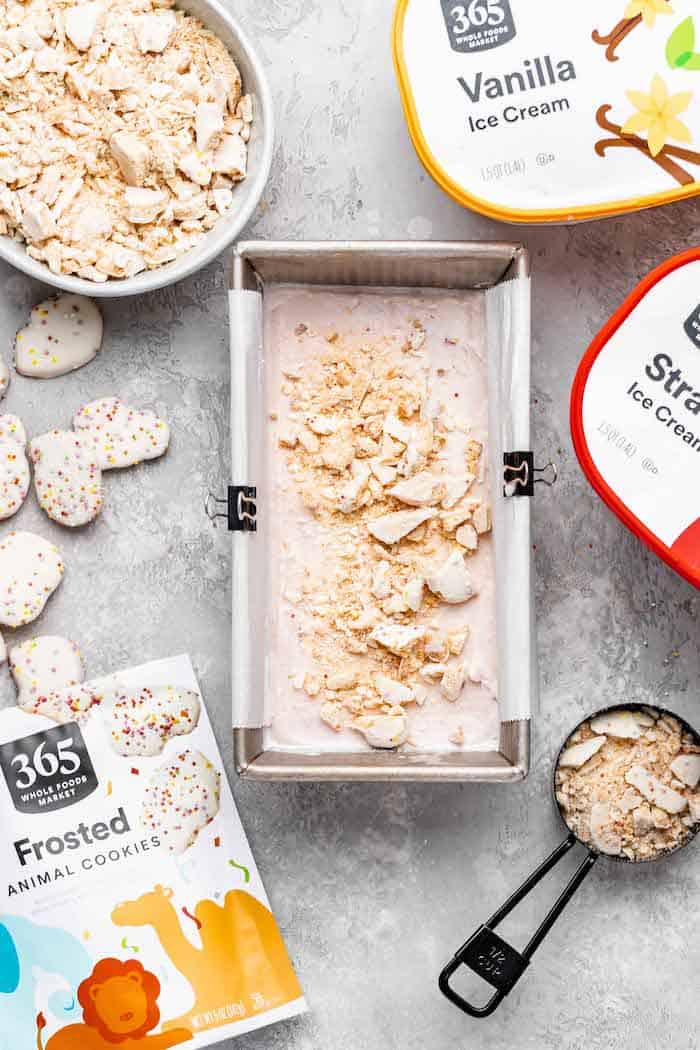
- 15 oz Frosted animal cookies I used the 365 brand from Whole Foods
- 1.5 qt strawberry ice cream split in half and softened a bit
- 3/4 qt vanilla ice cream about half of 1.5 qt softened a bit
- 1/4 cup assorted sprinkles plus more for topping
For the Whipped Cream
- 2 cups heavy whipping cream
- 1/3 cup powdered sugar
- 2 tsp pure vanilla extract
- pinch of salt
For the White Chocolate Ganache
- 1 cup white chocolate chips or chunks or a bar chopped up
- 1/2 cup heavy whipping cream
- red and blue food coloring optional
Instructions
For the IceBox Cake
- Start by lining a non-stick loaf pan with parchment paper, leaving about 4-6 inches of paper hanging over the long side of the pan.
- In a large blender or food processor, pulse the frosted animal cookies until there is an even mix of large chunks, crumbles, and bits.
- Layer ½ the strawberry ice cream onto the bottom of the loaf pan and use a rubber spatula to create a smooth, even layer. Sprinkle about ½ cup of cookies over the top, then transfer to the freezer for at least 10 minutes.
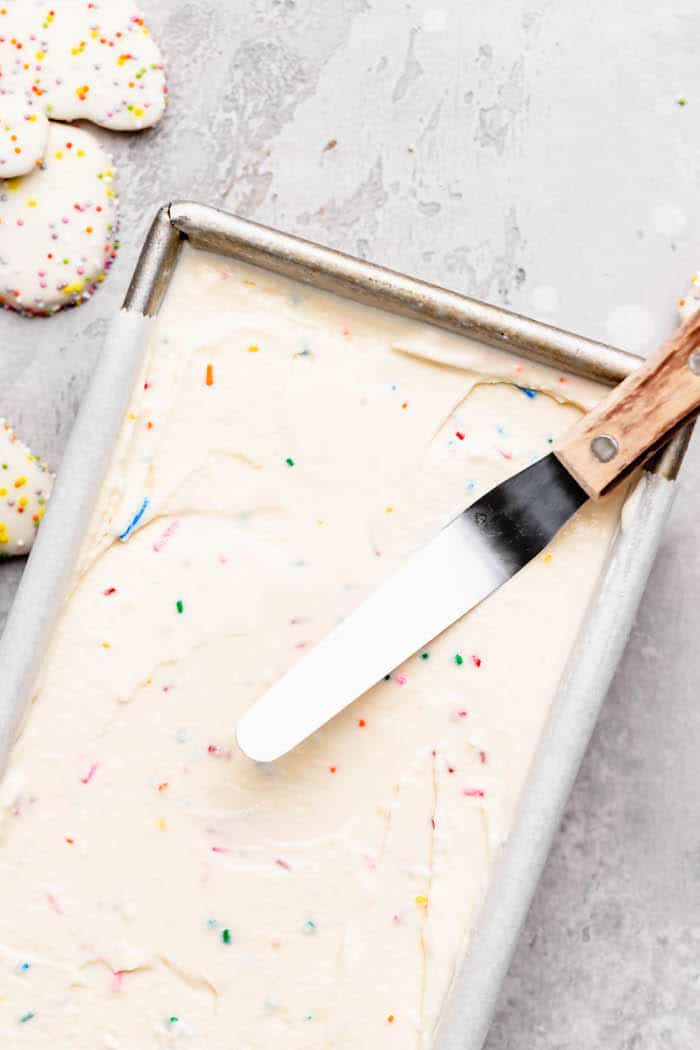
- While you wait, add the vanilla ice cream to a large metal or glass bowl. Add ¼ cup of sprinkles to the ice cream and use a spatula to mix them in.
- Remove the loaf pan from the freezer. Carefully spread the vanilla ice cream on top of the first layer. Sprinkle another ½ cup of cookies over the top. Freeze again for 15-20 minutes.
- Once the ice cream is relatively firm, spread the remaining strawberry ice cream and sprinkle another ½ cup of cookies on top. Cover and freeze for at least 7 hours or overnight.
For the Whipped Cream
- In the bowl of a stand mixer fitted with the whisk attachment, or in a large mixing bowl using a handheld mixer, add the heavy whipping cream, powdered sugar, and vanilla extract. Start mixing on low speed. Once the mixture starts to increase in volume, increase the speed to medium-high until stiff peaks form.
- Keep covered and refrigerated until ready to use.
For the Ganache
- Place white chocolate chips into a heat resistant bowl (glass or metal). If you’re starting with a white chocolate bar, chop it into small pieces until they’re about the size of chocolate chips.
- In a saucepan over medium-high heat, warm heavy whipping cream until it just starts to boil. Look for small bubbles forming around the edge and a soft boil starting in the middle. When you see that it’s just starting to boil, pour it over the white chocolate and let sit for about 30 seconds.
- Whisk it together until it’s uniform in consistency and there are no bits of chocolate left on your whisk.
- Color the ganache by adding in 2-3 heavy drops of red food coloring. As you whisk, the color will begin to brighten. Continue to add color until you’ve achieved your desired pink. To deepen the tone or create a more magenta/purple, add in a few drops of blue food coloring.
- Cool the ganache at room temperature for about 10-15 minutes, or until the ganache itself is room temperature.
To Assemble
- When ready to serve, prepare the whipped cream and ganache as instructed.
- Remove the icebox cake from the freezer and allow it to defrost for 5-10 minutes.
- Use the parchment paper flaps to carefully lift out the cake, then flip it over onto your desired serving platter.
- Pile the whipped cream onto the top of the cake and spread it into a tall, even layer. Freeze for 10 minutes.
- Use a fork or a whisk to drizzle the ganache over the top of the cake. Then, sprinkle the remaining cookie crumbles and a handful of sprinkles over the top.
- If the cake has begun to melt again, freeze again for 15-30 minutes, then slice and serve!
 pinterest
This is cream cake is seriously the best! So cute and delicious!
This IS the perfect Summer dessert! It’s a dream for all the kids (and even us adults too)! Love all the colours and layers because it’s what gets everyone excited 😀
This is a seriously fun dessert! Love the cookie crunch with the soft creamy ice cream!
Such a pretty looking frozen dessert and perfect for summer!
Oh my goodness! What a lovely and creative! This cake looks so addicting and the perfect ice cream cake for my daughter’s birthday! This is definitely going to be gone within minutes!
such a fun cake and the cookies make for a nice texture contrast too, love this, thank you!