
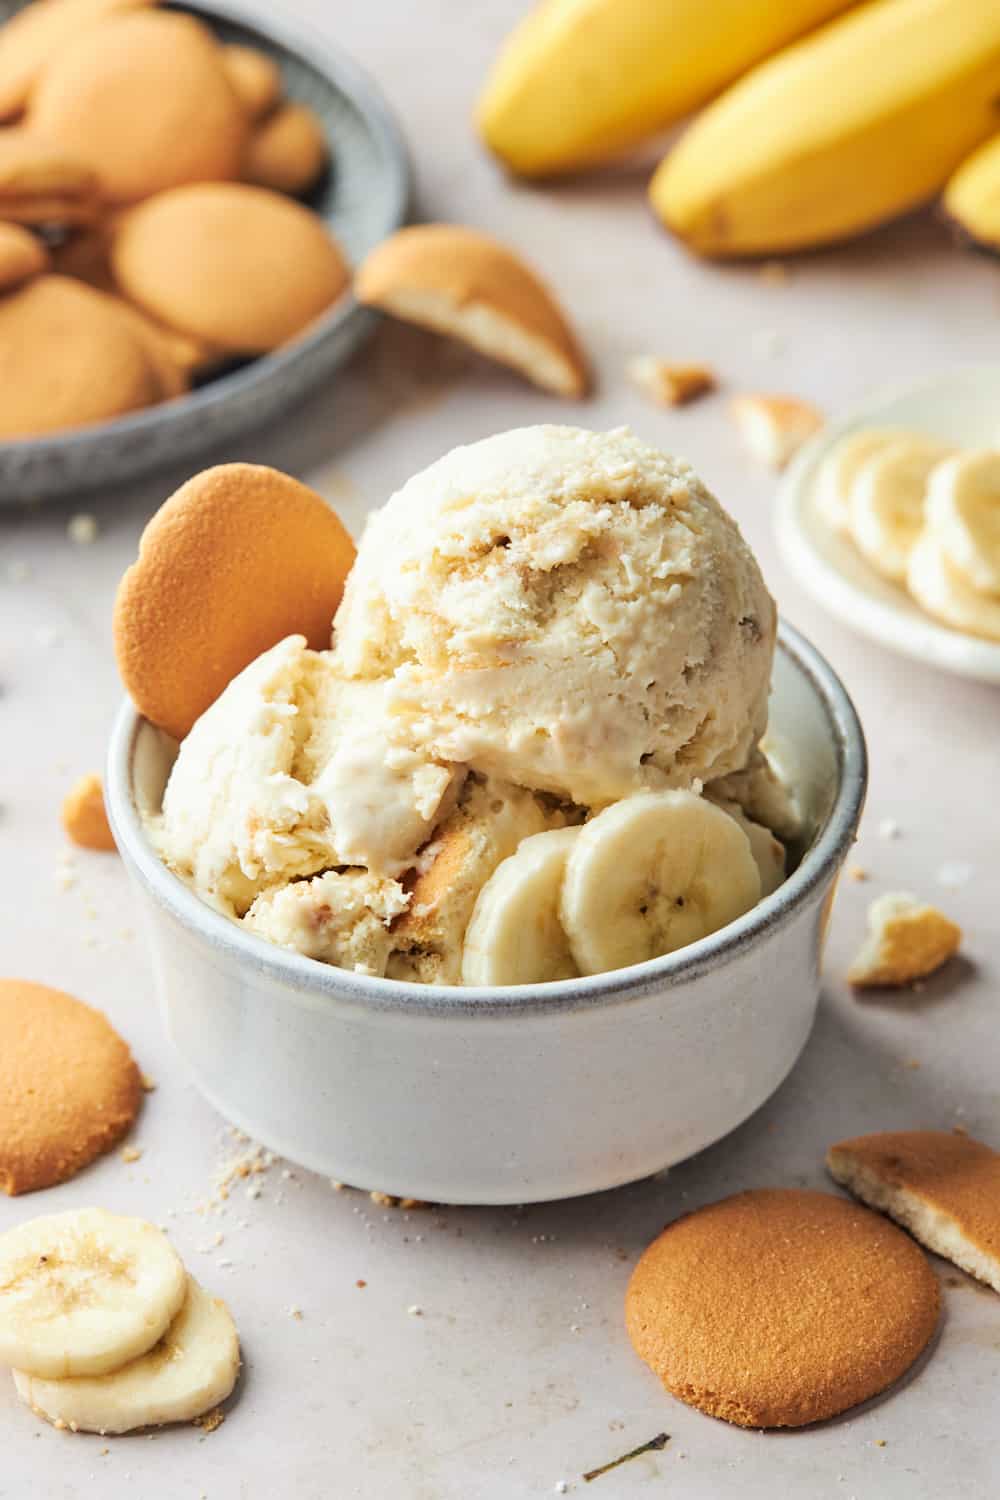
Y’all my homemade banana pudding ice cream recipe is the bizness. I keep the texture super creamy with cream cheese and whipped cream without using an ice cream maker. I also add in some banana pudding mix, vanilla wafers and ripe banana slices. This will give you all the OG banana pudding vibes but in a frozen package for when it gets a little too hot outside.
This post may contain affiliate links. Read our disclosure policy.
How to make Banana Pudding Ice Cream

Step 1: In a large mixing bowl, beat the cream cheese until smooth.
Add the instant banana pudding mix to the bowl and beat until well combined. Gradually add the sweetened condensed milk and vanilla extract, beating until well combined.
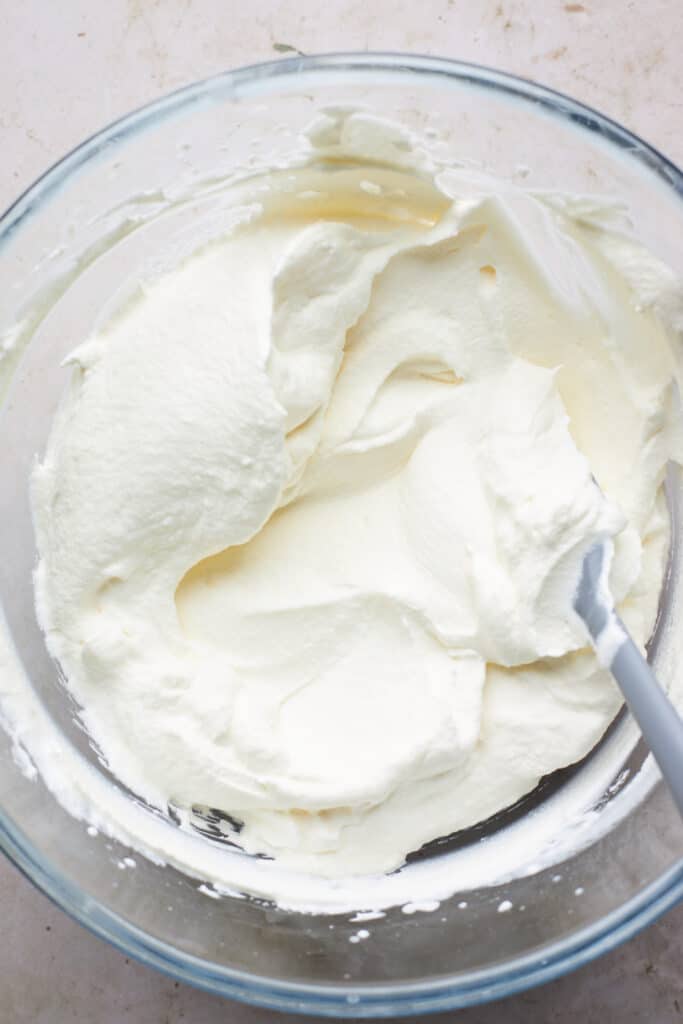
Step 2: Whip your whipped cream.
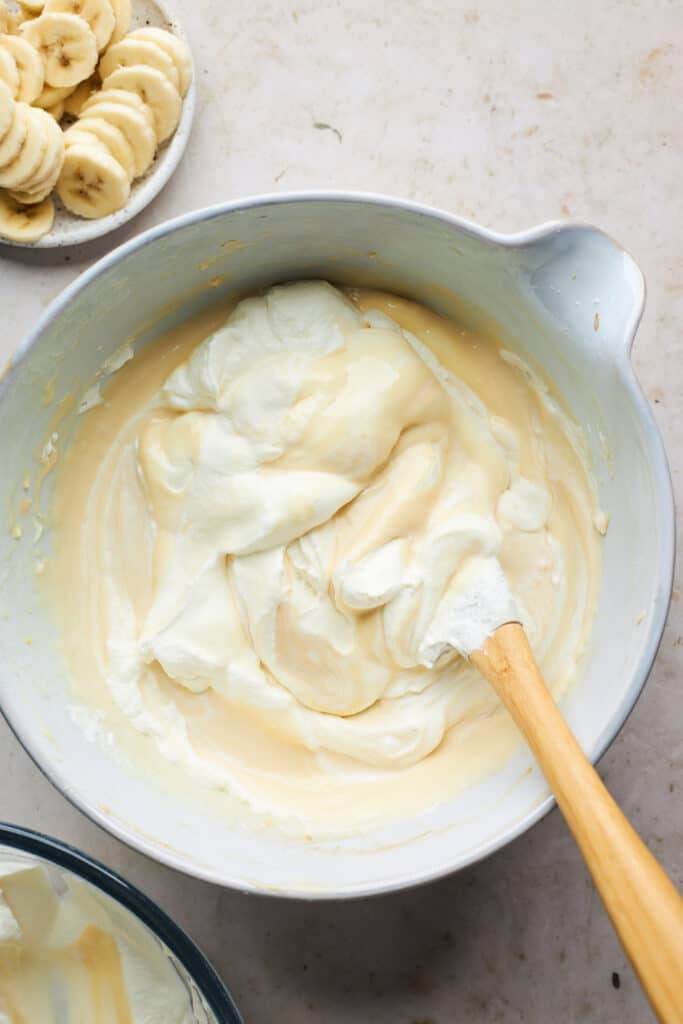
Step 3: Fold it into the cream cheese mixture with a spatula.
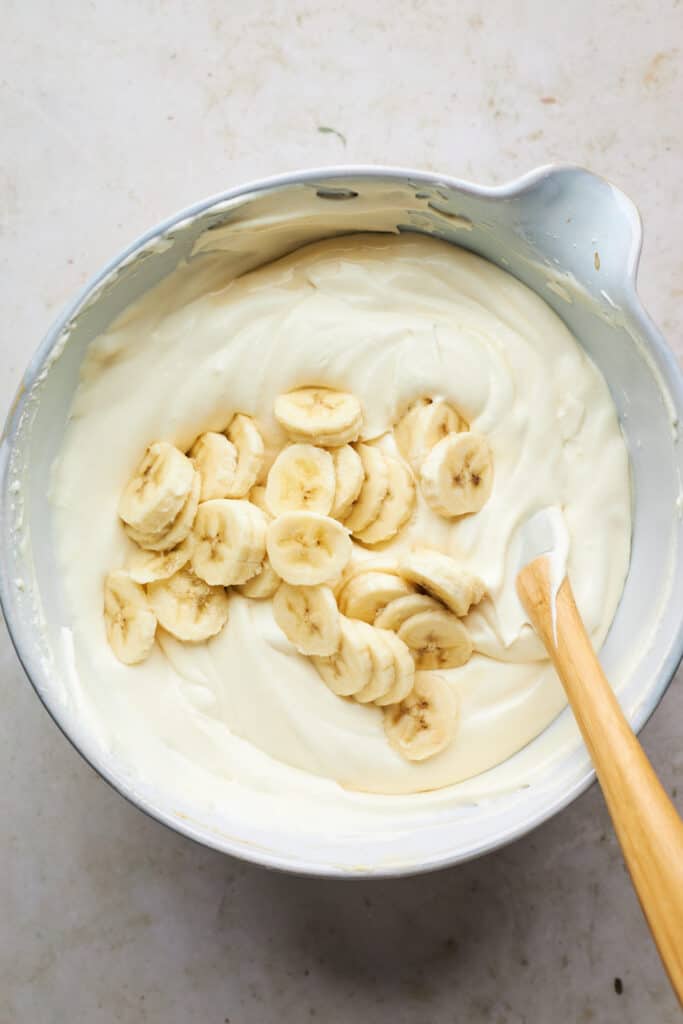
Step 4: Stir in the sliced bananas.
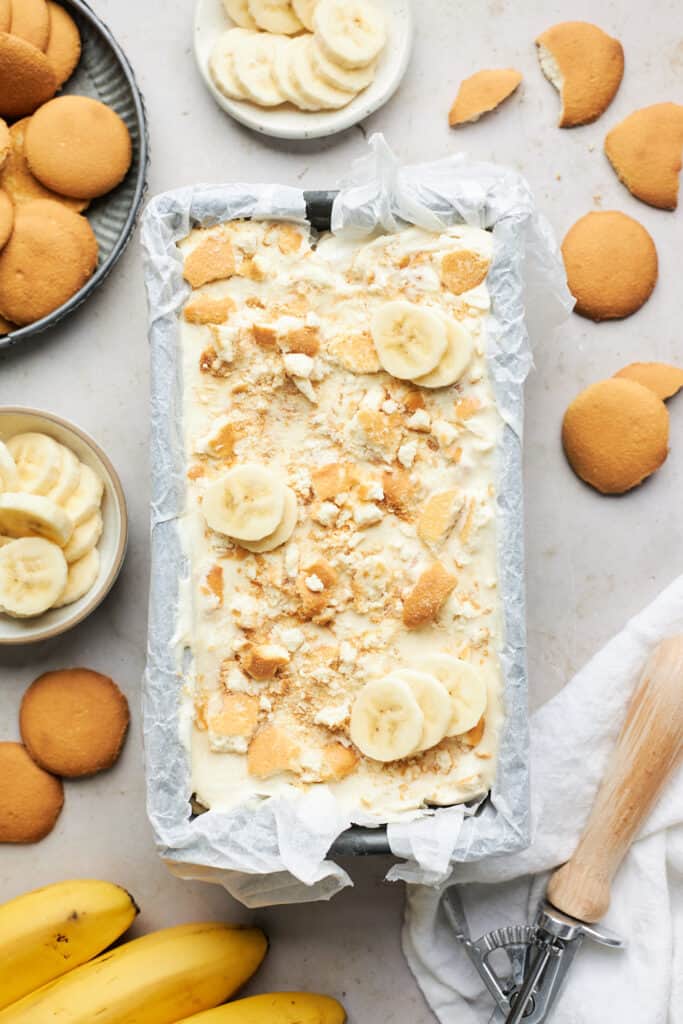
Step 5: To assemble the ice cream, alternate layers of the banana pudding mixture, crushed vanilla wafers in a freezer-safe container.
Cover with plastic wrap and freeze for at least 5-6 hours, or until firm.
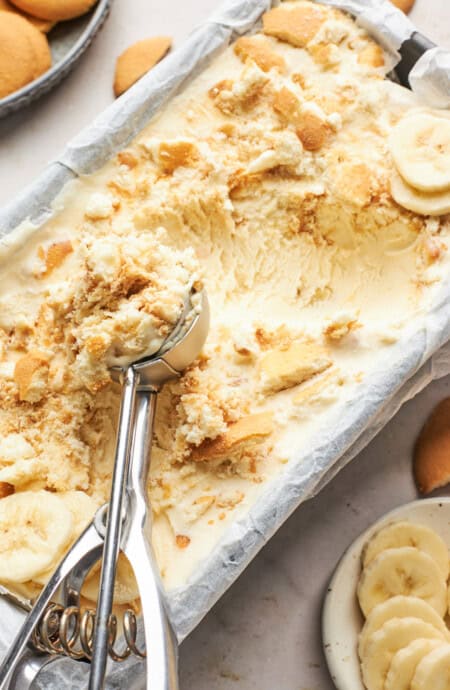
Let the ice cream sit out for 5 – 10 minutes before serving.
Banana Pudding Ice Cream Recipe
Want to Save This Recipe, Boo?
Ingredients
- 3.4 oz banana pudding instant mix
- 8 oz cream cheese room temperature
- 14 oz sweetened condensed milk
- 1 tbsp pure vanilla extract
- 2 cups heavy whipping cream whipped to stiff peaks
- 1 cup crushed vanilla wafers
- 2 ripe bananas sliced
Instructions
- In a large mixing bowl, beat the cream cheese until smooth.
- Add the instant banana pudding mix to the bowl and beat until well combined.
- Gradually add the sweetened condensed milk and vanilla extract, beating until well combined.
- Fold the whipped cream into the cream cheese mixture using a spatula.
- Stir in the sliced bananas.
- To assemble the ice cream, alternate layers of the banana pudding mixture, crushed vanilla wafers in a freezer-safe container.
- Cover with plastic wrap and freeze for at least 5-6 hours, or until firm.
- Let the ice cream sit out for 5 – 10 minutes before serving.
Notes
What to do with leftovers
Leftover banana pudding no churn ice cream can be kept in a sealed container in the freezer for up to 2 weeks. Just allow it to soften for a couple of minutes before serving it again.Nutrition
Recipe Tips
- Use room-temperature cream cheese: This will also help create a silky smooth texture.
- Make stiff peaks: Whip the heavy cream until you achieve stiff peaks before folding it into the cream cheese mixture. This will result in a perfectly light and airy ice cream.
- Fold gently: Remember to carefully fold the whipped cream into the cream cheese mixture to maintain the airiness of the ice cream.
- Use ripe bananas: Get the spotty ones so you keep the ice cream sweet.
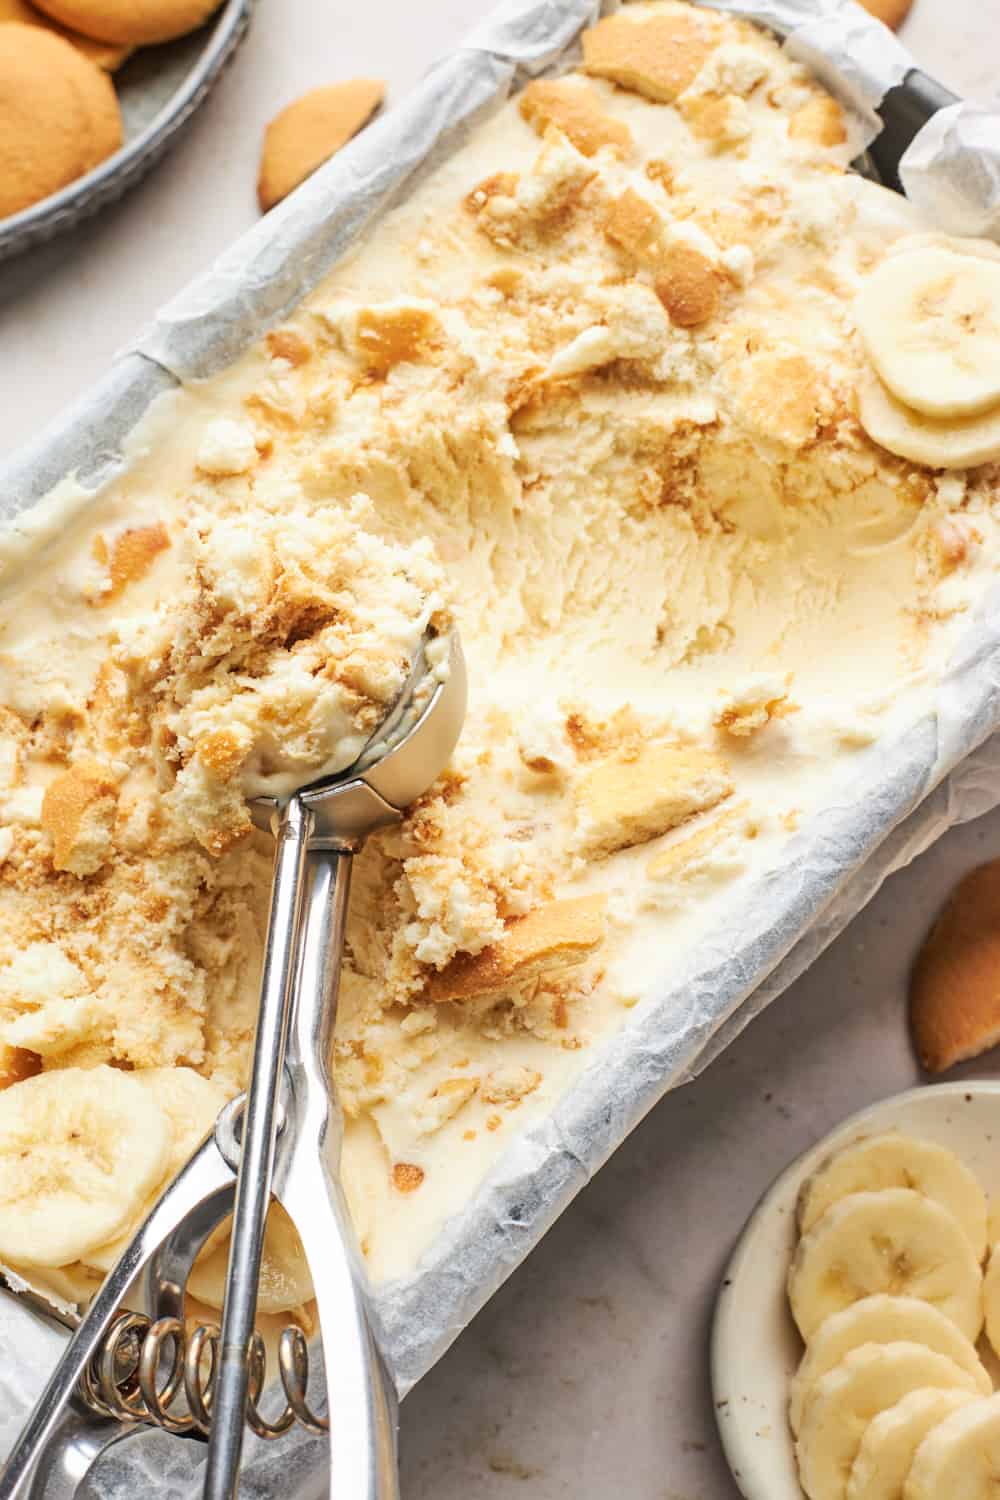
- Wait for it to freeze: I know it might be tempting to dig in early, but allowing the ice cream to freeze for at least 5 hours will result in a much firmer, more scoopable result.
Want to Save This Recipe, Boo?
Recipe Help
It is best to use instant pudding mix for this recipe since it sets quickly and provides the desired texture. I can’t guarantee the same results with regular pudding mix.
I recommend using fresh, ripe bananas since they’re easier to cut and prepare. However, you can use frozen bananas in a pinch. Just be careful and use a sharp knife when slicing them.
The cream cheese adds richness and creaminess to the recipe, giving that ice cream consistency. You can leave it out, but the texture and flavor will be affected.
 pinterest
Hi, could you specify the kind of instant puffin mix, is it vanilla or banana cream?
You can use either and it will turn out great.
Can you use cool whip in place of the heavy cream?
Yes you absolutely can!
Made this as a Birthday surprise. The Birthday boy loved it so much he asked me to make for this year’s Birthday. Only change is I used Pepperidge farm chessman cookies! Delicious
Ooo love the idea of using Chessman cookies!
Hi… Finally! I’ve been looking for a more authentic looking banana pudding ice cream recipe and this is the only one I found with actual banana pudding ingredients (outside of just throwing in bananas and cookies lol.) The only problem is we just bought an ice cream maker so we want to actually churn it. Haha… Do you think I could just follow your steps and then churn it anyway?
I actually wouldn’t recommend it. It may change the texture and mouth feel due to the milk fat content needed to make it no-churn.
I didn’t see when you added the whipping cream.. do you whip it with cream cheese??
Hi Jen, it’s step 4 on the recipe card at the bottom of the page. You want to already have your cream whipped and then add it to the cream cheese mixture.
Very delicious!! Made this for thanksgiving! Thank you for providing this recipe! I’m going to gift family members your cookbook!
Wow thank you so so much!!