Garlic Bread

This homemade Garlic Bread recipe is the best you will ever taste. And I stand by that boos! It’s buttery, garlicky, crispy and absolutely addictive. The best part is this that making garlic bread from scratch couldn’t be easier. If you can mix, spread and bake, you can make this recipe ya dig?

This post may contain affiliate links. Read our disclosure policy.
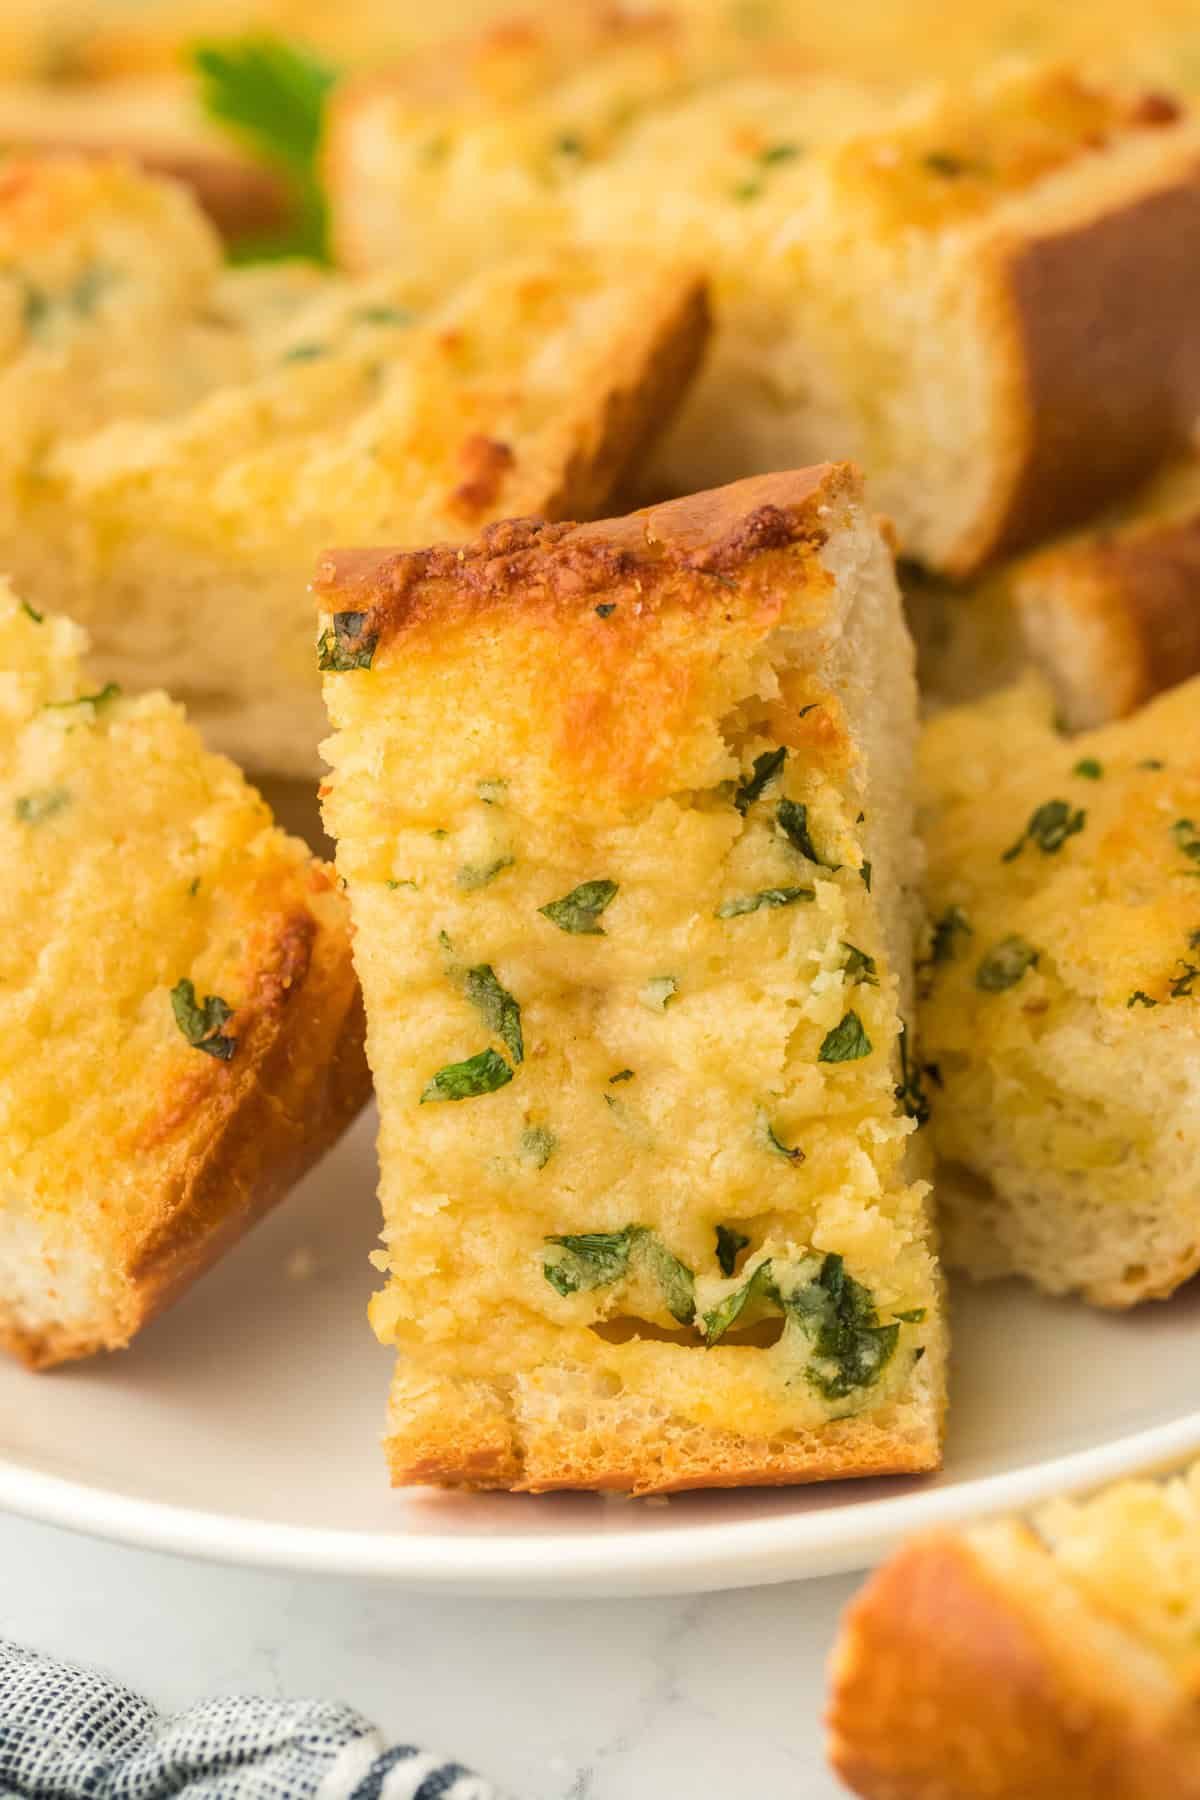
Homemade garlic bread recipe slices on a white plate on a white background

Want to Save This Recipe, Boo?

I'll email this recipe to you, so you can come back to it later!

I didn’t grow up eating garlic bread from scratch. My mama didn’t have time for that. Between a 9 to 5 (sometimes 9 to 6 or 7) job, a husband and two demanding kids, she was spread thin. If garlic bread was served, it was served from a frozen box. Then one day, everything changed. Our local grocery store started selling homemade garlic bread in their bakery section. My mom decided to try it out. She popped it in the oven as she was finishing her famous spaghetti and something magical occurred at dinner. I was totally changed! Frozen garlic bread was kicked to the curb.

I worked on this easy garlic bread recipe until it was perfect. It legit reminds me of the version we grabbed at our grocery store. You will adore the divine taste of fresh bread topped with butter, minced garlic, olive oil and parsley. It’s a game changer. Once you try this recipe, you won’t go back to the frozen box again boos.

The Lowdown of the Best Garlic Bread Recipe

Closeup of Jocelyn in pink dress smiling

Cuisine Inspiration: Italian-American

Primary Cooking Method: Baking

Dietary Info: Vegetarian. Can be made Gluten-Free with an adjustment

Key Flavor: Garlicky, Buttery, and Herbaceous

Skill Level: Easy (No Sweat, Fam!)

Nothing beats the aroma and taste of garlic bread made from scratch. You control the freshness and know exactly what’s going into your food.

With both garlic cloves and garlic powder in the. mix, you can adjust the garlicky punch to your preference, ensuring it’s never doing too much or too understated.

This garlic bread goes with everything! Whether it’s spaghetti, lasagna, or a hearty salad, this side is an Italian dish’s BFF.

No long AF prep times or complicated steps, this recipe is straightforward and about as simple as simple can get.

Ingredients You’ll Need to Make Easy Garlic Bread From Scratch

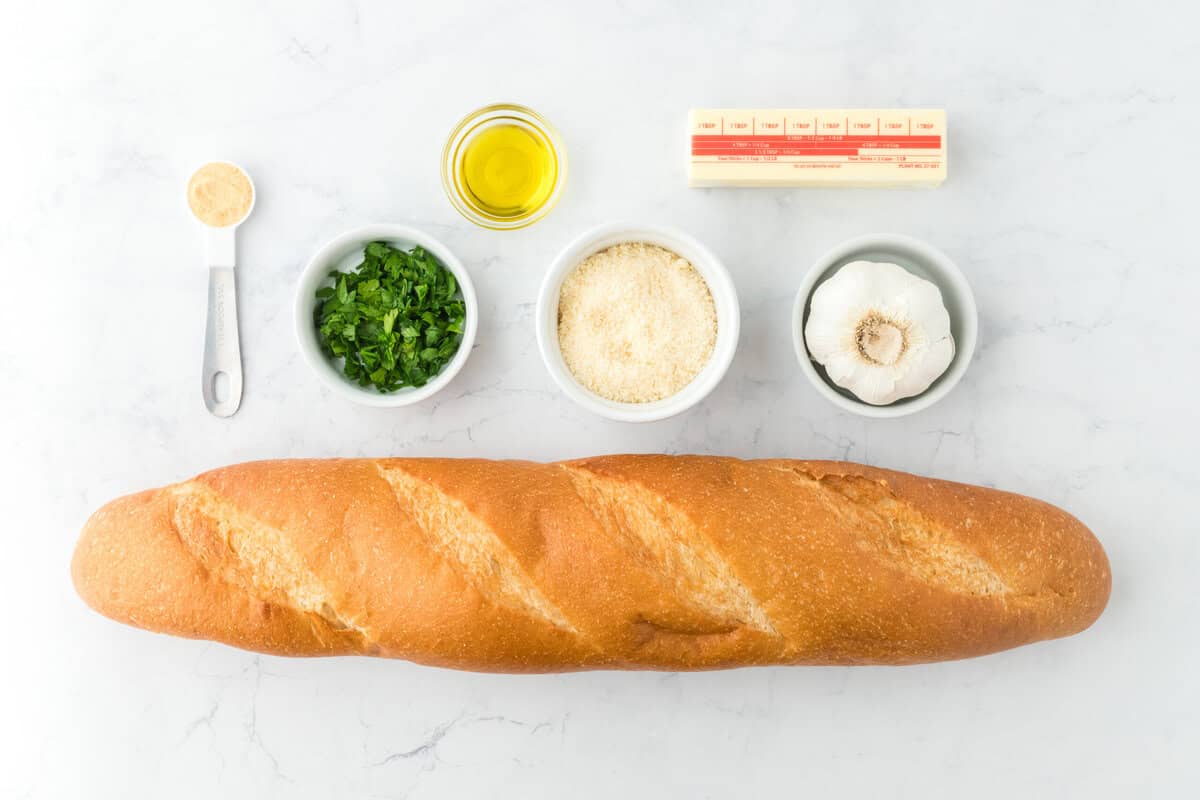
Butter, a baguette, garlic, parsley, parmesan, garlic powder, and olive oil on a white background
  • Butter– This creates the rich and delish base of our spread. I use salted since it is already flavorful and cuts down on the ingredients we need. Grab a french style butter that has more fat because it is creamier and more decadent in taste.
  • Garlic- Grab a bulb and mince that baby down. We need ample garlic flavor in this recipe.
  • Garlic Powder- I double on the garlic flavor by also added the granulated version. This way, you get a taste of garlic in each bite wherever minced garlic doesn’t reach.
  • Parsley- Fresh parsley doesn’t just add color; it gives subtle earthiness that complements the robust garlic flavor.
  • Olive Oil- This adds moisture and richness to the spread allowing it to spread easier giving a great mouthfeel.

How to Make Garlic Bread

Step 1: Prep the Spread

  1. Next, you gotta mince the garlic for the spread. You could also grate it for a more pungent flavor.
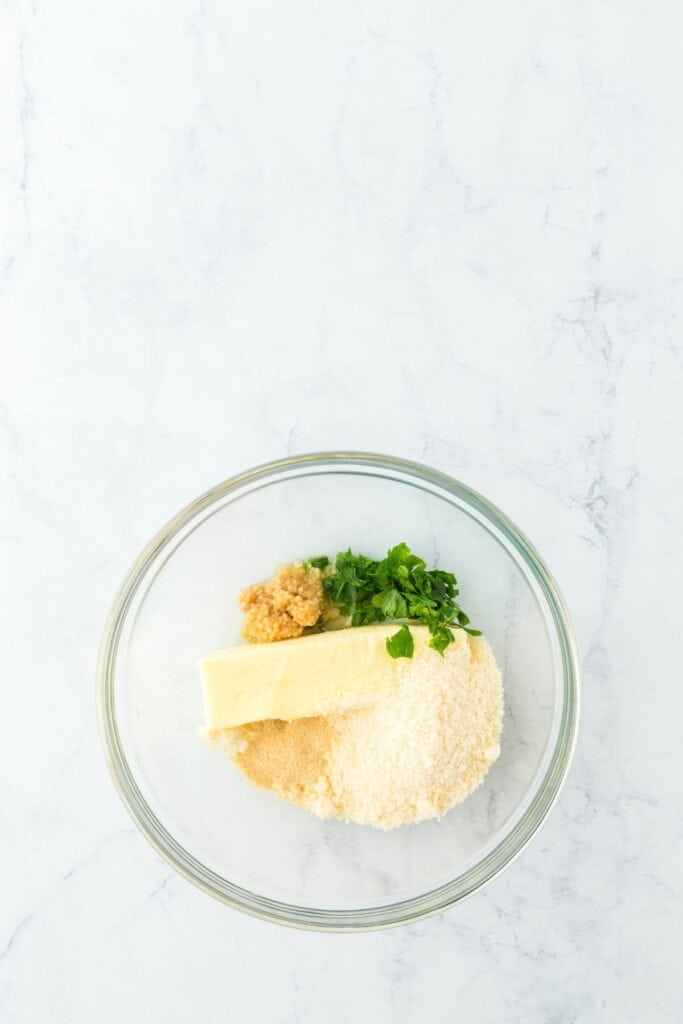
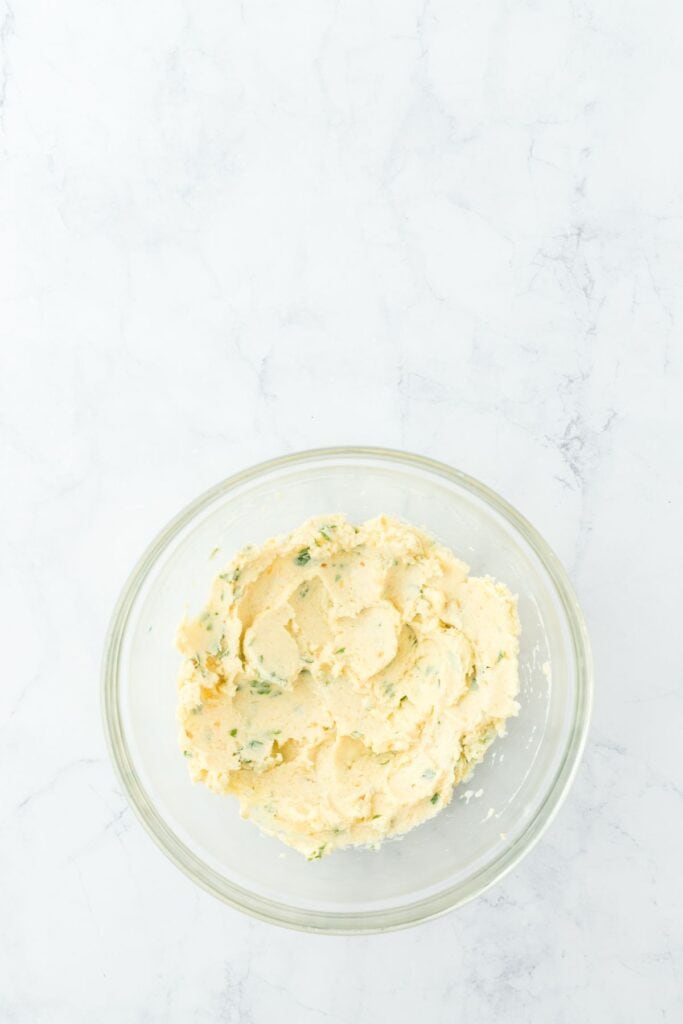
  2. Whip up all the spread ingredients until everything is well combined and super smooth. 

PRO TIP: The parmesan is totally optional but if you want a bit of a salty, cheesy touch, toss some in.

A collage of butter, garlic, herbs in a clear bowl before and after being mixed up

Step 2: Spread and Bake

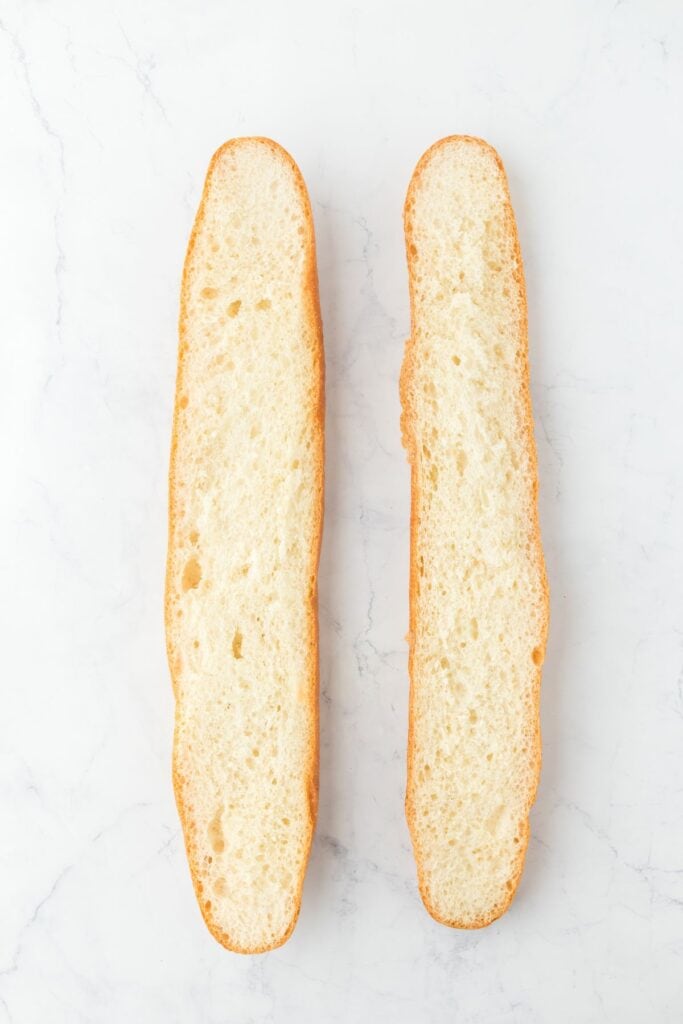
  1. Next, slice the baguette in half.
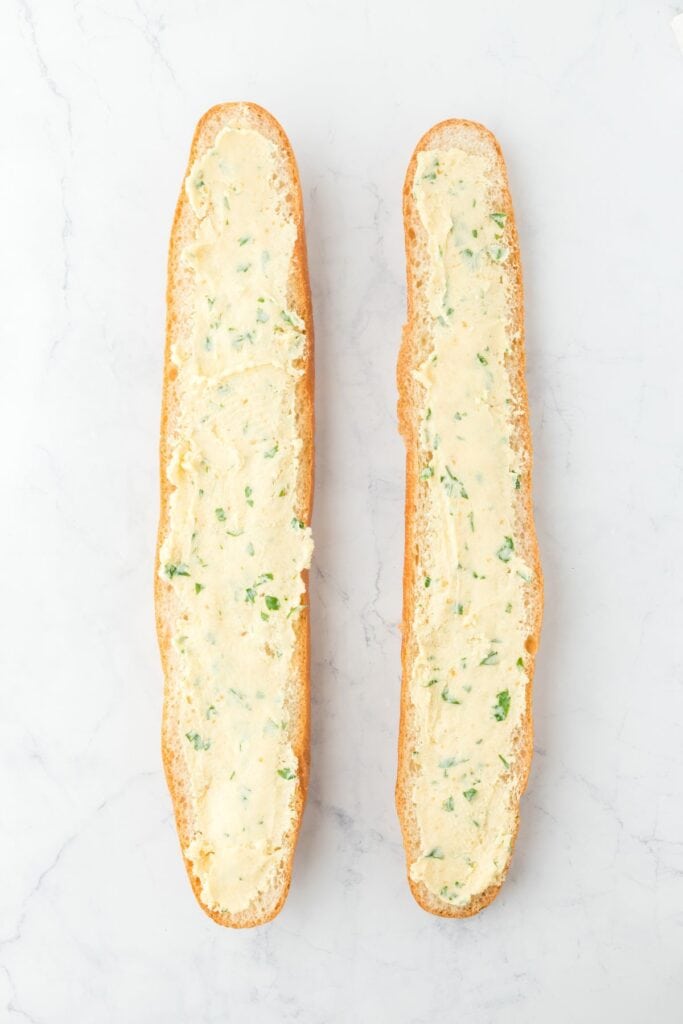
  2. Smother the bread in the delish garlic butter spread. Make sure its an even layer.
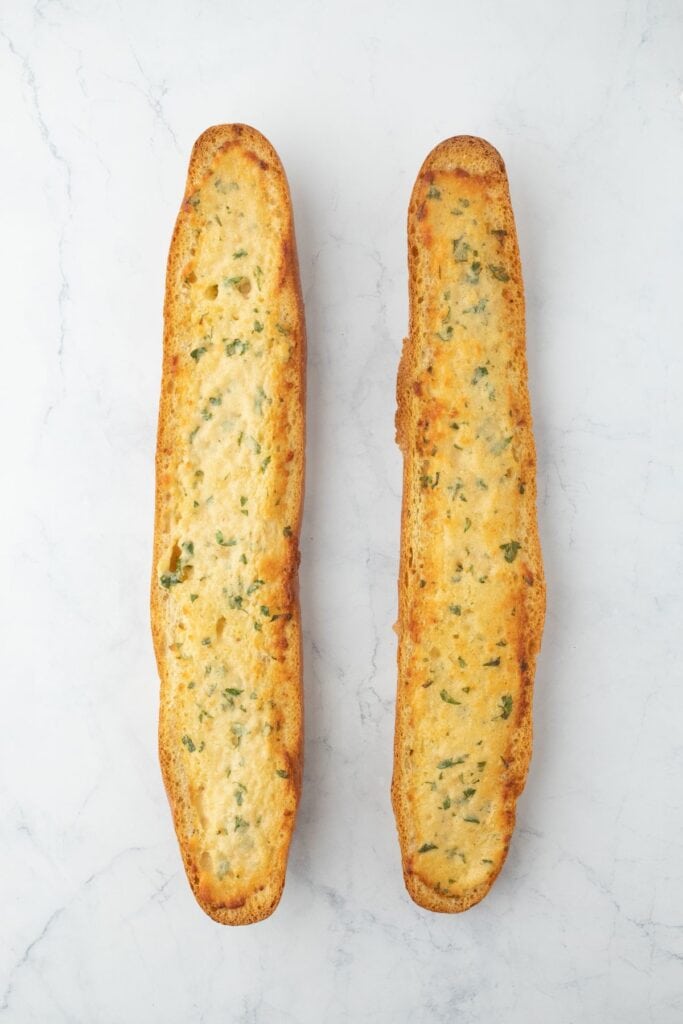
  3. Bake at 400 degrees for about 10-14 minutes but keep a nice watch on it. A high temperature will make for that gorgeous golden brown on the top of the garlic bread.
  4. Let the slices chill for a second then cut into slices and serve.

PRO TIP: If you want to brown the top even more, turn your broiler on for 1-2 minutes but watch carefully so your bread doesn’t burn!!

A collage of a baguette being split in half, garlic bread spread being added then baked and cut into slices

How to Serve this Simple Garlic Bread Recipe

Recipe Substitutions

  • Baguette: Feel free to get down on whatever you prefer here. Italian bread, french bread, and ciabatta are all great.
  • Butter: You can totally use unsalted butter here. Just add a pinch of salt. If no butter is around, you can just use all olive oil but you will miss that creamy richness.
  • Garlic: No garlic cloves? Just use all garlic powder. And vice versa. It will still turn out super yum boos.
  • Parsley: You can substitute with other herbs like thyme, basil or oregano.
  • Cheese: If you want to use a little cheese (totally optional) and parm is out of the question, try pecorino romano for a nice sharp and salty contrast. Asiago has a lovely nutty vibe too!
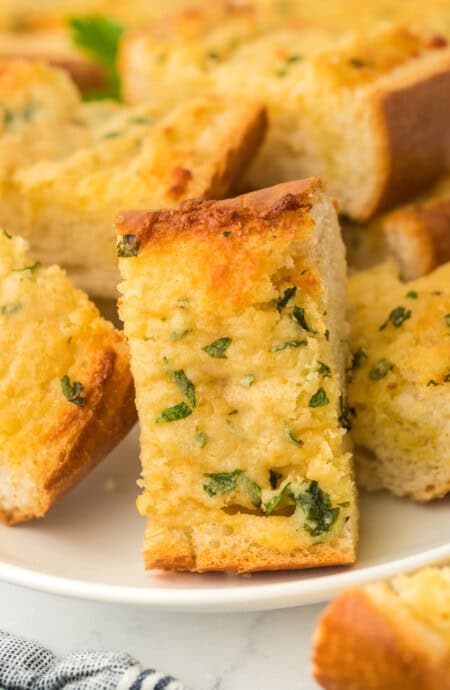
Slices of easy garlic bread recipe on a white background

Recipe Variations and Additions

  • Make it Cheesy: I’ve added parmesan to this recipe but you can totally sprinkle on an extra layer of cheese. Before baking, layer the top of the garlic spread with a cup or so of shredded mozzarella or your fave cheese. For those golden-brown bubbles, turn the broiler on for the last minute but watch carefully.
  • Make it Vegan: All you gotta do is replace the butter with your favorite vegan margarine or butter substitute.
  • Make it Gluten-Free: Just use your fave gluten free bread in place of the baguette.
  • Spice it Up: Add a light pinch of red pepper flakes to the spread for a bomb kick.
  • Bruschetta it Up: After you bake, top with some chopped tomatoes, fresh mozzarella and a little balsamic drizzle ya dig?
  • Upgrade: Replace the olive oil with some truffle oil for a sophisticated touch.
  • Top It Up: Add some caramelized onions and a bit of fresh thyme and serve it up. That’s good eatin y’all!

Expert Tips and Tricks

  • No Store-Bought Minced Garlic: Do not, I repeat, do not use the pre-packaged minced garlic in the grocery store.  The bottles have additional chemicals and aren’t as fresh.  Make sure you grab fresh garlic and mince it yourself. 
  • Mince Finely: Nobody wants to bite into big ole chunks of garlic. It can be too overpowering so make sure you mince that garlic as fine as possible.
  • Keep that Butter Soft: Get that butter to room temp so you can really mix all of the ingredients together well. We want a nice smooth spread.
  • Toast Perfectly: Watch your bread bake so you get a nice golden brown finish on crispy bread without it burning. Keep a close eye boos.
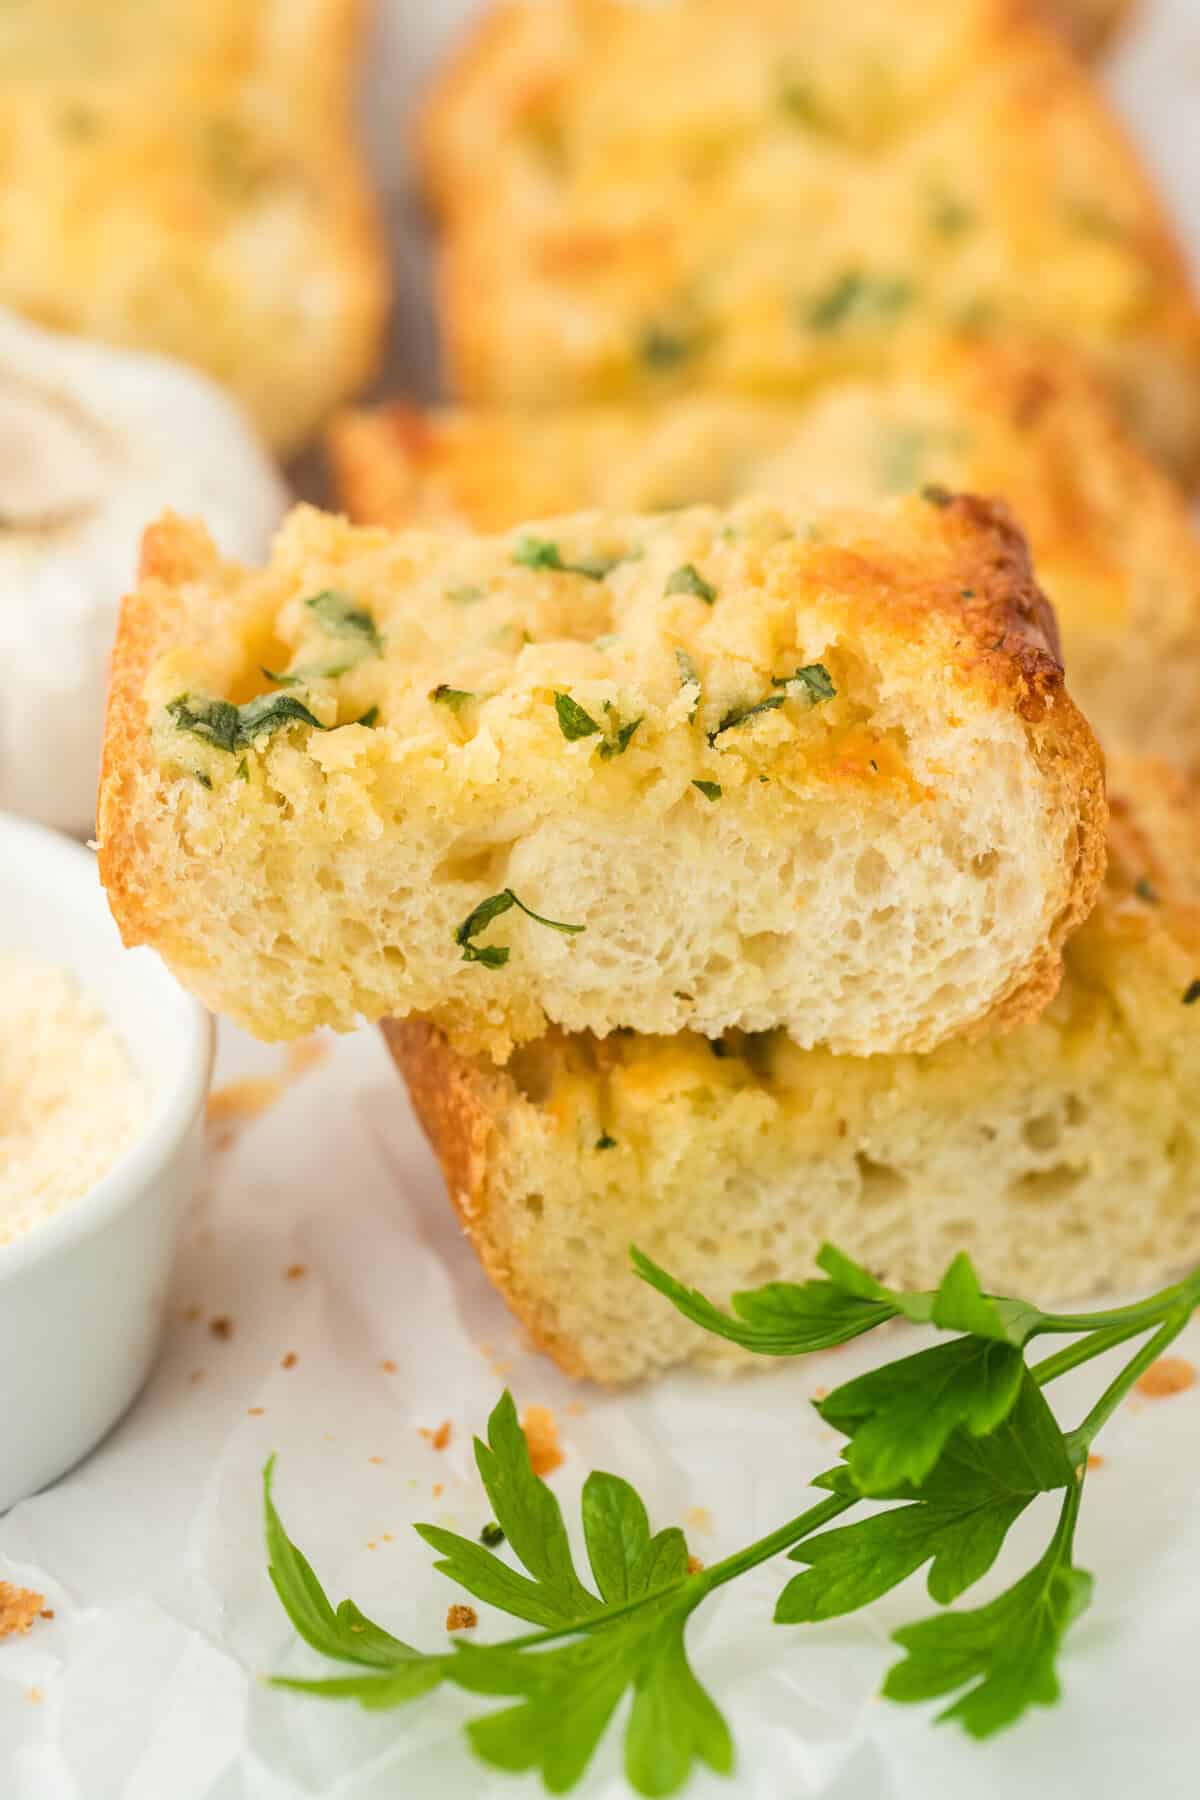
A close up of the inside of garlic bread from scratch on a white plate with parsley in front of it

How to Store Homemade Garlic Bread

  • Fridge: Make sure the bread has cooled completely then wrap tightly in plastic wrap before popping in the fridge. It will stay fresh in the fridge for up to 3 days.
  • Freezer: It’s actually best to freeze your garlic bread BEFORE you bake it. Just assemble with the garlic spread and wrap tightly in plastic wrap and freeze up to 3 months. You can also freeze after baking the same way, and it should last about 2 months. Thaw in the fridge overnight before heating.
  • Reheating: You can just pop back in the oven at about 350 F for 10-15 minutes or until warmed and crispy again.

Frequently Asked Questions

What’s the best bread to use when making garlic bread from scratch?

Make sure you grab a crusty bread like a baguette from the bakery section of your grocery store. You can also use French or Italian baked bread but fresh is key! 

Help! I forgot to soften my butter to make the homemade garlic bread spread. What can I do?

You can either soften the butter quickly by cutting it into smaller cubes and letting it sit for about 15 minutes or popping in the microwave for 5 second intervals until it softens. Just keep an eye on it to make sure it doesn’t melt boos.

Can I make this easy garlic bread recipe ahead?

For sure boos! Just assemble the bread with the garlic bread spread, wrap super well and pop in the fridge or freezer. Follow the rest of the baking instructions when you are ready to bake. It will need to bake a bit longer if you are baking from frozen however.

Help! Why is my garlic bread from scratch soggy?

Y’all gotta make sure you bake it long enough so it gets crispy. Check to make sure the bread is super toasty on the sides and golden brown on top before removing from the oven.

Other Fave Garlic Bread recipes

*Did you make this recipe? Please give it a star rating and leave comments below!*
Homemade garlic bread recipe slices on a white plate on a white background

Garlic Bread Recipe (How to Make Garlic Bread)

This homemade garlic bread is buttery, garlicky, crunchy and addictive and not to mention super easy to make
4.43 from 88 votes
Prep Time 10 minutes
Cook Time 15 minutes
Total Time 30 minutes
Course: Bread
Servings: 4 servings

Equipment

Ingredients

  • baguette
  • 1/2 cup salted butter room temperature (1 stick)
  • 4 tsp minced garlic
  • 1 tsp garlic powder
  • 2 tsp chopped parsley
  • 1/2 tsp olive oil
  • 1/2 cup parmesan optional

Instructions

  • Preheat oven to 400 degrees.
  • Cut bread roll in half lengthwise.
  • In a medium sized bowl, whisk together butter, minced garlic, garlic powder, parsley, olive oil and parmesan cheese if using until well combined.
  • Liberally spread garlic butter mixture on each half of bread.
  • Bake bread for 10-14 minutes or until bread is crisp and top is golden brown.
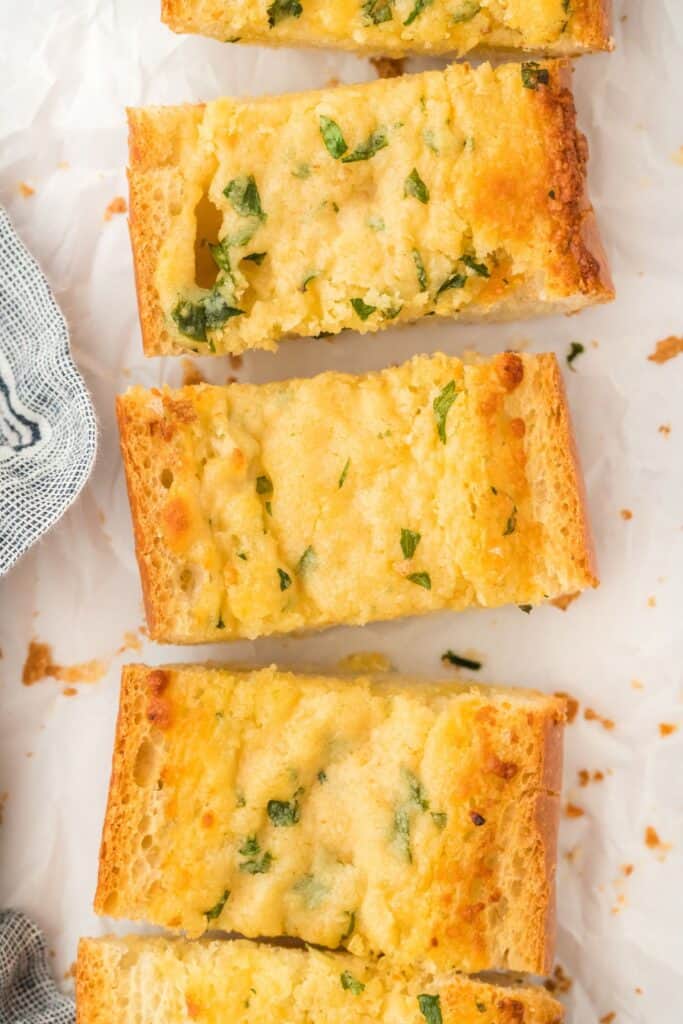
  • Cut bread into slices and serve.

Video

Notes

If you want to brown the top even more, turn your broiler on for 1-2 minutes but watch carefully so your bread doesn’t burn!!

How to Store Homemade Garlic Bread

  • Fridge: Make sure the bread has cooled completely then wrap tightly in plastic wrap before popping in the fridge. It will stay fresh in the fridge for up to 3 days.
  • Freezer: It’s actually best to freeze your garlic bread BEFORE you bake it. Just assemble with the garlic spread and wrap tightly in plastic wrap and freeze up to 3 months. You can also freeze after baking the same way, and it should last about 2 months. Thaw in the fridge overnight before heating.
  • Reheating: You can just pop back in the oven at about 350 F for 10-15 minutes or until warmed and crispy again.

Nutrition

Calories: 384kcal | Carbohydrates: 32g | Protein: 6g | Fat: 25g | Saturated Fat: 15g | Cholesterol: 61mg | Sodium: 586mg | Potassium: 89mg | Fiber: 1g | Vitamin A: 710IU | Vitamin C: 0.9mg | Calcium: 61mg | Iron: 1.9mg
Tried this Recipe? Tag me Today!Mention @GrandbabyCakes or tag #grandbabycakes!
Filed Under:  Bread, Oven

Comments

  1. This is great as garlic bread. I had some leftover so I put it in the freezer. Took it out today and put it on the steak I was cooking . It was delicious.

  2. I enjoy your recipes…
    Your comments mentioned Parmesan Cheese but there is none listed in your ingredients for this recipe… can you please share…
    Thanks ~ Marion

    1. Yes the parmesan is optional here but you can add about 1/2 cup.

  3. Delicious garlic bread! Just curious how much Parmesan cheese you add to the spread, it’s not in the ingredient list. I just grated a little into it.
    Thank you

  4. This was the best garlic bread I’ve had/made in years, and will now be the only one I ever make. The flavor was outstanding. Served this with lasagna and a big salad last weekend for the family. Not one piece was left and there were only 6 of us! Thanks for a fabulous recipe!

  5. This garlic bread was FABULOUS! Had my kids over for dinner and served this with lasagna and salad. I will never buy packaged (frozen) garlic bread again. This is my new go-to. Thank you!!

4.43 from 88 votes (47 ratings without comment)

Leave a Reply

Your email address will not be published. Required fields are marked *

Recipe Rating