
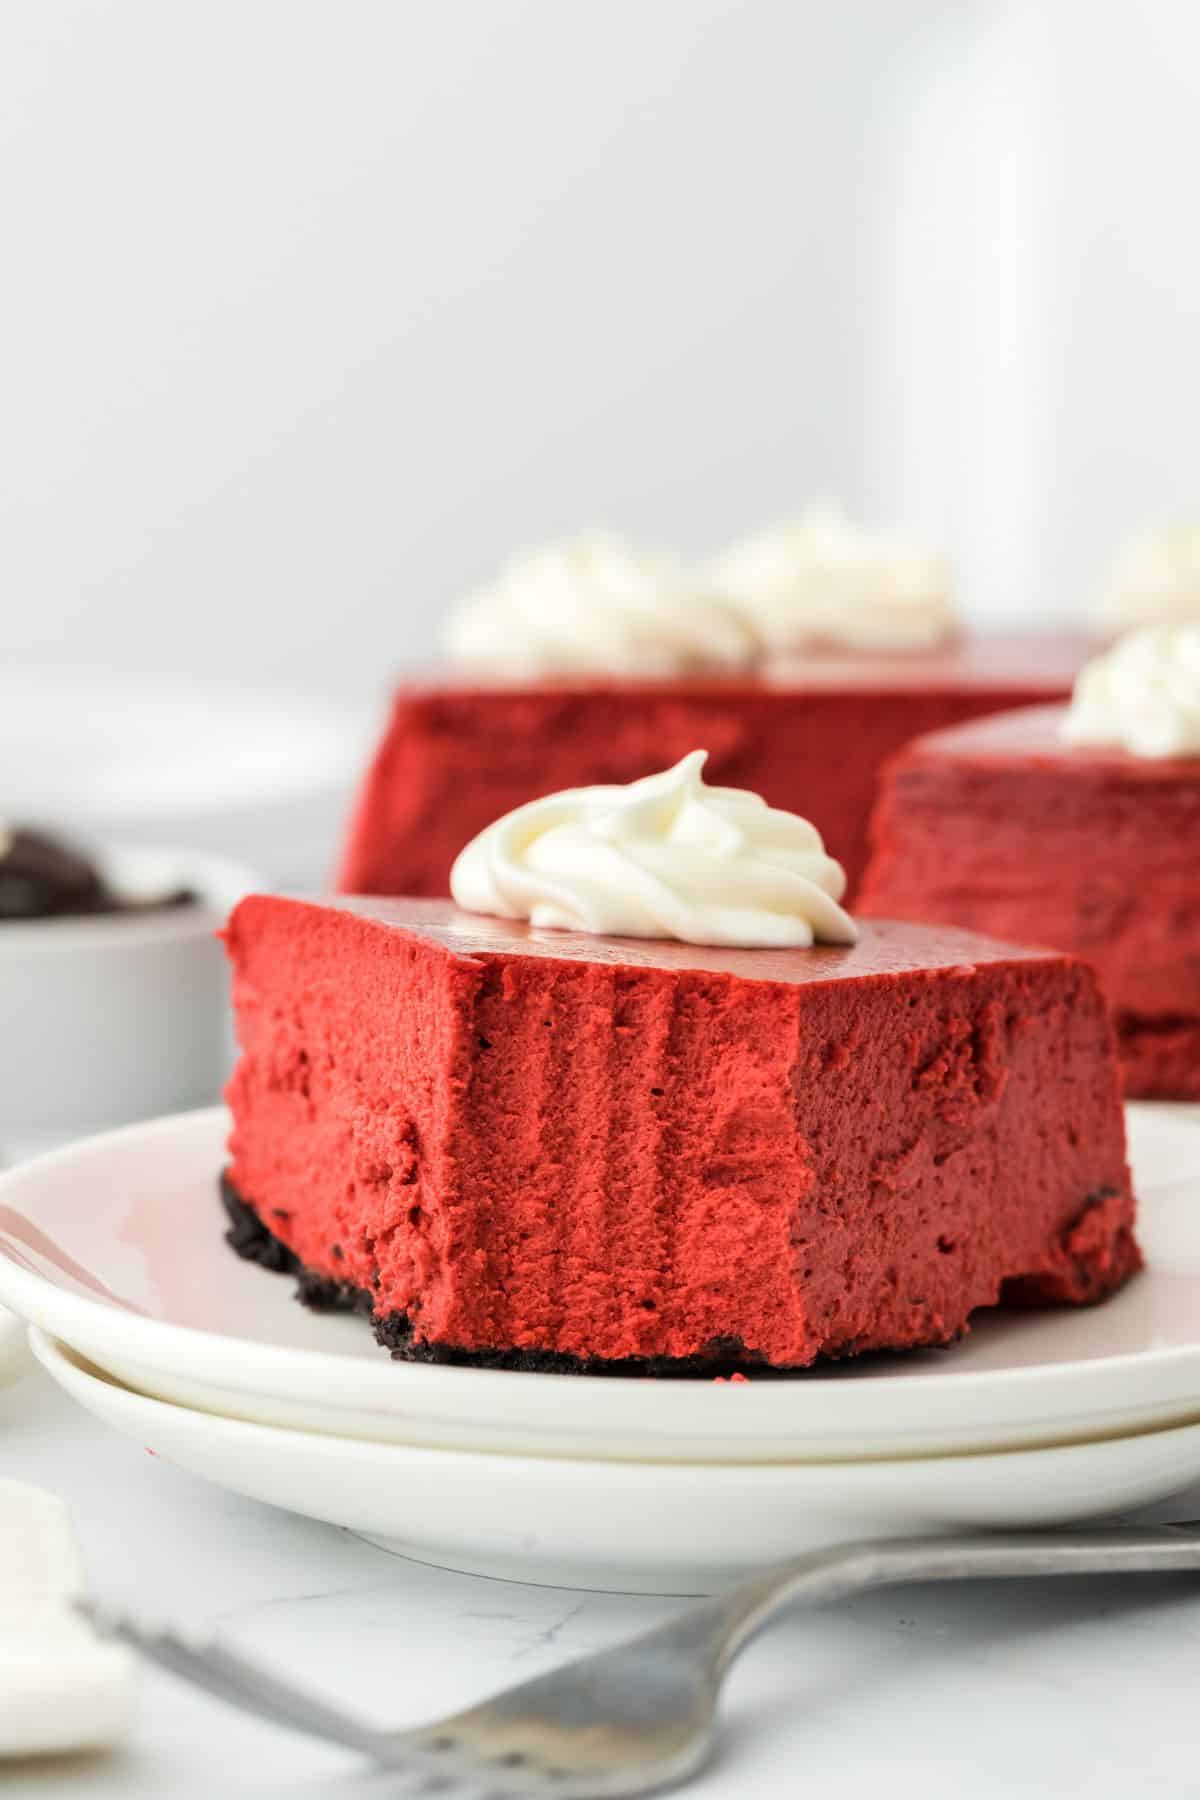
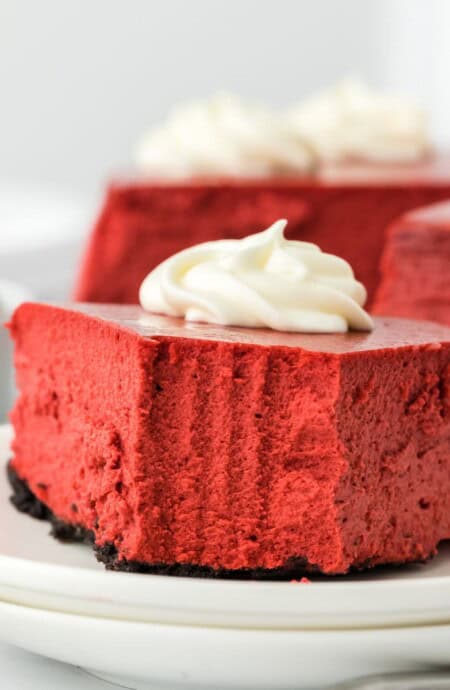
If there’s a dessert that knows how to show out, it’s this red velvet cheesecake. That bold red color ain’t shy! But what really seals the deal is the flavor, y’all. Red velvet lovers know exactly what I mean. This red velvet cheesecake is sweet, creamy, and has that lil tang. Plus the richness of that Oreo crust? Come on now.
This post may contain affiliate links. Read our disclosure policy.
How to Make Red Velvet Cheesecake
Make the Crust
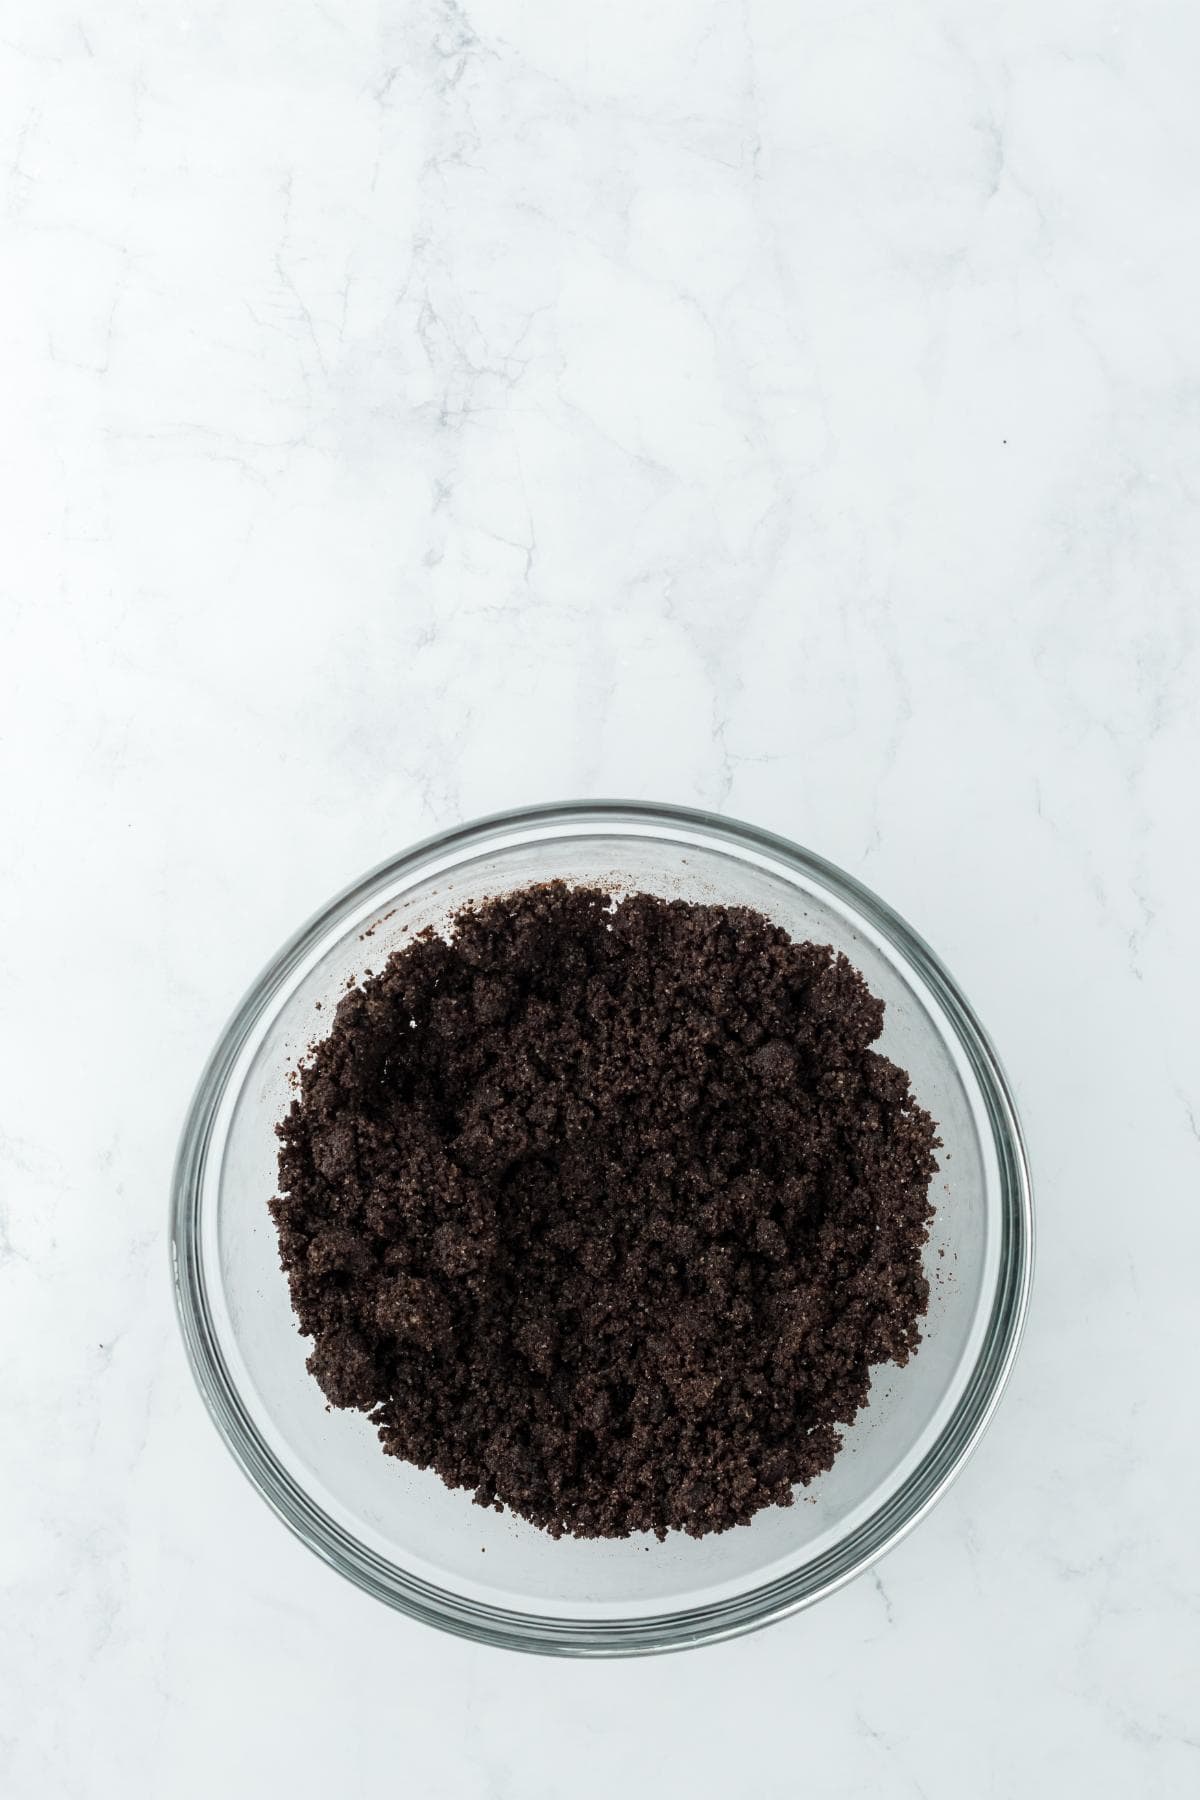
Step 1: Combine the chocolate cookie crumbs and sugar with melted butter in a medium bowl. Whisk them together.
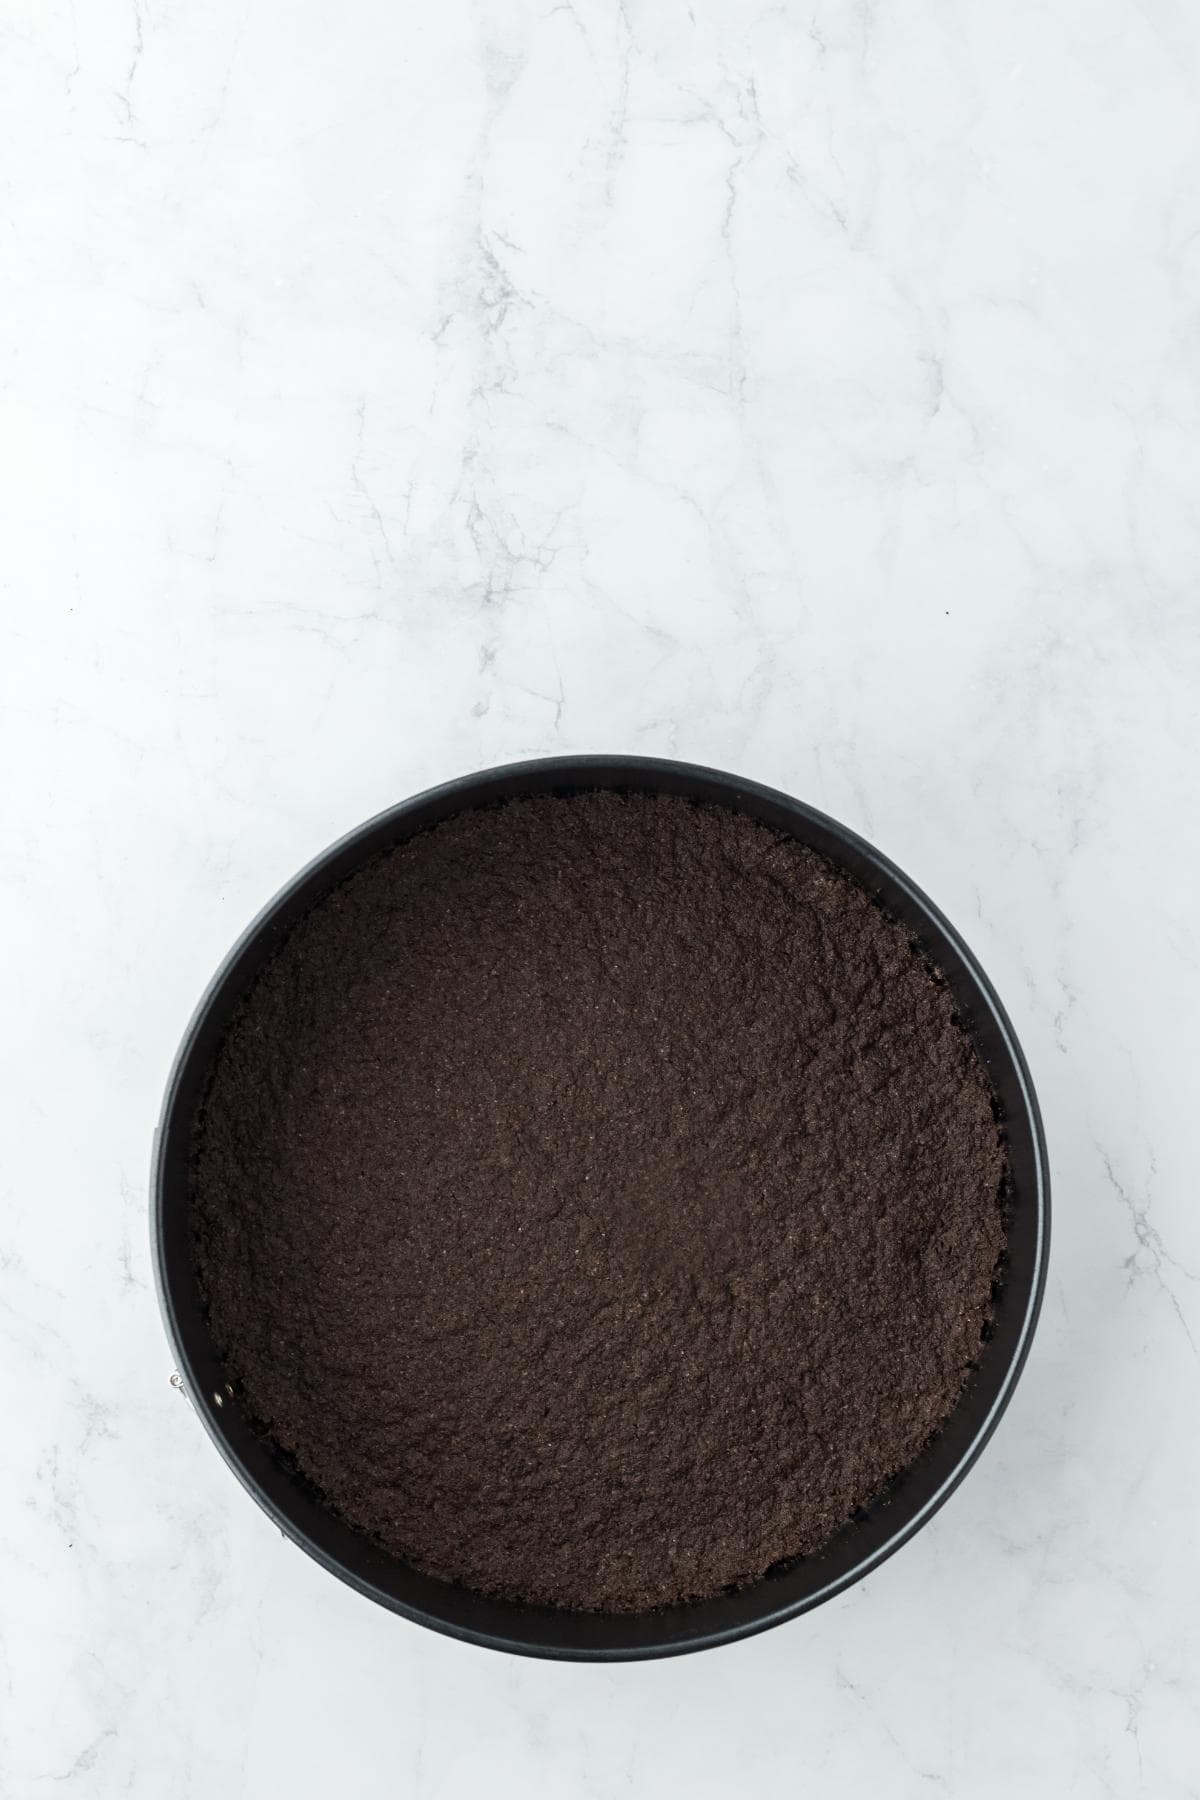
Step 2: Press the mixture into the bottom of the springform pan. Bake in the preheated oven.
Make the Cheesecake Filling
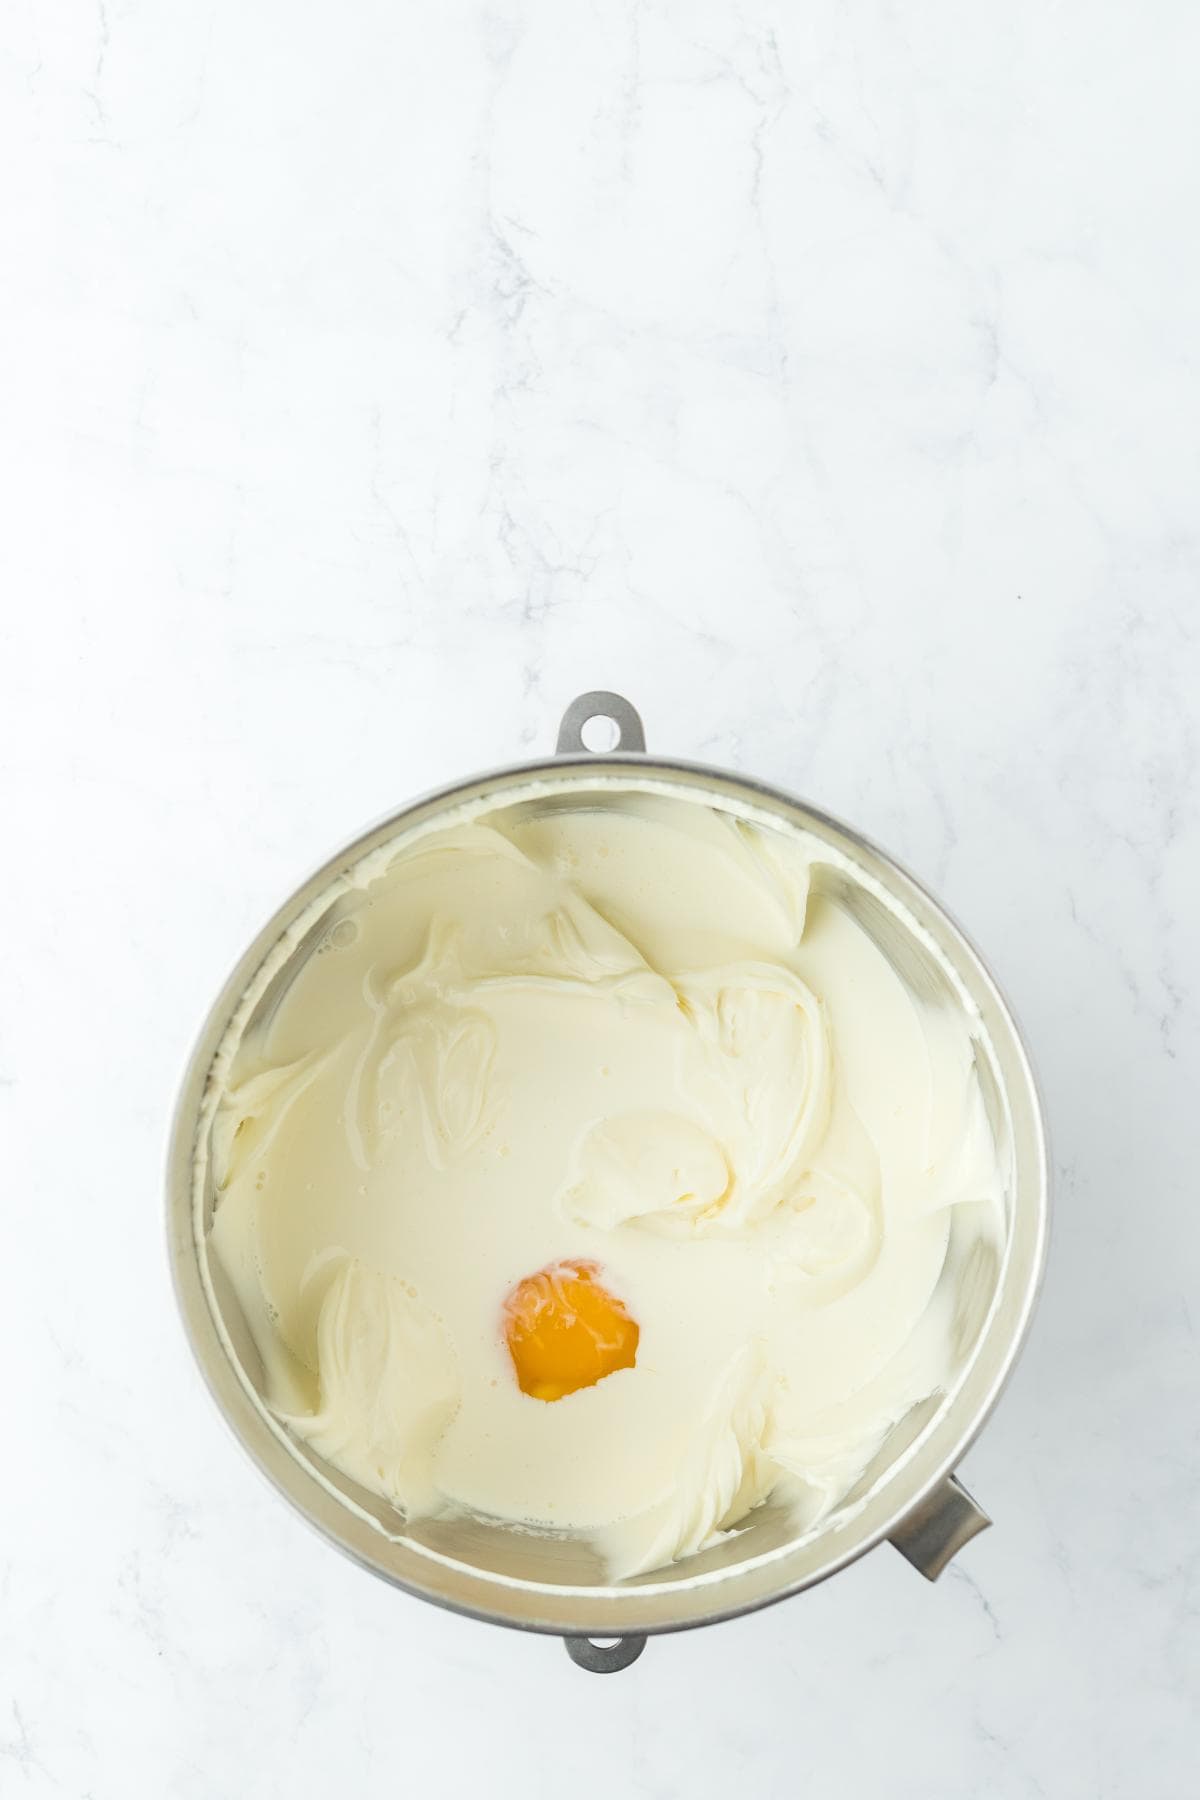
Step 3: Mix the cream cheese and sugar until smooth, then pour in the heavy cream. Add the eggs one at a time, mixing after each until fully blended.
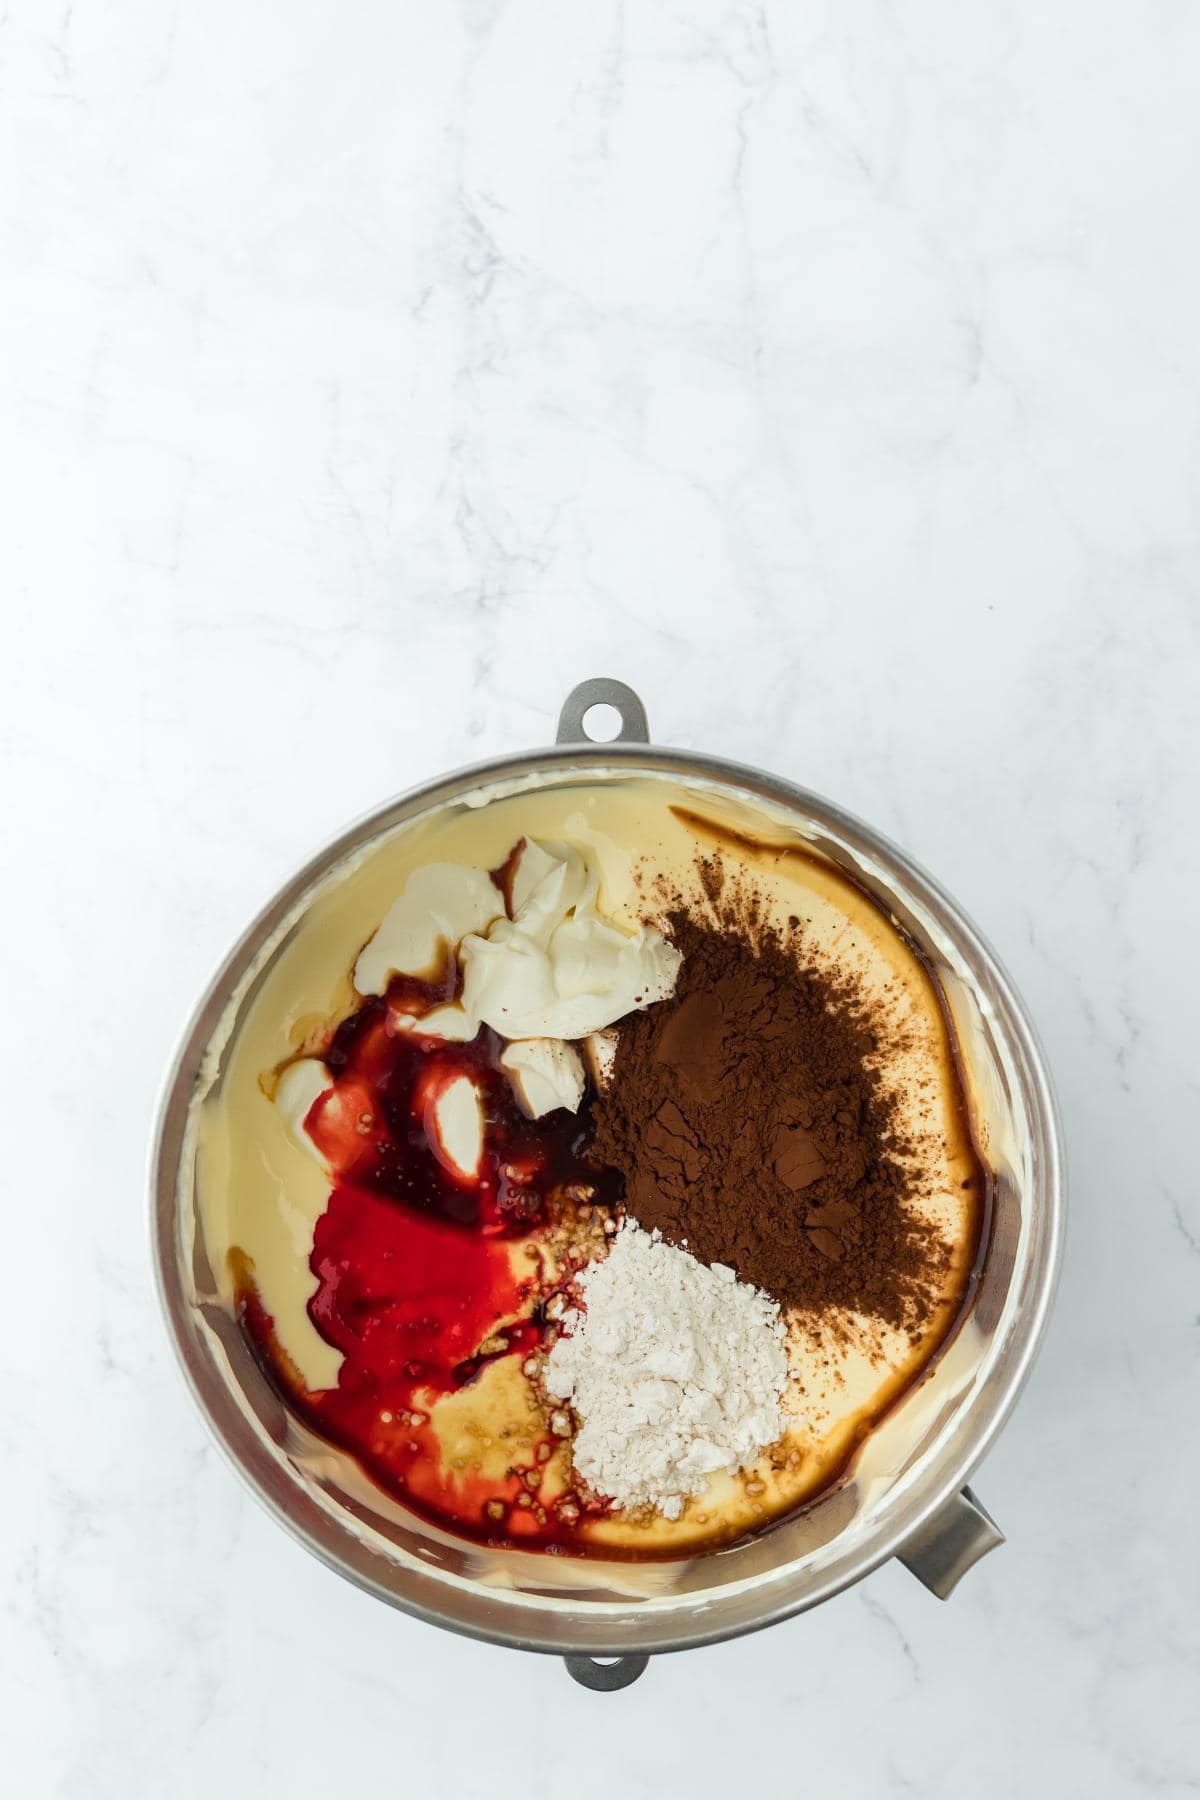
Step 4: Add the sour cream, vanilla, cocoa powder, red food coloring, and flour. Mix until smooth, scraping down the sides as needed.
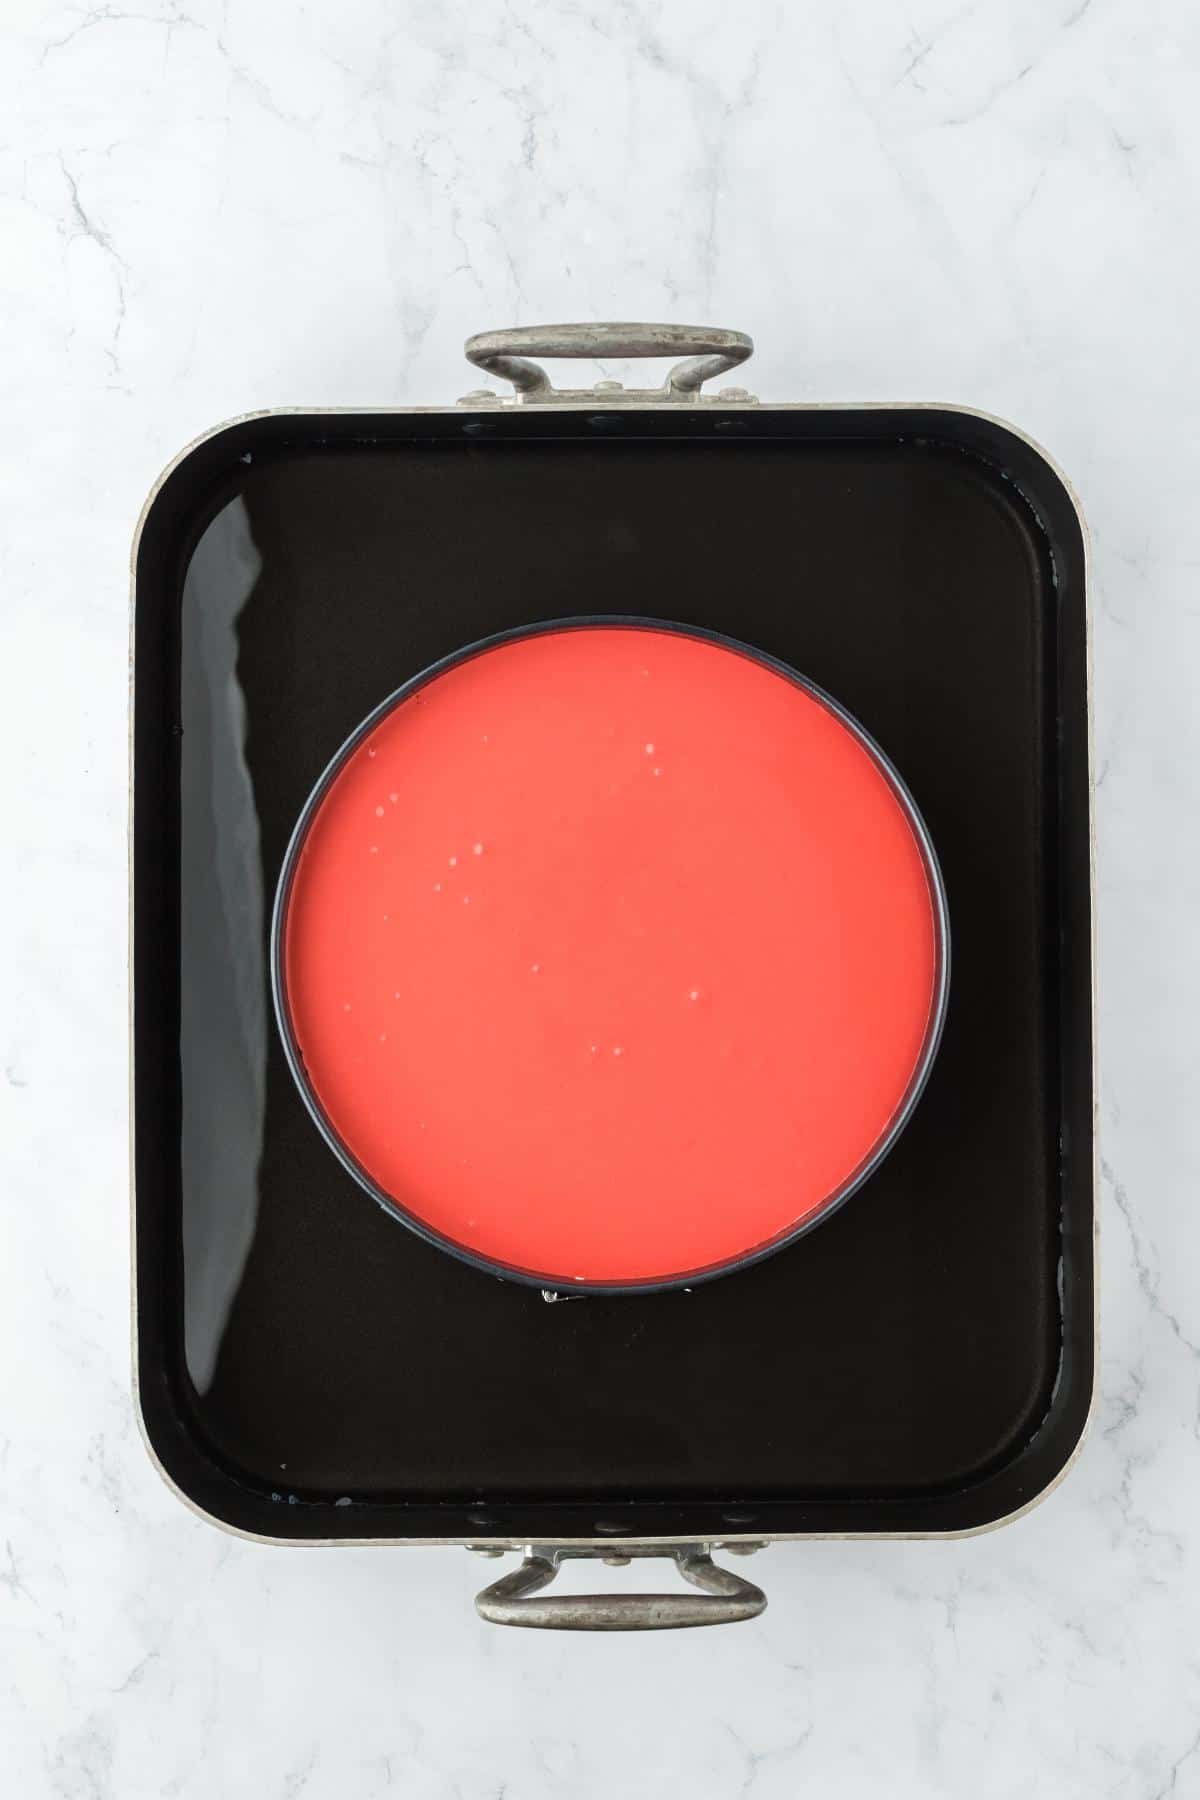
Step 5: Pour the batter into the prepared pan with the cookie crust. Place the cheesecake pan inside a larger pan and slowly fill the large pan with boiling water halfway up the sides of the springform pan.
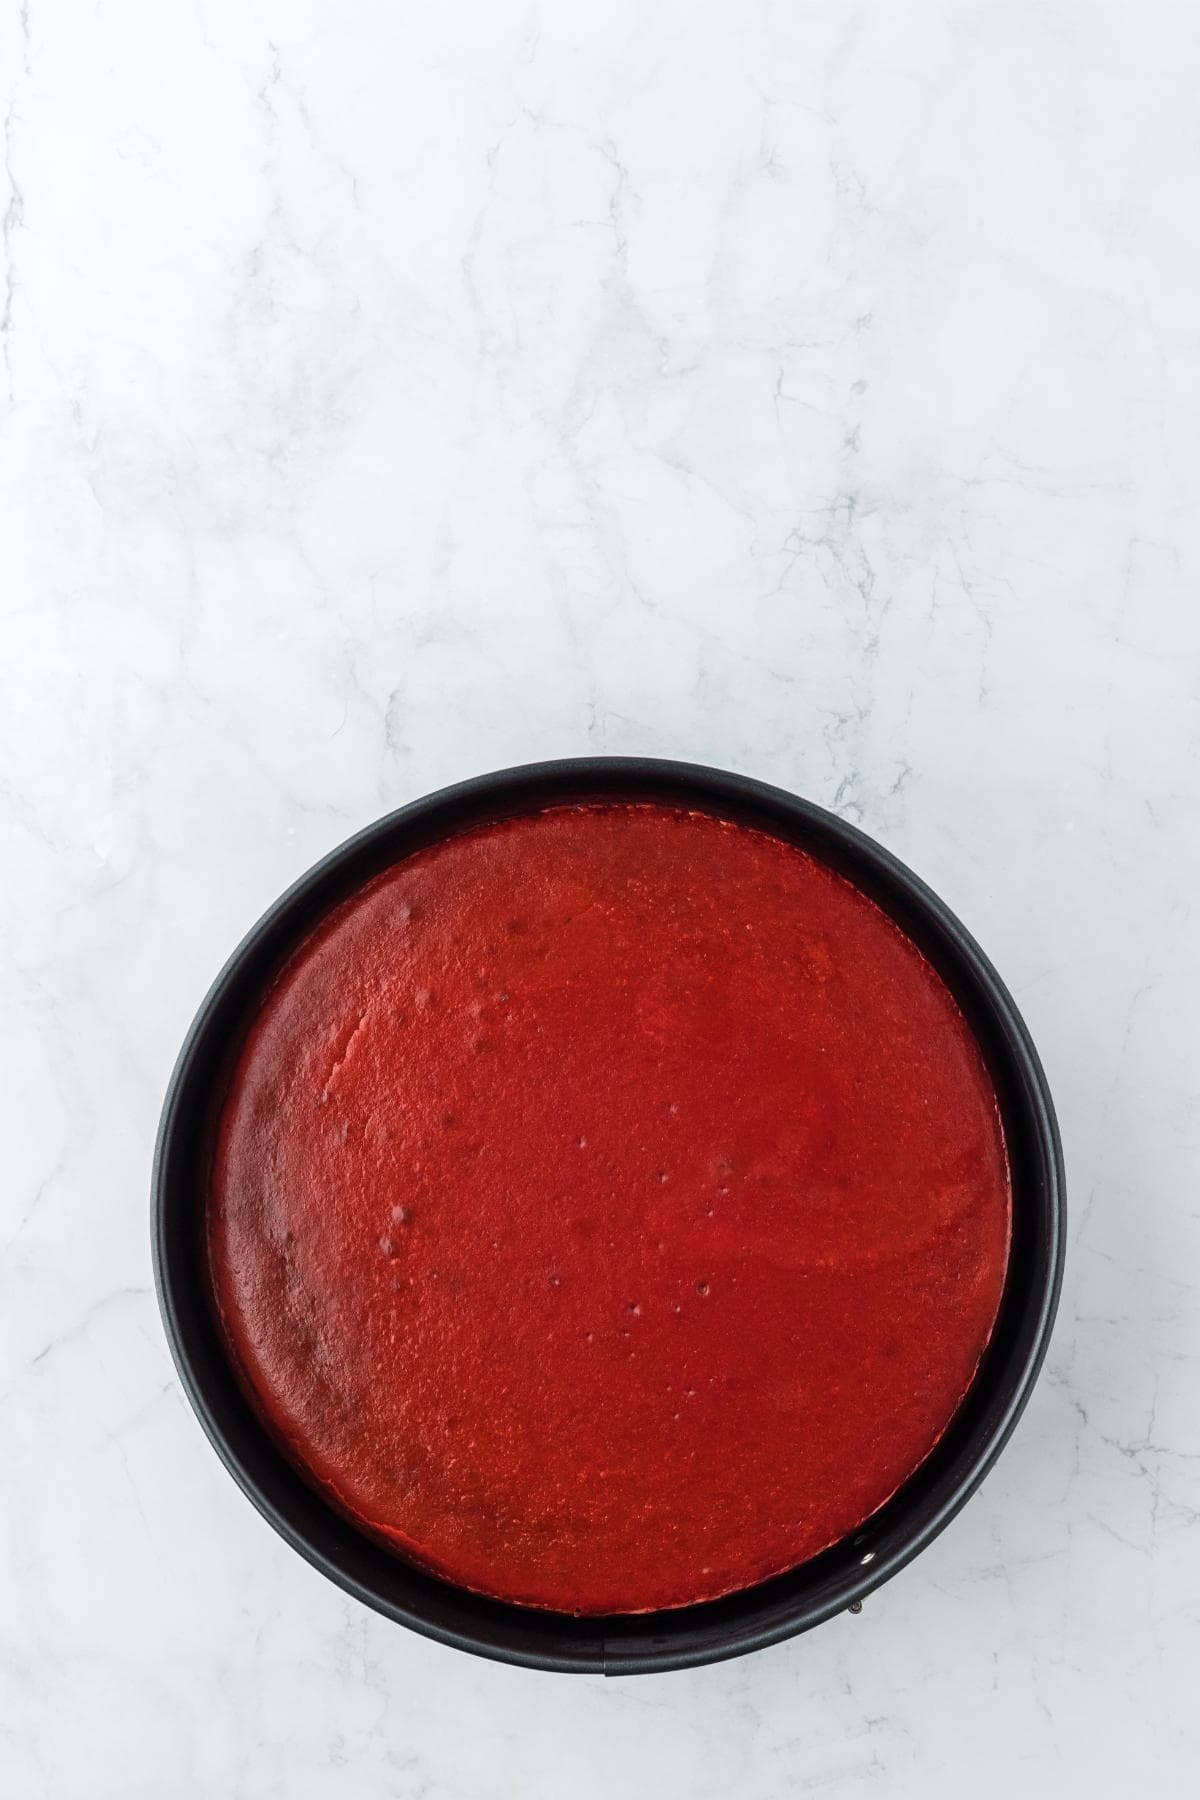
Step 6: Bake the cheesecake, then turn off the oven and let it cool inside with the door closed. Once cooled, let it come to room temperature on the counter, then chill in the fridge overnight.
PRO TIP: A water bath isn’t required for this red velvet cheesecake recipe, but if you want extra insurance against cracks, it’s worth doing boos!
Mix the Whipped Cream and Assemble the Cheesecake!
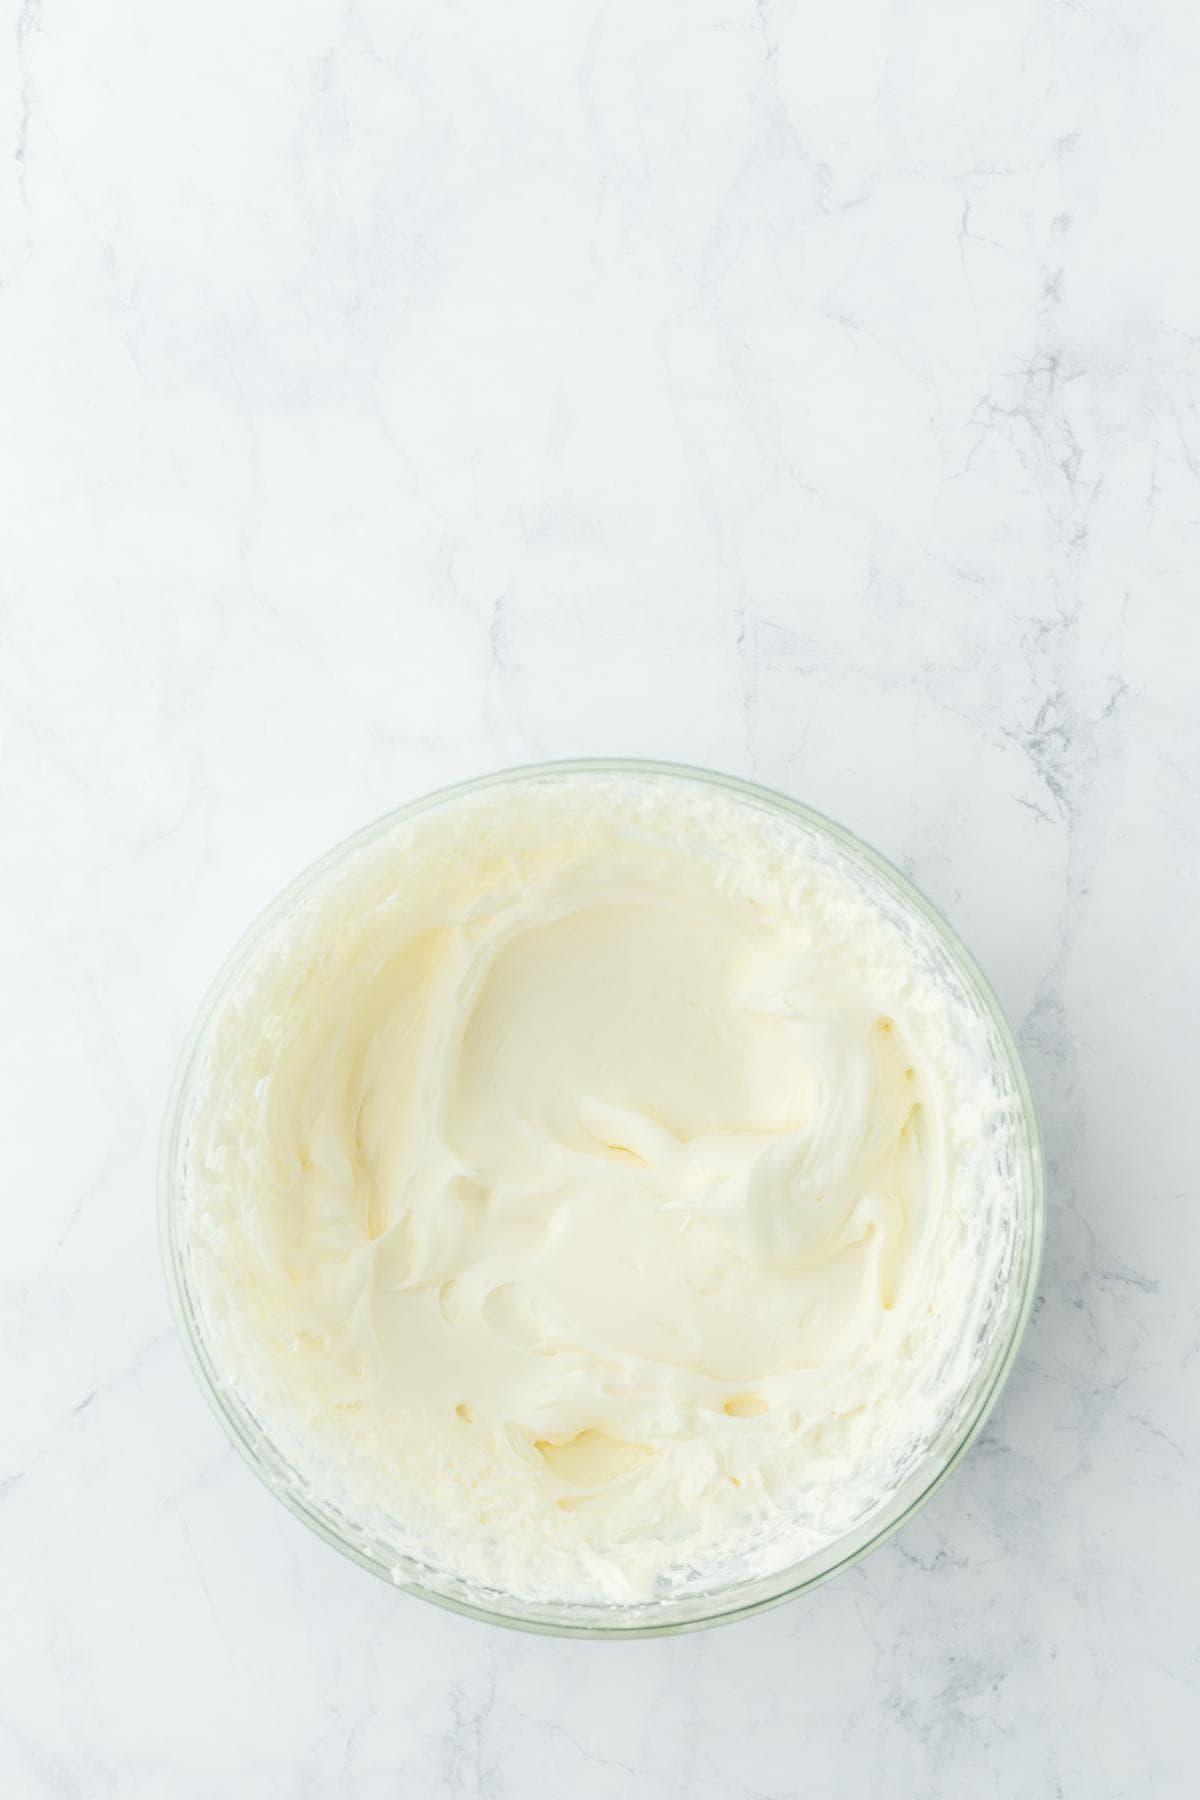
Step 7: Beat the cream cheese on high speed, then slowly add the sugar and mix until smooth. Pour in the heavy cream and continue beating until fluffy with high peaks.
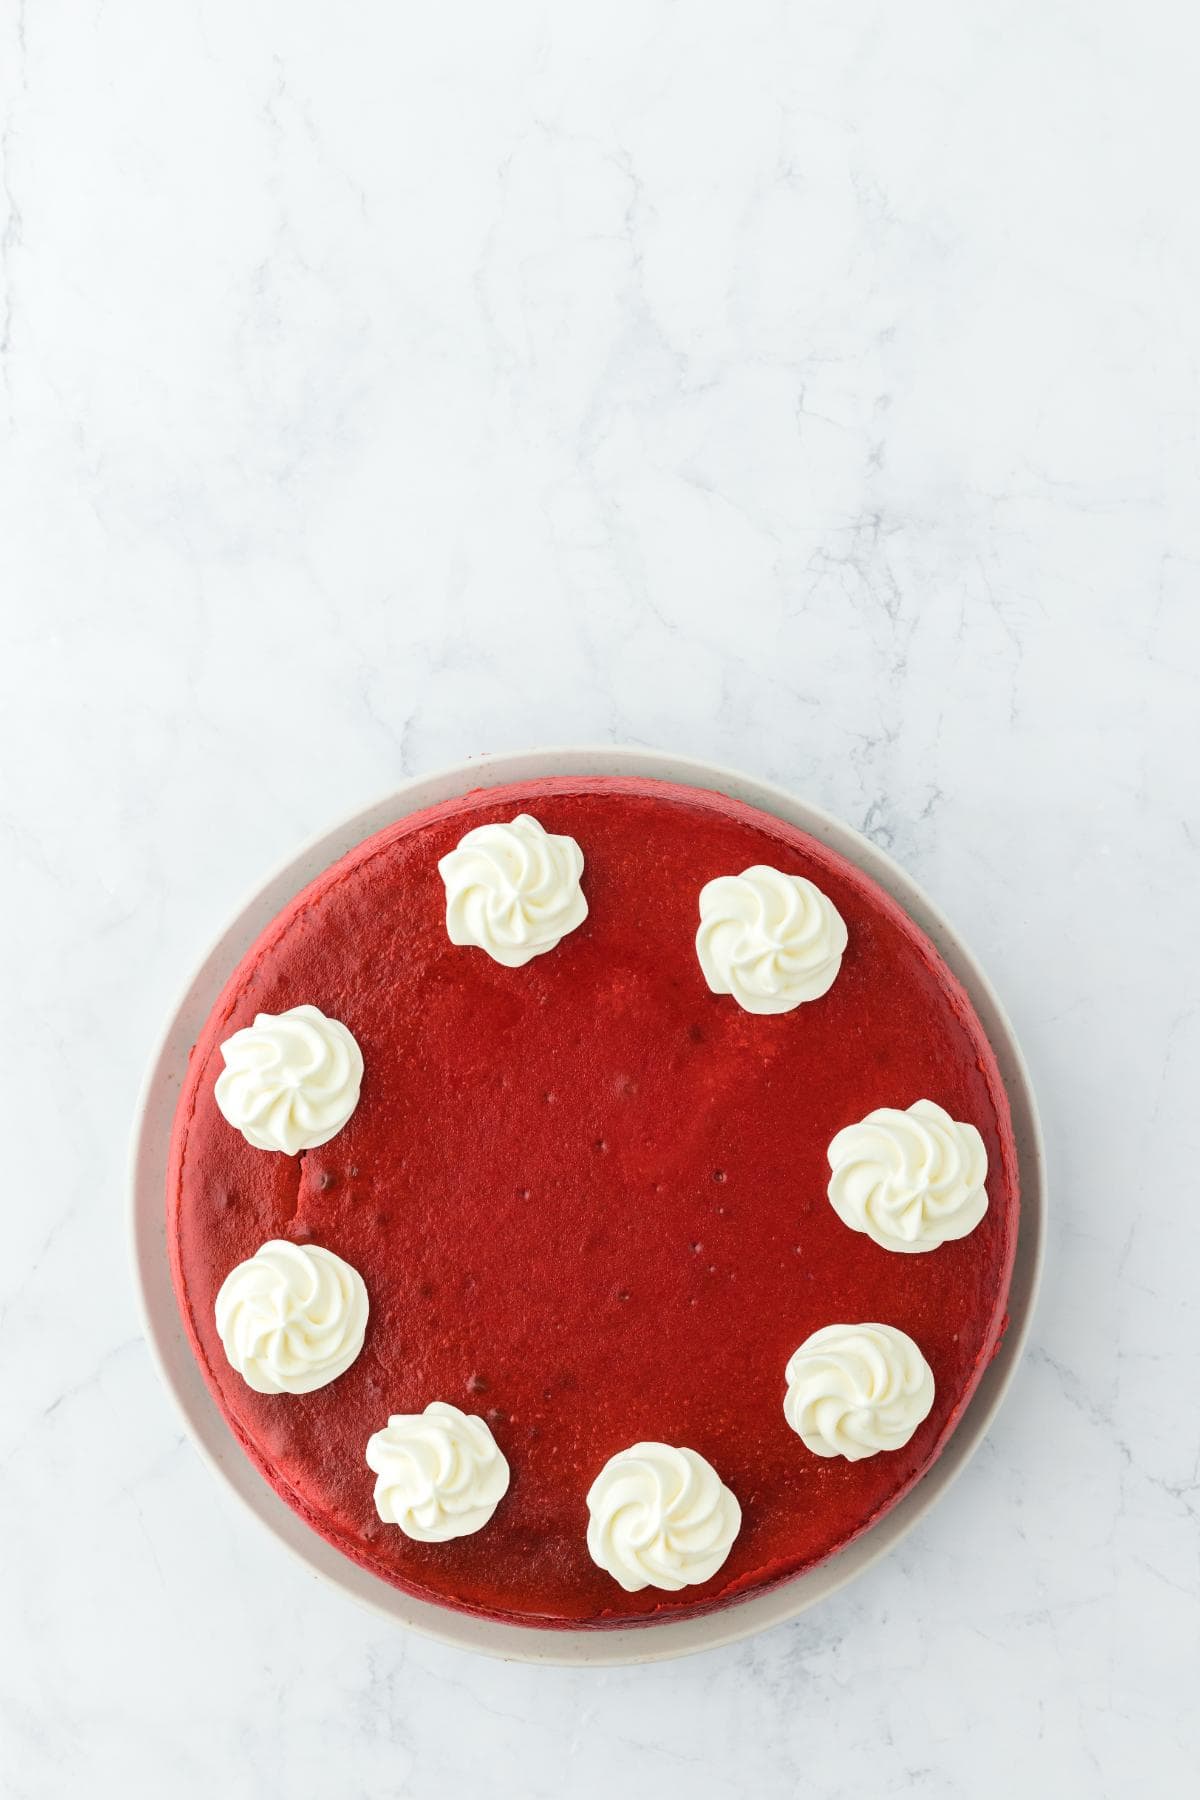
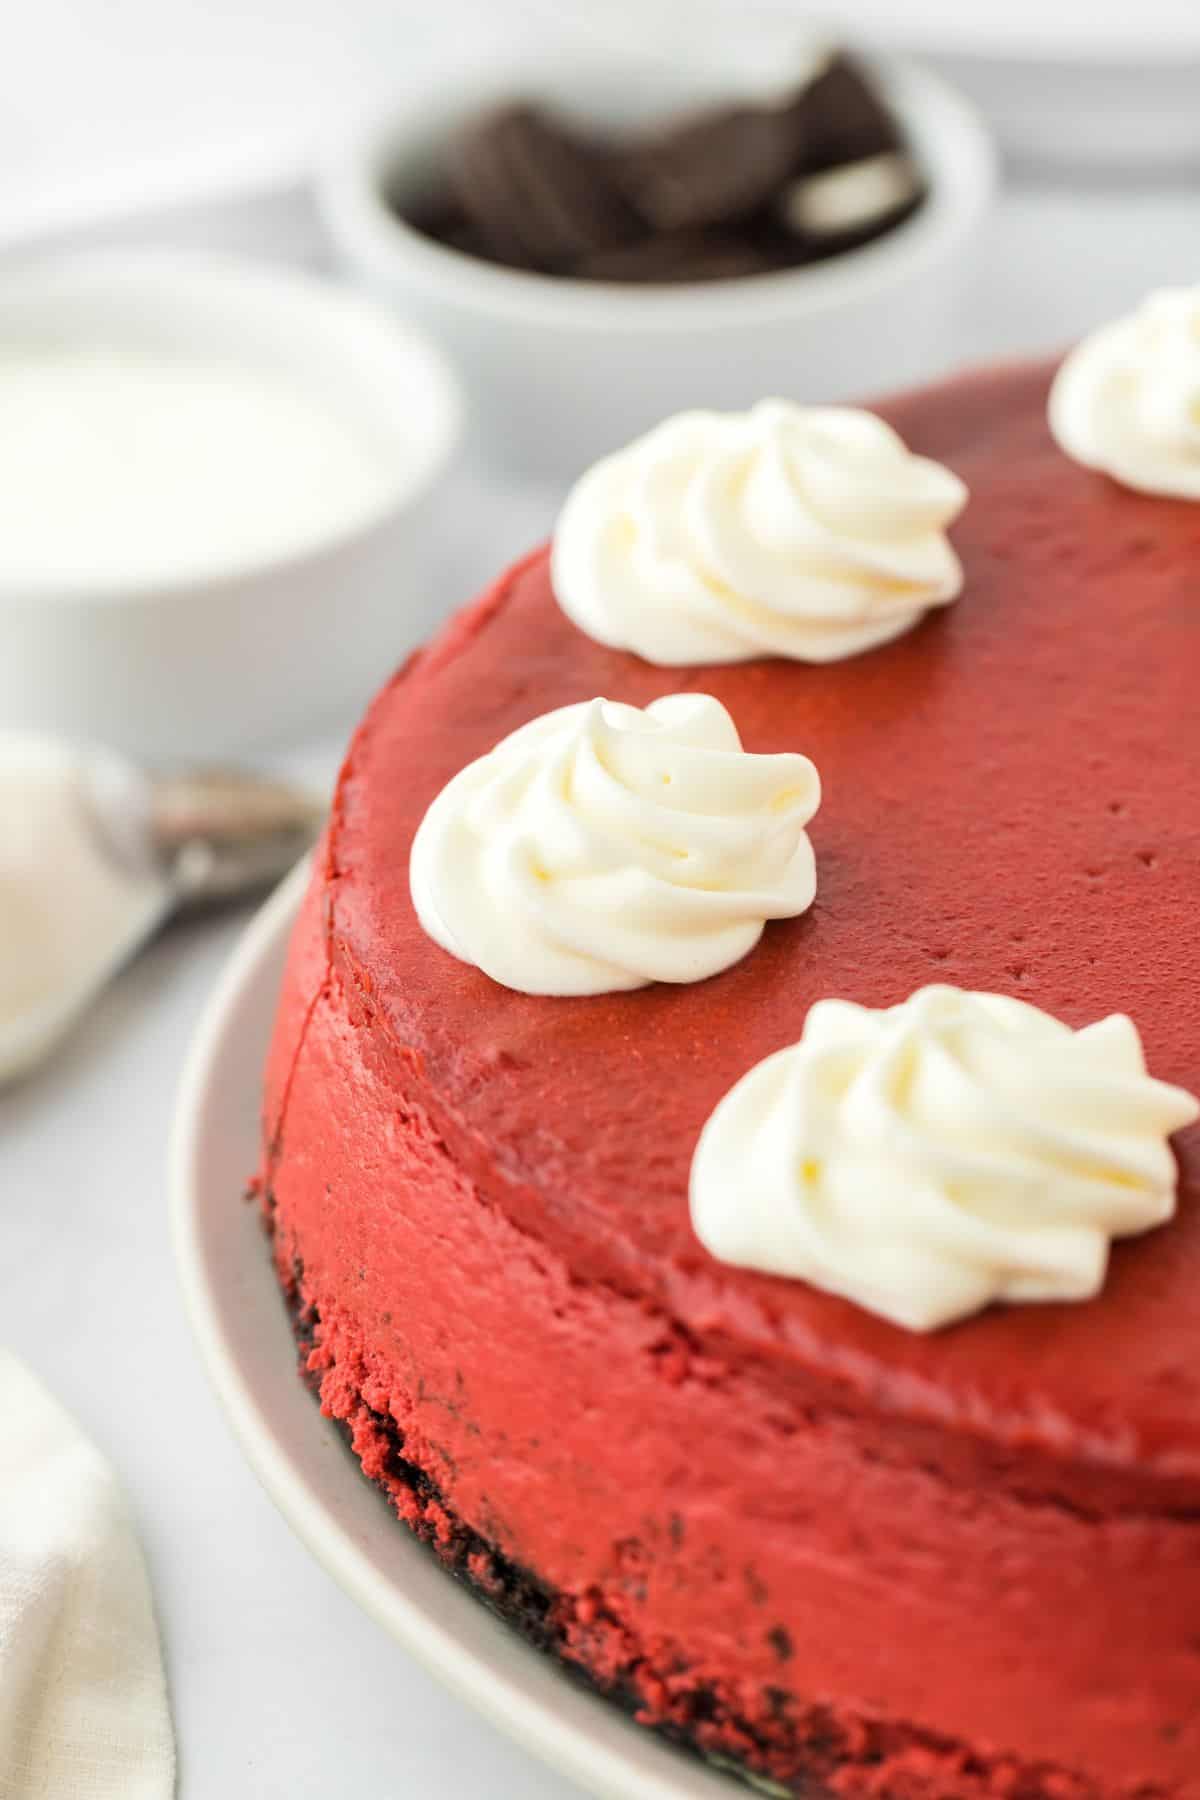
Step 8: Top your cheesecake with whipped cream in a decorative pattern and serve!
Want to Save This Recipe, Boo?
Red Velvet Cheesecake Recipe
Want to Save This Recipe, Boo?
Ingredients
For the Oreo Crust
- 1 ½ cups chocolate cream sandwich cookies crushed
- 3 tbsp granulated sugar
- 5 tbsp unsalted butter melted
For the Cheesecake
- 32 oz cream cheese packages room temperature
- 1 ½ cups granulated sugar
- ¾ cup heavy whipping cream room temperature
- 4 large eggs room temperature
- 1 cup sour cream room temperature
- 1 ½ tbsp pure vanilla extract
- 3 tbsp cocoa powder
- 1-2 oz red food coloring
- 2 tbsp all purpose flour
For the Whipped Cream Cheese
- 4 oz cream cheese room temperature
- ½ cup granulated sugar
- ¾ cup heavy whipping cream
Instructions
- Preheat oven to 350°F. Thoroughly spray a 10-inch springform pan with non-stick baking spray.
For the Crust
- Whisk together chocolate cookie crumbs and sugar with melted butter. Press mixture into the bottom of the springform pan and bake for 10 minutes.
For the Cheesecake Filling
- Mix cream cheese and sugar at medium speed until completely blended and smooth. Add in heavy cream, and then add in eggs one at a time, mixing until incorporated. Lastly, pour in sour cream, vanilla extract, cocoa powder, red food coloring, and flour. Mix until entire batter is smooth, scraping down sides as needed. Carefully pour batter into the prepared pan.
- Optional) Water bath: Place cheesecake pan inside a larger pan and slowly fill the large pan with boiling water halfway up sides of the springform pan. This step isn't necessary because the cheesecake bakes up nicely with no cracks without it but if you want extra assurance, you should add the water bath.
- Bake cheesecake for 1 hour. Turn oven off and let cake cool in oven with the door closed for 4 additional hours.
- Remove cheesecake from oven after 4 hours and rest on the counter until it is completely room temperature. Chill the cheesecake by placing in the refrigerator and chilling overnight.
For the Whipped Cream Cheese
- In a medium-sized bowl add cream cheese and mix on high speed. Slowly add sugar and beat for 5 minutes until completely smooth. Lastly, add heavy whipping cream and beat on high speed until cream cheese is fluffy and high peaks have formed. Top cheesecake with whipped cream in decorative pattern and serve.
Notes
- Read the whole recipe before you start, boos. This red velvet Oreo cheesecake ain’t hard to make, but it does take time. So plan ahead and don’t rush it!
- Use a full-fat lineup. That means real cream cheese, heavy cream, and sour cream.
- Let your ingredients come to room temp. Cold cream cheese will fight you and leave lumps in the batter.
- If you’re using a water bath, wrap the bottom of your springform pan in a few tight layers of foil. That helps keep water from sneaking in and ruining your crust.
- Give it a full chill overnight. The texture sets up better, and you’ll get nice clean slices when it’s time to serve.
- Fridge: Store it in an airtight container or wrap it in plastic wrap. If you already added the whipped cream, stick a few toothpicks on top so the wrap doesn’t mess it up. Don’t leave it out at room temp for more than 2 hours! It’ll stay fresh in the fridge for up to 5 days.
- Freezer: Skip the whipped cream until later! Freeze the whole cheesecake or individual slices until solid, then wrap tightly in plastic wrap and foil. It’ll keep for 2-3 months. When you’re ready to serve, thaw overnight in the fridge and add the whipped topping.
Nutrition
Recipe Help
Cracks usually happen when the cheesecake gets too hot or cools too fast. This easy red velvet cheesecake recipe holds up well, but if you want to be extra careful, use a water bath to keep the heat even. And don’t rush the cooling!
Nope, don’t do it boos. It will mess up the texture. Be patient!
A food processor is the fastest way. Just pulse until finely ground. If you don’t have one, place the cookies in a zip-top bag and crush them with a rolling pin. You can also buy pre-crushed chocolate cookie crumbs.
More Cheesecake Recipes
- Lemon Cheesecake
- Banana Pudding Cheesecake
- Strawberry Shortcake Cheesecake
- Vanilla New York Cheesecake
- Peach Cobbler Cheesecake
- Caramel Apple Cheesecake
- Spiced Sweet Potato Cheesecake
- Oreo Cheesecake
 pinterest
Wow! I baked your Red Velvet Marble Cake this morning and it is wonderful. I would love to bake this as well, but I’m afraid of Red Velvet overload!
Hooray I am so so glad!!!! I’d love to see a photo. Share with me on social media!
Holy Yum Jocelyn! That is one beautiful cheesecake! Mine never turn out … always a crack. I’ve got to try this one!
It is smooth like silk girl.
WOW! Sold on who gorgeous this looks Jocelyn!! Love the ingredients and I believe you when you say you make a mean cheesecake!
Wow, how delicious does this look?! 🙂
Thanks so much Christina!
I am completely and totally sold.
I knew I could sell ya!