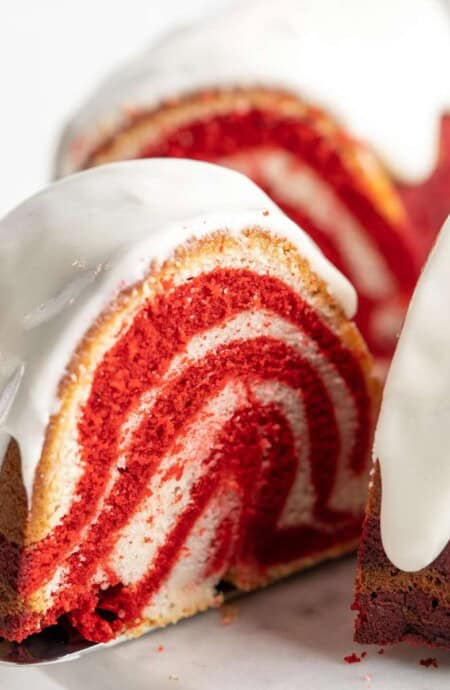
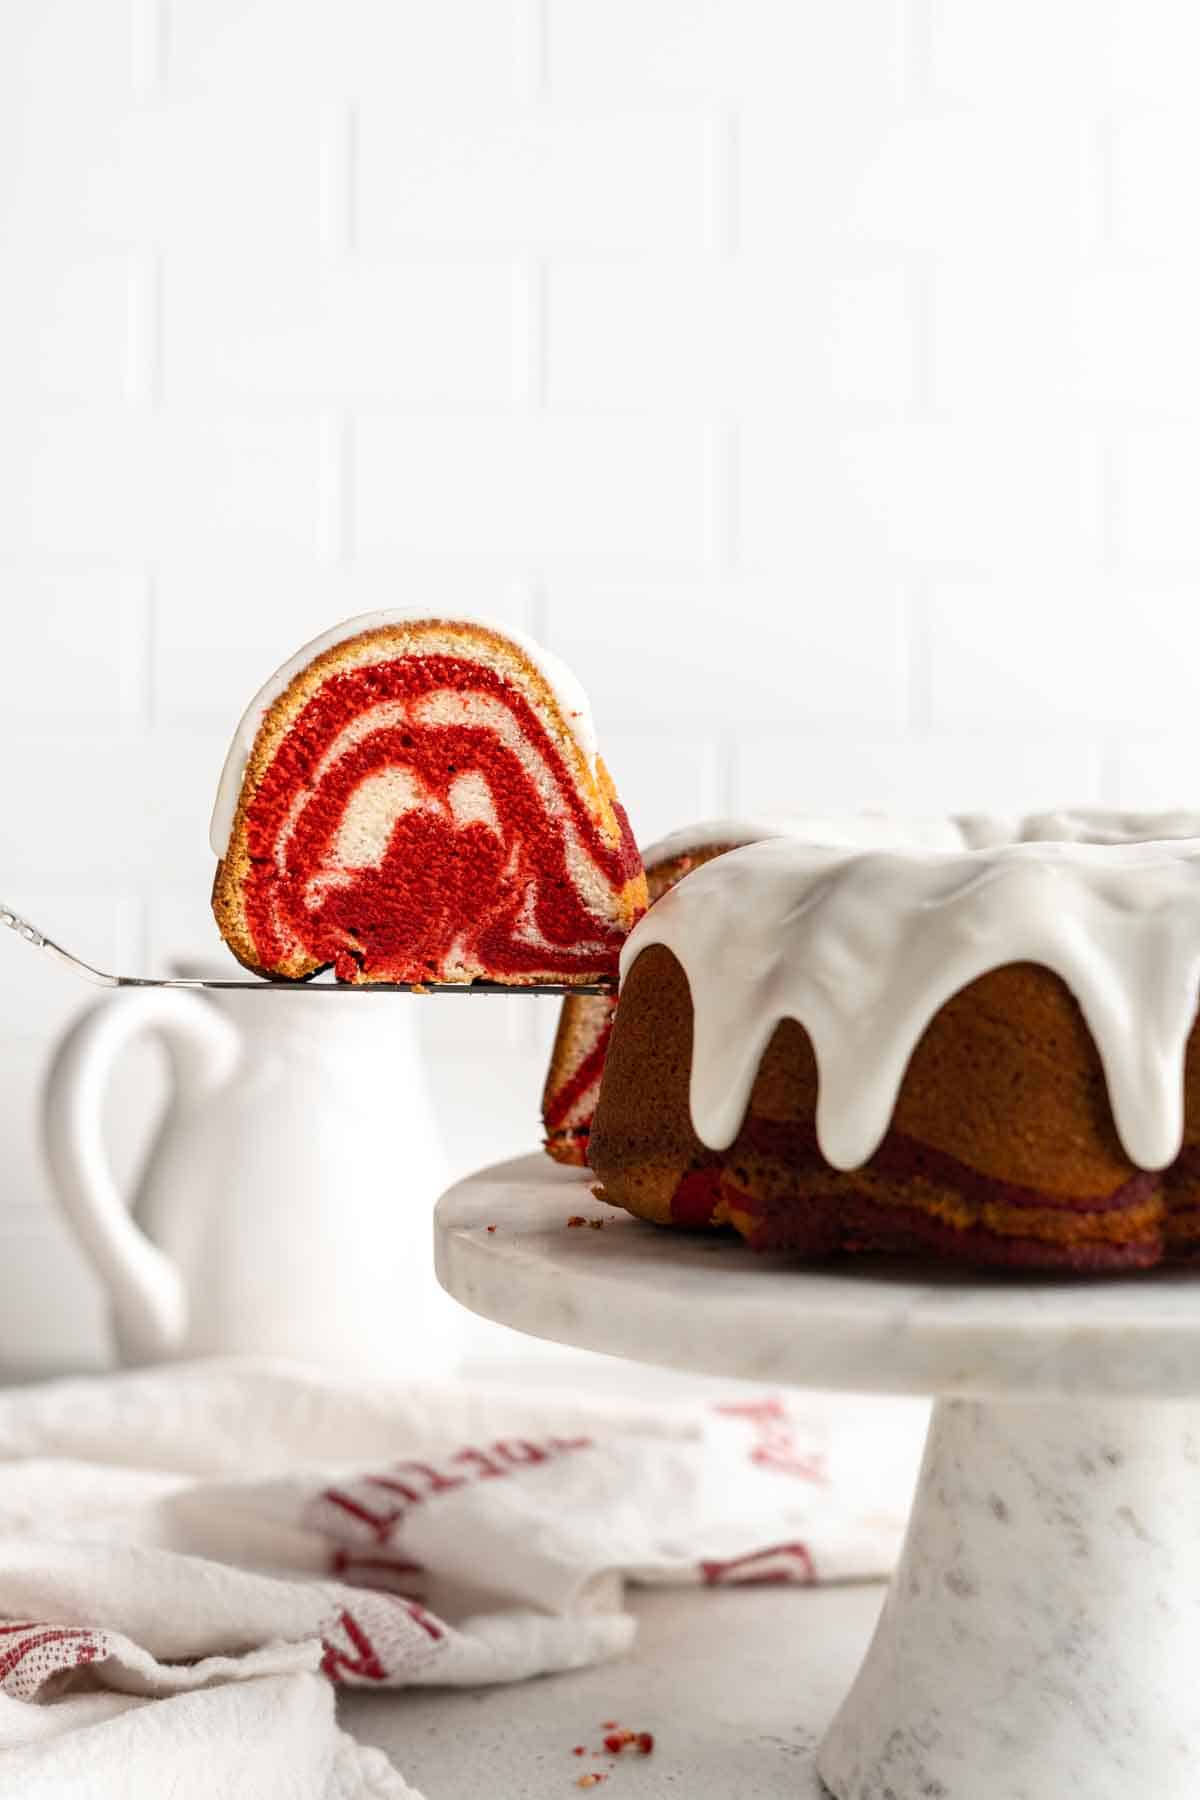
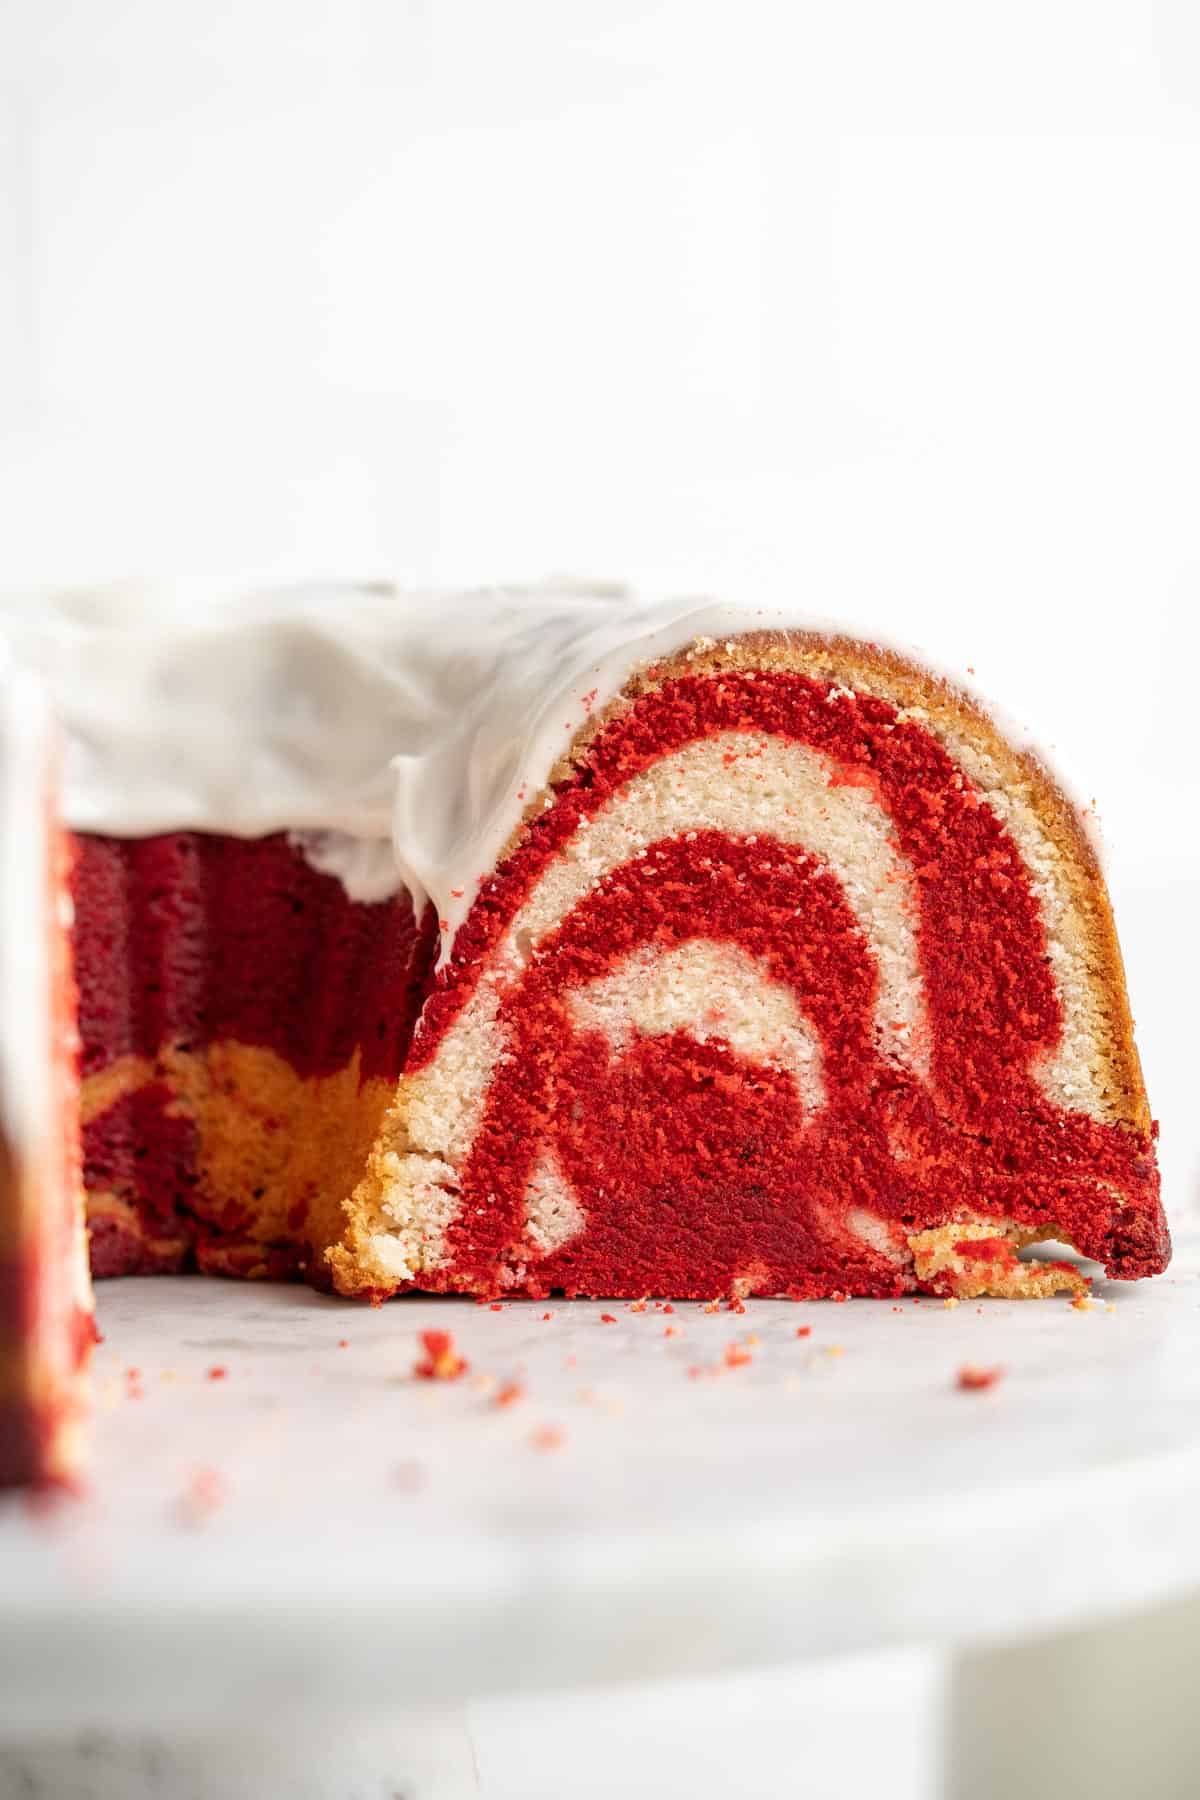
Red Velvet Marble Cake Recipe is holiday perfection y’all! It’s better than red velvet cake because with this one you get both vanilla and red velvet flavors swirled together in a perfectly tender, moist, and absolutely decadent pound cake. And let me tell you, it’s an absolutely hit! It makes the perfect cake for the holidays though you can enjoy it any time of year.
This post may contain affiliate links. Read our disclosure policy.
Want to Save This Recipe, Boo?
It’s the most wonderful time of the year!!! My Christmas music is on full blast with my fave Christmas music (hey Jackson 5) on repeat, and my house is feeling so festive and holiday ready. My baking is also in full throttle. Tis’ the season to holiday bake for your loved ones. Whether you are baking homemade gifts for family or getting treats ready to place under the tree for Santa, there is no better time to bake than during this time of year.
This Christmas, I am all about honoring classic flavors in new ways. Red velvet is such a quintessential holiday flavor. The color is just as festive as the taste. This red velvet marble cake is the perfect twist on the classic. In fact, I think it is easier to make even though the stunning swirls throughout make it seem like a true revelation.
The Heart & Soul Of This Red Velvet Marble Cake
Cuisine Inspiration: American, Southern-American
Primary Cooking Method: Oven
Dietary Info: Vegetarian
Key Flavor: Vanilla and delicate chocolate flavors are swirled together for a perfectly tender, moist and absolutely decadent pound cake.
Skill Level: Intermediate (But there are LOTS of tips to help more novice bakers)
Sweet Spots
- Two Flavors in One Cake! You don’t get just one flavor but two!! It starts with a moist and rich vanilla pound cake base and flavor half with a bit of cocoa powder to make a red velvet cake batter.
- Stunning Cake. The blending of vanilla cake and red velvet flavored cake in a bundt pan is quite beautiful and the taste is unreal boos. You won’t believe how many compliments you will receive once you place this cake in front of people for the holidays.
- Perfectly Creamy Glaze. This cake is all about that icing – simple yet so divine, it elevates the whole cake to another level! We’re talking about a rich, thick glaze that sets like a dream and just cascades over the cake, making every bite absolutely unforgettable.
- Versatile for All Types of Occasions. Enjoy this marble swirl cake any time of year for special occasions or as a simple sweet treat for the family. Its signature red swirls makes this cake a great Christmas dessert.
- Easy Cake For Parties: Bundt cakes require little effort yet look stunning when served up for dessert. Sometimes we just don’t have to frost cakes to perfection so this is very forgiving and still looks bomb.
Ingredients to make a red velvet marble pound cake
The key ingredients for the base of this Red Velvet Marble Pound Cake are the following:
- Butter: I prefer using a European unsalted butter for this cake. The butter really creates the most sensational rich flavor because of its higher fat content. I love that richness so much.
- Cream Cheese: Adds a lot of richness and more complex flavors to the cake.
- Oil: Adds amazing moistness to the cake as well.
- Eggs: Gives the cake it’s stability and they’re essential to the cake’s texture.
- Cake Flour: Using cake flour all-purpose flour keeps the gluten from developing too much creating a tougher cake texture.
- Sugar: Granulated sugar sweetens and tenderizes the cake while powdered sugar is used to make the creamy glaze because it more easily dissolves into the liquid making the glaze nice and smooth.
- Vanilla: Pure vanilla extract works best for adding warming aromas and flavors to your cake!
- Unsweetened Cocoa: Adds the delicate cocoa flavor to the red velvet swirl.
- Red Food Coloring: I suggest using red food coloring paste rather than liquid for a more intense red color that won’t affect the consistency of the cake batter.
- Milk: Just a touch to give the icing its pourable consistency. Any type of milk works.
How to Make a Marble Cake
The most important part of making a marble cake are the two different colored batters. I’m going to walk you through mixing up the batter, how to create the batters, and how to create perfect swirls for your cake so it is absolutely gorgeous! Let’s get started.
Step 1: Mix the Cake Batter
- Combine the butter and cream cheese in a mixing bowl or the bowl of your stand mixer. Beat for two minutes at high speed.
- Add the sugar and oil to the bowl and continue beating on high speed for an additional five minutes until the mixture is a very pale yellow and fluffy.
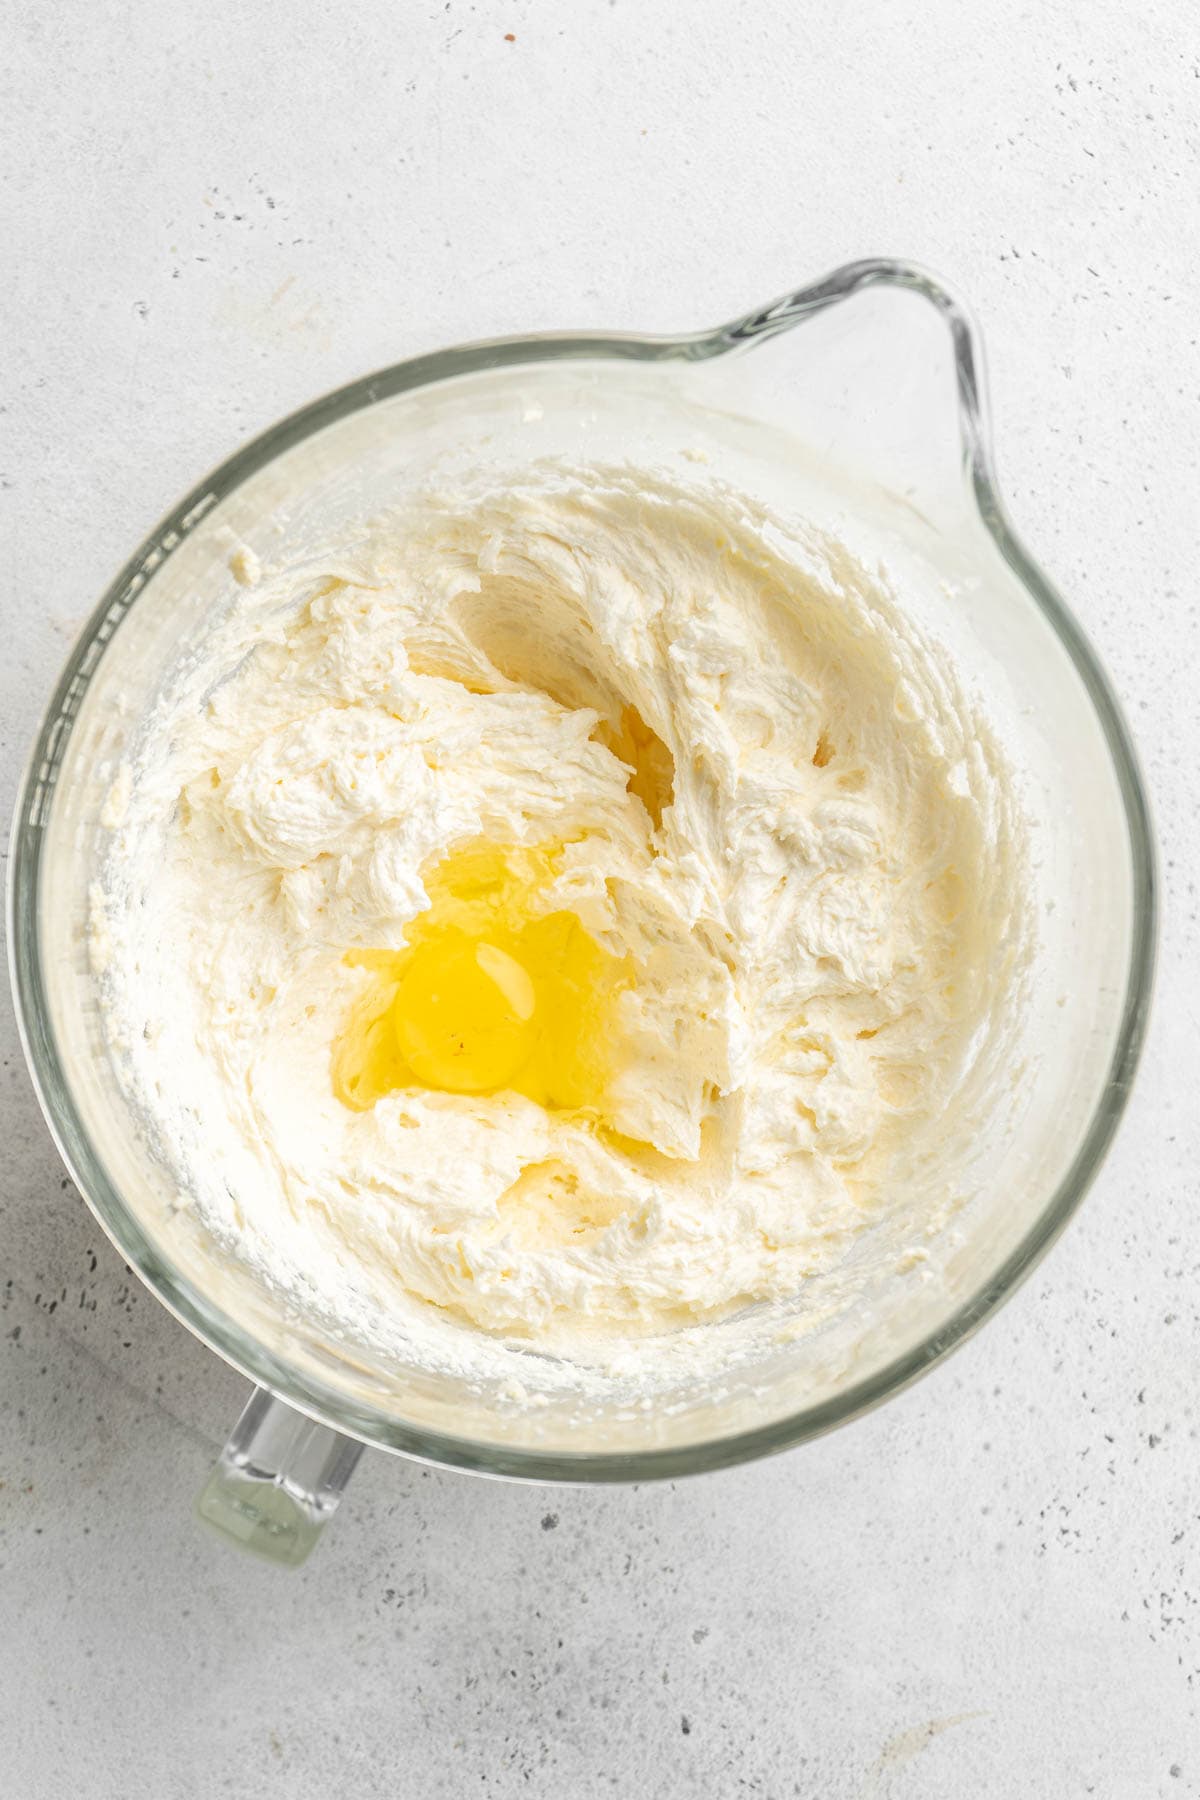
- Add the eggs, one at a time, combining well after each addition and scraping down the sides to incorporate everything into the batter.
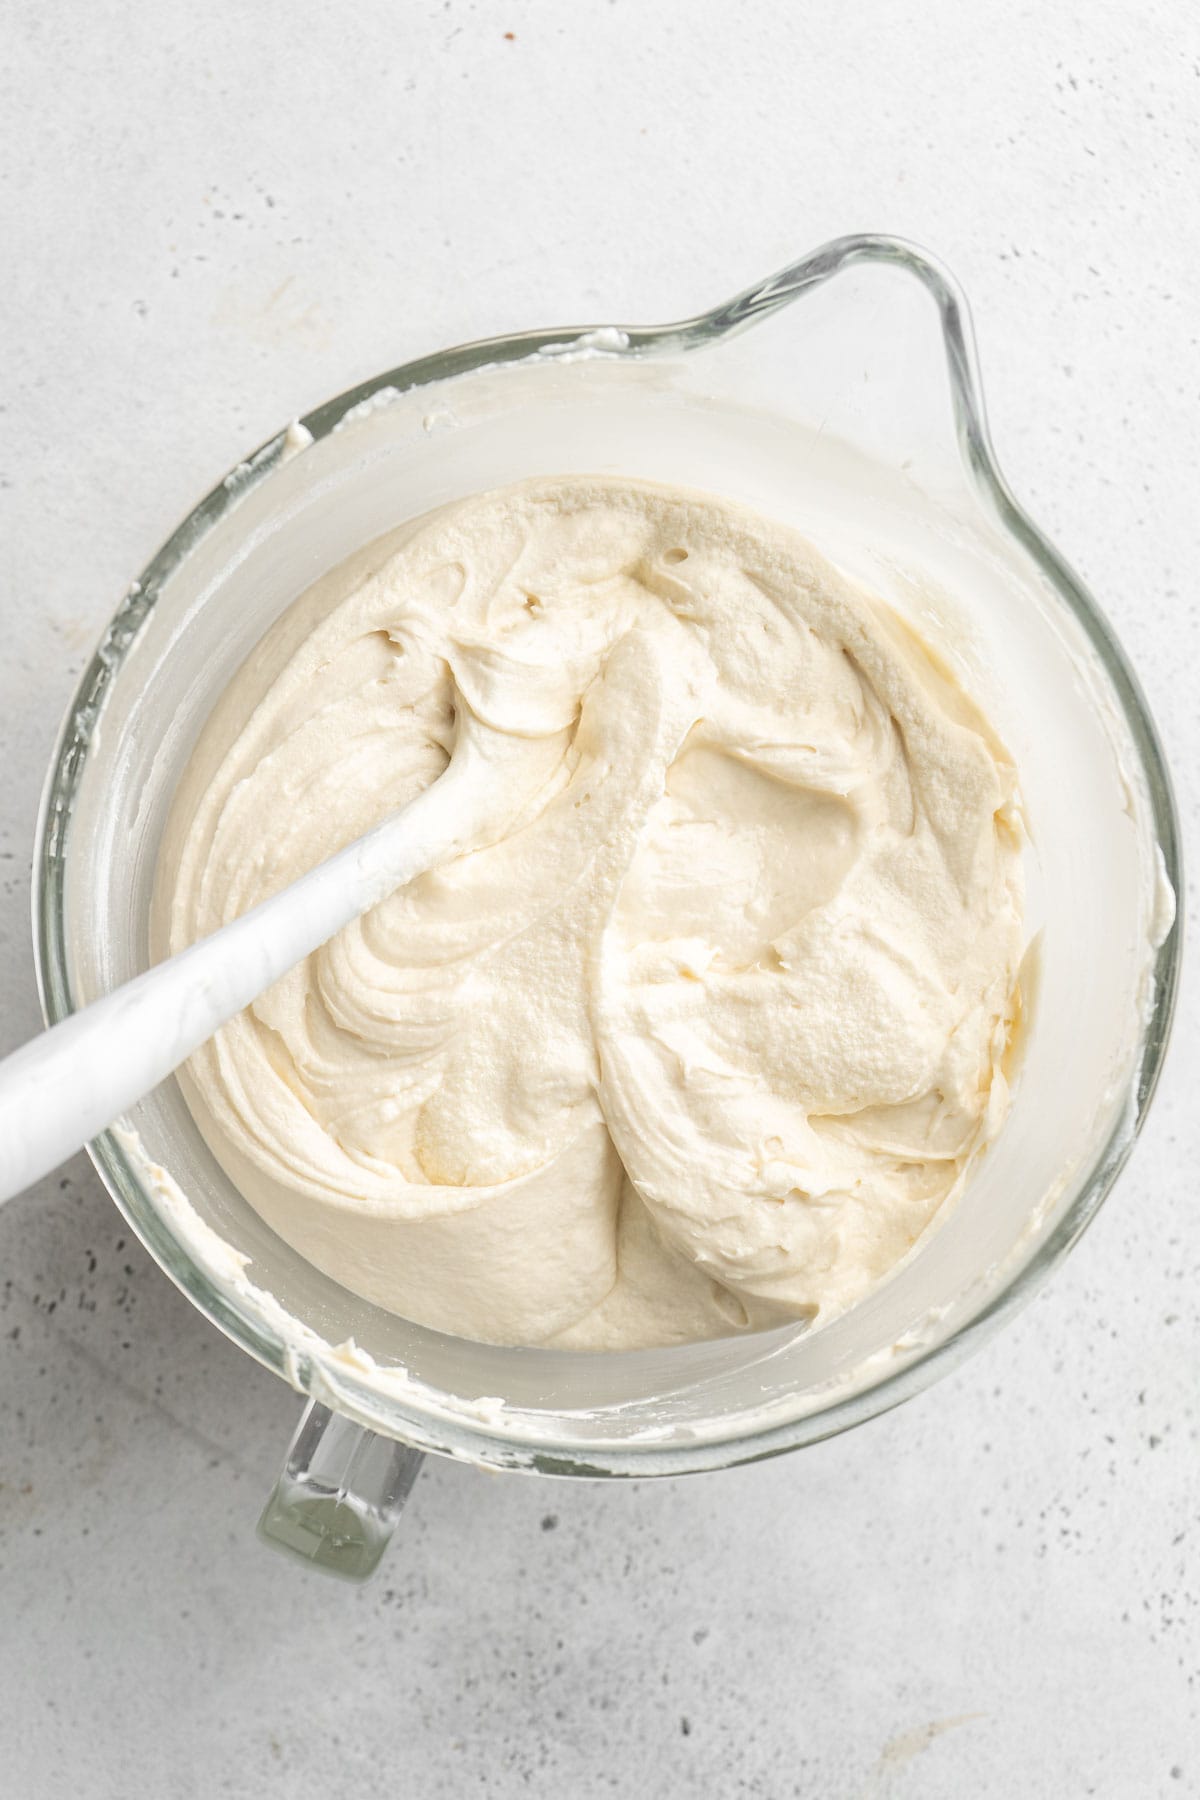
- Add the flour to the cake batter in two increments and then add salt. Mix on low and be careful not to over beat. Add in the vanilla extract and scrape down sides.
Step 2: Creating the Red Velvet Batter
- Mix the batter one final time.
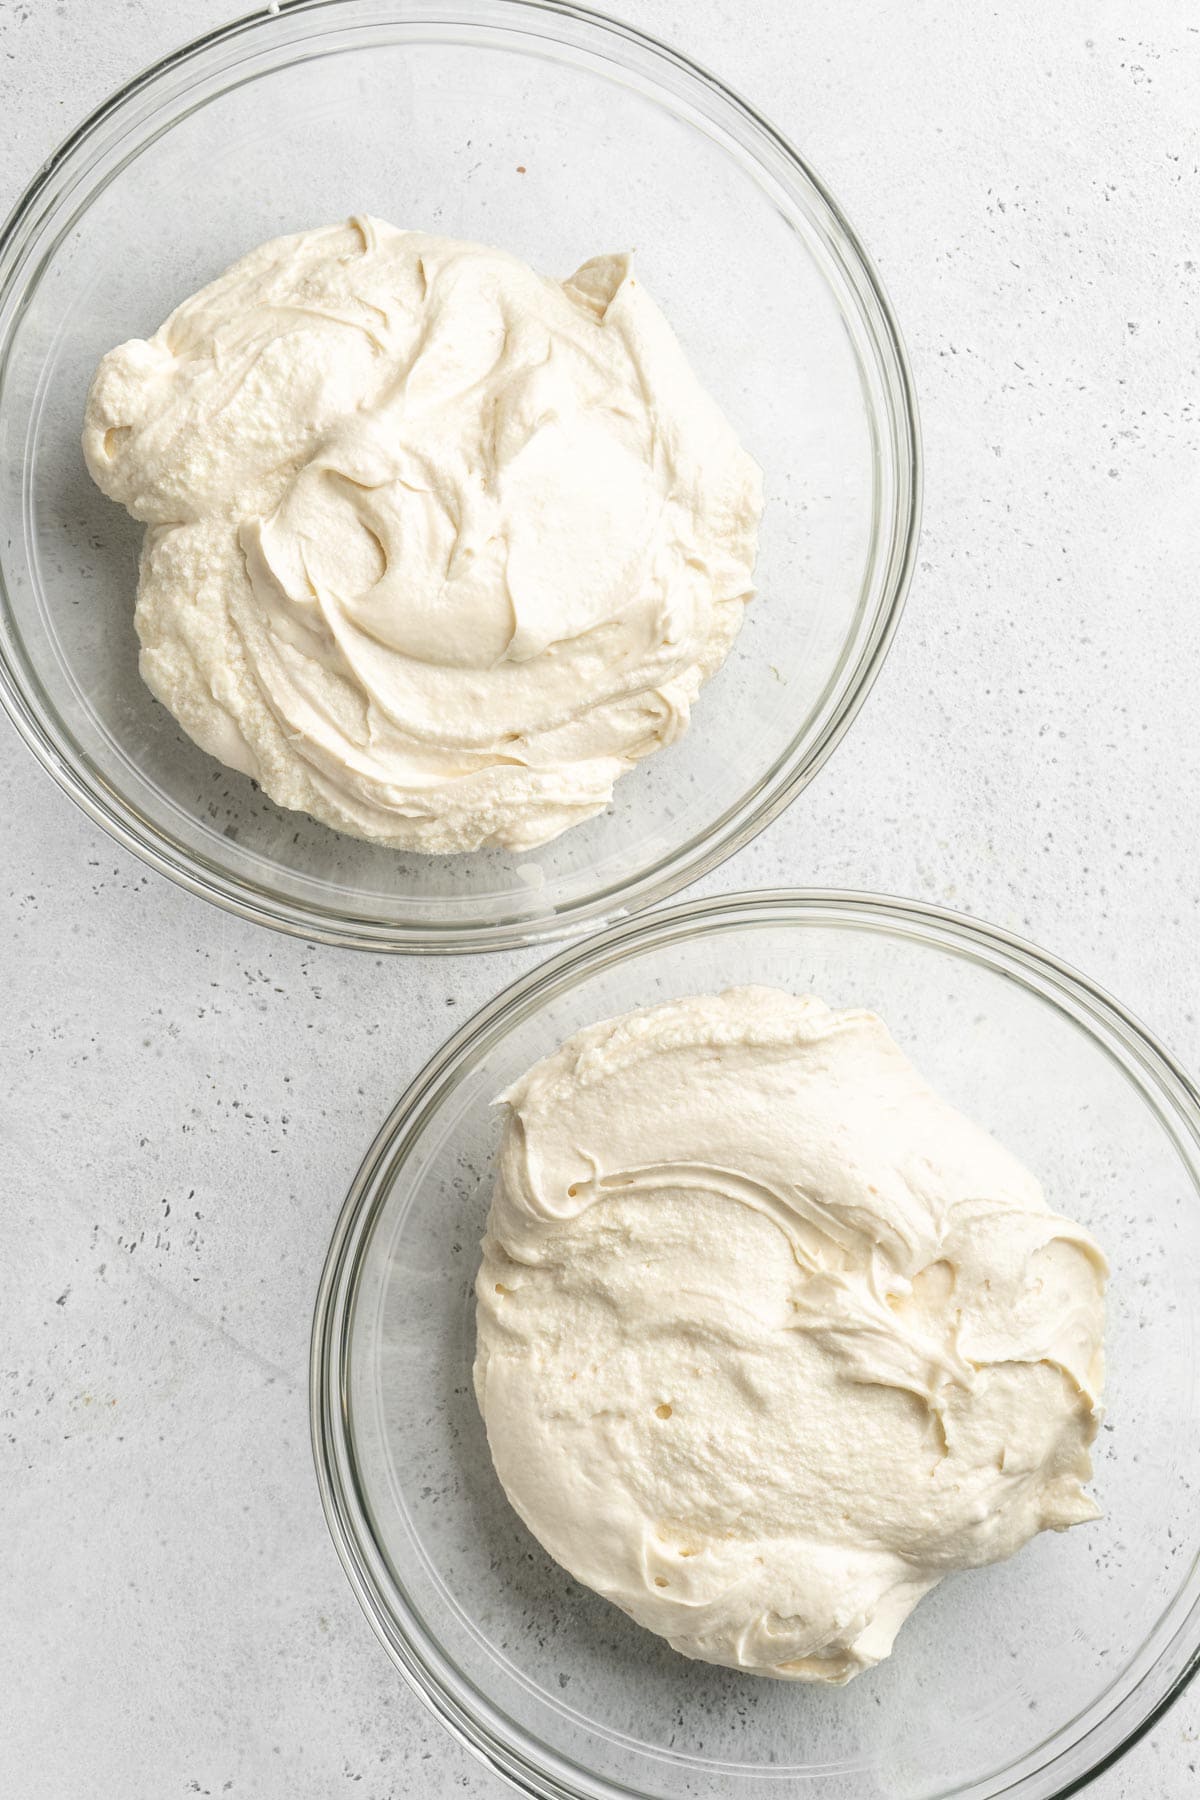
- Split the cake batter evenly between two separate bowls.
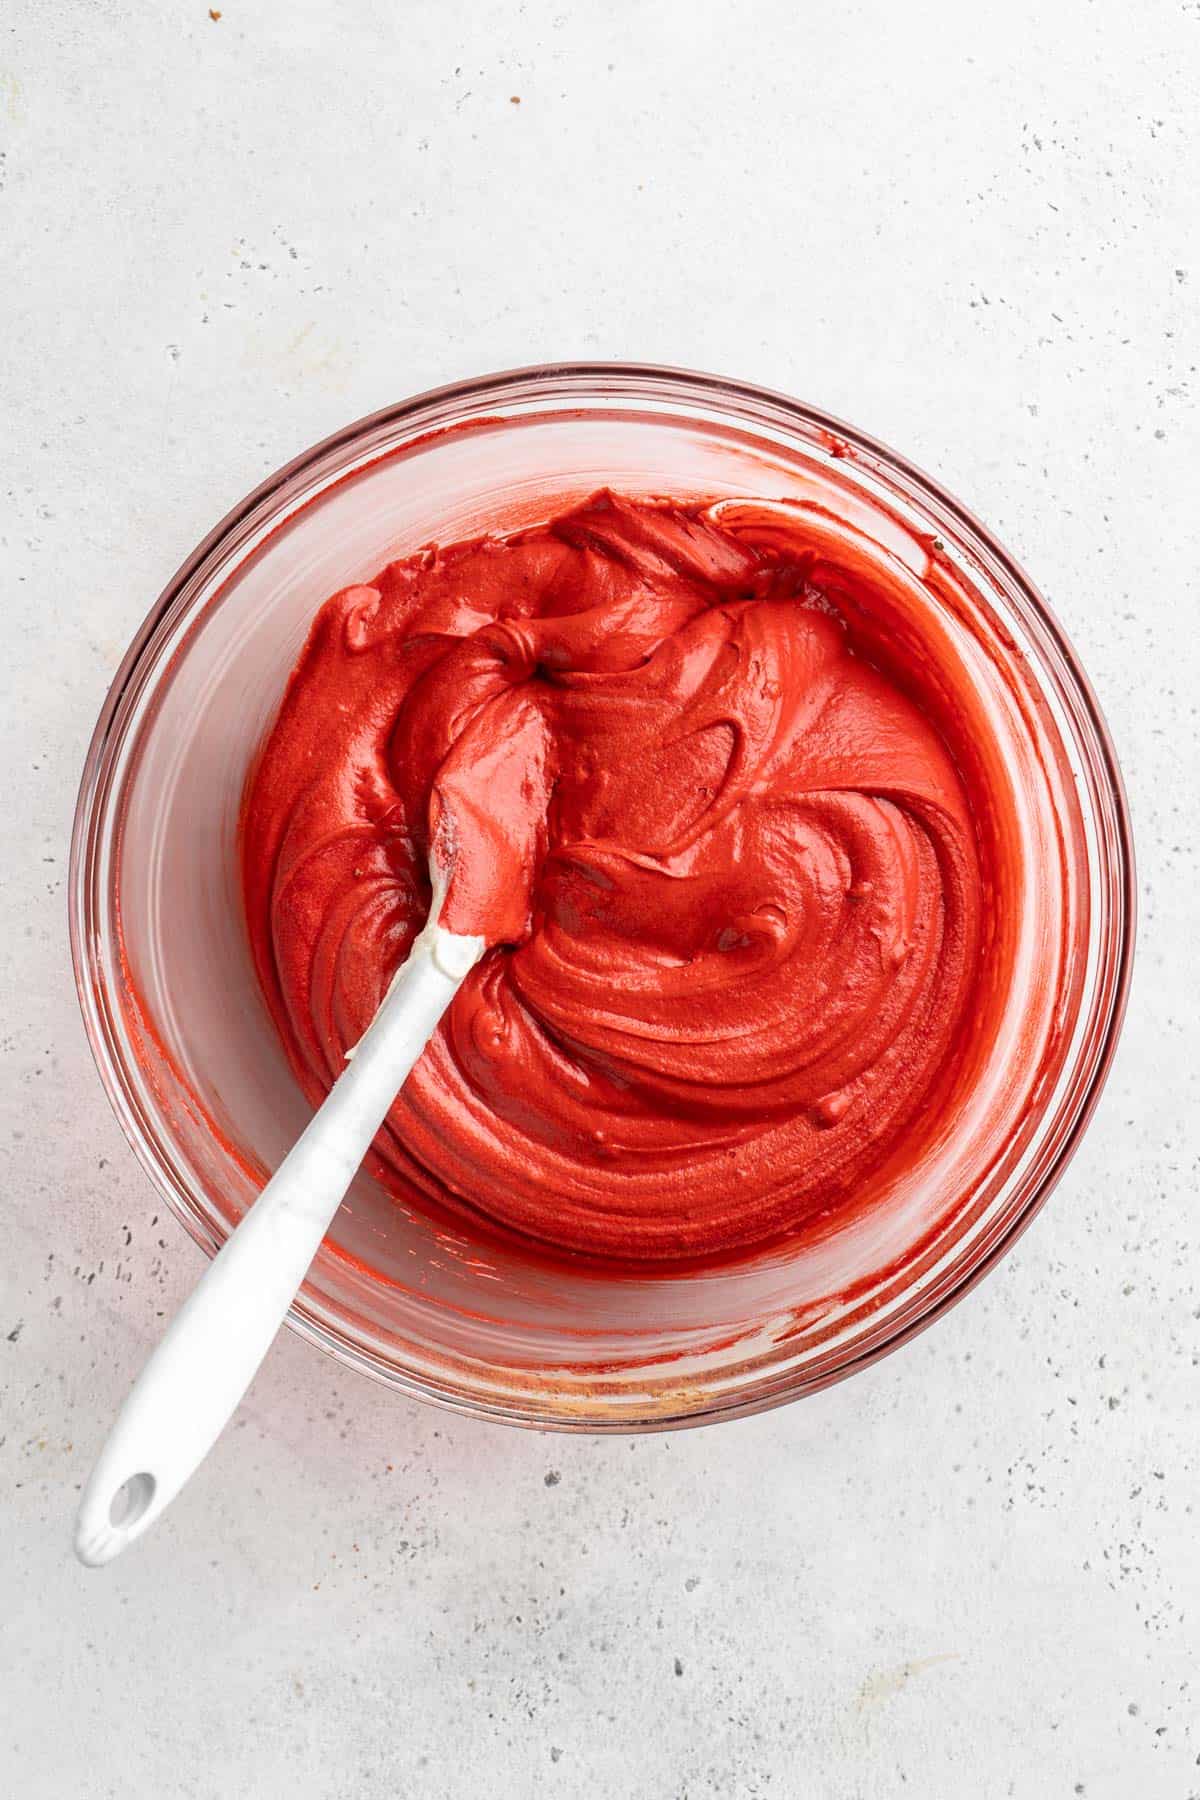
- Add the cocoa powder, red food coloring, and hot water into one bowl.
- Whisk together until the batter is completely well mixed.
Step 3: Transfer Batter to the Pan
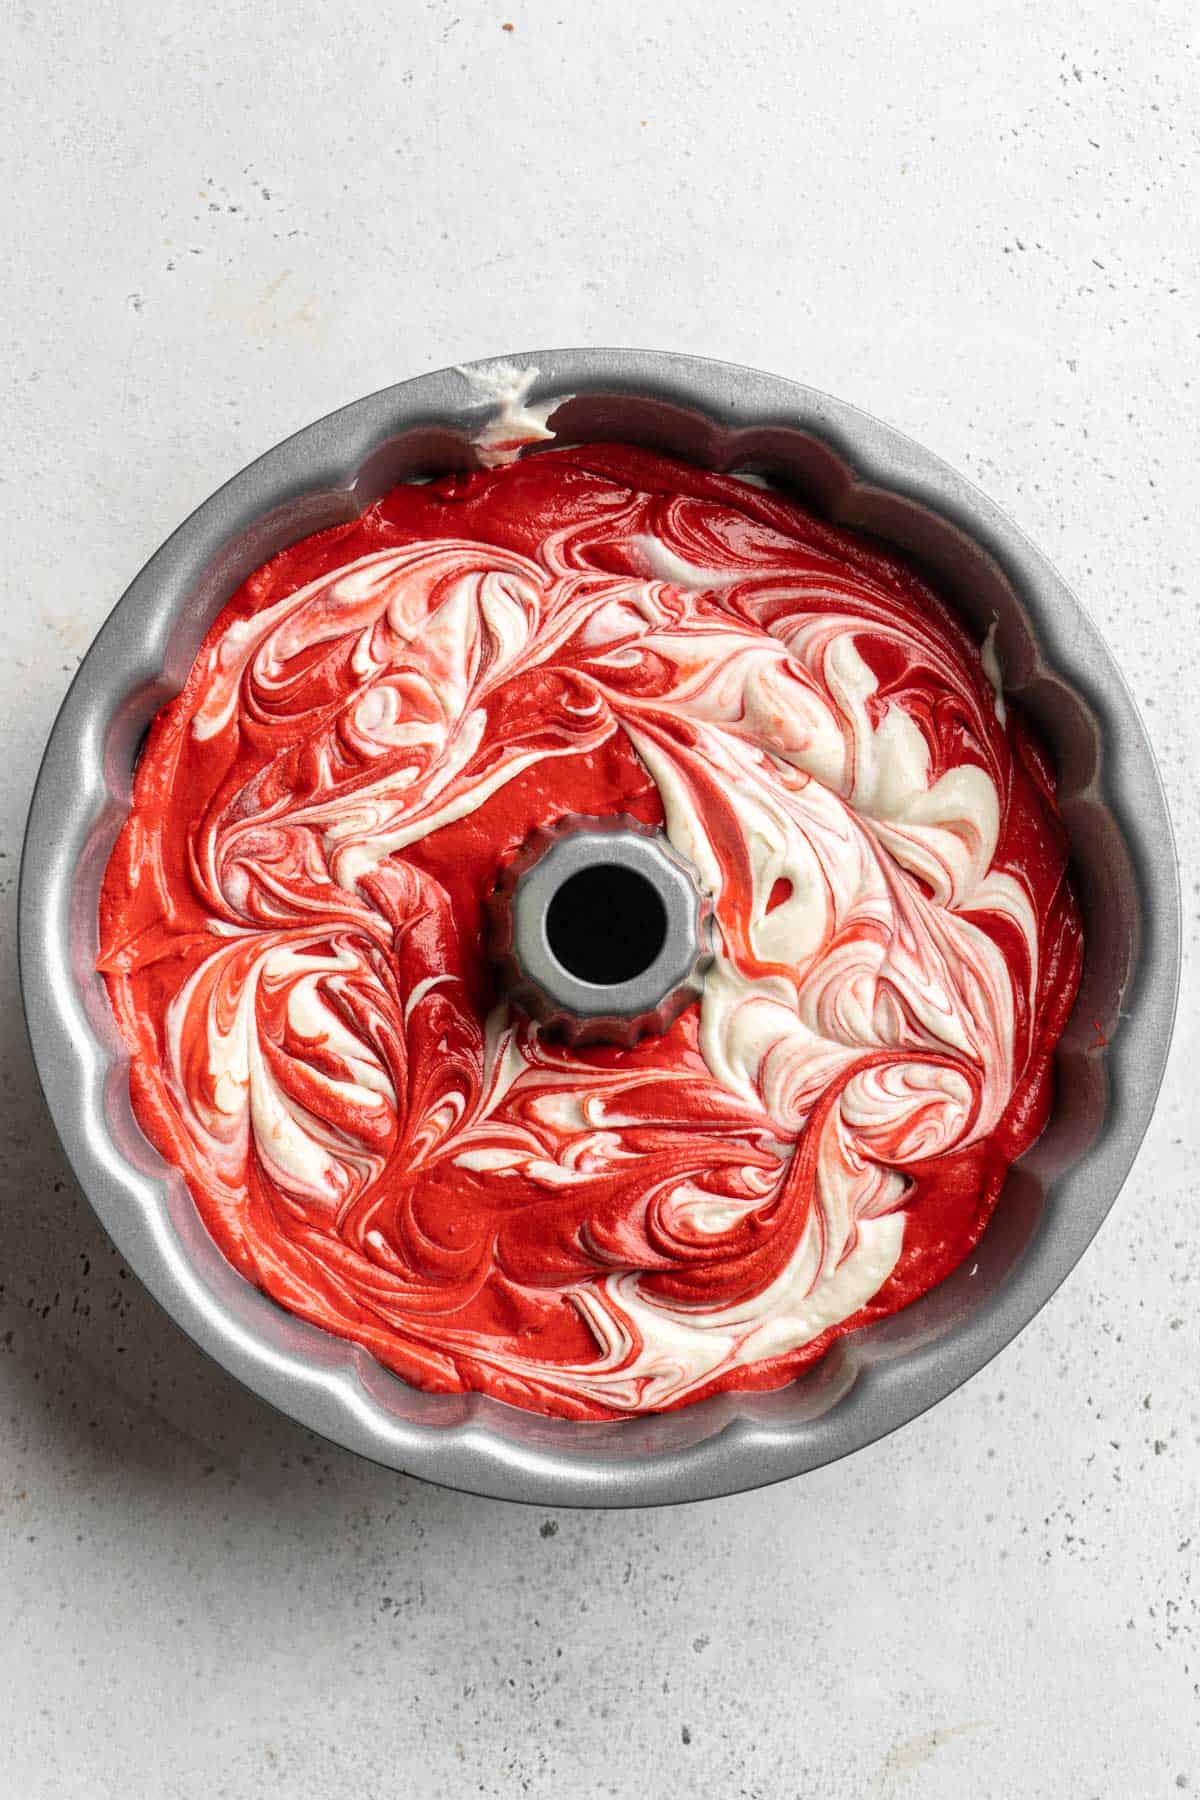
- Alternate dollops of vanilla and red velvet cake batter into a Bundt cake pan.
- Swirl the batter with a skewer to create the marbled look.
Step 3: Bake the Cake
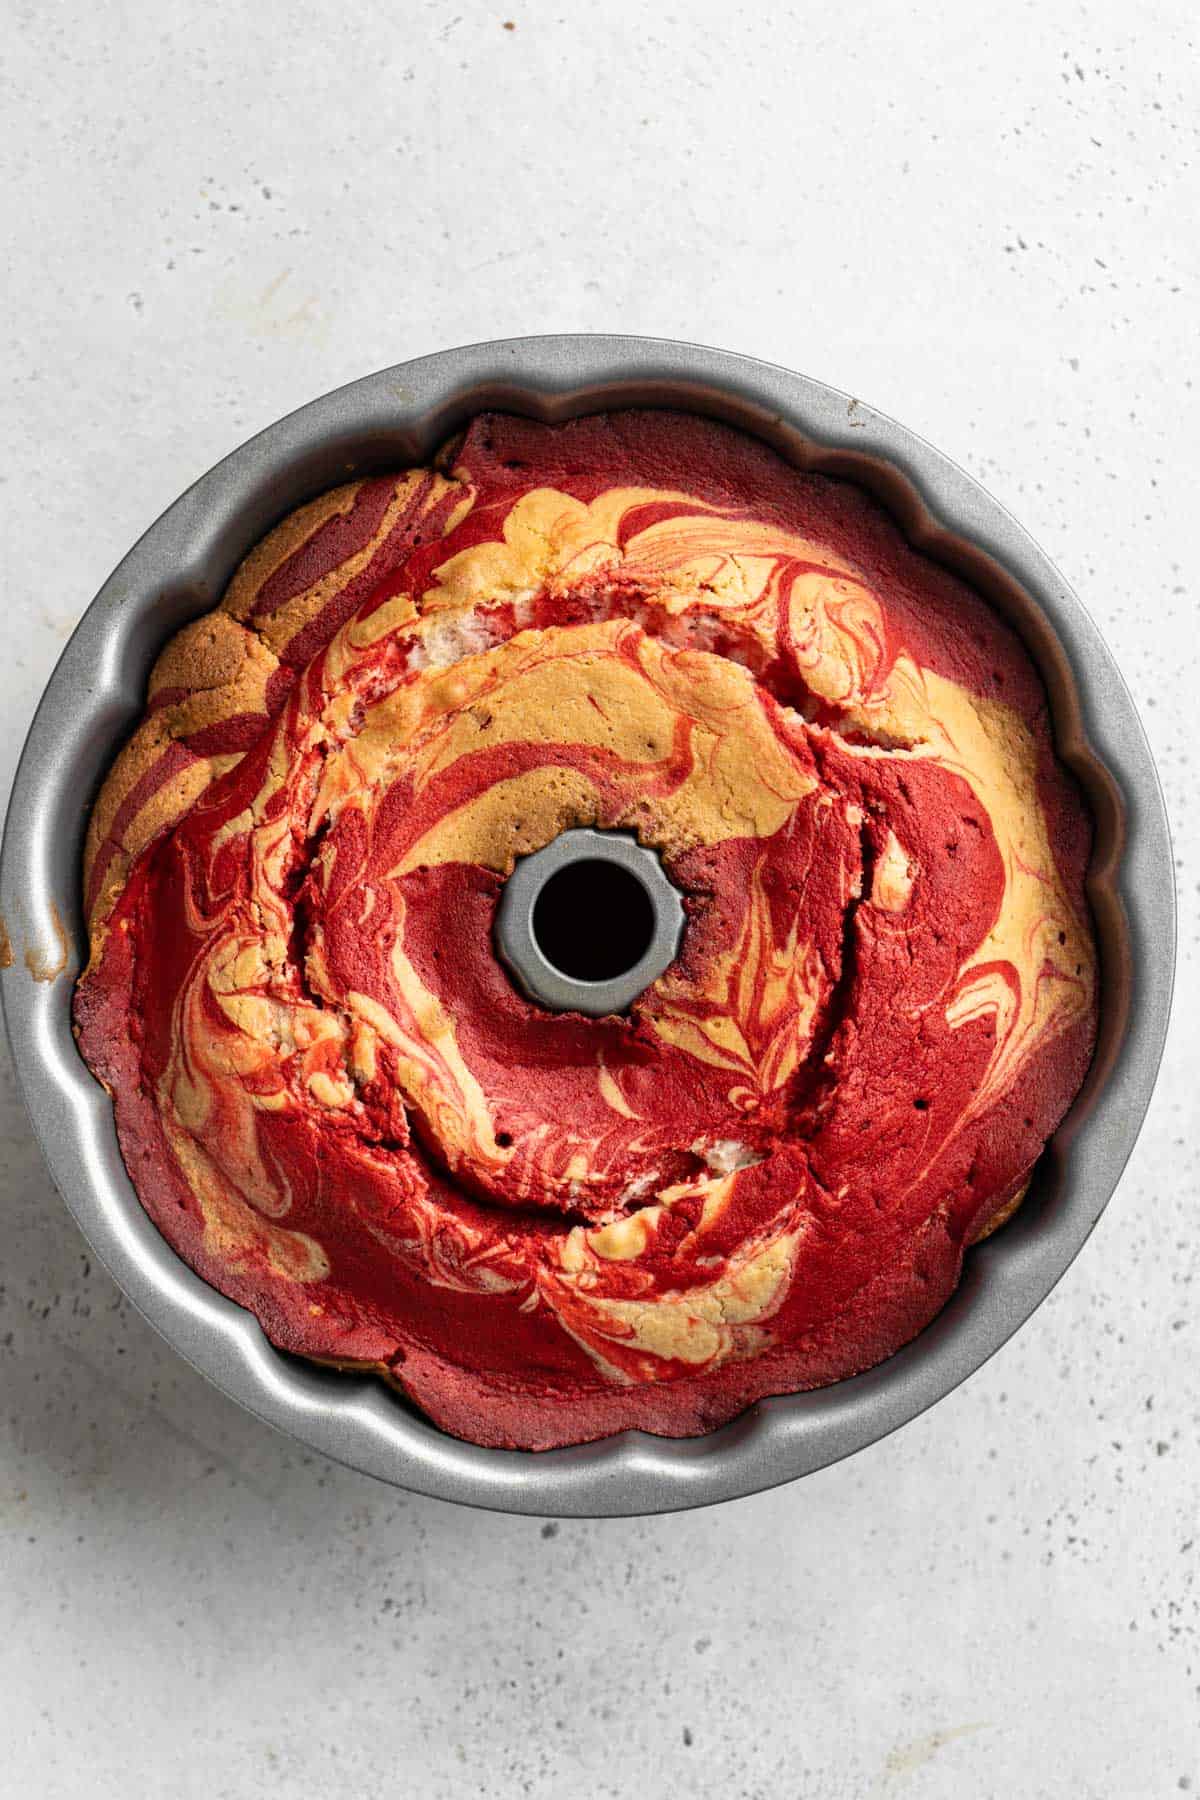
- Bake the cake for 1 hour and 15 -20 minutes or until a toothpick inserted in the center of the cake comes out clean. Cool the cake in the pan on a wire rack for 10 minutes.
- Invert the cake onto a serving plate and let it cool for at least an hour or until the cake is cool to the touch.
Step 4: Icing the Cake
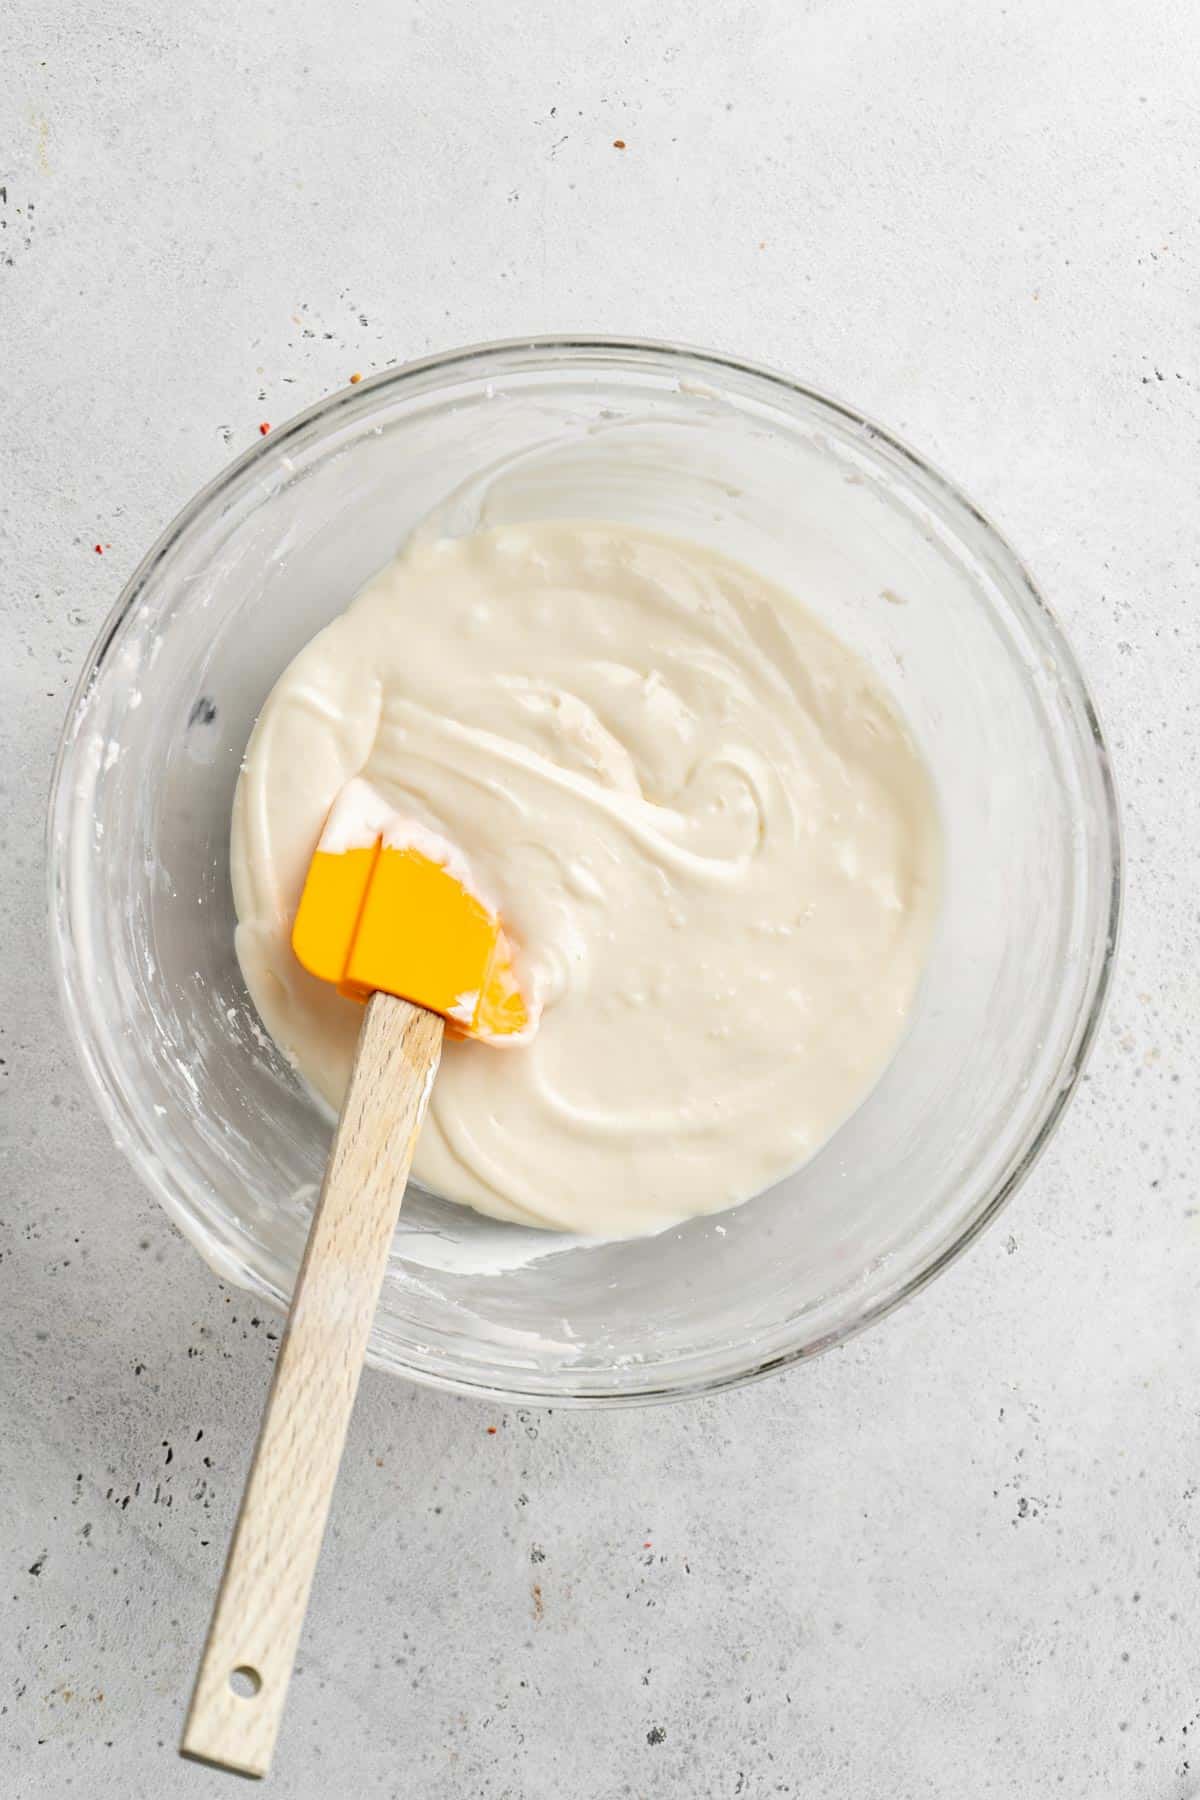
- Combine the cream cheese, powdered sugar, milk and vanilla extract in a bowl.
- Mix together until it’s smooth.
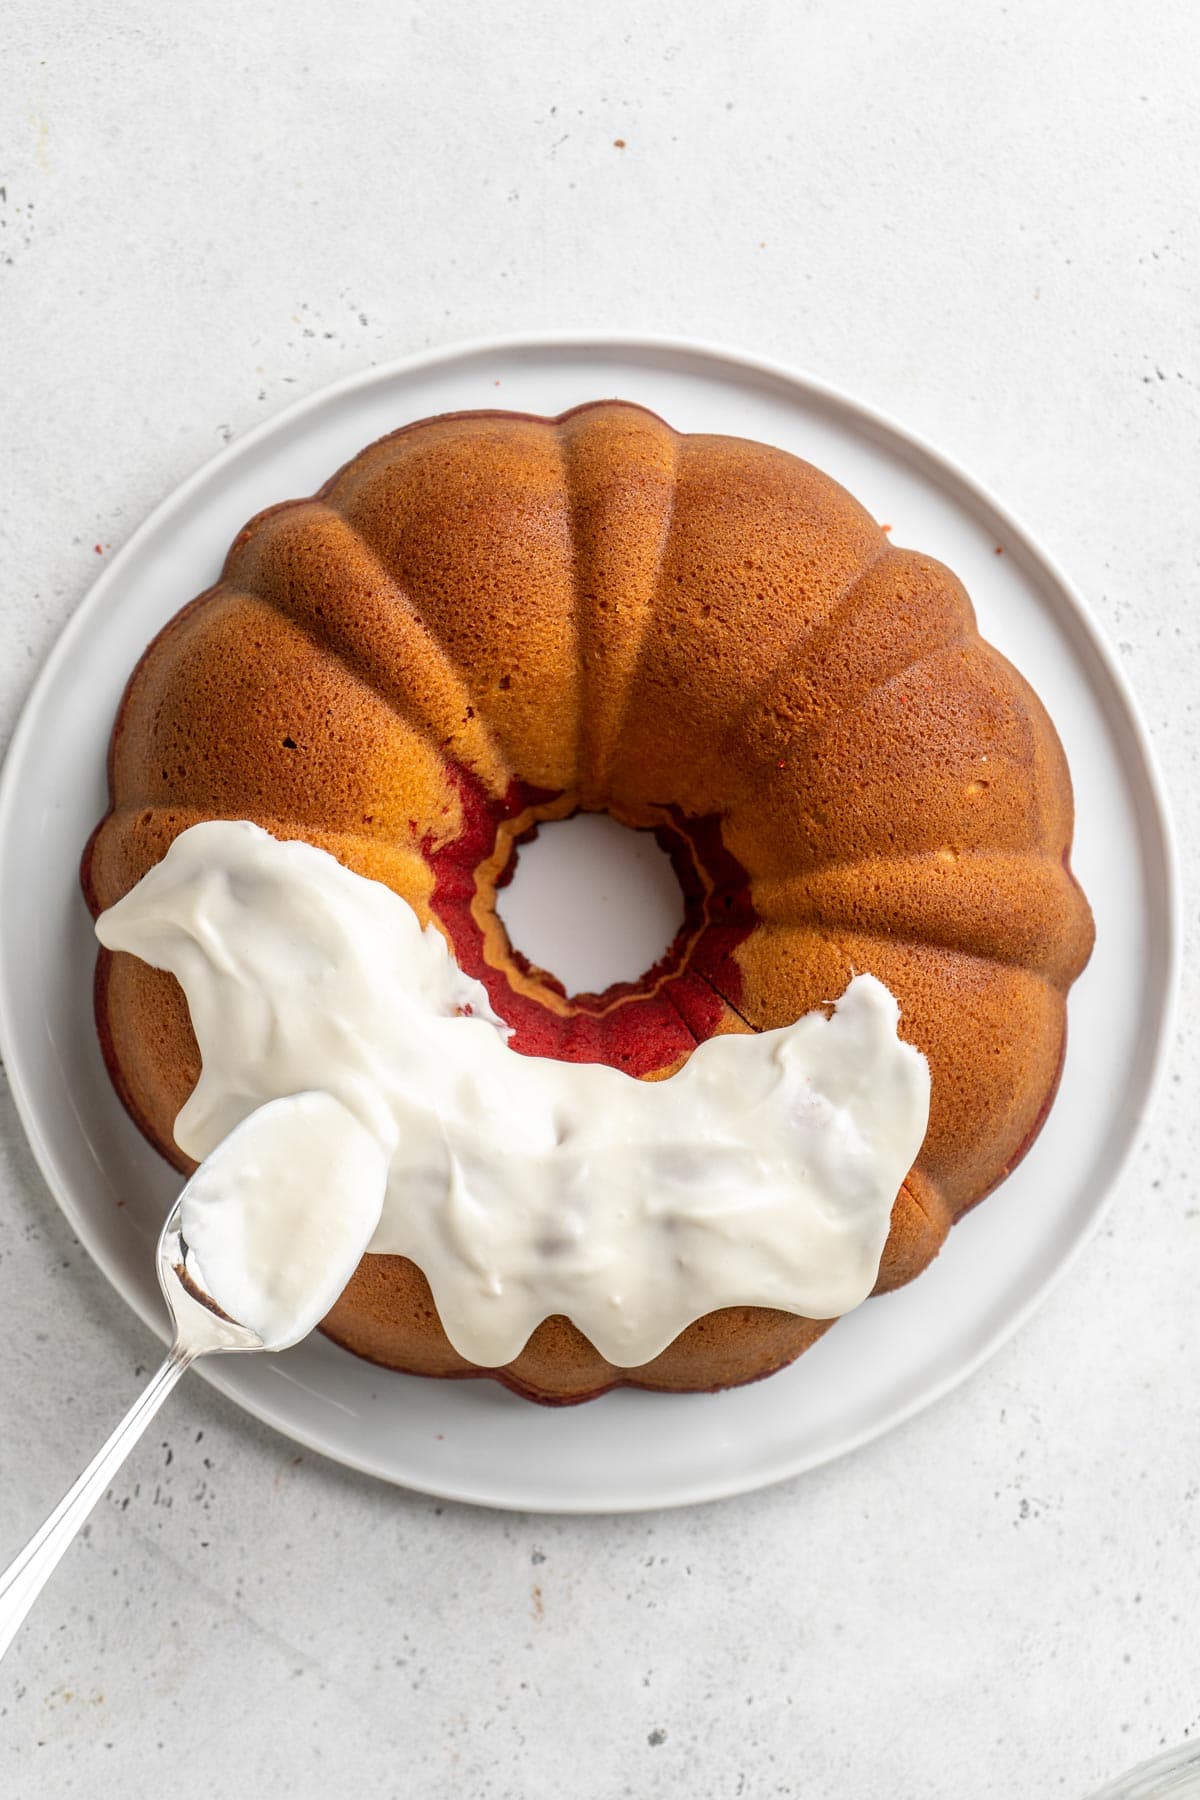
- Pour it over the top of the cooled cake.
- Allow the glaze to drip down the sides of the cake.
Tips for Making the Best Marble Red Velvet Cake
- Alternating the Batters. Use two different utensils to keep the colors from bleeding into each other. This will ensure a more distinct and striking marbled pattern.
- Create Swirls. Use a skewer or toothpick to carefully create swirls. Begin with big swirls and then go back in to make smaller adjustments after looking at the big picture. Just don’t overswirl so the colors don’t blend too much.
- A Perfectly Tender Cake. To make sure your cake cooks with a light and tender texture it’s important to measure your ingredients properly and to avoid over-mixing the batter. Scoop your flour into the measuring cup with a spoon and level it off and make sure to mix the flour into the batter using low speed. This applies for all my bomb cakes too.
- Room Temperature Ingredients. Your ingredients will mix together more easily with creamier results when you start with room temperature butter, cream cheese, eggs, and milk.
- Cool the Cake In the Pan. Just for a short time to prevent the cake from breaking when you flip it. As the cake cools down it will continue to cook a bit and will be less delicate when you give it a slight cool in the pan before inverting it onto the serving plate.
Popular Substitutions & Additions
- Cake Flour: If you don’t have cake flour you can easily make cake flour using all-purpose flour and cornstarch.
- Garnish: Sprinkle some cake crumbs, finely chopped nuts, chopped chocolate, or even some toasted coconut over the top of the glaze for a bit of decoration and additional flavor.
- Swap the Glaze: While a cream cheese icing or frosting is the traditional pairing for red velvet cake you can leave it off and simply sprinkle with powdered sugar, add a chocolate glaze, or a simple vanilla glaze instead.
- Red Food Coloring: You can swap it for any color of food coloring to make the cake fit a holiday or special occasion! Who says you can’t have a Green Velvet Cake or Blue Velvet Cake!
- Chocolate Chips: Add some mini chocolate chips to the red velvet batter for more intense chocolate flavor!
What to Serve with Red Velvet Swirl Cake
There’s no limit to the various ways you can serve this decadent dessert. Here are a few suggestions for a bit of inspiration!
- Other bundt cakes. Why not create a dessert table for a party that’s all bundt cakes! Give your guests a bit of variety by serving it alongside this Gingerbread Bundt Cake and Peppermint Chocolate Pound Cake or this Buttered Rum Eggnog Cake Recipe for the holidays. Other times of the year enjoy it with other classics like a Sour Cream Pound Cake or a Strawberry Pound Short Cake!
- Enjoy with a hot beverage. Serve up this cake for after dinner with an espresso or your favorite coffee drink, peppermint hot chocolate, apple cider, or creamy eggnog.
- After your holiday dinner. This cake is perfect for holidays and special occasions following a special dinner with Steak au Poivre, Fried Turkey, or Honey Glazed Ham.
- Summer picnics. Indulge on Fried Chicken, Southern Hush Puppies, Fried Catfish, Vinegar Coleslaw, and all your picnic favorites before ending the meal with this spin on a traditional Southern cake.
How to Store Red Velvet Marble Cake
This homemade cake contains dairy so it needs to be stored in the refrigerator. It’s ok to hold at room temperature for a few hours but after that it’s best to refrigerate it. Place it in an airtight cake container or wrap it up tight to keep it from drying out.
If you’re making the cake ahead of time, wait to add the glaze until you’re ready to serve. Cool the cake completely and then wrap it tightly in plastic wrap and then in foil (if freezing) and store it in the freezer or refrigerator until ready to use. If you’re making it only a day ahead, it’s ok to store the marble cake at room temperature until you add the frosting.
How long will red velvet marble cake last in the fridge?
Follow all the instructions above for storage and your marble bundt cake will last up to seven days in the fridge.
Can I freeze marble red velvet cake?
Yep, you can! You have the option to freeze the whole bundt cake intact or individual slices of cake. I recommend not freezing the bundt cake after adding the glaze. The glaze may not remain the same consistency during the thawing process.
Allow your bundt cake to cool completely before freezing. Wrap the cake tightly in plastic wrap, then again in foil. Freeze for up to 6 months. Allow the cake to thaw overnight in the fridge.
Frequently Asked Questions
Start by using two spoons to add the colored batter to the pan. Alternate with one white and then one red and continue around the pan. The add another layer on top and continue until all the cake batter is in the pan. Then use a skewer or toothpick to swirl the colors together a bit more for a more swirled effect.
Use the time as a gauge to determine when you’re cake is done but it may not be completely accurate. This cake is fairly dense so it does usually take over an hour to cook. It should appear firm on top and when you press lightly on the top of the cake it should spring back and not leave an indentation. The final way is to check with a toothpick or skewer. Insert it into the cake and if it comes out mostly clean or with only a few crumbs the cake is ready.
It all starts with the correct consistency of the glaze. You want it pourable but not too thin. Slowly pour it over the top of the cake gently so that you add just enough for it to drip down the sides. If you’re anxious that it may come out too fast when pouring you can also use a spoon to drizzle it over the cake giving you a bit more control.
Y’all, if you’re on the hunt for that perfect holiday cake that’ll dazzle everyone and won’t keep you tied up in the kitchen all day, then you need to whip up this Red Velvet Marble Cake! With its jaw-dropping good looks and that irresistible mix of vanilla and chocolate flavors, it’s not just a cake, it’s the star of your holiday spread!
Favorite Bundt Cake Recipes
- Cream Cheese Pound Cake
- Brownie Swirl Pound Cake
- Chocolate Swirl Bundt Cake
- Red Velvet Bundt Cake
- Blueberry Orange Bundt Cake
- Strawberry Pound Cake
*Did you make this recipe? Please give it a star rating and leave comments below!* Post a photo of how your version of the recipe came out on Instagram (using #grandbabycakes)!!
Red Velvet Marble Cake
Want to Save This Recipe, Boo?
Equipment
Ingredients
For the Cake:
- 1 ½ cups unsalted Butter room temp, 3 sticks
- 8 ounces cream cheese room temp, 1 block
- 3 cups granulated sugar
- 1 tablespoon vegetable or canola oil
- 6 large eggs room temperature
- 3 cups cake flour
- 1 teaspoon salt
- 2 teaspoons vanilla extract
For the Swirl:
- 2 tablespoons unsweetened cocoa powder
- 1 tablespoon red food coloring
- 1 tablespoon hot water
For the Icing:
- 4 oz cream cheese room temperature
- 2 cups powdered sugar
- 4 tablespoons milk
- 1 teaspoon pure vanilla extract
Instructions
For the Cake:
- Start by preheating your oven to 325°F then liberally spray a 12-cup Bundt® pan with non-stick baking spray.
- In your mixer bowl, add butter and cream cheese and beat for two minutes on high speed. Next, slowly add in sugar and oil then continue beating on high speed for an additional five minutes until it’s a very pale yellow and fluffy.
- Next, add eggs, one at a time, combining well after each addition and scraping down the sides as needed.
- Turn your mixer down to its lowest speed, and slowly add flour into batter in two increments then add salt. Be careful not to overbeat.
- Lastly, add in vanilla extract, scrape down sides and mix until just combined and turn off mixer.
- Pour 1/2 of cake batter into a separate bowl and set aside. Whisk in cocoa powder, red food coloring and hot water until completely well mixed.
- Alternate dollops of vanilla and red velvet cake batter into Bundt® pan using a skewer to swirl batter.
- Bake for 1 hour and 15 -20 minutes or until a toothpick inserted in the center of the cake comes out clean.
- Cool in pan on a wire rack for 10 minutes, then invert cake on serving plate for at least an hour or until the cake is cool to the touch.
For the Cream Cheese Icing:
- Mix cream cheese, powdered sugar, milk and vanilla extract until smooth then pour over top of cooled cake and serve.
Video
Notes
- Alternating the Batters. Use two different utensils to keep the colors from bleeding into each other. This will ensure a more distinct and striking marbled pattern.
- Create Swirls. Use a skewer or toothpick to carefully create swirls. Begin with big swirls and then go back in to make smaller adjustments after looking at the big picture. Remember that whatever pattern you create with your batter before it goes in the oven is basically what it will look like when it comes out of the oven.
- A Perfectly Tender Cake. To make sure your cake cooks with a light and tender texture it’s important to measure your ingredients properly and to avoid over-mixing the batter. Scoop your flour into the measuring cup with a spoon and level it off and make sure to mix the flour into the batter using low speed.
- Room Temperature Ingredients. Your ingredients will mix together more easily with creamier results when you start with room temperature butter, cream cheese, eggs, and milk.
- Cool the Cake In the Pan. Just for a short time to prevent the cake from breaking when you flip it. As the cake cools down it will continue to cook a bit and will be less delicate when you give it a slight cool in the pan before inverting it onto the serving plate.
Beautiful and Delicious Cake. I baked it for Christmas 2020 and it has been requested for 2021!
This is beauty is currently in my oven making the house smell AMAZING. I cannot wait to take it out and have a piece!
This is so gorgeous! Do you think it would work in one of the more intricate Nordicware Bundt pans? I’m not planning to swirl exactly as this, of course, but curious if the texture would work.
Oh absolutely you can.
Can I use coconut oil instead of vegetable oil?
I personally would not.
I made this cake twice in about 8 days! Does that tell you anything? It is delicious! I like to call it Red Velvet Swirled Cream Cheese Pound Cake! The only thing I did differently was increase the cocoa powder to 3 tbspns and food coloring to 2 tbspns because I wanted a bit of a deeper red. I also couldn’t find European butter so I used regular unsalted butter. It came out perfectly! Thanks, miss Jocelyn!!
my gosh.. my cakes are out of the oven and they look great .. thank u. I’m in love with them . my aunt’s birthday tomorrow .. I made sure I followed to the t so that I’d get a wonderful result . thank u
If I don’t have European butter, which I almost always have, is regular butter okay? And if it is, shall I add a tablespoon or two more since The European is higher fat? I may have a half stick of European butter left. What are your suggestions to be able to incorporate that or, just go with your given amount of all regular butter?
Can’t wait to make this with the brutally cold weather that has hit Kansas this weekend. Should also be getting some snow.
I’m so excited. Mine is in the oven as we speak. And it looks great so far.
I have a couple questions.
Firstly, should the cake be kept in the fridge because of the cream cheese?
Secondly, my cocoa didn’t completely blend in. So I’m a little worried about that. I think the next time I will make sure that it’s all smooth before I add it into the batter. That’s all I can really think of. Anyway, I am so happy you posted this recipe! Thank you so much!
Yes keep in the fridge because of the cream cheese. Next time you should make sure that the cocoa is completely mixed in but don’t overwhip it if that makes sense.
I made this cake for Christmas and it was a big hit everyone was just in love with it thanks for your recipes
I made this cake twice this week as a gift. It’s a real treat and is easy to make. I haven’t perfected the marble look I want but I will keep trying. So far I made it in the Bundt pans but will use two loaf pans for next cake.