It’s time to turn lemons into Lemon Curd, and whipping it up is such a breeze! This homemade lemon curd recipe is bursting with bright, sweet, citrusy notes that are giving the pucker up flavor explosion we need. So let’s get into this zesty recipe so we can ditch the store-bought stuff for good.
This post may contain affiliate links. Read our disclosure policy.

Want to Save This Recipe, Boo?
Lemon Curd is one of those things you assume is easier to buy rather than making it at the crib but that ain’t true. I love how easy this recipe is and the pay-off in flavor is big time boos. Homemade lemon curd is super buttery, sweet, tangy and full of all that citrusy goodness. A jar of this stuff deserves a permanent spot in your fridge ASAP! Trust!
What is Lemon Curd?
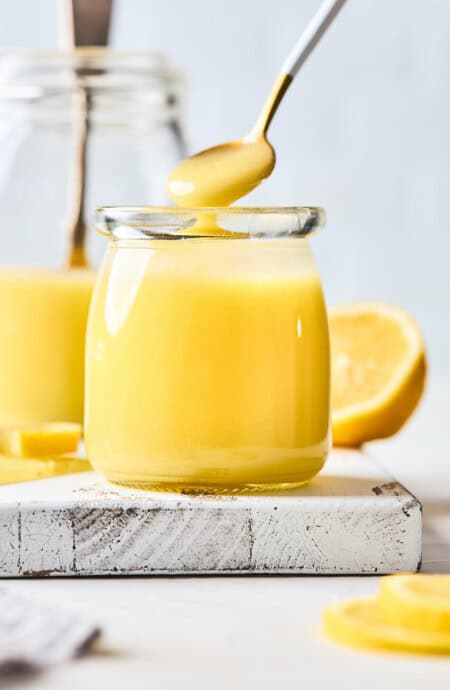
For those of y’all who don’t know, Lemon Curd is a classic dessert spread or topping made with fresh lemons, sugar, butter, and eggs. The texture is thick and creamy. Curd can even be made using a ton of different fruits like lime, orange, passion fruit or even mango.
The Lowdown on the Best Lemon Curd Recipe
Cuisine Inspiration: Classic
Primary Cooking Method: Stovetop simmering
Dietary Info: Gluten-Free
Key Flavor: Sharp, Citrusy, Tangy, Creamy Vibes
Skill Level: Pretty Easy (No Sweat, Fam!)
- Speedy: You can whip this up in about as much time as it would take to get in the car and grab it at the grocery store.
- Versatile Vibes: I literally throw this in everything ya dig? It’s great as a filling for cakes as well as served on pastries, oatmeal, yogurt and ice cream for a playful pairing.
- So Easy!: Listen boos, if you can whisk, you can make this recipe. It’s as simple as that!
Ingredients You’ll Need to Make Homemade Lemon Curd
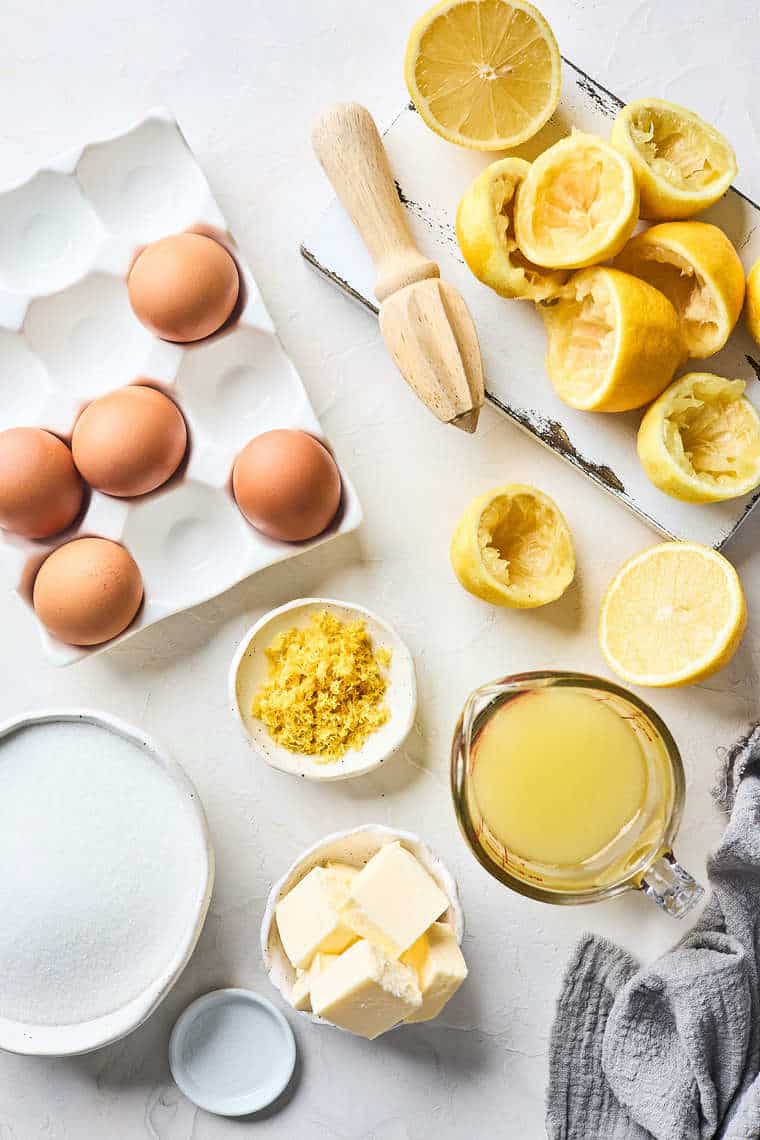
- Lemon Zest: That lemon peel adds so much fragrant intensity with all those aromatic oils.
- Granulated Sugar: Grab that sugar so you can balance the tartness out.
- Lemon Juice: Can’t have a lemon curd without some lemon juice. It gives us the tang in liquid form.
- Eggs: This helps thicken as well as add richness and creaminess to the curd recipe.
- Salt: I always add a pinch of salt to anything sweet to balance the sweetness and enhance the flavor.
- Butter: I grab unsalted here. It provides insane richness and that velvety texture we love in a lemon curd.
How to Make Lemon Curd from Scratch
Step 1: Simmer Away
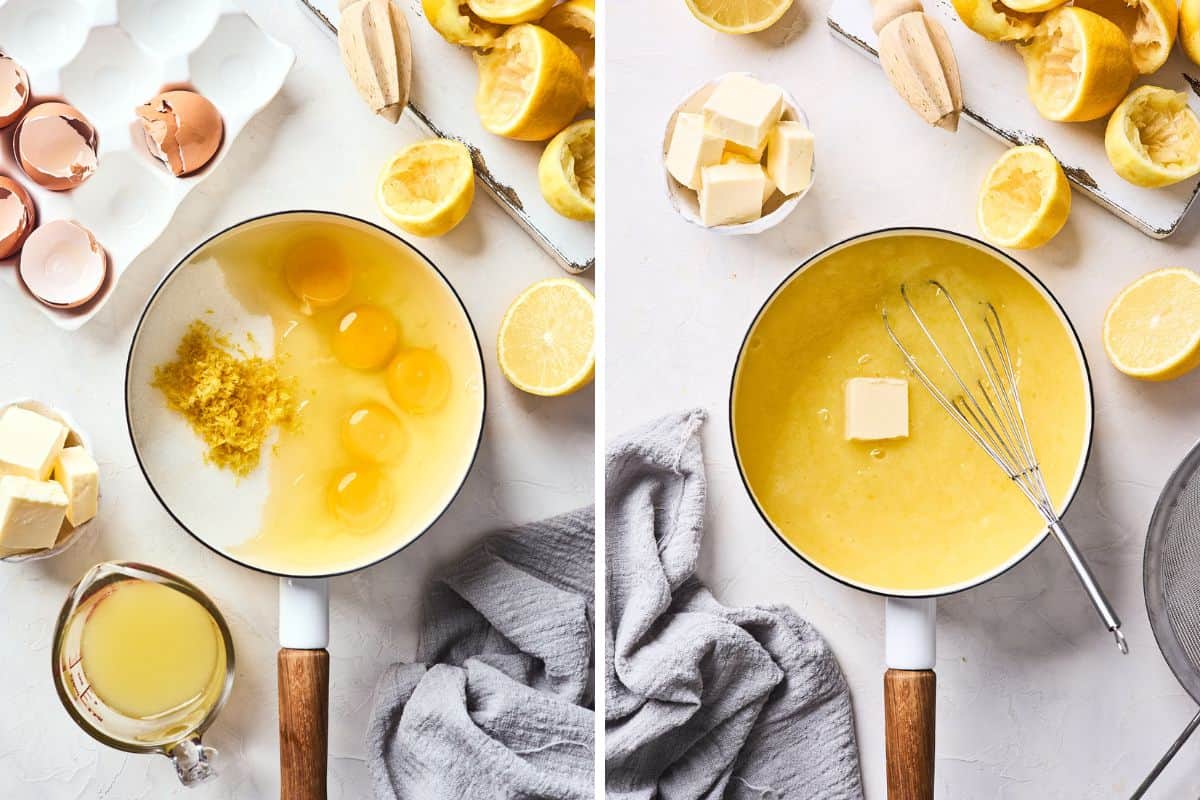
- In a medium saucepan set over medium heat, add the lemon zest, sugar, juice, eggs and salt. Start continuously whisking. Do not walk away boos!
- Put in that wrist work for about 15 minutes, taking notice that the curd has started to thicken around the 10 minute mark.
PRO TIP: Don’t stop whisking boos! I know it seems hard but if you stop, you may scorch your curd or end up with chunks of scrambled egg.
Step 2: Add in the Butter
- Once the curd has fully cooked and thickened, remove it from the heat and stir in your softened butter.
- Add the butter slowly, allowing the squares to completely melt before adding more.
PRO TIP: Want to check your homemade lemon curd for doneness? Dip a wooden spoon into the curd and run your finger across the back of it. Once it holds that line your finger made without dripping off the spoon, it’s a wrap. Or grab a thermometer and check that the internal temp is about 170°F (77°C).
Step 3: Strain the Curd and Chill
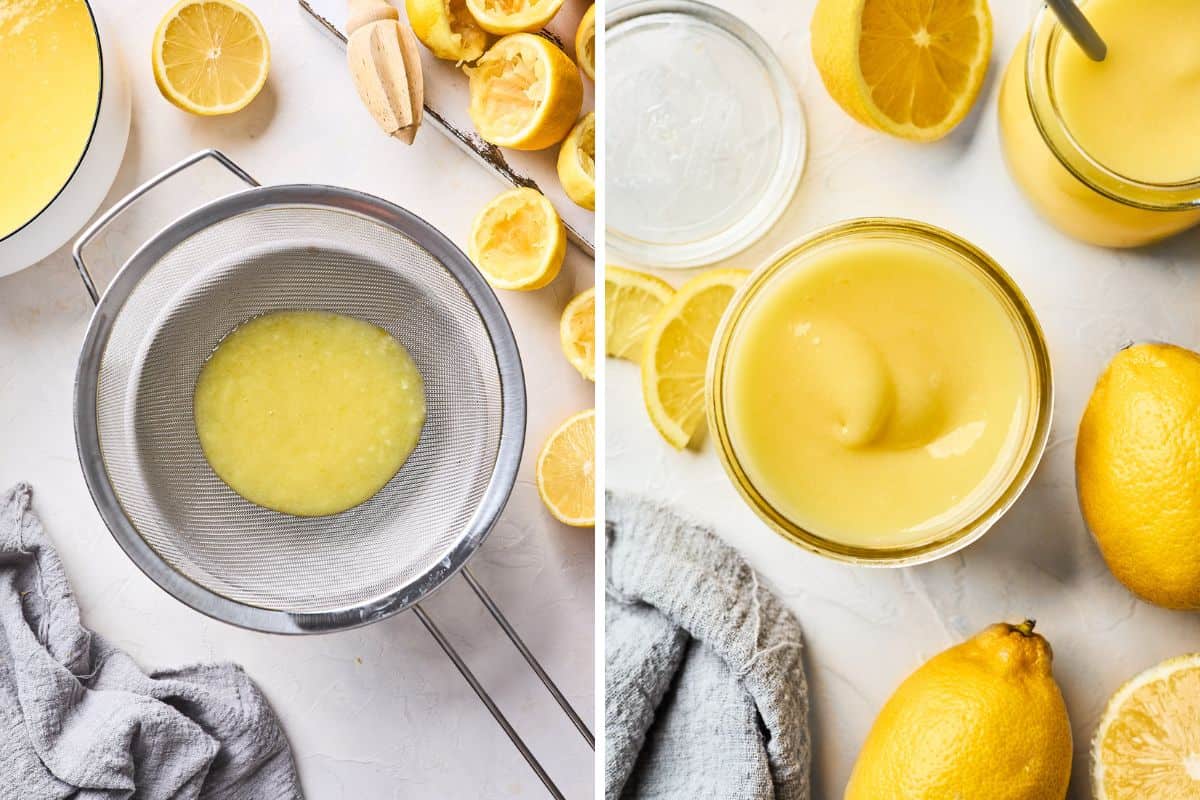
- You’ll notice that the curd is a bit lumpy but don’t be alarmed. The clumps in the curd are just a bit of egg that cooked before it could fully incorporate into the mixture. To smooth it out, pass the curd through a fine mesh sieve.
- Finally, add the curd to an airtight glass jar or container and allow it to cool somewhat before securing the lid and tossing it in the fridge. Chill the lemon curd for at least 4 hours and get into it!
How to Serve Lemon Curd
- Cakes- This lemon curd recipe is so bomb as a filling in this lemon layer cake or blueberry lemon cake or served alongside slices of lemon pound cake with a dollop of whipped cream. You can even fill the center of lemon cupcakes too!
- Cheesecake- Spooning the curd on a plate along with fresh raspberries before adding a slice of New York cheesecake is straight up boss moves.
- Yogurt Parfait– Layer the curd in between fruit, granola, and yogurt for a delish breakfast or snack option.
- Ice Cream- Spoon some curd over the top of a scoop of vanilla ice cream or even something more unique like raspberry ice cream. I find that single flavor ice creams work best so you don’t have too much going on but do you boo!
- Pancakes or Waffles– If you serve some curd on top of these lemon ricotta pancakes, buttermilk waffles or next to these fluffy pancakes, you will get your whole life!
- Donuts- Don’t cut out the center of these blueberry donuts and add lemon curd to the center instead. That’s good eatin!
- Pie- This recipe can be used as a filling for a quick lemon cream or lemon meringue pie.
Recipe Substitutions
- Sugar: Superfine or caster sugar can be used instead of granulated.
- Lemon Juice: Bottled is ok I guess if you can’t get fresh but you already know I’m going to tell you to squeeze for the best flavor.
- Lemon Zest: You can also toss in some lemon extract if you don’t have lemons around.
- Eggs: If you want a richer curd, you can use all egg yolks.
- Butter: If unsalted isn’t around, just grab salted and omit the salt in the recipe.
Recipe Variations and Additions
- Tropical: Mix up that lemon with some passion fruit, coconut extract and mango juice to make it pop.
- Herbs: Infusing this easy lemon curd recipe with some mint or even a sprig of lavender will give some wonderful fragrance.
- Vanilla: Toss some vanilla extract in or scrape some vanilla bean seeds from a pod for some intensity.
- Spices: This might seem strange but adding just a pinch of nutmeg, ginger or cinnamon to a lemon curd can really warm up those flavors. Get cozy with it!
Expert Tips and Tricks
- Zest First: Y’all I can’t tell you how hard it is to zest a lemon AFTER you’ve juiced it. It’s pretty much impossible boos. Zesting whole is the move here.
- Heavy-Bottom Pot: Grab this when you make the recipe. It will help distribute that heat evenly so it cooks up without scorching.
- Room Temp Eggs and Butter: Make sure those eggs are room temperature so they don’t curdle. Also make sure your butter is softened before you add it in. Cold butter can sometimes lump up the lemon curd texture a bit.
- Test Doneness: You can grab your thermometer to check it. Make sure it has reached an internal temp of 170°F (77°C). Or you can dip a wooden spoon into the curd and run your finger across the back of it. It should hold that line your finger made without dripping off. That’s the thickness we are looking for.
- Chill Out: Let that homemade lemon curd cool boos. It will continue to thicken. I like to add a light cover of plastic wrap right on top so you can prevent a skin covering from forming on the surface.
How to Store Easy Lemon Curd
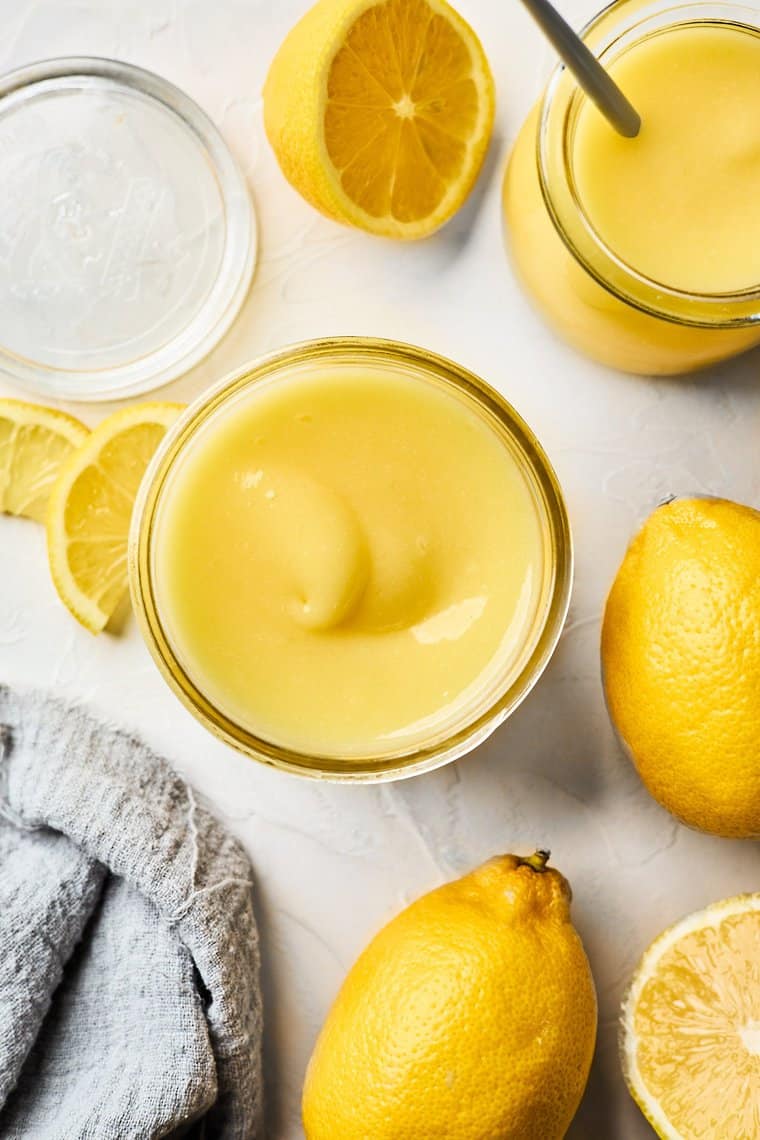
- Fridge: Add to an airtight container or mason jar. It should last for about a week.
- Freezer: Add to a freezer-safe container and store in the freezer for up to 3 months! This is the move if you want leftover homemade lemon curd whenever you want! To thaw, transfer the curd to the fridge and allow it to thaw overnight.
Frequently Asked Questions
You can grab Lisbon, Eureka or Meyer lemons. They all have wonderful juicy yet bright tart flavor. Regardless of what lemon you get, you should grab bright yellow, smooth skinned, firm and heavy lemons because they have more juice. And make sure they are unwaxed too so you don’t add that bitter waxed coating to your curd when you zest it up.
You can continue to thicken it by cooking it a bit longer. It will naturally thicken as it reduces. It will also continue to thicken when you remove from the heat and let it cool boos. But if you still find that it won’t thicken, try this trick: Mix 2 teaspoons of cornstarch with 2 teaspoons of very cold water or lemon juice, then bring the curd to a boil and add in the mixture. Continue to whisk constantly. The chemical reaction of the cold cornstarch to hot lemon curd should thicken everything right on up ya dig?
Make sure that heat isn’t too high boos! And keep whisking y’all. You have to legit whisk without stopping.
Best Lemon Recipes
- Lemon Meringue Pie
- Blueberry Lemon Cake
- Lemon Tea Cakes
- Blackberry Lemon Bars
- Lemon Cinnamon Rolls
- Mango Lemon Bars
- Lemon Cookies
- Best Lemon Cupcakes
Lemon Curd
Want to Save This Recipe, Boo?
Equipment
Ingredients
- Zest of 3 lemons
- 1 1/4 cup granulated sugar
- 3/4 cup lemon juice freshly squeezed
- 5 large eggs
- pinch of salt
- 1/2 cup unsalted butter room temperature, cut into 1 tablespoon squares
Instructions
- In a medium saucepan, whisk together the lemon zest, sugar, lemon juice, eggs, and salt.
- Turn the burner on to medium heat.
- Whisk the curd continuously for 15 minutes. You’ll notice the mixture is starting to thicken after about 10 minutes.
- Remove the saucepan from the heat and begin to add the butter 1-2 tablespoons at a time. Continue to add butter, whisking until it has all been melted and fully incorporated.
- Pass the curd through a fine mesh strainer to remove the zest and any partially cooked egg.
- Transfer the curd to an airtight glass jar or container. Chill for at least 4 hours. The curd will continue to thicken as it cools.
Notes
- Fridge: Add to an airtight container or mason jar for about a week.
- Freezer: Add to a freezer-safe container and store in the freezer for up to 3 months! This is the move if you want leftover homemade lemon curd whenever you want! To thaw, transfer the curd to the fridge and allow it to thaw overnight.
This was amazing! And was easy enough for someone who has never made lemon curd! We all loved it and will definitely be making again. Thanks for the recipe!
I love lemon curd but I just never make it at home for fear it would too hard. This needs to be made asap as even I think I can do it.
My husband is a big fan of this curd and this made him actually eat it like it was pudding its so good!
This homemade lemon curd is so easy to make and so delicious. No comparison to storebought lemon curd. It’s homemade for me from now on!
Oh my goodness, I LOVE lemon curd but have never been brave enough to make my own! Thank you so much for the easy, detailed instructions! Delish!!