
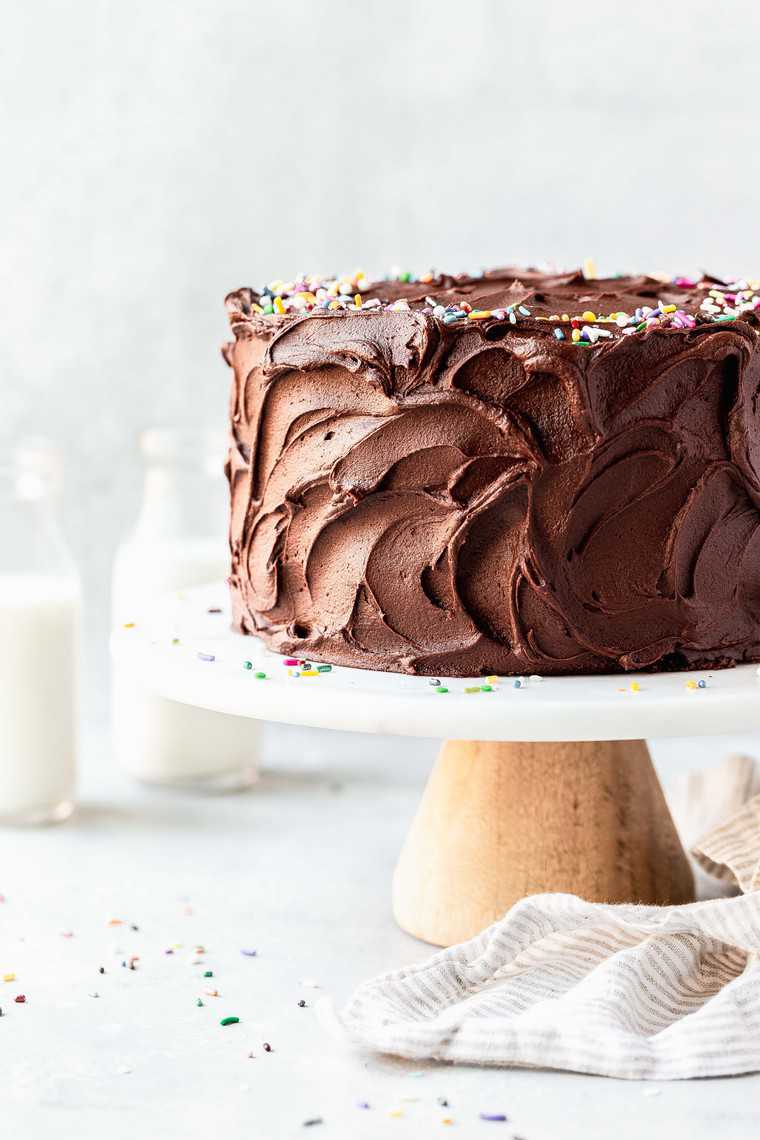
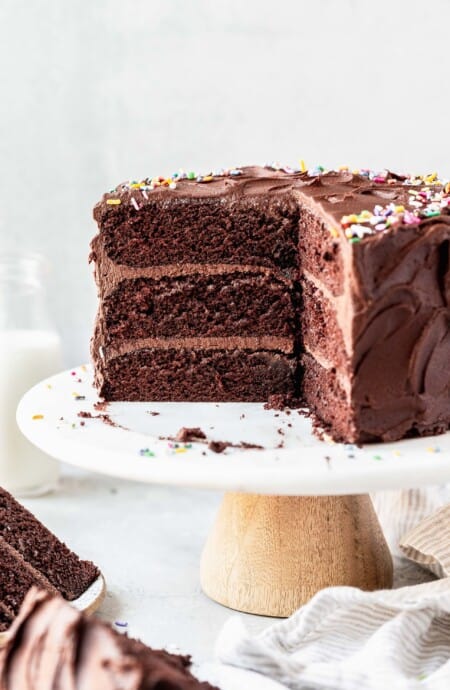
My husband’s fave birthday cake has insanely moist and soft layers plus a super creamy chocolate frosting. It’s everything a birthday cake should be.
This post may contain affiliate links. Read our disclosure policy.
Chocolate Birthday Cake Ingredients
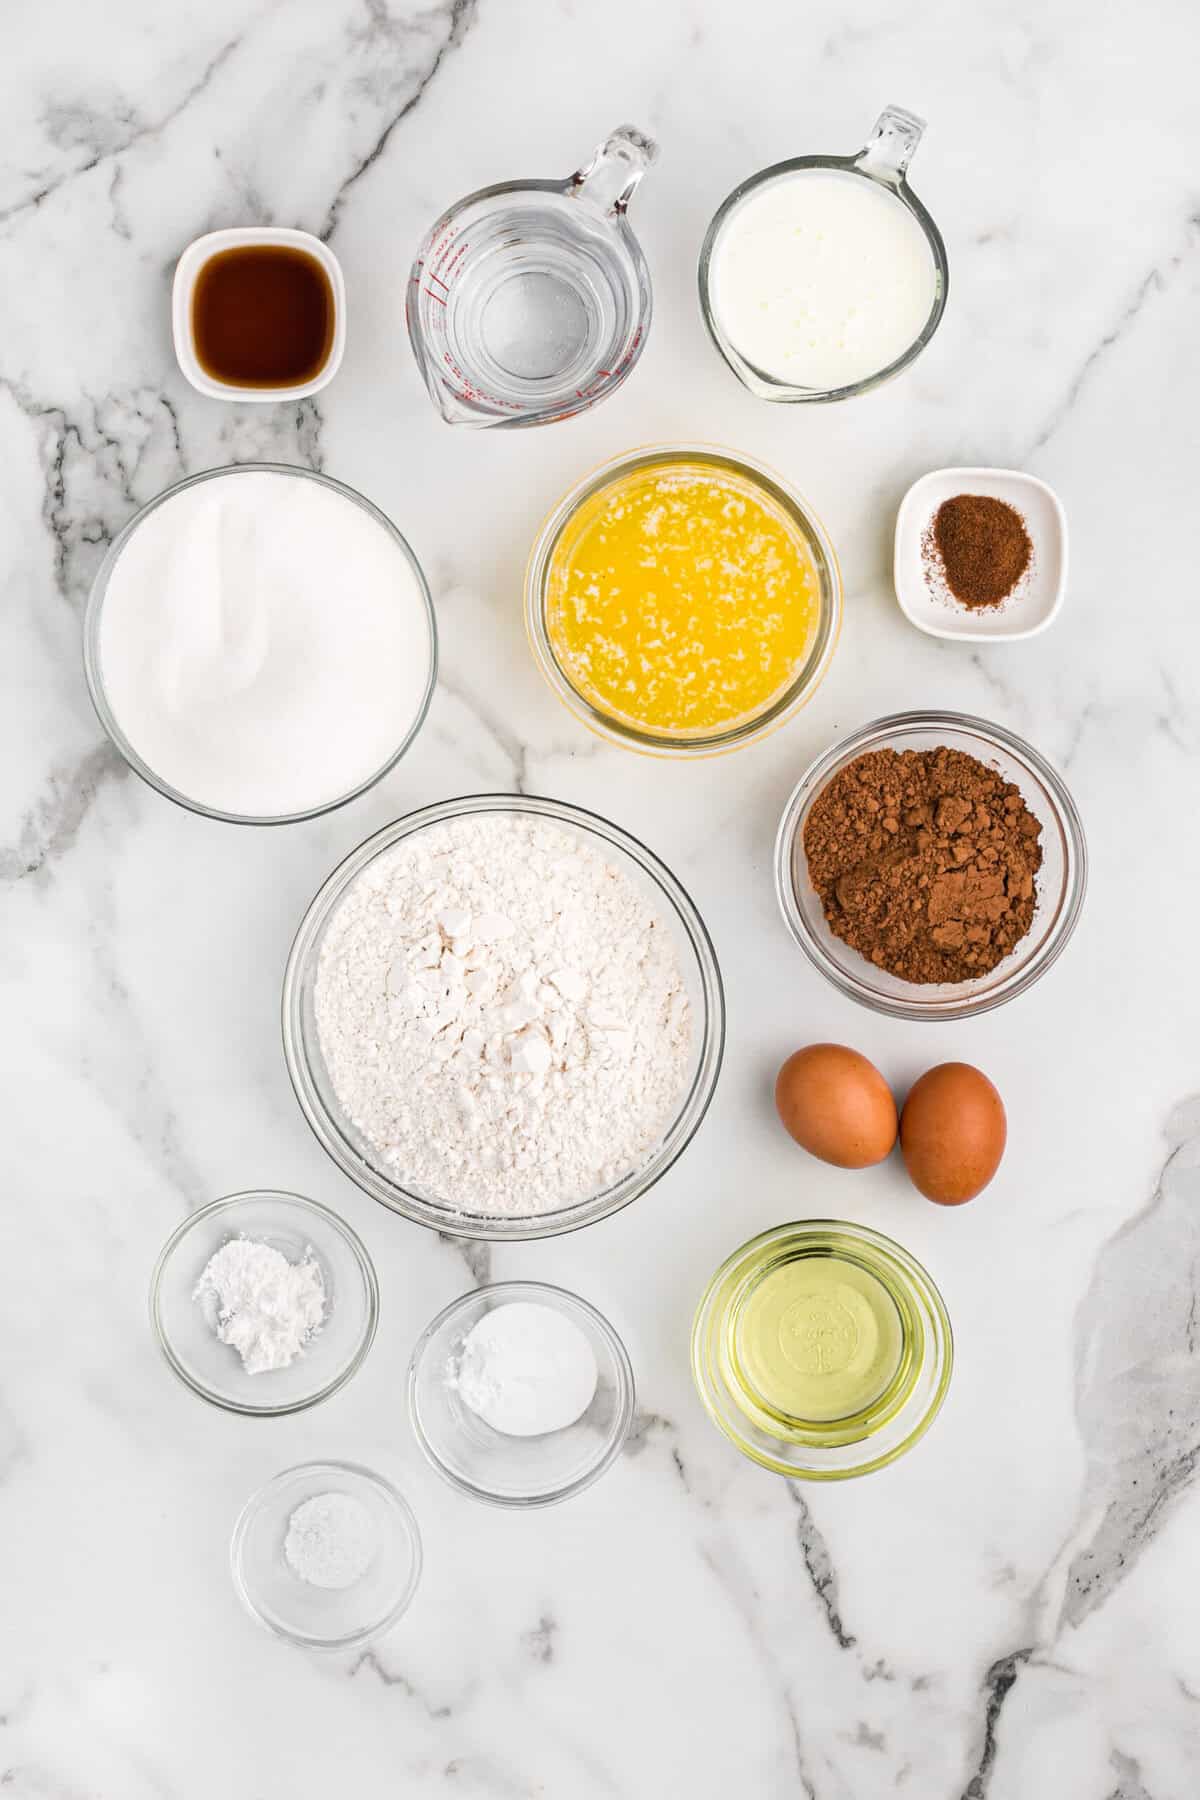
- Large Eggs: Make sure these are room temp.
- Granulated Sugar: Swap in homemade brown sugar for an even more tender cake.
- Cocoa Powder: I use unsweetened cocoa powder here.
- Instant Coffee Powder: This intensifies the chocolate flavor. Swap in your fave cup of coffee and just leave out the coffee powder.
- Salt: Just a pinch is all that’s needed.
- Hot Water: Again, you can use coffee here.
- All-Purpose Flour: I don’t recommend using cake flour here since it will make our cake too soft to work with.
- Baking Soda & Baking Powder: Make sure you check the expiration dates on these before using.
- Vegetable Oil: Any neutral oil like canola will also work here.
- Buttermilk: None around? Make some by adding a tablespoon of lemon juice or vinegar to 1 cup of milk and letting it sit for 5 minutes until it thickens.
- Pure Vanilla Extract: Don’t use artificial here.
- Unsalted Butter: Just leave out the salt if you use salted butter here.
- Confectioner’s Sugar: I like to sift this so the frosting turns out smooth.
- Cocoa Powder: Unsweetened is best here.
- Milk: Use any you prefer. It just helps smooth the consistency.
How to Make Chocolate Birthday Cake
Make the Batter
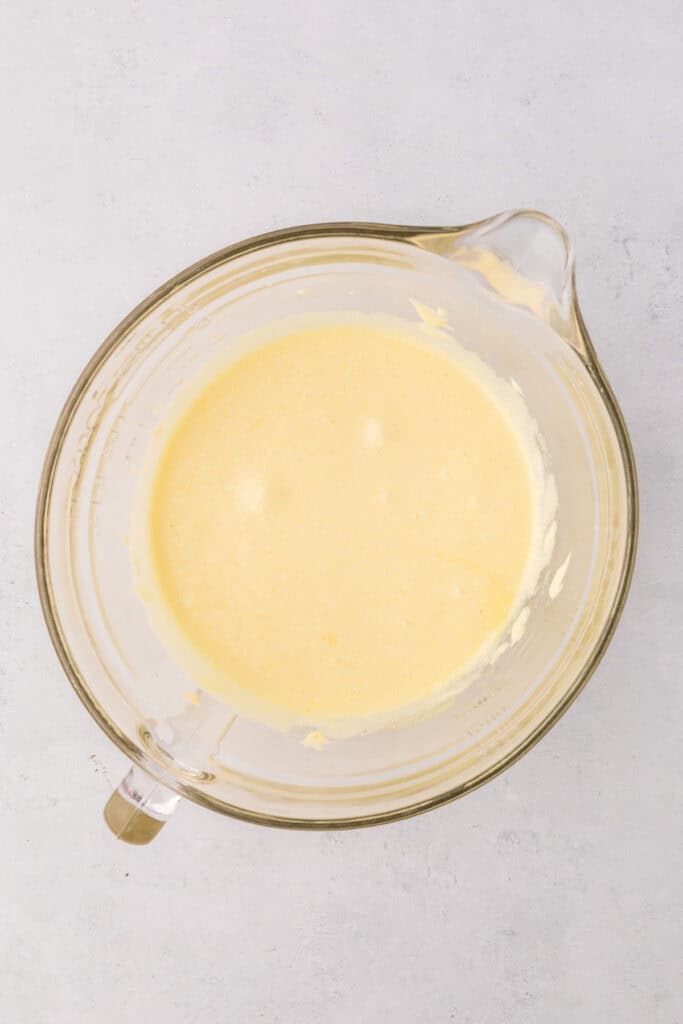
Step 1: Add eggs and sugar to bowl of your stand mixer and beat on high speed for 2-3 minutes.
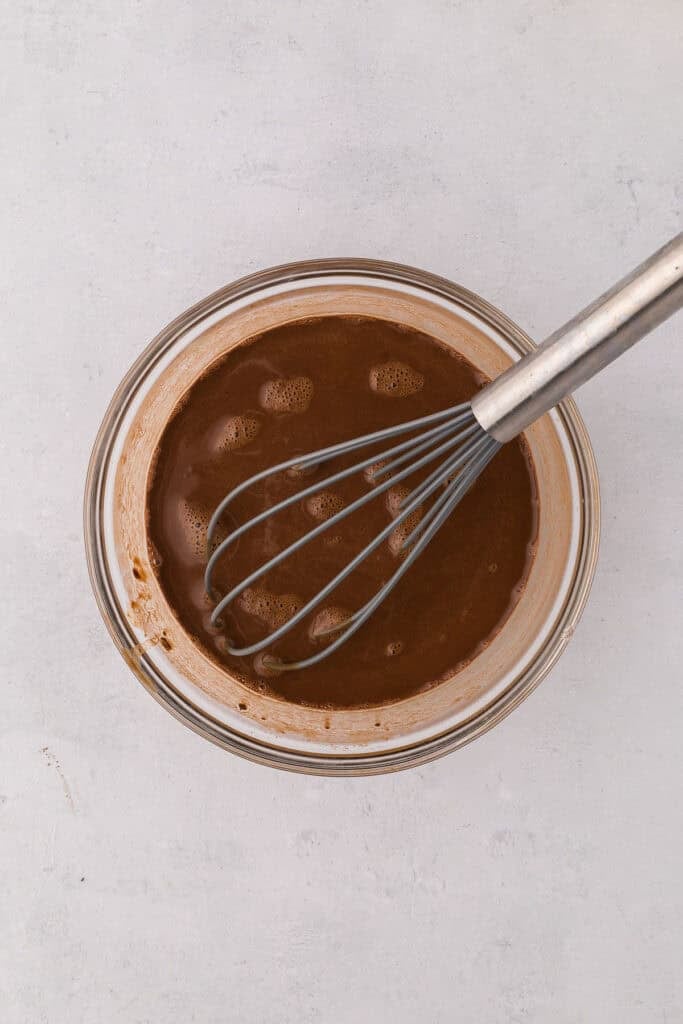
Step 2: In a separate bowl, mix together cocoa, instant coffee, and a dash of salt with hot water.
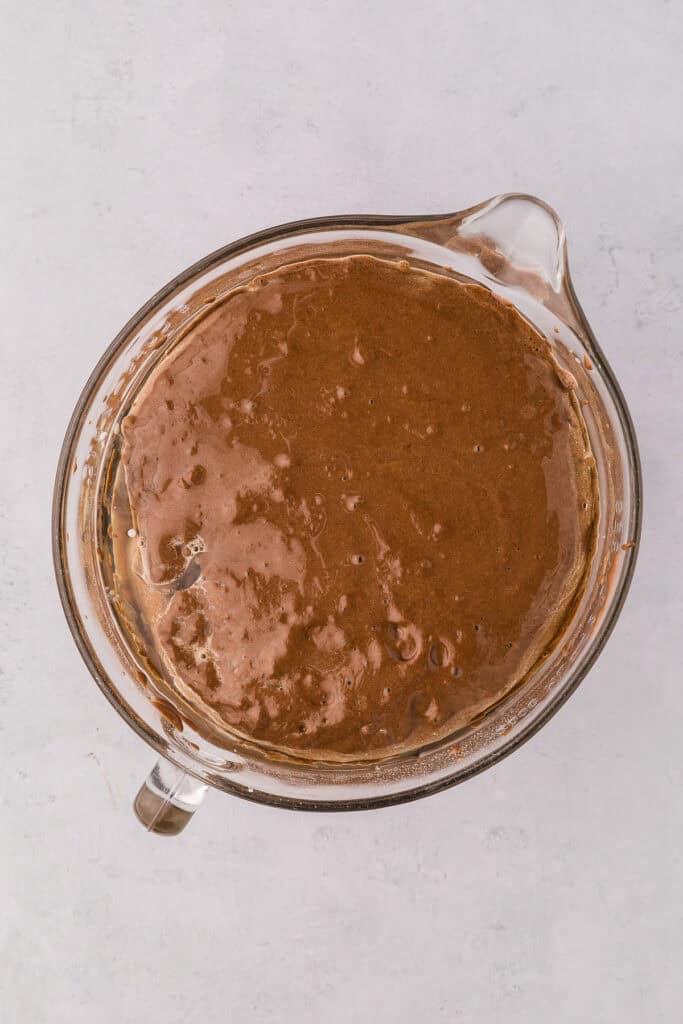
Step 3: Pour the hot cocoa mixture into the egg and sugar party happening in your mixer.
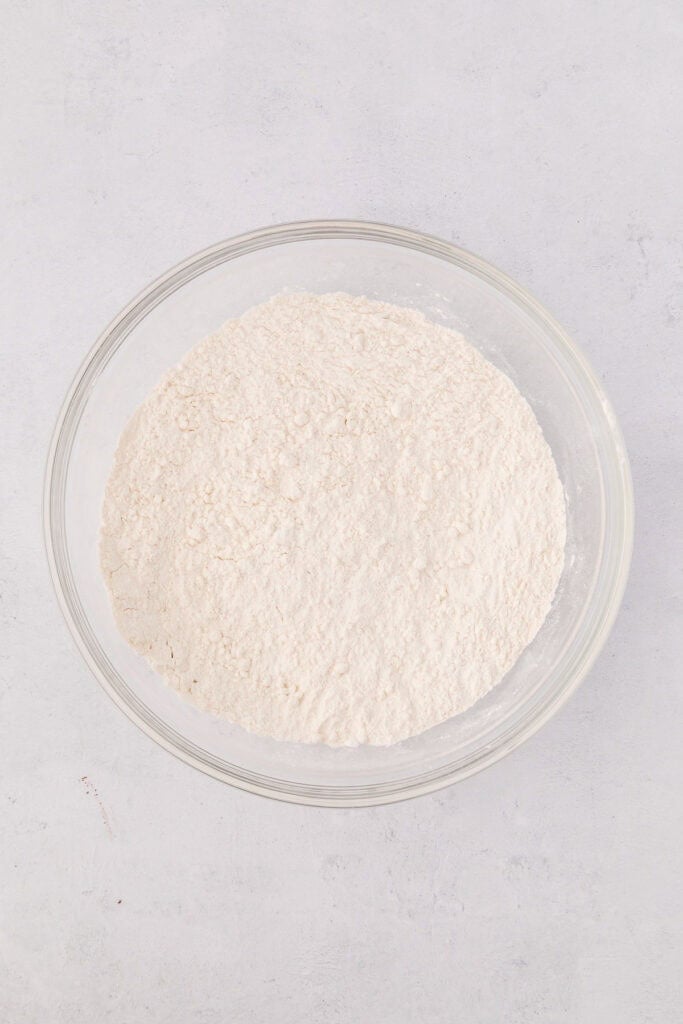
Step 4: Sift flour, baking soda, baking powder, and salt in small bowl.
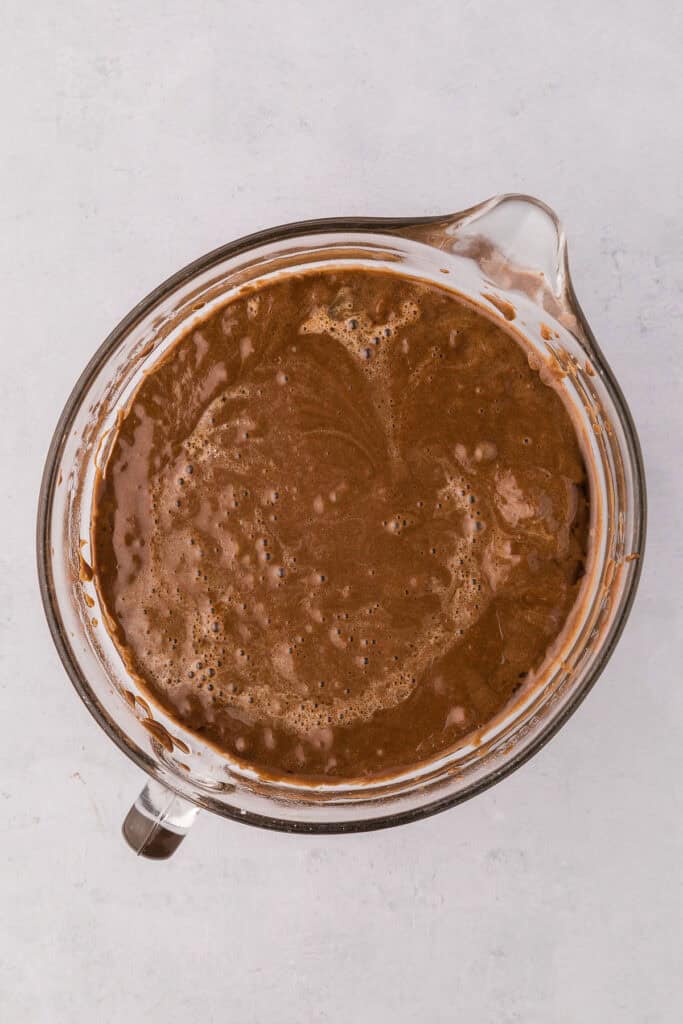
Step 5: Decrease the speed to low and add to stand mixer. Add in buttermilk, vegetable oil, and vanilla and beat until just combined. Batter will be thin; this is normal.
Bake the Layers
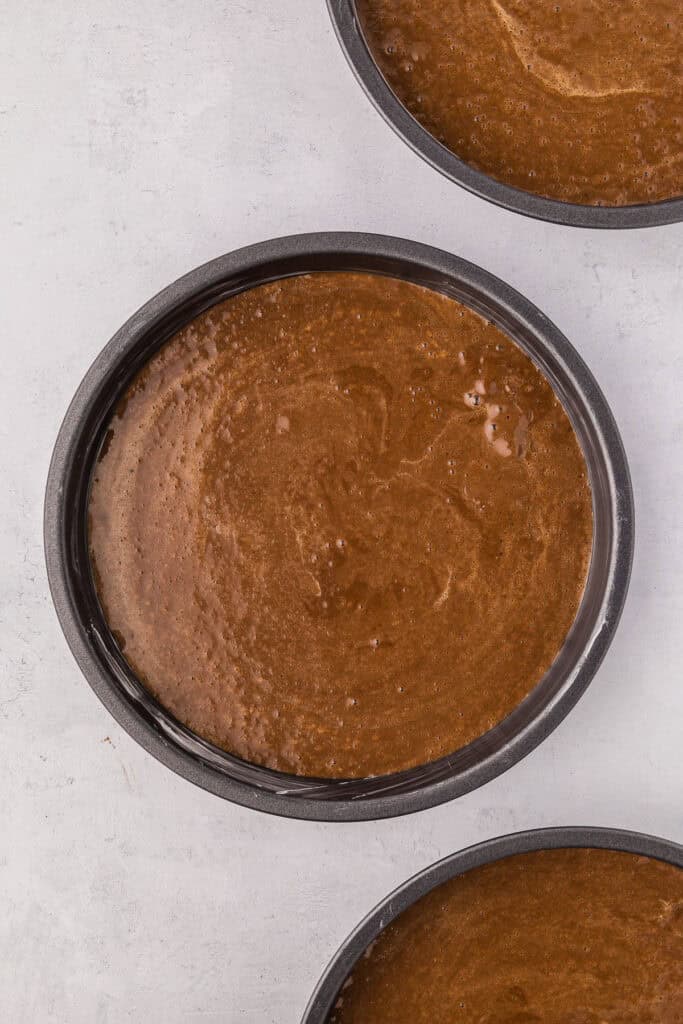
Step 6: Divide that batter evenly between the prepared pans.
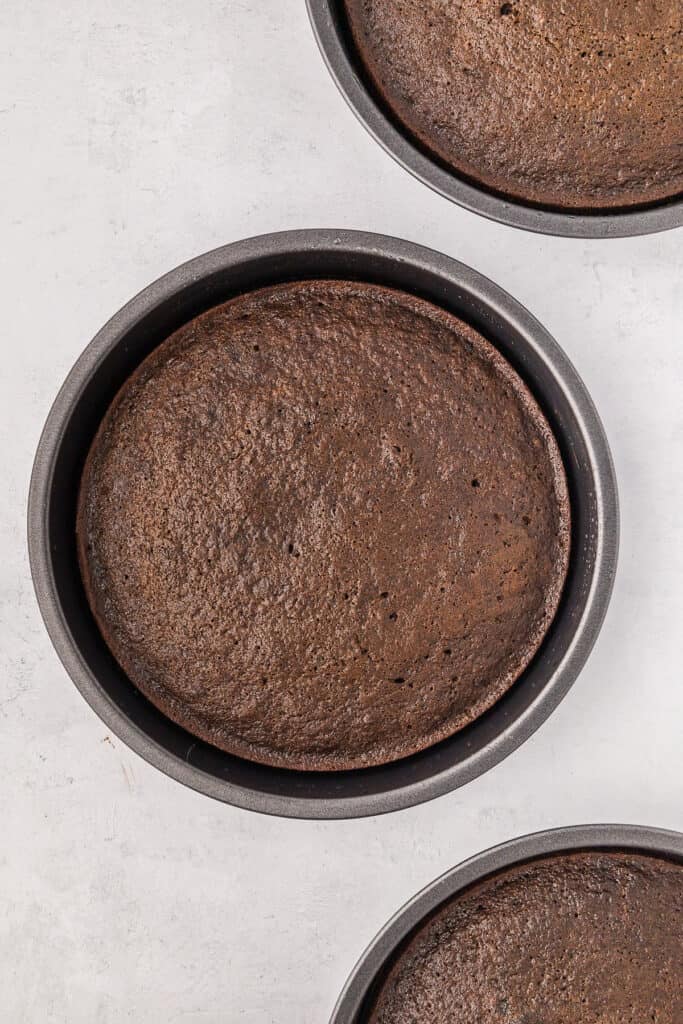
Step 7: Bake for 22-25 minutes at 350 F. You’ll know they are ready when a toothpick comes out clean.
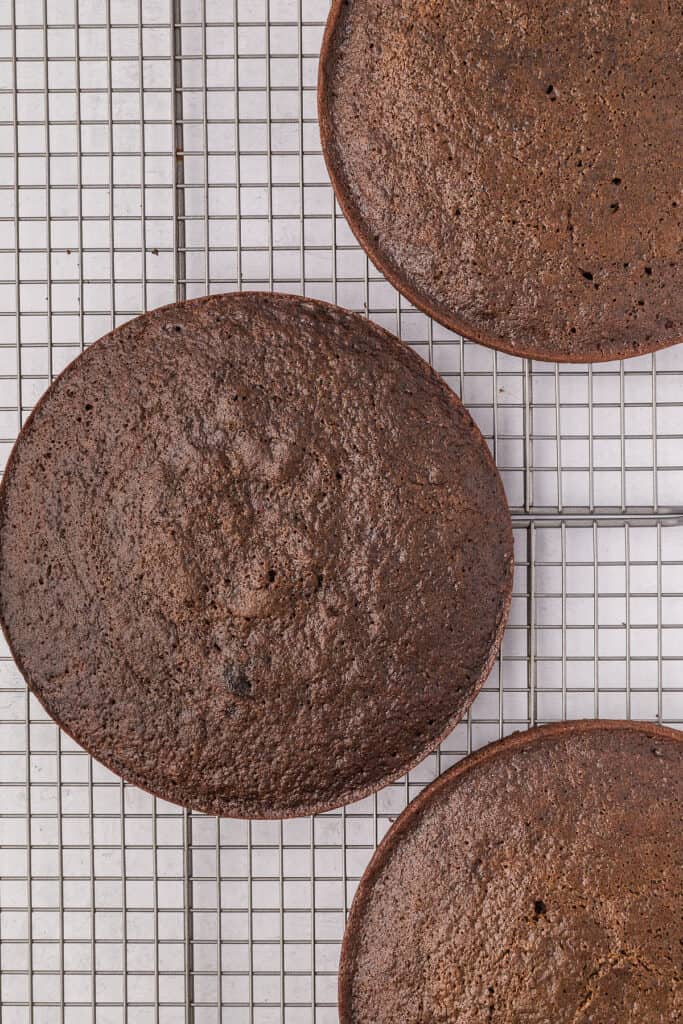
Step 8: Cool the cakes in pans for 10 minutes. Then gently remove cakes from the pans and place on a wire rack and allow to cool fully.
Want to Save This Recipe, Boo?
Frost the Cake
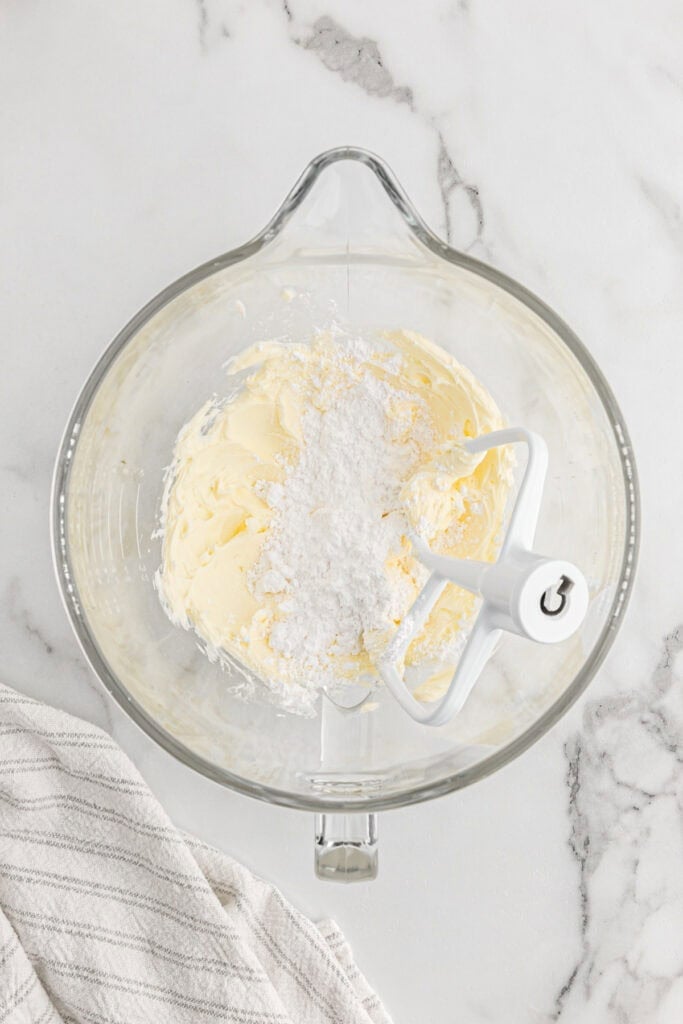
Step 9: Add butter and confectioner’s sugar to bowl of mixer and mix on high speed until smooth then add in cocoa powder.
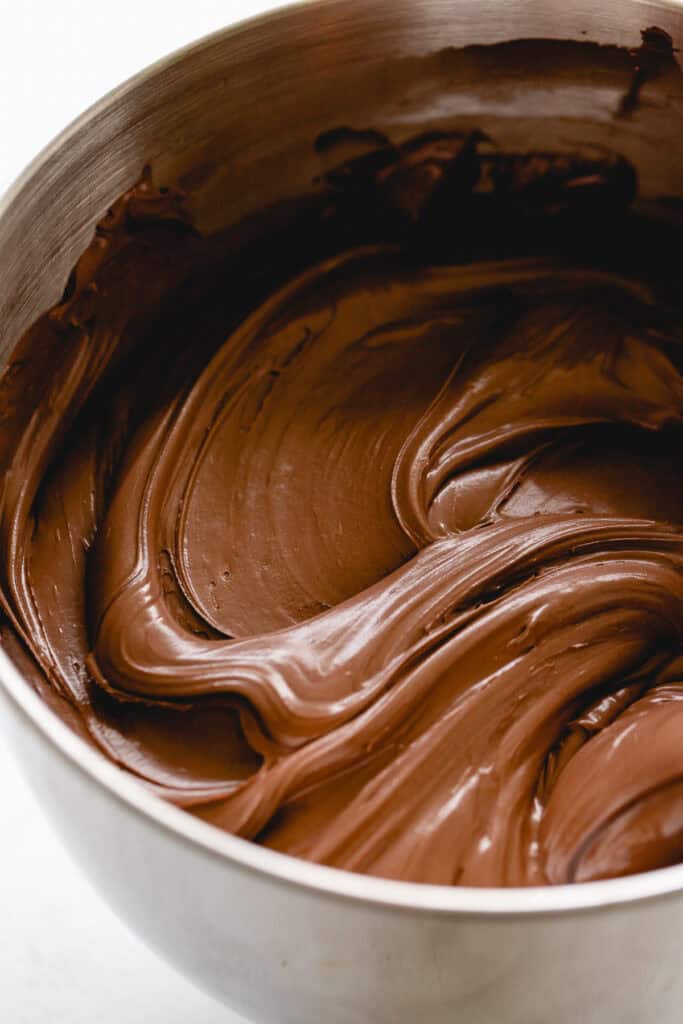
Step 10: Lastly add in vanilla extract, milk and salt until frosting is fluffy and smooth.
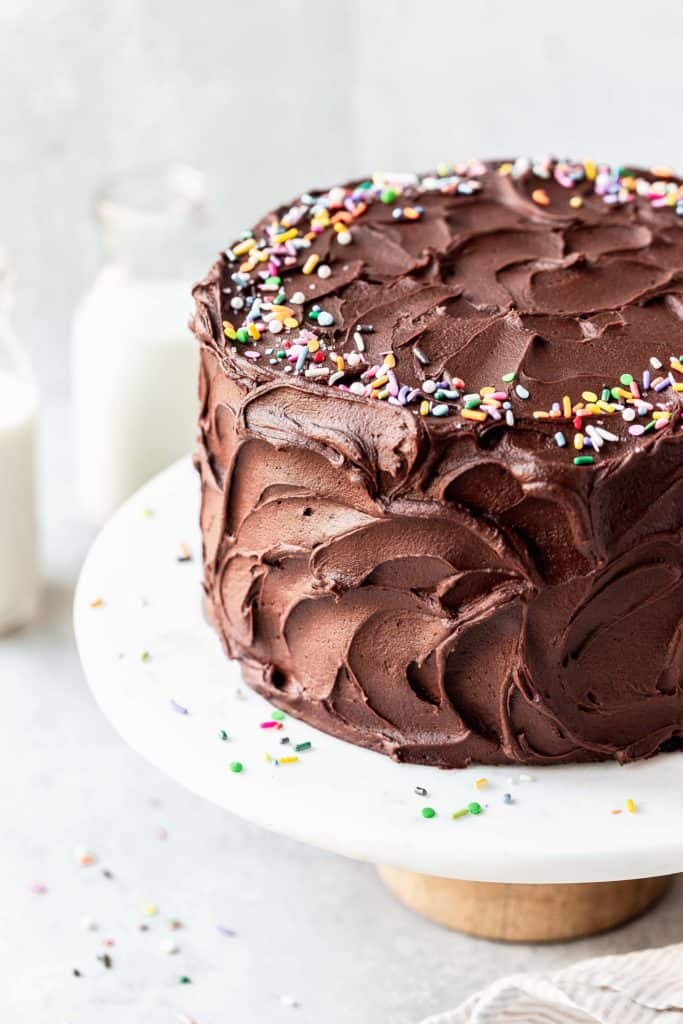
Step 11: Add frosting between each layer then frost the outsides, add sprinkles if ya want and serve it up.
Chocolate Birthday Cake Recipe
Want to Save This Recipe, Boo?
Ingredients
For the Cake:
- 2 large eggs room temperature
- 2 cups granulated sugar
- 1/2 cup cocoa powder
- 1 teaspoon instant coffee powder
- 1 cup hot water
- 2 ½ cups all-purpose flour
- 2 teaspoons baking soda
- 1 teaspoon baking powder
- 1/2 teaspoon salt
- 1 cup vegetable oil
- 1 cup buttermilk room temperature
- 1 tablespoon pure vanilla extract
For the Frosting:
- 1 1/2 cups unsalted butter room temperature
- 6 cups confectioner’s sugar
- 3/4 cup cocoa powder
- 1 tablespoon vanilla extract
- 1/4 cup milk
- pinch of salt
Instructions
For the Cake:
- Preheat oven to 350 degrees and spray 3 9 inch round pans with non-stick baking spray.
- Add eggs and sugar to bowl of your stand mixer and beat on high speed for 2-3 minutes.
- While mixture beats, add cocoa powder, and instant coffee powder to hot water in a separate bowl. Slowly add this mixture to the eggs and sugar.
- Sift flour, baking soda, baking powder and salt in a small bowl. Turn the speed down to low then add in the dry ingredients in intervals. Next, add vegetable oil, buttermilk and vanilla extract to the mixer and beat until just combined. Batter will be sort of thin but this is normal.
- Evenly divide cake batter to all three pans and bake for 22-25 minutes or until a toothpick inserted in the center comes out clean.
- Allow to rest for 10 minutes before removing from pans to cool completely.
For the Frosting:
- Add butter, confectioner's sugar to bowl of mixer and mix on high speed. Then add in cocoa powder and continue mixing until smooth.
- Lastly add in vanilla extract, milk and salt until frosting is fluffy and smooth.
- Add frosting to each layer and stack on each other. Finally frost the sides and top of cake and serve it up.
Notes
How to Store
Wrap your leftovers tightly in plastic wrap or place it in an airtight container or cake carrier to keep it fresh and fab for up to 3-4 days at room temp. If you need to keep it longer than that, slide the extra cake into the fridge. Just a little tip: if you’re diving back in for another slice, let it sit out for a bit to get back to room temperature – it’ll taste just like it did on day one!How long will chocolate birthday cake last in the fridge?
It’ll stay scrumptious for up to 6 days.Can I freeze ?
Absolutely boos! I like to chill the cake in the fridge first to get that frosting firmed. Then I cut individual slices and wrap them tightly in plastic wrap then add to freezer bags releasing all the air. Add the date. It should last in the freezer for up to 3 months. Thaw in the fridge then bring back to room temperature before indulging.Nutrition
Recipe Tips
- Don’t Skip the Coffee: This really does add a richer chocolate flavor to the mixture. You won’t even taste the coffee boos, trust me.
- Don’t Overbake: Make sure you watch that bake time so you don’t dry out your cakes.
- Cool Completely Before Frosting: If you don’t want a super melty cake sliding around everywhere, make sure that the cake layers have cooled completely before frosting.

Recipe Help
I like to grease my round pans with cake release then add parchment to the bottoms so the layers come out super clean y’all.
Absolutely boos. In fact, you can bake the cake layers and freeze them by wrapping them tightly with plastic wrap a few times. When you are ready to serve, pop them in the fridge to defrost. Then make the frosting fresh, ice your cake and serve it up.

 pinterest
I am so happy for you, that is awesome!!!!
omg Matt, thank you so much! I really appreciate it!
SO EXCITING!!!! I can not wait to get my hands on a copy of your book! And this cake looks so delicious too!
Same here my dear! I can’t wait to get my hands on your book. It is already super gorgeous!
Oh yeah! What exciting news! So happy for you Jocelyn! And I’d love to help you out with the recipe testing! Let me know!
Hooray thank you so much Liz! I am putting you down on my list of testers now! Hooray again!
This definitely takes the cake! 😉 What a fun tradition! And a gorgeous cake. That frosting …
YEAH! SO excited about this cookbook! You are going to do an amazing job. Congratulations Jocelyn!
I think it is definitely a fun tradition indeed and bit thank you Mary!!
What a beautiful birthday cake! And congrats on the cookbook! That is so exciting and I can’t wait to see all the cakes you come up with! 🙂
Hooray thank you so much Beth!!
Just throwing you a giant virtual parade over here!!! How exciting is this? And what a lovely concept for a cookbook. I can’t wait to see all the glorious things you have made. And this cake looks like what every chocolate cake strives to be 🙂 So many congratulations!!!
Hooray and thank you so very much Amy!!
SO much to celebrate! I’m thrilled to pieces for you. A big happy bday to your hubby too! I hope you both had a giant slice of this fudge-a-licious cake. You deserve it!
Hooray yep he ate most of this cake Erin! Seriously he took it down fast!
Jocelyn,
I love that you make this cake for your hubby every year . . I love traditions like that. . and I’m SO happy for you. . you know this. . what a cool idea to put a reader’s recipe into your cookbook. How awesome is that?! and like I told you, I’m happy to help with testing or whatever . . just let me know! See you NEXT WEEK! 🙂
OMG we will be seeing each other next week! I can’t believe it! And I am soo excited too my dear and thanks for everything my friend!
Squealed at my desk about this wonderful cookbook news! I’m so excited for you and can’t wait to see the book! Also, will send you a note ASAP as I want to be a tester! 🙂
Hooray!!!! Thank you so much Marissa! I am sooo excited for you to be a tester!!
Beautiful cake, and yes, food is the way to a man’s heart…especially when it’s as delicious as this.
Agreed Marcie! Food is always the way to a man’s heart!