Kool Aid Pie

This Kool Aid Pie Recipe is the easiest and most delicious no bake dessert online! 
Jump to Recipe

This no bake Kool Aid Pie recipe is about as summer lit as it gets! That flavor pops like nothing you’ve ever tried y’all. And the best part? No need to turn the oven on for this 3 ingredient filling pie. It’s the hot weather treat you deserve. It’s creamy, refreshing and so fun boos! Prep this Kool Aid pie in mere minutes, pop it in the fridge and get your summertime vibes on.

This post may contain affiliate links. Read our disclosure policy.
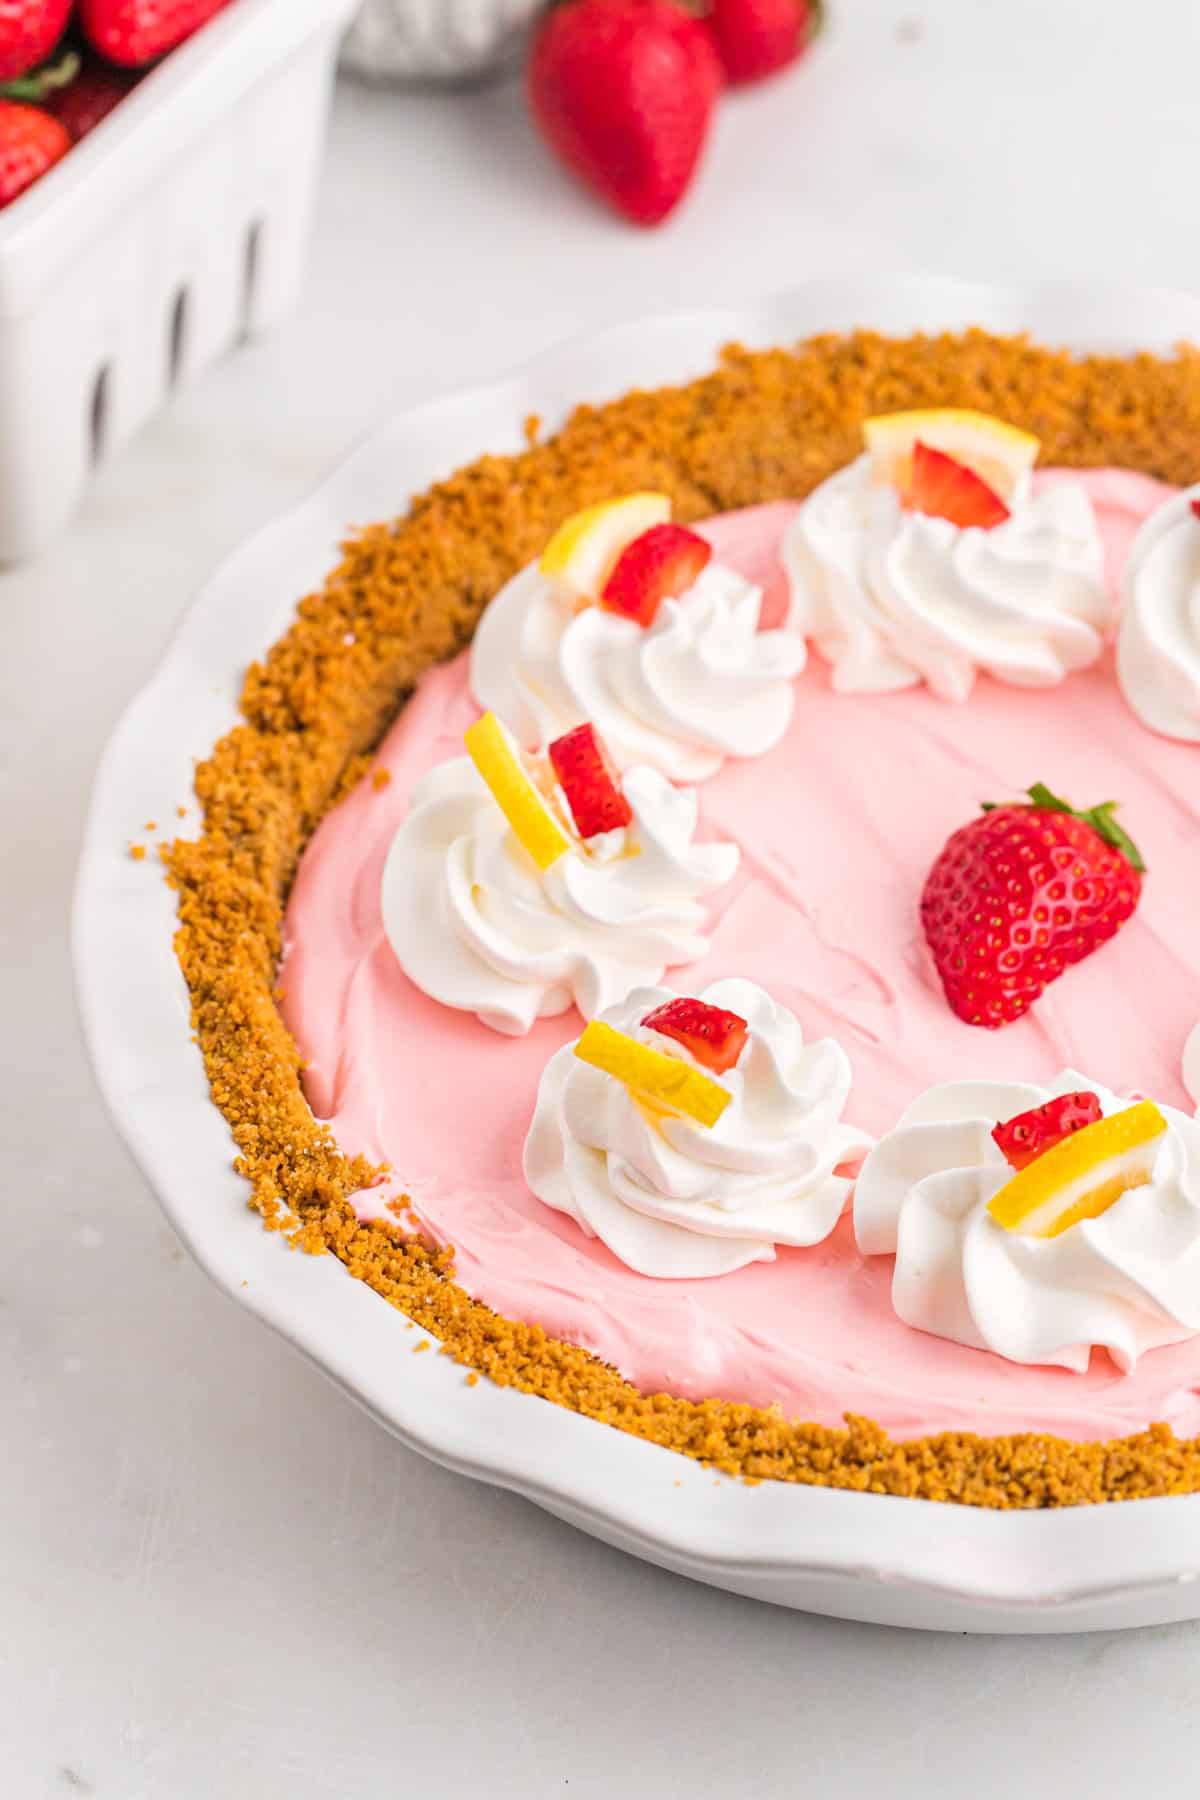
A close up of a pink colored kool aid pie recipe topped with whipped cream on a white background with fresh strawberries in the pasta

Want to Save This Recipe, Boo?

I'll email this recipe to you, so you can come back to it later!

Growing up in the 1980s meant you probably had summers that looked a little like this. Back in the day, I would spend hot afternoons riding my bike with friends and playing a lil’ double dutch. When the heat hit hard, nothing would hit the spot like an ice cold glass of Kool-Aid. My mama would have a fresh pitcher in the fridge ready to go, and I couldn’t wait to find out what flavor it was. This Kool Aid pie is a nod to that nostalgia and the good ole back in the day vibes this gives. Each bite is like hearing the ice cream truck all over again.

What is Kool Aid Pie?

Kool Aid pie is a simple no-bake pie that became super popular because of its ease and fun flavor. The filling is made by mixing Kool-Aid drink powder with sweetened condensed milk and whipped cream. You just pour that filling into a graham cracker crust and let it chill until it sets. The best part of this recipe is that it’s totally customizable!  You can use any Kool-Aid flavor you want, and it’s bound to be delish.

The Lowdown of this No Bake Kool Aid Pie Recipe

Cuisine Inspiration: American Summer Treat
Primary Cooking Method: Mixing and Chilling
Dietary Info: Vegetarian, Sugar High
Key Flavor: Sweet and Refreshing (You pick the flavor! Do you boos!)
Skill Level: Easy y’all! The kiddos can even whip this baby up.

Ingredients You’ll Need to Make this Easy Kool-Aid Pie

Bowls of ingredients such as graham cracker crumbs, butter, a kool-aid packet, strawberries and condensed sweetened milk

This pie literally has 4 components total!

  • Kool-Aid: Here’s the fun part! Pick absolutely any flavor you are feelin! From Tropical Punch and Strawberry to Cherry and Grape, it’s your world boos.
  • Whipped Cream : This lightens and fluffs up the pie’s texture.
  • Sweetened Condensed Milk: This is the sweet and sticky binder that ties the pie together.
  • Graham Cracker Pie Crust: It’s the perfect crunchy contrast in texture to the creamy filling.

How to Make Kool Aid Pie

Step 1: Make your Graham Cracker Crust

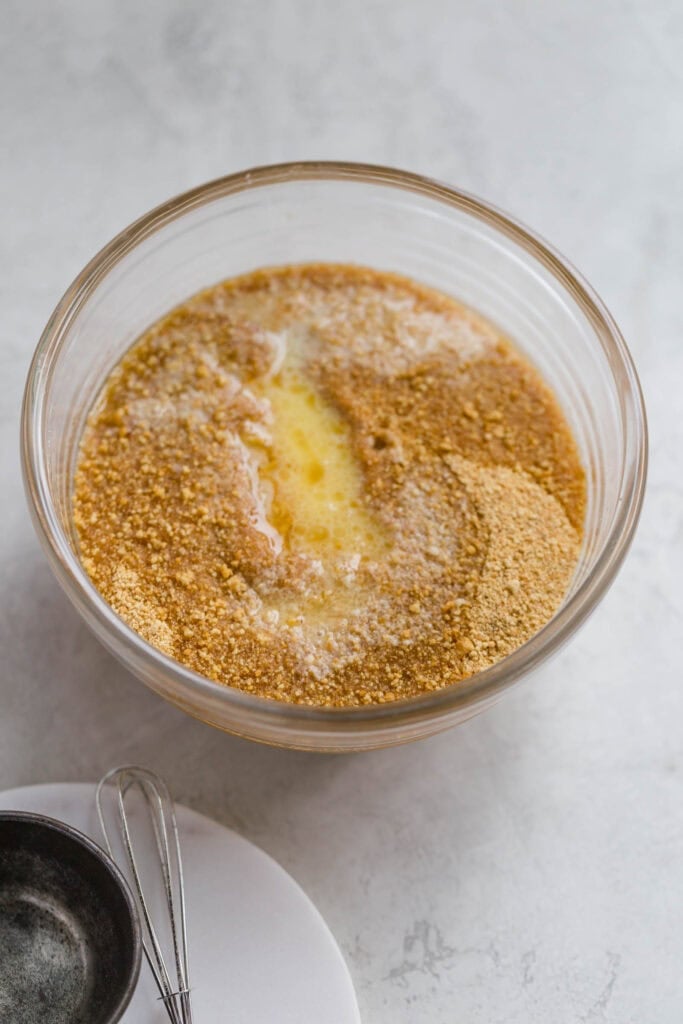
  1. Using store-bought is totally fine here, and it will save you a bit of time. If you want to go scratch, start by adding the graham cracker crumbs, granulated sugar and melted butter to a bowl and mixing it up until the crumbs are well coated.
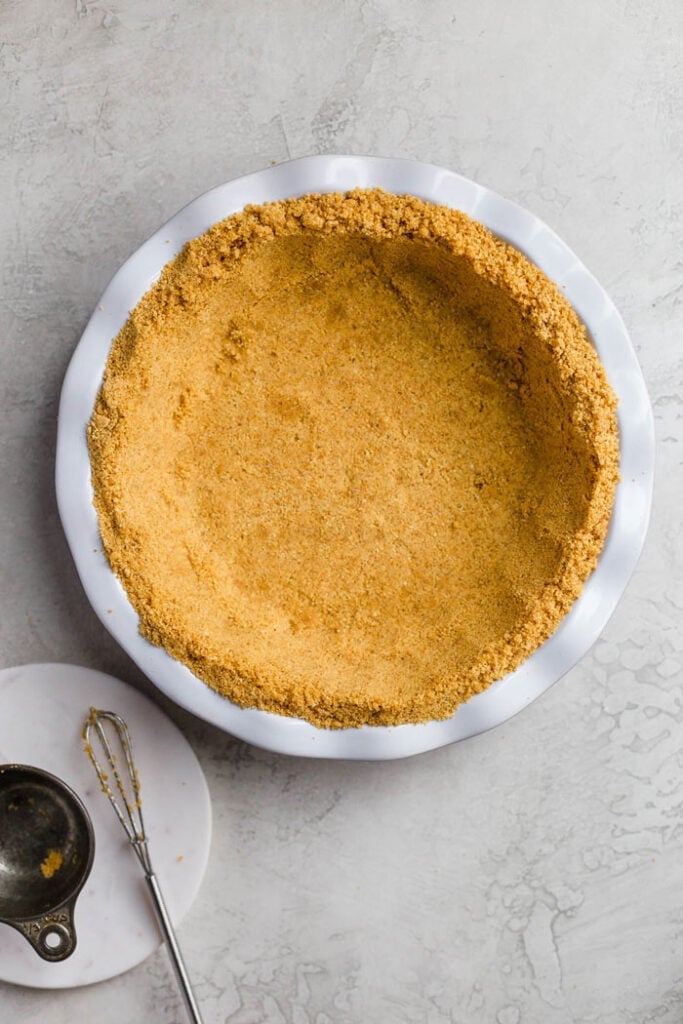
  2. Toss the crumbs into a pie plate and press down around it.
A collage of crushed graham crackers in a bowl with sugar whisked together and mixed with butter until wet

Step 2: Bake Your Crust

  1. Bake your pie at 350 F degrees for about 10 minutes then let cool to room temperature.

PRO TIP: After you bake your pie crust, make sure the crust is completely cooled before adding in your filling. If it is still warm at all, the whipped cream mixture will melt, and the pie won’t set up properly.
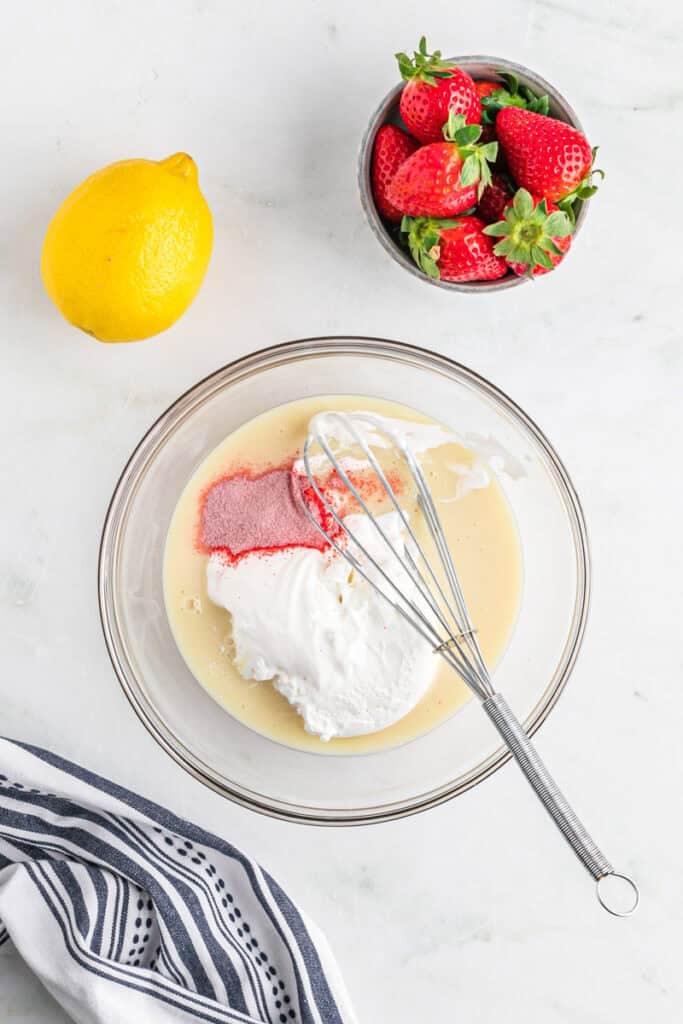
Step 3: Make your Filling

  1. To make the filling, stir the Kool-Aid mix, already whipped cream, and condensed milk together until combined.
A collage of baked graham cracker crust in a pie plate and kool-aid, whipped cream and condensed milk being whisked together

PRO TIP: Don’t overmix the pie filling. Whipped cream needs to stay light and fluffy so folding gently is the best bet. If you overmix, the pie will lose its airiness.
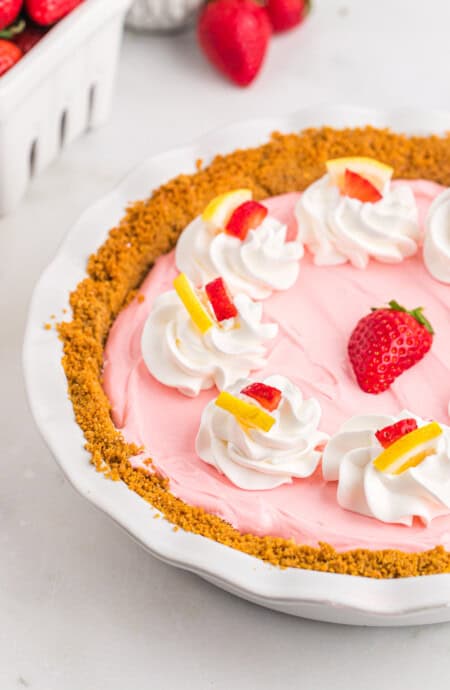
Step 4: Assemble and Decorate Your Pie

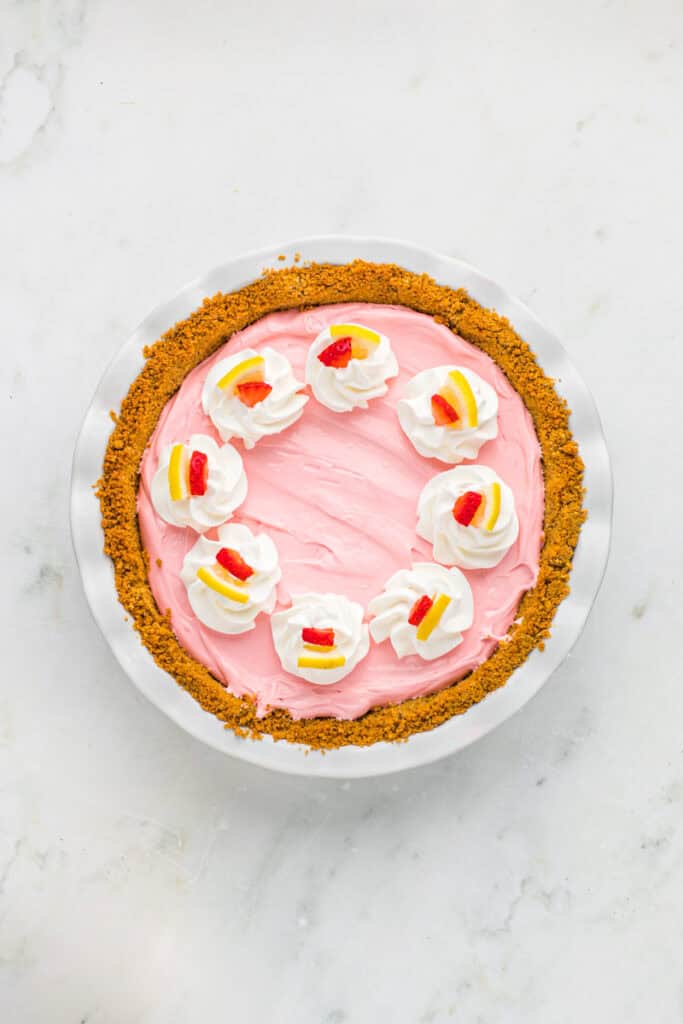
  1. Pour your pie filling into your graham cracker crust and place your pie in the fridge to set for at least 4 hours. Allowing your pie to set for at least this long guarantees that each slice will come out clean and not soupy. Dress it up with whipped cream and enjoy! You earned it.
A finished and cooled koolaid pie recipe with whipped cream dollops on top

Recipe Substitutions for Koolaid Pie

  • Whipped Cream: Not a fan of making your own? Store bought whipped topping is perfect in this kool-aid pie recipe.
  • Crust: You can use a standard butter pie crust if you prefer. Just make sure it is baked with pie beads, rice or beans and cooled completely.
  • Kool-Aid: Make this with absolutely any flavor you crave.

Recipe Variations and Additions

  • Fruit: Y’all can add a little texture to this koolaid pie by throwing in some chopped fresh fruit like berries or bananas.
  • Chocolate Vibes: Use Oreos for the crust instead of graham crackers and drizzle on some chocolate ganache.
  • Alcohol: Make something special for the grown ups by spiking the filling a bit. Add in some rum or a fave liqueur for a bit of fun.
  • Cheesecake: Turn it into a cheesecake by throwing in some room temperature cream cheese. It makes it so rich and tangy boos.
  • Use More than 1 flavor: Pick at least 2 Kool-Aid flavors with very different colors like grape and orange and layer the filling on top of each other. When you cut in, your guests will get such a fun surprise.

Expert Tips and Tricks

  • Mixing: Gently folding is the way boos. If you overmix, you can deflate the entire filling removing that airy light texture we love.
  • Adjust: Give it a taste after you mix your filling. If it ain’t sweet enough, add a bit more condensed milk. If you want a stronger flavor, more Kool-Aid powder is the answer.
  • Just Chill: Don’t remove this pie from the fridge too early. It needs time to set up. I recommend making the night before you want to serve. You can also pop in the freezer for a couple of hours to firm it up a bit more.
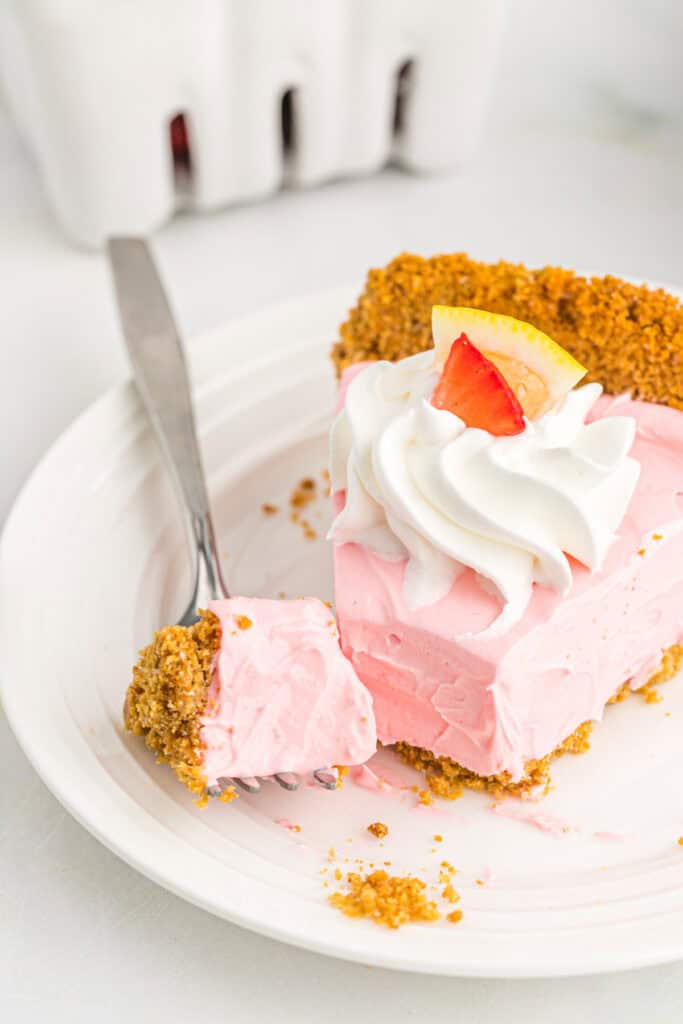
How to Store Kool-Aid Pie

  • Fridge: Cover any leftovers with plastic wrap or foil and pop in the fridge for 3-4 days.
  • Freezer: If you think you will have leftovers for freezing, remove the toppings before adding to the freezer. Wrap it in plastic wrap and freeze for 2-3 months.

Additional Easy Pie Recipes

Frequently Asked Questions

Why was my Kool Aid pie soupy when I cut into it?

It’s more than likely because you didn’t let the pie set up long enough. At the very very least, it should chill for 4 hours but it definitely helps if you chill it longer. You can even freeze it for a sturdier consistency. It will taste more like ice cream.

Can I make Koolaid Pie ahead?

Yep you sure can. In fact, it will taste better if it sets overnight.

Do I have to use a homemade pie crust and homemade whipped cream?

Absolutely not. Store-bought pie crust and whipped topping work super well in this Kool-Aid pie recipe.

Nothing makes summertime better than a slice of this Kool Aid pie recipe. You will get your whole life with just one bite, and you won’t even believe how easy it comes together. Serve it up at the cookout or at an impromptu party, and have all your guests getting their childhood fix.

A close up of a pink colored kool aid pie recipe topped with whipped cream on a white background with fresh strawberries in the pasta

Kool Aid Pie

This Kool Aid Pie Recipe is the easiest and most delicious no bake dessert online! 
4.29 from 21 votes
Prep Time 15 minutes
Cooling Time 4 hours
Total Time 4 hours 15 minutes
Course: Dessert, Drink
Servings: 8 servings

Ingredients

Instructions

Notes

You can select any flavor of kool-aid you wish however when selecting faint flavors like lemon, you won’t receive as much color.  
Be sure not to over-stir your mixture otherwise you’ll lose the airiness in your mixture and create something a bit denser than intended.
How to store
  • Fridge: Cover any leftovers with plastic wrap or foil and pop in the fridge for 3-4 days.
  • Freezer: If you think you will have leftovers for freezing, remove the toppings before adding to the freezer. Wrap it in plastic wrap and freeze for 2-3 months.

Nutrition

Calories: 121kcal | Carbohydrates: 16g | Protein: 1g | Fat: 6g | Saturated Fat: 1g | Cholesterol: 2mg | Sodium: 107mg | Potassium: 34mg | Fiber: 1g | Sugar: 6g | Vitamin A: 15IU | Calcium: 16mg | Iron: 0.6mg
Tried this Recipe? Tag me Today!Mention @GrandbabyCakes or tag #grandbabycakes!
Filed Under:  Dessert and Baking, No-Cook, Pies, Summer Recipes

Comments

  1. Wow so easy to make, i us watermelon Flavor. I thought About next time coloring some green for the edges and adding red color too change from pink to red.
    Ive been following your recipes for about 5 years now, my all time favorite recipe is the cheesy garlic bread sticks. Those are amazing. I also use that same dough recipe for pizza. Thank for sharing your recipes.

  2. This pie was a FAIL. Recipe stated to use 1 Cup of whipped cream topping (cool-whip) and I prepared it as instructed. All my guests asked what went wrong!? There’s barely three quarters of an inch of pie filling, and my partner asked why I didn’t use the whole container of cool whip. I started to wonder the same thing! One cup!? It should be 1 – 8oz container! The filling was so strong tasting I had to put a layer of whipped topping on every piece to make it palatable. This recipe needs a correction!

    1. Hi Annie, I am so sorry to hear that you had issues with this recipe. One 8oz container is 1 cup of Cool Whip, as there are 8oz in a cup and whipped cream does measure a little different due to the air.

  3. I thought we were supposed to use the unsweetened packets of kool-aid. The sweetened condensed milk and cool whip should have enough sugar to sweeten the pie.

  4. I want to try this with orange and wondered if I could add can of madrien oranges to the mixture instead of putting them on top, and I want to try strawberry as well

    1. Yes I tried it with orange flavor and it taste like a dreamsicle popsicle. I took me back to my childhood.

  5. I used this recipe for my best friend’s birthday pie this year and wanted to let you know that it turned out to be EXACTLY what she wanted in her dream pie. According to her, this pie is the stuff of legend. It turned out beautifully and it was so easy to make! Thank you a million times over for coming up with this! I used your graham cracker crust recipe too and that was the easiest, best smelling pie crust I’ve ever made. I’ll be using both of these recipes again!

  6. I have not shopped for koolaid in ages. I am not sure if I should buy the old kind without sugar or pre sweetened. Cannot wait to try!

4.29 from 21 votes (13 ratings without comment)

Leave a Reply

Your email address will not be published. Required fields are marked *

Recipe Rating