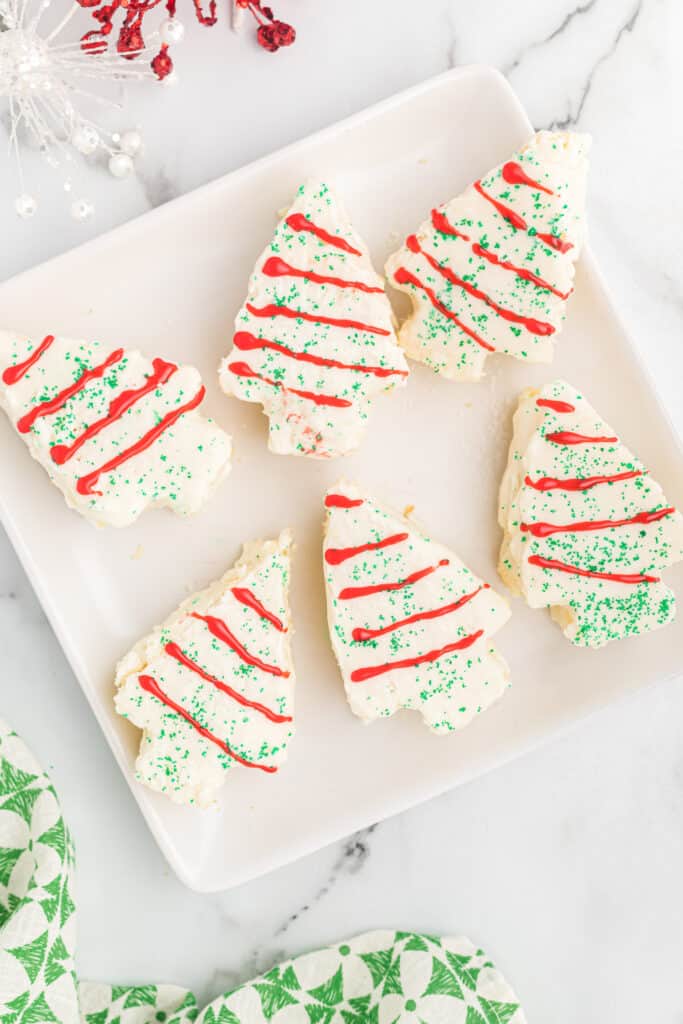
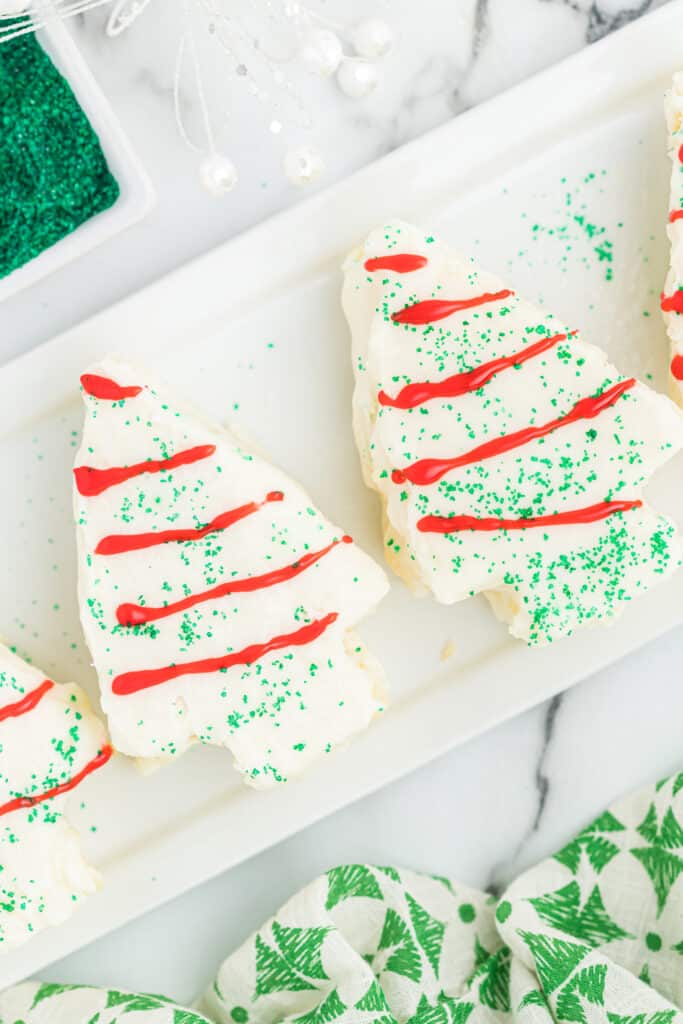
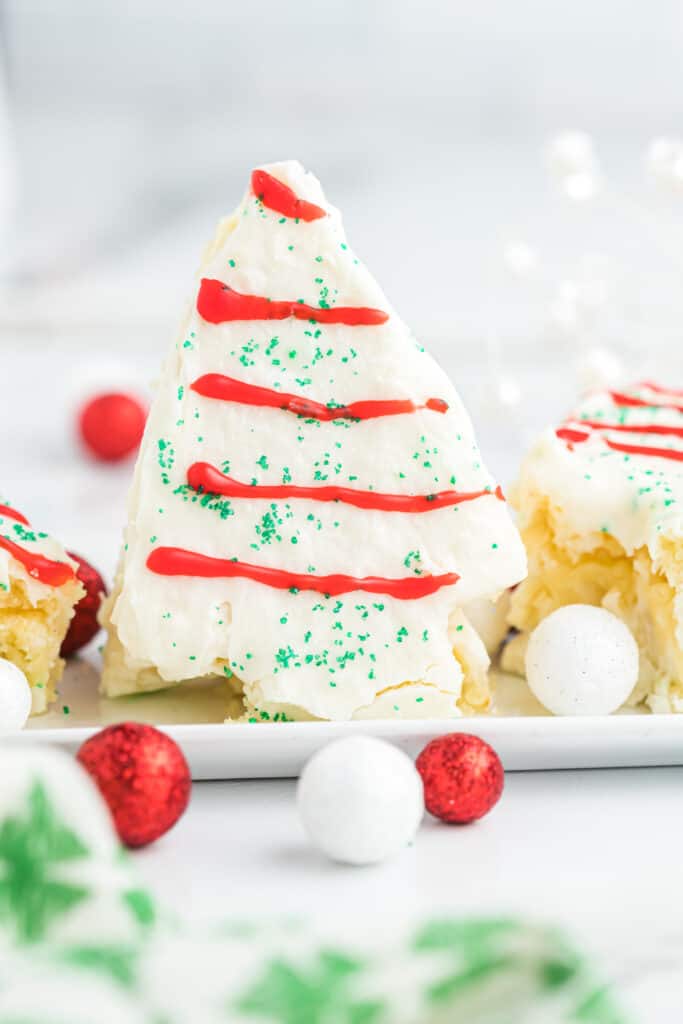
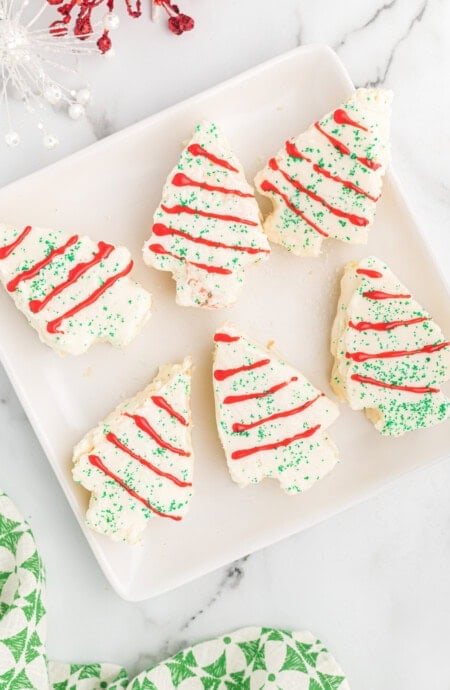
A sweet meringue sandwiched between two layers of white cake then topped with tasty icing and sprinkles. You won’t have to search all over to find these Little Debbie Christmas Tree Cakes when you can make your own. Get the kiddos involved in making their own Christmas tree creations, it’s never too early to start a new holiday tradition.
This post may contain affiliate links. Read our disclosure policy.
A bit of Little Debbie history
This classic childhood favorite was introduced to the world in 1985. Turns out, the first version of the Little Debbie Christmas Tree Cake was a triangle shape with a chocolate tree trunk!
You can now enjoy their Christmas Tree Cakes in chocolate with white cake, chocolate with chocolate cake and frosting, and red velvet with green chocolate. So many festive options!
Ingredients
With a few baking essentials and some specialty items, you’ll bring that Little Debbie nostalgia back to life this Christmas.
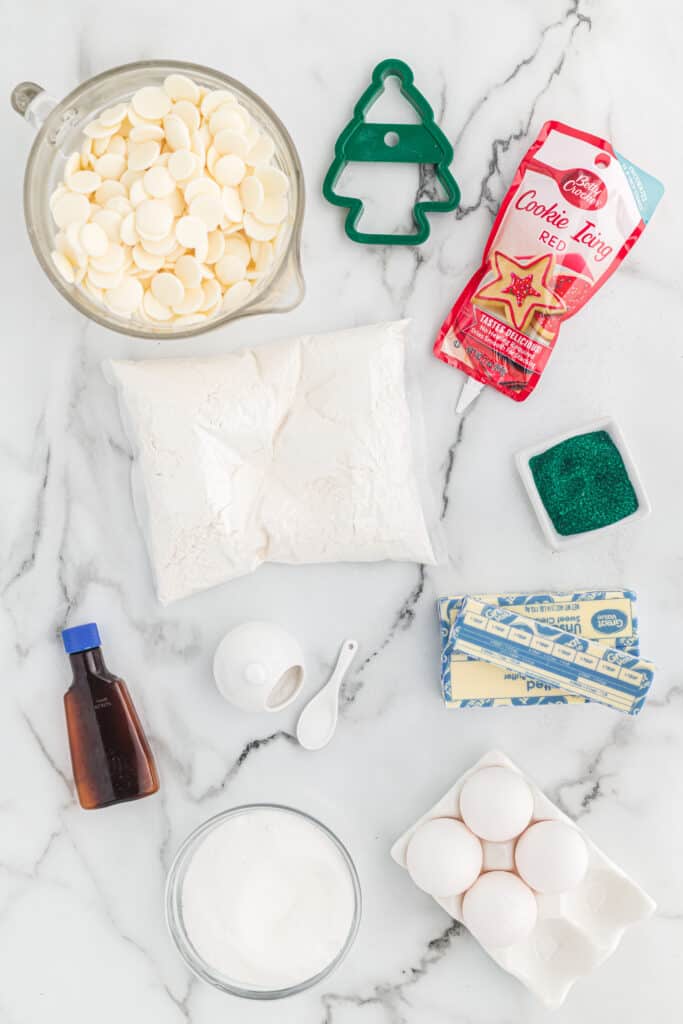
White cake box mix: White or yellow cake mix of your favorite brand will work just fine.
Baking essentials: Egg whites, granulated white sugar, salt, butter, and vanilla extract are going to be some of our baking basics added to this recipe. The egg whites and unsalted butter should be at room temperature before preparation.
Specialty ingredients: These cute cakes will feature a tasty outer shell featuring vanilla melting wafers, then they’re topped with green sanding sugar and a red cookie icing garland. These ingredients will be found in your baking aisle, or sometimes located with the bakeware itself.
How to make Little Debbie Christmas Tree Cakes
For the Cake
Preheat the oven to 350 degrees. Grease a large-rimmed baking sheet with non-stick spray and line it with parchment paper.
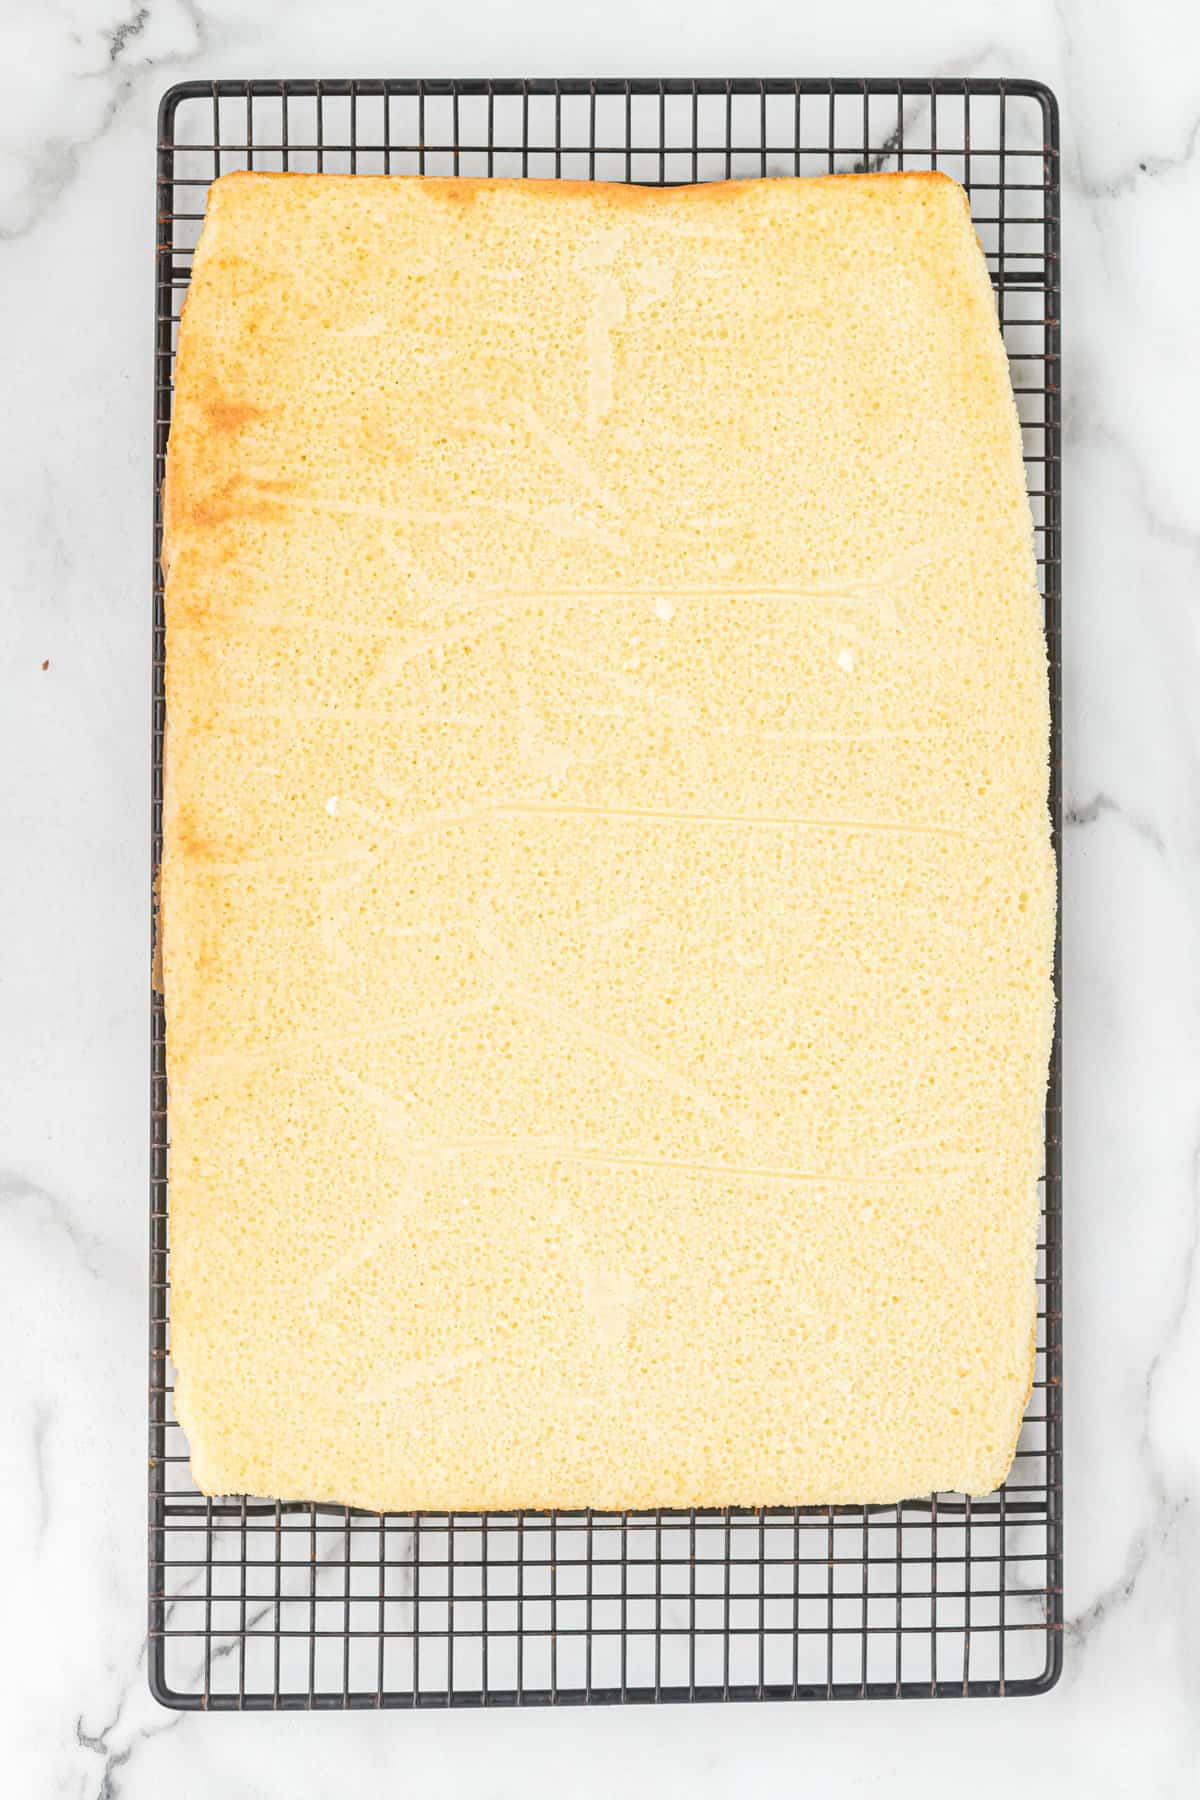
Prepare the cake batter according to the box’s baking instructions and pour it onto the prepared pan. Use a spatula to smooth over the top and even out the batter as much as possible.
Bake for 15-20 minutes, or until a toothpick inserted in the center comes back clean.
Allow the cake to cool for 5 minutes in the pan. Use a butter knife or offset spatula to release the edges, then flip the cake onto a wire rack to cool completely. Be sure to carefully remove the layer of parchment paper.
While you wait for the cake to cool, prepare the Swiss Meringue Buttercream.
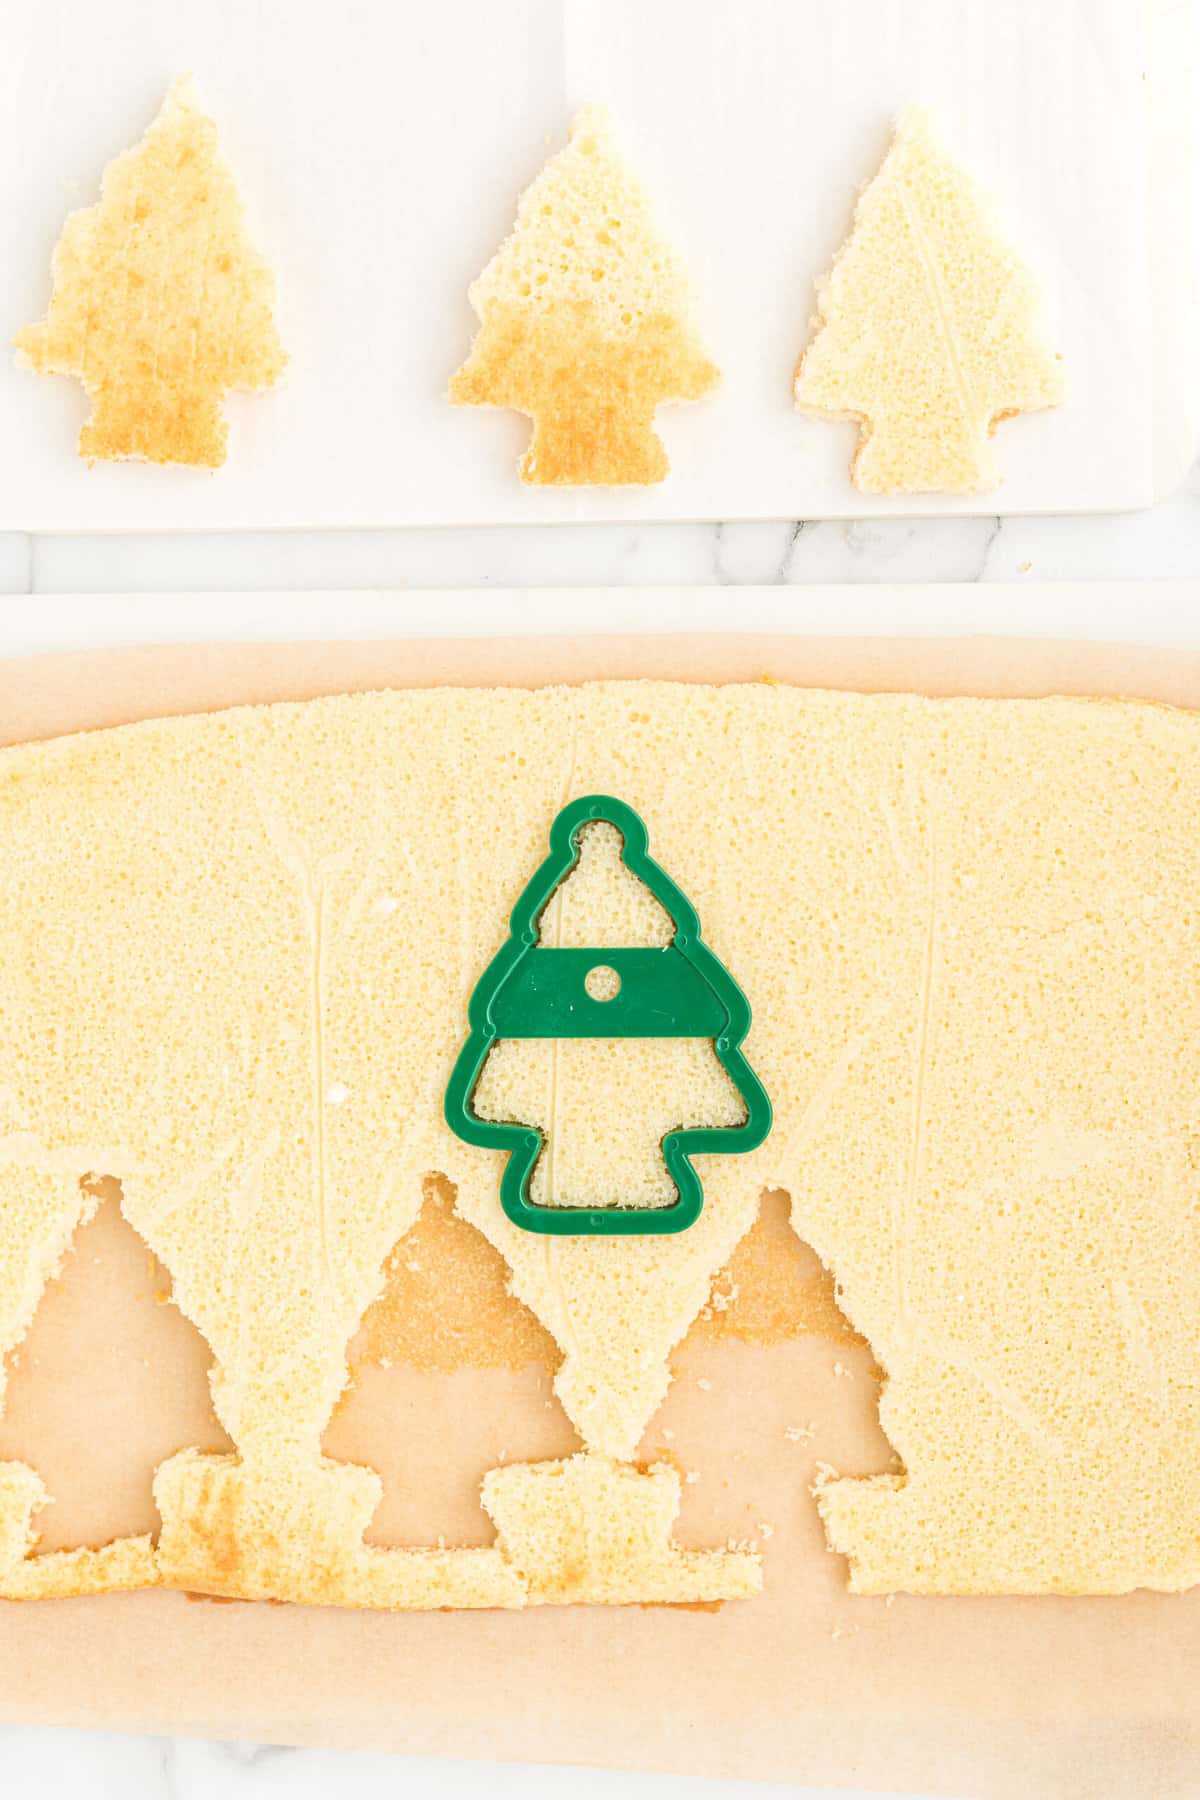
Once cool, use a 3-4” (will depend on how large you’d like your cakes to be) Christmas tree cookie cutter to gently cut out as many trees from the cake as possible. Keep in mind you’ll need two of the cutouts per cake.
For the Swiss Meringue Buttercream Filling
Put an inch of water in a medium saucepan and bring to a gentle boil. In the bowl of your stand mixer, stir egg whites, sugar, and salt until combined.
Place a mixing bowl over the saucepan but be careful not to let the water touch the bottom of the mixing bowl. Stir with a spatula until the sugar dissolves and reaches a temp of 160 F, about 5 minutes. While you stir, scrap the sides of the bowl to ensure no sugar grains are lurking on the sides.
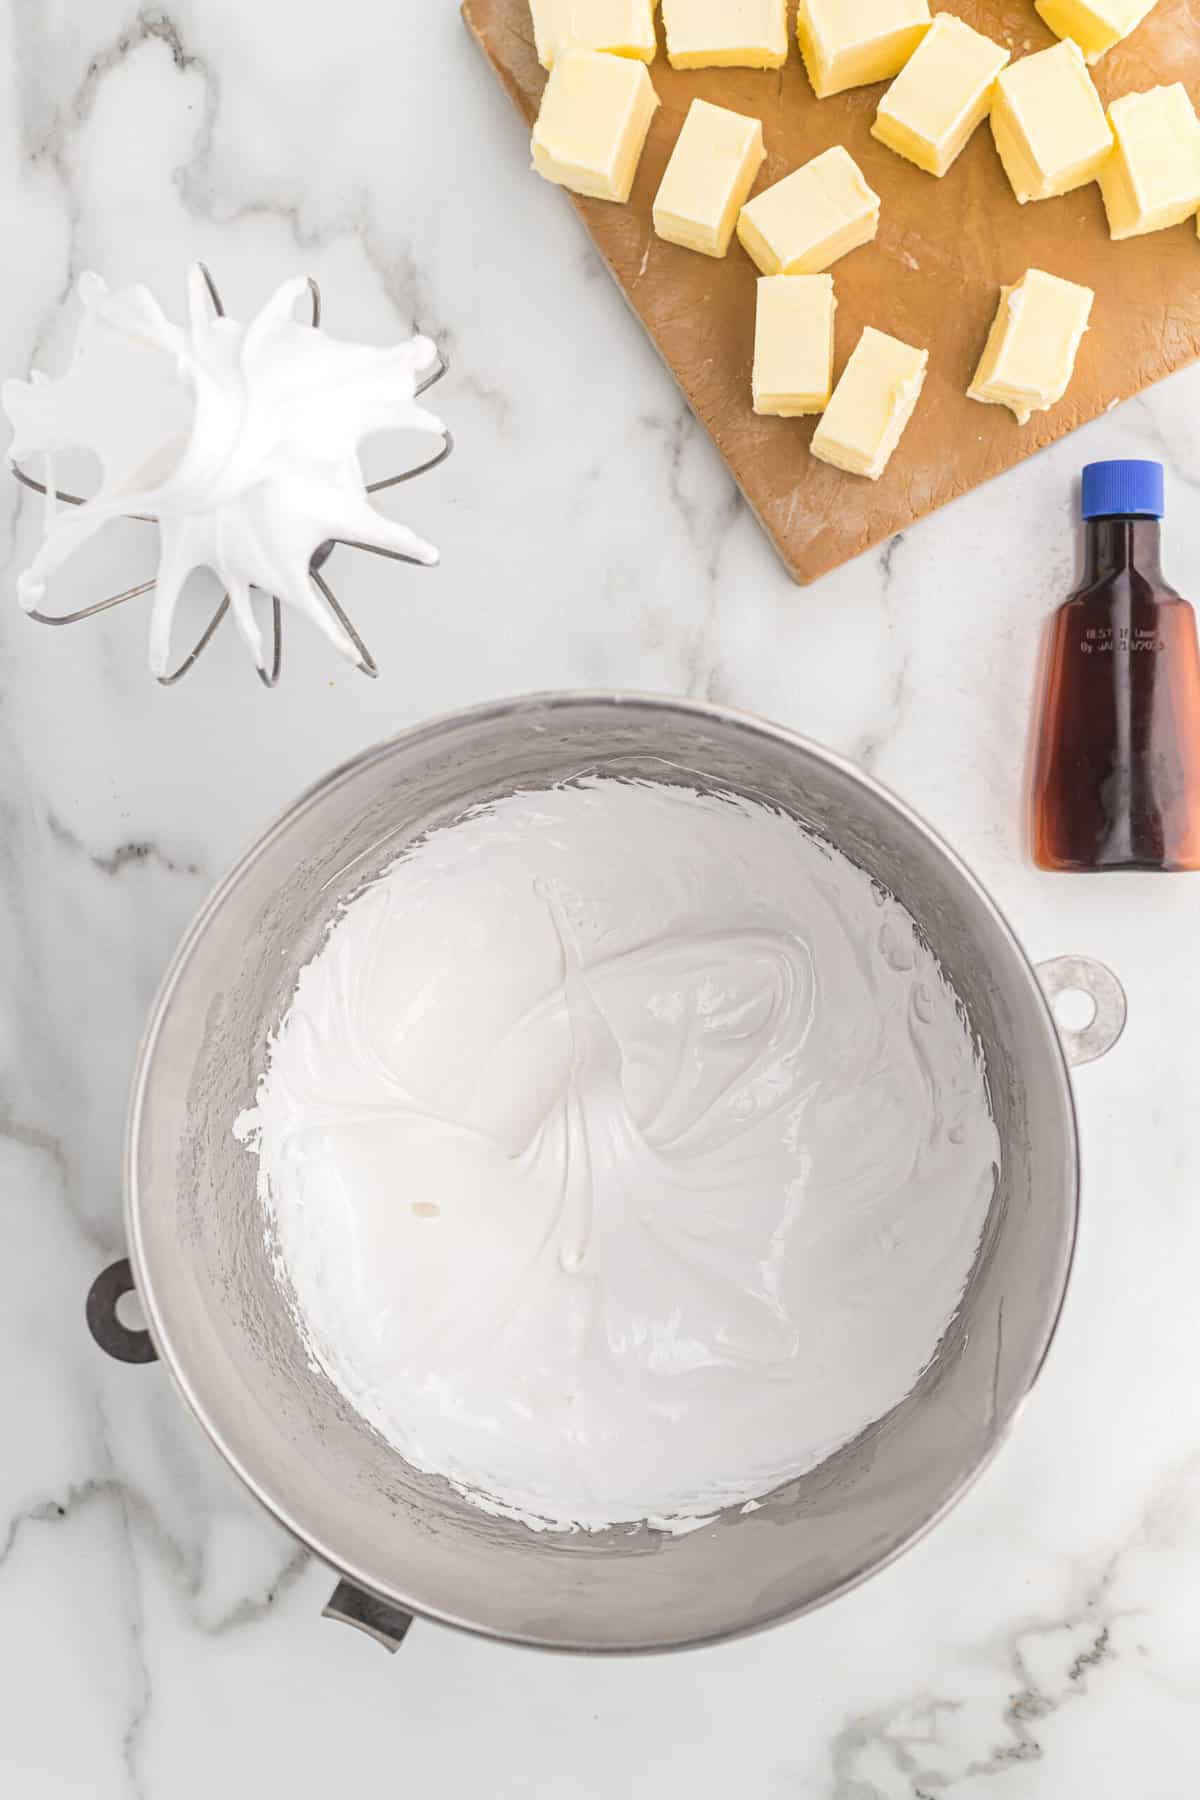
Remove the mixing bowl from the heat and add to a stand mixer with the whisk attachment. Whisk on medium-high speed until stiff peaks form. They will be glossy. This can take up to 10 minutes. The bowl will continue to cool down in the process as well.
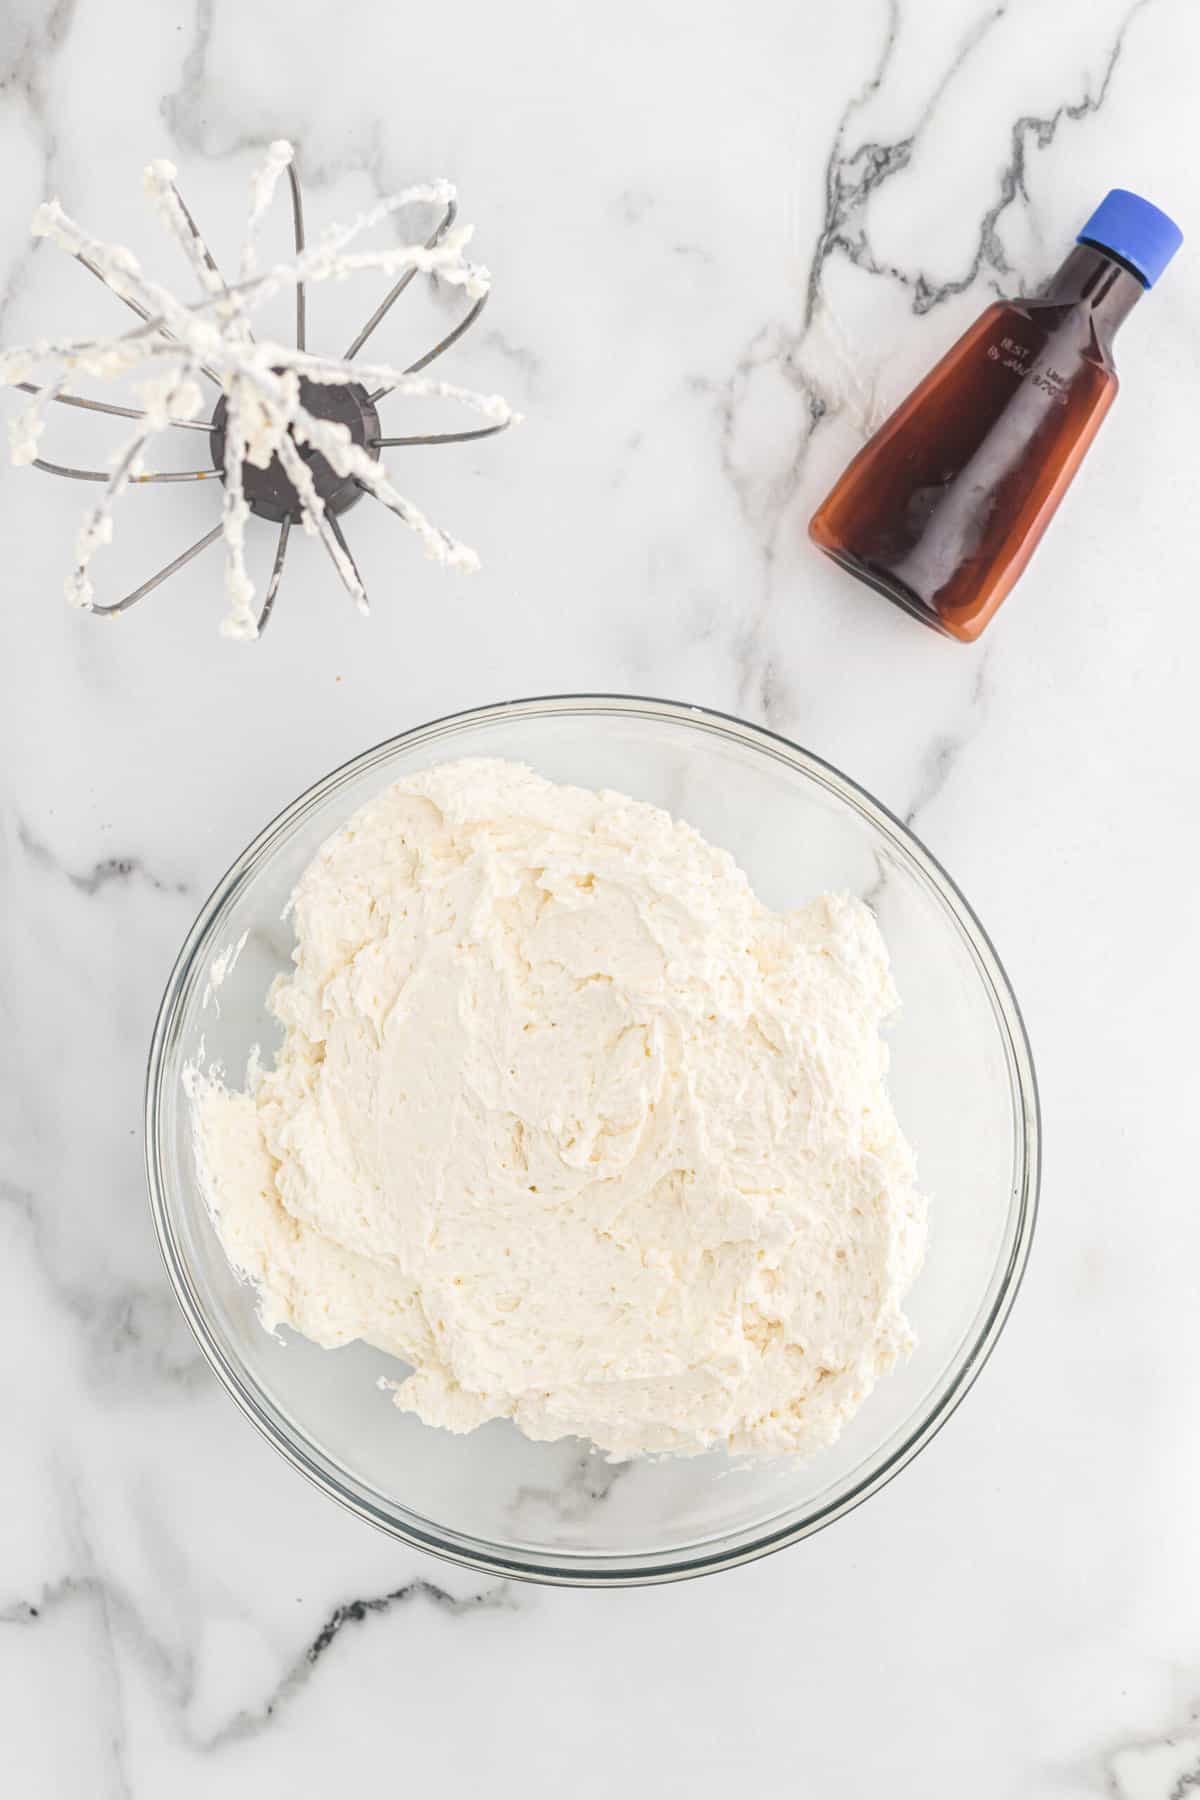
Reduce the speed to low and add 1 to 2 tablespoons of butter at a time making sure to mix in thoroughly after each addition. When butter is incorporated, add vanilla extract and beat on low until incorporated then frost or refrigerate until ready to frost.
Assemble your Christmas Tree Cakes
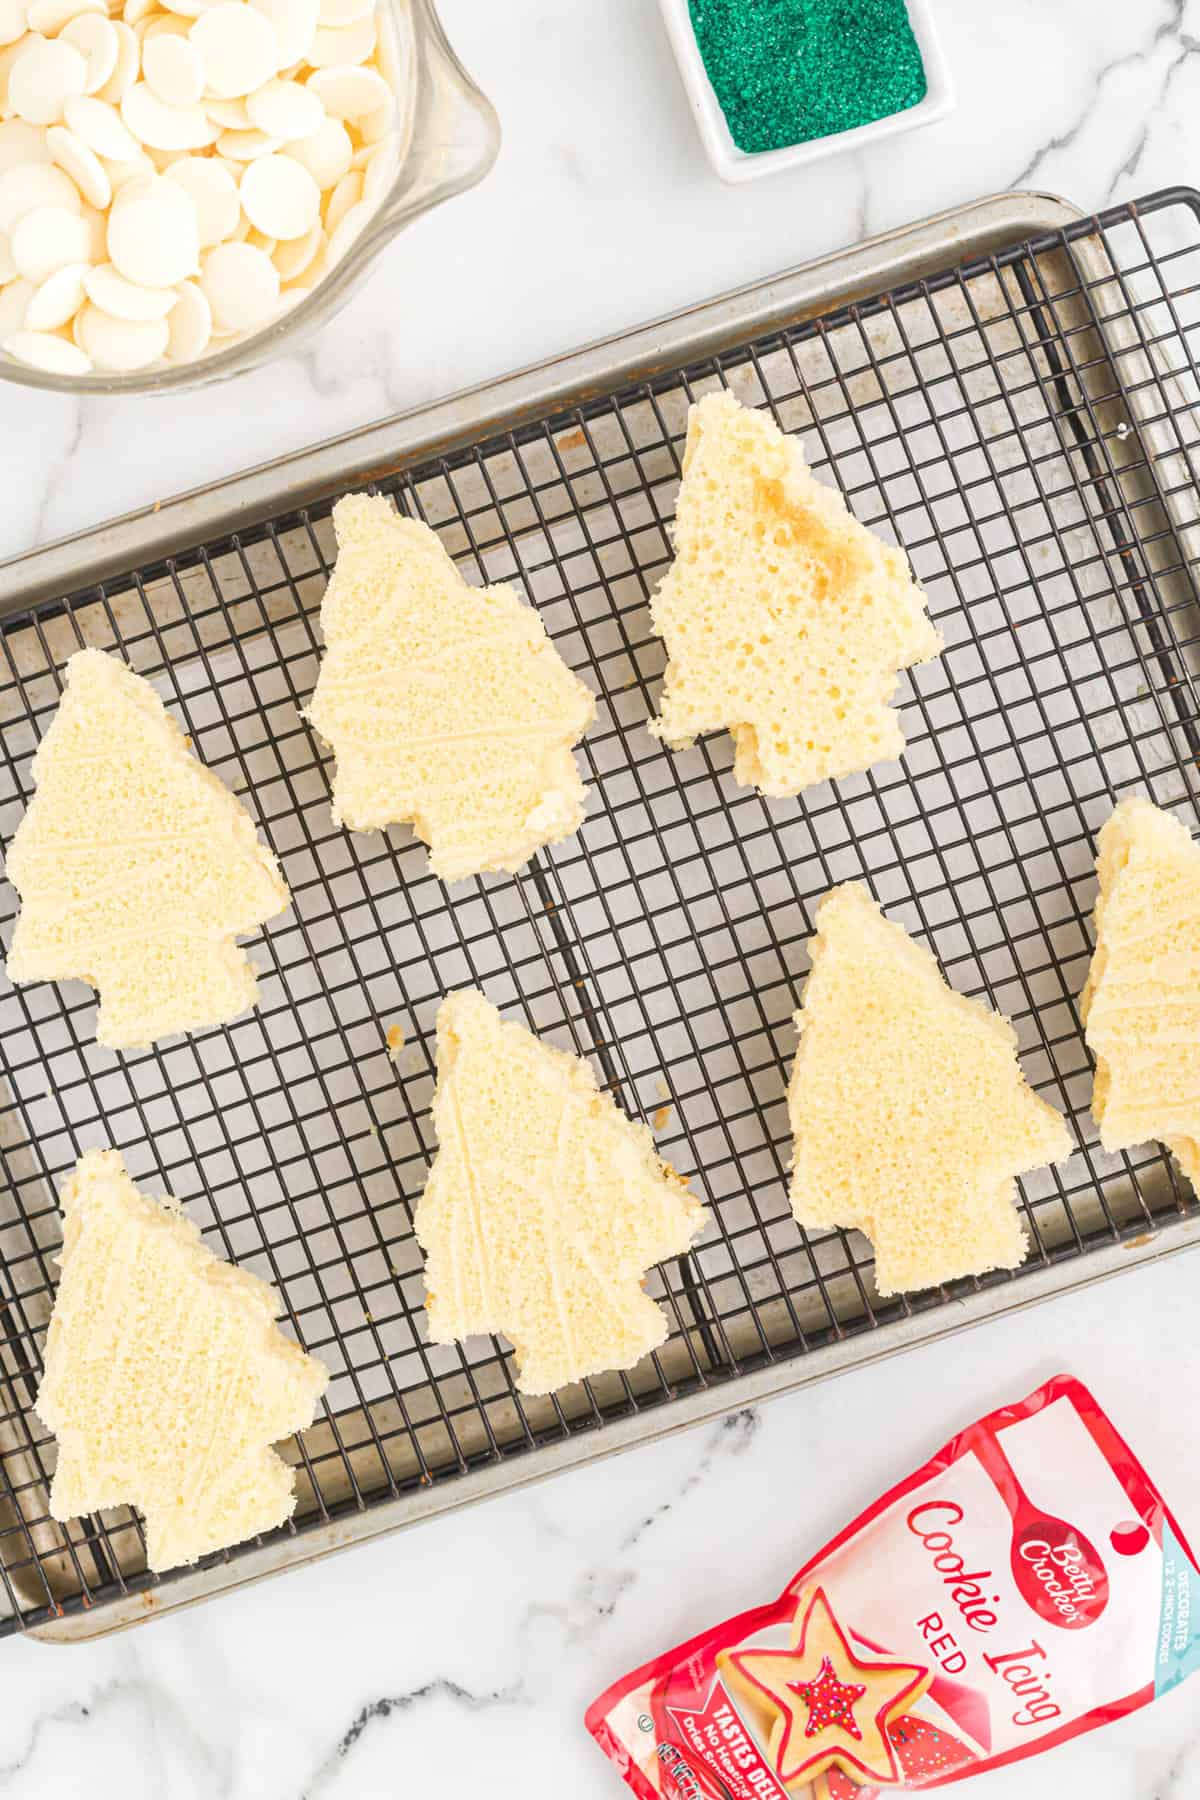
Set a wire rack over a rimming baking sheet. Spread about 2-3 tablespoons of buttercream on 8 of the cut out trees, then top with the remaining 8 trees to create 8 cake sandwiches. Place sandwiches on the wire rack.
Want to Save This Recipe, Boo?
Melt the candy wafers according to package instructions. If you’d like a shinier look or the wafers need a little help smoothing out, add a tablespoon or two of coconut oil.
Pour the melted chocolate coating evenly over the cakes, recollecting excess coating and redistributing if necessary.
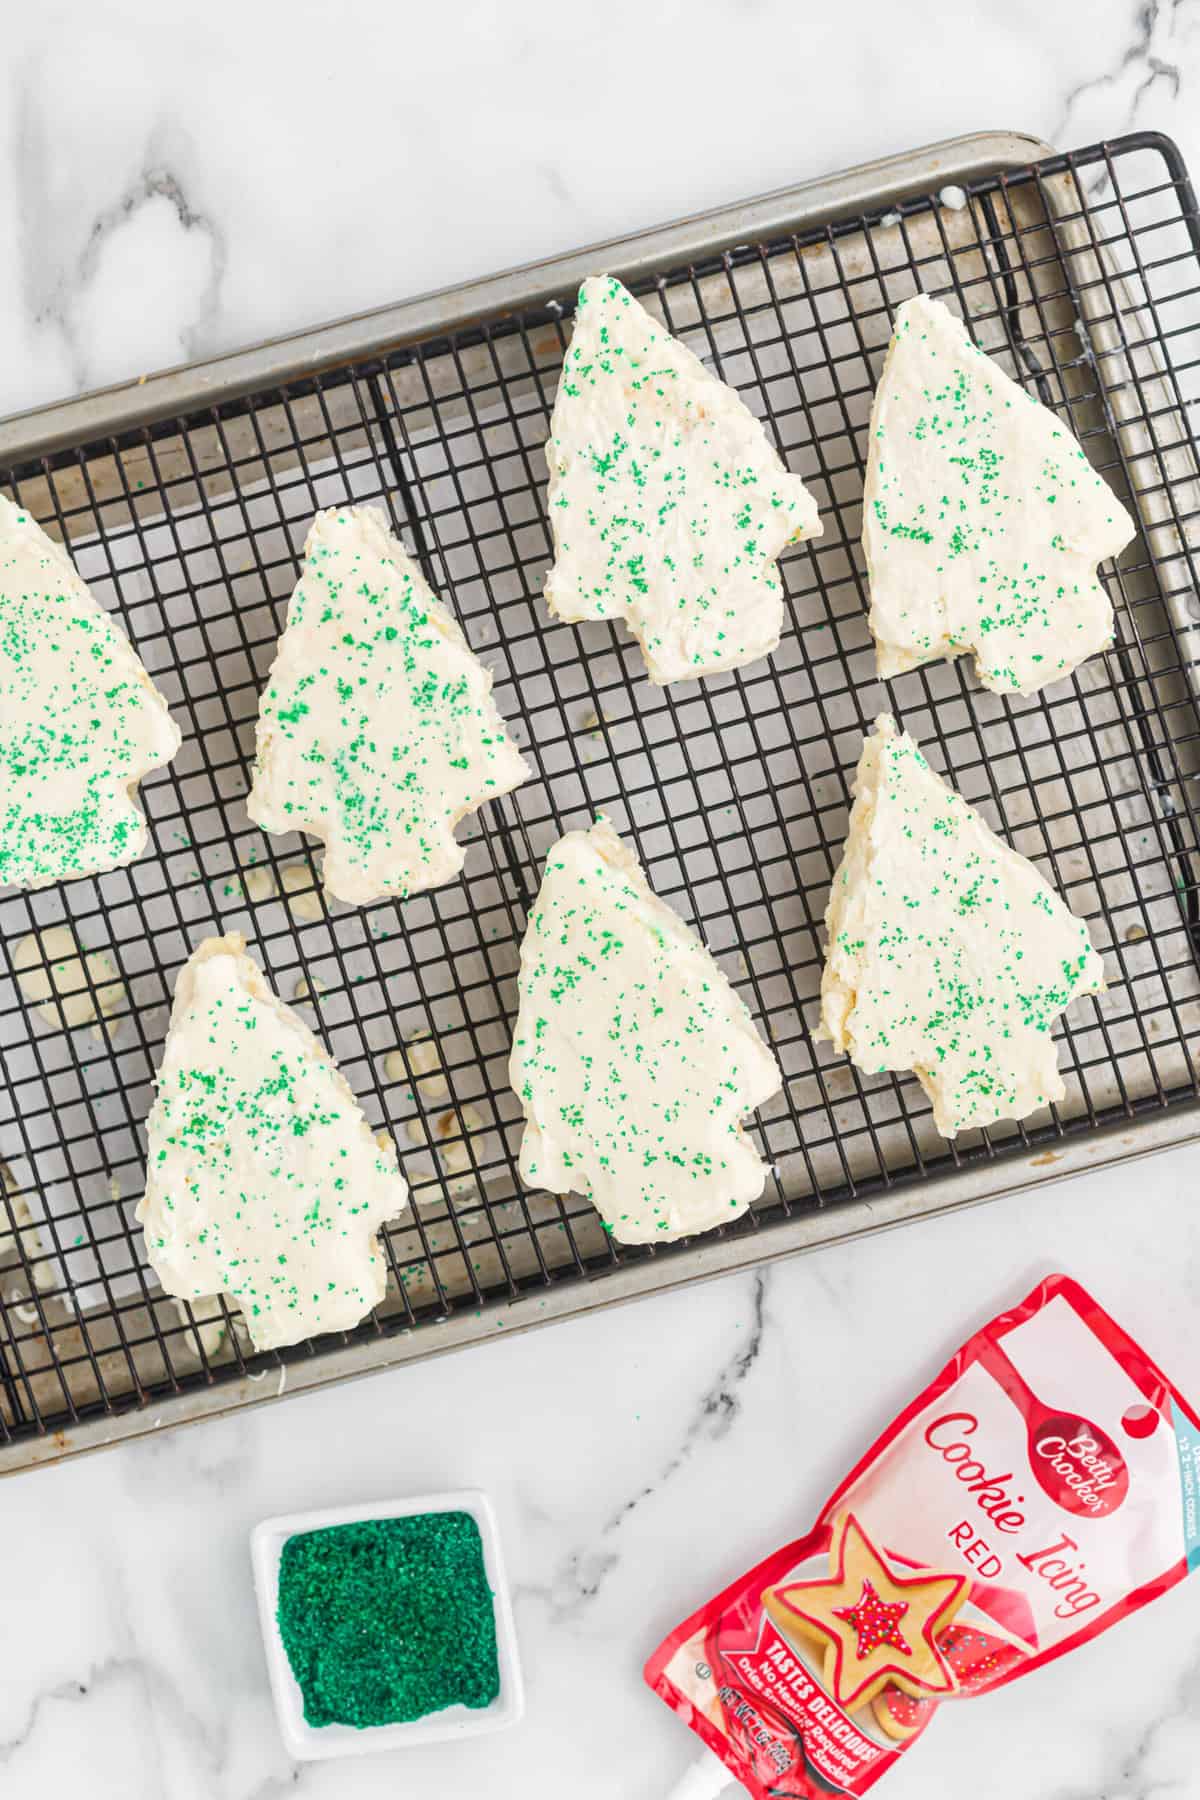
Sprinkle each cake with green sanding sprinkles, then place them in the refrigerator to chill for 30 minutes.
Remove the cakes from the fridge and drizzle the red decorating icing over the tops to create a garland pattern.
Let the cakes set at room temperature for an hour, then serve! Store cakes in an airtight container for up to 5 days.
Storing your Little Debbie Christmas Cakes
Store freshly decorated Christmas cakes in an airtight container at room temperature for up to 1 week. Refrigeration may be required if you’re in a warm area.
Wrap your little debbie cakes in individual plastic bags to share with your loved ones or to take to a holiday party.
Christmas Tree Cake Variations
You can also try out Little Debbie’s other Christmas tree flavors.
Chocolate & Vanilla: Made with chocolate on the outside, yellow cake, and a sweet white frosting on the inside. White cookie icing for the garland and green and red sprinkles.
Chocolate: Triple chocolate! Chocolate on the outside, chocolate cake, and a smooth chocolate frosting on the inside. White cookie icing for the garland and green and red sprinkles.
Red Velvet: A festive green-colored white chocolate on the outside, red velvet cake, and white frosting on the inside. Decorated with red and green circle sprinkles.
Expert Tips for Perfect Christmas Tree Cakes
Here are some tips on how to achieve the perfect Christmas tree cakes.
- Once you’ve frosted the inside of your tree cakes, place them covered in the freezer until hardened, up to 2 hours, before icing the outside. This will keep the cake firm without falling apart during the decorating process.
- Baking your cake on a large sheet pan is essential in creating the thin cake inside of Little Debbie snack cakes.
- Add your green sprinkles and red icing right after coating the outside with white frosting, this will help the sprinkles stick to the treat before it dries.
More Christmas Recipes
If you love these, you will also love my Perfect Sugar cookies, Red Velvet Trifles, and Red Velvet Lava Cakes.
*Did you make this recipe? Please give it a star rating and leave comments below!* Post a photo of how your version of the recipe came out on Instagram (using #grandbabycakes)!!
Homemade Little Debbie Christmas Tree Cakes
Want to Save This Recipe, Boo?
Equipment
- Large baking sheet
- Wire rack
- Christmas Tree cookie cutter
Ingredients
For The Cake
- 1 White cake box mix
For the Swiss Buttercream Filling
- 4 large Egg whites
- 1 cup Granulated sugar
- 1/4 teaspoon Salt
- 1 1/2 cups Unsalted butter 3 room temperature sticks
- 1 1/2 teaspoon Pure vanilla extract
For the White Chocolate Coating and Decorations
- 24 ounces Vanilla melting wafers
- Green sanding sprinkles
- Red cookie/cake icing should be in a bag with attached piping tip
Instructions
For the Cake
- Preheat the oven to 350 degrees. Grease a large rimmed baking sheet with non-stick spray and line it with parchment paper.
- Prepare the cake batter according to the box’s baking instructions and pour it onto the prepared pan. Use a spatula to smooth over the top and even out the batter as much as possible.
- Bake for 15-20 minutes, or until a toothpick inserted in the center comes back clean.
- Allow the cake to cool for 5 minutes in the pan. Use a butter knife or offset spatula to release the edges, then flip the cake onto a wire rack to cool completely. Be sure to carefully remove the layer of parchment paper.
- While you wait for the cake to cool, prepare the Swiss Meringue Buttercream.
- Once cool, use a 3-4” (will depend on how large you’d like your cakes to be) Christmas tree cookie cutter to gently cut out as many trees from the cake as possible. Keep in mind you’ll need two of the cut outs per cake.
For the Swiss Meringue Buttercream Filling
- Put an inch of water in a medium saucepan and bring to a gentle boil. In the bowl of your stand mixer, stir egg whites, sugar and salt until combined.
- Place a mixing bowl over the saucepan but be careful not to let the water touch the bottom of the mixing bowl. Stir with a spatula until the sugar dissolves and reaches a temp of 160 F, about 5 minutes. While you stir, scrap the sides of the bowl to ensure no sugar grains are lurking on the sides.
- Remove mixing bowl from heat and add to a stand mixer with whisk attachment. Whisk on medium high speed until stiff peaks form. They will be glossy. This can take up to 10 minutes. The bowl will continue to cool down in the process as well.
- Reduce the speed to low and add 1 to 2 tablespoons of butter at a time making sure to mix in thoroughly after each addition. When butter is incorporated, add vanilla extract and beat on low until incorporated then frost or refrigerate until ready to frost.
To Assemble
- Set a wire rack over a rimming baking sheet. Spread about 2-3 tablespoons of buttercream on 8 of the cut out trees, then top with remaining 8 trees to create 8 cake sandwiches. Place sandwiches on the wire rack.
- Melt the candy wafers according to package instructions. If you’d like a shinier look or the wafers need a little help smoothing out, add a tablespoon or two of coconut oil.
- Pour the melted chocolate coating evenly over the cakes, recollecting excess coating and redistributing if necessary.
- Sprinkle each cake with green sanding sprinkles, then place them in the refrigerator to chill for 30 minutes.
- Remove the cakes from the fridge and drizzle the red decorating icing over the tops to create a garland pattern.
- Let the cakes set at room temperature for an hour, then serve! Store cakes in an airtight container for up to 5 days.
Notes
- Once you’ve frosted the inside of your tree cakes, place them covered in the freezer until hardened, up to 2 hours, before icing the outside. This will keep the cake firm without falling apart during the decorating process.
- Baking your cake on a large sheet pan is essential in creating the thin cake inside of Little Debbie snack cakes.
- Add your green sprinkles and red icing right after coating the outside with white frosting, this will help the sprinkles stick to the treat before it dries.
Had a blast making these with my 9 year old twin nieces! Such a fun and cute idea – thanks for the inspiration, as always!
Oh how fun! My daughter would absolutely love making these little treats with me. Such a fun addition to the holidays.
This was such a fun and festive treat for the holidays! Looking forward to making these again this season; definitely, a new favorite recipe!
Super easy to make and love being able to make snack cakes at home! These Christmas tree cakes are delicious, festive, and so cute!
LOVE these but hate buying them so this is perfect!!