
There are plenty of pie crusts in the world, boos. You’ve got shortbread, Oreo, and the old faithful buttery pastry, but a graham cracker crust is the one that always comes through for me. Pies, cheesecakes, you name it, I can’t resist it! I’ll grab one from the store if I’m desperate, but half the time it’s cracked or falling apart before I even get it home. Learning how to make graham cracker crust is simple, it holds together, and it just tastes better y’all.
This post may contain affiliate links. Read our disclosure policy.
How to Make Graham Cracker Crust
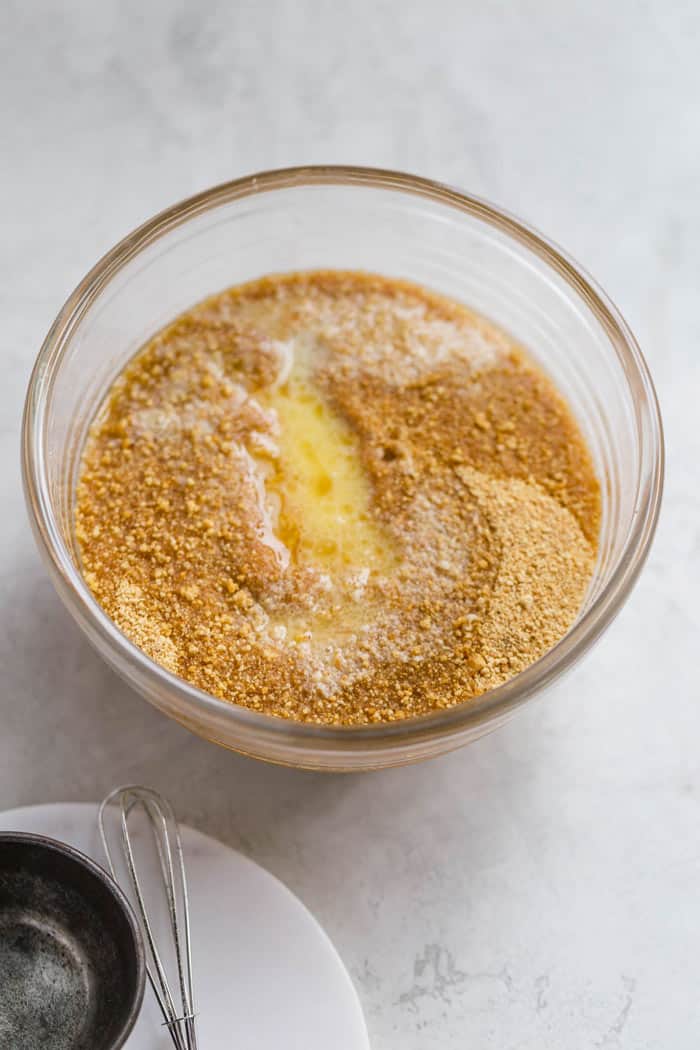
Step 1: Whisk the graham cracker crumbs and sugar in a large bowl. Then, pour in the melted butter and mix until the crumbs are fully coated.
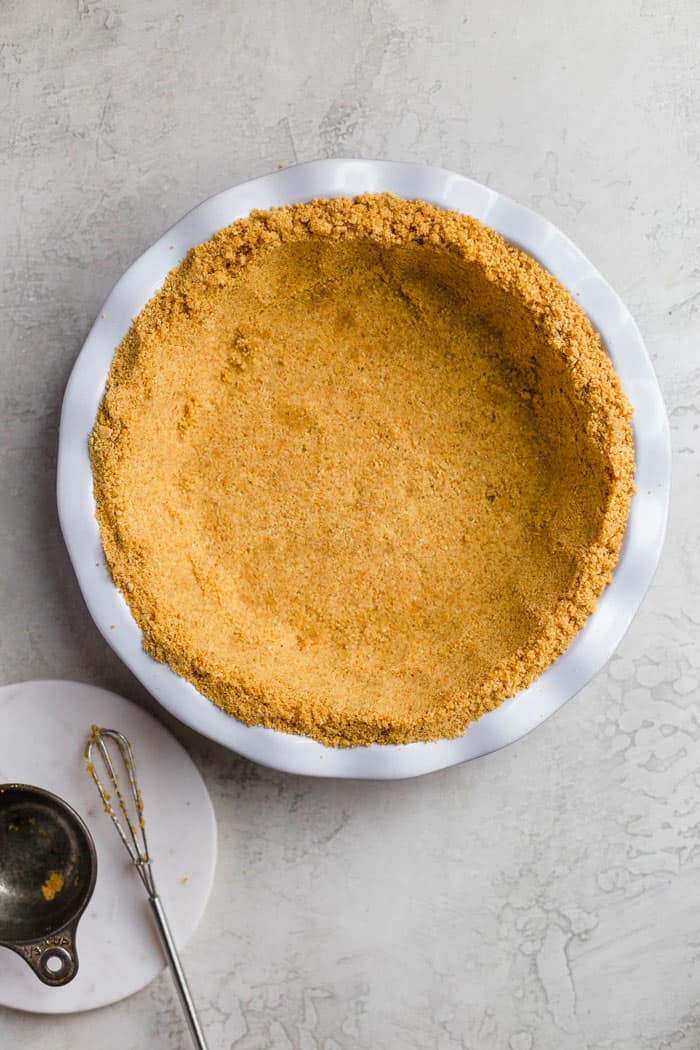
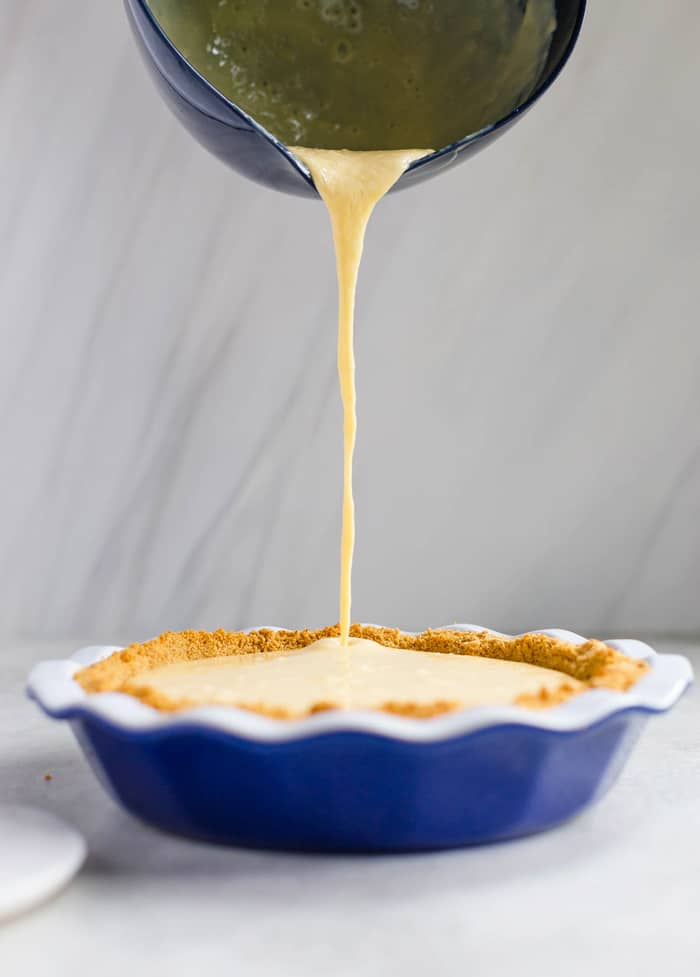
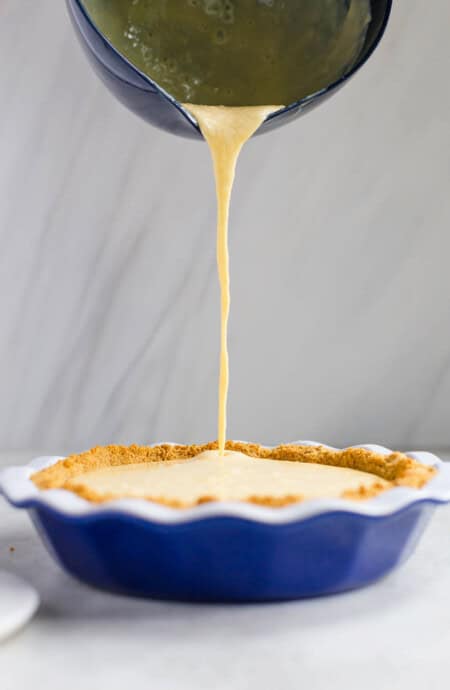
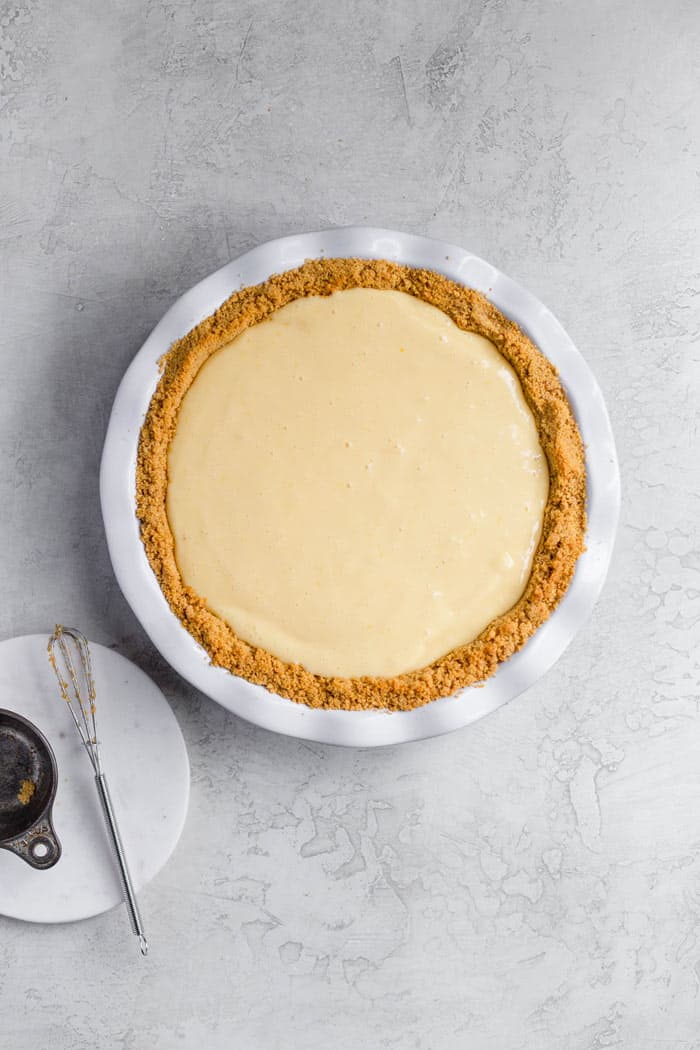
Step 2: Press the crumb mixture into the bottom and sides of a 9-inch pie plate, bake just until set, then let it cool.
PRO TIP: Use a food processor to blitz the crackers into fine crumbs. It’s the fastest way. If you don’t have one, place the crackers in a sealed zip bag and go to town on them with a rolling pin or meat tenderizer. Great way to relieve a little tension!
Graham Cracker Crust Recipe
Want to Save This Recipe, Boo?
Ingredients
- 2 cups graham cracker crumbs
- 2 tbsp granulated sugar optional
- 1/2 cup butter melted
Instructions
- Preheat oven to 350 degrees.
- Whisk together graham cracker crumbs and sugar until combined in a large bowl. Next pour melted butter into mixture and mix together until crumbs are well coated.
- Pour the mixture into a 9 inch pie plate and press down into the plate and around the sides. Bake for 10 minutes to set.
Notes
- Fridge: Keep the baked crust covered tightly with plastic wrap or foil in the fridge for up to 3 days.
- Freezer: Wrap the crust well in plastic wrap, then foil, and freeze for up to 3 months. Let it thaw in the fridge before adding your filling.
Nutrition
Recipe Tips
- Add sugar only if you want a sweeter crust. Most graham crackers are already sweet, so it’s your call.
- Press the crumbs while the butter is still warm, boos. If you wait too long the butter sets and you’ll end up with a crumbly mess instead of a crust that holds together.
- Pack that homemade graham cracker crust in tight. Use your hands first then go back with the bottom of a measuring cup or a spoon to smooth it out and get those edges even.
- Cool it before filling. Let the crust set after baking so it firms up and holds together when you add your pie or cheesecake filling.
Want to Save This Recipe, Boo?
Recipe Help
I bake it here to help it set, but whether you bake or not really depends on the recipe you’re making. Some no-bake pies just need the crust chilled.
Toss your crumbs back in the microwave in 5 second intervals, stirring in between, until the butter warms back up. Easy fix, boos!
Yep, you can double it if you’re making a cheesecake crust or need to cover a larger pie plate. You can even cut it in half for smaller pie dishes or when you just want a thinner crust.
 pinterest
This blog was… how do you say it? Relevant!!
Finally I’ve found something that helped me. Many thanks!
Graham cracker pie crusts are my FAAAAVORITE. Love this tutorial!