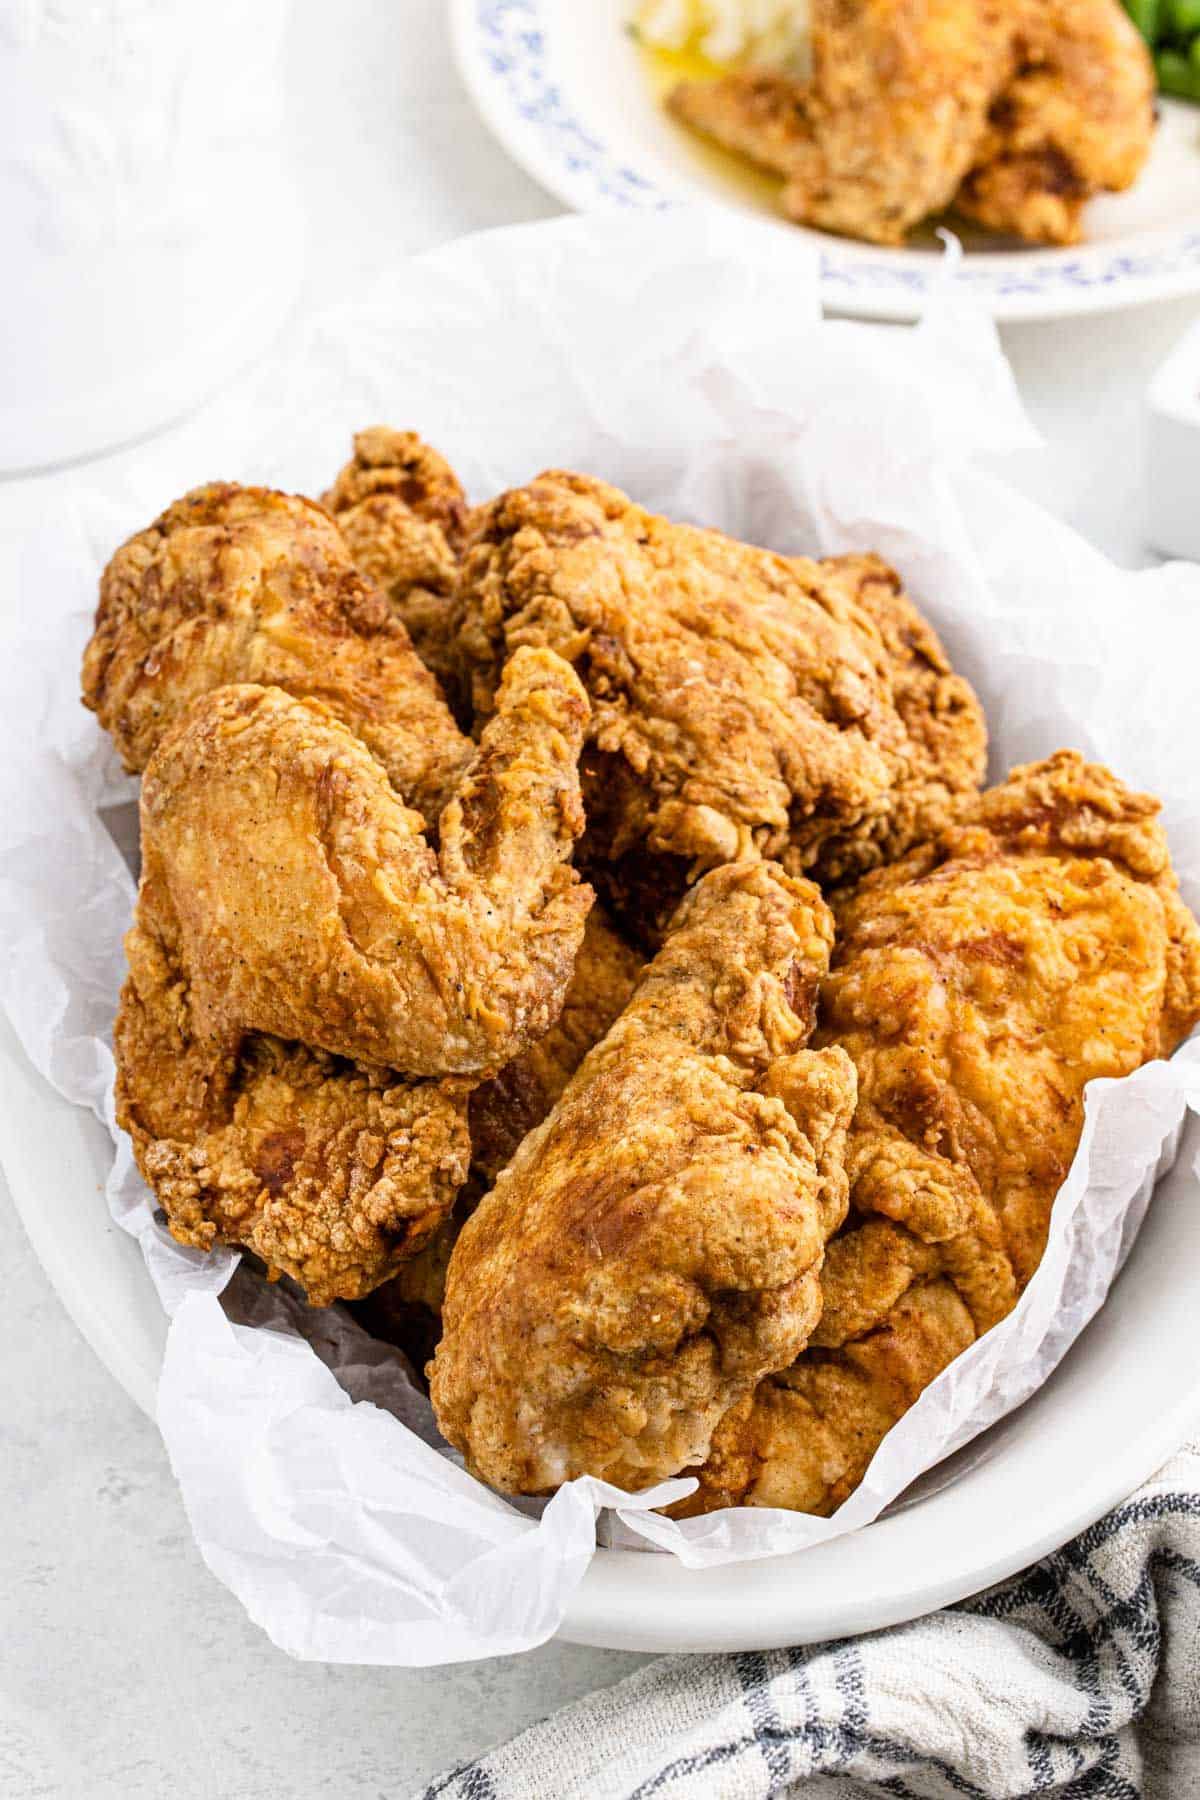
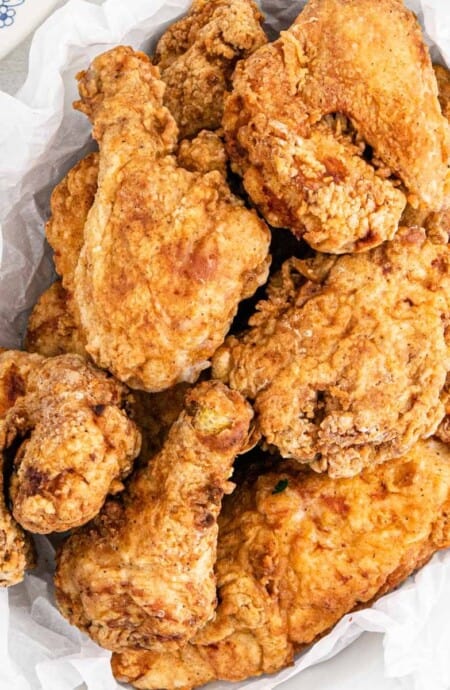
My Big Mama’s Southern Fried Chicken Recipe is finger-lickin’ good, fried to golden brown crunchy perfection it’s the only fried chicken recipe you’ll ever need. Let me tell you about this crispy breading magic – it’s like a delicious hug for each piece of chicken, locking in all that juicy goodness so every bite is just bursting with flavor. And I’m spilling the tea on the tips and tricks my Big Mama passed down to me, so you can fry up the most fabulous, finger-licking good chicken EVER!
This post may contain affiliate links. Read our disclosure policy.
Want to Save This Recipe, Boo?
My Big Mama’s (my grandmother’s) recipes, especially this fried chicken one, are the epitome of timeless. There was always such electric energy pulsing in her small rustic kitchen in Mississippi. The charming Southern cooking and laughter from our “back in the day” conversations with all my family are the memories I cherish.
One of her best recipes is this Classic Fried Chicken! It was always a fresh bird, well-seasoned with a juicy inside and golden brown crunchy crust on the outside. Each bite is perfect, especially when served with collard greens and cornbread.
Each dish on Big Mama’s dining room table has inspired creativity in my culinary experiments. Each memory has become part of the fabric of who I am and the inspiration behind Grandbaby Cakes. Big Mama’s remarkably inspired recipes remain alive today through this blog, and I’m more than proud to have every one of them in my arsenal.
The Origin of Big Mama’s Fried Chicken Recipe
The “back in the day” story of Big Mama’s fried chicken is quite fetching. According to my mom, Big Mama fried chicken at least once a week when she was growing up. She would buy live chickens from her neighbor Ms. Barnett’s hatchery, then load the chicken crates into the back of Big Daddy’s pickup truck.
By the time Big Daddy got home from work, fresh fried chicken was on the table for supper!
The Heart & Soul Of This Fried Chicken Recipe
Cuisine Inspiration: Southern
Primary Cooking Method: Stovetop, Frying
Key Flavor: Chicken
Skill Level: Easy
Sweet Spots
- Tested and Perfected Over Years. The basics for this recipe have been passed down from my grandmother to my mother and eventually to me. Over the years, we’ve each put our unique spin on it. Now I am delighted to pass this family heirloom down to you!
- Crispiest Crust. From the combination of ingredients to make the flavorful breading to the method I show for coating the chicken, you are guaranteed the best crispy crust on your fried chicken.
- Classic Southern Favorite. You can’t go wrong with fried chicken if you’re looking to enjoy a home-cooked meal.
- Comforting and Satisfying. I don’t know what makes fried chicken such a popular comfort food. Maybe it’s the flavor, the fact you can eat it with your fingers, or the combination of crunch and flavor.
- Perfect for All Types of Occasions. Serve it up for picnics, barbecues, parties, family gatherings, weekend dinners, and more!
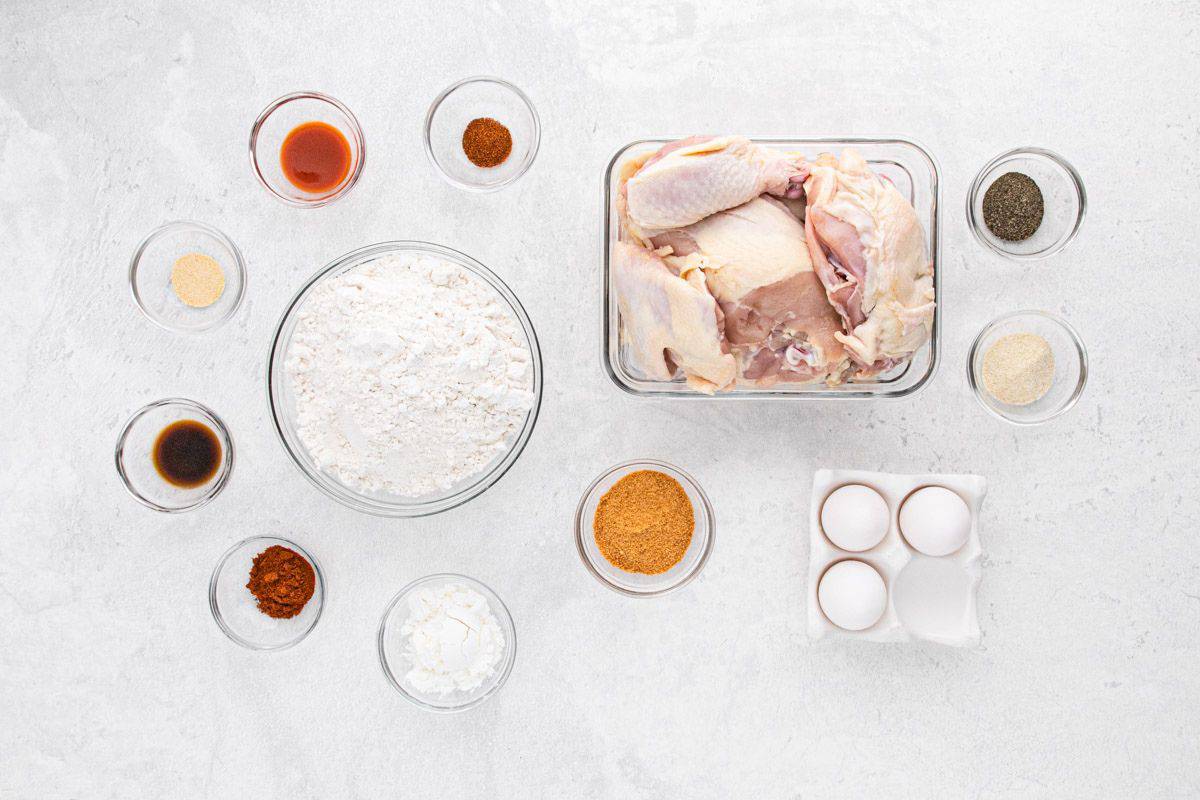
Ingredients to Make Fried Chicken
Here’s how my Big Mama worked her wizardry:
- Chicken Pieces: Be sure to use fresh, plump pieces of chicken! If your preference is drumsticks, stick to those. If you’re a thigh fan, cook ‘em up. Don’t feel pressured to cook up pieces of meat that you don’t enjoy eating.
- Eggs: Egg contains a high amount of protein which creates a thicker, more stable crust.
- Hot Sauce: A few dashes add the necessary kick! Feel free to omit or add extra based on your preference.
- Worcestershire Sauce: The added savory and sweet tang from it is more than welcome! This was a new school addition to Big Mama’s recipe.
- All-Purpose Flour: Flour is the base for our seasoning and helps to create that mega-crispy seasoned crust.
- Seasoned Salt and Pepper: No good fried chicken happens without some salt and pepper.
- Cornstarch: The added starch aids in creating a golden, crispy crust.
- Paprika: A few dashes add a sweet, smoky flavor and a wonderful color.
- Cayenne Pepper: Cayenne has a strong, pungent bite that heightens the flavor of every other seasoning in this recipe.
- Garlic and Onion Powder: Both are aromatic, subtle, and sweet. The hints of garlic and onion come through in every bite.
How to Make the Best Fried Chicken
Here’s a look at the main steps that go into making this fried chicken recipe. It’s pretty easy once you get the hang of it! Check the recipe card before you start prepping your chicken for all the details.
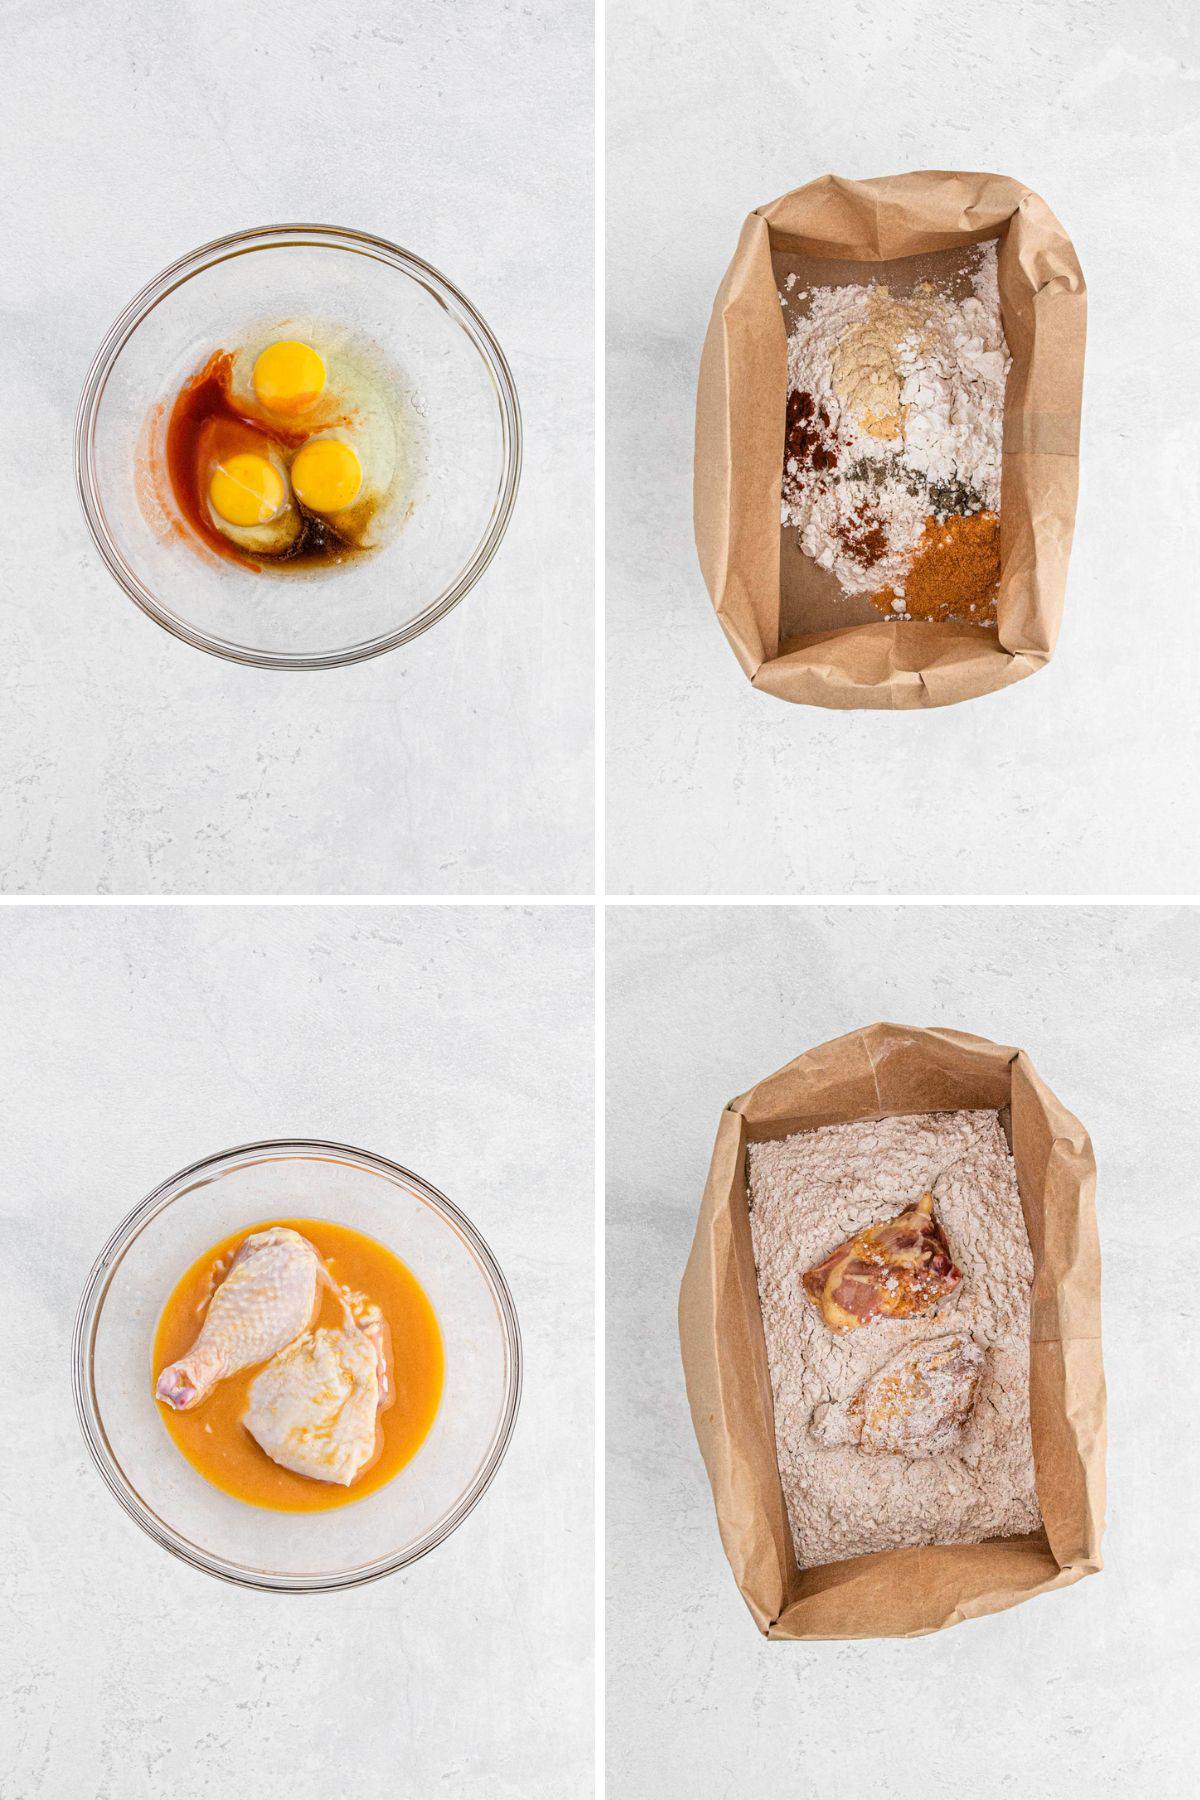
Step 1: Bread the Chicken
- Whisk together the eggs, hot sauce, and Worcestershire sauce in a medium-sized bowl.
- Add the flour, cornstarch, seasoned salt, paprika, cayenne pepper, black pepper, garlic powder, and onion powder to a paper bag and shake to mix everything together.
- Dip each piece of chicken into the egg coating turning to get both sides.
- Dip the coated chicken into the seasoned flour thoroughly covering each piece.
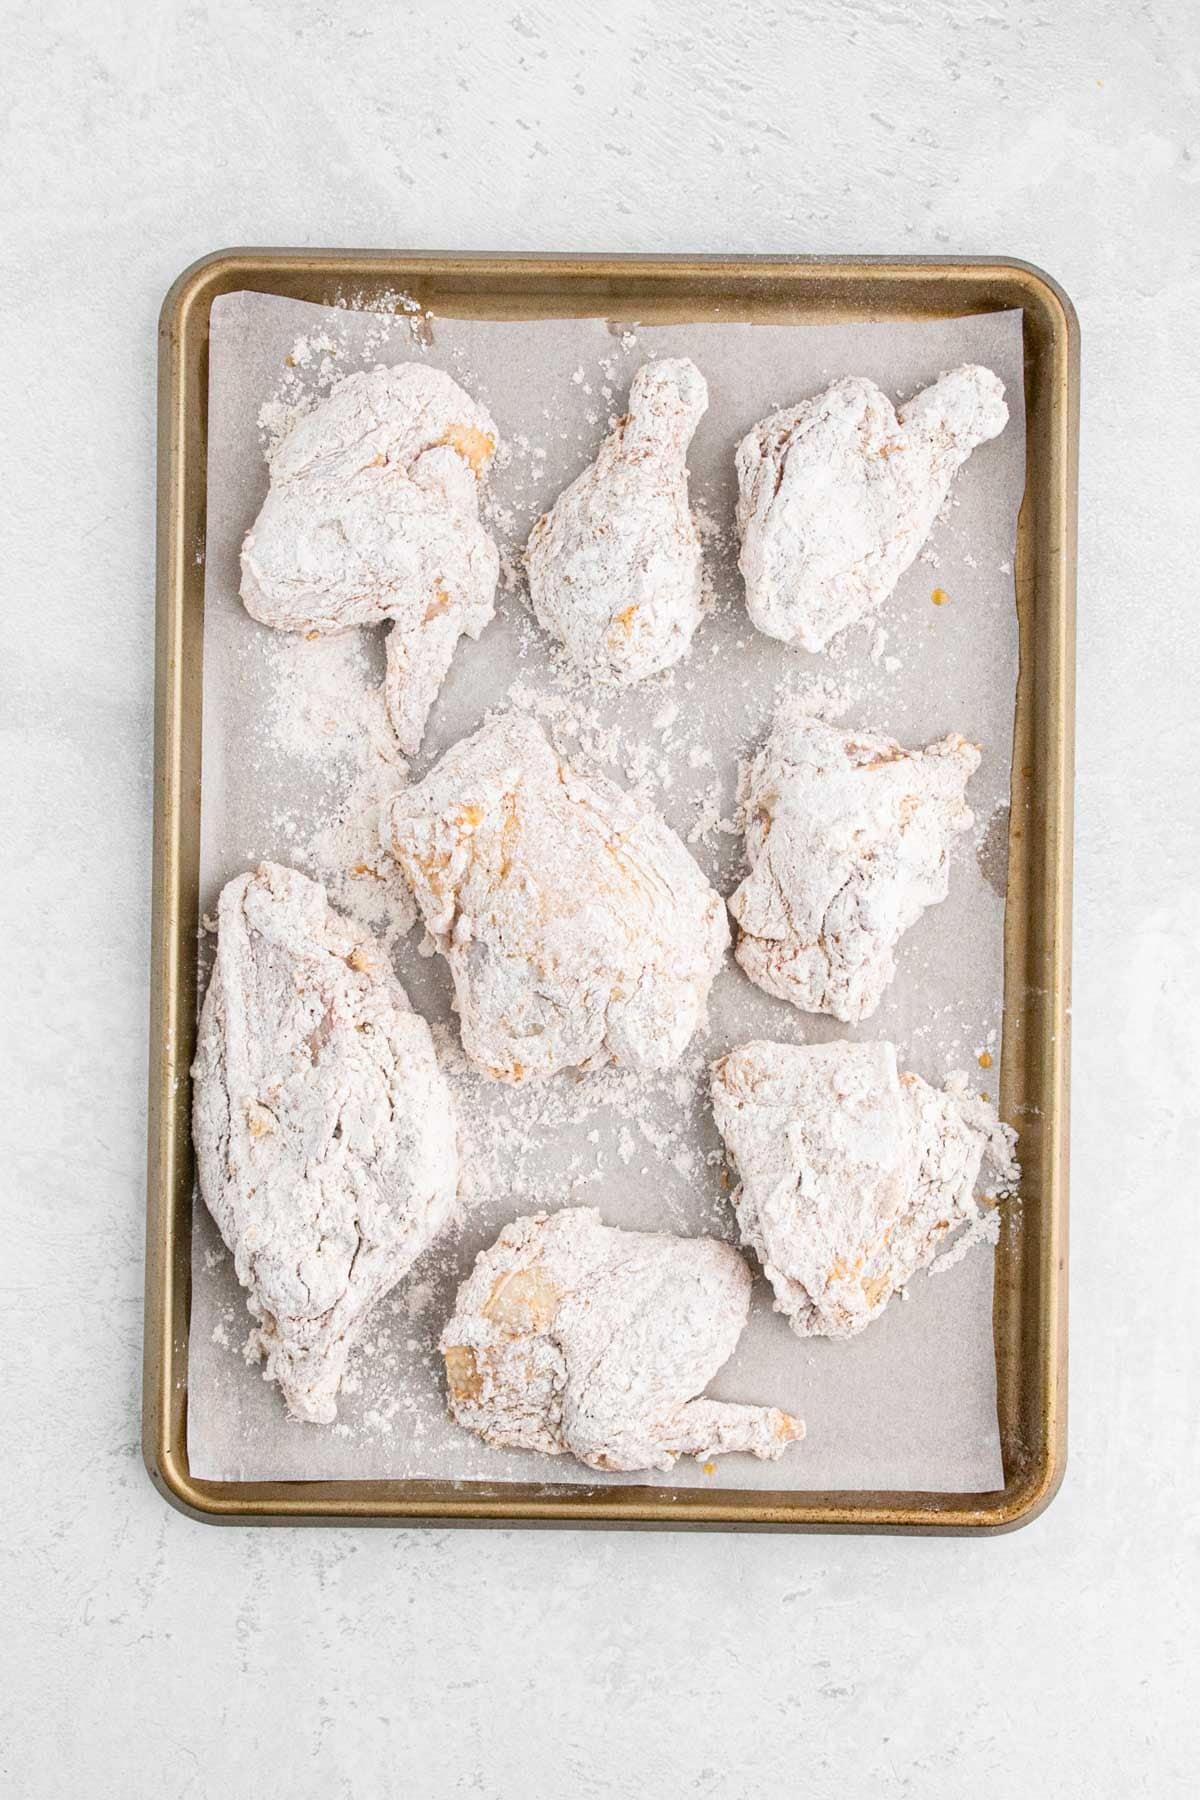
Step 2: Let the Chicken Rest
- Add each piece of bread chicken to a baking sheet after it’s breaded.
- Finish coating all the chicken and let it sit for 10-15 minutes until the coating has set.
Step 3: Fry the Chicken
- Heat 1-1/2 inches of oil in a cast iron skillet or heavy-bottom skillet over medium-high heat.
PRO TIP: The test for knowing when the oil is ready came from Big Mama. She always tossed a tiny bit of flour in the oil and if it began to fry and sizzle, then the oil was ready.
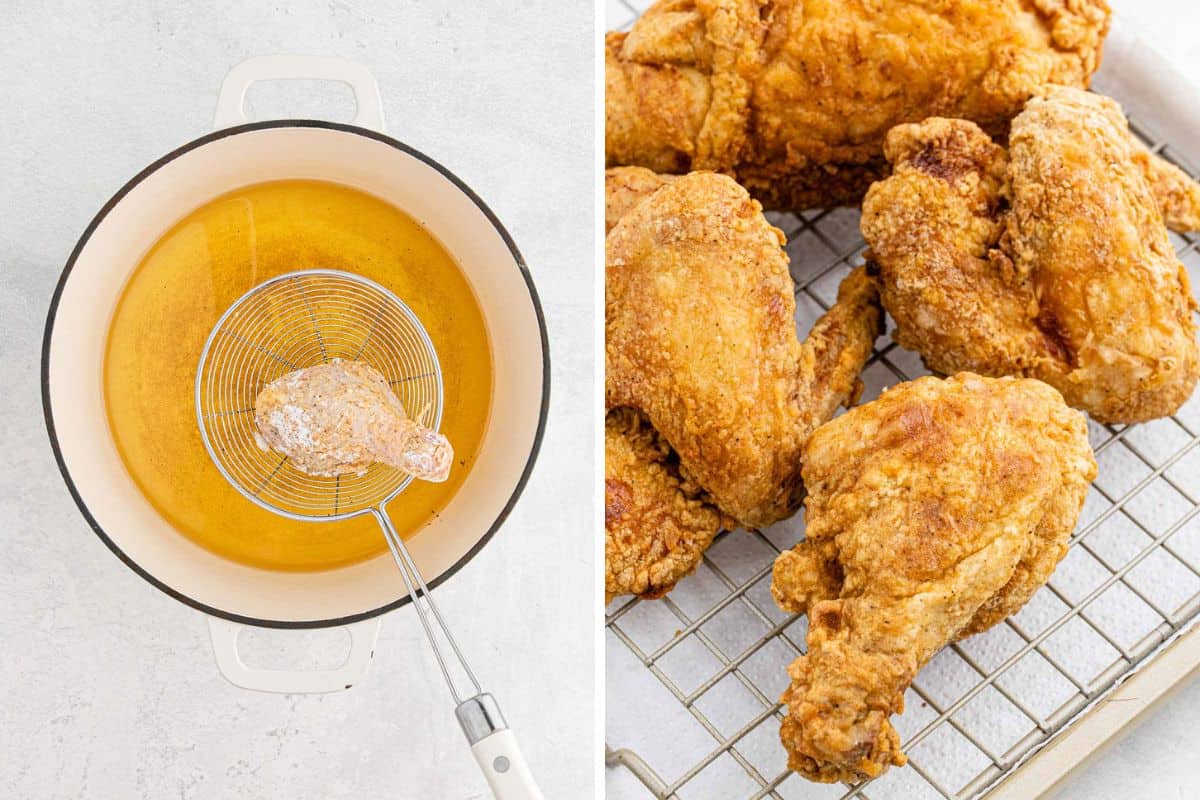
- Fry the chicken, four pieces at a time, on each side starting with dark meat since it takes longer. Make sure you don’t overcrowd the pan. After each side has turned slightly golden, cover with the lid to steam the inside of the chicken ensuring doneness. After a couple of minutes remove the lid and continue to fry until the crust is crispy and golden brown.
- Remove the chicken from the oil and place it on paper towels or a wire rack to drain all the excess oil. Place the chicken on a baking sheet covered with parchment and add it to the oven to keep warm while finishing the other chicken pieces.
Tips for Making the Best Crispy Fried Chicken
I totally feel you – frying can be a bit of a diva, with all that drama that comes with hot oil in the kitchen. We’re talking splatters, oil spillovers, and a hot mess of ending up with chicken that’s either overdone or still raw in the middle. But don’t you worry, we’re gonna tackle these frying woes head-on and whip up a way to make your frying experience as smooth and clean as a whistle. Let’s get to it!
- Fry in a Deep Cast Iron Skillet or Dutch Oven: Frying in a shallow pan will cause overflow. Prevent a hot mess by using a deep Dutch oven, a deep cast-iron skillet, or even a heavy-bottomed stock pot.
- Set Up a Fry Station: Being prepared is the best way to prevent a dangerously chaotic situation. At the center of your fry station should be your Dutch oven, to the left, the prepped and ready-to-fry chicken, and to the right, a cooling rack set over a paper towel-lined baking sheet.
- Use the Right Utensils: Use stainless-steel tongs or a spider strainer for lowering and removing the chicken from the pot. Either one will keep your hands and arms farther away from the hot oil.
- Use a Thermometer: You can’t rely on the chicken’s coating color to determine doneness. In most instances, the chicken will need to cook for about 15 minutes. To be sure it’s done you should check the internal temperature of the chicken. When it’s 165° F, it’s ready.
- Keep the Heat Consistent. Be sure to monitor the temperature of your oil using a deep-fry thermometer. For even cooking and the crispiest chicken, the oil should remain at a steady 350° F.
- Cool Before Serving: Cool the chicken for at least 10 minutes before serving. Proper cooling will set the crust and ensure that the meat is fully cooked and settled.
Popular Substitutions & Additions
- Chicken Pieces: You can use any type of chicken you enjoy with this method and breading recipe! It works with drumsticks, whole chicken cut into pieces, wings, and even chicken tenders. Just note that the cooking time may vary for each type of chicken.
- Adjust the Flavors: You can adjust the quantities of each of the seasonings as you prefer.
- Gluten-Free: Swap the flour with your favorite gluten-free flour blended flour.
- Spicy Fried Chicken: Use a heavy hand on the hot sauce when adding it to the egg mixture. You can also add a pinch or two of cayenne pepper to the breading mixture as well.
What to Serve with Fried Chicken
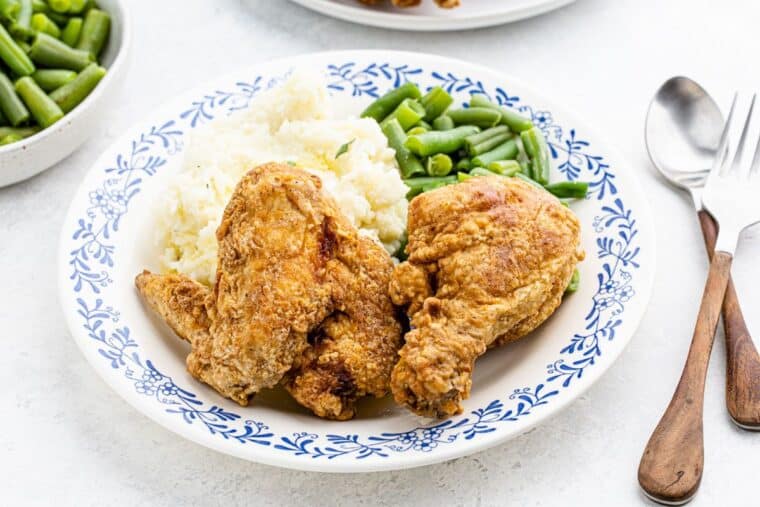
No matter what it’s served with, this Fried Chicken recipe is destined to be the star of any spread. I mean, with crisp golden skin and tender, juicy meat like this, how could anything else compete? Create your own Southern-style spread, making a few of Grandbaby Cakes’ iconic Southern sides:
- Garlic Mashed Potatoes
- Homemade Gravy
- Pinto Beans
- Scalloped Potatoes
- Mustard Greens
- Garlic Butter Sweet Potato Fries
- 7 Up Biscuits
- Creamed Corn
- Corn Spoonbread
- Sweet Tea
How to Store & Reheat Fried Chicken
Allow any leftover chicken to cool completely on a cooling rack set over a paper towel-lined baking sheet. Line an airtight container with paper towels and carefully transfer the chicken. The paper towels will absorb any condensation and keep the chicken crisp.
When you’re ready to reheat, let the chicken sit out at room temperature for at least 30 minutes. Preheat the oven to 400° F and line a baking sheet with aluminum foil. Spread out the chicken on the baking sheet and cover with another baking sheet to insulate. Heat for 20 minutes, and then let the chicken rest for at least 5 minutes before serving.
How long will fried chicken last in the fridge?
Leftover fried chicken will keep in the fridge for 3-4 days.
Can I freeze fried chicken?
Yep, you can freeze leftovers if you want! Store it the same as you would for the fridge but place it in the freezer for up to three months. Allow the chicken to thaw out in the fridge overnight and then continue reheating it as instructed above.
Frequently Asked Questions
If you find that your chicken is golden brown on the outside but still uncooked on the inside it is a good indicator that your oil was too hot. This means the chicken cooked too quickly on the outside and browned too fast. The best way to keep this from happening is to use a thermometer to test your oil to make sure it’s at the right temperature.
Soggy chicken is usually a result of a temperature issue with the oil, or it wasn’t drained properly after cooking. Make sure your oil is hot before adding the chicken, and don’t add too much chicken to the pan. You are best to cook fewer pieces of chicken at a time. When you add too much chicken to the skillet the oil temperature drops and the breading soaks in too much oil instead of frying up crisp. Also, when you remove the chicken from the skillet you want to give it time to drain properly. I prefer using a wire rack placed over paper towels but if you don’t have one then a paper towel-lined tray is fine.
This is where letting your breaded chicken rest before cooking is key. Letting the chicken sit for thirty minutes will give the egg mixture and flour mixture time to meld together so it adheres to the chicken better. Don’t be in a rush and skip this step! It’s essential to a good outcome.
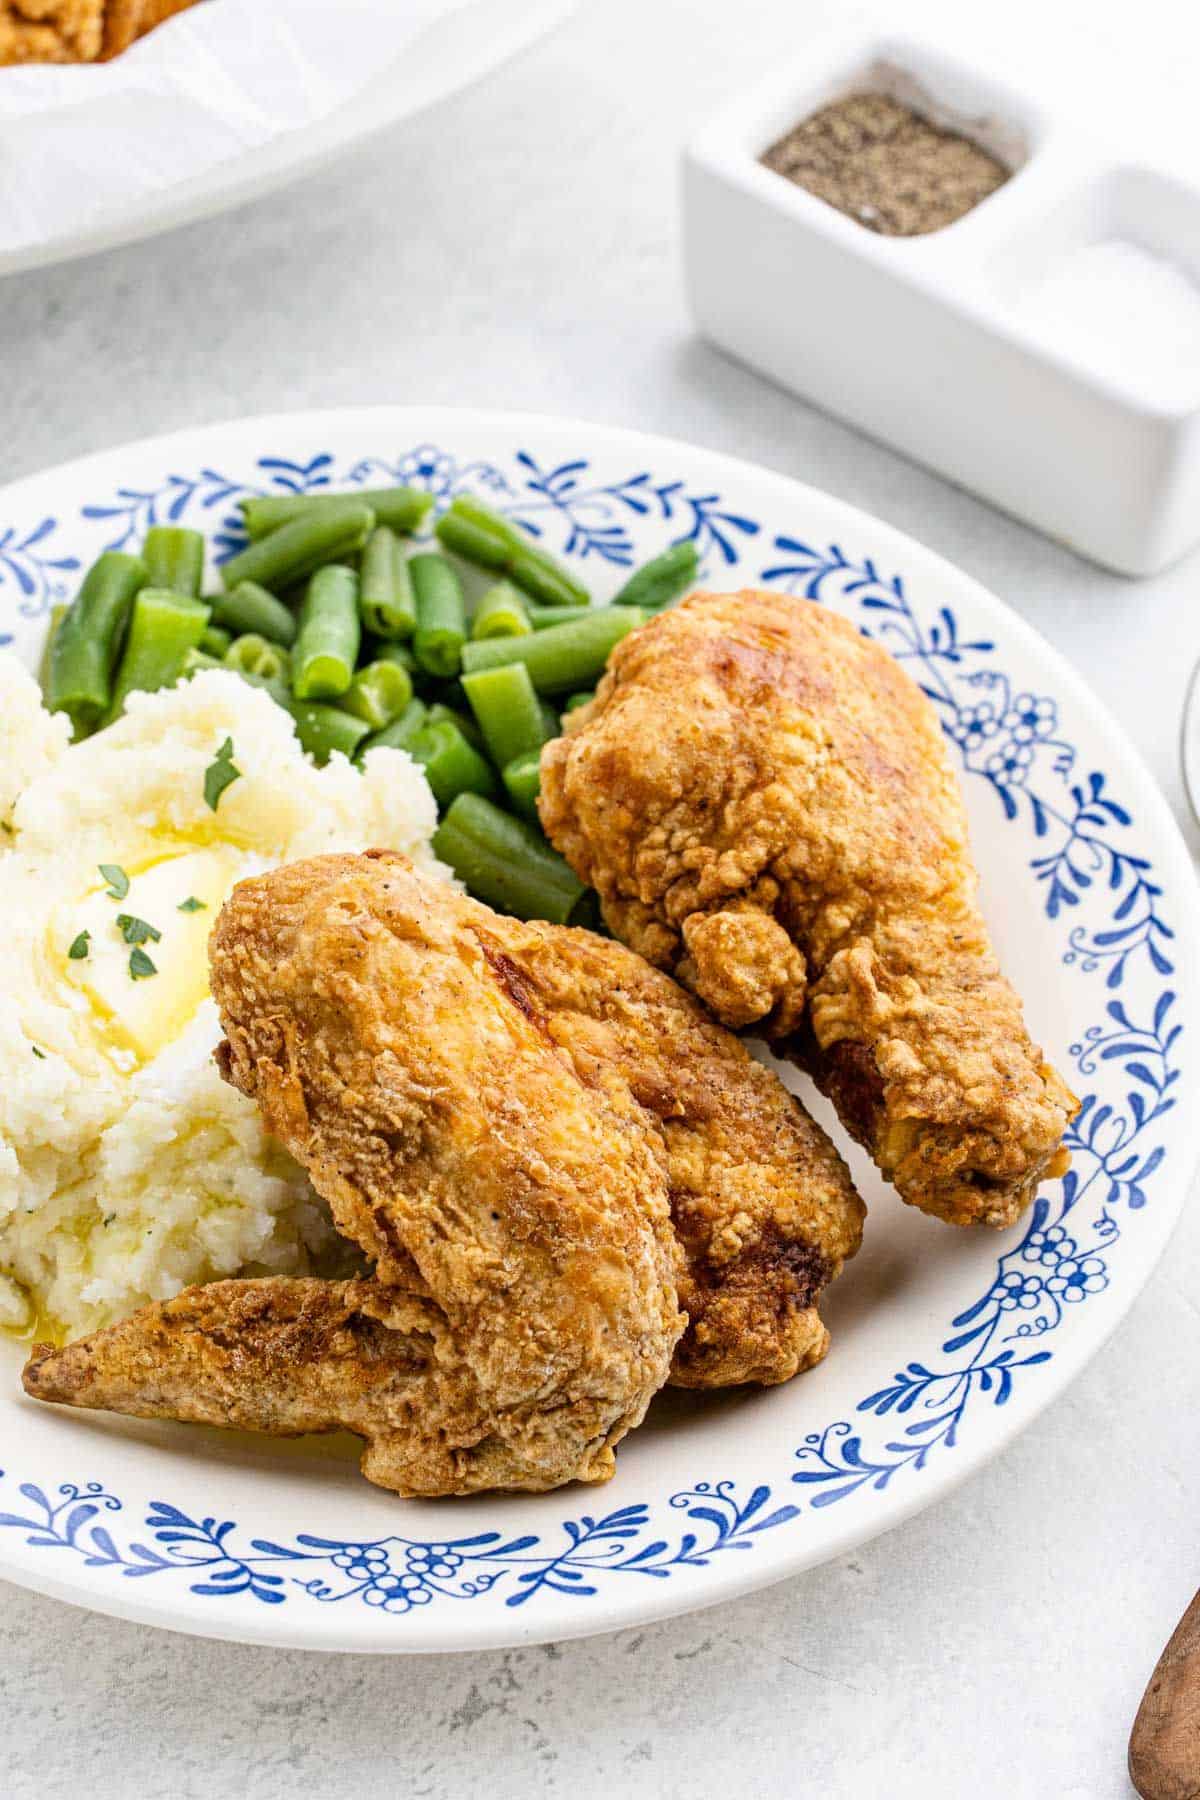
Fried chicken, with its crispy, golden crust, and juicy, succulent meat, is the ultimate comfort food!! My Big Mama’s fried chicken is a guaranteed crowd-pleaser whether you’re serving it for a family dinner, a picnic, or a special occasion! So dig in and try it out for yourself! Get into it boos.
More Fried Chicken Recipes
Fried chicken is an art y’all! It’s time to fine-tune your masterpiece by trying out a few of my crispiest, tastiest recipes. Give ‘em a shot, you won’t regret it:
- Fried Chicken Gizzards
- Oven Fried Chicken Tenders
- Buttermilk Fried Chicken
- Sweet Tea Fried Chicken
- Chicken Fried Chicken
- Chicken and Waffles
*Did you make this recipe? Please give it a star rating and leave comments below!* Post a photo of how your version of the recipe came out on Instagram (using #grandbabycakes)!!
Fried Chicken Recipe
Want to Save This Recipe, Boo?
Ingredients
- 3 large eggs beaten
- 1 teaspoon hot sauce
- 1 teaspoon Worcestershire
- 2 ½ cups all-purpose flour
- 3 tablespoons cornstarch
- 3 tablespoons seasoned salt
- 2 teaspoons paprika
- ½ teaspoon cayenne pepper
- 2 teaspoons black pepper
- ½ teaspoon garlic powder
- 1 tablespoon onion powder
- 8 pieces chicken
Instructions
- In a medium sized bowl, whisk together eggs, hot sauce and worcestershire and set aside.
- Next add flour, cornstarch, seasoned salt, paprika, cayenne pepper, black pepper, garlic powder and onion powder to a paper bag and shake to mix well.
- Dip each piece of chicken into egg wash coating both sides then dip into seasoned flour thoroughly coating each piece. Then add piece to baking sheet to rest.
- Finish coating all chicken and let sit for 10-15 minutes until coating has set.
- While coating sets, add 1-1/2 inches of oil to a cast iron skillet or heavy bottom skillet and heat over medium high heat. Also turn on oven to 275 degrees.
- This is my test for knowing when the oil is ready: Big Mama always tossed a tiny bit of flour in the oil and if it began to fry and sizzle, the oil was ready.
- Fry four pieces at a time on each side starting with dark meat since it takes longer. Make sure you don’t overcrowd the pan.
- After each side has turned slightly golden, put the top on the skillet to steam the inside of the chicken ensuring doneness. After a couple of minutes, remove the top and continue to fry until the crust is crispy again and completely golden brown.
- Remove chicken from oil and place on paper towels or rack to drain. Place chicken on a baking sheet covered with parchment and add to warmed oven while finishing the other chicken pieces.
- Fry the remaining chicken pieces and drain and add to oven. Add the remaining chicken to the oven.
- Serve when ready.
Notes
- Fry in a Deep Cast Iron Skillet or Dutch Oven: Frying in a shallow pan will cause overflow. Prevent a hot mess by using a deep Dutch oven, a deep cast-iron skillet, or even a heavy-bottomed stock pot.
- Set Up a Fry Station: Being prepared is the best way to prevent a dangerously chaotic situation. At the center of your fry station should be your Dutch oven, to the left, the prepped and ready-to-fry chicken, and to the right, a cooling rack set over a paper towel-lined baking sheet.
- Use the Right Utensils: Use stainless-steel tongs or a spider strainer for lowering and removing the chicken from the pot. Either one will keep your hands and arms farther away from the hot oil.
- Use a Thermometer: You can’t rely on the chicken’s coating color to determine doneness. In most instances, the chicken will need to cook for about 15 minutes. To be sure it’s done you should check the internal temperature of the chicken. When it’s 165° F, it’s ready.
- Keep the Heat Consistent. Be sure to monitor the temperature of your oil using a deep-fry thermometer. For even cooking and the crispiest chicken, the oil should remain at a steady 350° F.
- Cool Before Serving: Cool the chicken for at least 10 minutes before serving. Proper cooling will set the crust and ensure that the meat is fully cooked and settled.
Is the best recipe for fried chicken I have tried. Perfect balance of ingredients. Definitely being saved for future. Thanks
This was my first time making fried chicken, so of course, I, a.) went straight to Grand Baby Cakes, and b.) searched for your classics. It was perfect! It turned out so well that my husband called his mother during dinner! That’s true praise!
Thanks again for being such a reliable, go-to source for time-tested classics.
My pleasure. So happy to share!
thank you so much, Jocelyn Delk Adams. My family really like the fried chicken!
Looks delicious! Excited to try this.
Let me know how it turns out for you.
Now that I’m in the south, fried chicken is really all I can think about. LOVE this recipe!
Thank you so much hon!!!
This was absolutely delicious. I don’t have the patience to cook fried chicken often and I try to eat healthier but it was nice to indulge today. Thanks!
Hooray so glad you enjoyed it!
Hi..thank you for this recipie. Please can you advise if you do have a substitute for the eggs. My daughter is egg intolerant. Thank you
Hi Reena, you could just use buttermilk instead.