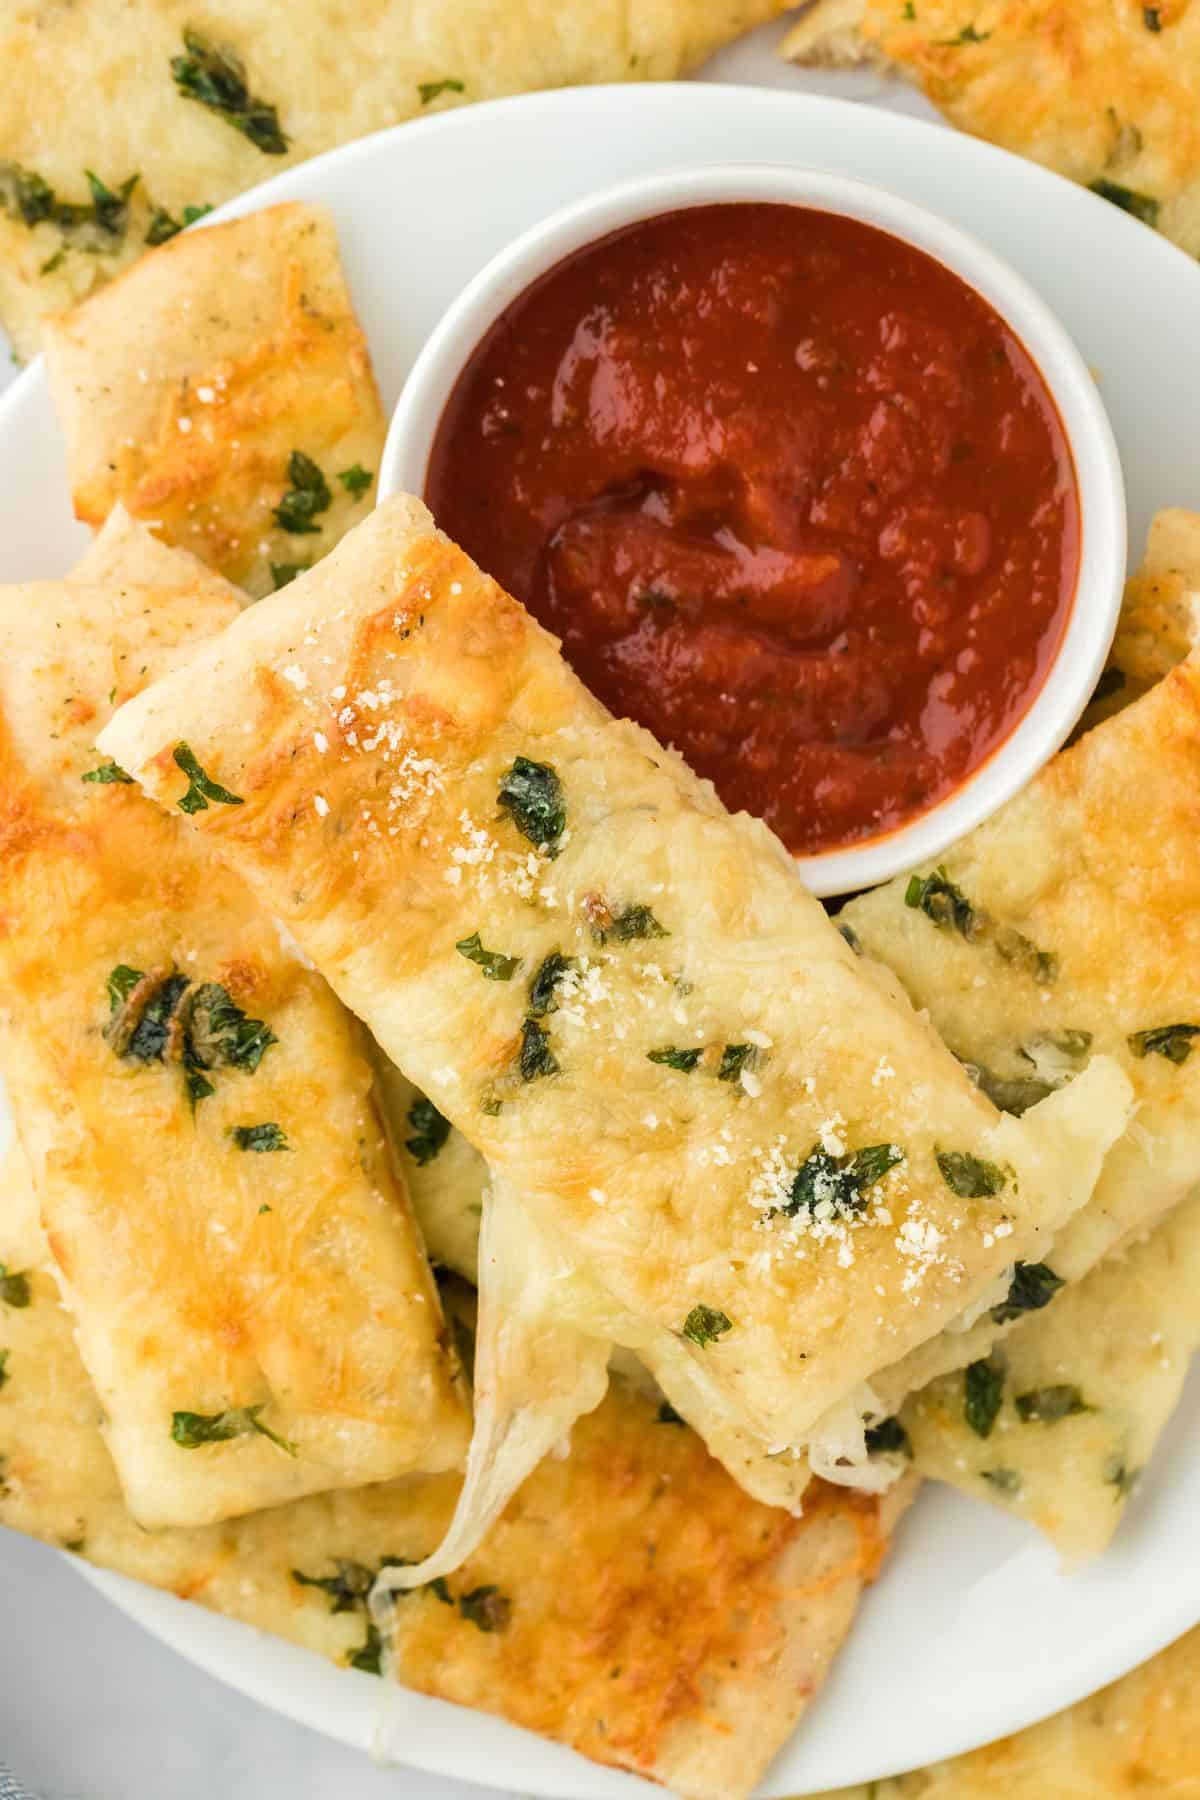
This Homemade Cheesy Garlic Breadsticks recipe will put your local pizzeria’s to shame – they are that good, y’all! I mean if I didn’t have you at bread and cheese, then you’re on the wrong recipe! These cheesy garlic breadsticks are BOMB! Just the right amount of crispy to chewy ratio, you know what I am talkin’ about – topped with an addictive garlic butter sauce and finished with gooey cheese!
This post may contain affiliate links. Read our disclosure policy.
Want to Save This Recipe, Boo?
This cheese breadsticks recipe is where it’s at! The breadsticks start with my easy pizza dough recipe which is perfectly chewy and flavorful (thanks to a hint of garlic salt) on the inside but crispy on the outside. Once baked, y’all it’s simply heavenly. Serve with warm pizza sauce on the side if you like or as is. Either way, these breadsticks are it, boo!
The Heart and Soul of these Cheese Breadsticks
Cuisine Inspiration: Italian-American Comfort
Primary Cooking Method: Baking
Dietary Info: Vegetarian
Key Flavor: Garlic and Cheese seasoned to perfection with a hint of Italian herbs.
Skill Level: Easy
Ingredients to Make Cheesy Breadsticks
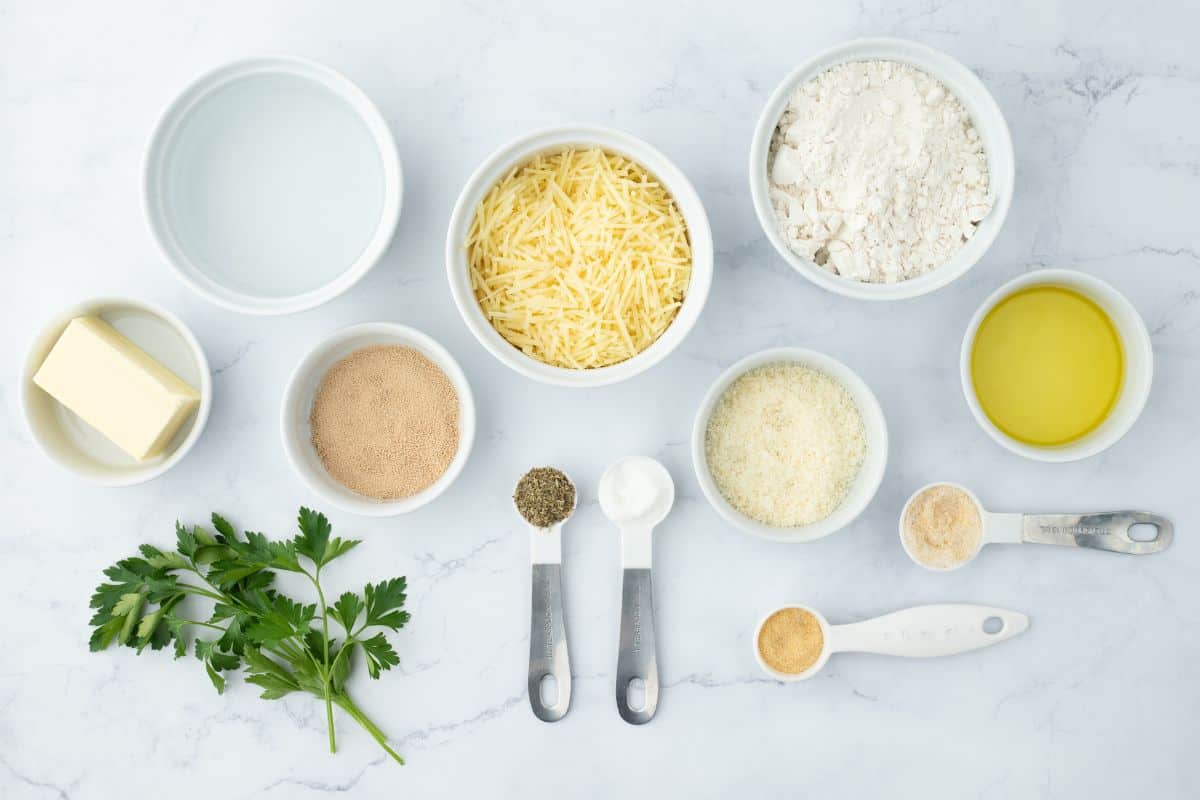
- All-Purpose Flour: Gives them structure and that perfect chew.
- Garlic Salt: A garlicky, salty kick to add pizzazz right into the dough.
- Granulated Sugar: Just a hint to sweeten the dough and help the yeast do its thing.
- Dry Active Yeast: This puffs up these sticks into golden, airy delights.
- Lukewarm Water: This gets the yeast all bubbly and ready for action.
- Olive Oil: A splash for the dough to bring richness and keep everything smooth.
- Salted Butter: Melted over the top for a glossy finish and buttery flavor.
- Garlic Powder: The more garlic, the better.
- Italian Seasoning: A sprinkle of this herb blend transports you straight to an Italian grandma’s kitchen.
- Italian Shredded Cheese Blend: This is where these breadsticks get their gooey melty goodness.
- Parmesan Cheese: This adds a sharp, salty touch.
How to Make Cheesy Garlic Breadsticks
Step 1: Making the Dough
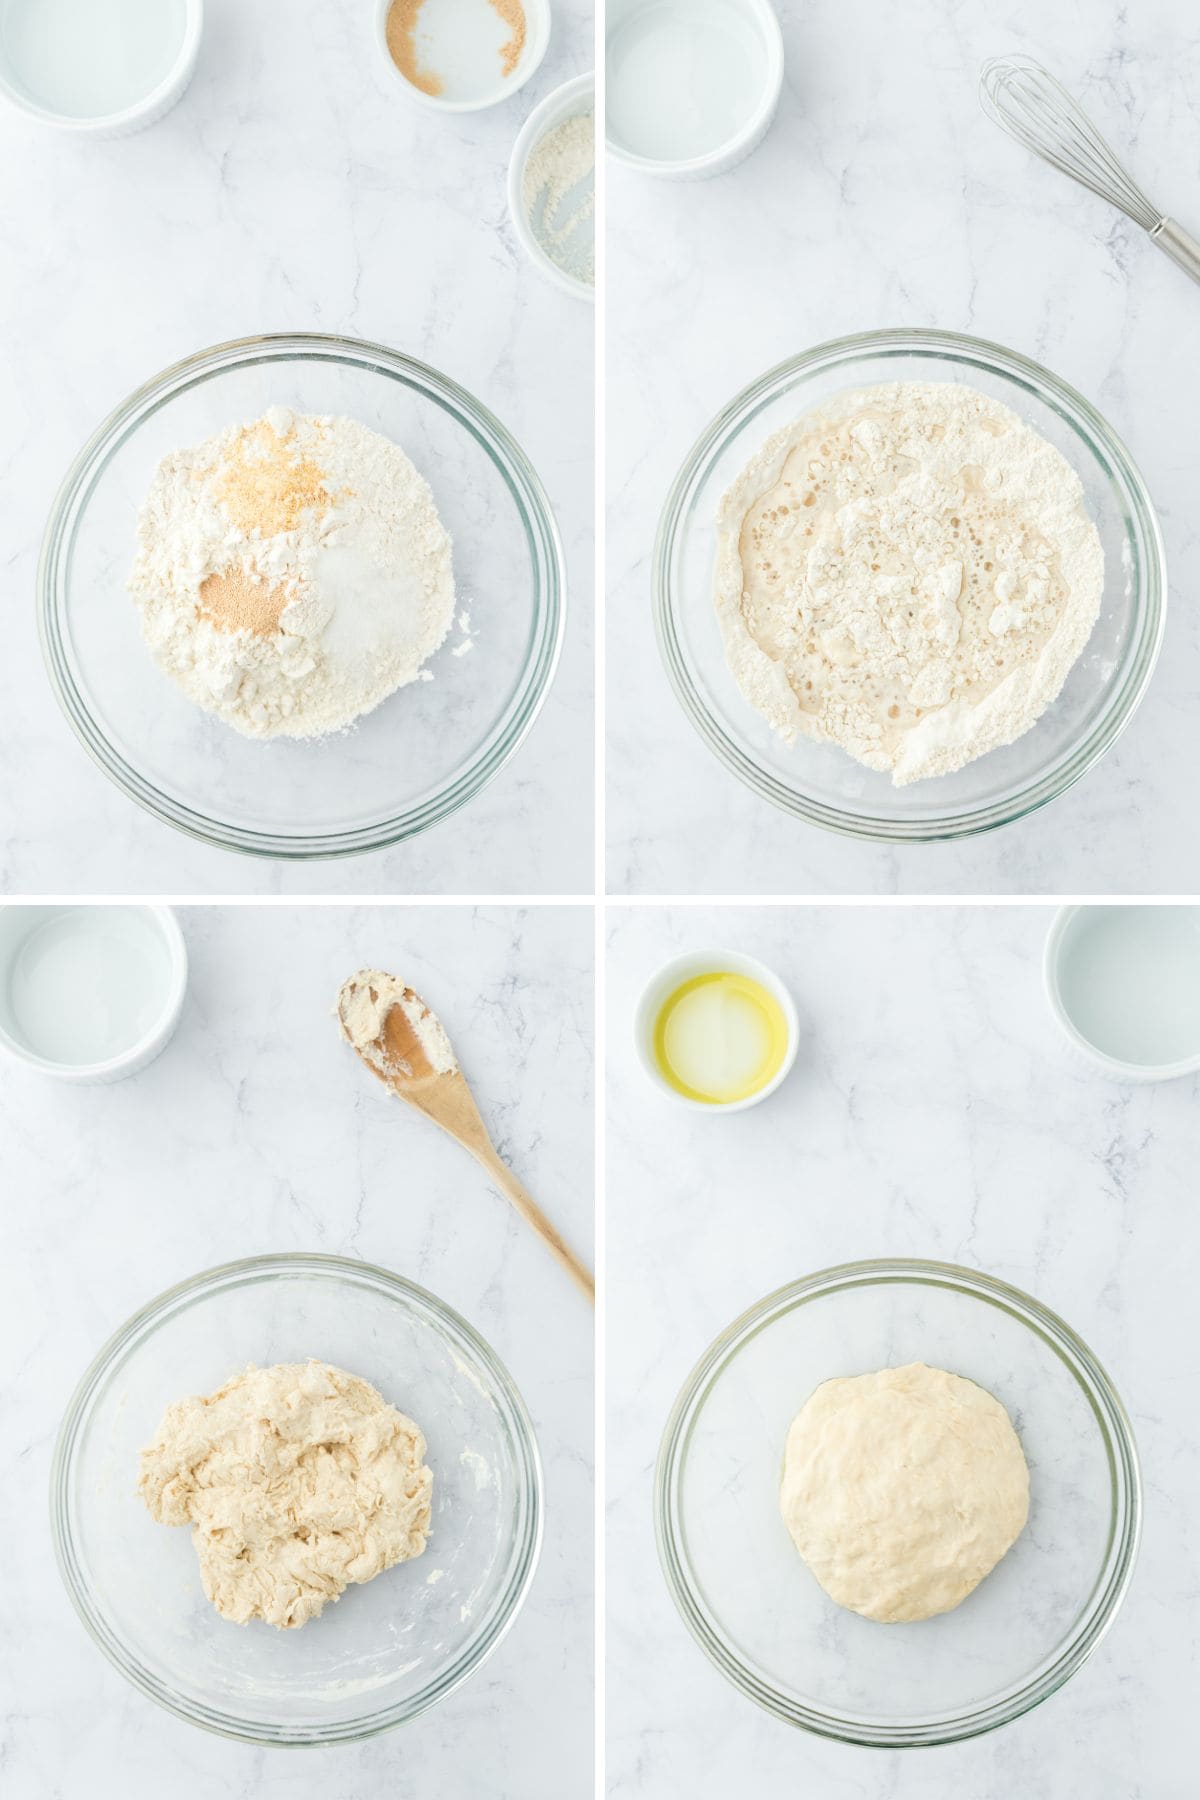
- Combine the flour, garlic salt, sugar, and yeast in a medium bowl and whisk together to disperse the ingredients evenly.
- Slowly add the water to the flour mixture.
- Mix together until a soft dough is created.
- Knead the dough with your hands for one minute and form a ball.
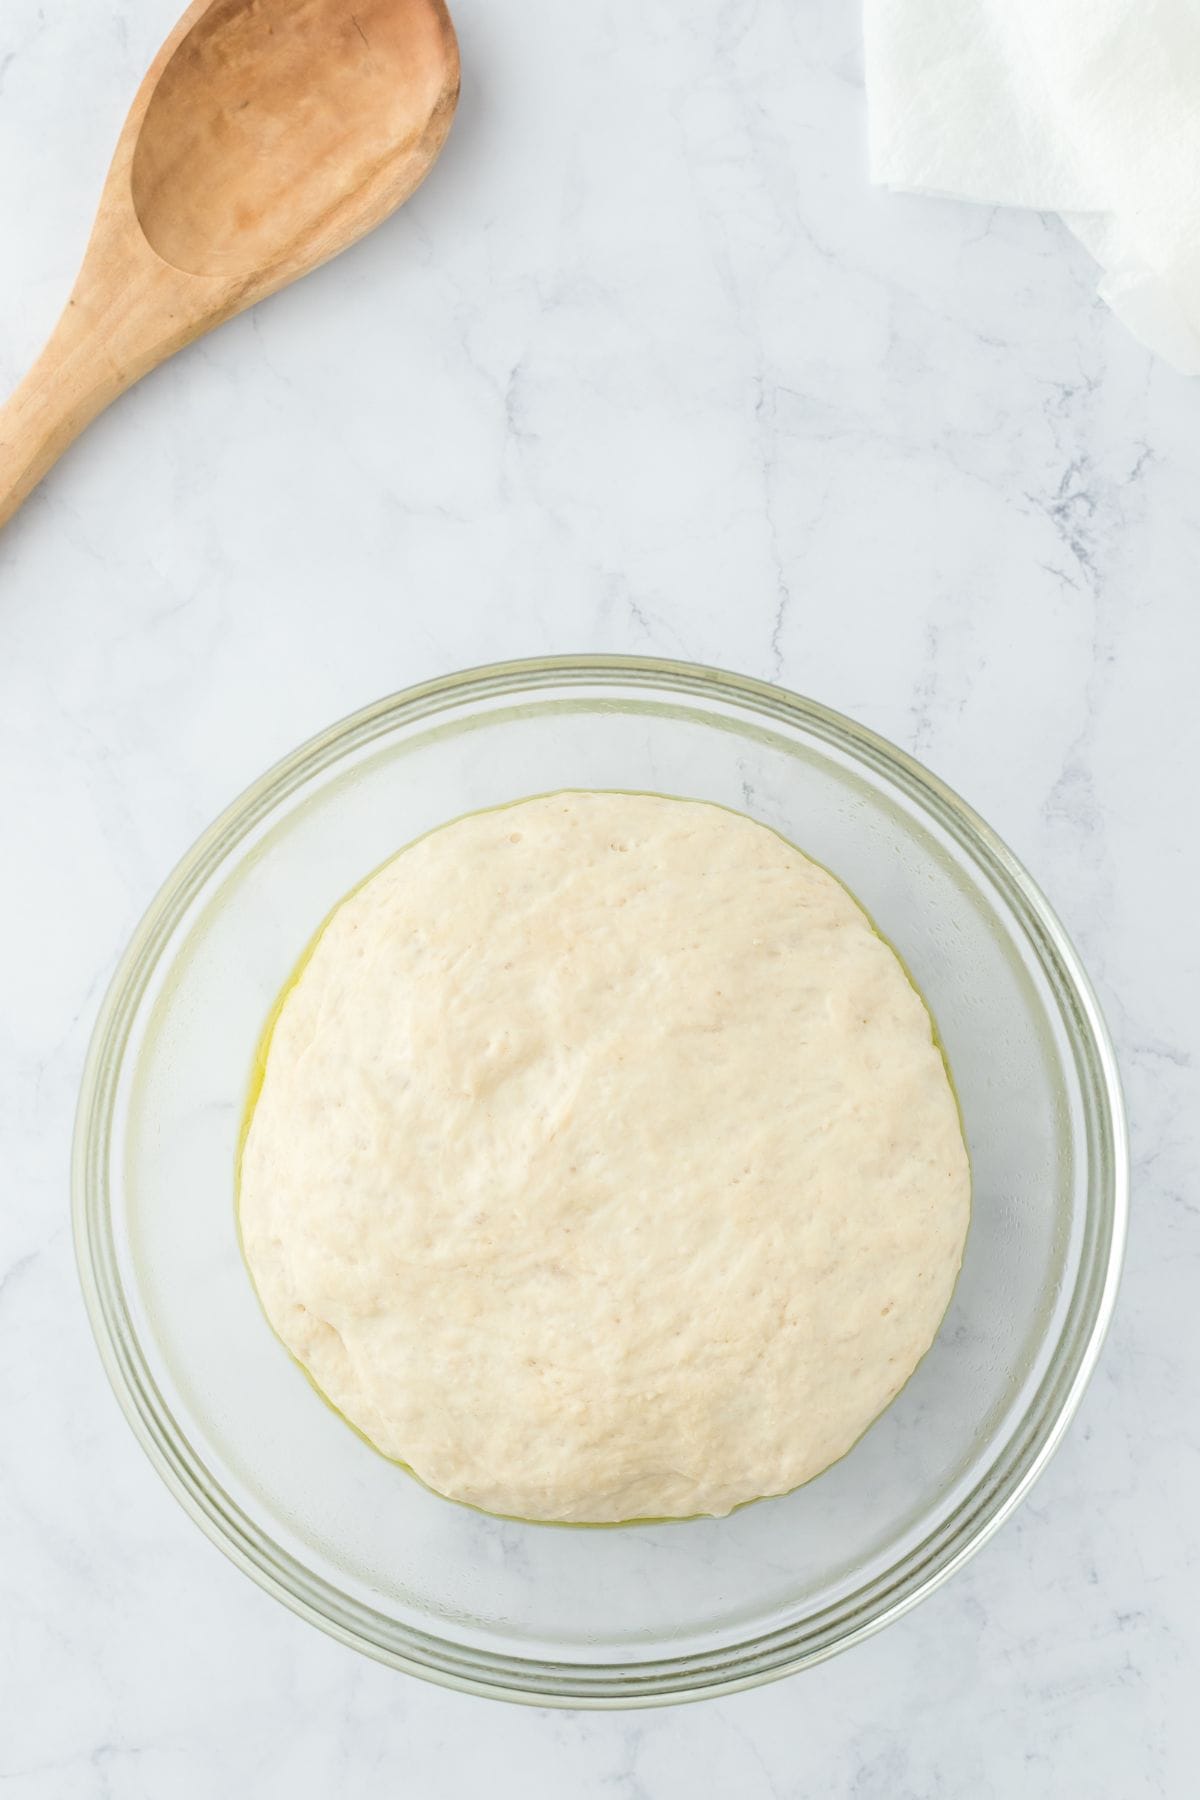
- Place the dough in a bowl coated with olive oil. Cover with a paper towel and let it sit for an hour or until the dough has doubled.
Step 2: Making the Butter Topping
- Add the butter, garlic powder, and Italian seasoning to a small bowl.
- Microwave until it’s melted and whisk the mixture together.
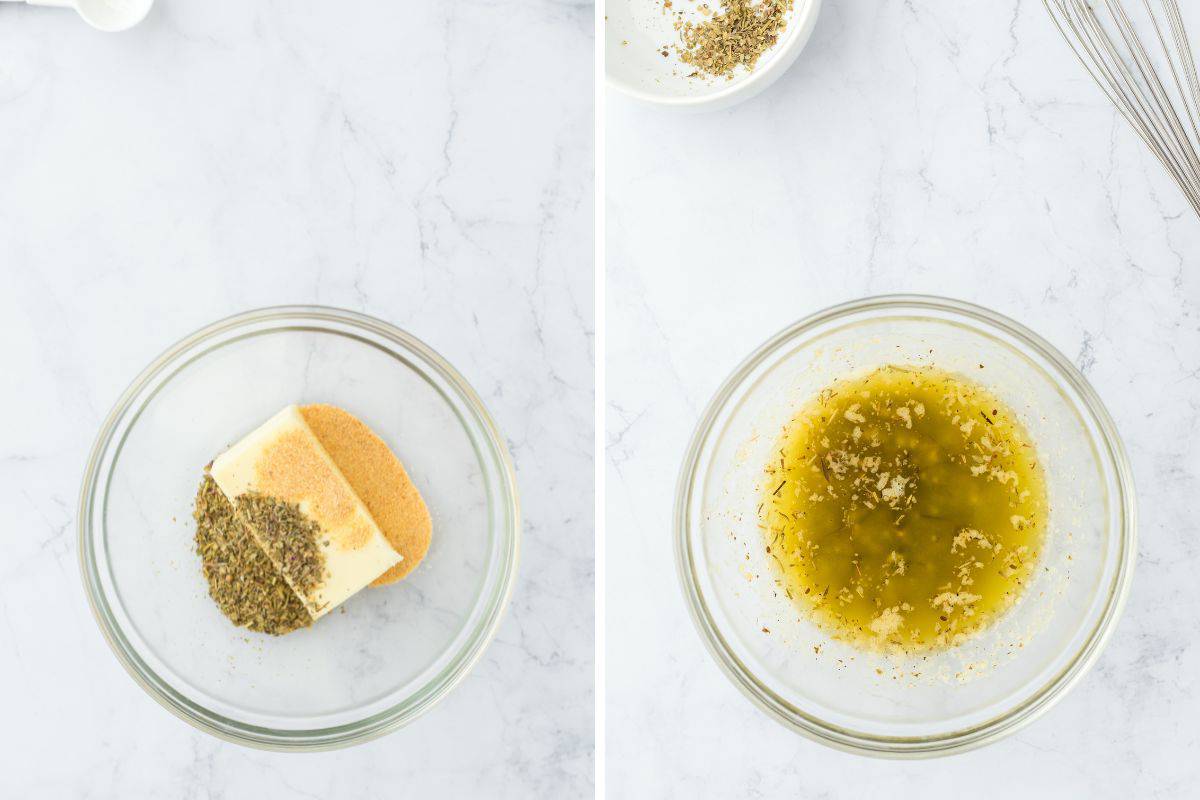
Step 3: Assembling the Garlic Cheese Bread
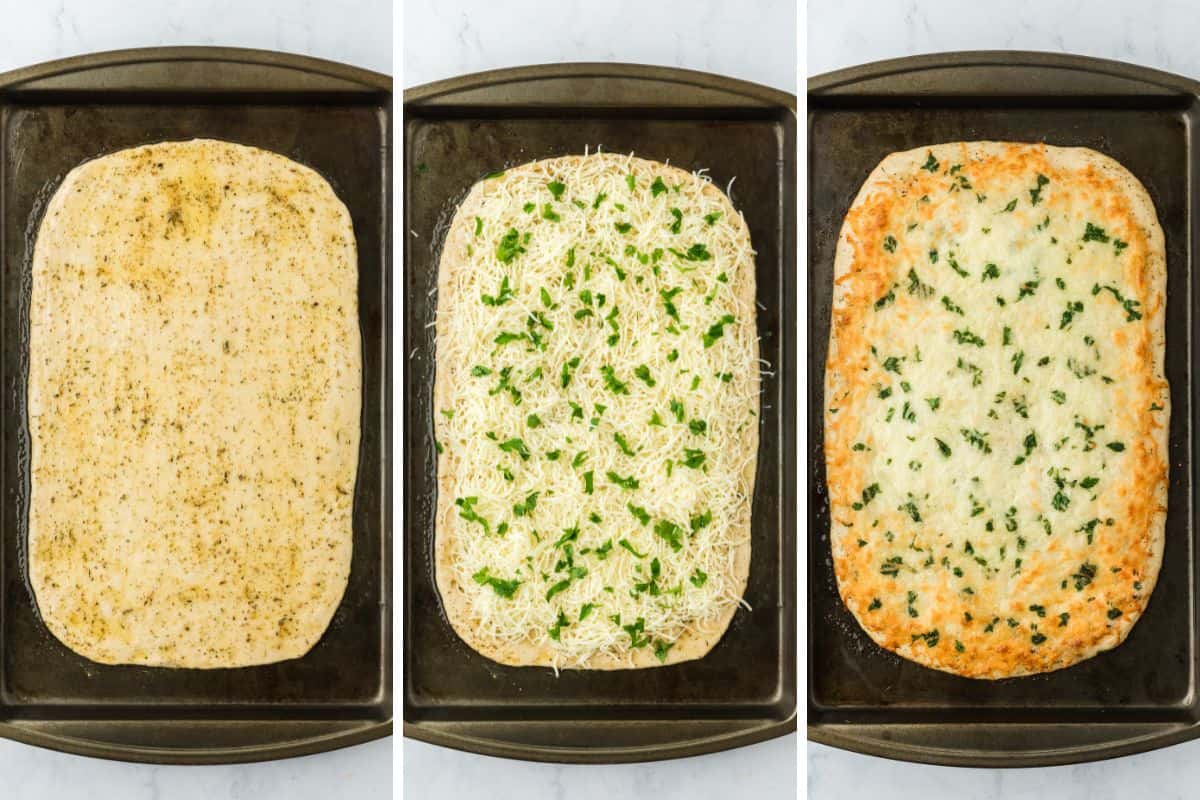
- Roll out the dough on your pizza stone or baking sheet.
- Brush the garlic butter over the top of the dough. Sprinkle the shredded cheese, the parmesan cheese, and finally the parsley.
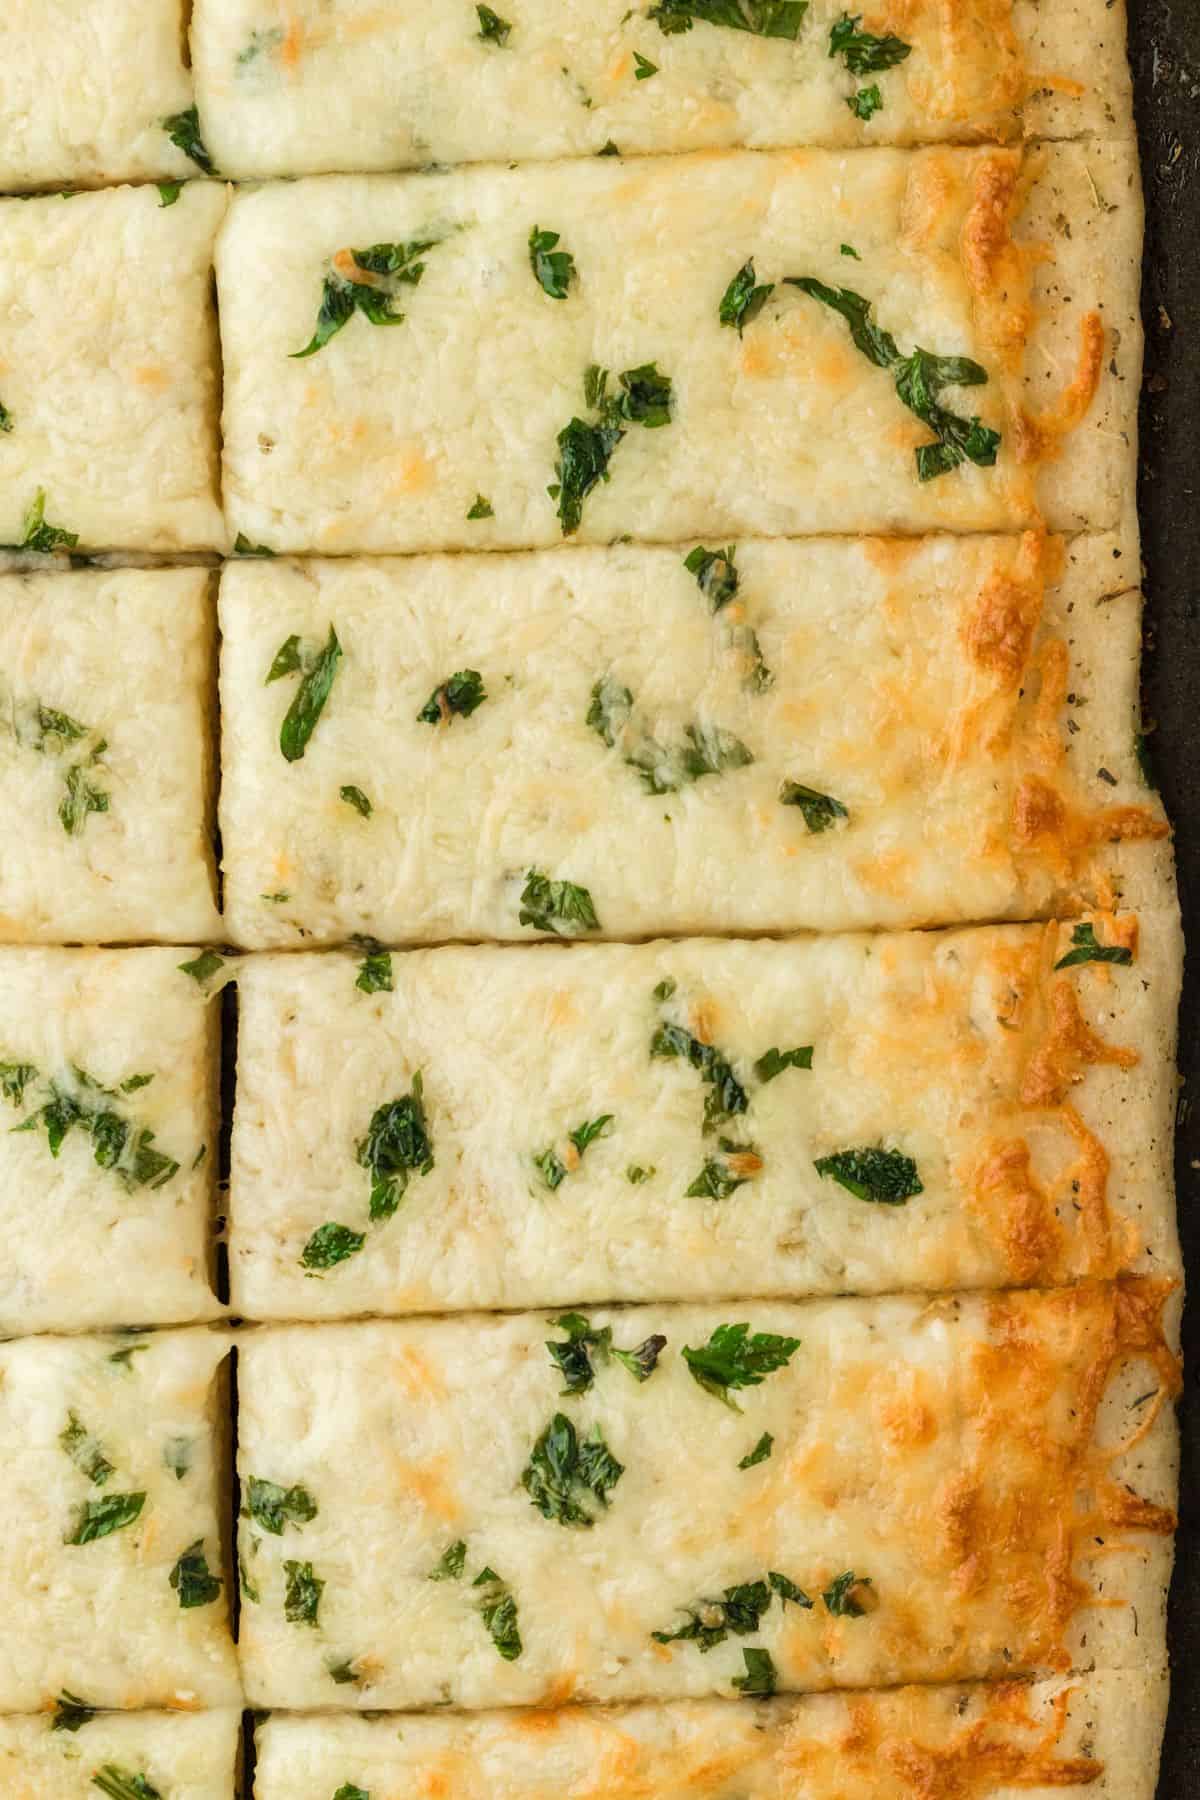
- Bake the bread in the oven for 15-17 minutes or until the dough has browned and the cheese is melted and golden. Cut the bread into sticks and serve with warm pizza sauce if desired.
Tips for Making the Best Cheese Breadsticks
- Grate Your Own Cheese: I know buying pre-shredded cheese seems like a great time saving hack but you will get a smoother melt by grating block cheese. Those additives in the pre-shreds help keep the cheese from sticking together which interferes with how it melts.
- Use Fresh Yeast: Yeast doesn’t last forever y’all. If your yeast isn’t fresh, then your dough might not rise properly. Check the expiration date and store packets of yeast somewhere cool to help it stay fresh.
- Proofing the Dough: It is super important that you let your dough rest for at least an hour to have the light, wonderfully chewy yet crisp texture you will want. If you’re making this recipe in cooler temperatures, I suggest placing it somewhere warm such as on top of a warm oven.
- Oiling the Bowl: Make sure to coat the entire inside of the dough. This prevents the dough from sticking to the sides of the bowl as it rises.
- Plan Properly: You will need to stretch out your dough and then move forward to cook it as soon as it’s ready to avoid over-proofing the dough. If you do need a bit more time before cooking it, shape it to your pan and then cover and refrigerate for 3-4 hours before baking.
Popular Substitutions & Additions
- Whole Wheat Flour: Swap half of the regular flour with whole wheat flour for fiber-rich garlic cheese bread. Whole wheat flour does tend to need a bit more liquid so you may find you need to increase the water a bit.
- Dairy-Free: Replace the butter with olive oil and skip the cheese (or use non-dairy cheese) to make this recipe into garlic breadsticks that are allergy-friendly.
- Fresh Herbs and Garlic: Swap the dried herb seasoning for fresh basil, oregano, thyme, rosemary, and garlic to add flavor. Mix and match or just use one to create your own flavor combo.
- Change Up the Cheese: Feel free to change it up to use any cheese you enjoy. Cheddar, Pepper Jack, or Monterey Jack are a few ideas.
- Adding Toppings: Chopped vegetables, jalapenos, or olives are just a few suggestions for toppings. The sky is the limit here!
What to Serve with Cheesy Breadsticks
- Dipping Sauce: These breadsticks are great for dipping whether as a side dish for meals or as an appetizer. Serve with my marinara sauce, pizza sauce, or my Southern Spaghetti Sauce for a fun twist.
- Main Dish: They make a tasty meal side too — especially with those that are saucy so you can scoop sop up every bite. From Baked Spaghetti to Classic Lasagna and even Chicken Stuffed Shells breadsticks, they are the perfect pair.
- Chili: Enjoy it with a bowl of Fajita Chili, Slow Cooker White Chicken Chili, or Sheet Pan Chili!
- Appetizers: Whether it’s for game days or just for entertaining, these go great with Lemon Pepper Wings, The BEST Buffalo Wings, and Steak Nachos.
How to Store & Reheat Cheesy Garlic Breadsticks
To keep your Cheesy Breadsticks fresh, let them cool down, then store them in an airtight container or wrapped tightly in foil, and pop them in the fridge.
To reheat, add them in the oven at 350°F for about 5-10 minutes, or zap them in the microwave for a quick warm-up. This way, they get that just-baked taste all over again!
How long will cheesy breadsticks last in the fridge?
They will dry out the longer they sit so try to enjoy them within 2-3 days of making them for max flavor.
Can I freeze cheese breadsticks?
Yep! Just package them up and freeze them for up to one month. Reheat them straight from frozen or thaw them out in the fridge overnight.
Frequently Asked Questions
Ideally, you want the temperature to be 75°-80° for it to rise in an hour. If it’s cold in the kitchen you should place it in a warmer place such as a sunny window or by an oven on warm or that’s recently been used. Your dough will likely still rise even in a cold kitchen but it may take so much longer.
Yep, you can! Sometimes I double up the dough recipe and freeze one for later. Simply stretch out the dough on a sprayed pan or line it with parchment. Freeze it for an hour. After it’s frozen, wrap it up in plastic and foil or store it in a freezer-safe bag and store for up to one month.
If your dough isn’t rising, it could be the temperature in your kitchen. Turn your oven on warm and place the bowl on top of the stove. Let it sit a bit longer to see if that helps. In most cases, you will likely just need to extend the proofing time and let it sit for longer. If your dough still doesn’t rise, the likely culprit was yeast that wasn’t in good condition. You can still go ahead and cook the dough but it will likely not be as light and fluffy as when it’s proofed right. Sometimes baking takes a bit of trial and error.
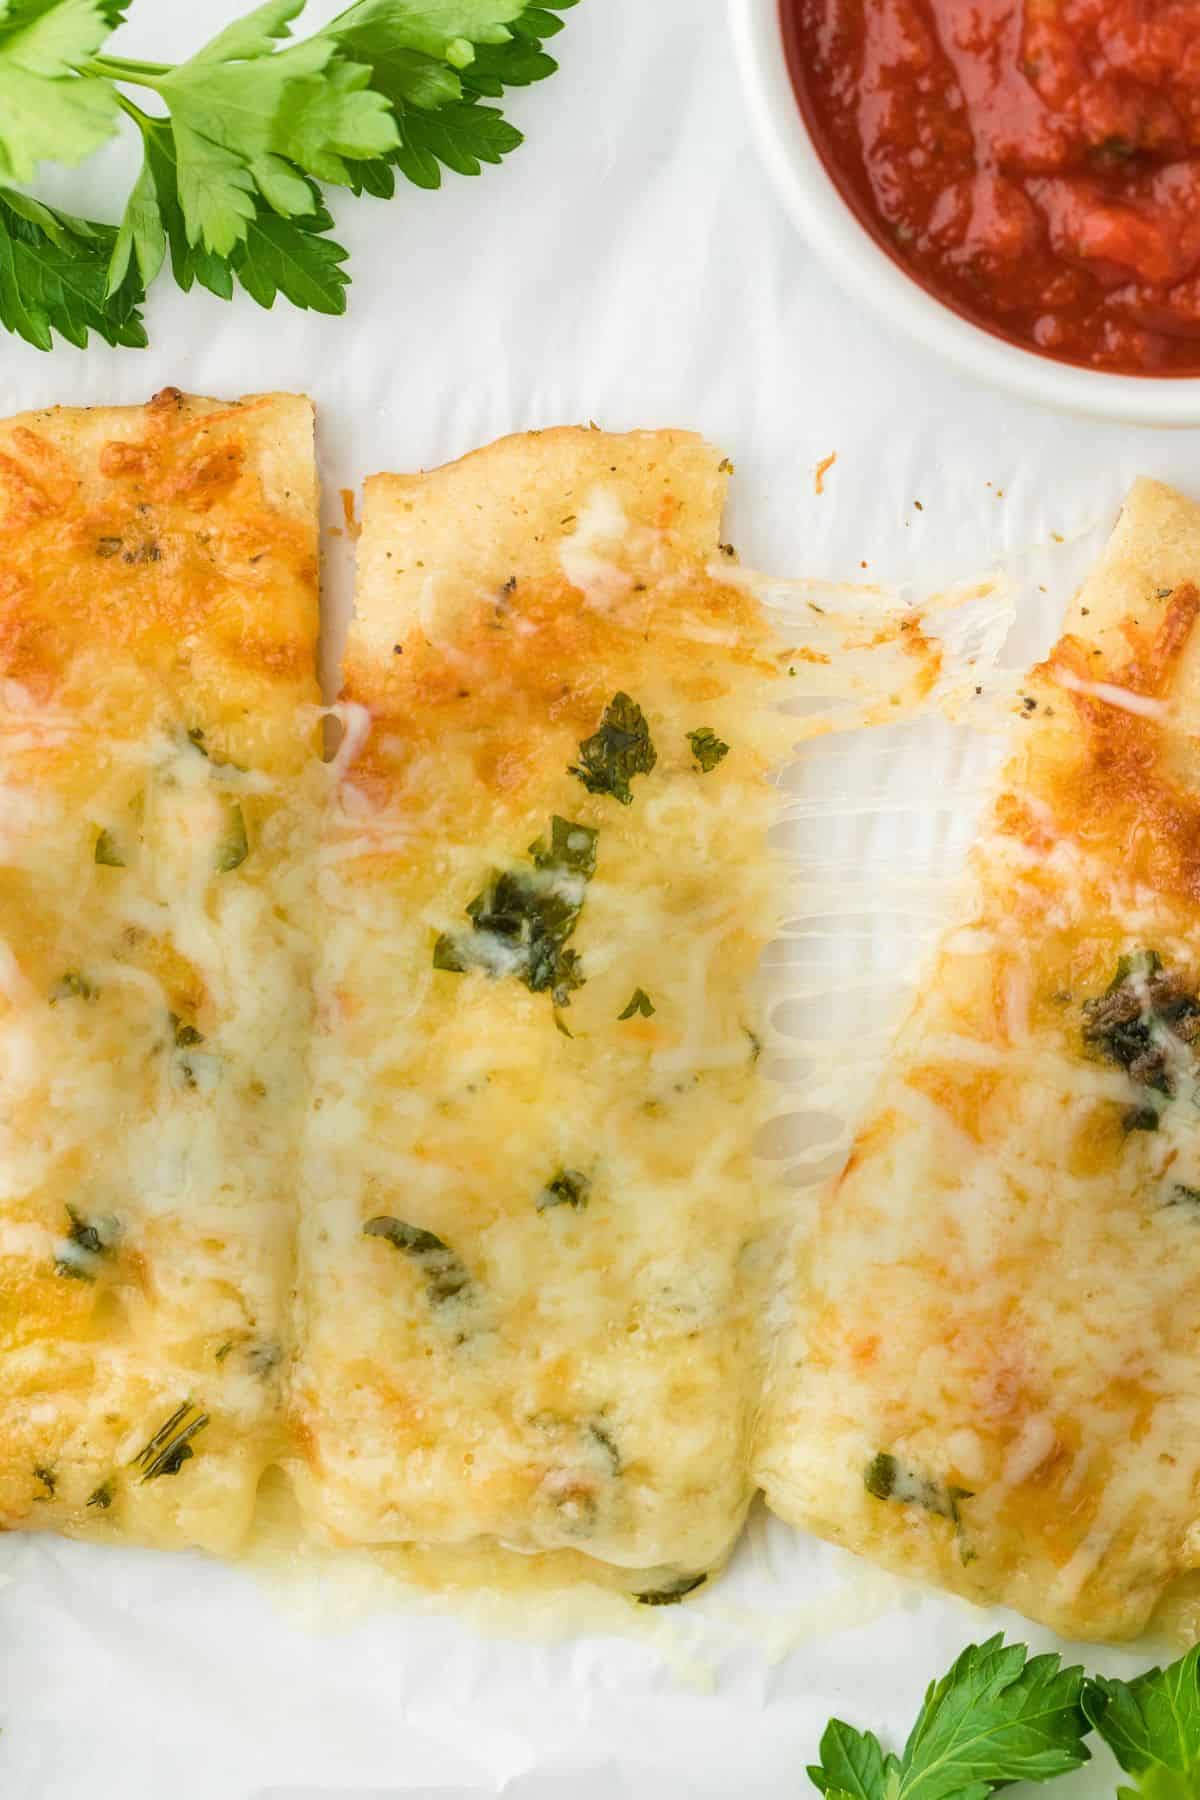
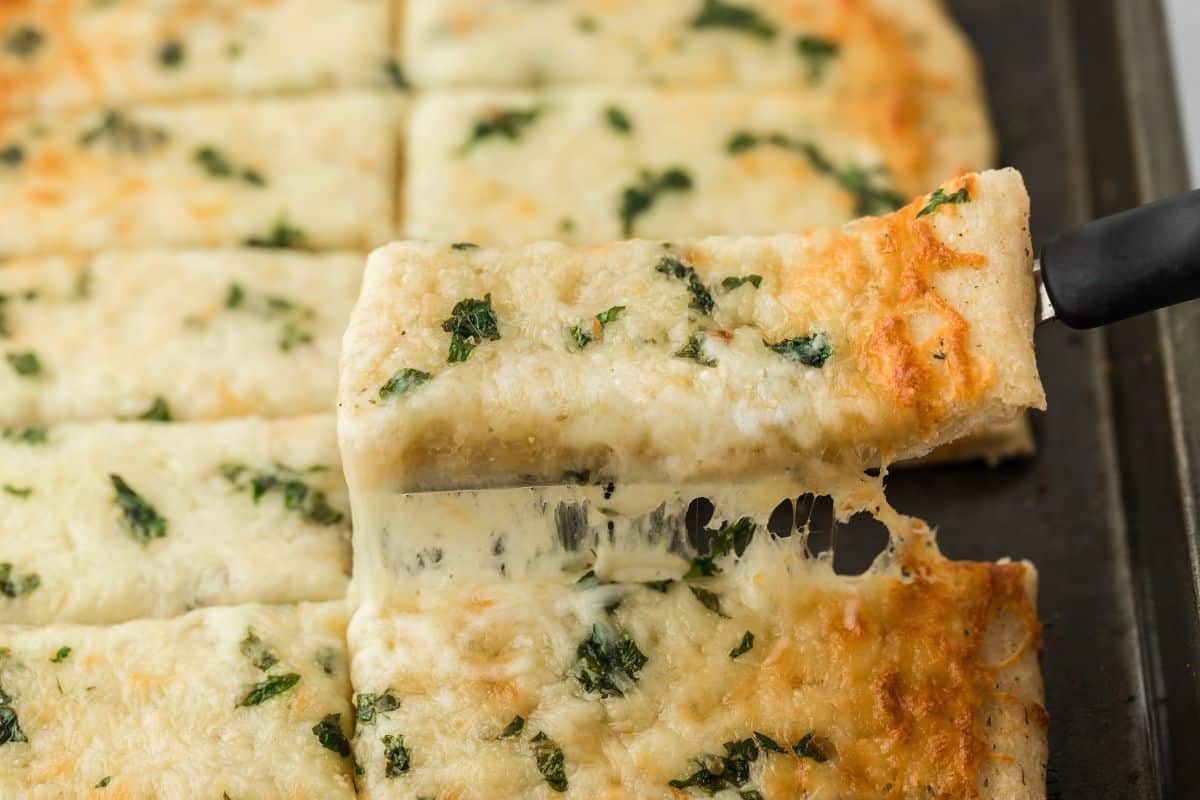
Skip store-bought breadsticks and make a batch of this cheesy garlic bread! The dough cooks up chewy and crisp with just the right amount of buttery, garlicky goodness and gooey cheese. They make a great side dish for meals but also double as an appetizer with your favorite dipping sauce.
More Bread Recipes
- Garlic Cheese Stuffed Rolls
- Pizza Rolls
- Garlic Bread
- Roasted Garlic No-Knead Bread
- Cheddar Biscuits
- Hawaiian Sweet Dinner Rolls
*Did you make this recipe? Please give it a star rating and leave comments below!* Post a photo of how your version of the recipe came out on Instagram (using #grandbabycakes)!!
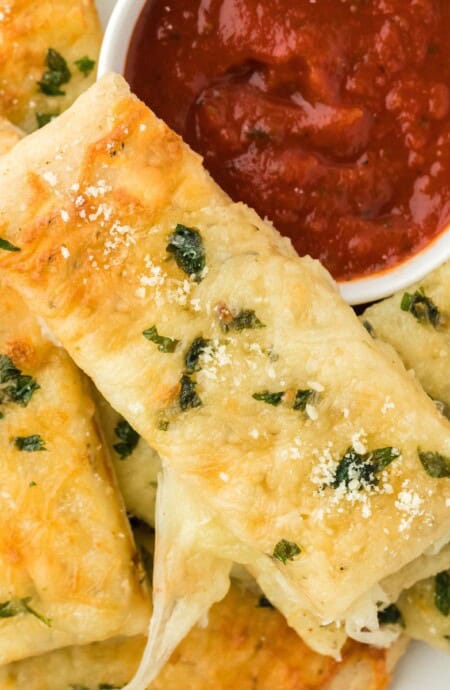
Cheese Breadsticks
Want to Save This Recipe, Boo?
Ingredients
- 2 cups all-purpose flour
- 1 ½ teaspoon garlic salt
- 1 teaspoon granulated sugar
- 1 ½ teaspoon dry active yeast
- ¾-1 cup lukewarm water
- 1 tablespoon olive oil
- 4 tablespoons salted butter
- 1 teaspoon garlic powder
- 1 teaspoon Italian seasoning
- 2 cups Italian shredded cheese blend
- ½- 1 tablespoon parmesan cheese
- parsley for garnish
- Optional: warm pizza sauce for serving
Instructions
- In a medium sized bowl, whisk together flour, garlic salt, sugar, yeast and slowly add in water.
- Mix together until dough is created.
- Using your hands knead for one minute and form a ball.
- Spread 1 tablespoon of olive oil in a separate bowl and transfer pizza dough to that bowl. Cover with a paper towel for 1 hour or until dough has doubled.
- Preheat oven to 425 degrees.
- Roll out dough on your pizza stone or baking sheet.
- Add butter, garlic powder and Italian seasoning to a small bowl and microwave until melted. Whisk together then brush on dough.
- Next sprinkle dough with shredded cheese then parmesan cheese. Lastly, sprinkle with parsley.
- Bake for 15-17 minutes or until dough has browned and cheese is melted and golden.
- Cut bread into sticks and serve with warm pizza sauce if desired.
Video
Notes
- Grate Your Own Cheese: I know buying pre-shredded cheese seems like a great way to save time but you will get a smoother melt by grating block cheese. Additives are added to keep the cheese from sticking together that interferes with how it melts.
- Use Fresh Yeast: Yeast doesn’t last forever. If your yeast isn’t fresh then your dough might not rise properly. Check the expiration date and store packets of yeast somewhere cool to help it stay fresh.
- Proofing the Dough: It is super important that you let your dough rest for at least an hour to have the light, wonderfully chewy yet crisp texture you will want. If you’re making this recipe in cooler temperatures I recommend placing it somewhere warm such as on top of a warm oven.
- Oiling the Bowl: Make sure to coat the entire inside of the dough. This prevents the dough from sticking to the sides of the bowl as it rises.
- Plan Properly: You will need to stretch out your dough and then move forward to cook it as soon as its ready to avoid over-proofing the dough. If you do need a bit more time before cooking it, shape it to your pan and then cover and refrigerate for 3-4 hours before baking.
Oh my goodness, Jocelyn! These look so good – and soooo dangerous! I couldn’t stop with just one 😉
Seriously dangerous!
These breadsticks look like they put the Pizza Hut version to shame! The cheese and spices just look absolutely fantastic!
They totally put Pizza Hut to shame lol.
That’s hilarious that the most popular recipe is your homemade garlic bread!! I would think the real deal caramel cake?!!! anyway, dude, these cheesy breadsticks. . LOVE. This is why I could never give up cheese. no way.
Isn’t that funny? Girl the caramel cake is in 2nd place haha.
Total comfort food! I would take these over Pizza Hut bread sticks any day!
Agreed girlfriend!
Gosh, I’ve been on pizza craze lately and this sounds delicious!
Same here! What’s going on with us?
Your sexy
These breadsticks look crazy good! We love cheesy breads so these babies will be a hit for sure!
Same here! I am pretty much addicted to them.
Oh my gosh these look good!! My family would love this!
I made these for all families across the globe.
You totally put all pizza chains to shame! Who can say no to these yumminess? And with melted cheese on top? I’m sold! Do you deliver? 🙂
I need to start delivering!!
Wow these look incredible! Homemade is always best made!
I totally agree! Thanks hon!
These breadsticks do look delicious, Jocelyn! Anything homemade is going to taste better than store bought or delivery. I’m adding these to my list of thing of things to try!
Hooray! Enjoy Jen!
Dear Jocelyn…All have is Fleischab’s Rapid Rise Instant Yeast., Will this work?? I know yours calls for Dry active yeast but this is all I had on hand.., Thank you..Gloria Schadt
Loved them!!! They were a hit for my large family! Ended up making two batches!
Hooray that makes me so happy Denise!