
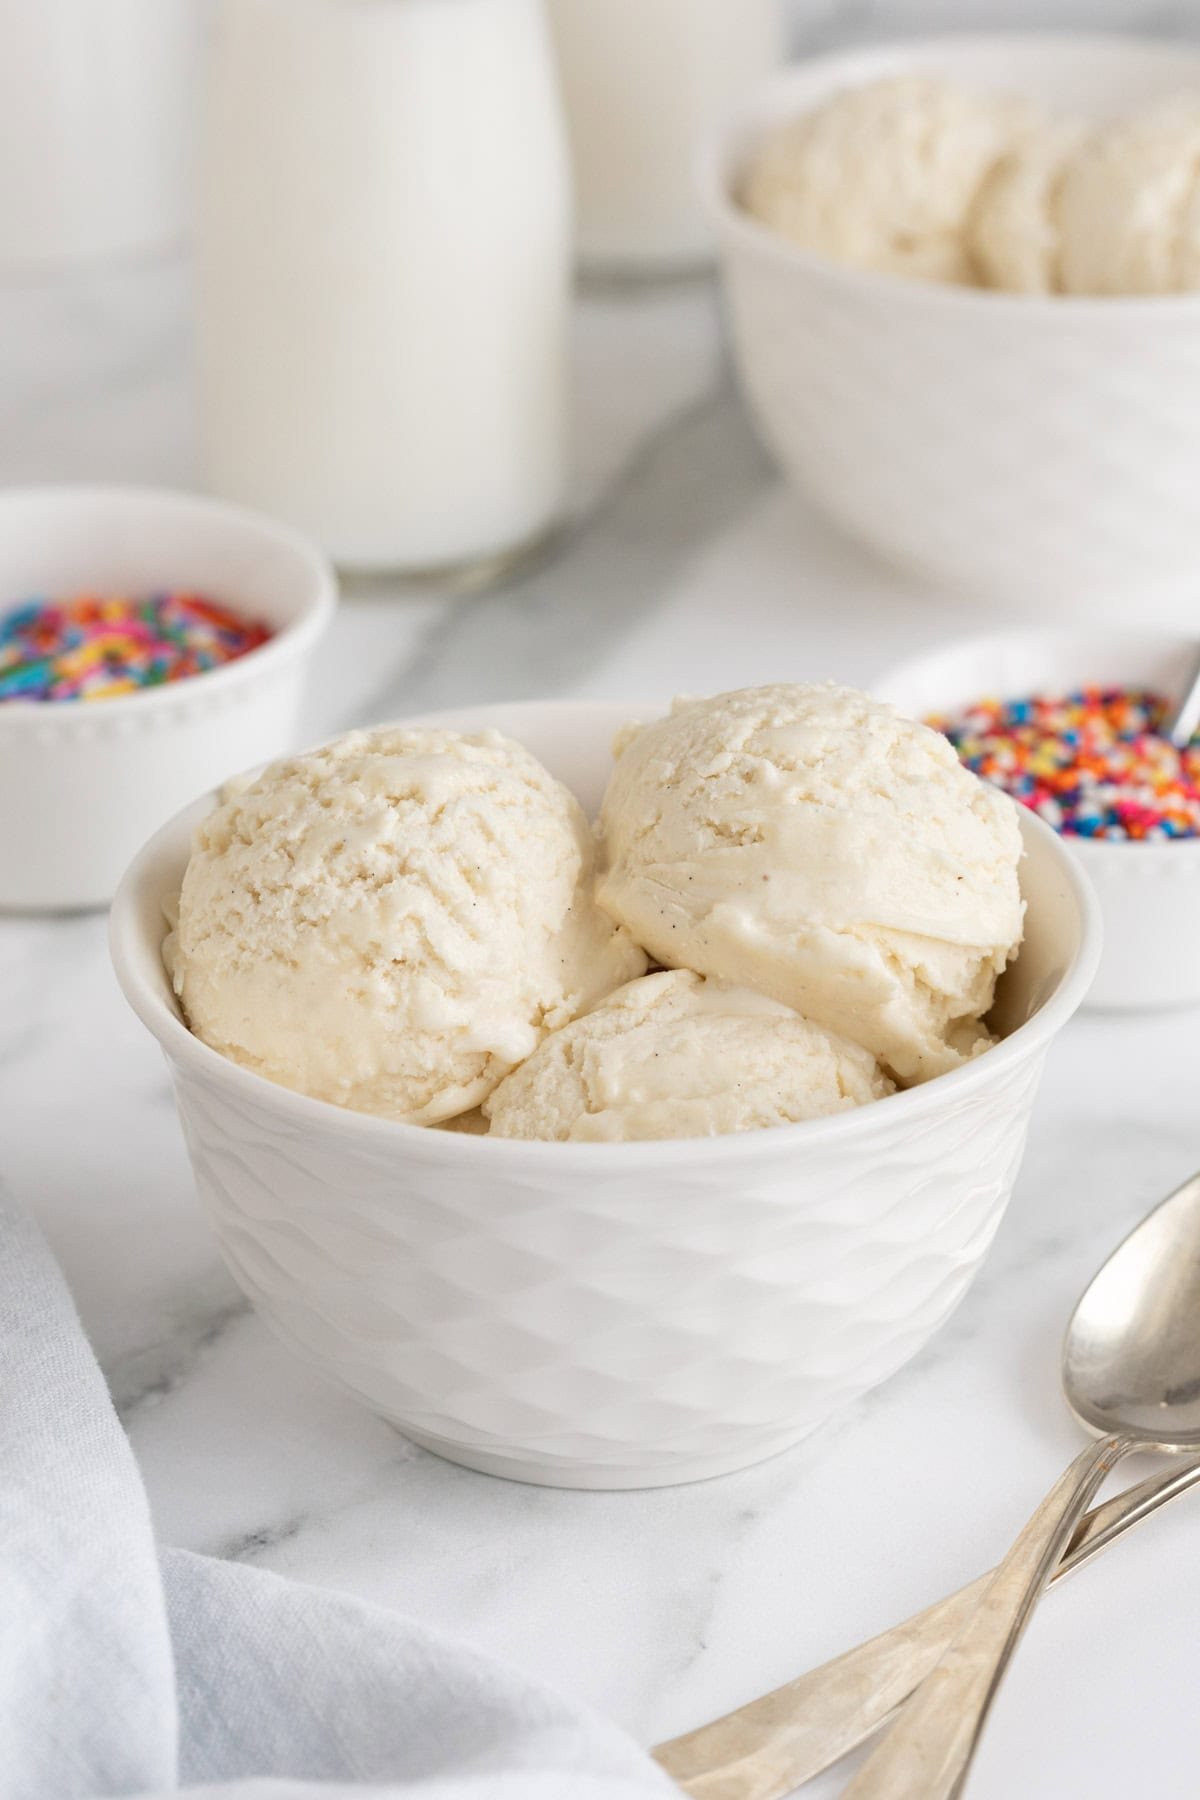
Back in Mississippi, Big mama would make us a big batch of vanilla ice cream churning it old school style with ice and some elbow grease. My homemade vanilla ice cream gets as close to her original as humanly possible. I use a mix of heavy cream and half and half to make it extra rich. To really bring out that vanilla flavor, I added pure vanilla extract and vanilla bean paste (because one just wasn’t enough). Just know that I kept all of big mama’s soul and bomb flavor just like the OG.
This post may contain affiliate links. Read our disclosure policy.
Tutorial Video
How To Make Vanilla Ice Cream
Mix and Heat the Custard
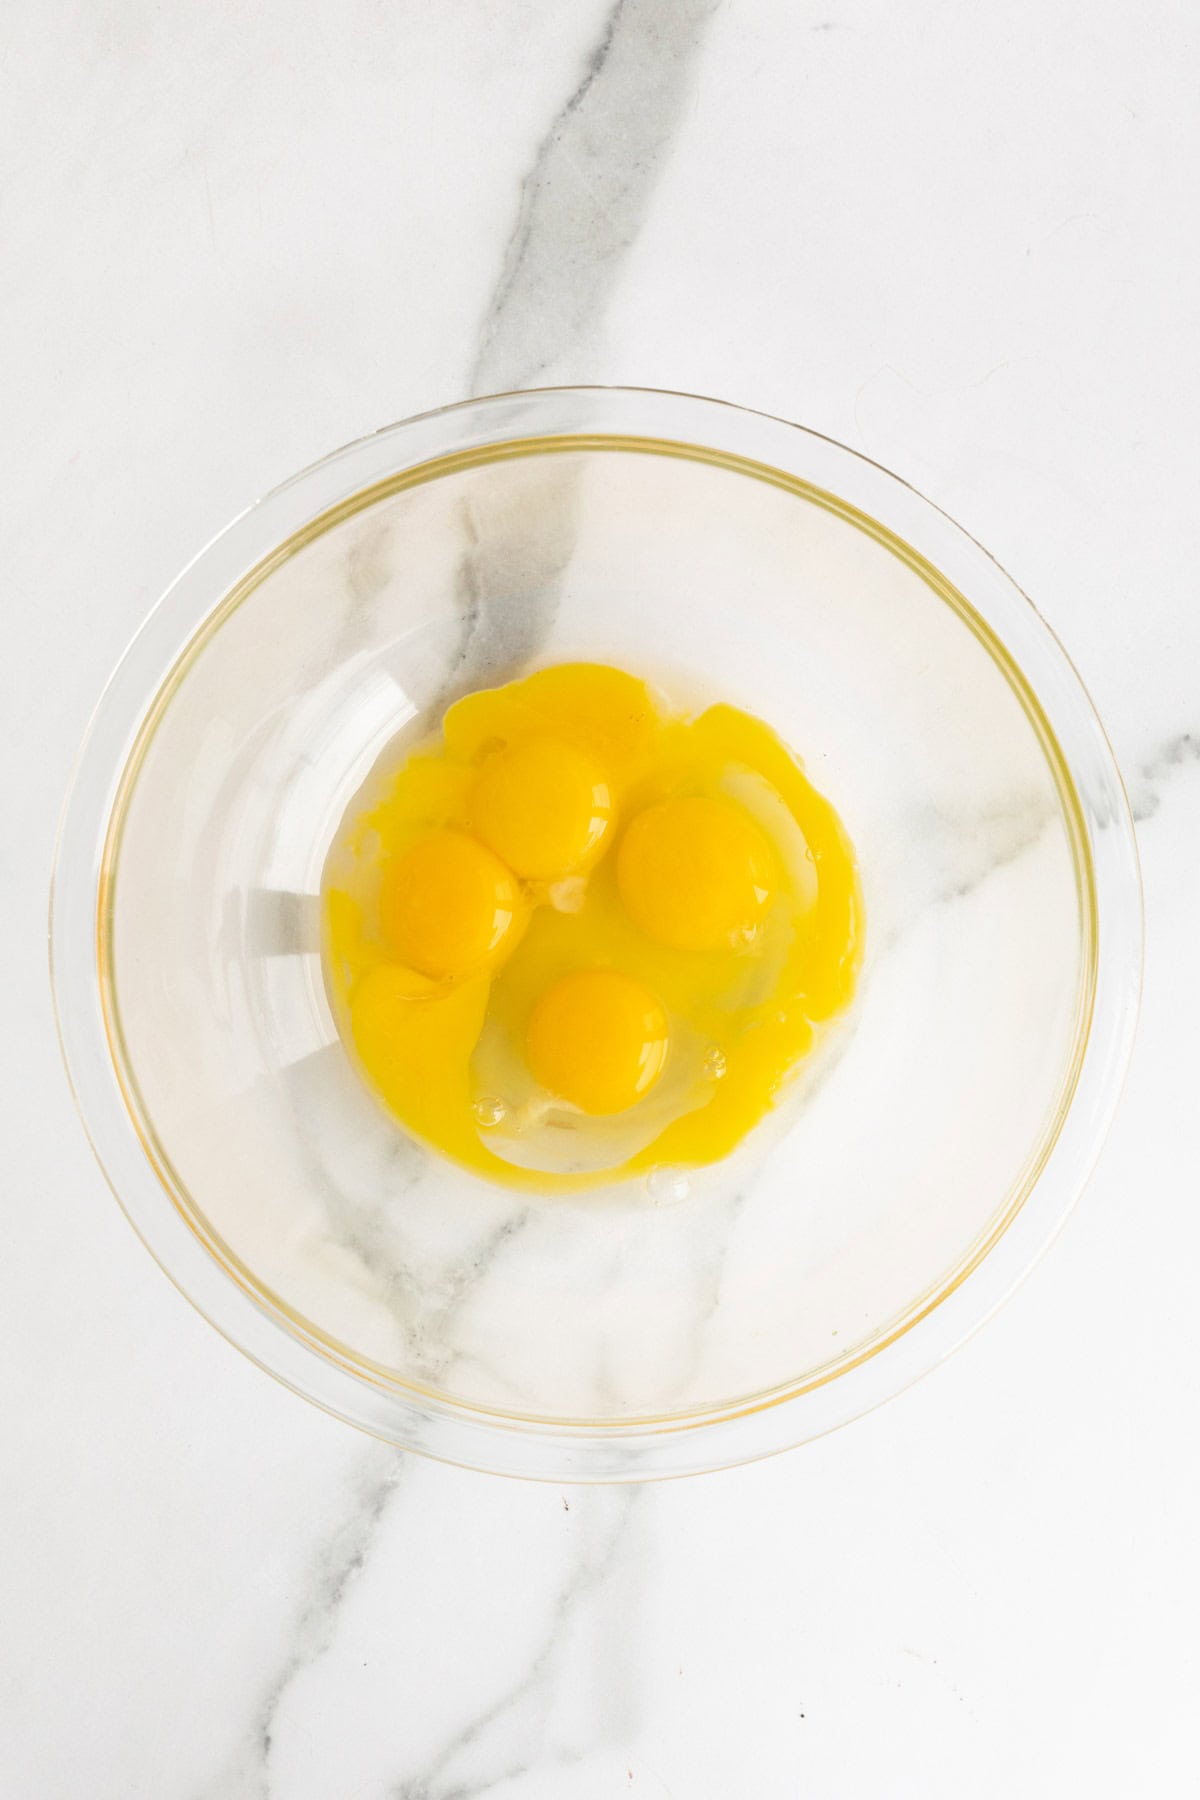
Step 1: Add eggs and egg yolks to a medium-sized bowl.
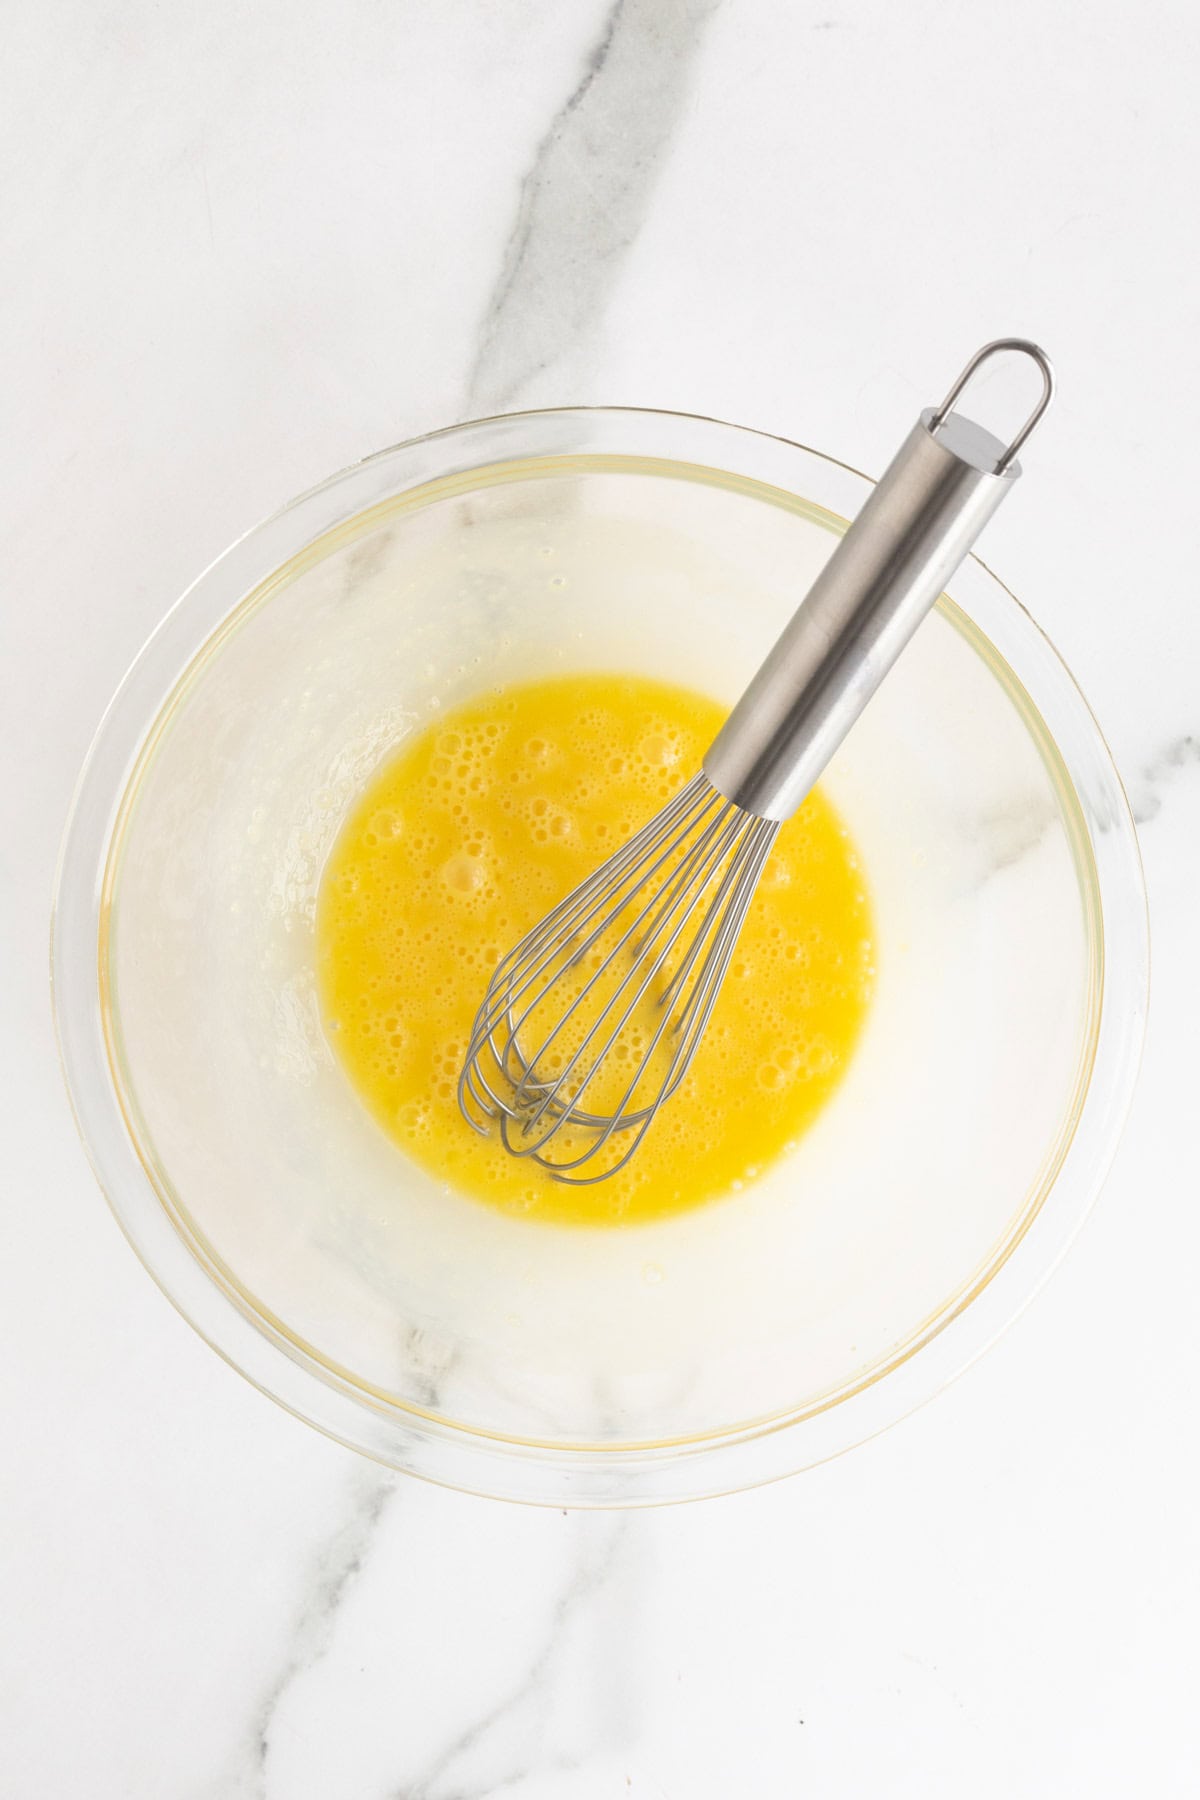
Step 2: Beat them together.
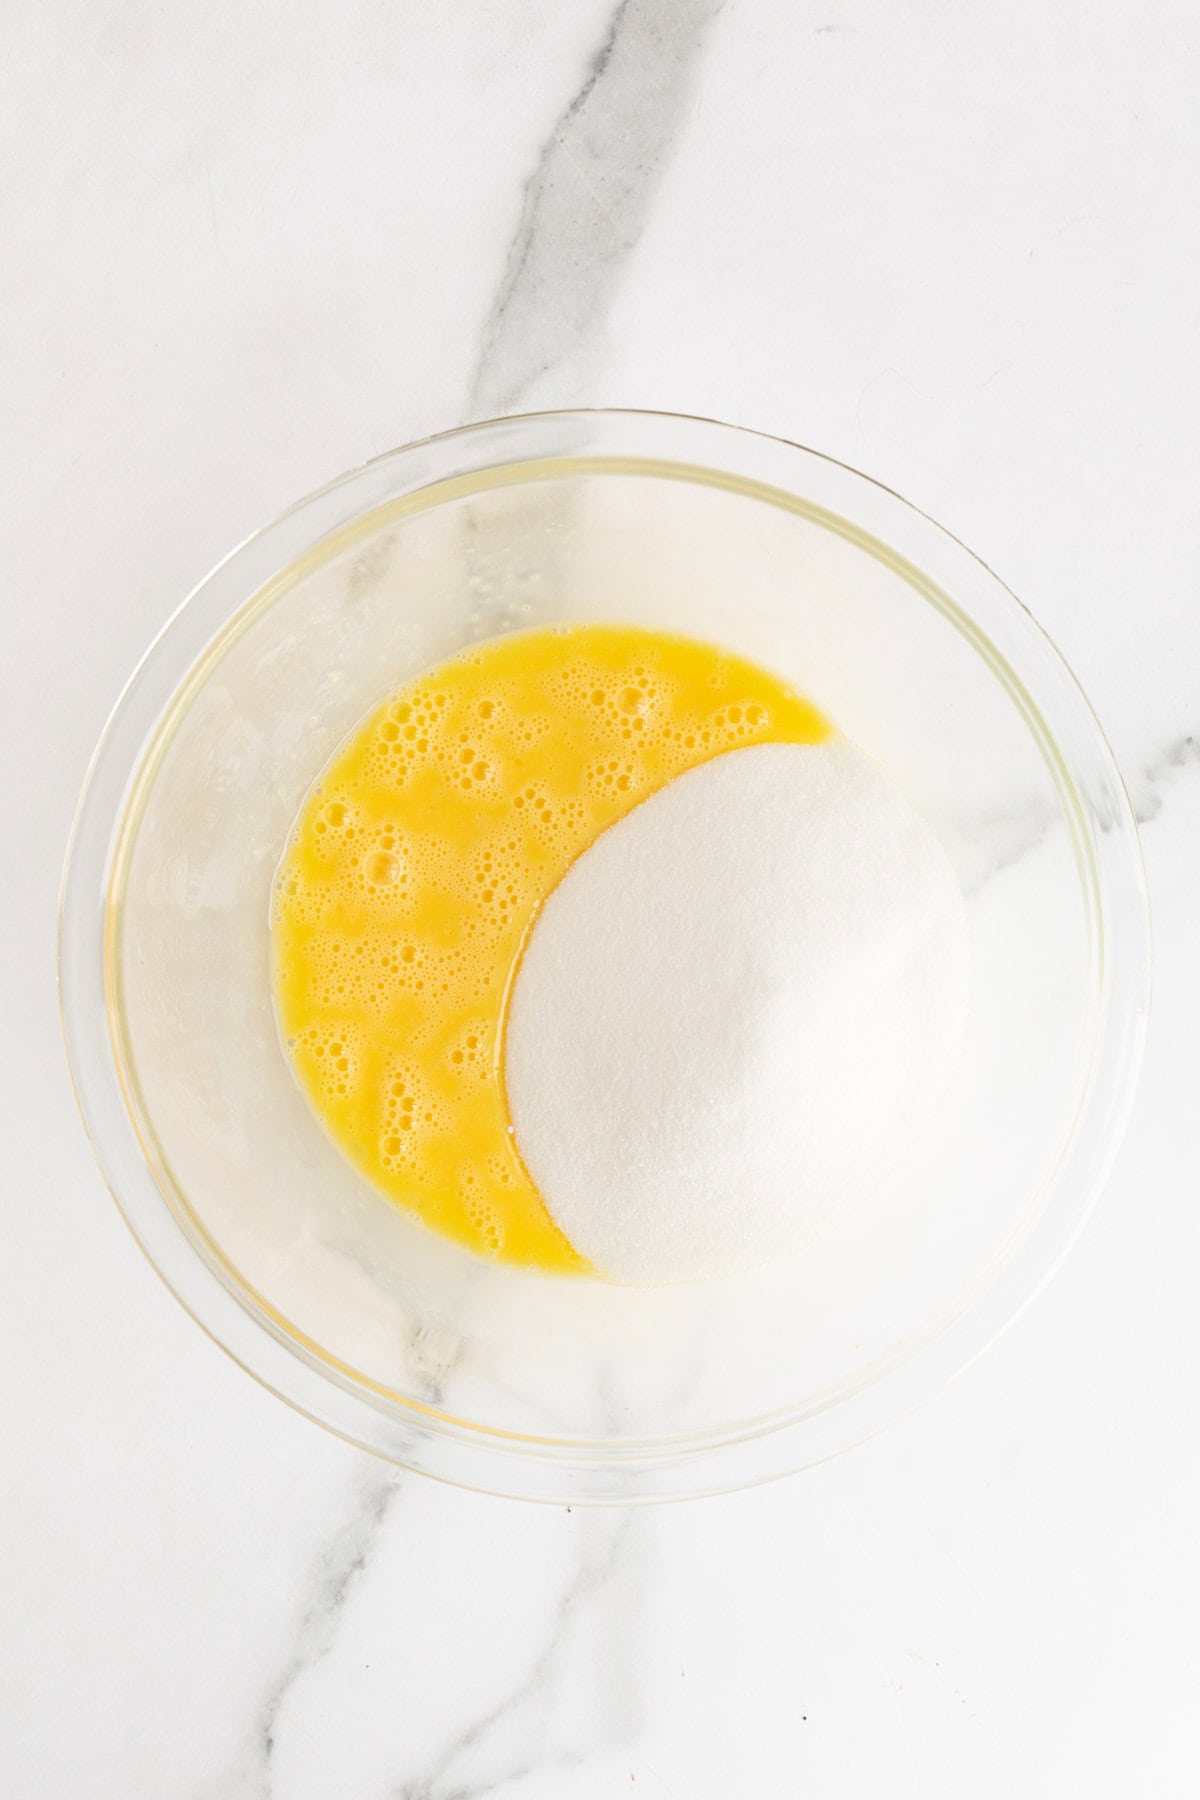
Step 3: Add sugar to the bowl.
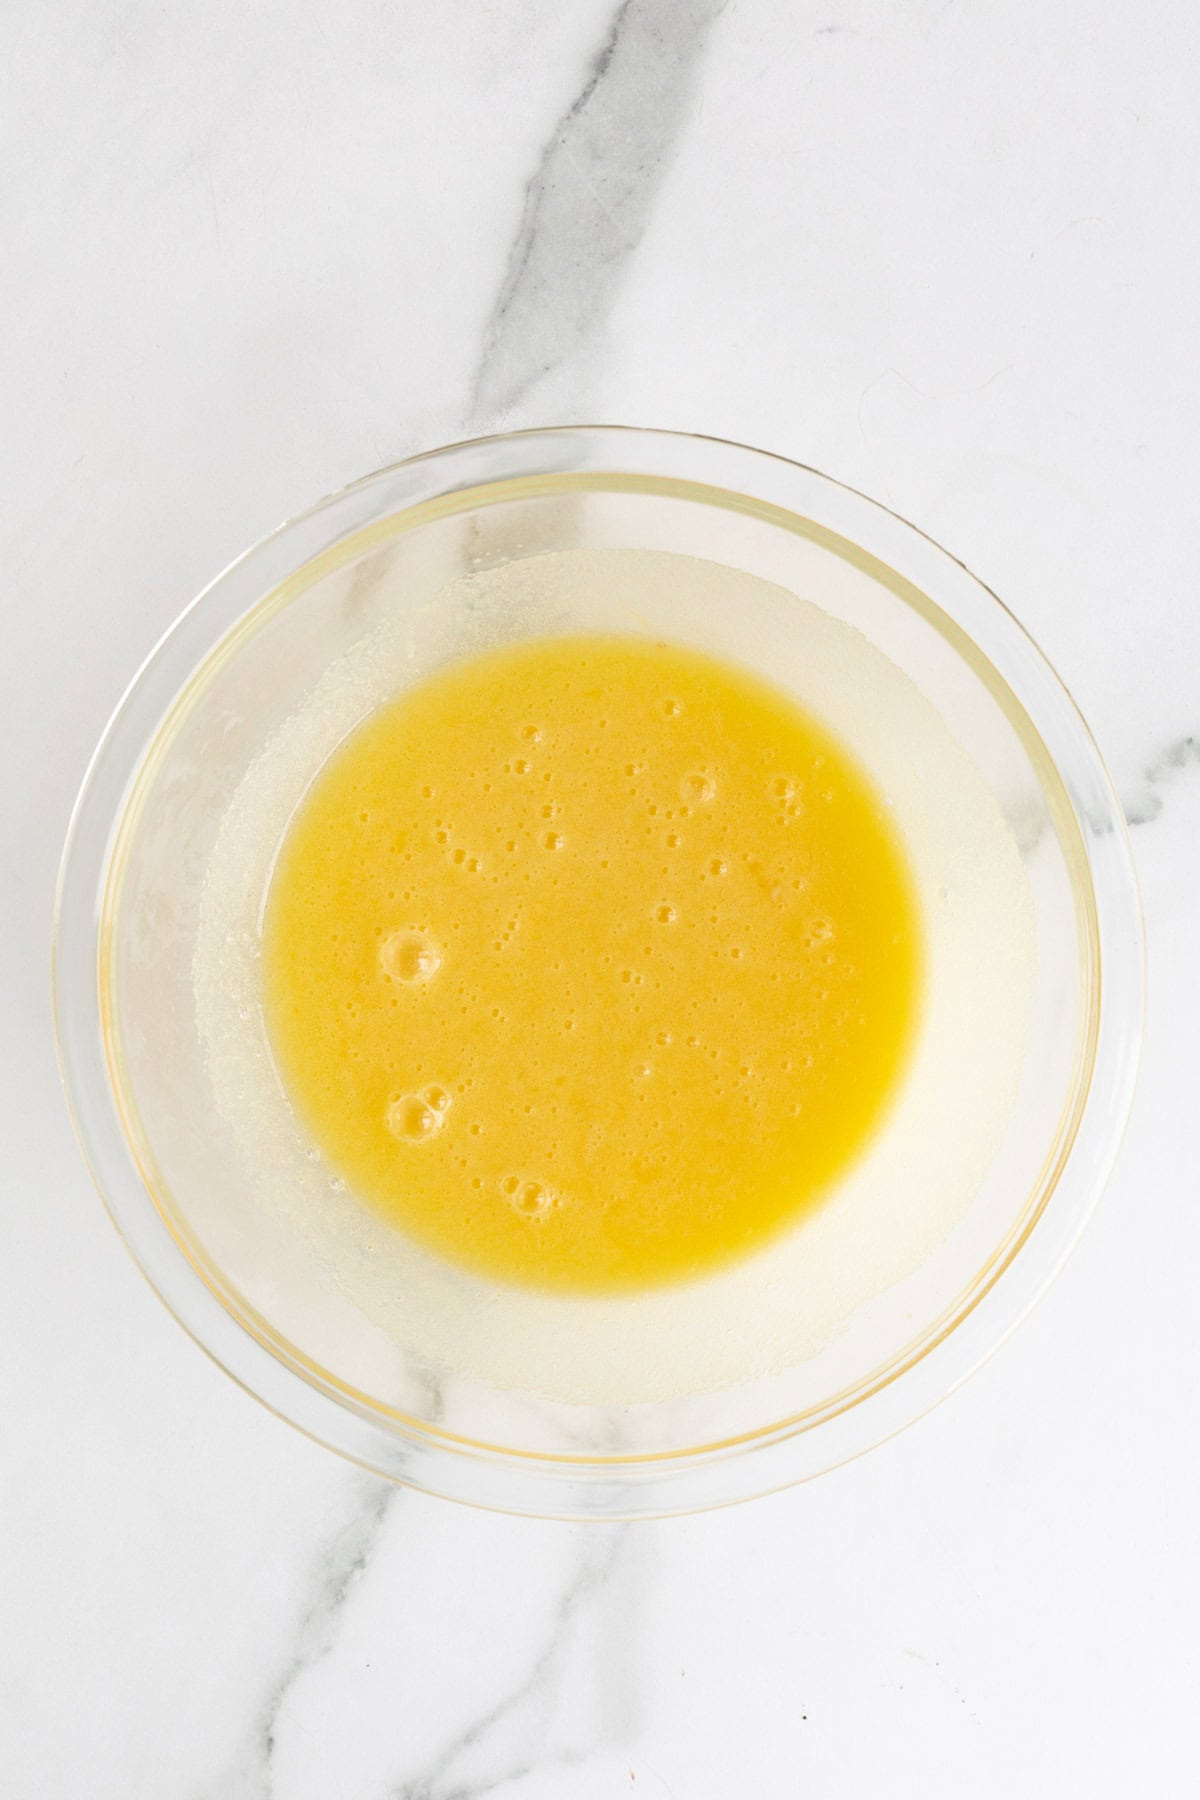
Step 4: Whisk together.
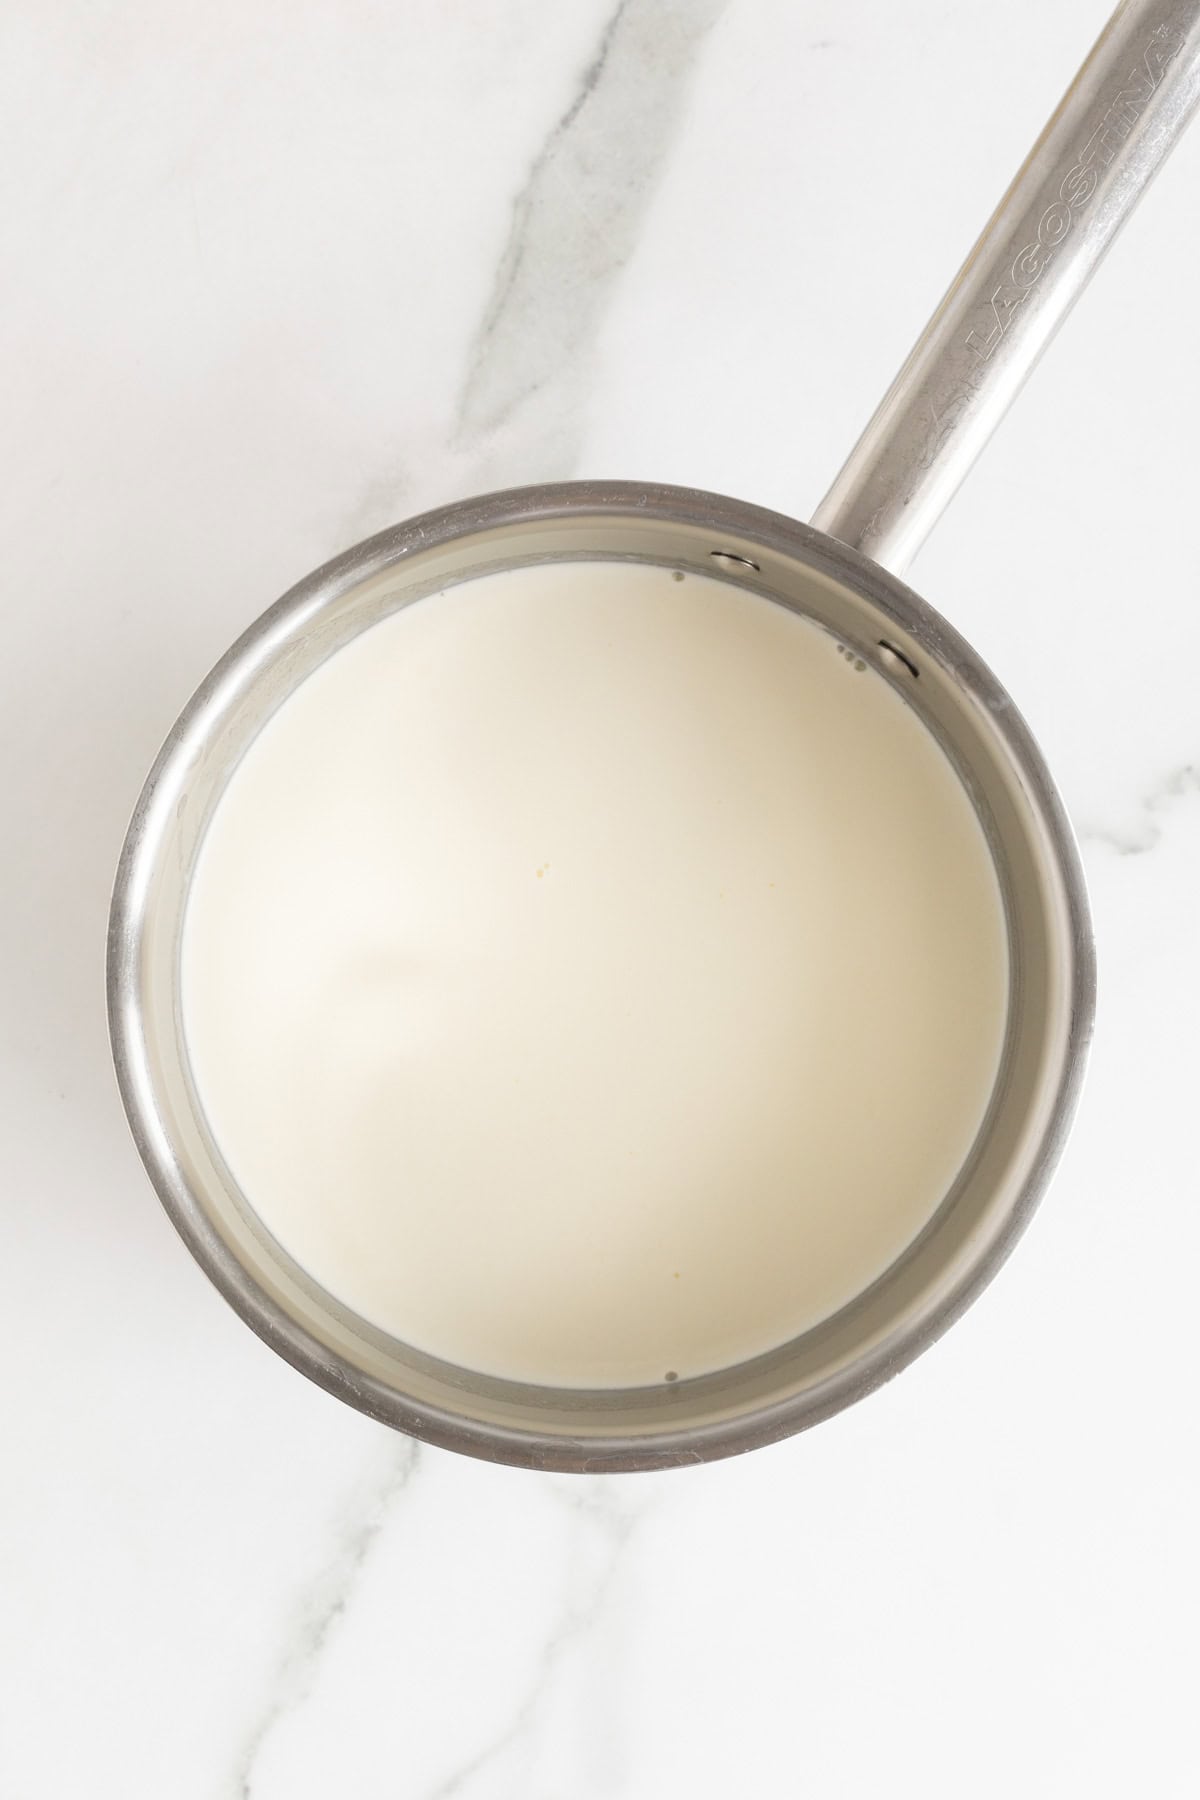
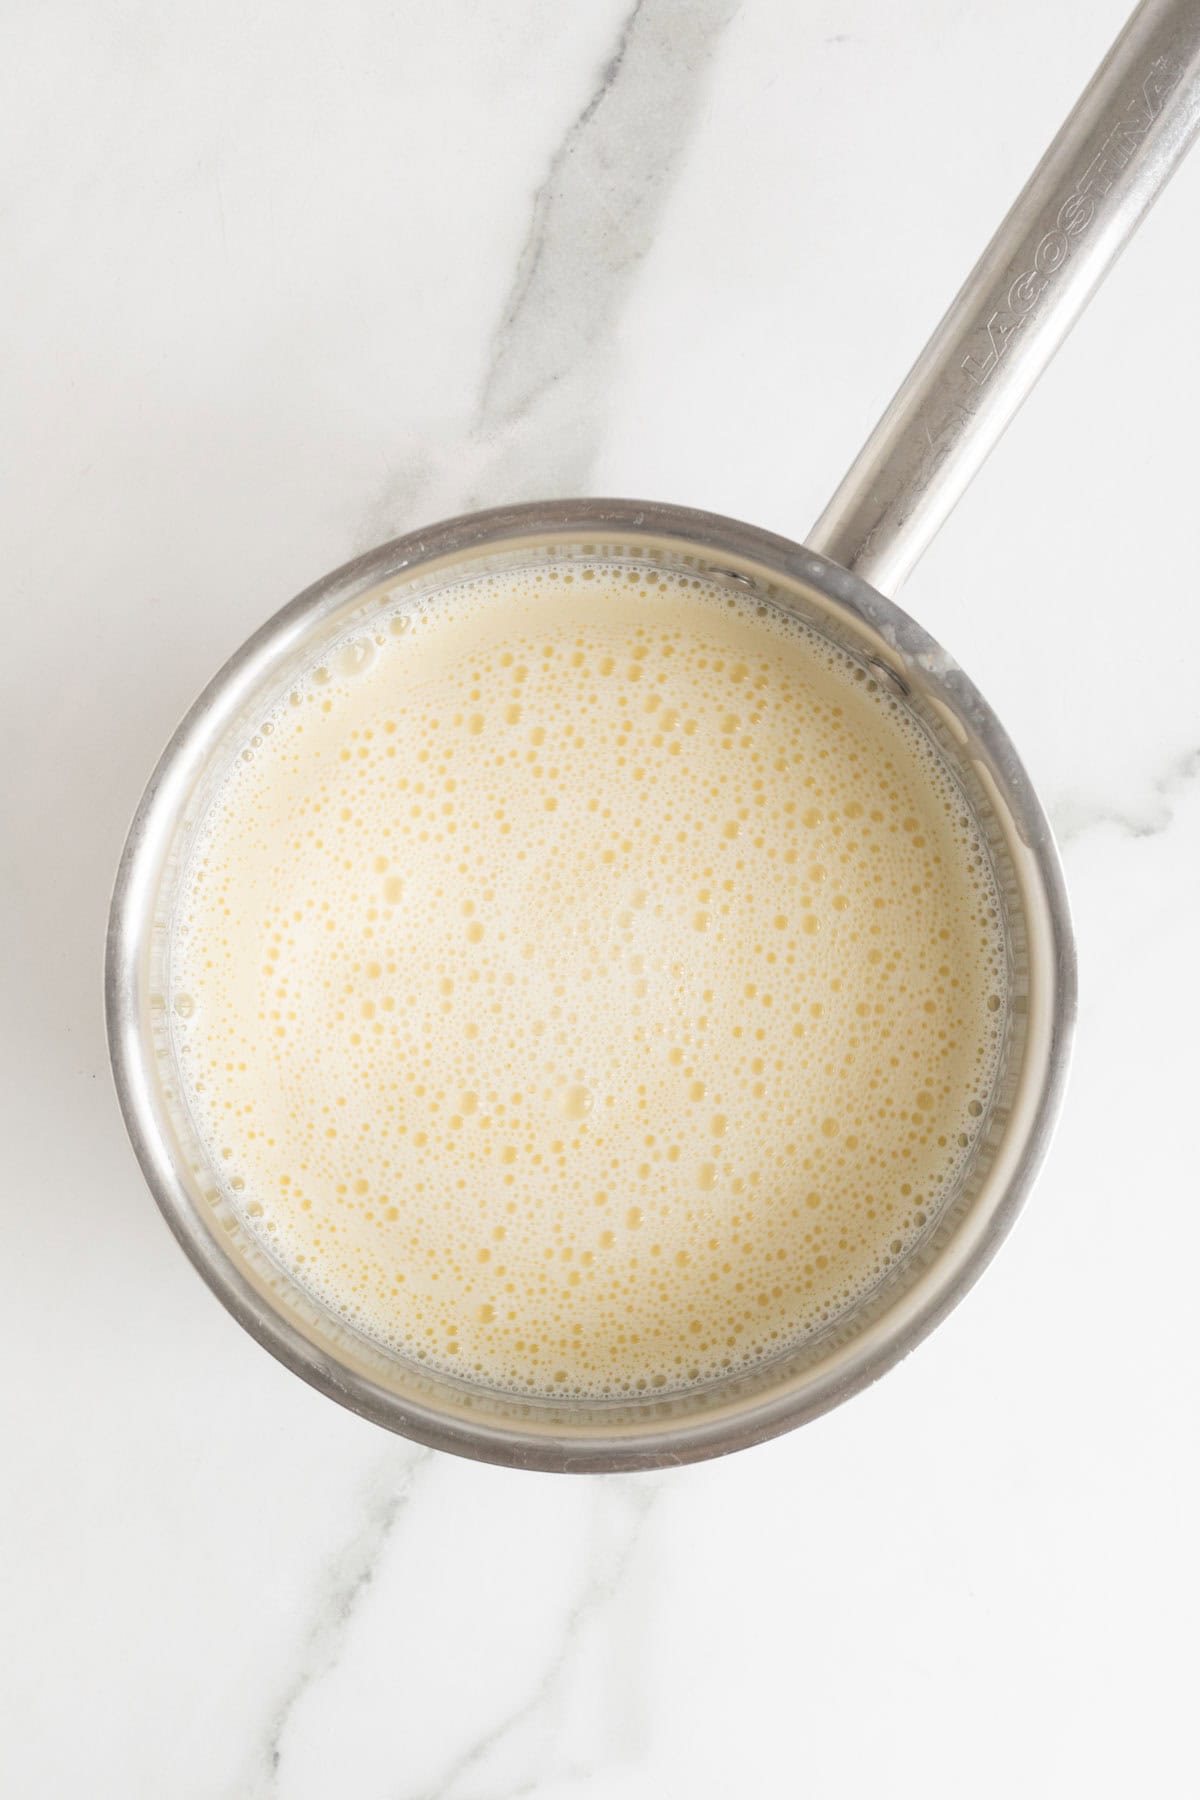
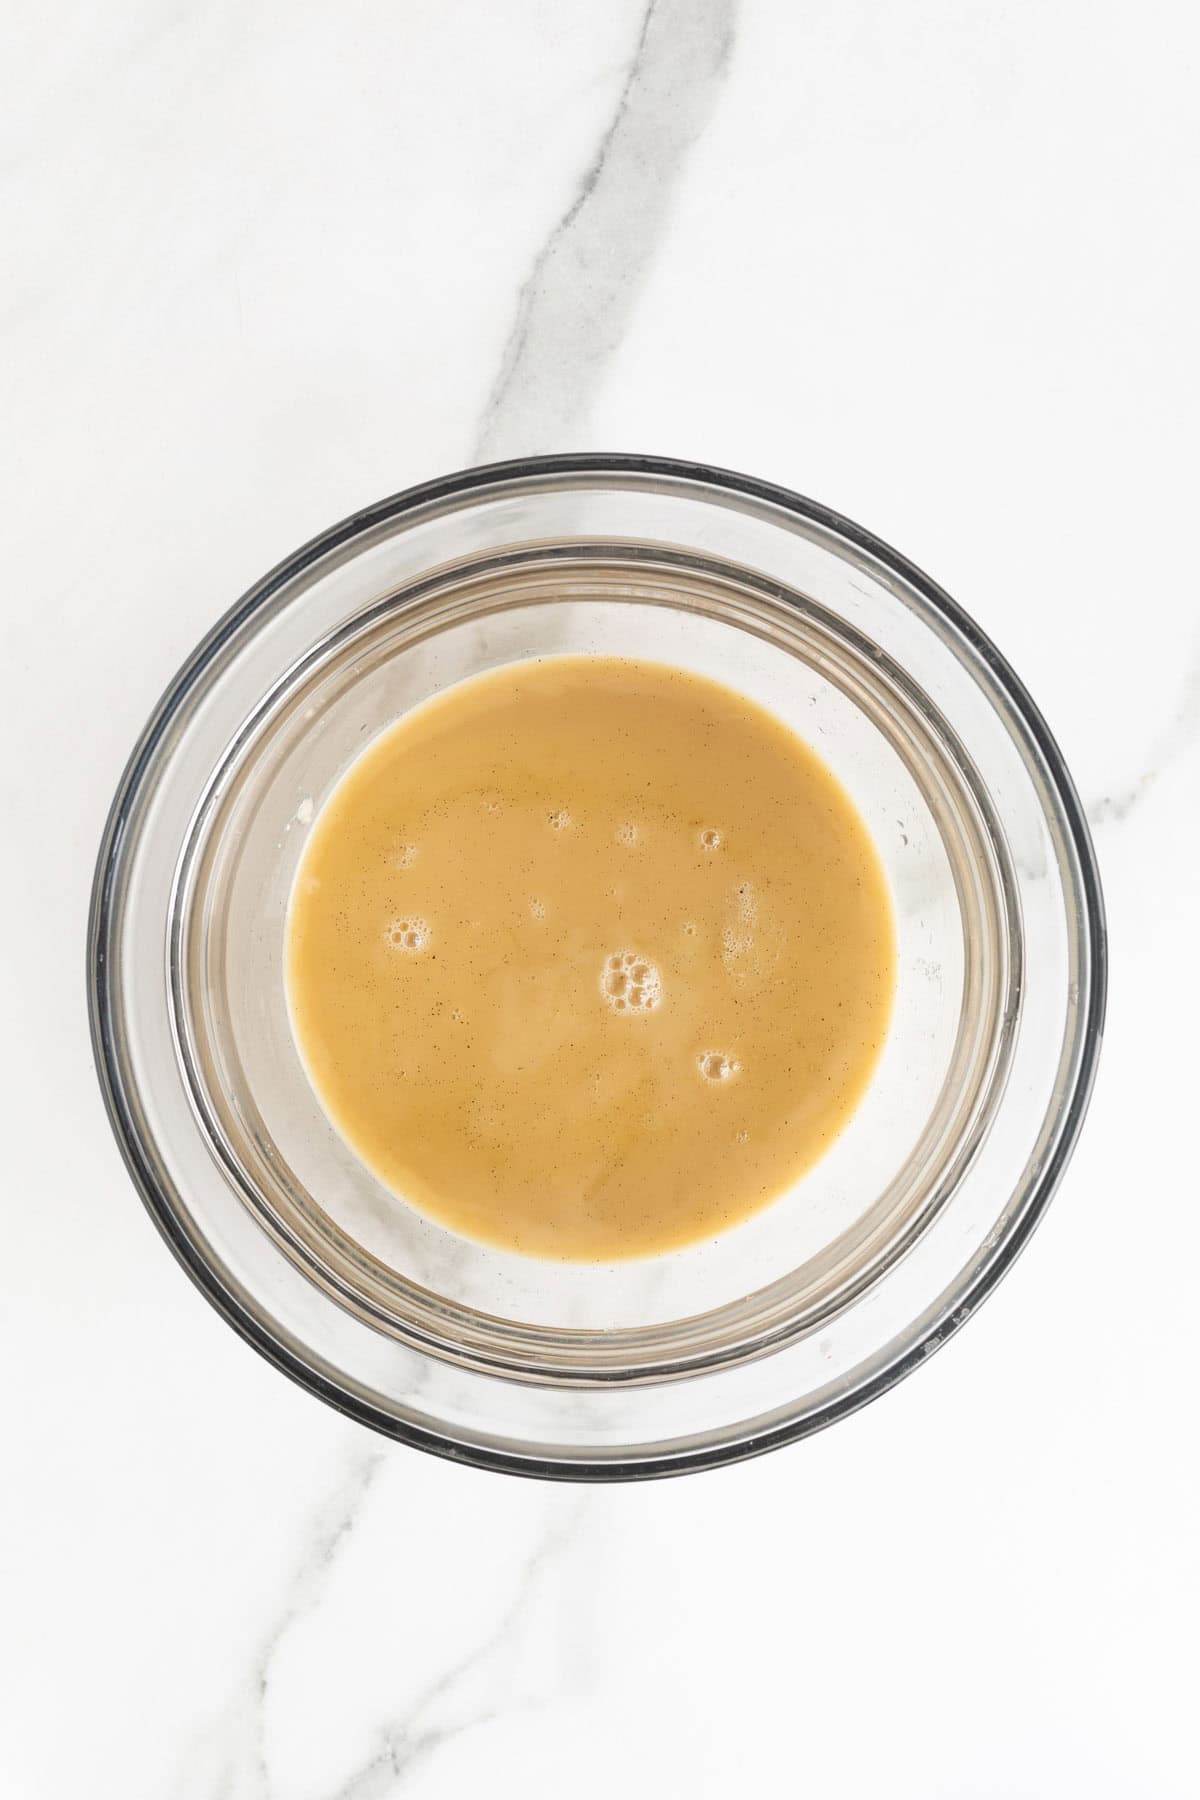
Step 5: Add heavy cream and half and half to a large saucepan and heat gently; do not let come to a boil.
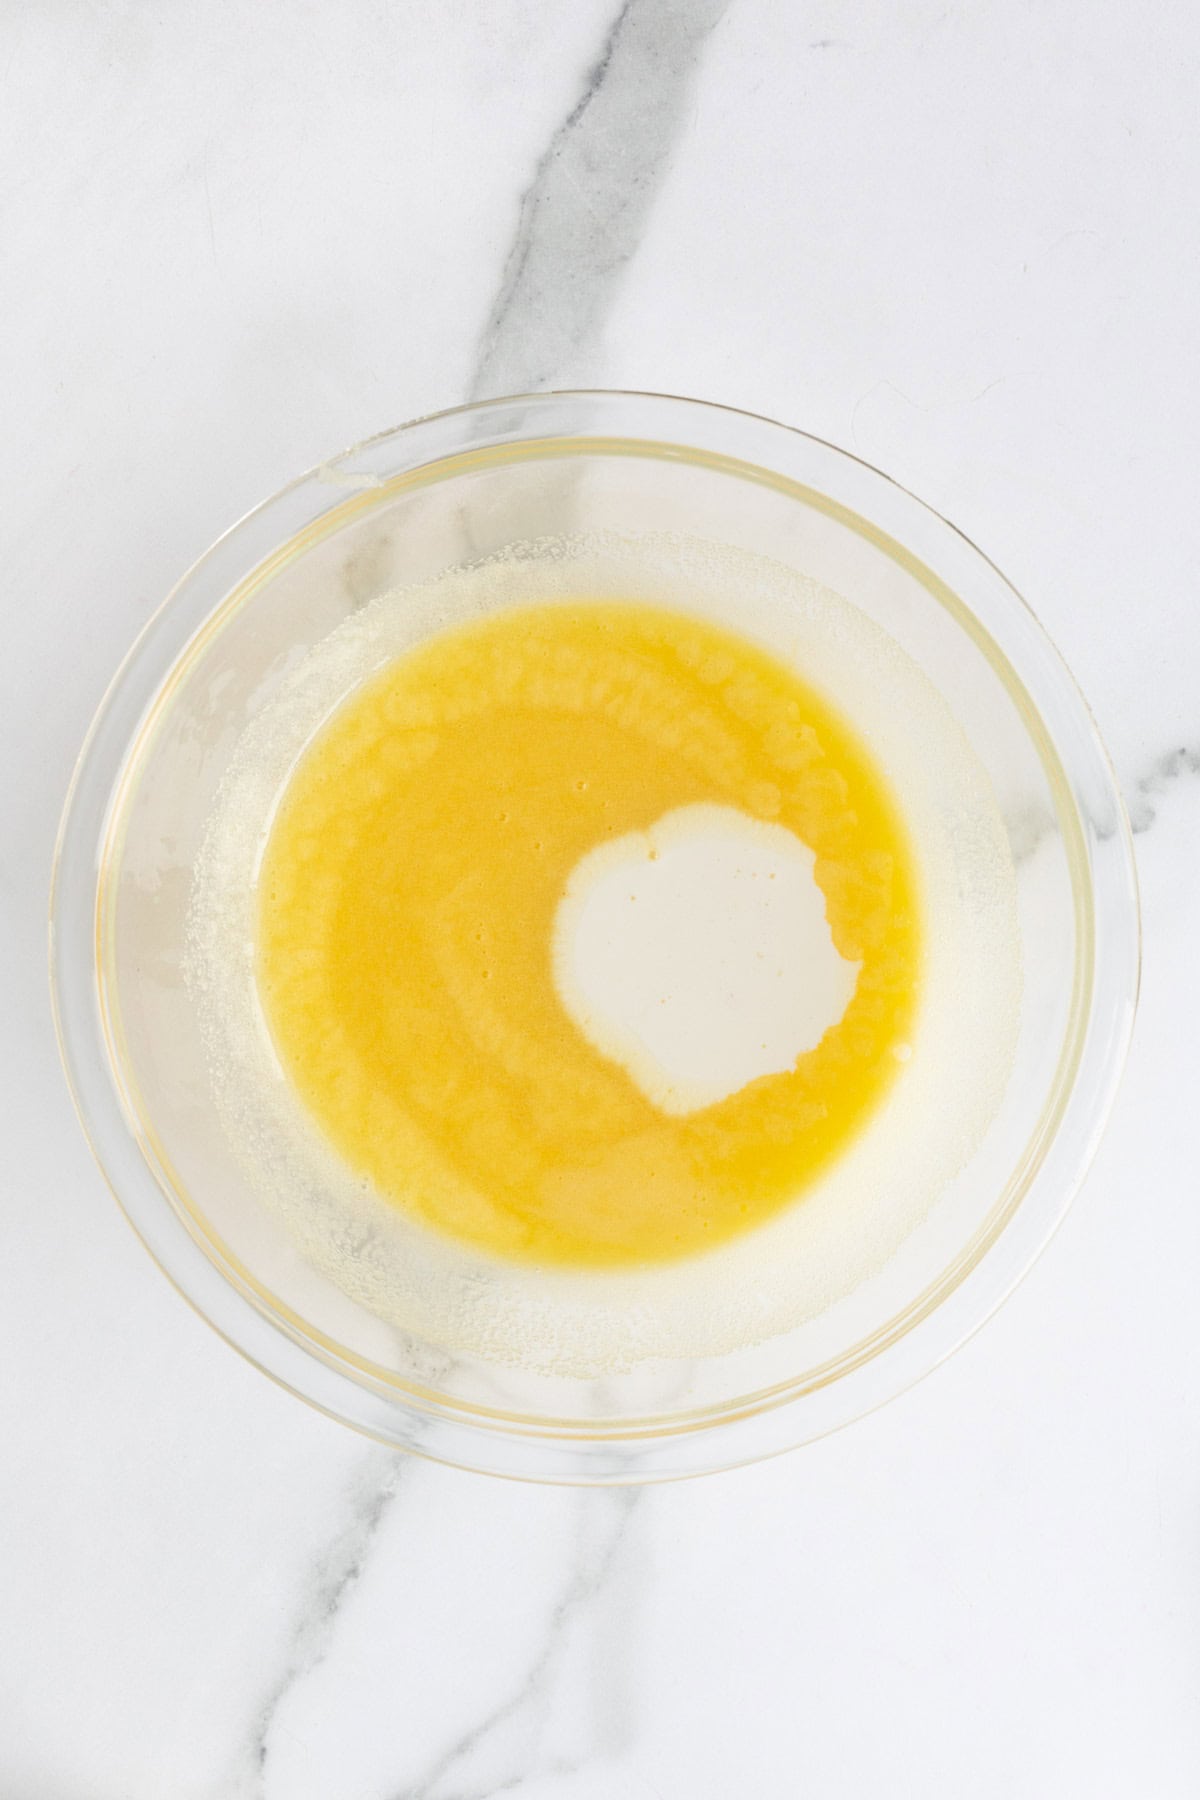
Step 6: Temper eggs by slowly pour 1 cup of hot heavy cream mixture into egg mixture.
Step 7: Whisk quickly. This will raise the temperature of the eggs carefully without scrambling them.
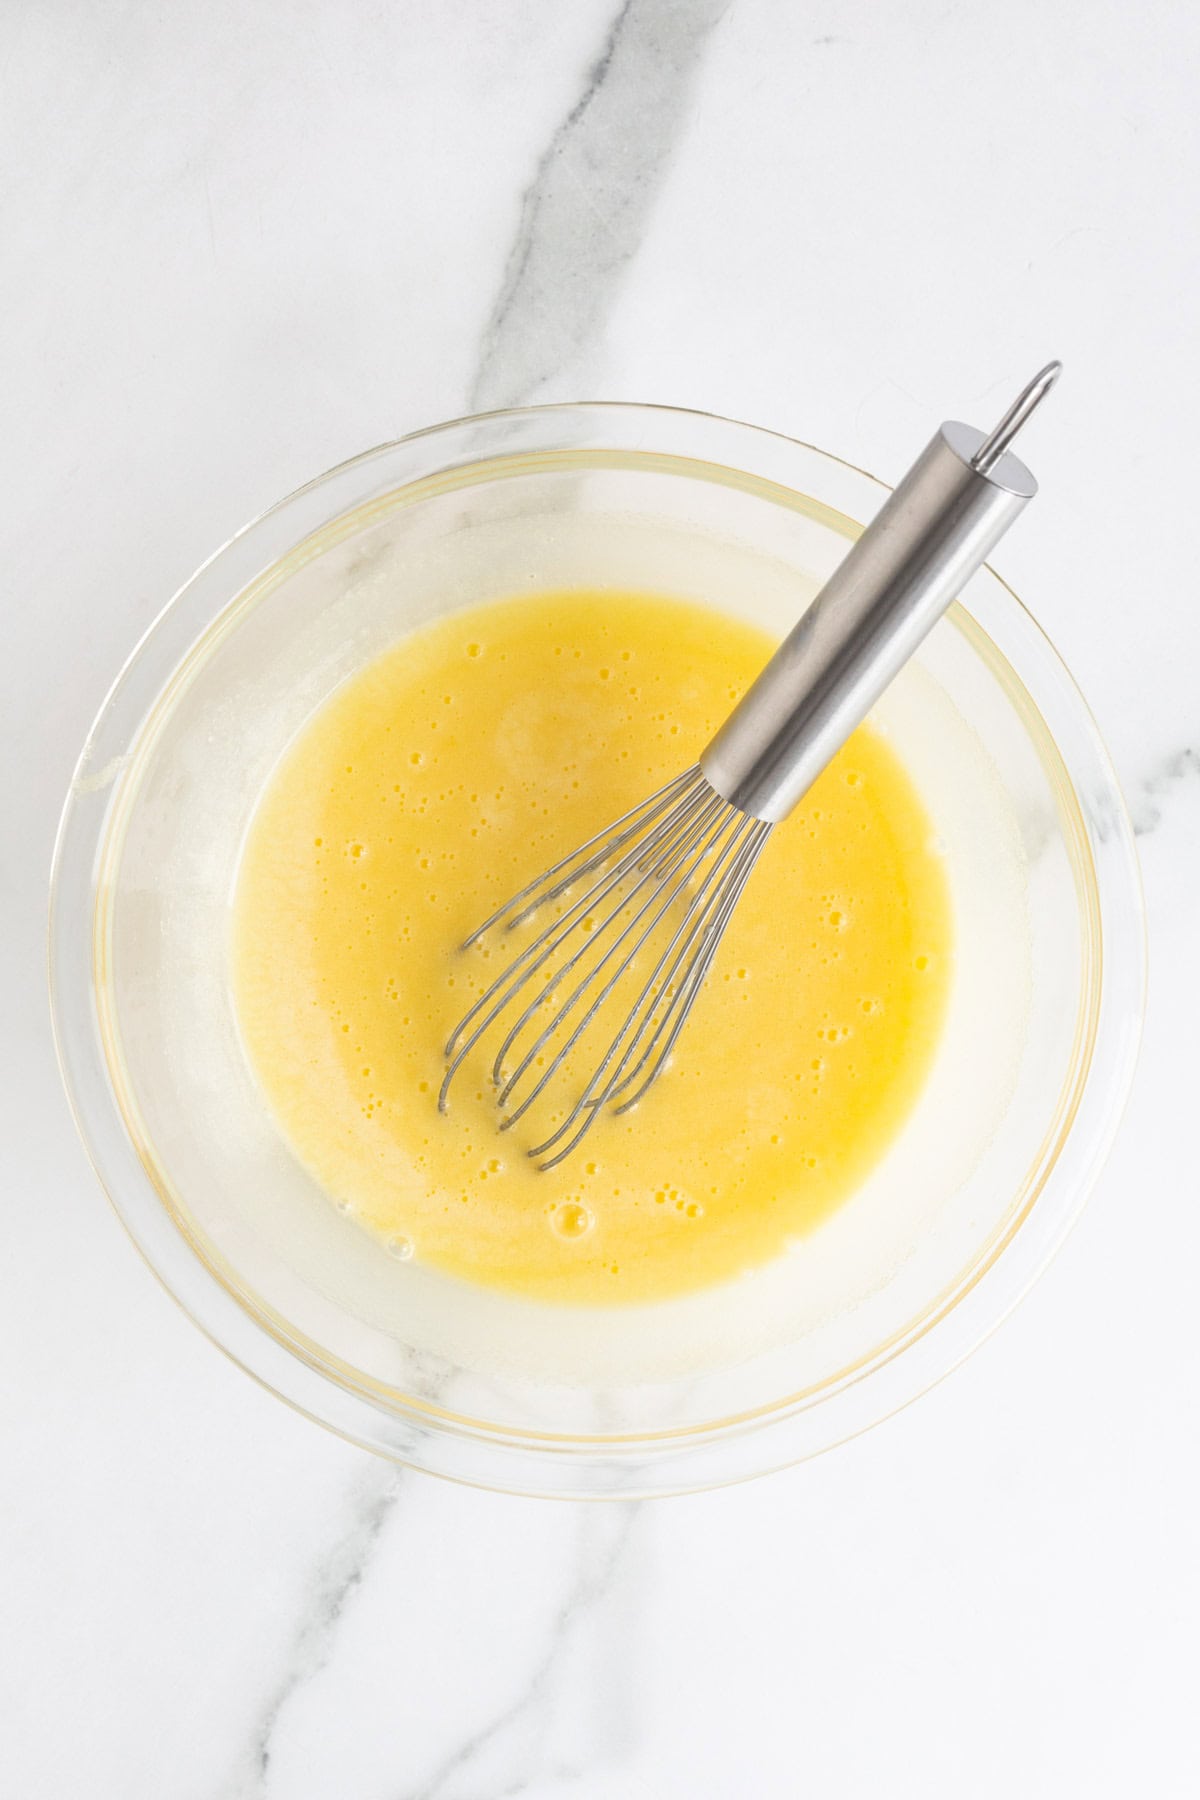
Step 8: While stirring, pour the tempered egg mixture slowly into the remaining heavy cream mixture in the saucepan.
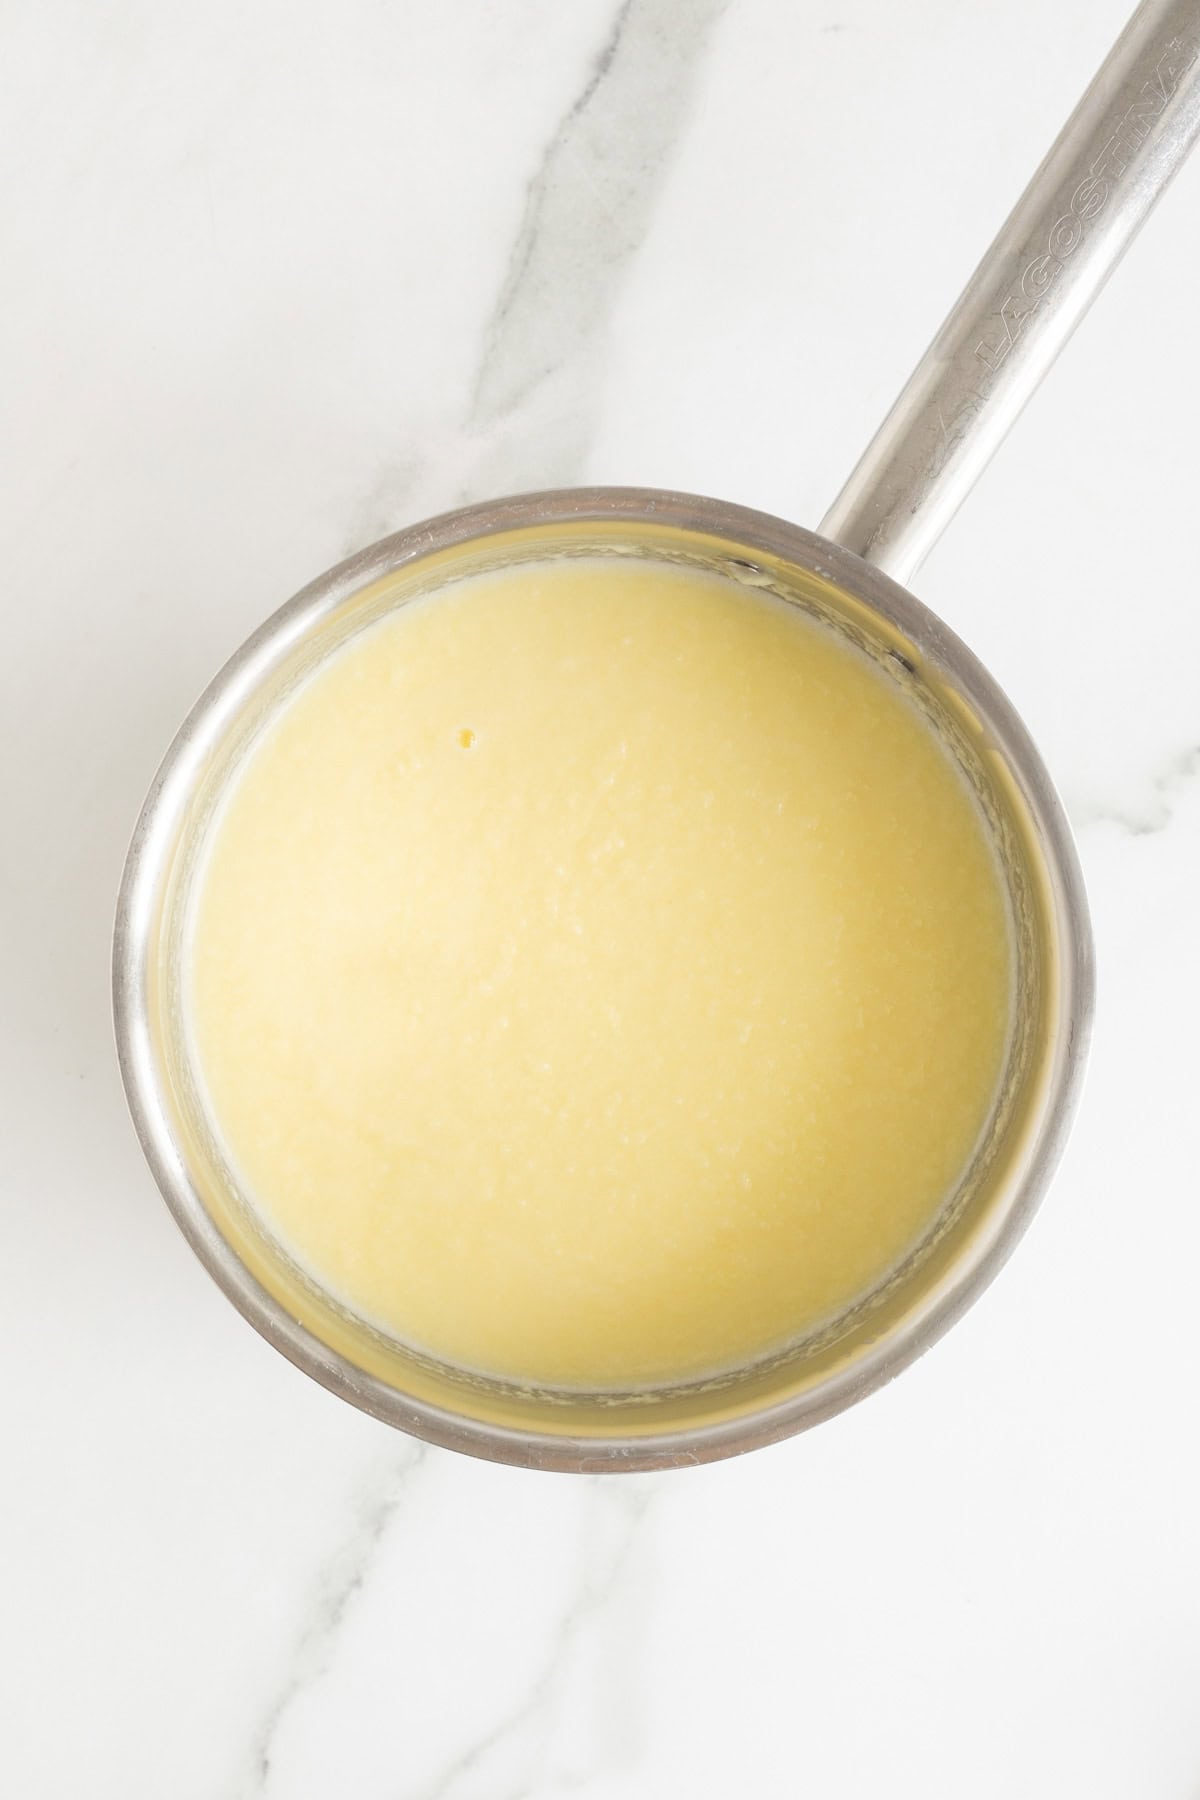
Step 9: Gently heat ice cream base over medium-low heat, stirring constantly (especially the corners of the pot), until thickened and reaches 170F on a digital thermometer. The mixture should look silky and coat the back of a spoon so when you run your finger through it, it doesn’t come back together.
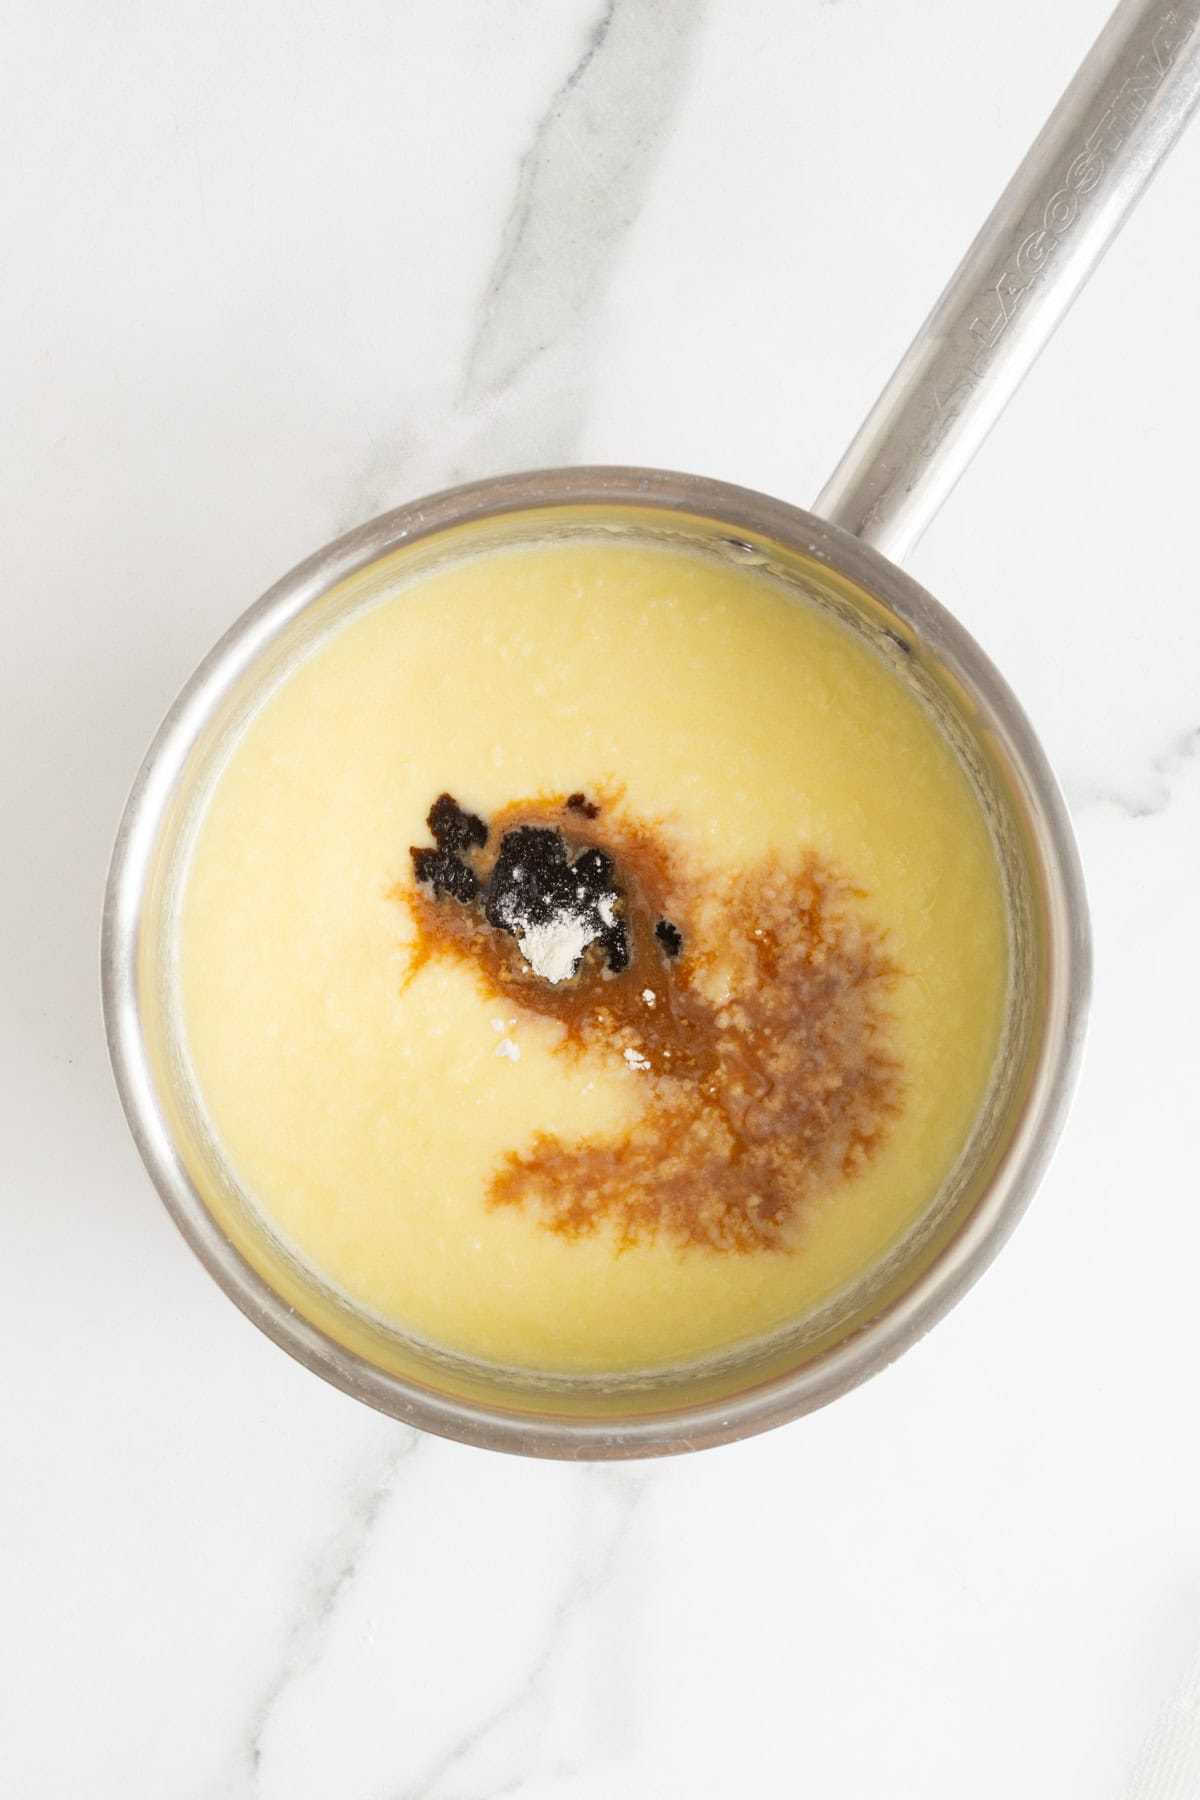
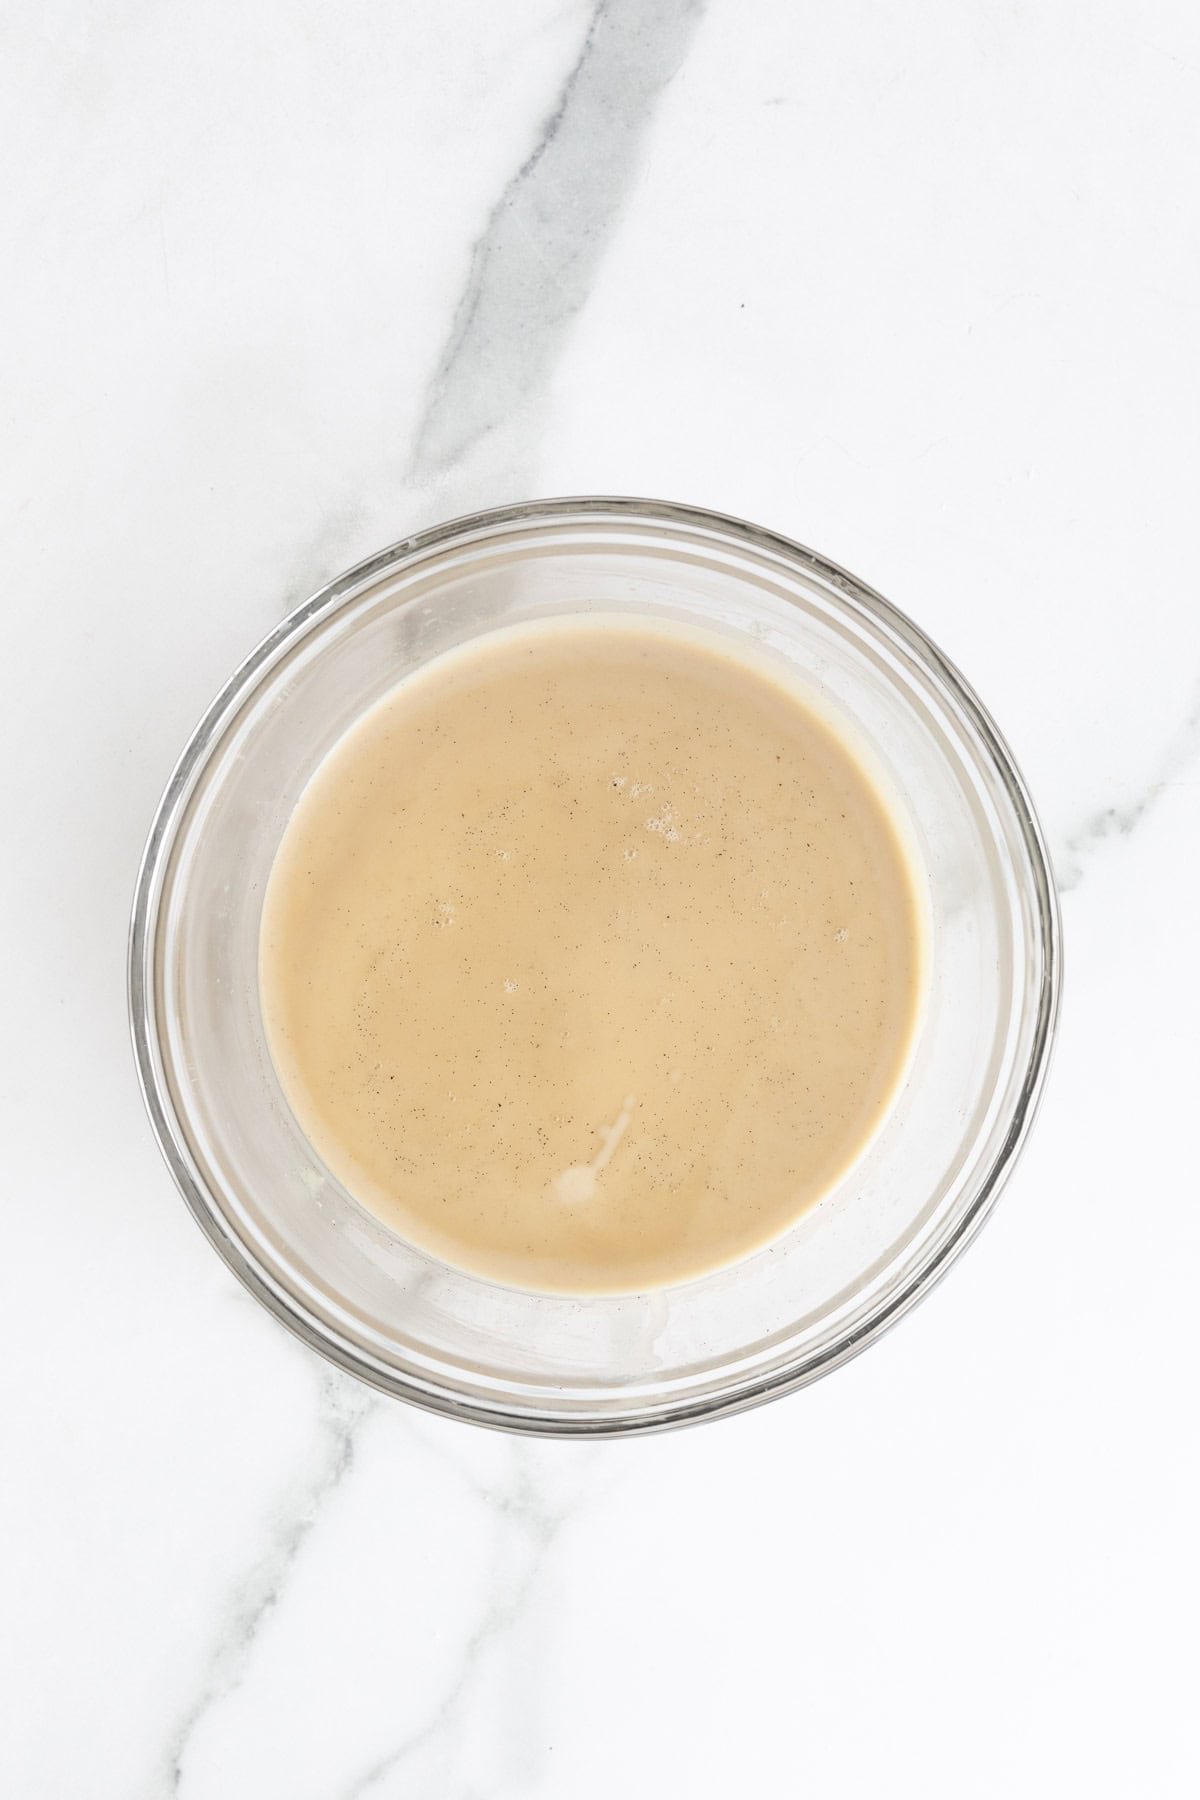
Step 10: Remove from heat and add a small pinch of flour and vanilla.
Chill the Custard and Churn It!
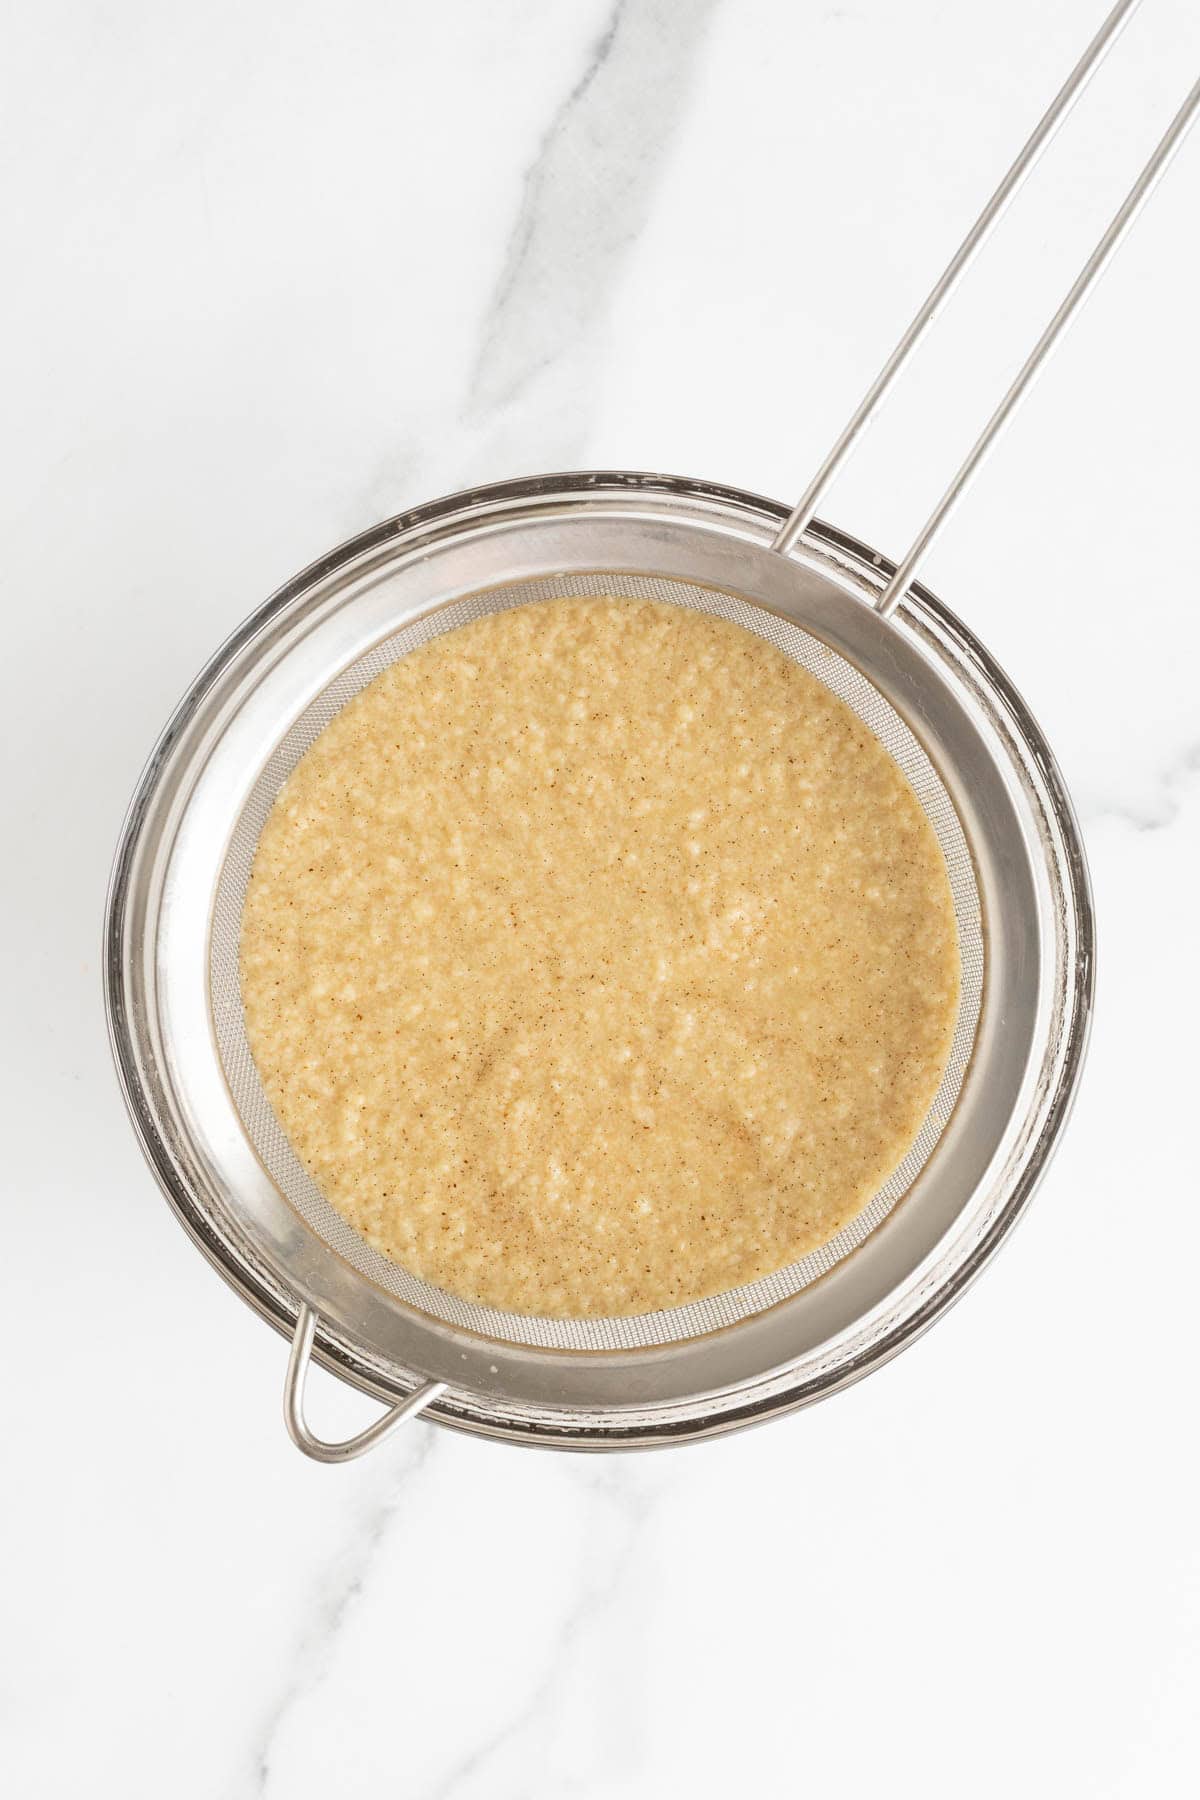
Step 11: Strain through a fine-mesh sieve (to catch any cooked egg pieces).
Step 12: Chill in an ice bath (a bowl set inside of a bowl of ice water) until it’s cooled to room temperature.
Want to Save This Recipe, Boo?
Step 13: Cover with plastic wrap and move into the refrigerator until completely cold.
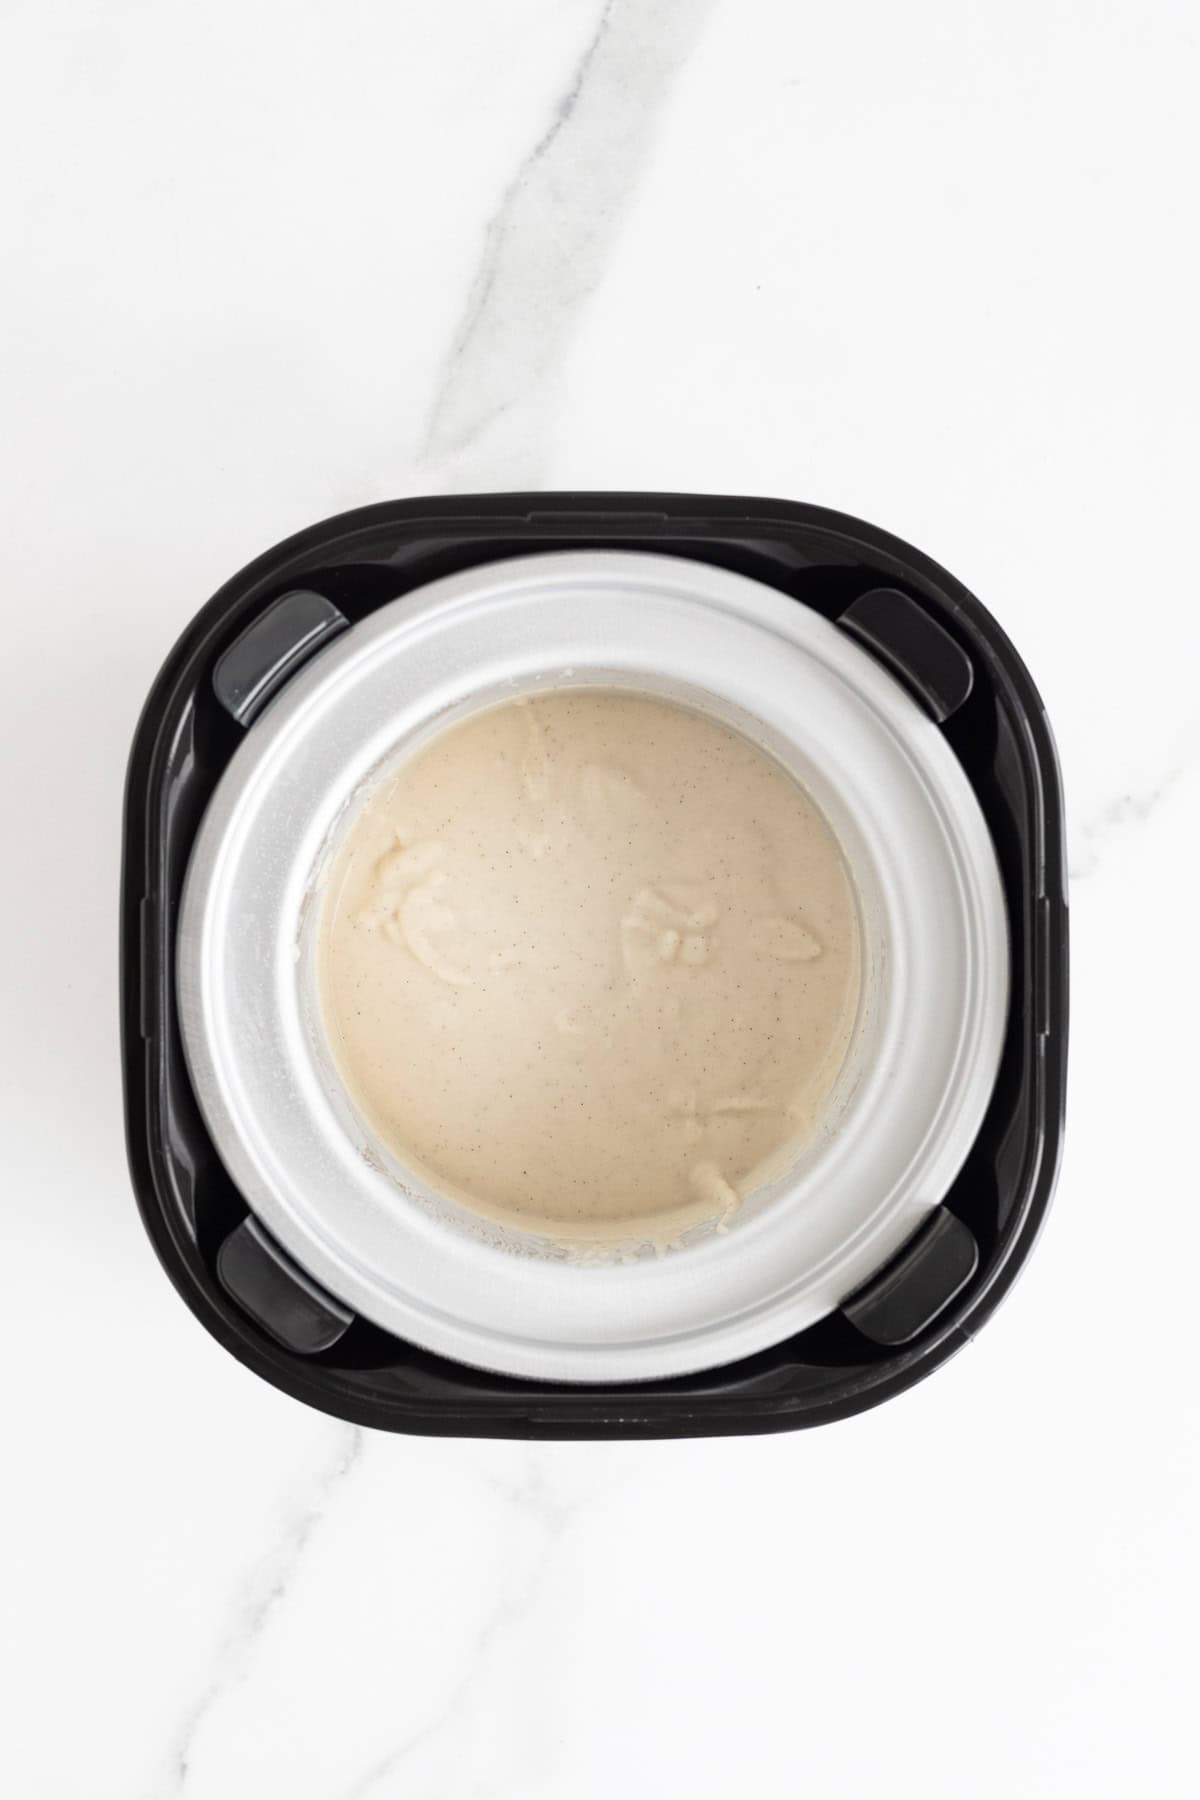
Step 14: Once completely cooled, add your mixture to an ice cream maker according to the manufacturer’s instructions.
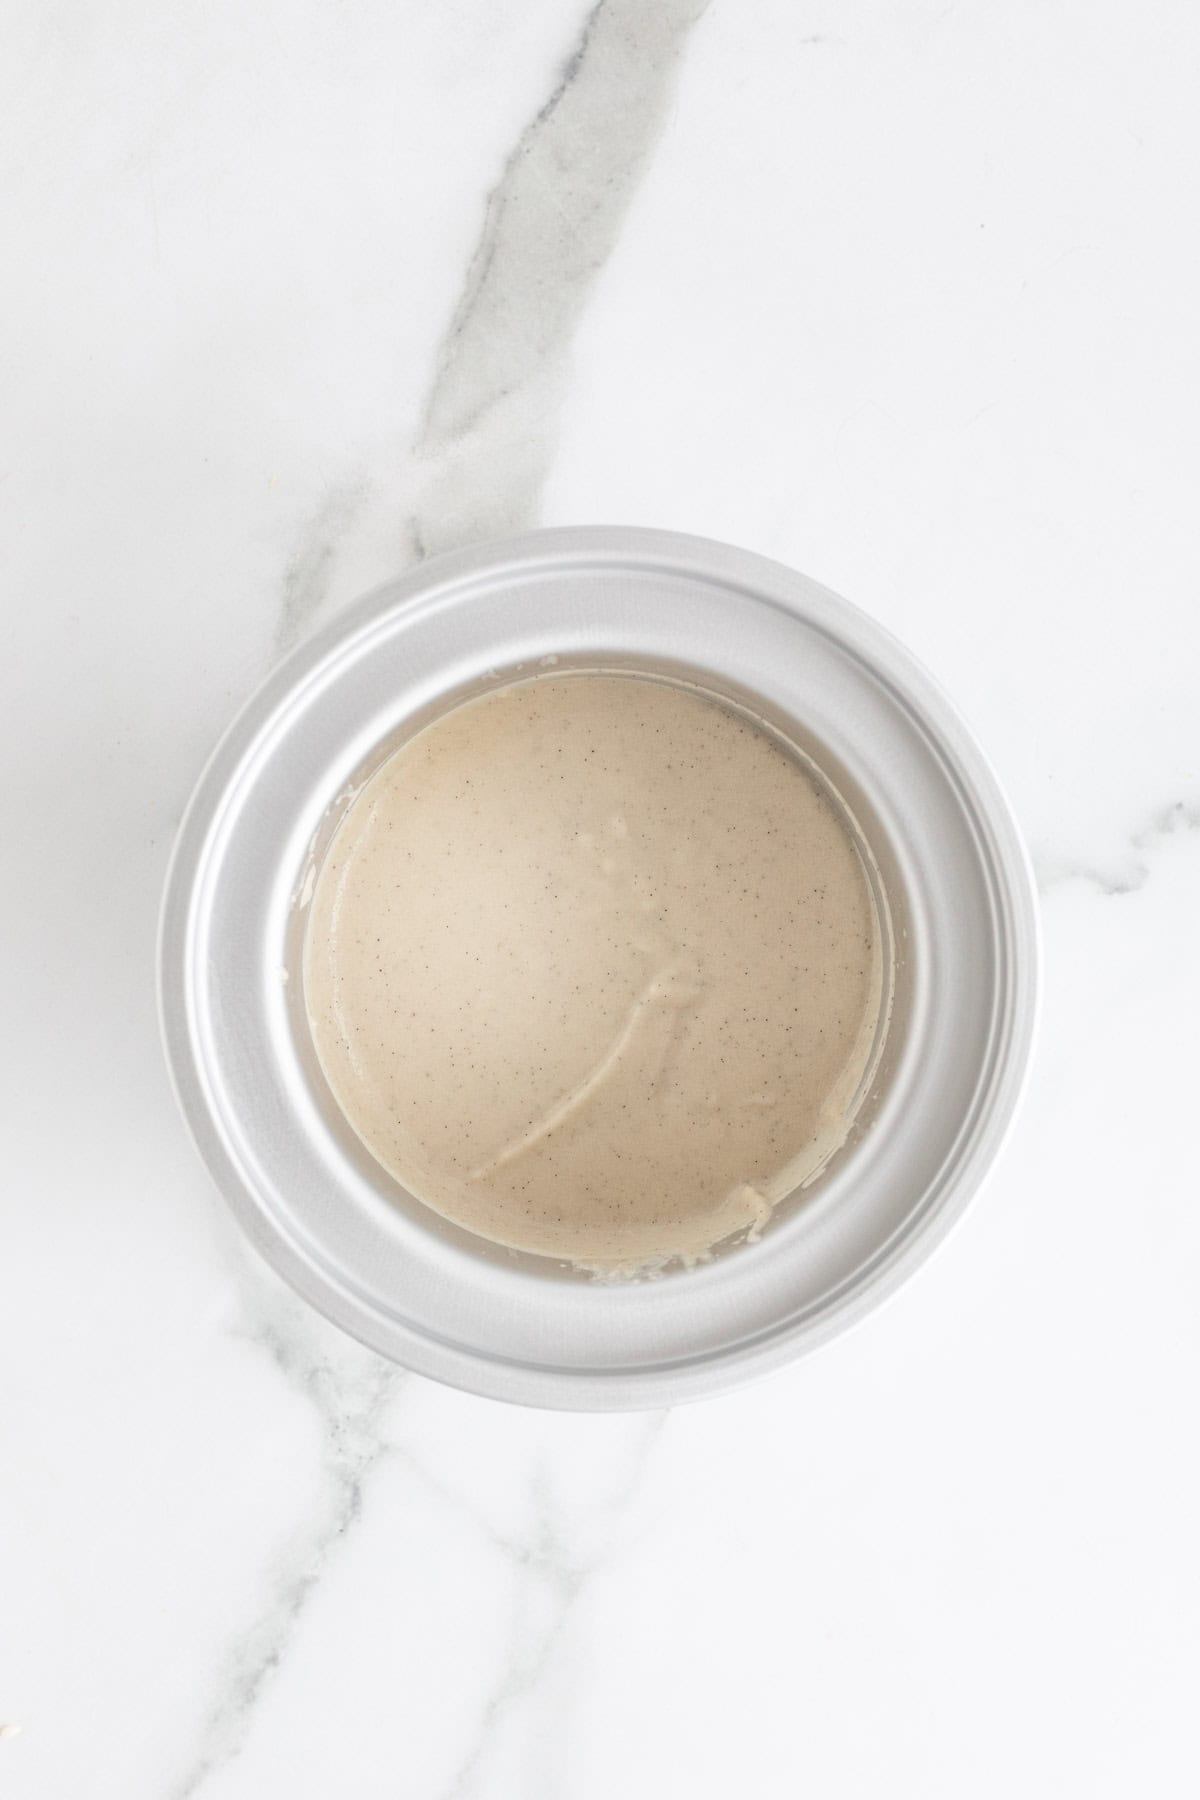
Step 15: Freeze.
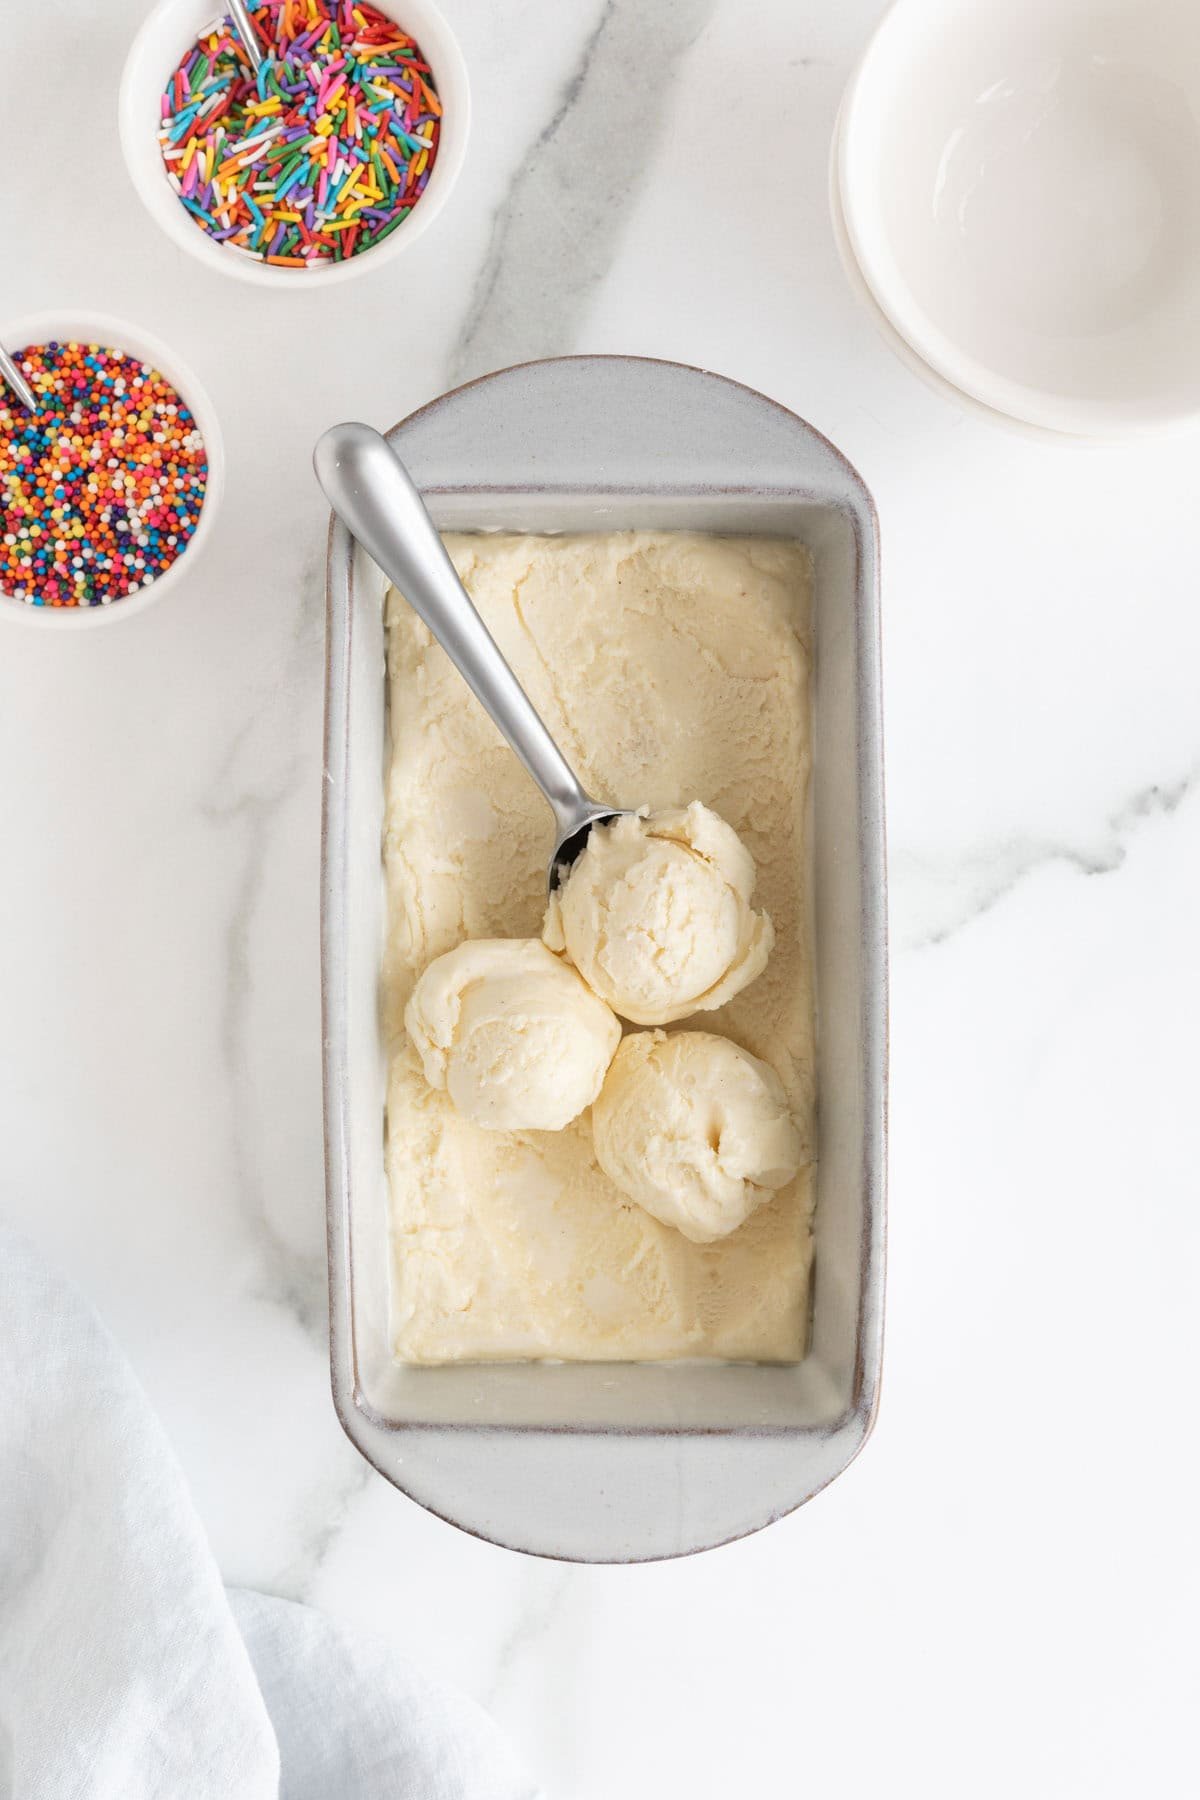
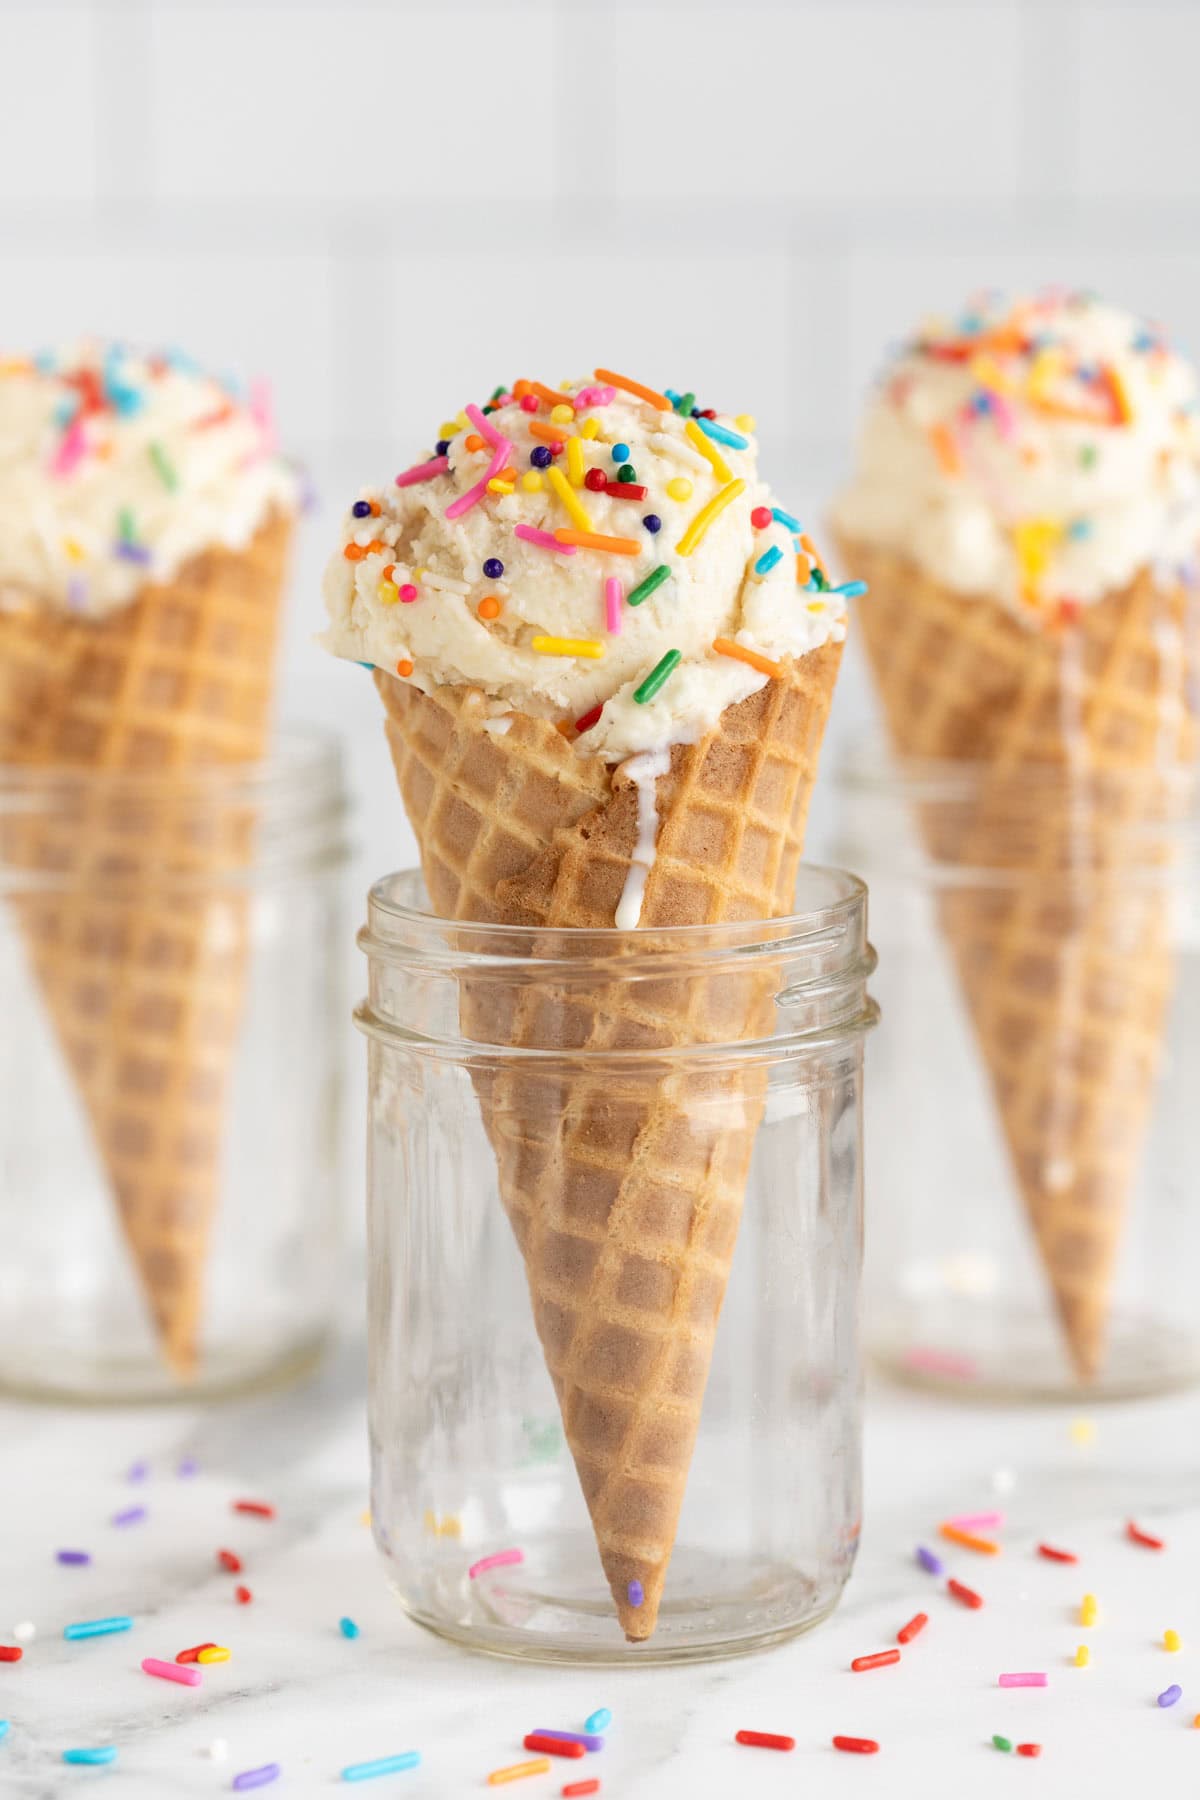
Step 16: Scoop the ice cream, add sprinkles, and enjoy!

Homemade Vanilla Ice Cream Recipe
Want to Save This Recipe, Boo?
Ingredients
- 2 large large eggs
- 4 large egg yolks
- 1 1/2 cups granulated sugar
- 2 cups heavy whipping cream
- 2 cups half and half
- 1 tablespoon pure vanilla extract
- 2 tablespoons vanilla paste
Instructions
- Beat eggs and egg yolks in a medium sized bowl. Next add sugar to the bowl and whisk together.
- Add heavy cream and half and half to a large saucepan and heat gently; do not let come to a boil.
- Temper eggs by slowly pour 1 cup of hot heavy cream mixture into egg mixture while whisking quickly. This will raise the temperature of the eggs carefully without scrambling them. Then while stirring, pour the tempered egg mixture slowly into the remaining heavy cream mixture in the saucepan.
- Gently heat ice cream base over medium low heat, stirring constantly (especially the corners of the pot), until thickened and reaches 170F on a digital thermometer. The mixture should look silky and coat the back of a spoon so when you run your finger through it, it doesn’t come back together.
- Remove from heat and add vanilla.
- Strain through a fine-mesh sieve (to catch any cooked egg pieces) and chill in an ice bath (a bowl set inside of a bowl of ice water) until it’s cooled to room temperature. Then cover with plastic wrap and move into the refrigerator until completely cold, about 2-3 hours.
- Once completely cooled, add your mixture to an ice cream maker according to the manufacturer's instructions and freeze.
Notes
- Cool the custard completely. Don’t rush it boos! if it’s even a little warm, you’ll end up with melted soup in your machine instead of creamy ice cream.
- Temper the eggs slowly. Drizzle that hot cream in real slow while whisking fast. This keeps the eggs smooth and custardy, not scrambled.
- Strain the custard. Please don’t skip this. Even if you think you nailed the custard, straining guarantees a silky-smooth base.
- Freeze the bowl ahead. Pop the bowl of your ice cream maker in the freezer for 15 to 24 hours before using. If it’s not solid, your ice cream won’t churn right.
Nutrition
Recipe Tips
- Freeze your ice cream maker bowl in advance. It should chill for 15-24 hours before churning. If it’s not frozen solid, the ice cream won’t set. This is VERY important boos!
- Temper your eggs. Drizzle the hot cream in slow while whisking fast. This keeps the eggs smooth and not scrambled.
- Strain the custard. Please, for the love of ice cream, don’t skip it. It catches any cooked egg bits and keeps the base silky.
- Cool your custard completely. It needs to be cold before churning or you’ll end up with sweet soup, not creamy vanilla ice cream.
Serving Ideas
- Toppings: Pile it high with rainbow sprinkles (my fave), crushed Oreos, mini peanut butter cups, chocolate ganache, caramel sauce, strawberry sauce, cherries jubilee, toffee bits, fresh fruit, or a handful of candied pecans or walnuts.
- Brownies: Scoop it over a warm skillet brownie, chewy brownies, or blondies for the ultimate dessert mashup.
- Pound Cakes: Perfect with a slice of chocolate pound cake, cranberry bundt cake, or my five flavor pound cake for a sweet and creamy combo.
- Pies: Add a scoop on top of warm peach cobbler, apple pie, sweet potato pie, or pecan pie.
- Cookies: Sandwich it between chocolate chip cookies, chocolate sugar cookies, or shortbread for a homemade vanilla ice cream sandwich!
Recipe Help
YES! Immediately remove it from the heat and pour it into a blender or use an immersion blender. Blend it until smooth, then strain it through a fine-mesh sieve. The texture might not be exactly the same, but it’ll still taste yum.
You can, but it’s hard work boos. After chilling the custard, pour it into a shallow pan and freeze. Every 30 minutes, stir it vigorously with a fork or whisk to break up the ice crystals. Do this until it firms up, about 3 hours.
Let your ice cream sit out at room temp for 5-10 minutes before scooping. Run your scoop under hot water, then dry it off. It’ll glide right through like butter!
 pinterest
Yum! Sounds very similar for my mother’s recipe! Great job!
Oh yeah Bill! Then you know it is a hit!
Vanilla ice cream is my favorite! I like that you can add anything you want to it. Your recipe sounds like a hit!
I agree! It is my fave too and I adore adding in new flavors. This is a great base recipe!
This looks incredible. I can’t even take it. Real deal vanilla ice cream could probably sustain me for months at a time. Super pretty pics, too, lady. <3
I have never thought to add flour to ice cream but this is a great idea! I’ll take a big slice of pie with a scoop of this ice cream, please!
Oh yeah! It was something I never thought of adding before until my grandmother told me she added it to hers.
Jocelyn, I’m pretty sure I just died and went to Pie A La Mode Heaven! This ice cream looks like the perfect consistency (and I may just have to borrow that flour trick). What a beautiful way to top your peach pie!
Hooray! Yes the flour trick does work wonders.
Oh this looks creamy good!!! And your big mama is just like my mom on the phone when I ask how to recreate some of our African dishes. No measurements lol! The best way to cook 🙂
Yep no measurements so you get as close as you possibly can right? Ha
your big mama sounds like my mom. . my mom never measures anything and just knows exactly how much to throw in. I love that. and I love this ice cream!!! looks pretty fabulous to me . . and love the idea of using flour!
I seriously wonder how we actually got the recipes passed down without real measurements right? But I do love how instinctive their style of cooking is. The flour trick is awesome!
I with Stephanie, it doesn’t get much better than homemade pie with a scoop of homemade ice cream on top!
I agree with you both! There is truly nothing better!
Homemade pie with a scoop of homemade ice cream on top? Perfection. I want it for second breakfast.
I think homemade pie and ice cream should be mandatory for breakfast!
I had my heart set on making my grandmother’s “New York Ice Cream” for the fourth but after pulling out the original directions, I had forgotten you add whipped egg whites to the cold custard before you freeze it. As we were having 20+ people over, I decided against the raw egg whites. Glad you got close with yours. It’s a keeper for the simple fact that you got it written down!
Indeed! You just get as close as you possibly can right?