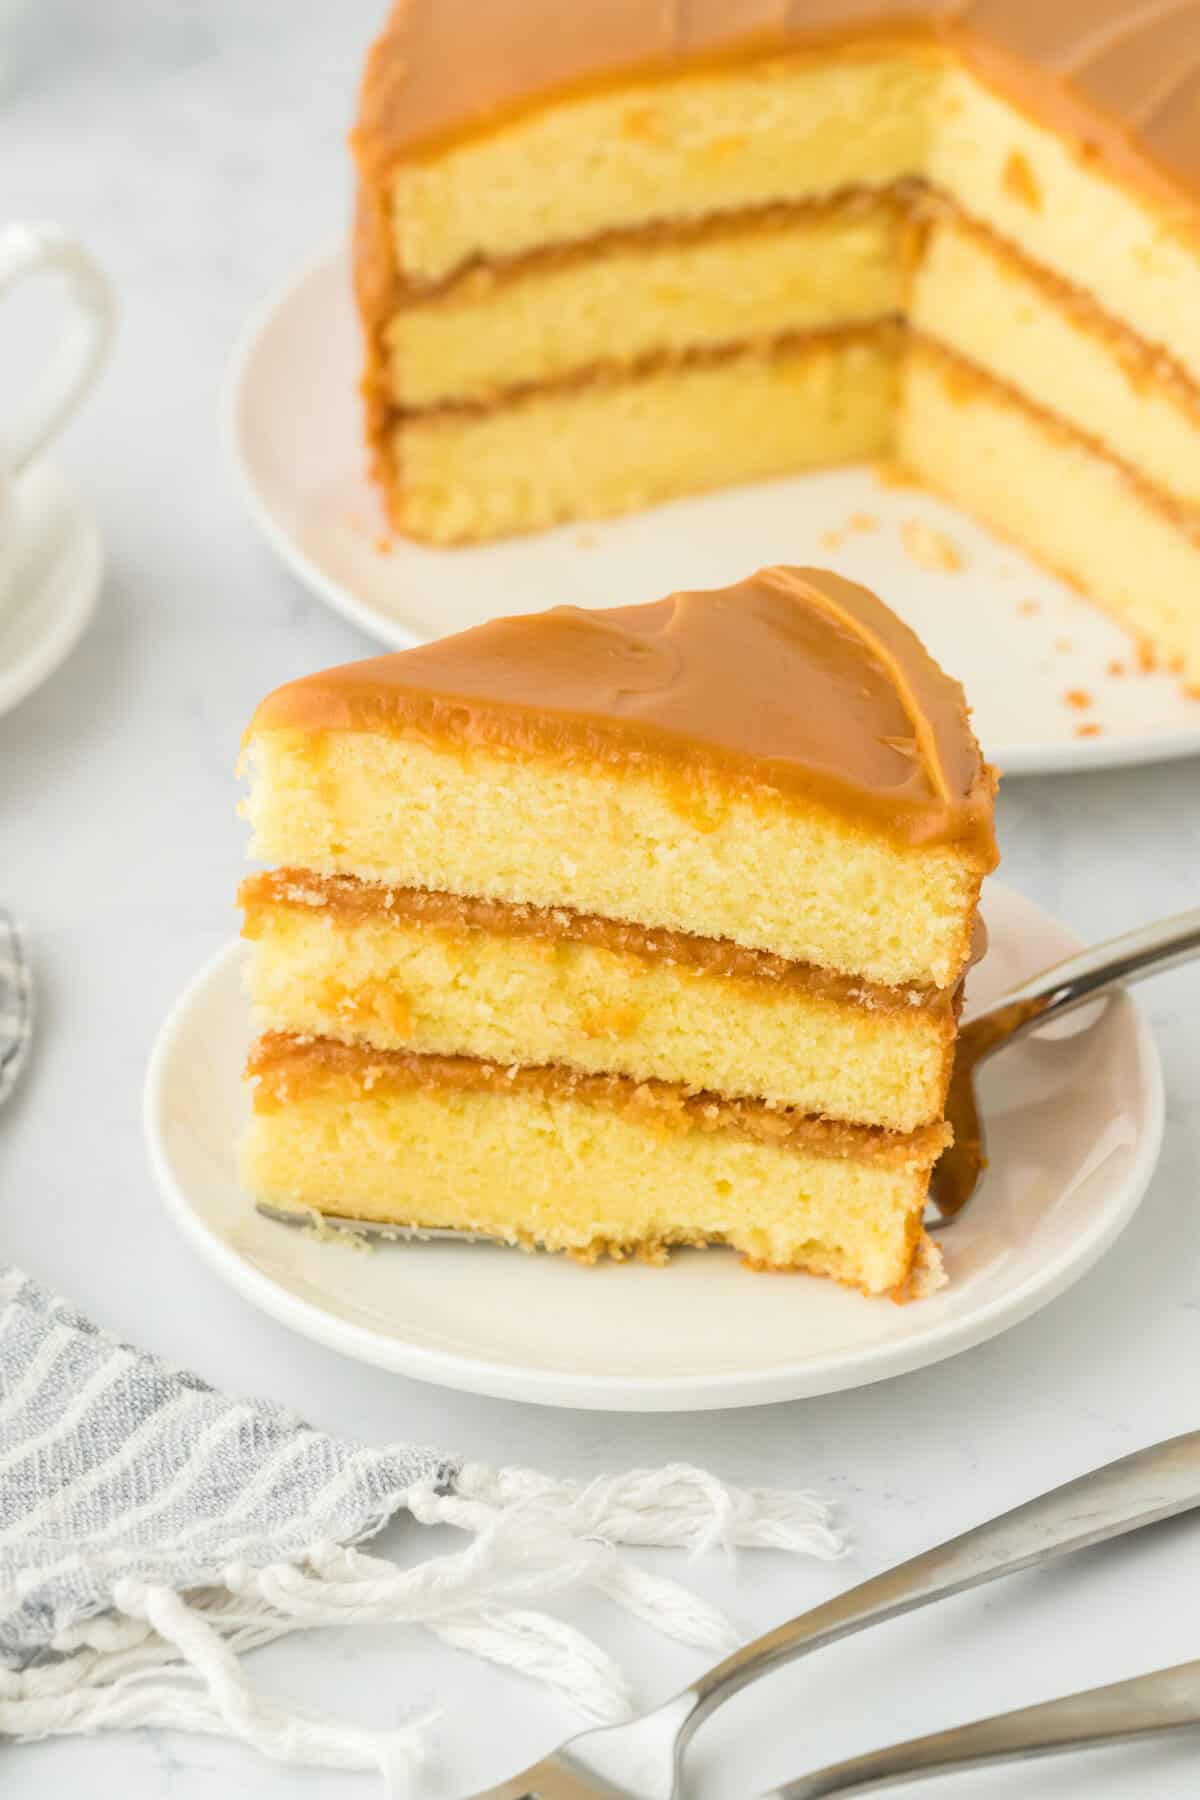
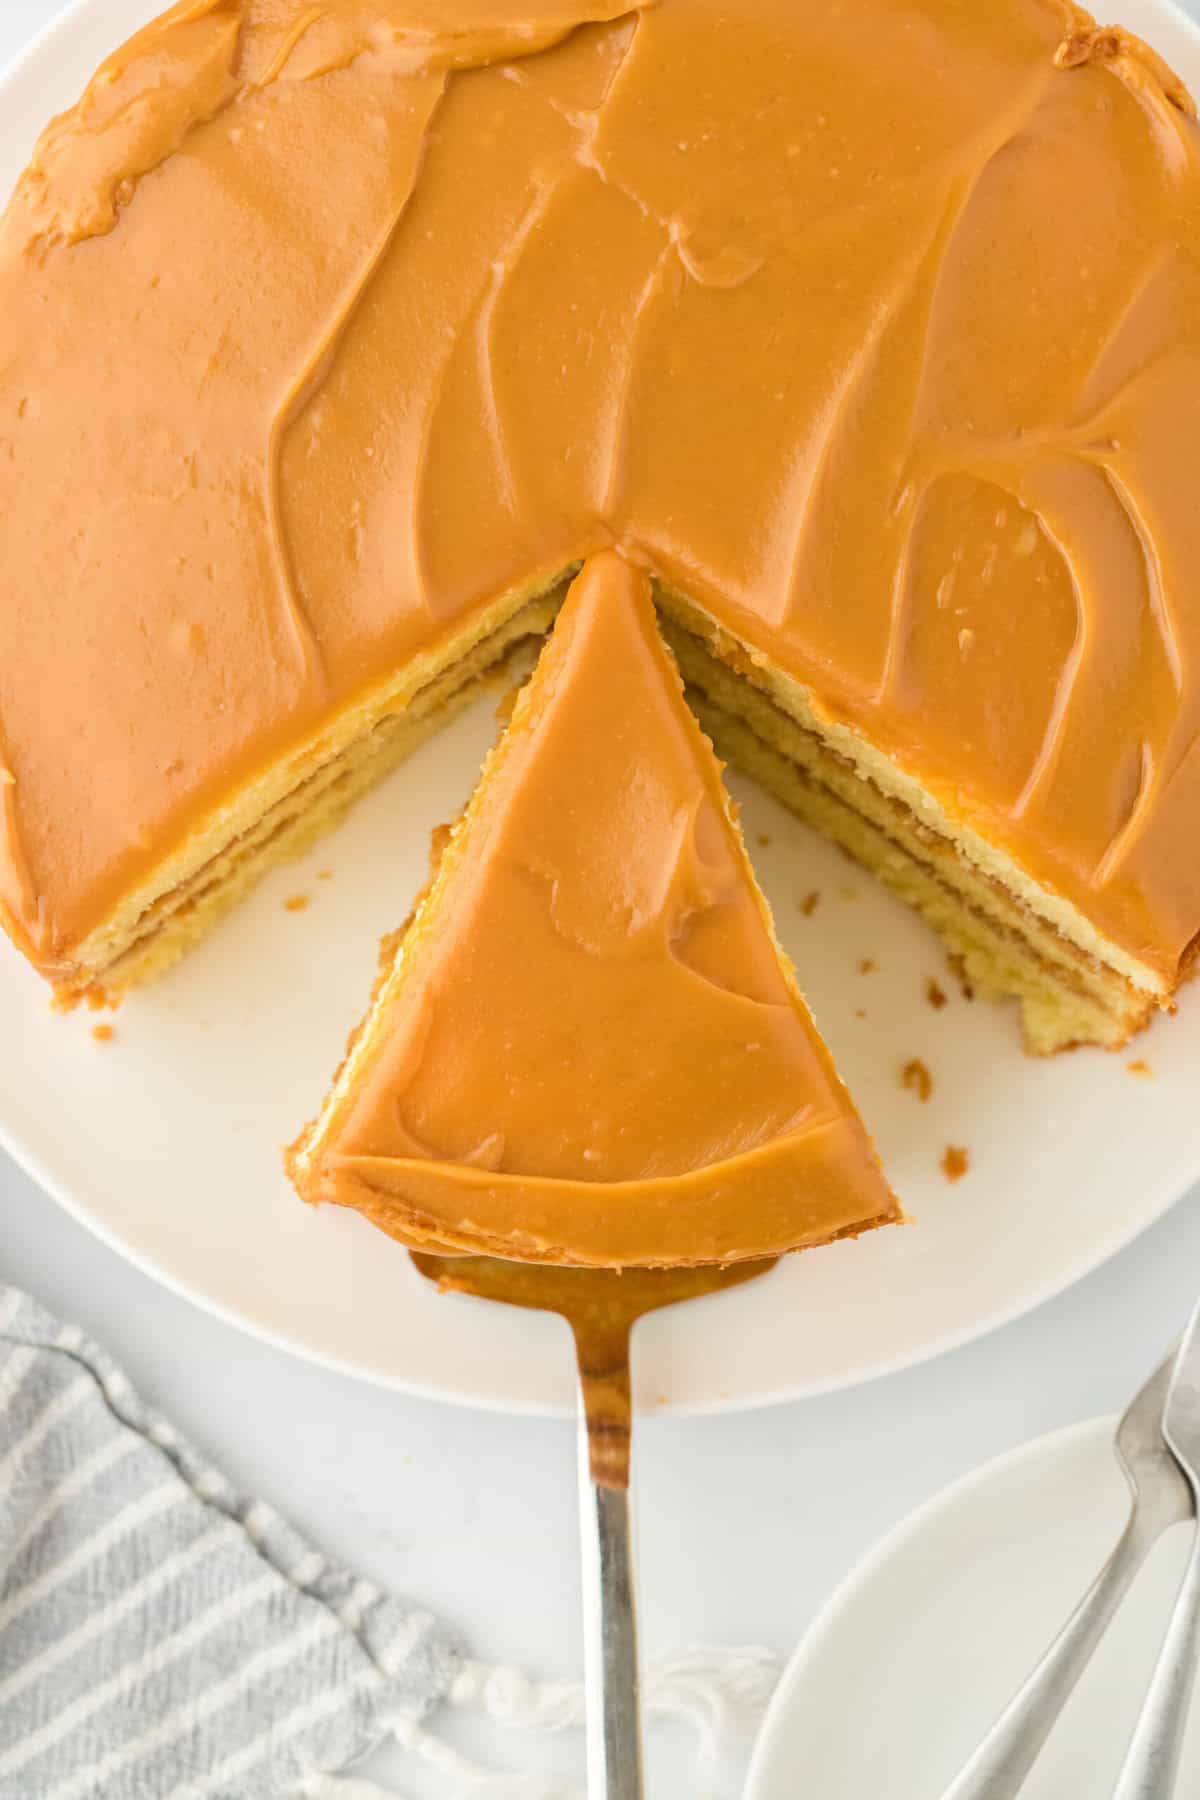
There’s a reason why my Real Deal Caramel Cake is sought after by everybody on the web. It’s legit the best, hands down! It’s been the number one caramel cake recipe online for over 10 years, and here’s why! It’s got a moist buttery yellow cake base made from scratch that’s coated in the ultimate caramel icing from my Mississippi bred Aunt Beverly who handed it down to me. The icing is cooked slowly over the stove until it reaches the perfect sticky silky texture. This is about as authentic of a recipe as you will find, plus I have a video to help you along with step by step images. They don’t call it the real deal for nothin!
This post may contain affiliate links. Read our disclosure policy.
Want to Save This Recipe, Boo?

They’re Lovin’ It! Here’s what They’re Sayin’:
“The absolute best! Ten toes down! Make me feel like I am back down south at my cousin Bert house who kept a caramel cake on her table for every family occasion!”
—Janel robinson
Folks from the South know that an old fashioned caramel cake is a delicacy. It’s a classic that deserves time, love and true skill. It ain’t to be played around with. That’s why Southern folks know that everybody can’t make this recipe. I couldn’t wait to share this recipe with you that’s been in my family for as long as I can remember. The funny thing about caramel cake is a lot of people did not become familiar with it until the movie “The Help” mentioned it. After the movie was released in theaters, I saw tons of replicas of this classic cake online but none of these recipes were as authentic as I thought they should be. Let me show you why they call this one the “real deal”.
The Lowdown of The Best Caramel Cake

Cuisine Inspiration: Southern Classic Done the Right Way!
Primary Cooking Method: Baking and Simmering
Dietary Info: Contains Dairy and Gluten boos
Key Flavor: Buttery, Moist, Vanilla Vibes with Sweet, Gooey, Rich, Caramel Vibes
Skill Level: Intermediate to Advanced (this ain’t for the faint of heart!)
The Moistest Cake Ever
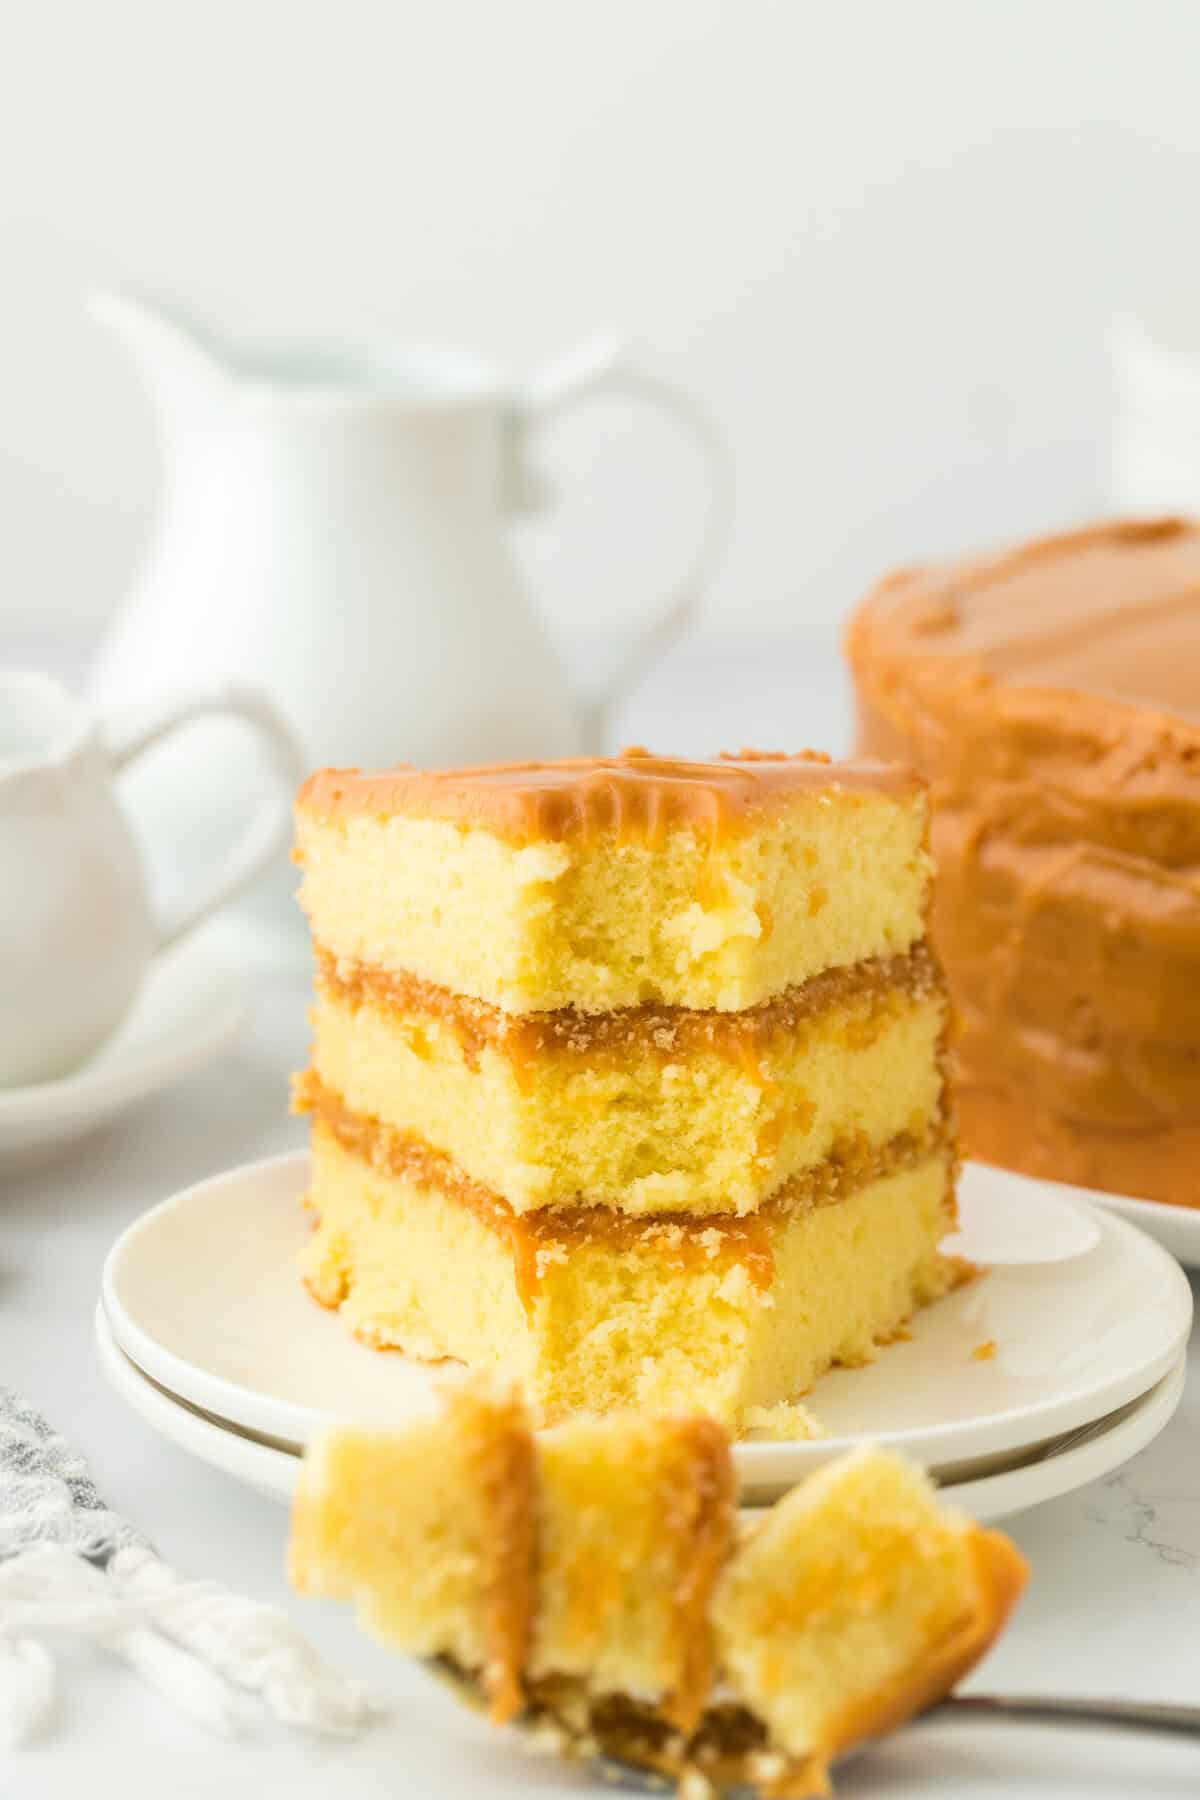
If you make this right and don’t overbake, you will have a super tender, light yellow butter cake that is the perfect foundation for that insanely addictive caramel.
A Caramel Icing that Straight Up Hits!
Listen, this icing is the thing that keeps folks coming back asking you how you made it! It takes patience and commitment. While it’s a simple recipe with simple ingredients, you gotta be all in on making it just right.
No Shortcuts!
My southern caramel cake recipe is all from scratch with no shortcuts. We play no games here. If you see one of those recipes online that tell you brown sugar goes in caramel, run don’t walk! That ain’t it boos! This is how you make caramel cake like the Southern old schoolers do.
Ingredients You Will Need To Make Southern Caramel Cake From Scatch
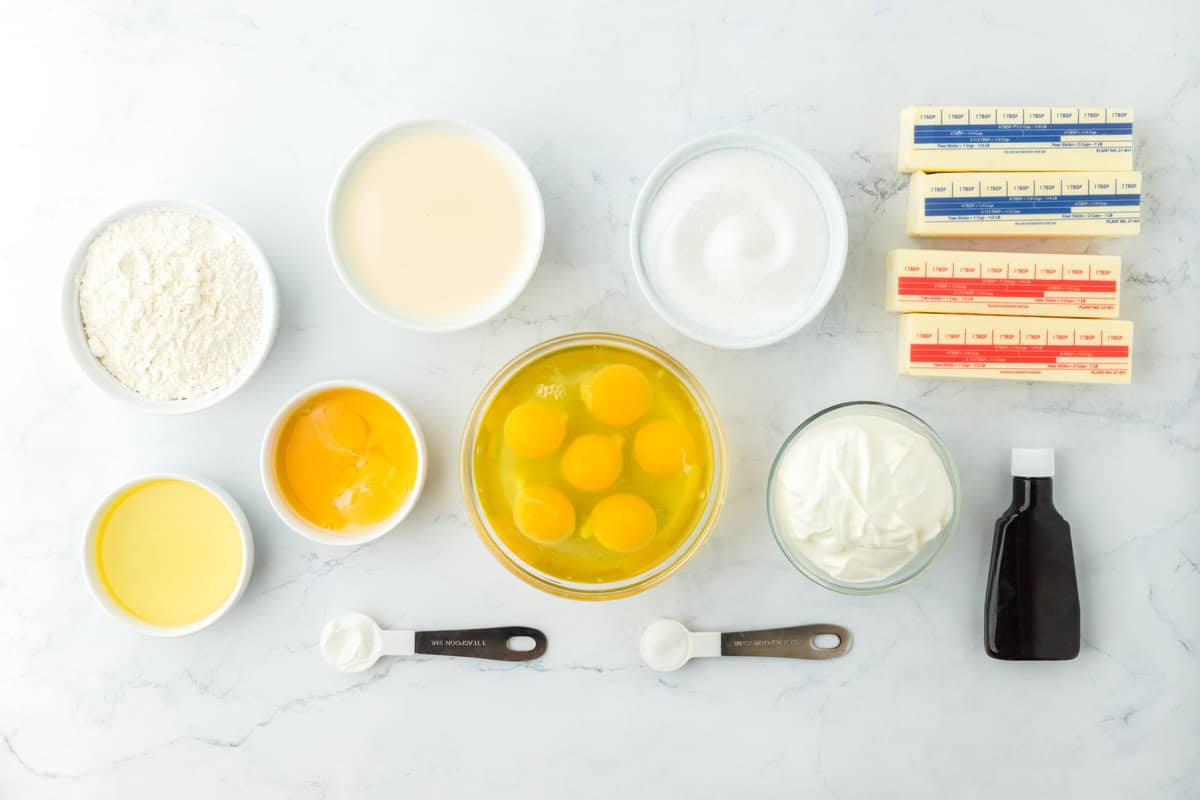
For the Moist Caramel Cake Batter
- Butter: This is gonna give our cake that buttery, tender crumb. And it needs to be room temperature boos. Grab unsalted so you can control the salt content here.
- Vegetable oil: Truth be told, butter cakes can sometimes dry out if you let them overbake slightly so I give y’all some insurance by adding just a little neutral flavored oil in to keep it moist.
- Granulated sugar: Creamed with that butter, sugar gives structure and texture as well as the perfect amount of sweetness.
- Flour: Cake flour is the move here so our cake doesn’t develop too much gluten and get tough. We lighten the texture by sifting it too!
- Eggs: They bind the cake together and give structure while also adding rich flavor and color too! Egg yolks have more moisture than egg whites so we add a couple in.
- Baking powder, baking soda and salt: These give our cake some lift so it rises and is fluffy while also providing a bit of flavor. Don’t ever forget to sprinkle a pinch of salt in any dessert you make.
- Sour cream: This is gonna give this cake so much moisture and a bit of tangy flavor.
- Heavy Whipping Cream: This adds more richness and moisture to our cake base.
- Vanilla extract: Grab the very best you can find since the quality will dictate how much of that wonderful aromatic vanilla vibe you get in your finished product.
For the Caramel Cake Icing
- Butter: We use salted here. This is the base of our caramel and nothing adds better richness than real butter.
- Evaporated Milk: This is gonna give that creaminess and smooth silky texture once that caramel thickens.
- Granulated Sugar: If it ain’t sticky and sweet, it ain’t caramel. Gotta add that sugar boos!
- Vanilla extract: Yep, that vanilla has to show up again to enhance that final flavor with some slight aromatic notes.
How to Make Caramel Cake
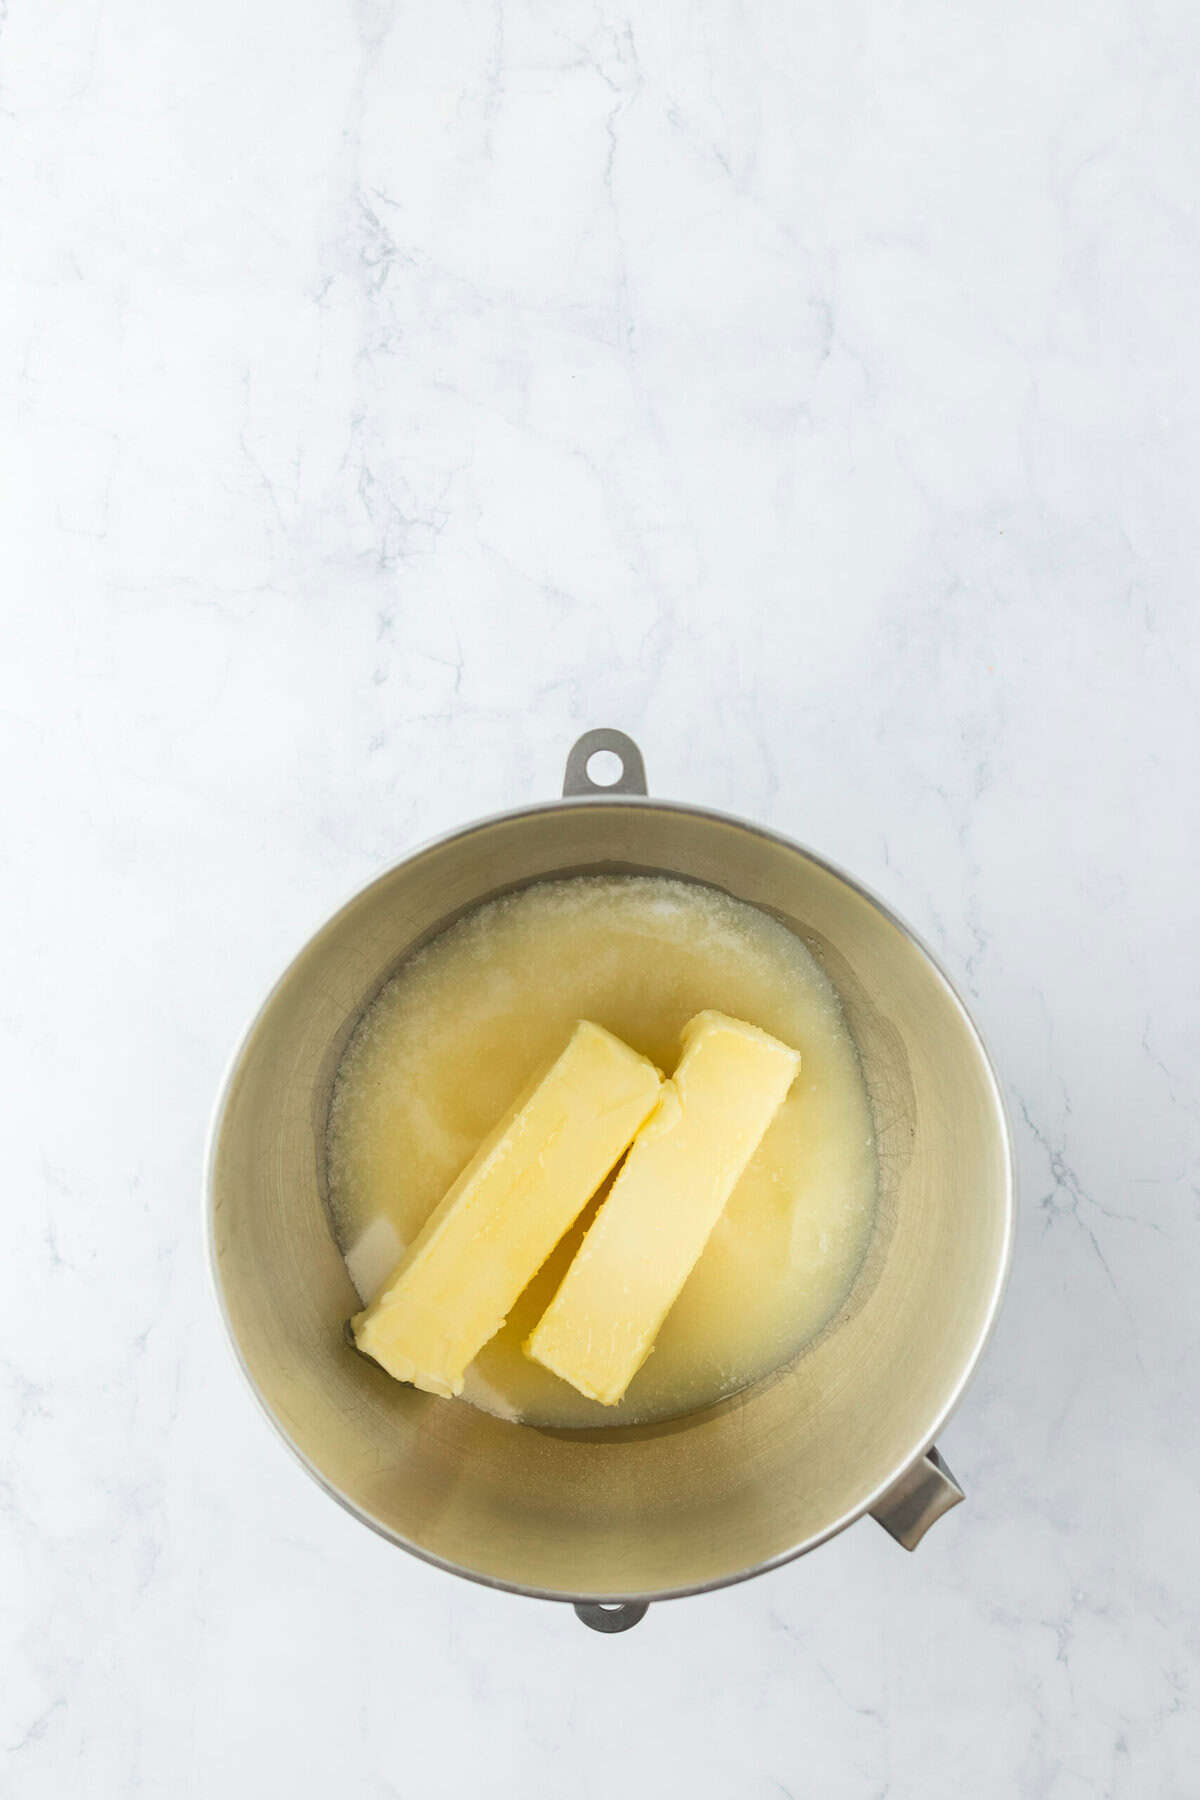
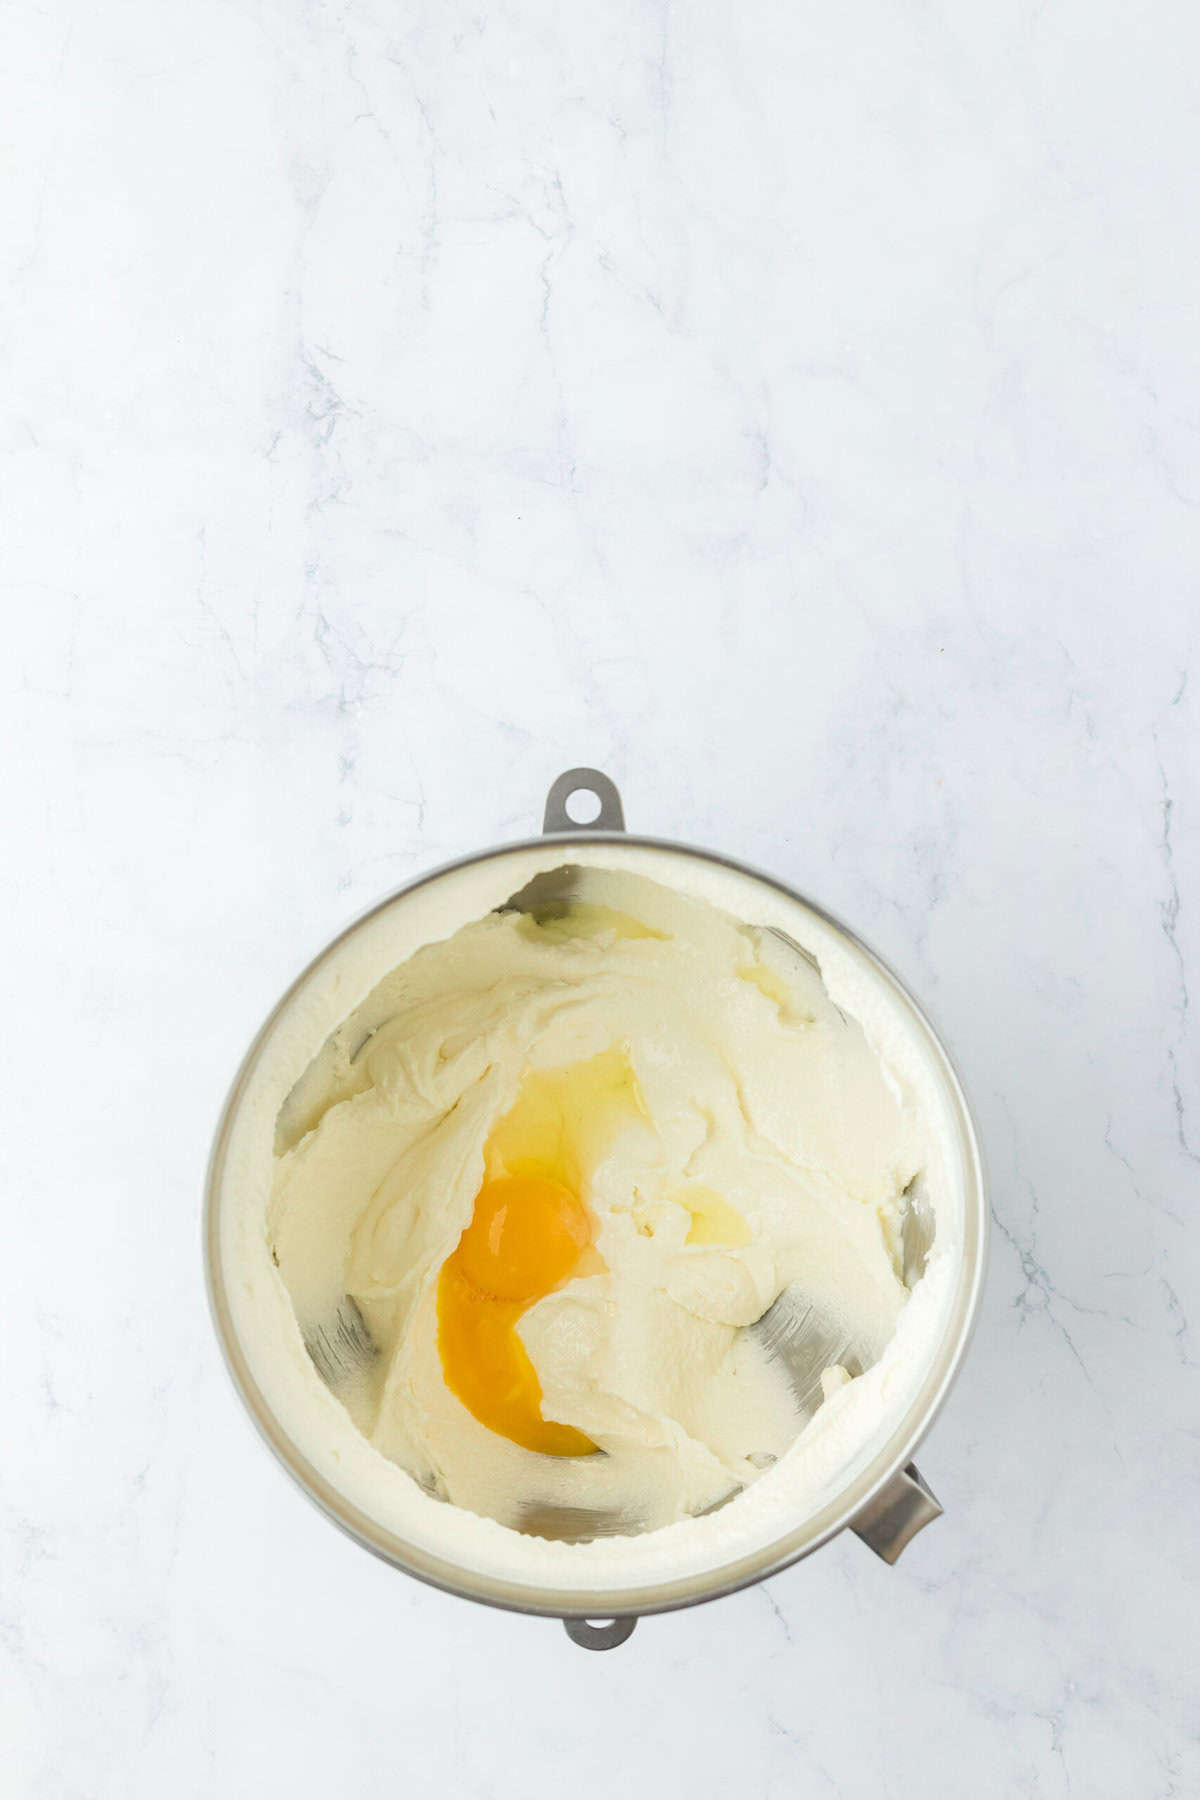
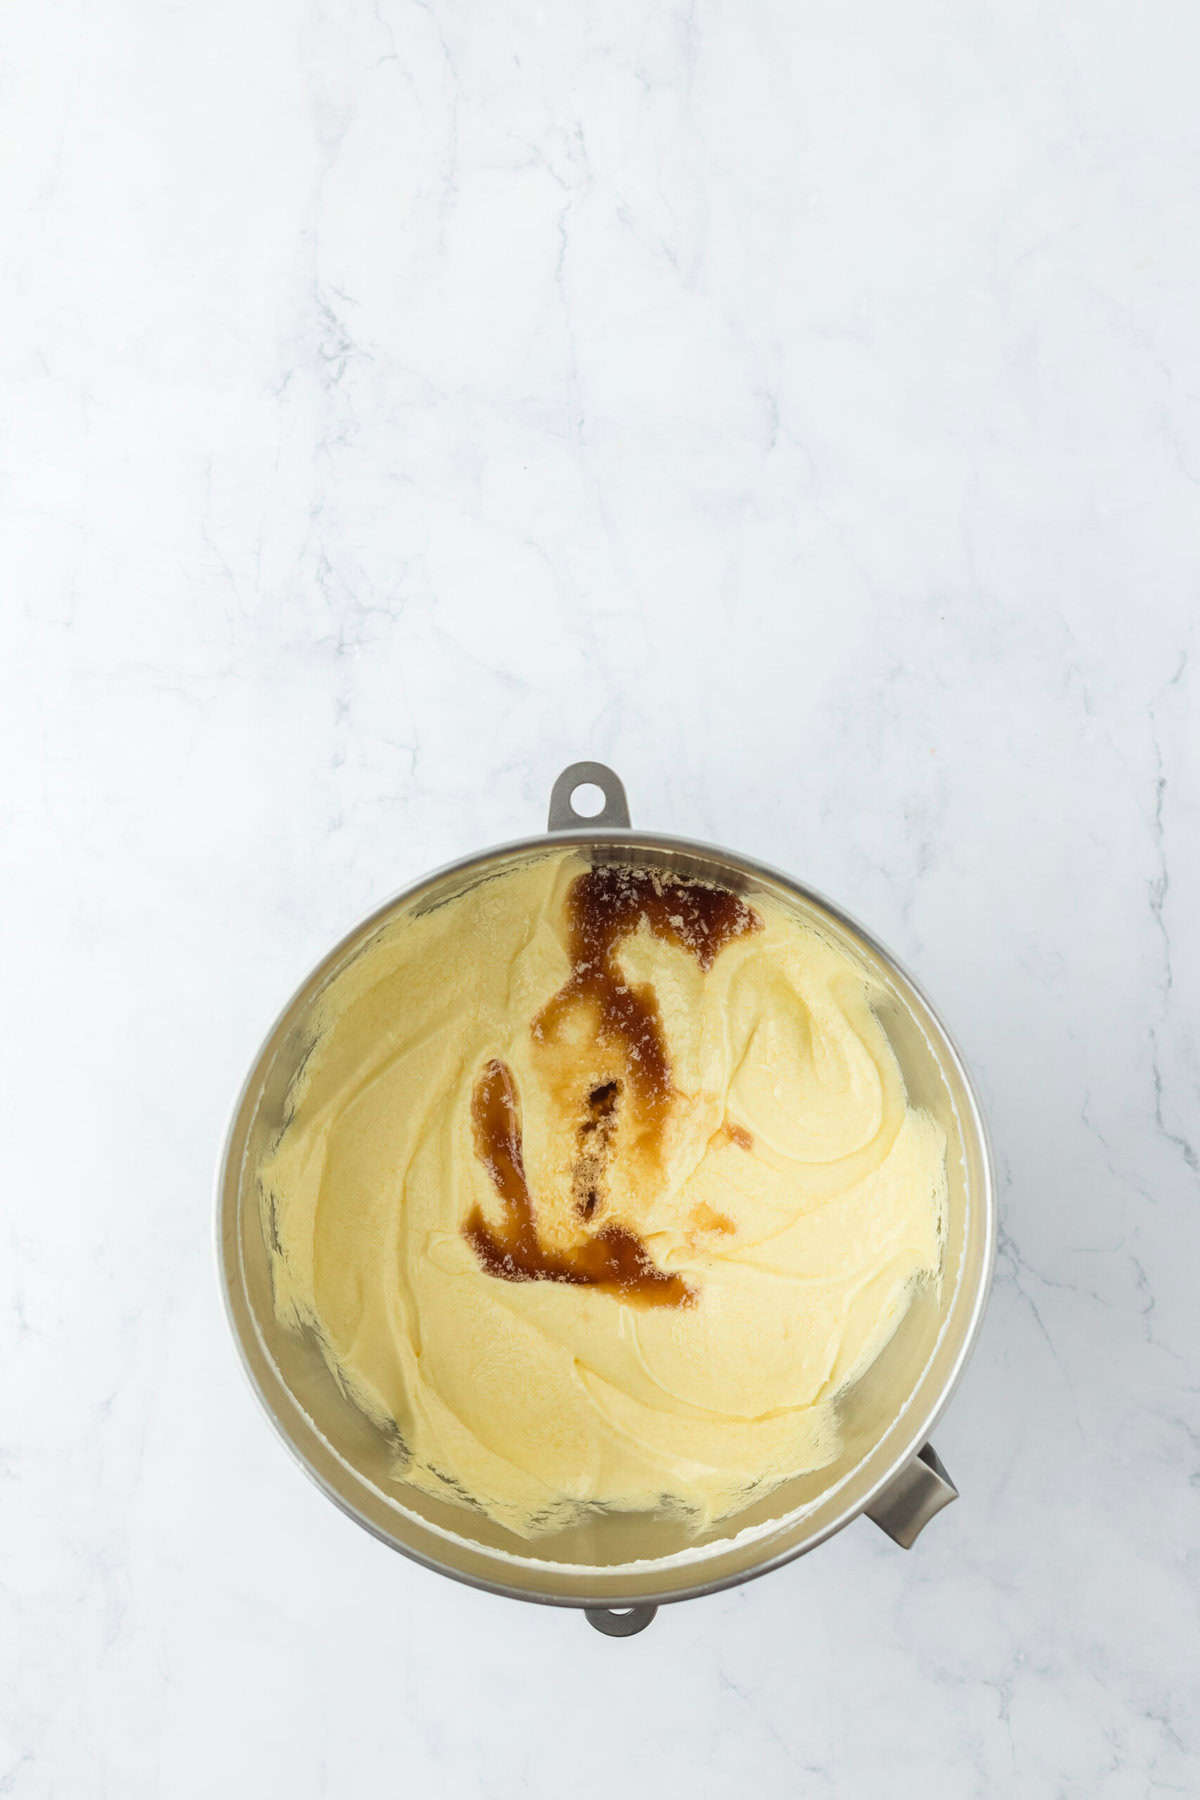
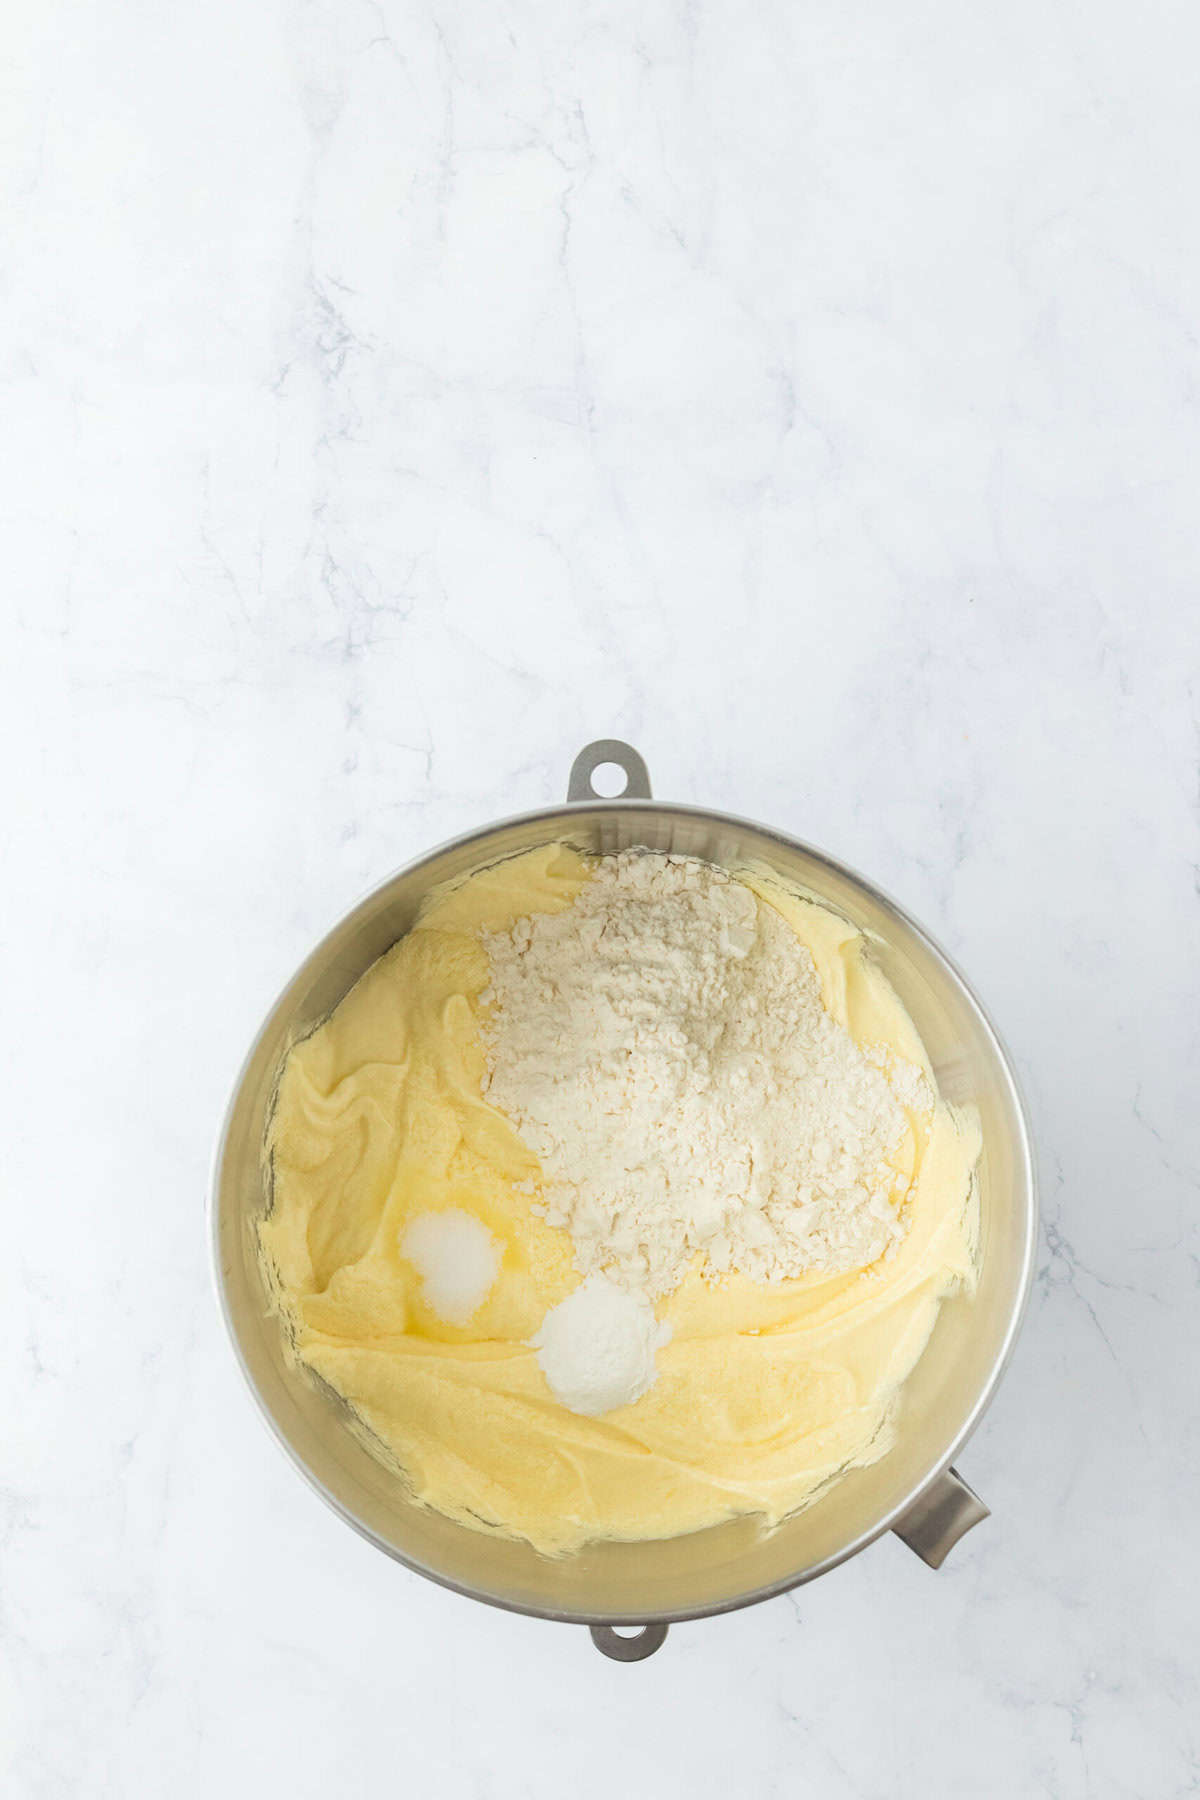
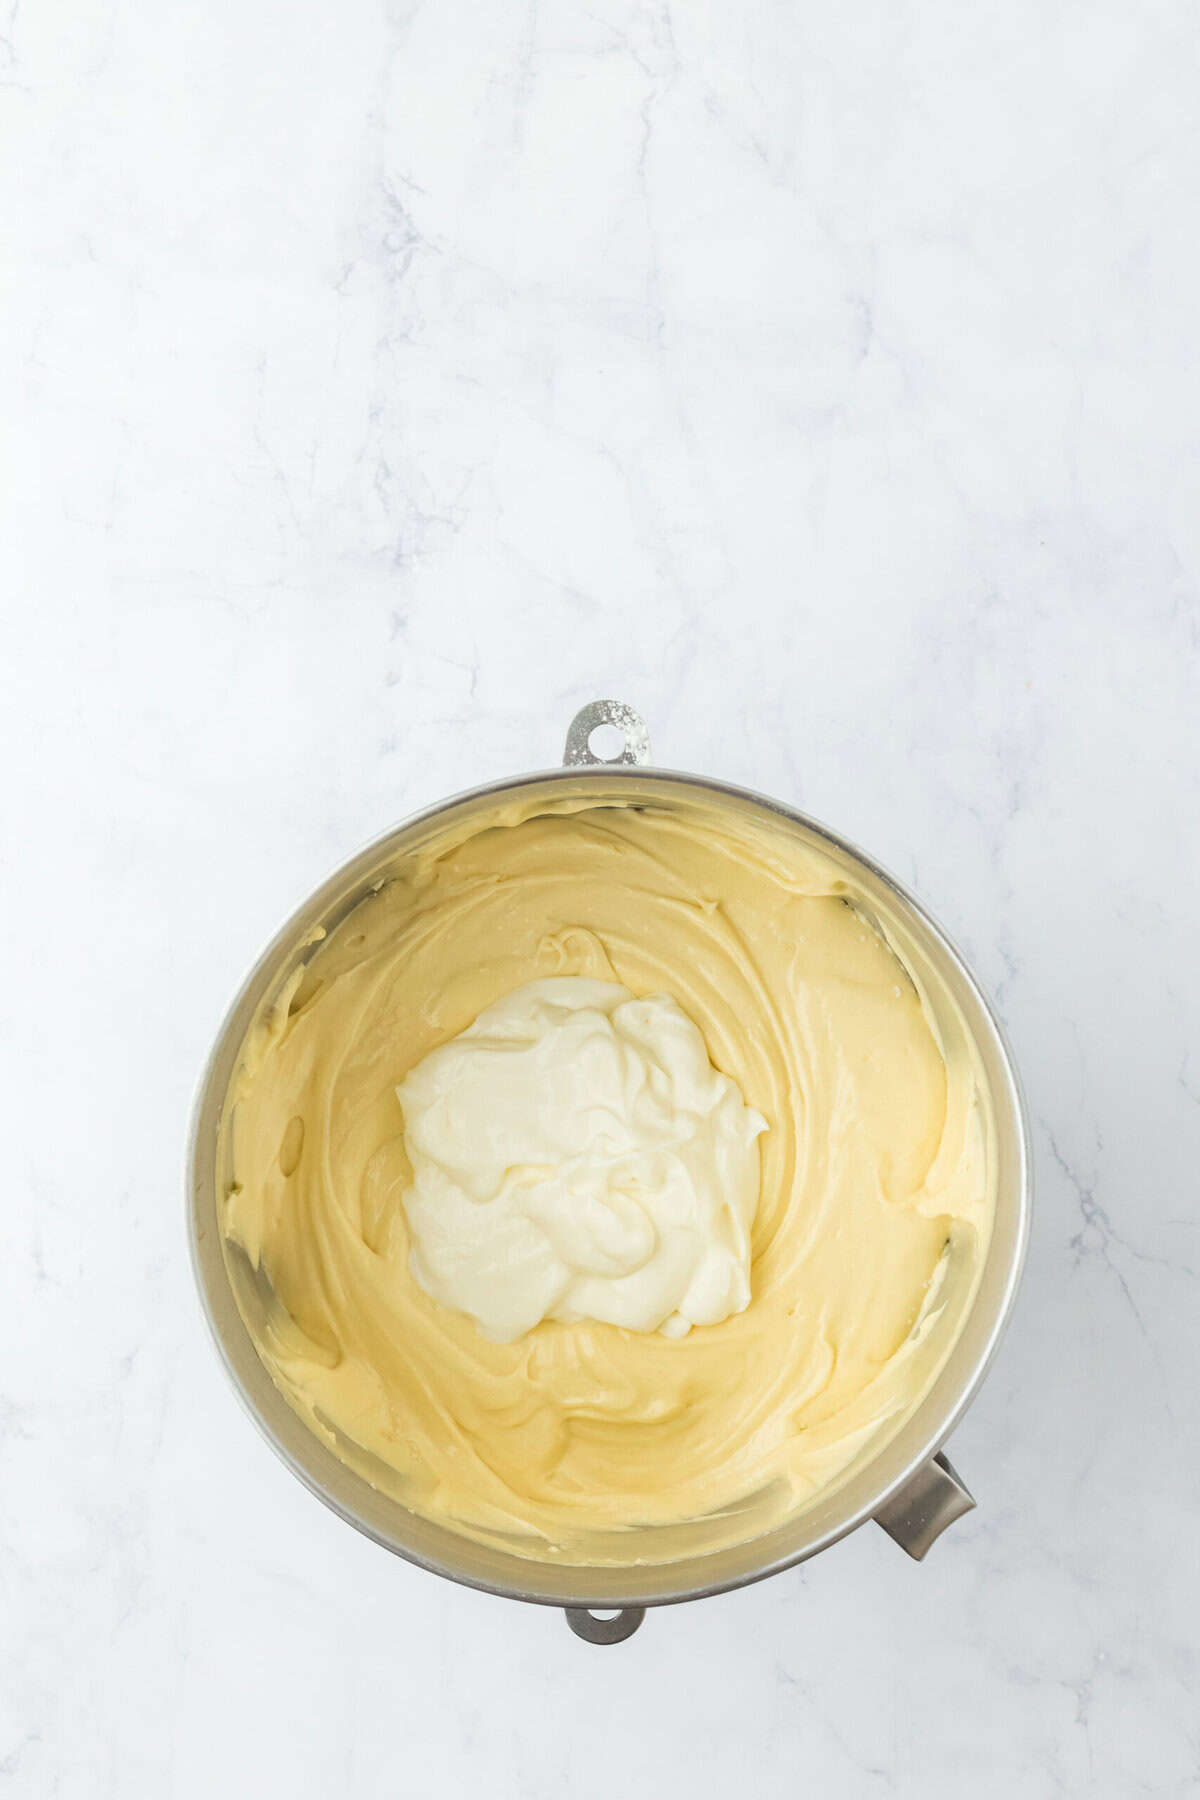
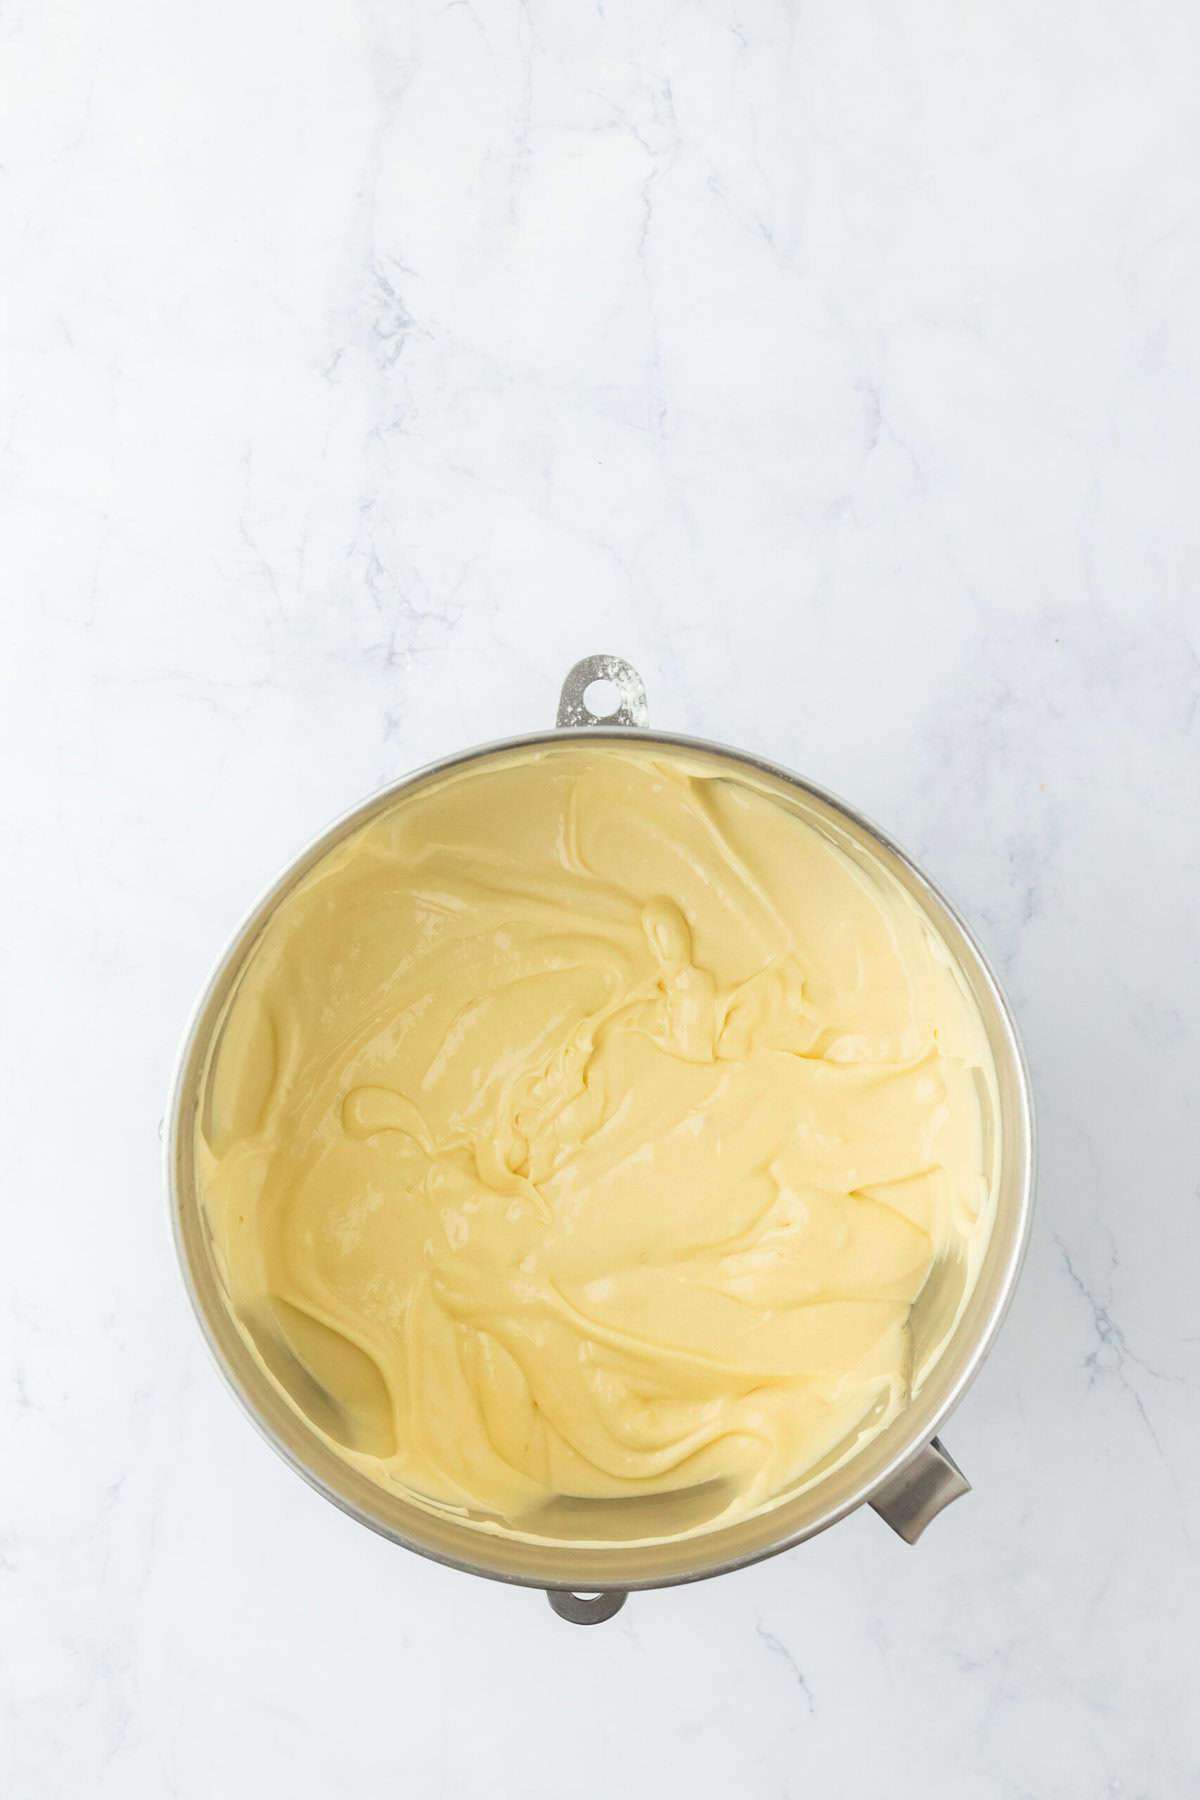
PRO TIP: Don’t overmix. Once you begin adding in the dry ingredients, it’s time to relax boos. We don’t want to overact the gluten and create a tough cake texture.
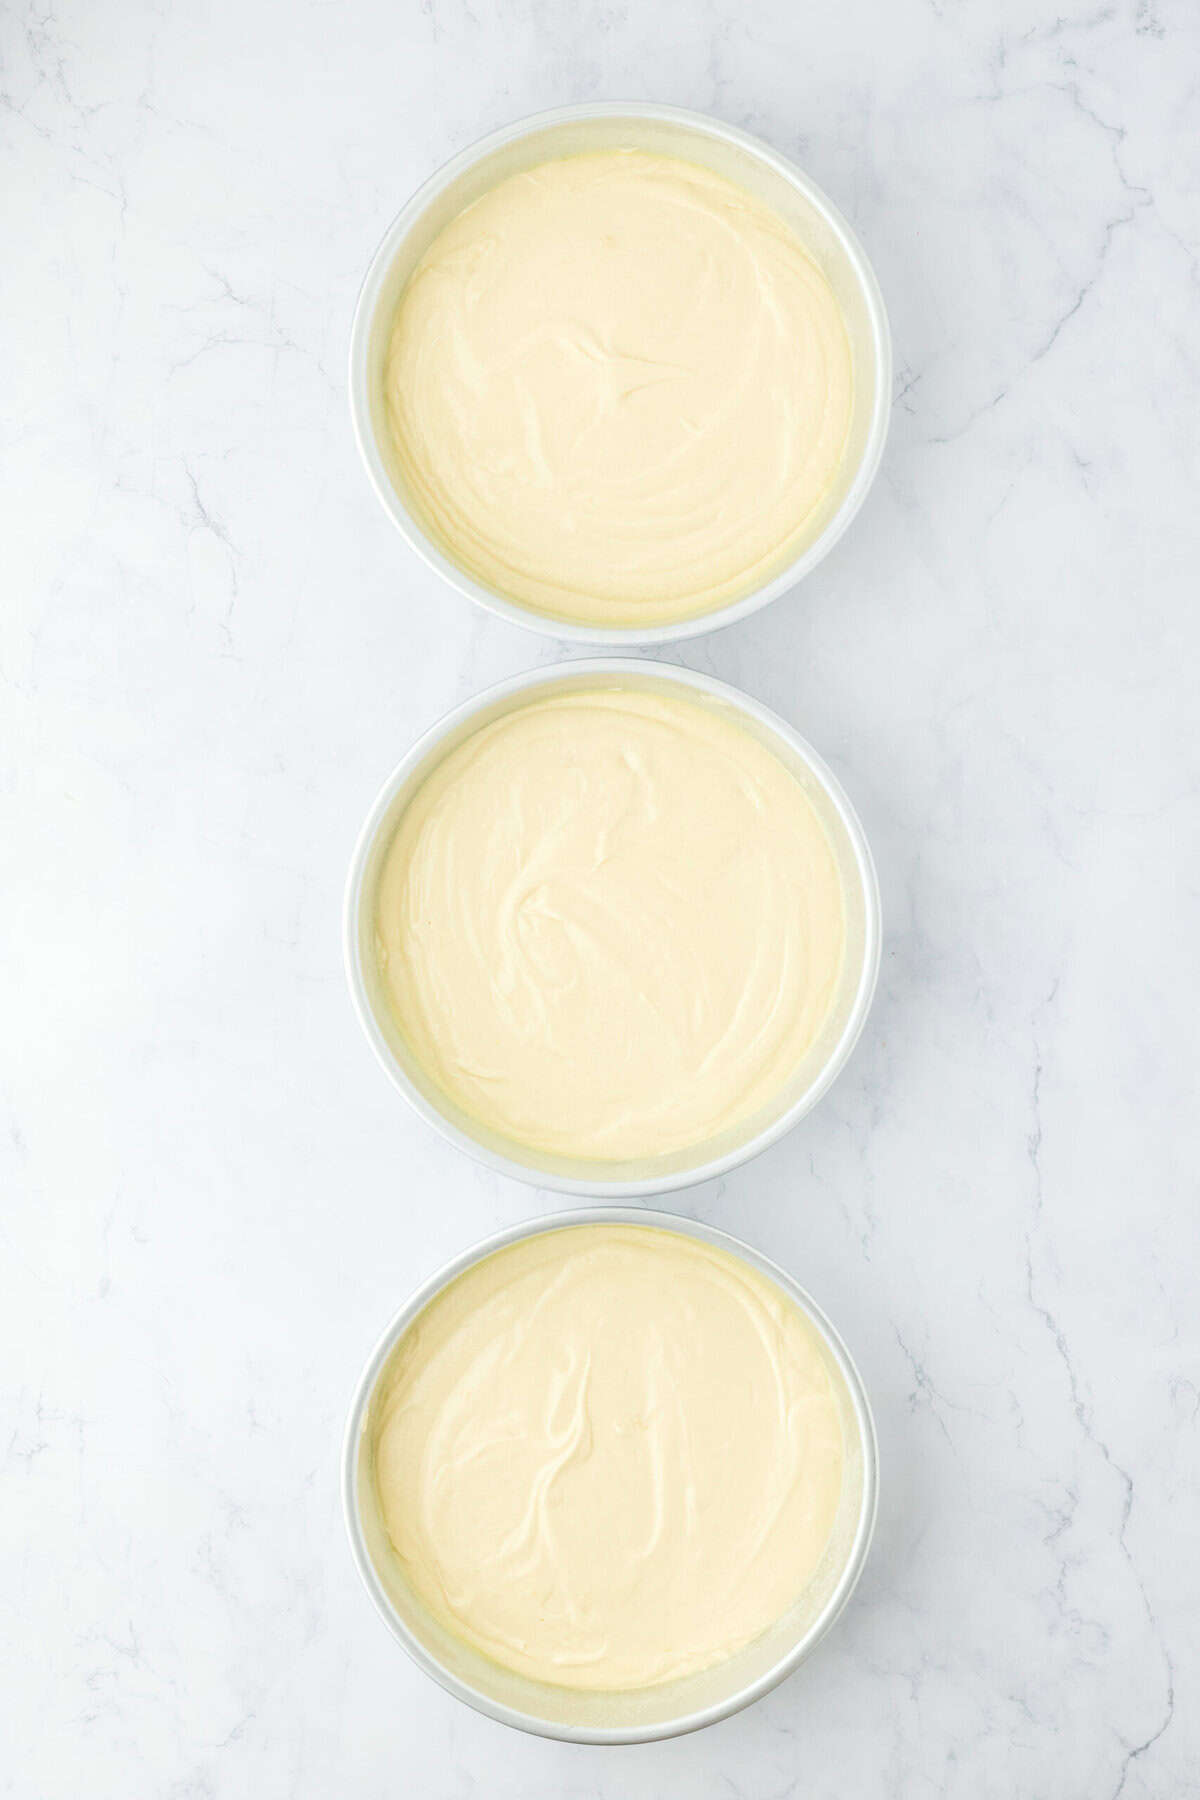
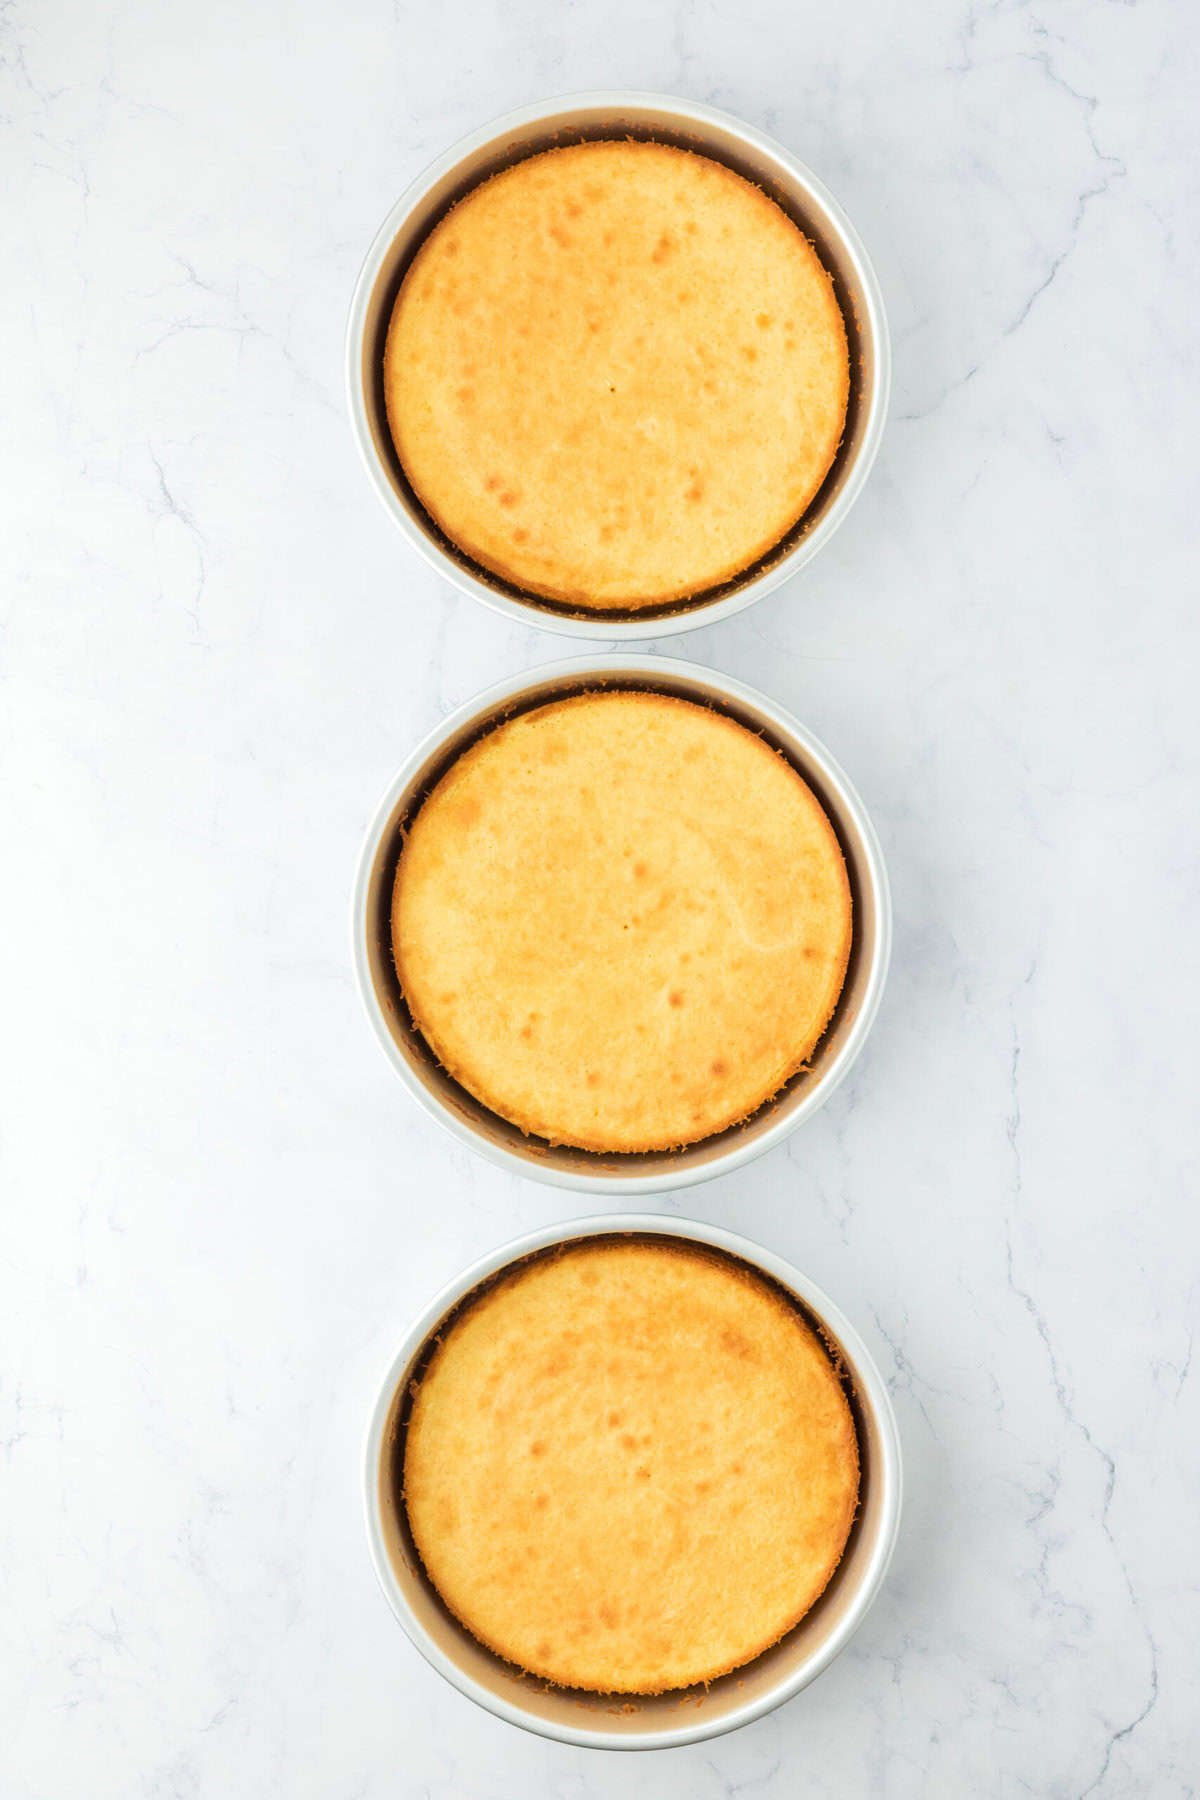
PRO TIP: You don’t want to overbake the cakes. I suggest checking earlier and watching closely in the last 5-10 minutes of baking so you can remove them as soon as they are done. Remember if you are using the toothpick test, a few moist crumbs are fine. It shouldn’t come out completely clean.
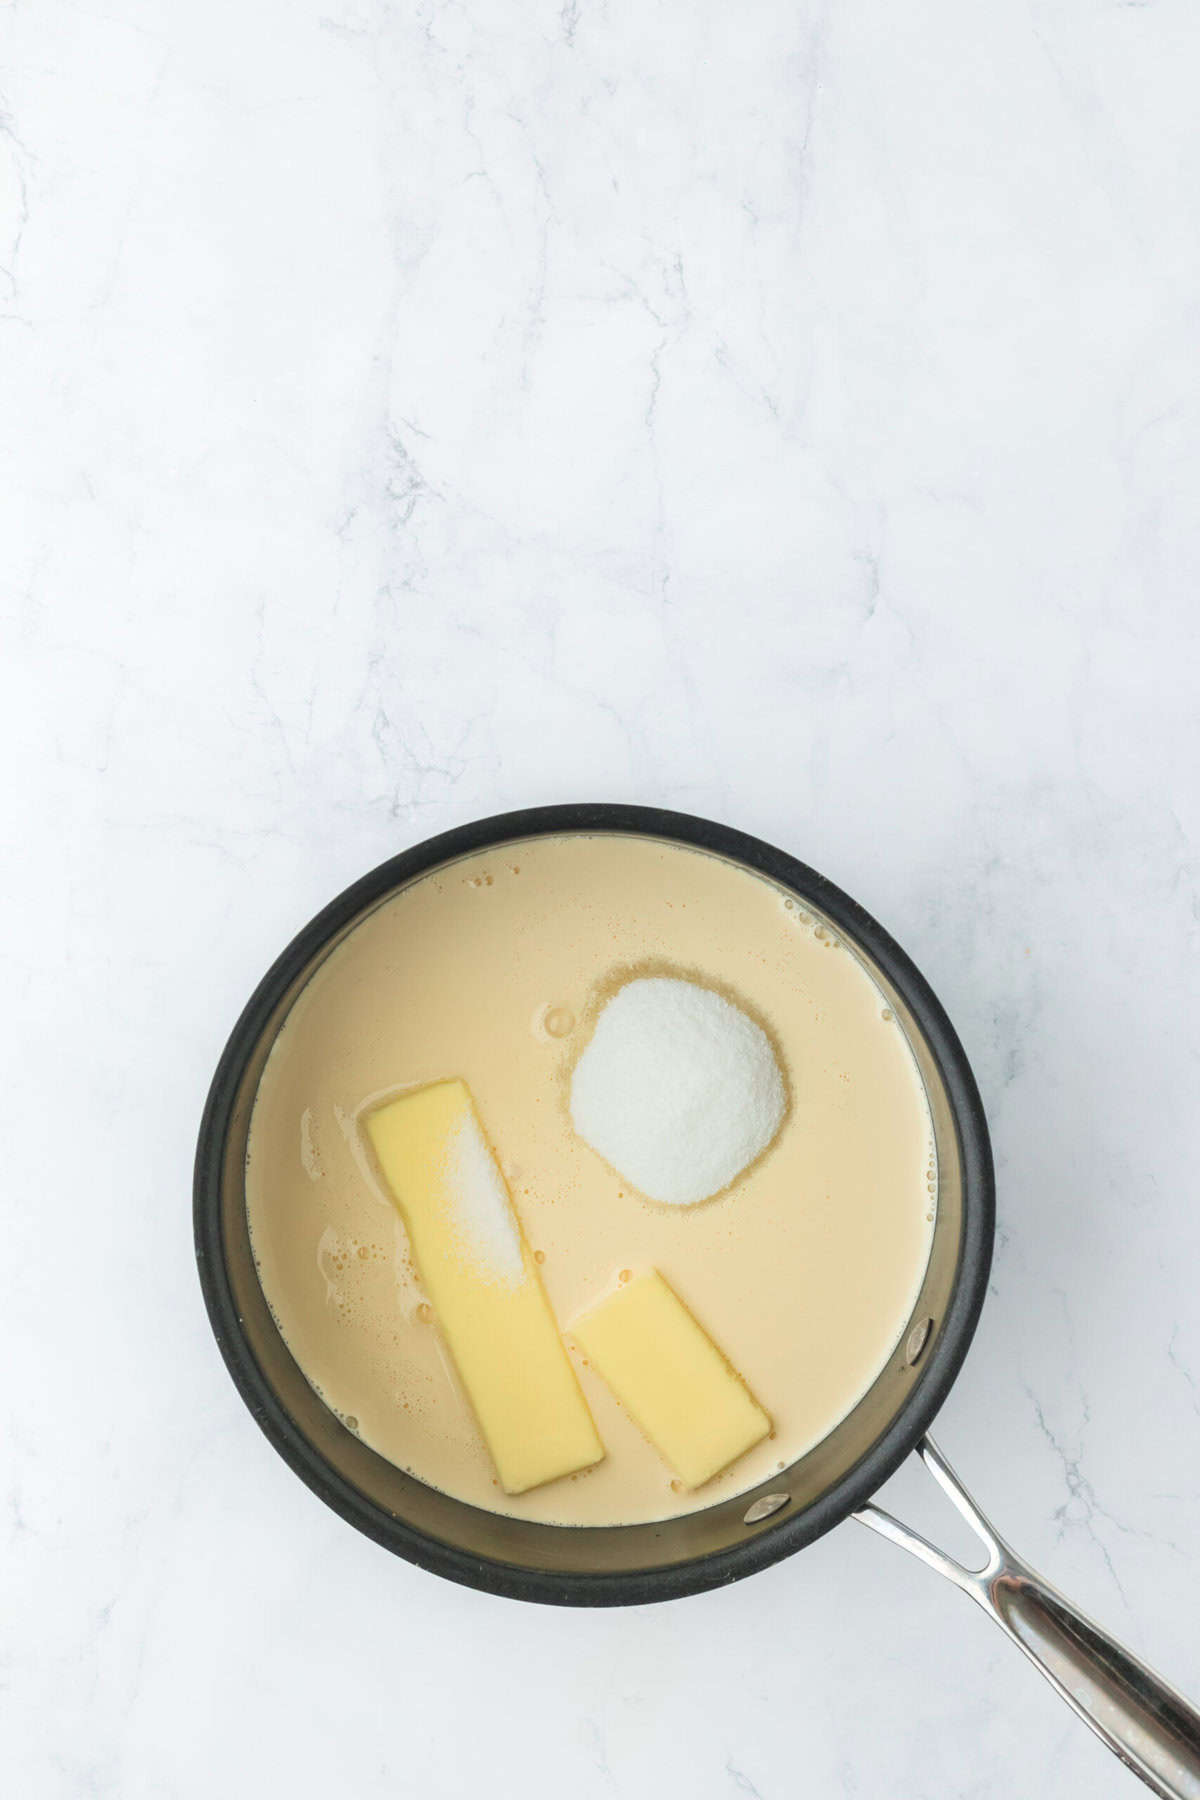
TOP TIP: Low and slow is the best way to achieve this perfect icing. The color will deepen and it will naturally thicken but it takes time y’all.
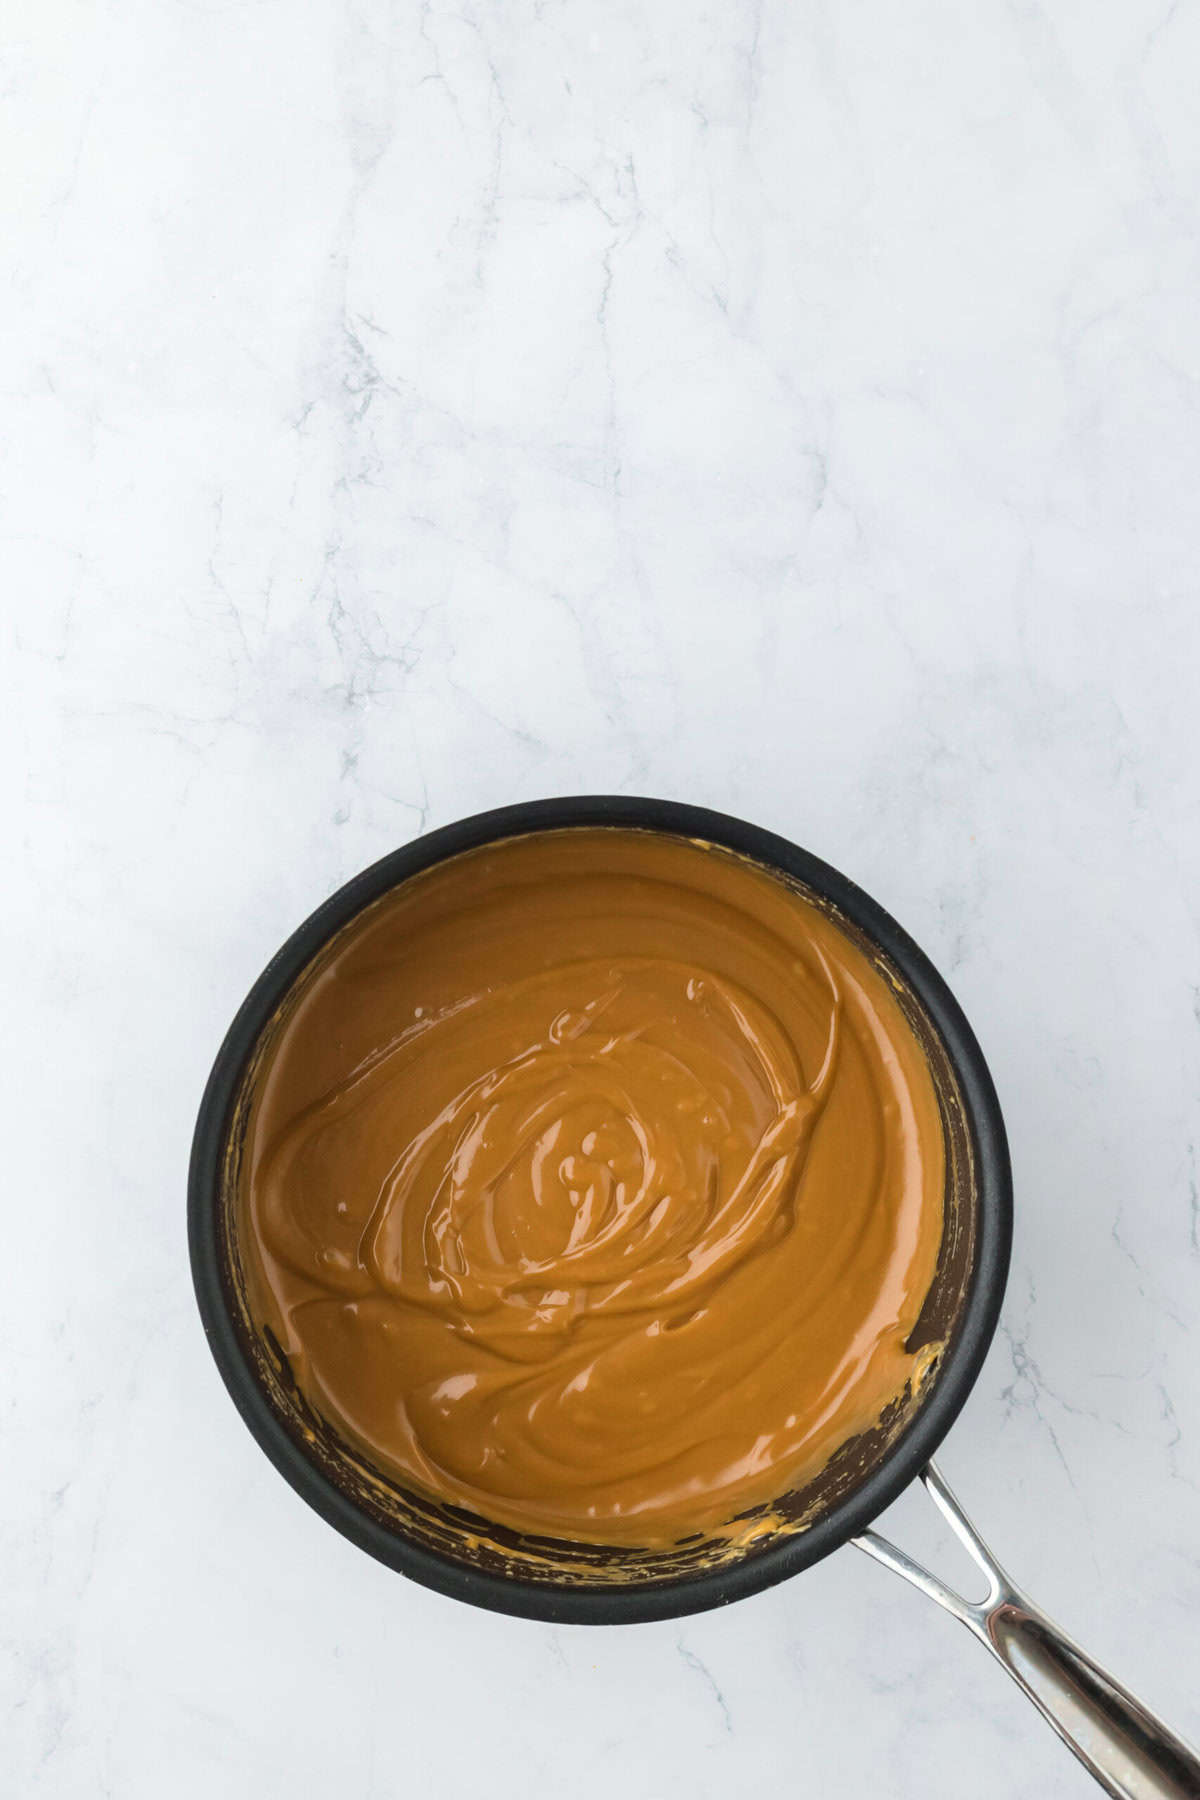
TOP TIP: Remember to make sure that the caramel turns the color and thick texture of the photo BELOW before stopping the heat. It should also COMPLETELY coat the back of a spoon and slowly slide off to ensure thickness.
How to Serve Old Fashioned Caramel Cake
- Ice Cream or Whipped Cream: While caramel cake can stand on its own just fine, some homemade vanilla ice cream or whipped cream on the side ain’t never hurt nobody.
- Southern Sunday Supper: Homemade caramel cake is right at home after a feast of fried chicken, collard greens, candied yams, black eyed peas, and hot water cornbread.
- Thanksgiving: After you’ve had your fill of fried turkey, honey glazed ham, cornbread dressing, and Southern green beans, serve this caramel cake recipe along with that Black folks sweet potato pie.
- Birthday: Go against the grain and serve this for the next birthday gathering.
- The Ultimate Southern Dessert Spread: Get a buffet together for a wedding shower or book club meeting and serve this up along with some Southern peach cobbler, cream cheese pound cake and hummingbird cake.

They’re Lovin’ It! Here’s what They’re Sayin’:
“We owe a debt of gratitude to Aunt Bev. Her caramel icing is the most luscious thing I’ve tasted in years – it’s worth every minute you watch it thicken. And the cake – it’s my new standard for yellow cake. Thank you for sharing this. FIVE stars and more!”
Recipe Substitutions
- Butter: If you only have unsalted, add in a pinch of salt to the icing. If you only have salted butter, omit the salt in the cake batter.
- Sour Cream: If ya ain’t got sour cream lying around, sub in buttermilk or even plain greek yogurt. They will both give that wonderful tangy flavor and moisture.
- Cake Flour: You can make your very own boos! Just grab all-purpose flour and cornstarch and follow these steps on how to make cake flour.
- Baking Powder: No baking powder? Combine 1 teaspoon of cream of tartar with 1/4 teaspoon of baking soda to create a great substitute.
Recipe Variations and Additions
- Turtle Vibes: If you love turtle candy, this can give all those vibes too. Drizzle the classic caramel cake with some smooth chocolate ganache and sprinkle on toasted pecans.
- Salt it Up: Ain’t nothing like salted caramel y’all. Salty and sweet stay winning. Just add some sprinkles of sea salt over the cooled caramel icing to really amp up the salt.
- Rum: Add a little rum extract to the batter to give a fun boozy note. You can toss a bit into the caramel too.
- Chocolate: Change the layers to this chocolate birthday cake for a delish chocolate caramel cake that is as indulgent as they come.
- Give it Fall Vibes: Either change up the cake layers to pumpkin cake layers or add some apple filling to the layers, and it’s ready for Autumn.
Expert Tips and Tricks for the Best Old School Caramel Cake Recipe
- This cake recipe takes planning boos. Make sure you allow plenty of time to bake this up- at least three hours from start to finish.
- Is your cake sliding? It’s because the caramel icing recipe is too thin and needs to be thickened u some.
- Make sure the cakes are fully cool before icing.
- After cooling the icing, if you see that it is too warm and still not completely thick enough, cool it in the refrigerator to allow it to thicken more.
- Want more of a frosting texture? Some people like to take the caramel and whip it in a stand mixer to create more of a frosting rather than an icing. That is totally up to you.
- Give it time to cool. I like to let it cool at least 30 minutes. It will help with frosting the cake without the icing dripping everywhere and the layers sliding too much.
How to Store Classic Caramel Cake
- Room Temperature: This cake can stay at room temp for up to 3 days due to the high sugar content in the cooked icing. Just add to a cake carrier to keep it protected.
- Fridge: Wrap your cake loosely with plastic wrap or add to a cake carrier to keep it from drying out. It will last about 4 days.
- Freezer: Double wrap your iced cake loosely in plastic wrap so it creates a good sealing. Then wrap the plastic wrap with foil for an extra layer of freezer burn protection. It should last about 2 months boos.
- How to Re-Serve: Bring your slices back to room temperature before serving it up! It will soften the texture and return the caramel icing back to silky glory.
Frequently Asked Questions
Yep you sure can. You can make the layers ahead and freeze by wrapping them tightly with plastic wrap so they don’t get any freezer burn. Just let them come back to room temperature before you ice the cake. You can also make the icing ahead of time and pop in an airtight container in the fridge. When you are ready to ice the cake, reheat gently on the stovetop and add a little warm milk to loosen it if necessary.
Remember not to remove your icing from the stove until it is completely thickened and coating the back of a spoon and slowly falling off. If you still ended up not thickening enough, you can stick the caramel in the fridge after you finish it to allow it to thicken more. Wait for it to solidify some, and then add a little warm milk if you need it to be more spreadable.
Yep I suggest that you do boo. It will create a much lighter, airy and smooth texture. However it will still turn out fine if you don’t do it.
Easy fix y’all! Just loosen it up by adding just a bit of warm milk.
If you think your cake may have turned out a bit dry, a little simple syrup will help. You can make it by adding equal parts sugar and water to a pot simmering over medium heat. Once the sugar dissolves, you can brush this on top of the cake layers.
Your Cake Creations
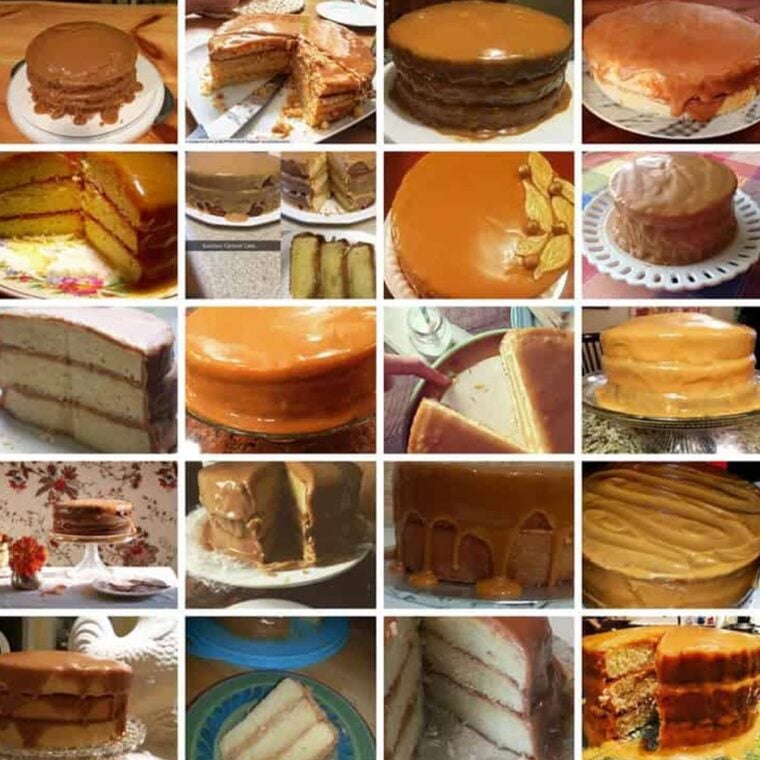
I love seeing your Real Deal Caramel Cake Recipe Creations!! Check out some of the amazing photos I have received! After more than 10 years, I must say my southern caramel cake recipe is still one of my top ones!
More of the Best Cake Recipes You’ll Love
Fave Caramel Recipes
- Homemade Caramel Pie
- Caramel Buttercream Frosting
- Caramel Apple Cheesecake
- Salted Caramel Chocolate Chip Cookies
- Salted Caramel Lava Cake
Real Deal Southern Caramel Cake
Want to Save This Recipe, Boo?
Ingredients
For the Cake: (UPDATED- ORIGINAL CAKE RECIPE BELOW IN NOTES)
- 1/2 cup unsalted butter 1 stick, room temperature
- 1/2 cup vegetable oil
- 1 1/2 cups granulated sugar
- 2 large eggs room temperature
- 2 large egg yolks room temperature
- 1 tablespoon pure vanilla extract
- 2 3/4 cups cake flour
- 1 1/2 teaspoons baking powder
- 1 teaspoon kosher salt
- 1/2 teaspoon baking soda
- 1 1/4 cups sour cream room temperature
- 1/3 cup heavy whipping cream room temperature
For Aunt Bev’s Caramel Icing:
- 3/4 cups salted butter 1 1/2 sticks
- 24 oz evaporated milk 2 (12 oz cans)
- 2 cup granulated sugar
- 2 teaspoons pure vanilla extract
Instructions
For the Cake:
- Start by preheating your oven to 325°F then liberally spray 3 (8-inch) round cake pans with non-stick baking spray or grease and flour.
- In your mixer bowl, add oil and butter and beat for 2 minutes on high speed. Slowly add in sugar and beat on high speed for an additional 4-5 minutes until very pale yellow and fluffy.
- Next, add eggs, one at a time, combining well after each addition and scraping down the sides as needed.
- Add in vanilla extract and mix.
- Sift cake flour, baking powder, salt and baking soda into a medium sized bowl. Turn your mixer down to its lowest speed, and slowly add flour into batter in two increments then add baking powder, salt and baking soda. Be careful not to over beat.
- Lastly, add sour cream and heavy cream and scrape down sides and mix until just combined and turn off mixer.
- Evenly pour cake batter into prepared baking pans and place in oven to bake for 17-24 minutes or until a toothpick inserted into the center of the cake comes just barely clean but don't over bake!! I personally start checking the cakes around 16 minutes just to be sure since everyone's oven is different.
- Remove cakes from oven and rest in pans for 10-15 minutes. Invert cakes from pans onto cooling racks until cooled.
For the Caramel Icing:
- Add butter, evaporated milk, and sugar to saucepan over medium low heat until everything has melted together.
- Leave over medium low heat stirring consistently for about 1 1/2- 2 hours (watch the entire time to make sure it does not burn until thickened and caramel has darkened to a beautiful golden brown. Note: if it is taking a while, you can turn up the heat a little more to speed up the thickening process but you MUST WATCH CAREFULLY AND STIR FREQUENTLY.
- Make sure that the caramel turns the color of the photo below before stopping the heat. It should thicken to the texture in the video as well.
- It should also thickly coat the back of a spoon to ensure thickness. See notes below for additional tips for the caramel.
- Be careful to watch, adjusting heat temperature to not let it burn.
- Remove from heat and stir in vanilla extract.
- Cool for about 15-20 minutes to allow it to thicken before icing the cake. If you see that it is too warm and still not completely thick enough, cool it in the refrigerator and get it thick!
- P.S. Some people like to take the caramel and whip it in a stand mixer to create more of a frosting texture. That is totally up to you.
To Assemble
- To assemble, make sure those cake layers have cooled down completely.
- Add a small dollop of icing to the center of your cake plate or stand then place the first layer on top. This will help it stay in place.
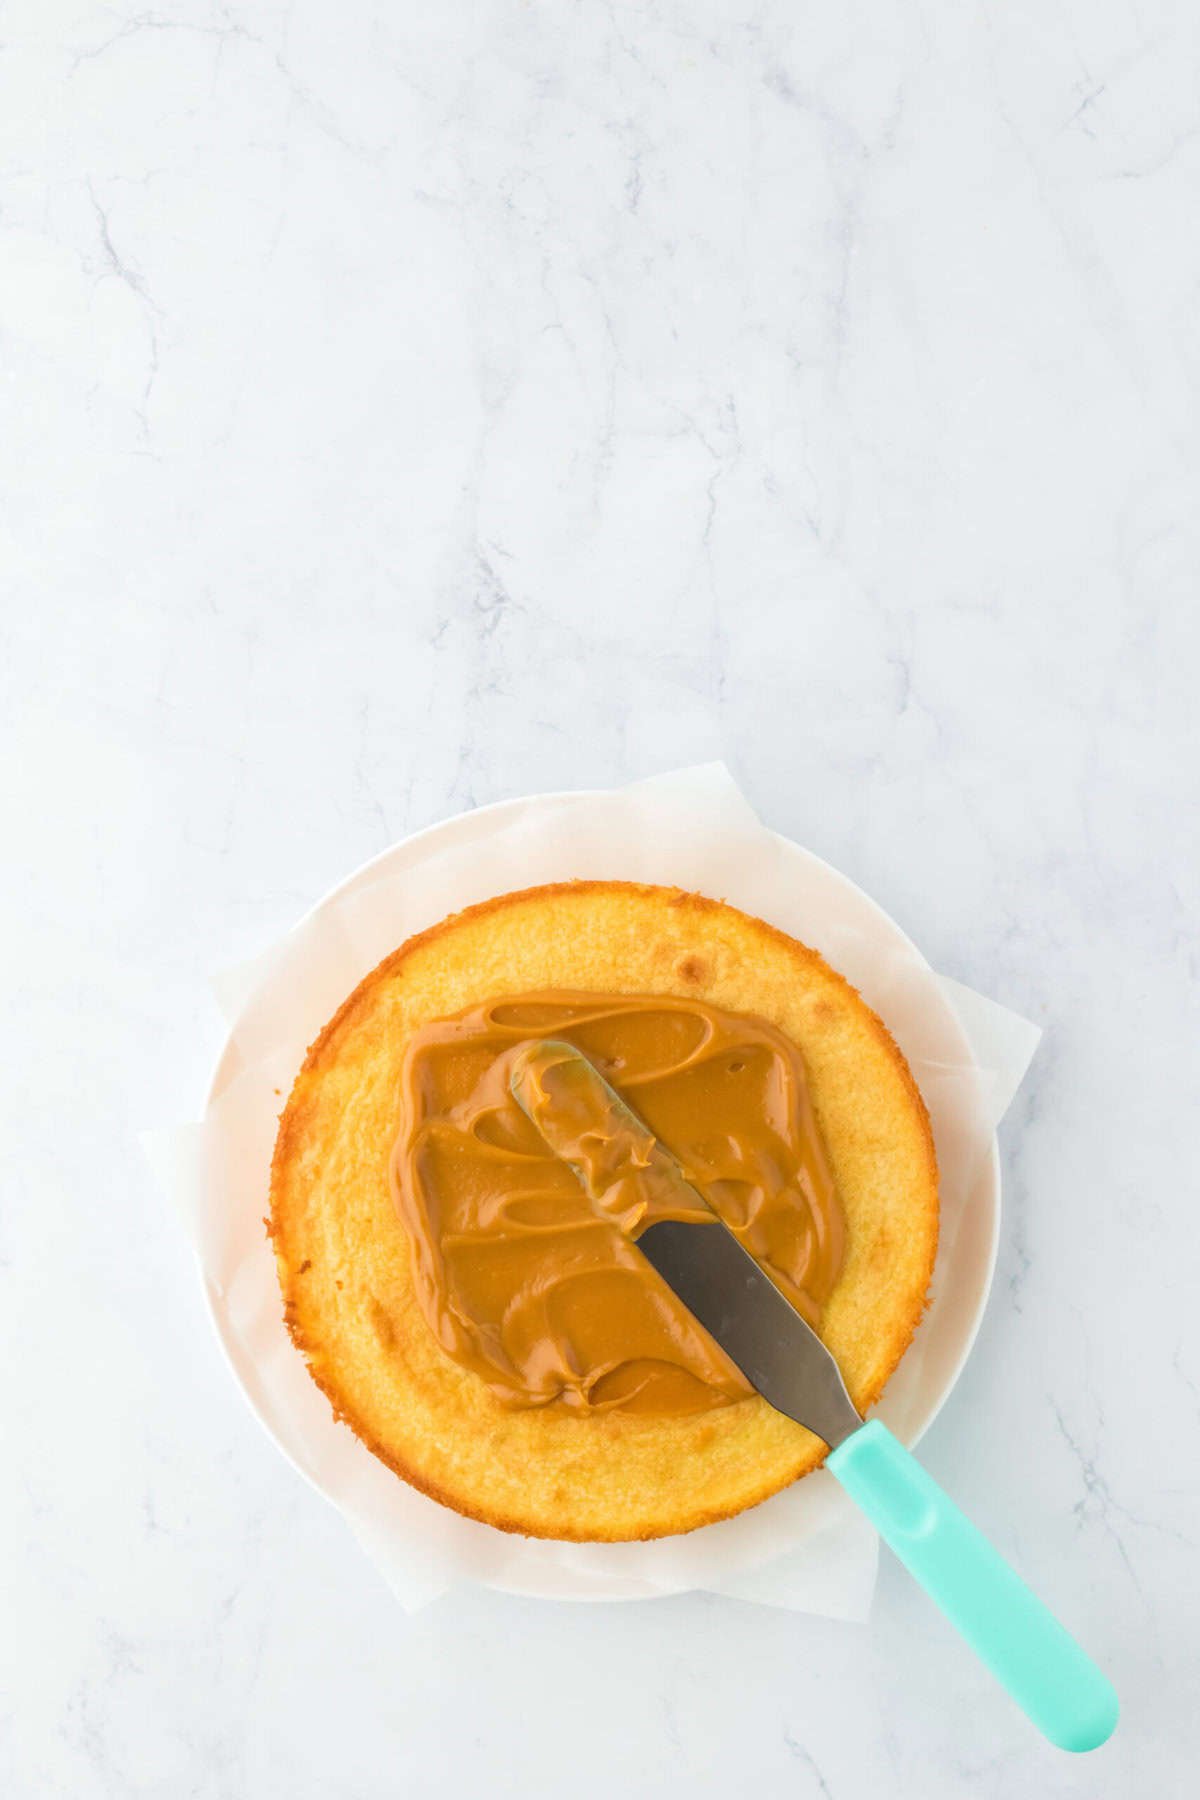
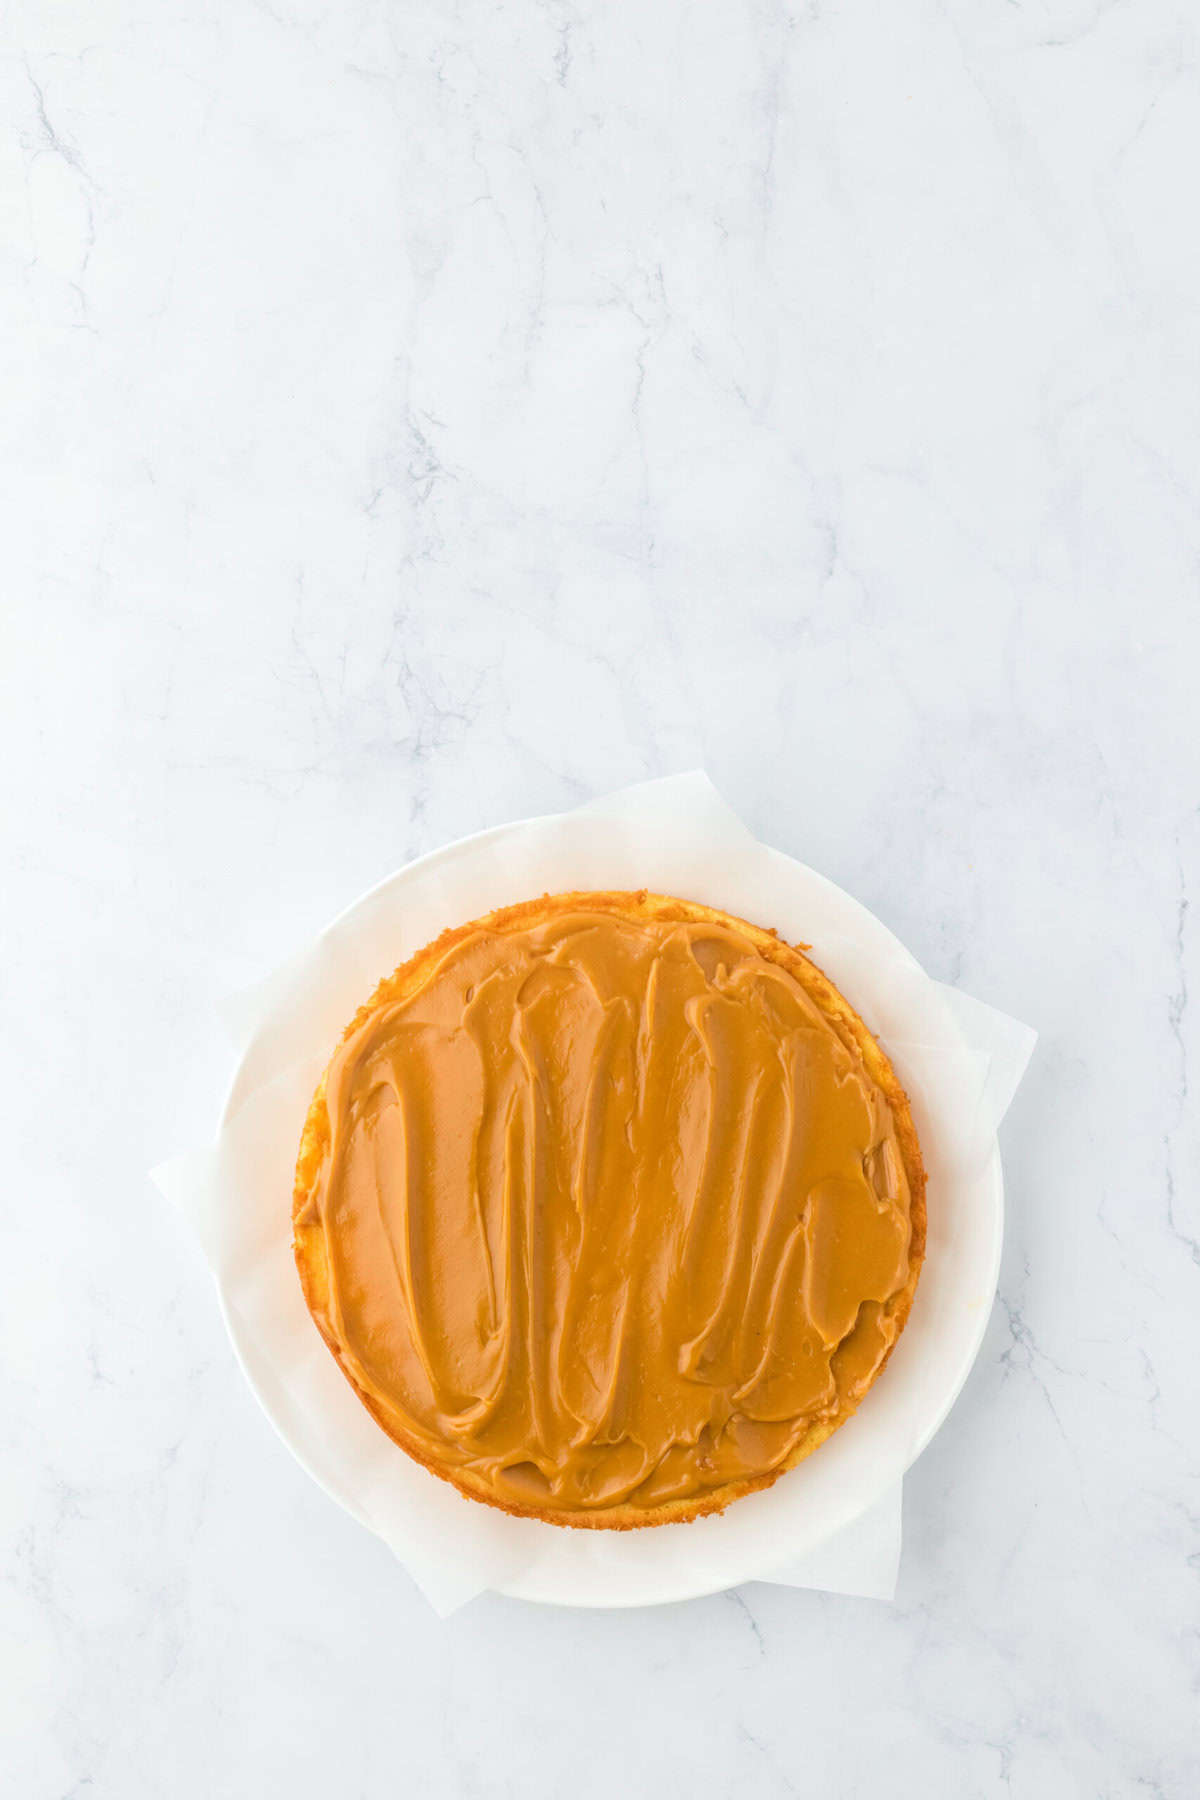
- Using an offset spatula, spread a 1/4 of the caramel icing over the first layer spreading to the ends. Let it set for about 5 minutes so it can firm up just a bit.
- Then carefully add the next layer and center it directly over the first layer. Repeat adding another 1/4 of the icing and spreading over it. Set another 5 minutes.
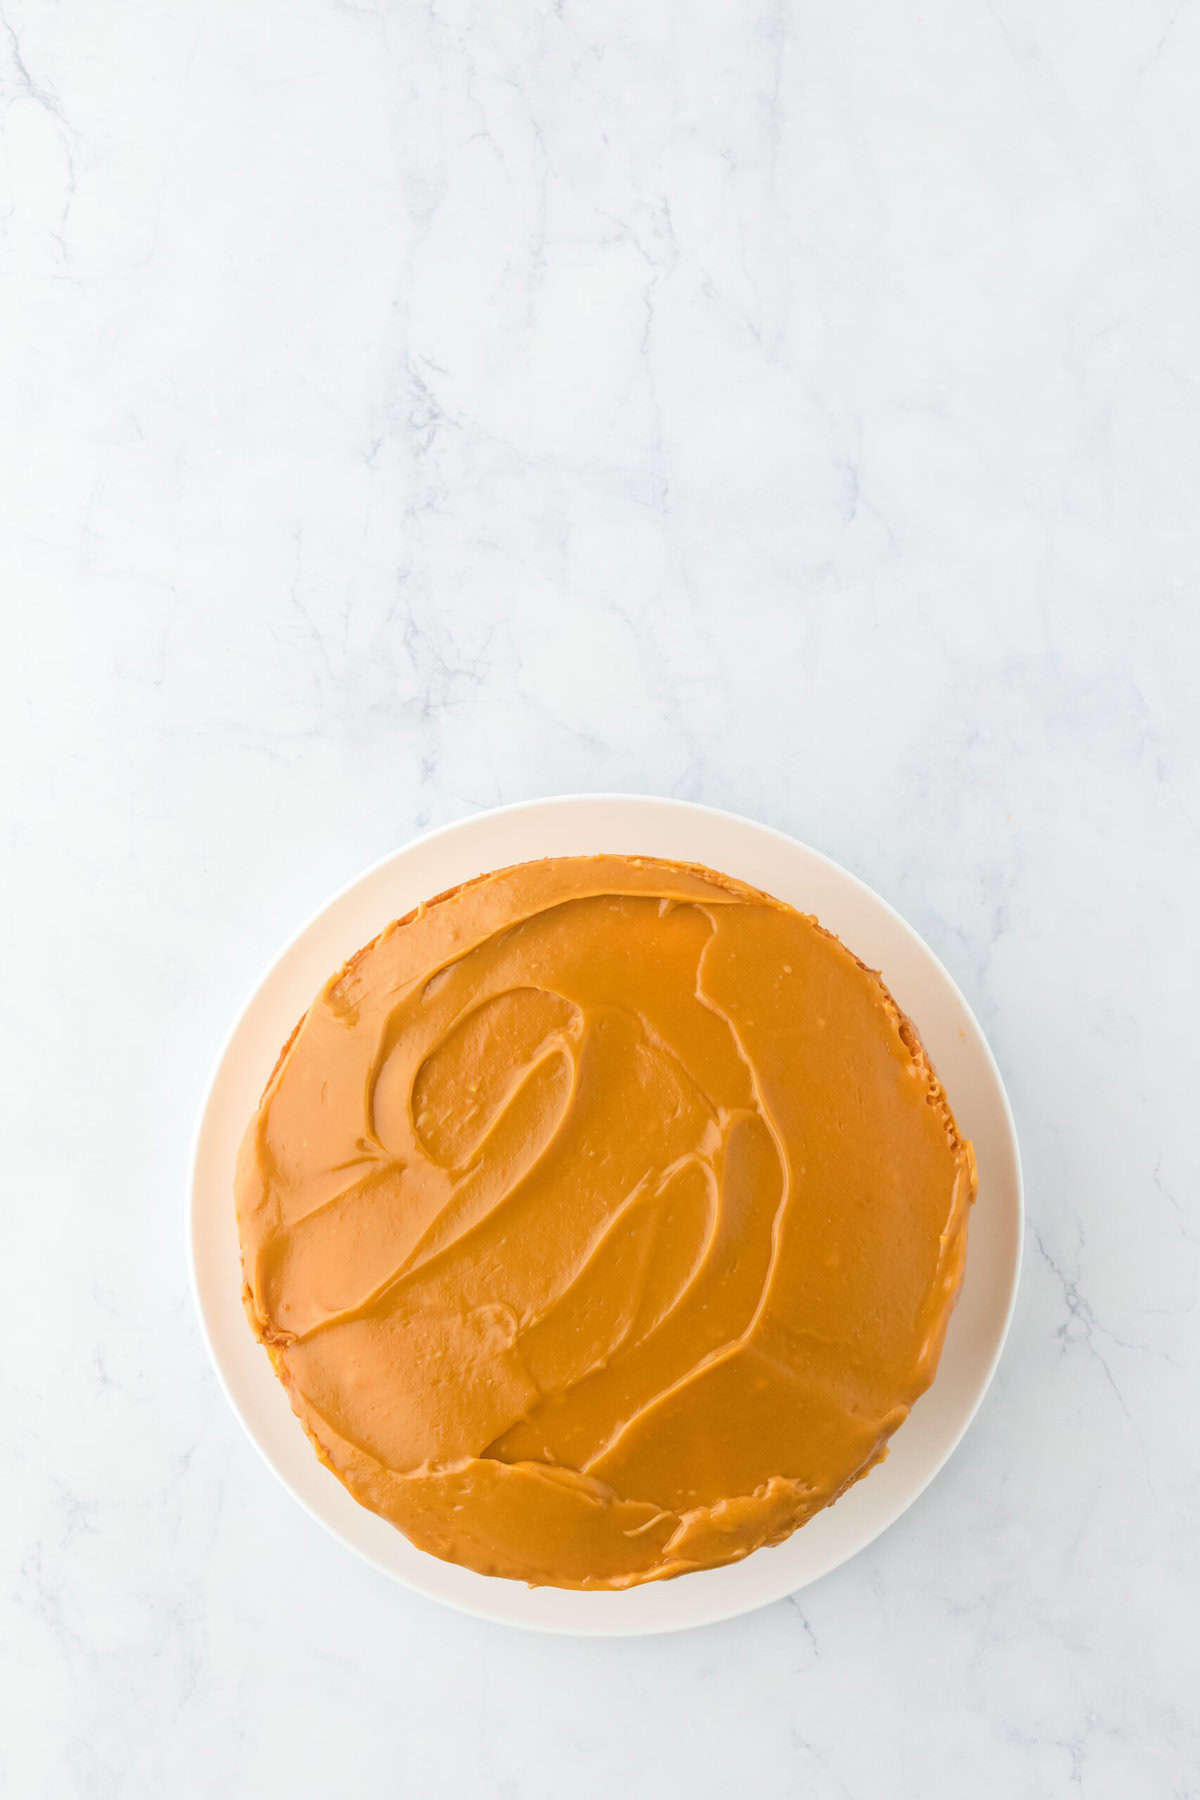
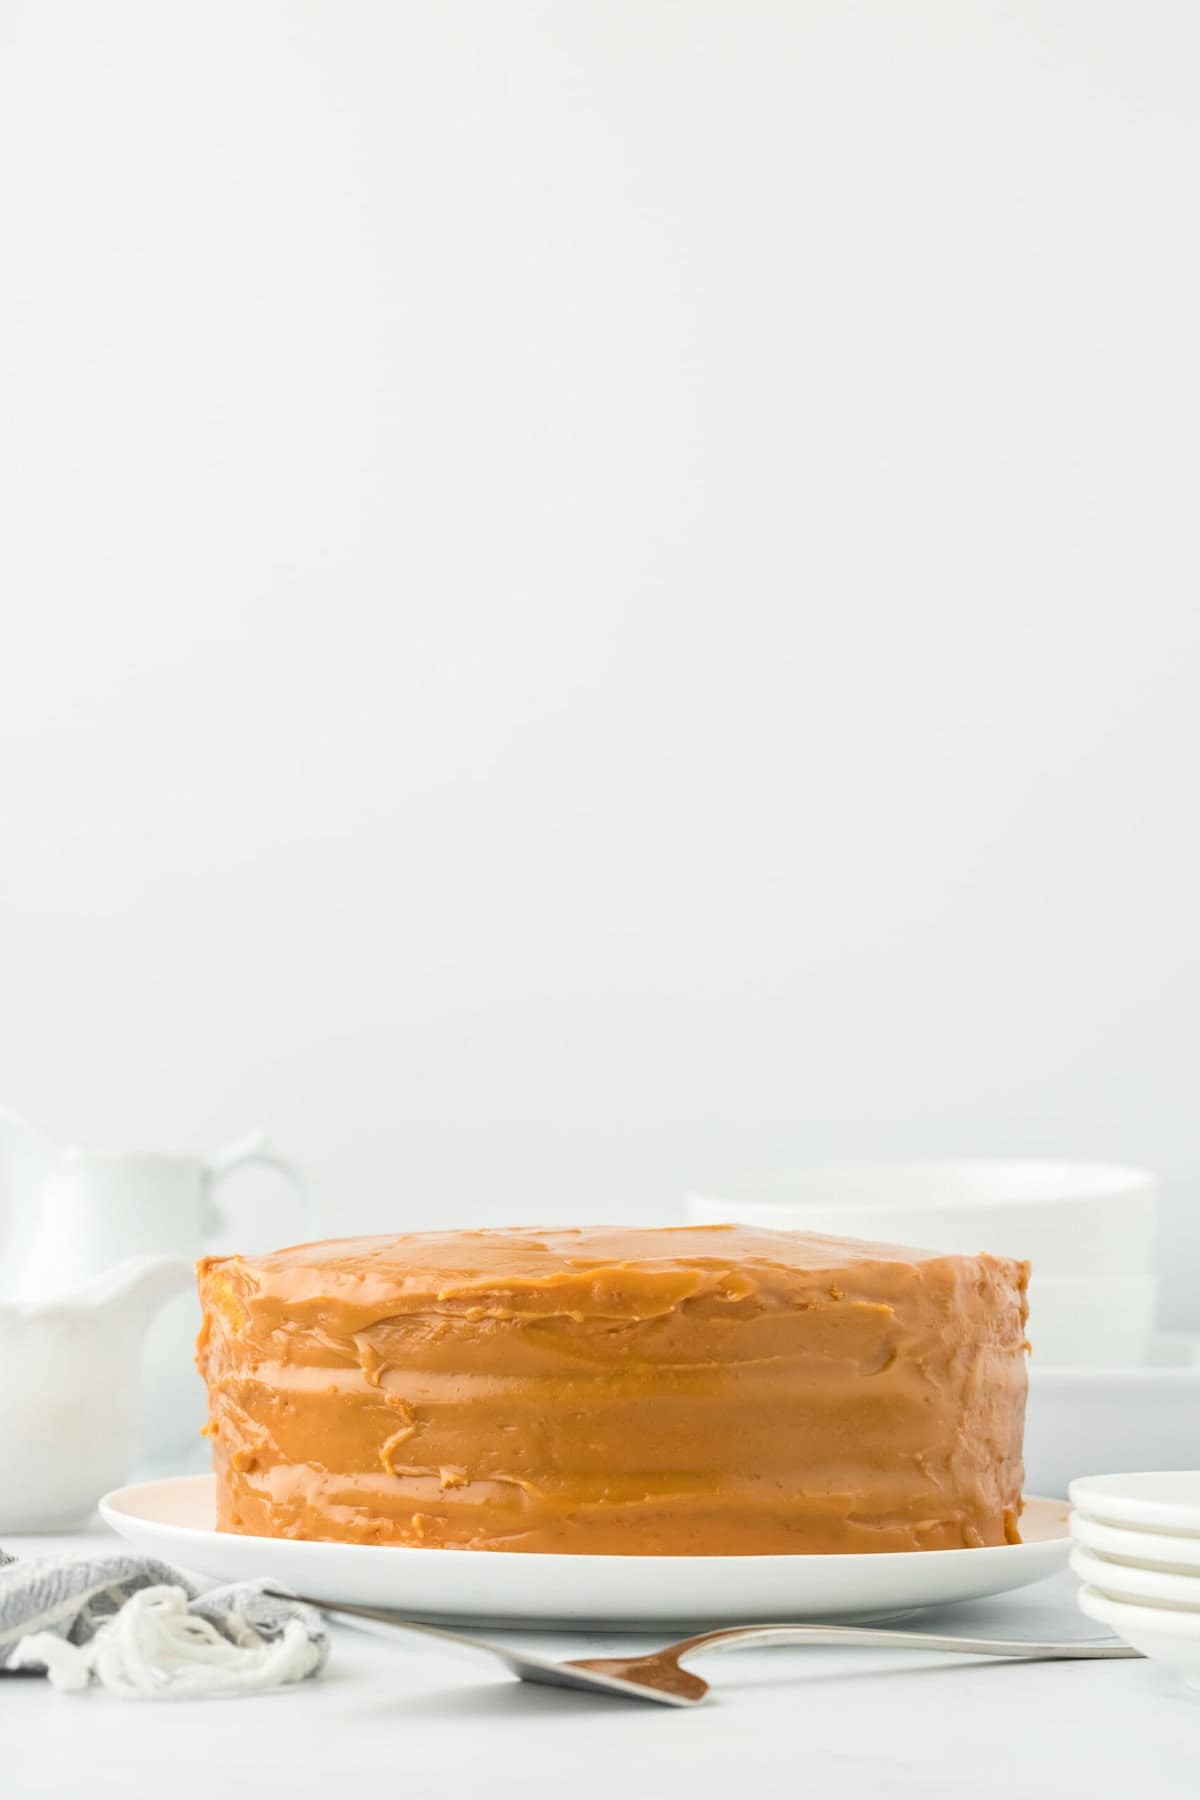
- Finally repeat with the final layer of the cake adding right on top. Spread the remaining caramel cake icing over the top and around the sides of the cake.Let it set for about 30 minutes to set then get ready to serve it up!
Video
Notes
ORIGINAL CAKE LAYER INGREDIENT RATIOS FROM A WHILE AGO
For the Cake:
- 1 cup unsalted butter, room temperature
- 2 1/2 cups sugar
- 5 large eggs, room temperature
- 2 large egg yolks
- 3 cups sifted cake flour
- 1 tsp salt
- 1/2 tsp baking powder
- 1/2 tsp baking soda
- 1 cup sour cream, room temperature
- 1/2 cup vegetable oil
- 1 tbsp vanilla extract
How To Store Classic Caramel Cake
- Room Temperature: This cake can stay at room temp for up to 3 days due to the high sugar content in the cooked icing. Just add to a cake carrier to keep it protected.
- Fridge: Wrap your cake loosely with plastic wrap or add to a cake carrier to keep it from drying out. It will last about 4 days.
- Freezer: Double wrap your iced cake loosely in plastic wrap so it creates a good sealing. Then wrap the plastic wrap with foil for an extra layer of freezer burn protection. It should last about 2 months boos.
- How to Re-Serve: Bring your slices back to room temperature before serving it up! It will soften the texture and return the caramel icing back to silky glory.
Nutrition
This post was published in November 2012. It has been updated with new content.
This looks awesome and I have all 3 of my layers done & ready for icing… they look delicious! I am about 1.5 hours into making the caramel and it looks the same as it did when I started cooking it. It looks like a big pot of melted butter! Is this right? Am I supposed to be stirring it at all? I can tell its getting thicker but I’m afraid I did something wrong as it does not look like caramel at all & it only has about 30 more minutes to go til the 2 hour mark. Help is greatly appreciated!! Thank you 🙂
Hey Emily, I am happy to help. Stir it a bit and turn the heat up some to about medium and steadily watch it. It should really start to thicken a bit more and become caramel during this last 30 minutes. Keep me posted or email me at info@jdelkadams.com so I can help you along. You can send me a quick pic if you want.
Hi
My caramel looks a little gloopy and this worried me so I took off the heat after 1 1/2 hours. The color is okay but I don’t think it looks like your picture and it’s not a far brown. At the beginning should it be on a higher heat to get the coloring? Or does that color change at the end? And why the gloopy texture at the end?
Hi Andrea, sorry about your caramel. It sometimes to cook longer. Did it coat the back of a spoon? If you can send me a photo I can troubleshoot a bit better. You can email me at info@jdelkadams.com.
Hi I did not take a photo of it and should have done that. I think it turned out good in the end and I will make it before Christmas and send a pic of the caramel batch. Thanks for responding and sharing your awesome family recipe. The one thing I learned in baking is time and precise measurement it’s very important not to rush any recipe and to be happy when you bake. It comes out a lot better.
Thanks so much! It did turn into caramel after turning the heat up a bit. I was so afraid to make it too hot because I’m known for burning things, especially when baking! But it turned out so good! This is my first time making a cake from scratch… you might just turn me into a baker!
Hooray! A big hooray to you for having the courage to make a cake from scratch! You should send me a picture. I can’t wait to see your creation. And I am glad it turned out so well for you!
I’m glad I read this comment string, I made the cakes last night wrapped them up and am making the icing later today… I like knowing exactly what to expect! I’ll let you know how it goes 🙂 It looks SO good!
This comment has been removed by the author.
Recipe calls for 6 eggs and 1 egg yolk, I don’t see where the egg yolk was used and does it mean 6 egg whites? I’m anxious to try this and want to get everything right. I could like my screen just looking at it. . .lol
Hi Rhonda, all of the eggs, including the egg yolk, are adding in at the same time. You will have one egg white left over that you will not use for a total of 7 eggs total. Omitting one egg white helps to create a very moist cake! Let me know if you have any other questions at all. I am super happy to help!
The recipe above calls for 6 large eggs and 2 egg yolks, but in your reply to an earlier post you said there would be a total of 7 eggs with one of the eggs on using the yolk. Can you clarify for me as I will attempting to bake this cake tomorrow Thanks for sharing your recipe….
Hi Angella, the cake requires 6 eggs and 2 egg yolks. I hope it turns out well for you!
I am so upset I’ve spent my last on these ingredients, paid attention to everything I was doing, and this icing came out a nasty gritty mess. I’ll have to show up to my first company potluck empty handed.
Hi Niko, I’m sorry you struggled with this recipe. Did you watch the video? The caramel is super easy to make and should come out smooth. This recipe gets a lot of wonderful reviews so I apologize that you had some issues with it. Maybe try it again and send me an email and we can figure out where you went wrong.
Two hours is a LONG time to have to watch icing cook. Is there any other way to make it? Being a busy baker, I just don’t have that kind of time.
Actually this is one of those icings that is totally worth it. You could short cut it but it won’t be the same unfortunately. I only make this cake when it is a very special occasion, usually for holidays.
Oh, this looks SOOOO dangerous.
It’s definitely dangerous in the best way.
I can not wait to try this! I love caramel and to have it made with cake is even more enticing!! Thanks for your post!
Thanks so much! Let me know how it turns out for you.
I will and thank you so much!
No problem Kelly. I hope everything got to the right consistency for ya!
im making this now and im one hour into the icing process. Will it thicken up when it cools after the two hours?
Hi Kelly, it will thicken up closer to the end of the two hours. It is really magical! You can test it by seeing if it thickly coats the back of a spoon. I can’t wait for you to try that first spoon test of the caramel. Write back and let me know how it turns out!
I think this is so beautiful, looks divine Glad I found your site.
Thanks so much Karnita! I am glad you found me too!
Jocelyn, that looks gorgeous! I just made, and posted, the Virginia Willis recipe. Had such fun making the caramel, but it was an entirely different method than this. I’m going to enjoy trying your Aunt Bev’s method too.
Thanks so much Jean! The Virginia Willis recipe seems really interesting. I must check it out on your blog and see what the method involves. Let me know what you think of Aunt Bev’s method. Every time I serve it, people say it is the best caramel they have ever tasted.