

My cheesy scalloped potatoes are the real deal, and the reviews below can back me up. I use Monterey Jack and Colby cheddar in the sauce AND on top because ya girl ain’t stingy with the cheese. The whole pan of scalloped potatoes comes out creamy and extra cheesy. I will show y’all how to make scalloped potatoes flat or arrange them vertically, with a video tutorial below to help you along.
This post may contain affiliate links. Read our disclosure policy.

Cheesey Scalloped Potatoes Ingredients
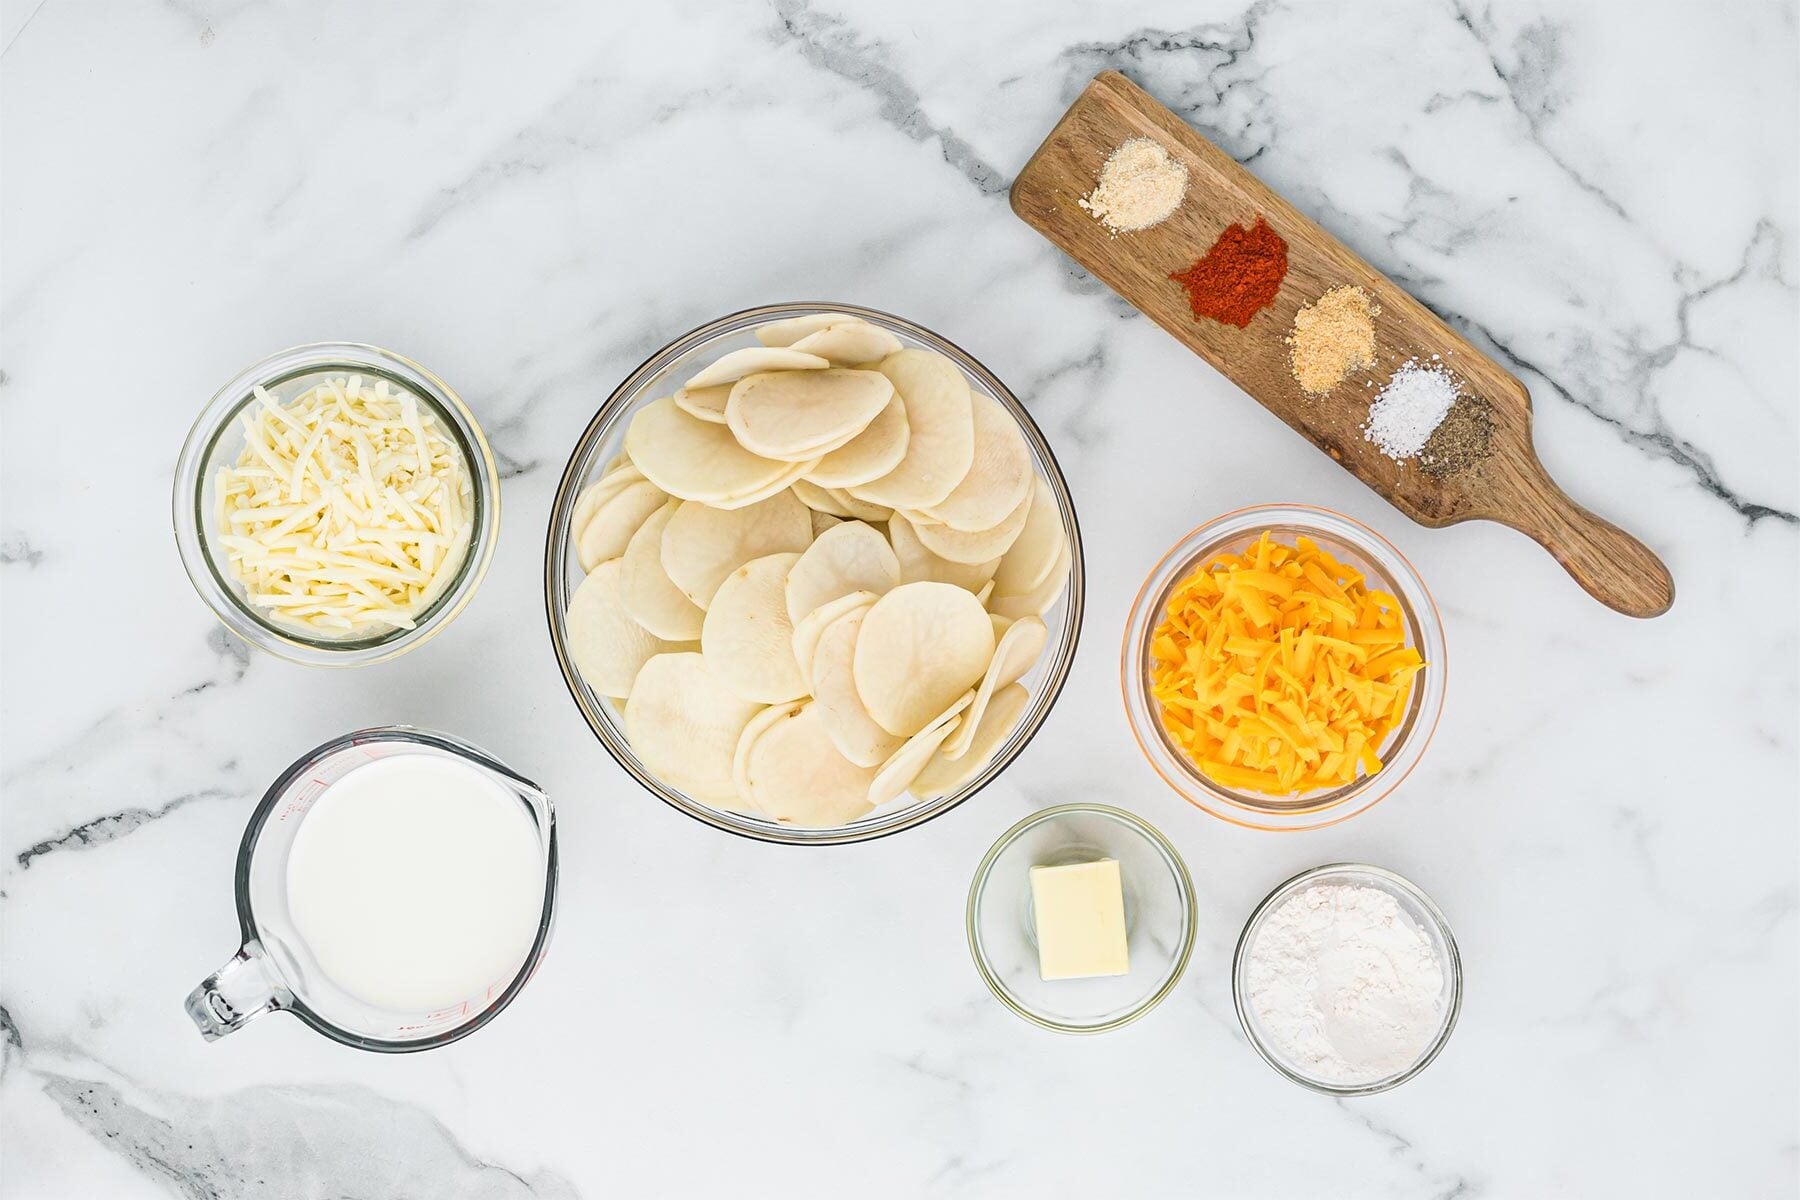
- Potatoes: Yukon Gold or Russet potatoes. Yukon Golds are my first pick for their buttery texture, but Russets work too. Choose firm potatoes without green patches or sprouts.
- Seasonings: The blend of salt, black pepper, smoked paprika, onion powder, and garlic powder is straight up fire. Use regular paprika if you don’t want the smoky flavor.
- Cream sauce: Butter, all-purpose flour, and half-and-half. Salted butter or unsalted is fine. Swap the all-purpose flour for your favorite 1:1 ratio gluten-free substitute.
- Cheese: Always shred your own cheese! It melts better. I use a combo of Monterey Jack and Colby cheddar cheese, which are both mild, softer cheeses with high moisture content. Sharp cheddar and Gruyère melt beautifully as well.
How to Make Scalloped Potatoes
These step-by-step photos show how to make easy scalloped potatoes with cheese, but be sure to check the recipe card below for the full ingredient list and detailed instructions. Skip to the → Best Scalloped Potatoes Recipe
1. Make the roux

Melt the butter in a saucepan, then whisk in the flour until smooth with no dry patches.
2. Mix the creamy cheese sauce

Gradually whisk in the half-and-half until slightly thickened, then take the pan off the heat and stir in the cheese for the sauce until smooth.
3. Layer the seasoned potatoes in the dish

Toss the thin, dried potato slices with the seasonings, then arrange half in an even, overlapping layer in your greased baking dish.
4. Spread the cheese sauce over the potatoes

Spoon half the sauce over the first potato layer and spread it all the way to the edges.
For vertical scalloped potatoes: To get the gorgeous look in the photos above, arrange the potato slices on their edges, leaning slightly, then pour the cheese sauce over them and sprinkle with cheese. Check the recipe card notes for the potato and sauce amounts before you start!
5. Add the remaining ingredients

Repeat with the remaining potatoes and sauce, making sure every slice is coated before sprinkling the reserved cheese over the top.
6. Bake the scalloped potatoes

Bake covered, then uncover to brown the cheese and finish cooking the potatoes before letting the dish rest.
PRO TIP: You may need to extend the cooking time depending on how thick your slices of potatoes end up. To check for doneness, use a fork or skewer and insert it into the center of the potatoes. It should slide in easily without any resistance.
Full Scalloped Potatoes Recipe
Cheesy Scalloped Potatoes Recipe
Want to Save This Recipe, Boo?
Equipment
- 9×13 Baking Dish
Ingredients
- 4 ½ cups sliced Yukon gold or Russet potatoes peeled and thinly sliced to 1/8 inch thickness (notes below for vertical potato baking)
- 1- 1 1/2 tsps kosher salt
- ½ tsp black pepper
- ½ tsp smoked paprika
- ½ tsp onion powder
- ½ tsp garlic powder
- 3 tbsp salted butter
- 3 tbsp all-purpose flour
- 1 ½ cup half-and-half
- 1 cup shredded monterey jack cheese divided
- 1 cup shredded colby cheddar cheese divided
Instructions
- Wash potato slices then dry them completely and set to the side.
- Add salt, pepper, paprika, onion powder and garlic powder to a large bowl and whisk together until combined. Give it a little taste and adjust to add more salt or any other spice you like then set aside.
- Preheat oven 400. Grease a large casserole dish with a cover or 9×13 pan.
- In a medium pot over medium heat, melt butter. Whisk in flour into melted butter until completely combined.
- Whisk in half and half and a ½ cup of monterey jack cheese and a ½ cup colby cheddar cheese until completely combined then remove from heat and set aside.
- Add dried potato slices to the seasoning bowl and toss evenly covering all the slices with seasoning.
Horizontal Layers
- Add half of the potatoes in one layer to the pan then pour half of the cheese sauce over them and spread it out covering the layer. Repeat with the final layer of potatoes and pour remaining cheese sauce on top making sure all of the potatoes are COMPLETELY COVERED in the sauce. Sprinkle the top with remaining cheese.
Vertical Scalloped Potatoes
- Add all of the potatoes and then pour the cheese sauce on top and sprinkle with cheese. For baking vertically, you MUST DOUBLE THE SAUCE AND SEASONING AMOUNT BECAUSE THERE ARE MORE POTATOES AND THEY ARE HIGHER IN THE DISH. When stacking the potatoes, still lay them down on a diagonal so they still lay down a bit to get the full sauce AND MAKE SURE THE POTATOES ARE COMPLETELY COVERED IN SAUCE. SEE NOTES BELOW FOR THE FULL INFO ON HOW TO DO THIS.
Bake
- Bake covered in the oven for 30 minutes then remove the cover and bake for an additional 30-50 minutes (depending on how thick your slices are) or until cheese is melted and bubbly and potatoes are completely tender.
- Remove from oven and allow to cool for 10-15 minutes then serve.
Video
Notes
How to Store
- Fridge: Transfer leftovers to shallow airtight containers and refrigerate for up to 3-4 days.
- Reheating: Cover with foil and warm in a 350°F oven until the center reaches 165°F. Small portions can take about 20-30 minutes, while a full dish takes longer. If you’d like a crispier top, remove the foil for the last 10 minutes.
Nutrition
Recipe Tips
- Slice those potatoes THIN, y’all. Aim for an even ⅛ inch. A mandoline with the guard makes it easier. If using a knife, check the video tutorial for a visual guide to the thickness and take your time matching it.
- Remove the pan from the heat when adding the cheese. Then add it a little at a time, stirring until melted. Too much heat can make the sauce grainy.
- Separate the slices as you season. Potato slices stick together, so gently pull them apart while tossing to get seasoning on each one.
- Keep the sauce warm enough to spread. If it thickens while you’re arranging the potatoes, gently warm it over the lowest heat, stirring just until it loosens. Don’t crank up the burner.

Serving Ideas
- Weekend Dinner: Serve up these scalloped potatoes with some easy fried chicken, classic meatloaf, or even oven fried chicken tenders with some easy steamed vegetables, honey cornbread or garlic bread in the mix.
- Sunday Supper: Get some lamb chops or neck bones on the table along with this Southern green bean recipe, creamed corn and fried okra. They are so hearty with these cheesy scalloped potatoes. That’s some good eatin!
- Holiday Menu: Serve this side with honey glazed ham, seafood dressing, roasted butternut squash and corn spoonbread.
Recipe Help
I only recommend assembling this ahead if ALL of the potatoes are completely covered with sauce. Any exposed slices can turn brown or black in the fridge, boos. Assemble without baking, cover tightly, and refrigerate for up to 1 day. When you’re ready to bake, let the dish come to room temp and then bake it up.
Too much heat can make the cheese separate. Take the pan off the heat and stir in a splash of warm half and half. This can help if it’s just starting to separate, but it won’t always fix a badly curdled sauce. Next time, add the cheese off the heat and don’t let the sauce boil.
They could be sliced too thick or not fully covered with sauce. Cover the dish again and keep baking until a fork slides easily through the center. If the potatoes look dry, add more warm half and half before covering.
The potato slices are too wet, or the dish needs more time to rest. Let it sit for 10-15 minutes before serving so the sauce can thicken. If it’s still watery and the potatoes are tender, bake uncovered a little longer, then let it rest again.
 pinterest
 facebook
 twitter
 email
Could you make this ahead and freeze.
Hi Colly! I actually wouldn’t recommend freezing these. Potatoes tend to change texture once frozen and thawed, and that creamy cheese sauce can separate or turn grainy. They just won’t have that same rich, creamy texture when reheated. You can definitely make them a day ahead, though! Just cover and refrigerate, then reheat in the oven before serving.
I’ve made these twice now (horizontal version), both times were spot on and the whole family loved’em! Only thing I added was some thinly sliced green onions right at the end! This recipe is a definite keeper.
I’m so glad it’s been a hit both times and earned a keeper spot. That’s exactly what I want!
I just have regular cheddar with this work instead of Colby?
It sure will!